Pumpkins may look impressive, but they’re not as tricky to grow as they seem. With a little space and some basic care, you’ll be reaping your own harvest in no time. Keep reading to learn how.
Table of Contents
Choosing The Right Pumpkin Variety
You need to consider your goals, climate, and available space when picking which pumpkin to grow. The right choice will make planting, caring for, and eventually harvesting much easier.
Types Of Pumpkins (Carving, Pie, Miniature)
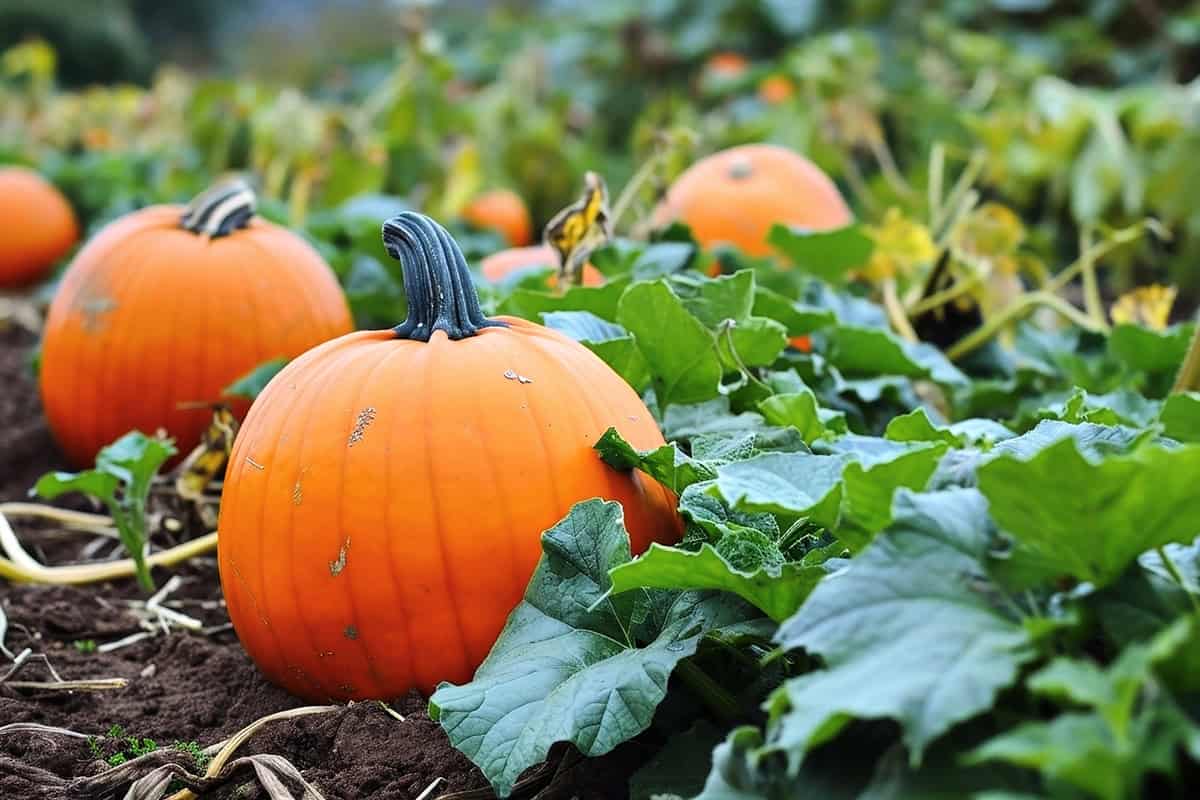
Pumpkins come in several main types, each best for certain uses. If you want pumpkins for carving, look for classic varieties with bright orange skin and firm handles. “Jack O’Lantern,” “Howden,” and “Big Max” work well for this because they are large and keep their shape.
For baking and cooking, sugar or pie pumpkins are best. “Small Sugar” and “New England Pie” offer dense, sweet flesh ideal for pies or roasting. Their smaller size makes them easier to handle in the kitchen.
Miniature pumpkins like “Jack Be Little” or “Baby Boo” add color and charm for table decorations. They’re easy to grow and store. Choose them if you want lots of cute, small pumpkins for crafts or displays without taking up too much garden space.
Best Varieties For Your Climate
Your regional climate plays a key role in which pumpkins do well. Some varieties handle heat, humidity, or short growing seasons better than others. In cooler climates, choose early-maturing types like “Autumn Gold” or “Early Sweet Sugar Pie.” These finish growing before cold weather arrives.
Areas with high humidity need pumpkins that resist common diseases. Varieties such as “Magic Lantern,” “Dickinson,” and certain hybrids have better disease resistance and tolerate damp conditions.
If you garden in a long, hot growing season, you can consider larger varieties such as “Big Max” or “Atlantic Giant.” These need extra time to mature. Always check the seed packet or catalog for climate notes to help make the right choice.
Space And Maturity Time Considerations
You need to think about how much room you have and how soon you want pumpkins. Most full-size varieties grow on long vines and can use up 100 square feet per plant. Smaller bush types or miniatures handle tight spaces.
Check the days to maturity listed on seed packets. Early varieties reach harvest in about 85 to 100 days, good if your growing season is short. Larger or specialty pumpkins could take 110 to 130 days and need a long, warm season.
Choose bush or semi-bush types if you want pumpkins for containers or small gardens. If you have plenty of room and time, you can experiment with larger, sprawling varieties. Matching the plant’s needs to your space and timetable ensures a better harvest.
Best Time Of Year To Plant
You should plant pumpkins after the risk of frost passes. Soil temperatures reach at least 65°F for best germination. Cold soil leads to poor growth and weak plants.
Late spring and early summer are ideal for starting pumpkin seeds. In most regions, this means late May through June. Warm weather gives your plants enough time to mature.
Pumpkins need 90 to 120 days to grow from seed to harvest. If you want pumpkins for Halloween or fall decorations, count backwards from your target date. This helps ensure ripe fruit at the right time.
Starting seeds directly in the ground gives the best results. Seeds started too early indoors struggle to adapt once planted outside. Use compost or organic matter to enrich the soil first.
Cool weather slows pumpkin growth. Wait until nights stay above 50°F. If a late frost happens, you may need to replant. Keep the soil consistently moist during the early stages for the best germination.
Site Selection And Spacing
You need to pick a spot that gets full sunlight for most of the day. Pumpkins grow best with at least six hours of direct light. Choose a location with soil that drains well. Wet or compact ground can make roots rot.
Good soil helps pumpkins grow strong vines and large fruit. Mix in organic matter before planting. Well-prepared soil lets roots spread easily. Try to keep the area free of weeds.
When you plan your garden, remember that pumpkin vines can spread widely. Small pumpkin types need at least five feet between hills. Large varieties may need as much as eight feet. Give each plant room so it has space to expand without crowding.
Plant seeds in small mounds of raised soil. Each mound should have four to six seeds planted about one or two inches deep. Row spacing matters too. Separate each row by at least four to six feet to allow air flow and easy access.
Once the seedlings grow, thin them out. Keep only the strongest two plants per mound. This spacing helps you prevent diseases and lets sunlight reach all parts of your pumpkin plants.
Preparing The Soil
Healthy pumpkin plants require loose, fertile soil and nutrients. Proper preparation helps yield stronger vines and bigger pumpkins. Focus on drainage, enrichment, and structure for best results.
Soil Type And Drainage Requirements
Pumpkins thrive in rich, well-drained soil. Sandier soils allow for quick drainage but should not dry out completely. Clay soils often hold too much water and can stunt root growth.
You should choose a spot with full sun and avoid low areas where water collects. Overly wet soil promotes root rot and fungal issues. Ideally, your soil pH should range from 6.0 to 6.8.
Test your soil before planting. If water pools for longer than a few hours, improve drainage or pick a new spot. Good drainage helps roots grow deep and strong, supporting healthy vines.
Adding Compost Or Fertilizer
Pumpkins need a steady supply of nutrients throughout the growing season. Mix several inches of well-rotted compost or manure into the soil before planting. Compost improves soil structure, boosts fertility, and provides essential organic matter.
A balanced fertilizer like 10-10-10 works for most gardens. Apply it evenly over the planting area at a rate based on label directions. Work the fertilizer into the top six inches of soil.
Around three to four weeks after planting, side-dress the plants with extra nitrogen to support fast vine growth. Be careful not to use too much fertilizer, as it can harm young plants.
Building Mounds Or Rows
Raising the soil into mounds or rows helps improve drainage and warms the soil faster. Create mounds about 6 to 12 inches high and 2 to 3 feet across. Space these mounds at least 4 to 6 feet apart for standard varieties.
For larger patches, rows may work better. Make rows about 6 feet apart so vines have room to spread. Elevating the planting area helps avoid problems caused by heavy rain.
You can plant seeds directly into the top of each mound or row. This setup gives roots space to grow and reduces risk of rot. Mounds and rows also make weeding and watering the vines much easier.
How To Plant Pumpkin Seeds
You need an open, sunny area for pumpkin seeds. Planting correctly gives seedlings the best chance to thrive.
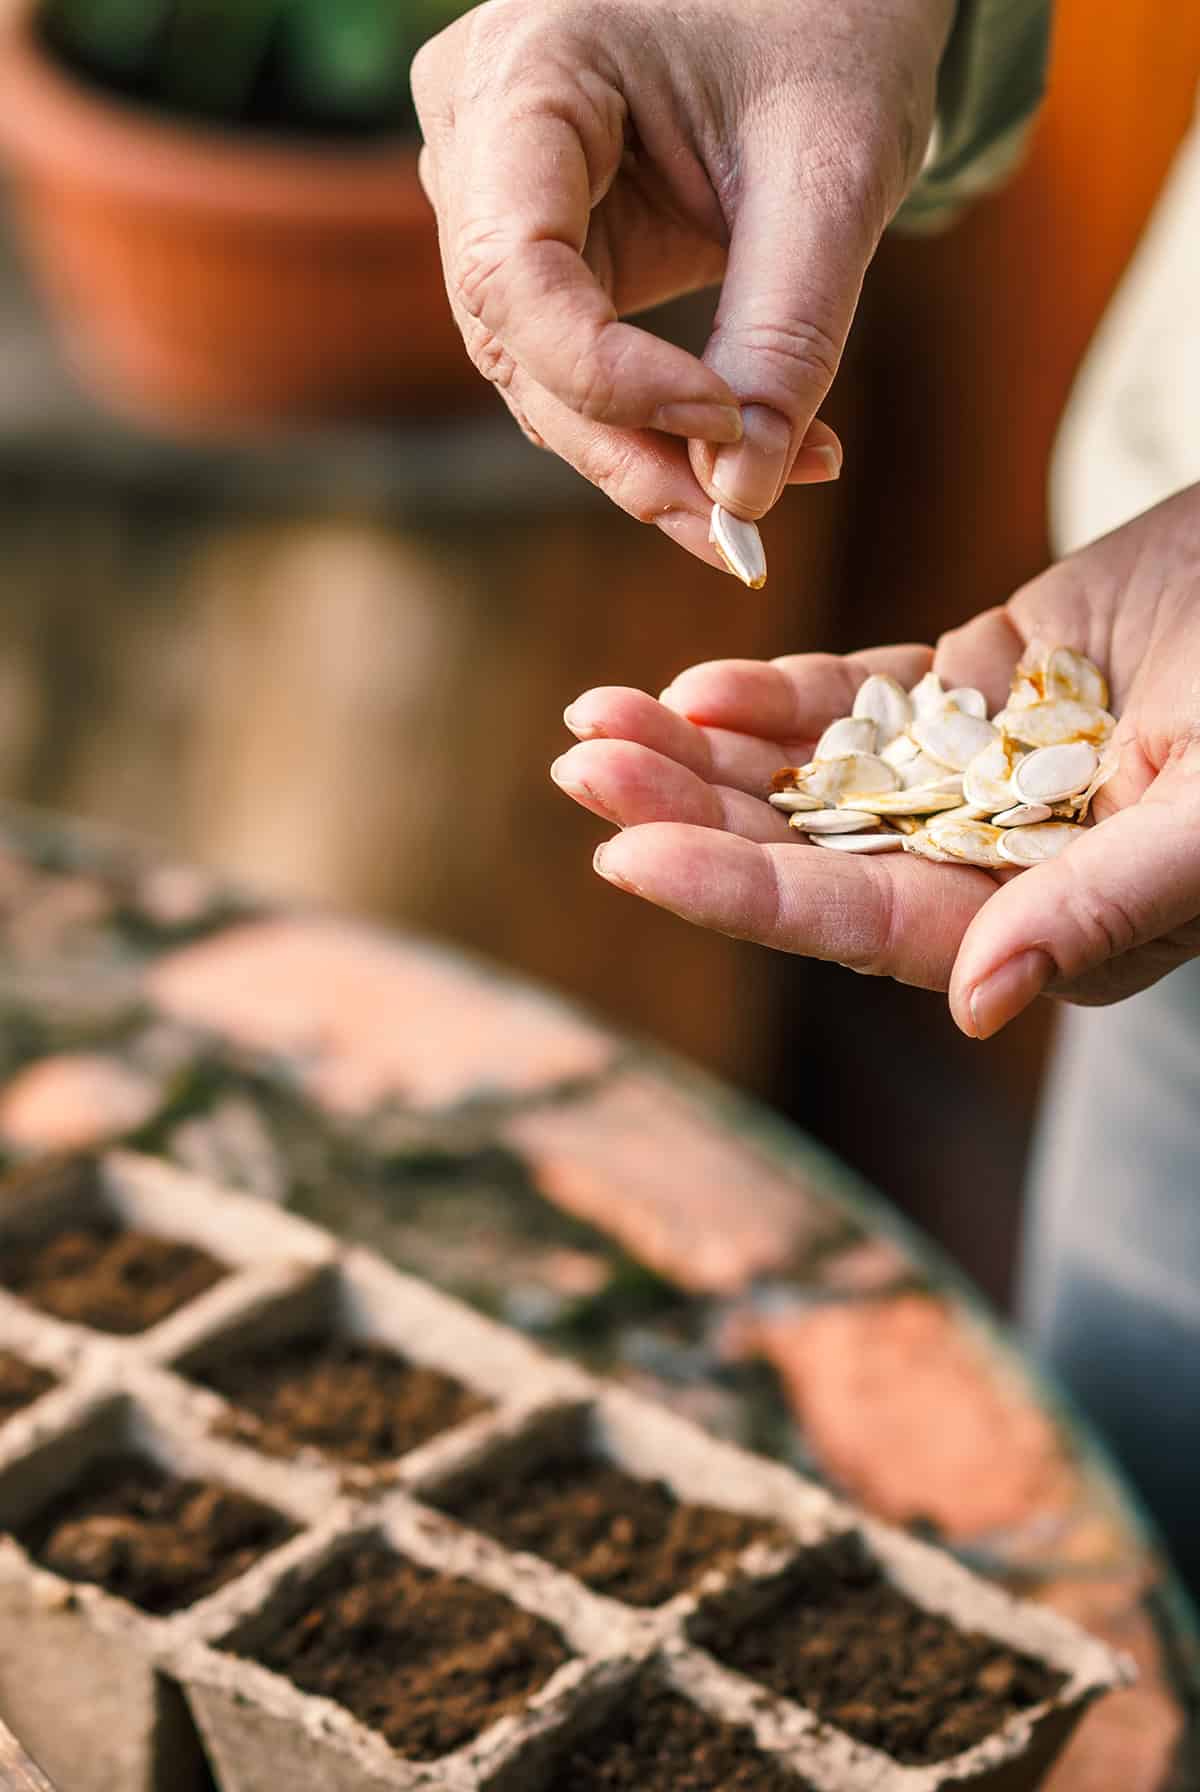
Planting Depth And Seed Spacing
Each pumpkin seed works best planted 1 inch deep in loose, well-drained soil. You should cover the seed lightly with soil, firming it gently. This allows for quick sprouting and protects seeds from pests.
Seeds should be spaced far apart. For vining types, leave 5 feet between hills and 8 to 12 feet between rows. For bush varieties, 2 to 3 feet between plants and 4 to 6 feet between rows works well. These distances help vines spread and prevent disease from overcrowding.
Always thin seedlings once they appear. Remove weak ones and keep the healthiest two or three per hill. Good spacing leads to healthy growth and strong root systems.
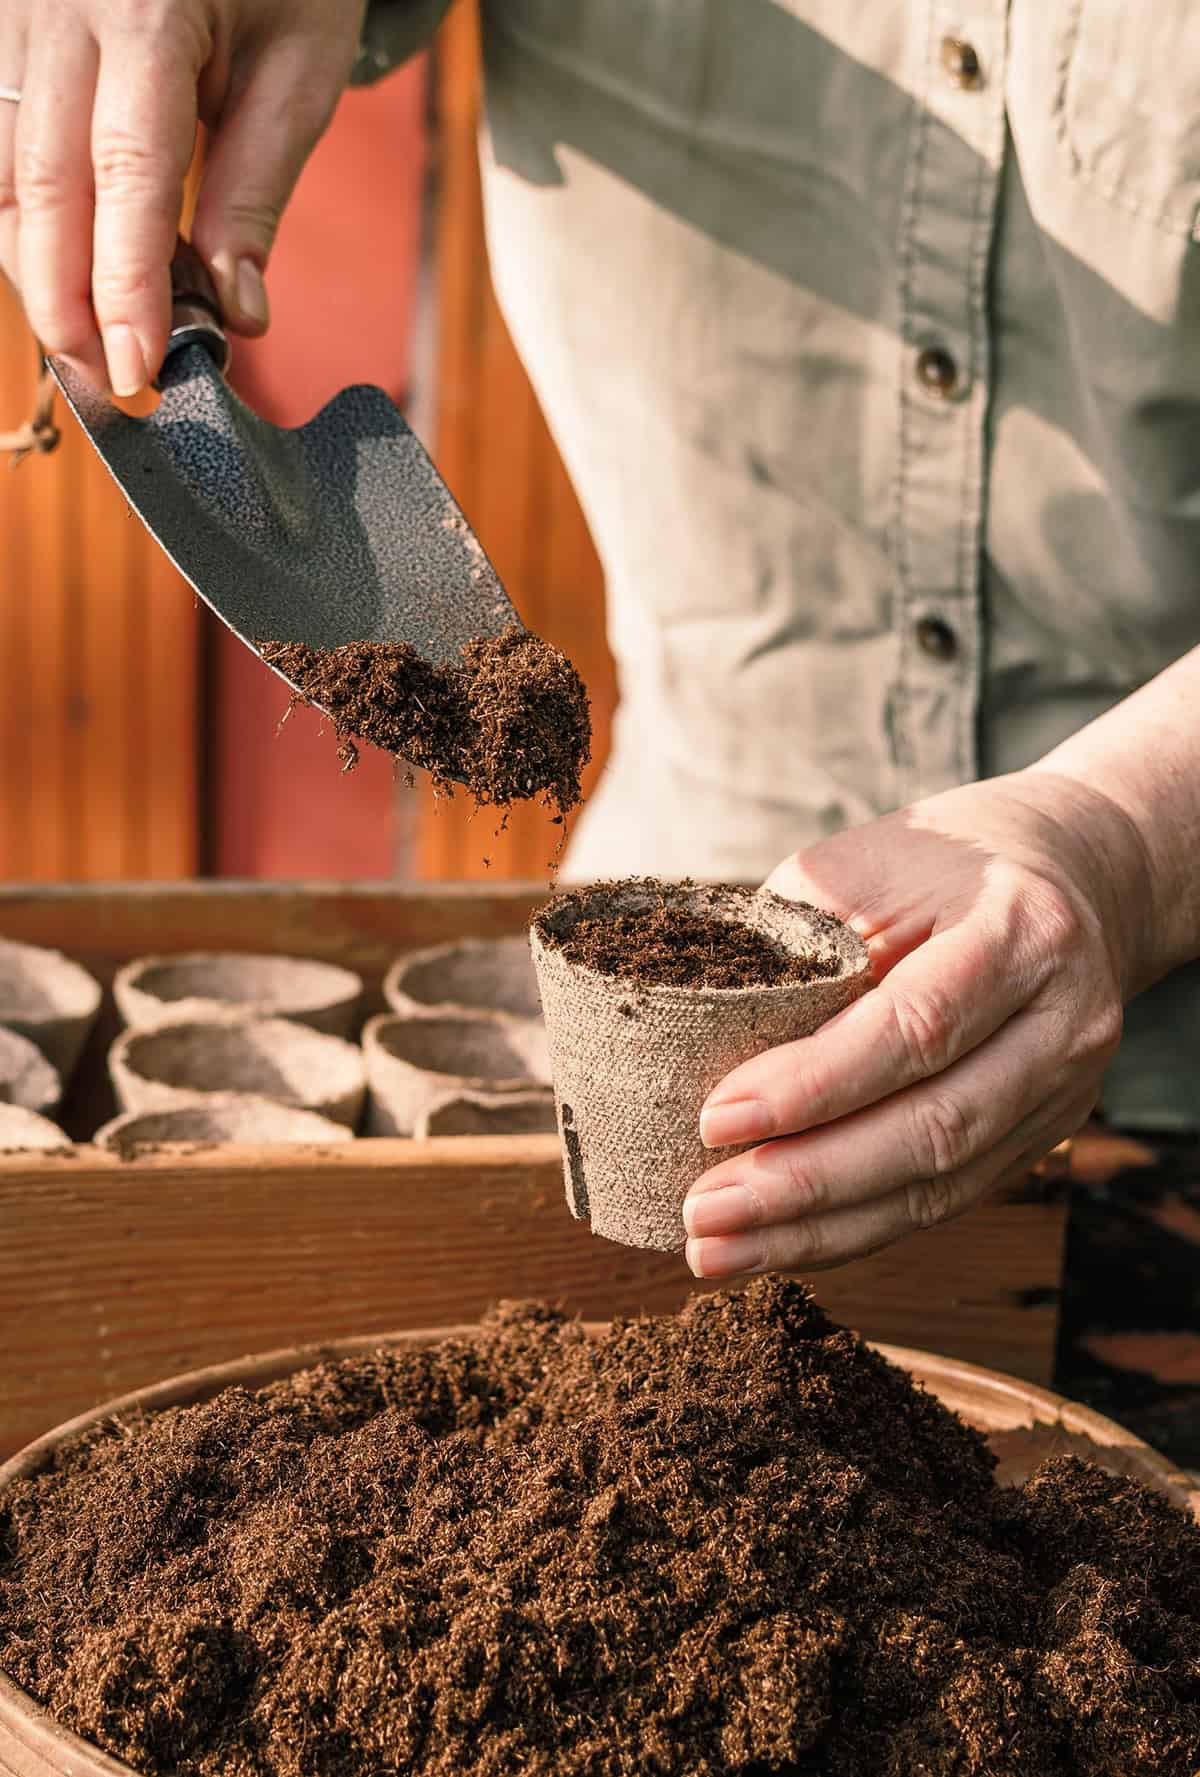
Direct Sowing Vs. Starting Indoors
You can plant pumpkin seeds directly in the ground. This method works well after all danger of frost has passed and soil is warm. Soil temperature should stay above 65°F for seeds to sprout reliably.
If you live in a cooler climate, start seeds indoors. Use peat pots or small containers about three weeks before the last frost. Transplant outdoors after seedlings develop two true leaves and temperatures stay warm.
Handle transplants carefully to avoid disturbing roots. Seedlings started indoors often grow faster, but direct sown plants adapt better to outdoor conditions. Choose the method that fits your growing season and climate.
Watering After Planting
Pumpkin seeds need moisture for even and quick germination. Water soil well after planting, making sure water reaches the seed level. Do not saturate the soil—too much water may rot the seeds.
Keep soil evenly moist but not soggy as seeds sprout. Dryness can delay or prevent germination, while overwatering leads to fungal problems. Mulching helps the soil retain moisture and reduces the need for frequent watering.
Monitor soil daily, especially in warm weather. Sprouting usually takes 1 to 2 weeks, depending on the soil temperature and variety. Consistent moisture during this period is key for strong, healthy seedlings.
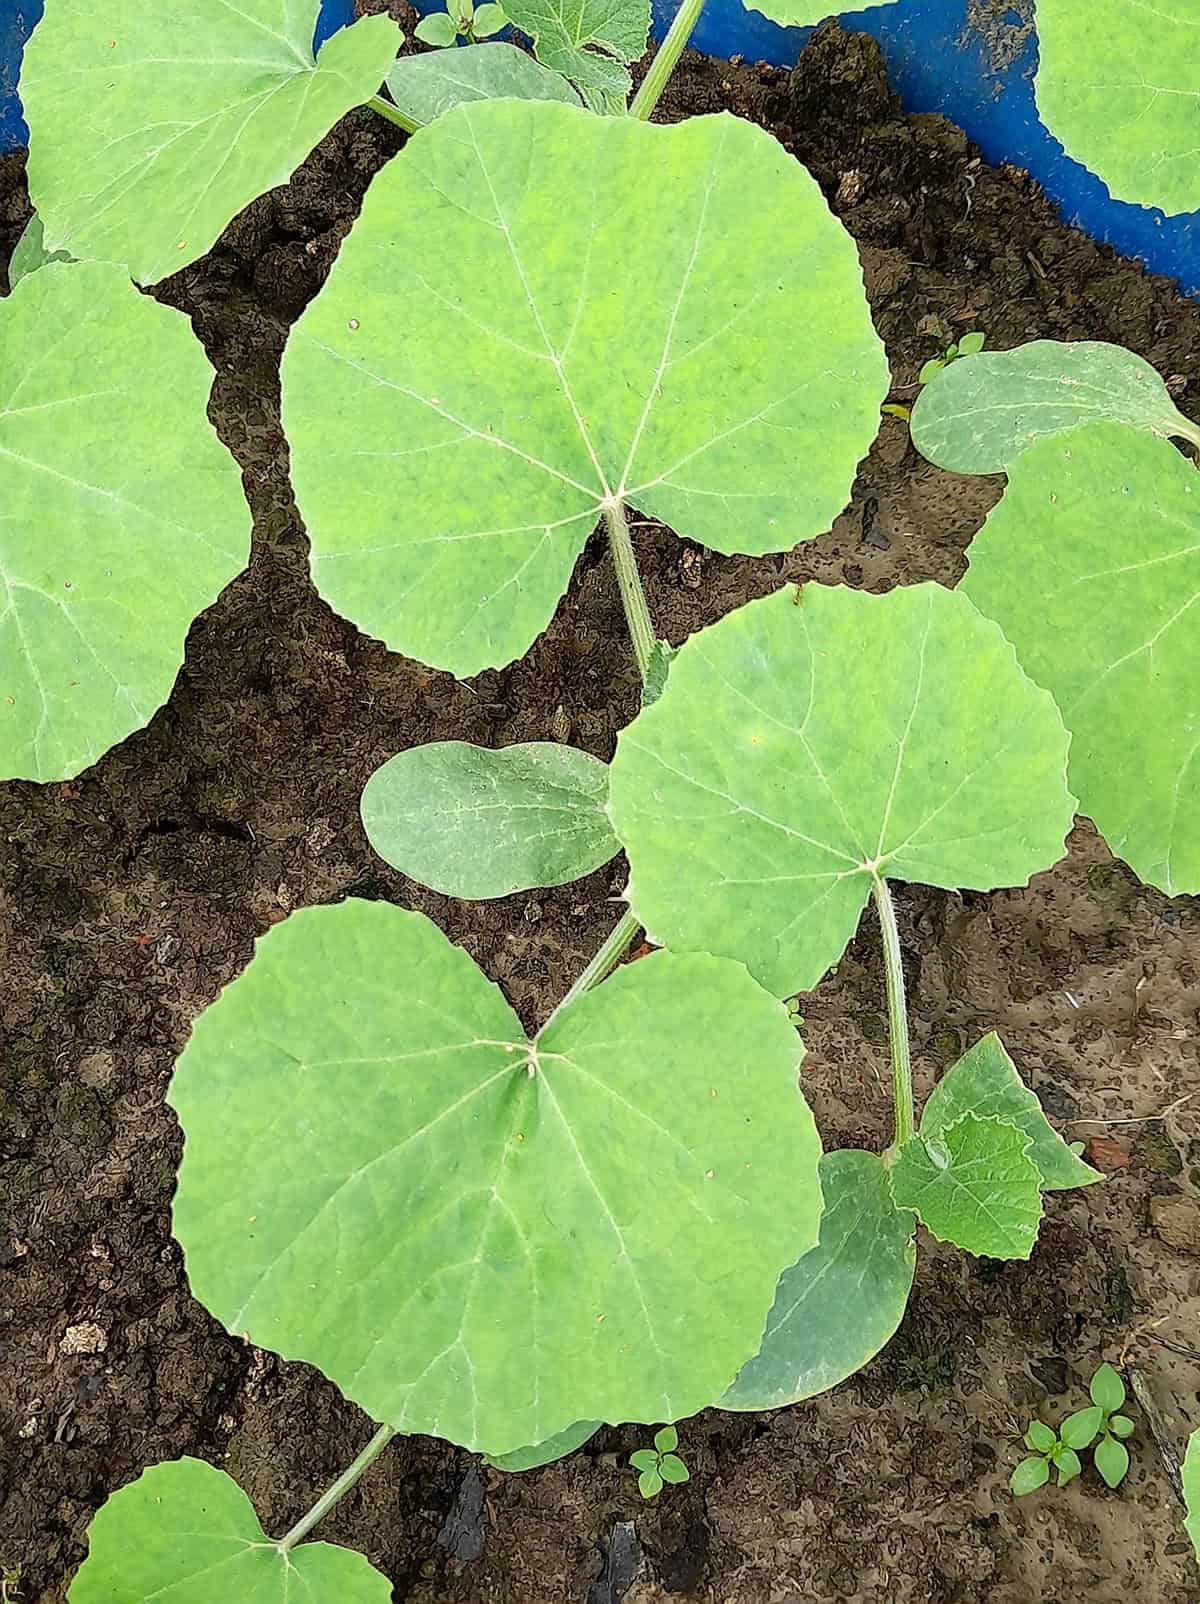
Caring For Pumpkin Plants
Healthy pumpkin growth depends on consistent moisture, timely feeding, and guiding vigorous vines. Each step plays a role in the size, health, and number of pumpkins you produce.
Watering Routine And Moisture Control
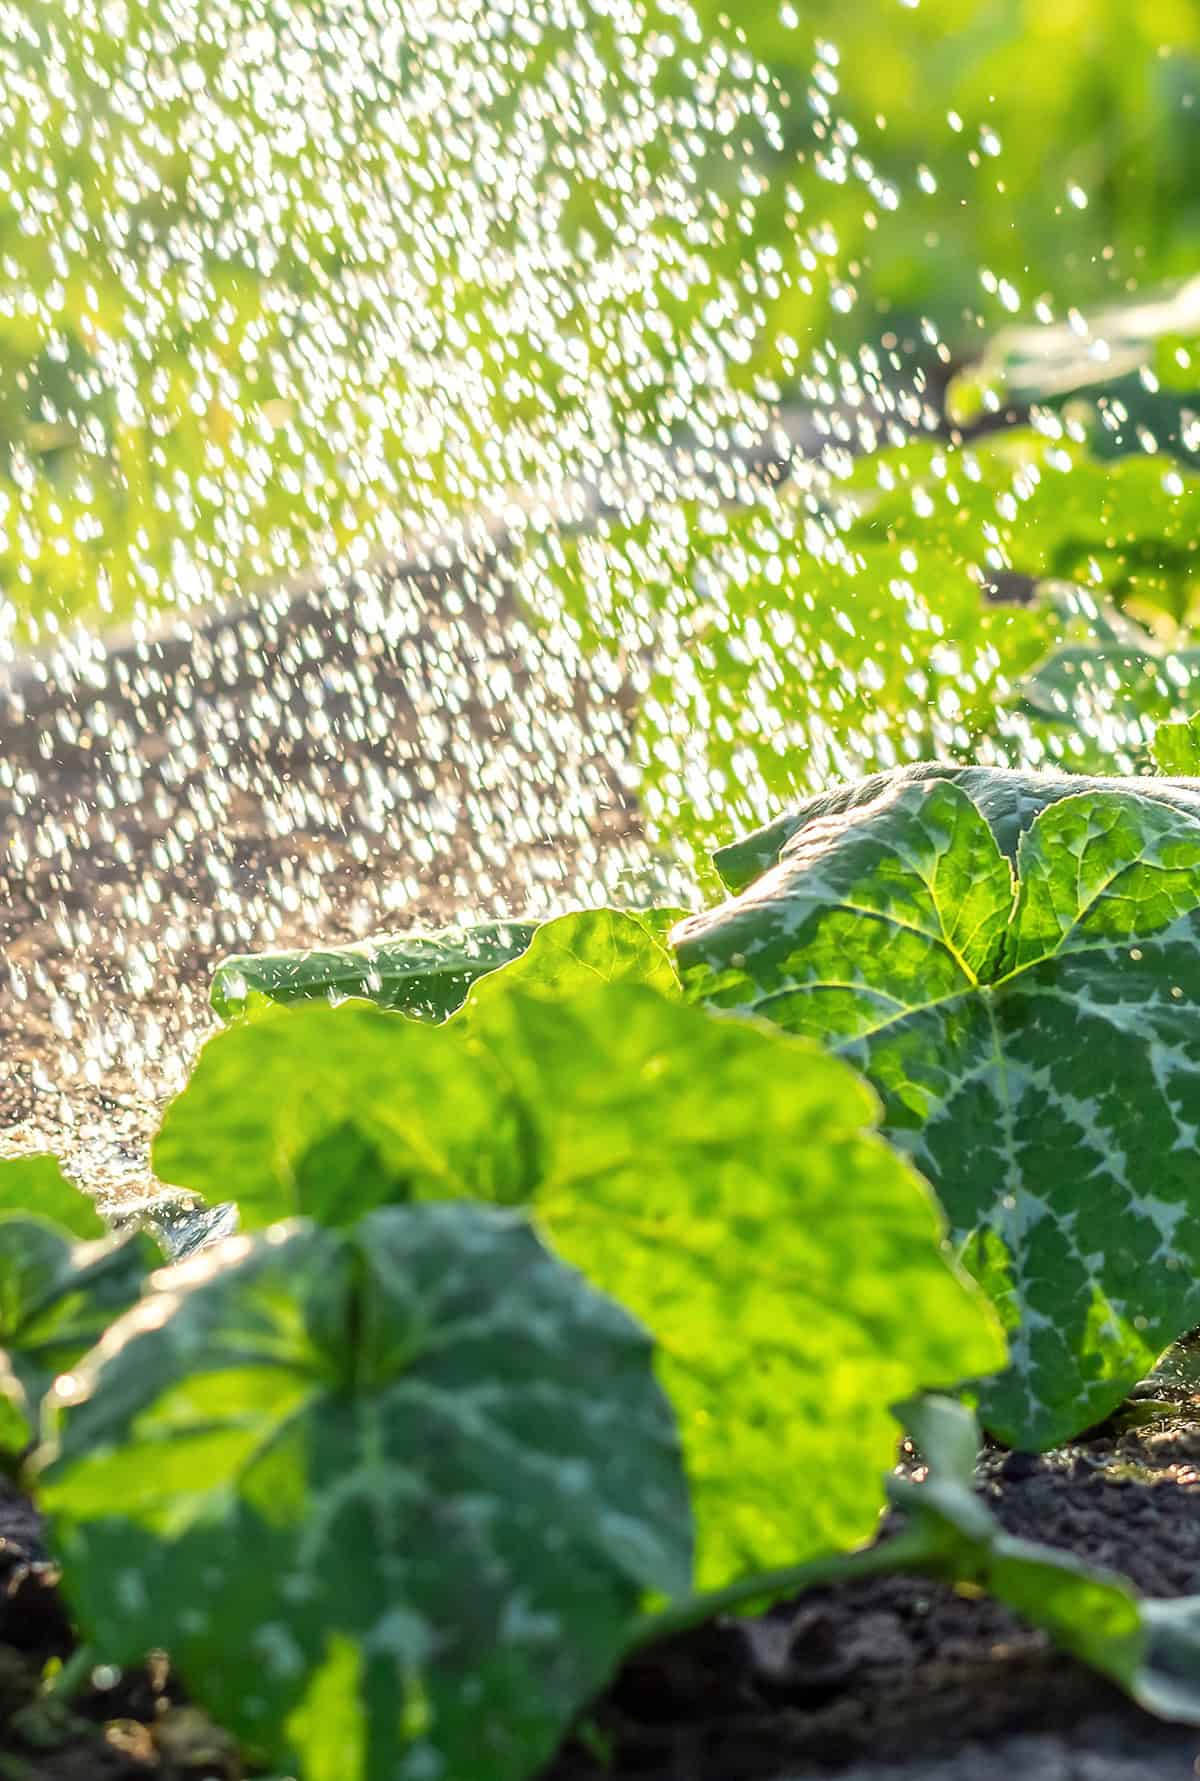
You need to keep the soil around your pumpkin plants evenly moist, not waterlogged or bone dry. Early in the growing season, water deeply once or twice a week so the roots grow deep. Aim for about one to two inches of water per week, including rainfall.
Try to water in the morning. This helps the leaves dry by midday, which lowers the risk of mildew and disease. Avoid overhead watering. Use a hose or drip system at the soil level.
Weed growth competes for water with your plants. Remove weeds regularly to help the roots absorb enough moisture. Straw or mulch around the base retains water and keeps soil cool. Cut back watering as fruit matures to prevent splitting and rot.
Fertilizing During Growth
Pumpkins use a lot of nutrients to develop vines and fruit. Use a balanced fertilizer or compost when you plant. You should use a fertilizer with more nitrogen early but reduce nitrogen once vines begin to run.
Switch to a phosphorus and potassium-rich fertilizer after flowers appear. This will help boost flowering and fruit set. Apply fertilizer every two to three weeks, but do not overfeed.
Too much nitrogen causes green leafy vines but limits fruit size and yield. Watch the leaves for yellowing, which means nutrient shortage. If leaves yellow, use a small dose of balanced fertilizer or compost to correct the deficiency.
Training Vines And Providing Support
Pumpkin vines can spread over 10 feet. Guide vines gently to keep them from invading walkways or other garden beds. Shift them while they are young so you do not break them.
Training vines in a circle or S-shape keeps everything compact. Avoid stacking vines or letting them tangle, which increases disease risk. Use soft twine to move vines in the direction you want, but do not pull tight.
For large-fruited varieties, set a flat piece of cardboard or a board under each pumpkin as it forms. This prevents rot and supports heavy fruit. Check vines often and adjust their direction as needed to make picking and care easier.
Managing Pests And Diseases
Pumpkins often face threats from insects and diseases that can affect plant health and fruit quality. By understanding common problems and using preventive steps, you support stronger, healthier growth.
Common Problems To Watch For
Insects and diseases can impact nearly every pumpkin crop. Squash bugs, cucumber beetles, and vine borers feed on leaves and stems, slowing growth or causing wilt. You may also notice powdery mildew, which looks like white spots on leaves, or downy mildew, which causes yellow patches.
Leaf spots and wilts like fusarium wilt turn leaves yellow and stunt plants. Viruses may show as distorted leaves or mottled fruit. Weeds compete for nutrients, making your pumpkins weaker. Scout plants every week to catch early signs of problems and act quickly.
Rains or excess moisture create a higher risk for fungal diseases. Wet leaves and crowded vines help spores spread. Poor airflow also allows molds to settle in, especially late in the season.
Natural And Preventive Solutions
Selecting resistant pumpkin varieties makes a big difference in disease pressure. You can also use crop rotation, planting pumpkins away from last year’s cucurbit crops, to reduce soil-borne diseases. Ensuring good drainage and spacing vines improves airflow and limits fungus.
Remove infected leaves and weeds by hand to prevent pests and disease from spreading. Water plants early in the day so leaves dry before nightfall. Consider applying mulch to control weeds and keep vines off damp soil.
Some growers use neem oil or insecticidal soap for light pest infestations. Avoid using broad-spectrum insecticides unless necessary, since they harm pollinators. Clean tools and surfaces with diluted bleach to help prevent bacteria and viruses from lingering between seasons.
How And When To Harvest Pumpkins
Your pumpkins’ timing at harvest affects their flavor and storage. Recognizing readiness, using the right method, and curing them properly will keep them fresh throughout the season.
Signs Your Pumpkins Are Ready
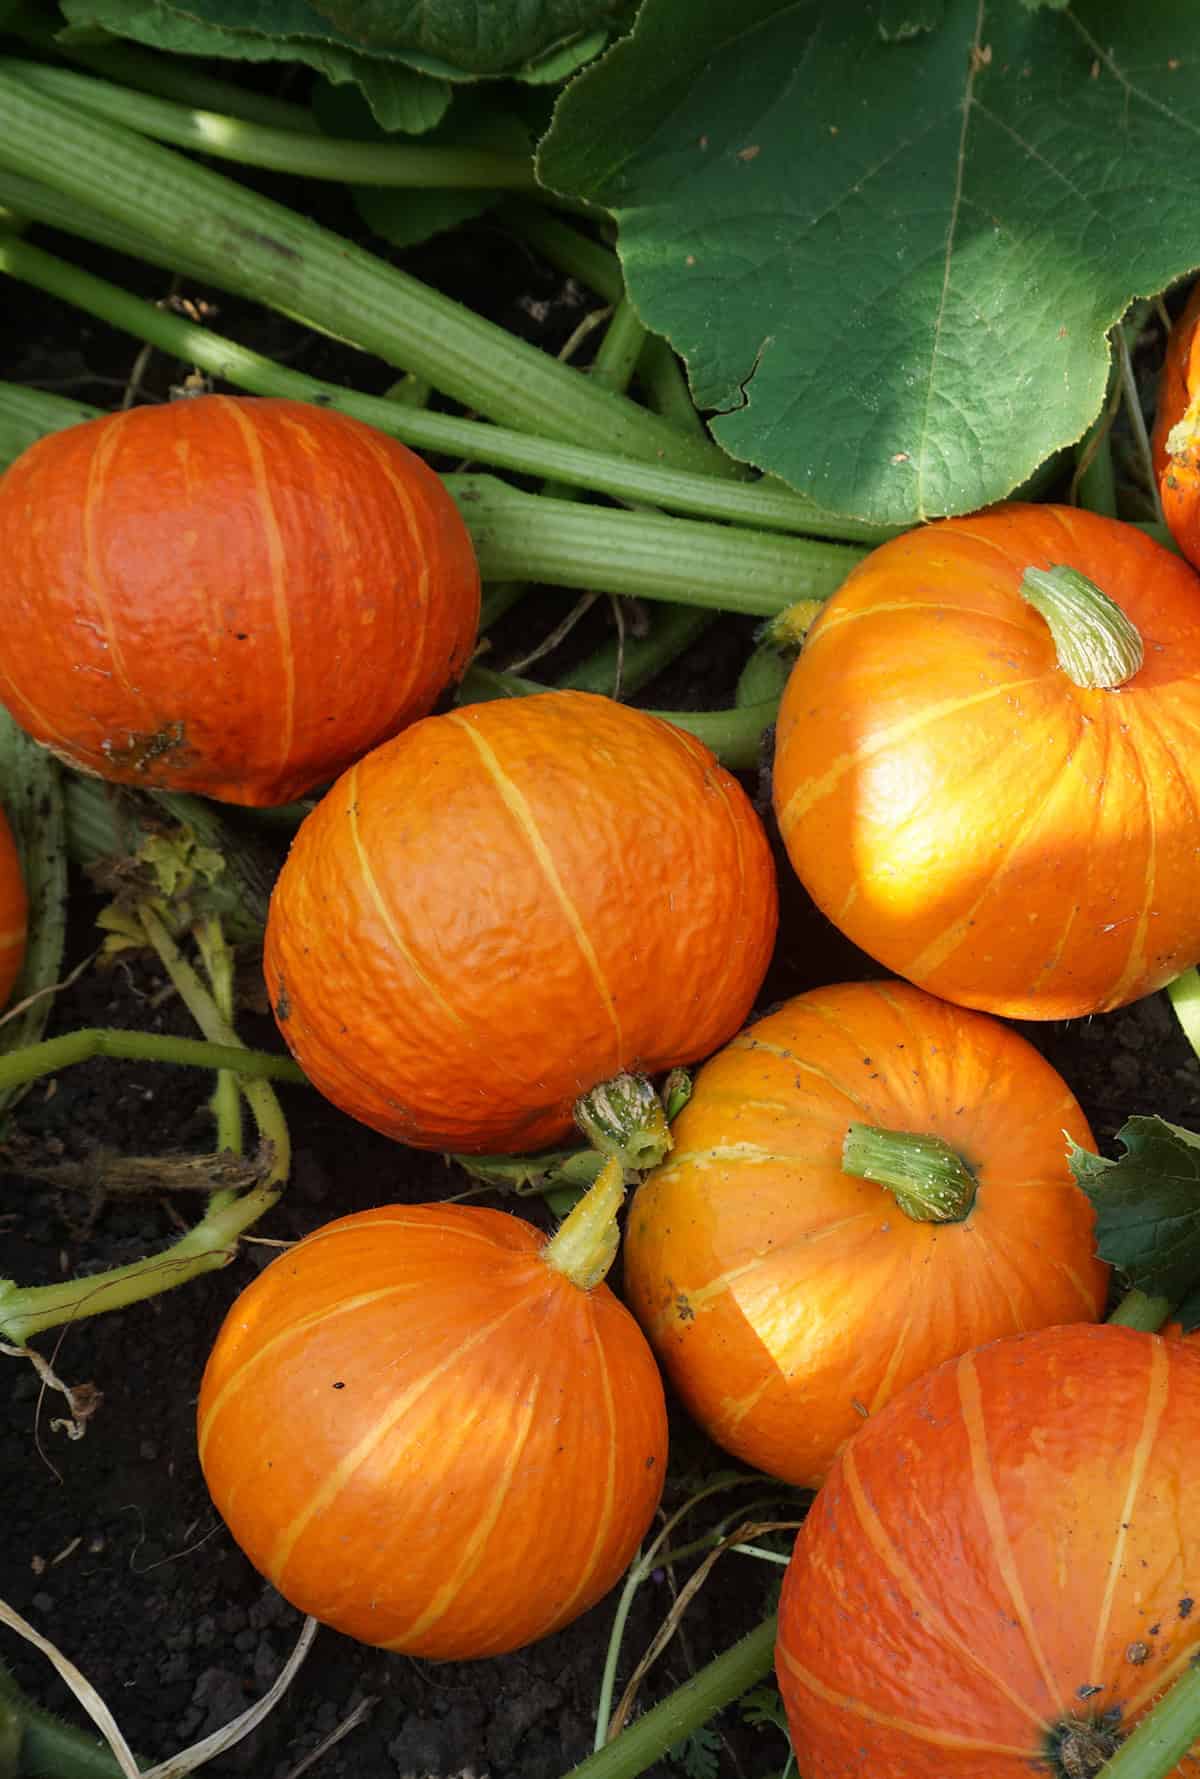
Pumpkins are ready once the rind hardens and turns a deep, solid color typical of the variety. Lightly press your thumbnail to the skin. If you cannot pierce it, the pumpkin has matured.
The vine often begins to die back as the fruit ripens. A dull surface and a dry, slightly brown stem are other signs to watch for. If you intend to eat or store the fruit, waiting until just before the first frost may improve their sweetness and shelf life.
Pumpkins that have not fully ripened may not store well and could decay quickly. Harvesting too soon can also lead to bland flavor. Carefully watch both the pumpkin and vine for these signals.
Proper Harvesting Techniques
Use clean, sharp pruners or a knife to cut pumpkins from the vine. Leave a two to four inch stem attached to each fruit. This helps prevent disease from entering through the stem end.
Avoid lifting pumpkins by the stem. The weight can break the stem or damage the fruit. Always grasp the base of the pumpkin when carrying.
Check the weather before harvesting. If heavy frost threatens, pick the fruit before it hits, as frost can shorten storage time and damage the skin. Handle each pumpkin with care to avoid bruising or cuts, which invite rot.
Set harvested pumpkins on dry ground or cardboard while gathering more. Bring them indoors or to a shaded area soon after harvest to reduce exposure to sun and moisture.
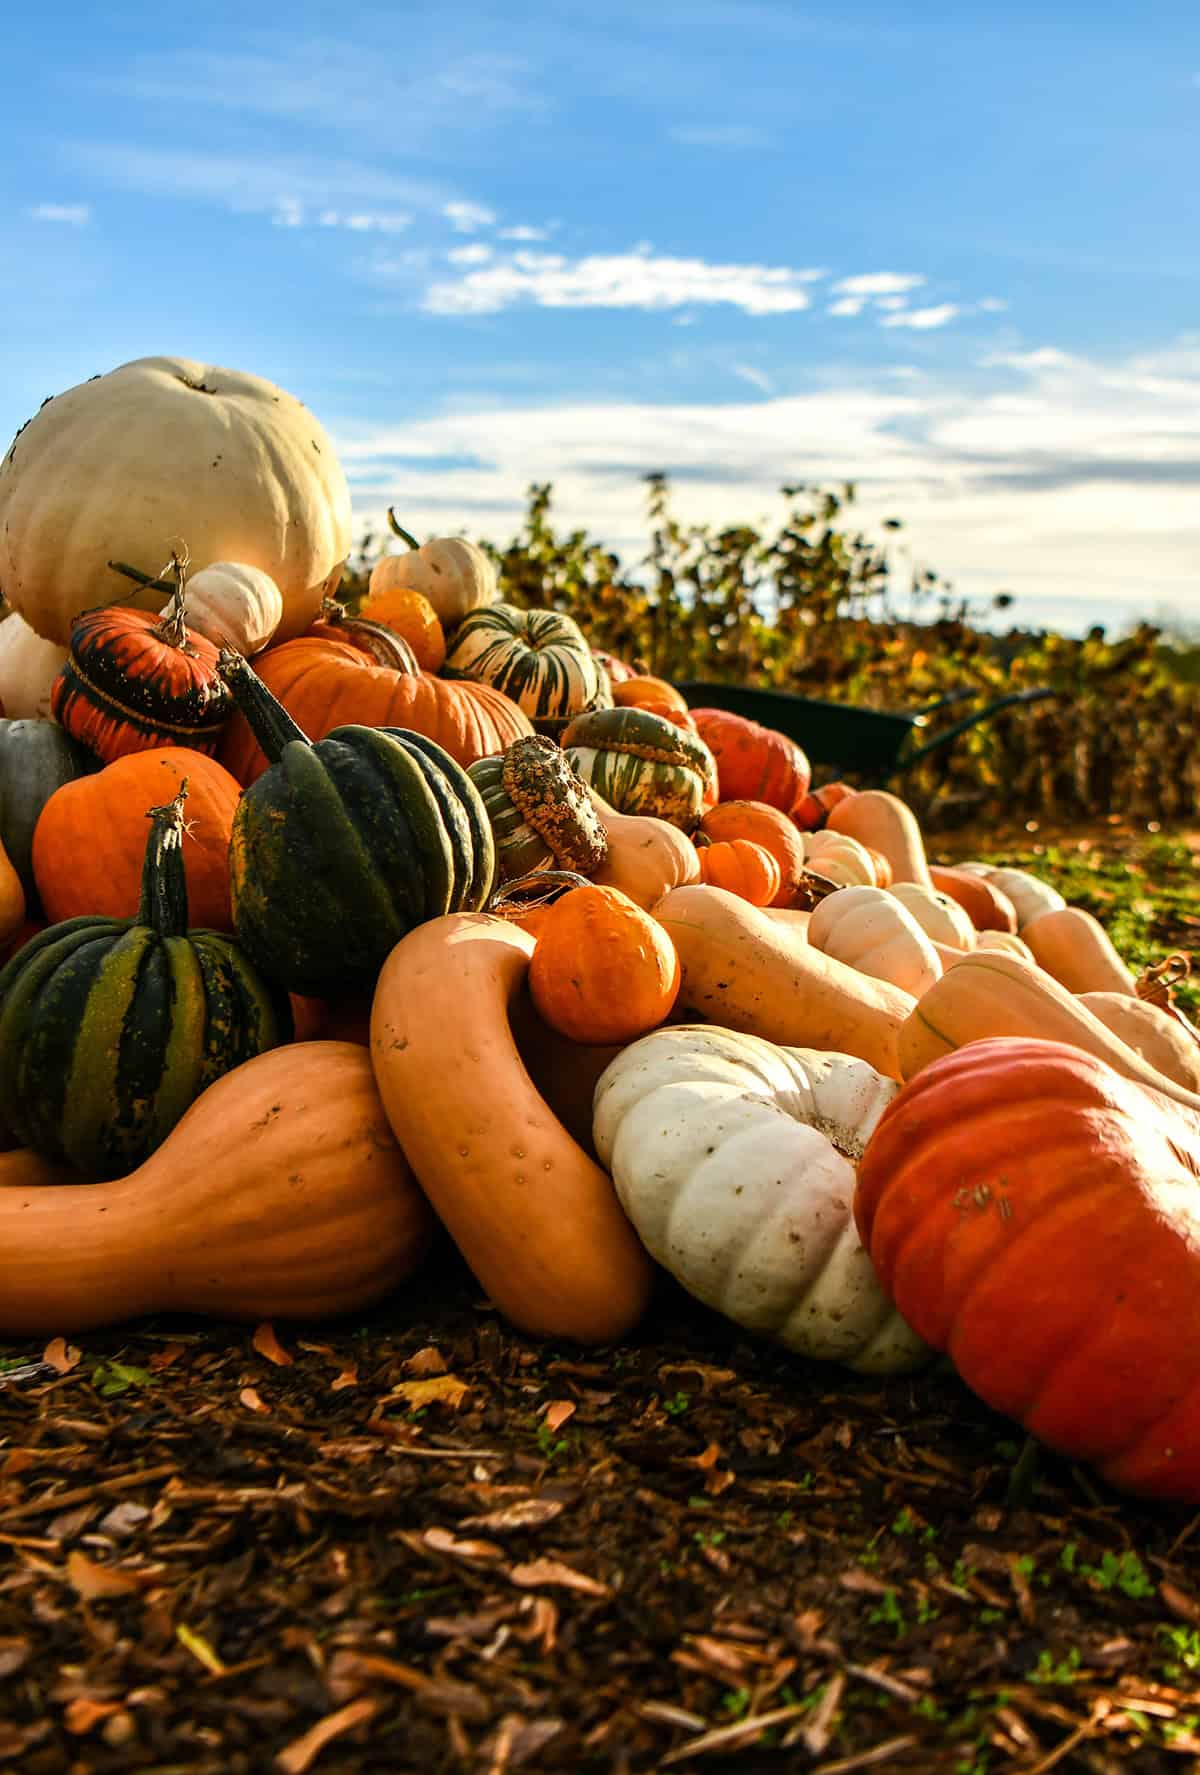
How To Cure Pumpkins For Storage
Place your pumpkins in a warm, dry place with plenty of air movement. The ideal temperature is about 80-85°F. Humidity should stay around 80 percent.
Curing lasts 10-14 days. During this time, the rinds harden further and small wounds heal. This step lengthens shelf life and reduces the chance of rot later.
After curing, move pumpkins to a storage spot about 50-55°F. Shelves or crates work well, as long as the fruit has good air circulation and rests in a single layer.
Check stored pumpkins weekly for soft spots or mold. Remove any showing signs of spoilage promptly to protect the rest. Properly cured and stored, pumpkins last several months before use.