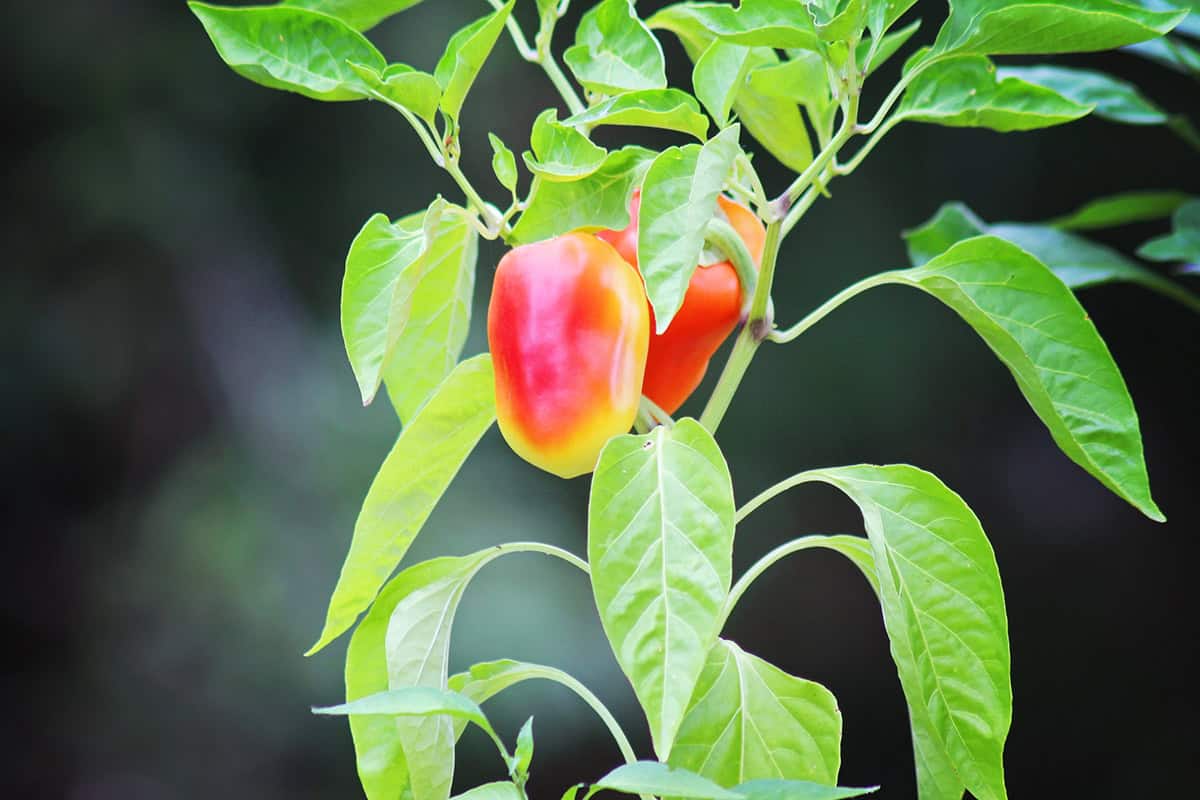
If you’re after fresh bell peppers but don’t have a garden—or the weather’s just not on your side—indoor growing is a real option. It’s less about luck, more about nailing the setup and sticking to a routine. Space, light, and timing all play a bigger role than you might think.
With strong light, warmth, good pots, and a bit of hand-pollinating, bell peppers can thrive inside. Here’s how to pick the right varieties, set up your space, and dodge the usual pitfalls. Plus, you’ll get a sense of when seeds make sense versus grabbing young plants.
It’s all about manageable steps. You’re the one in control of light, water, and nutrients, so you can keep your peppers growing and fruiting for a long stretch—if you keep up the routine.
Table of Contents
- Quick Start: What You Need To Grow Bell Peppers Indoors
- Choosing The Right Pepper Variety For Indoors
- Setting Up Your Indoor Growing Space
- Light Requirements (The #1 Success Factor)
- Containers And Pot Size
- Soil And Fertilizer Basics
- Starting From Seed Indoors
- Buying Seedlings Instead (Faster Option)
- Transplanting And “Potting Up” Without Stress
- Watering Bell Peppers Indoors
- Pruning, Staking, And Training
- Pollination Indoors (How To Get Fruit)
- Managing Pests Indoors
- Preventing Common Indoor Problems
- Harvesting Bell Peppers Indoors
- Indoor Bell Pepper Care Schedule (Simple Routine)
Quick Start: What You Need To Grow Bell Peppers Indoors
Peppers indoors need steady light, warmth, and enough root room to actually make fruit. Be ready for a slower pace than outdoor plants—patience is non-negotiable.
Time, Space, And Realistic Expectations
Plan for a long haul. From seed to your first ripe pepper, expect somewhere between 90 and 120 days. Any dip in light or temperature, even for just a day or two, drags things out.
Don’t crowd them. Each plant deserves a pot at least 10–12 inches across and deep, plus some breathing room for air movement. Too close, and you’ll get fewer flowers and smaller peppers.
Heat’s a daily thing. Day temps should hover around 70–85°F, and don’t let it drop below 60°F at night. They want strong light for 12–14 hours, or they’ll get leggy and stingy with fruit.
Yields aren’t huge indoors. Think a handful of full-size peppers per plant, not a bumper crop. Consistency trumps speed here.
Indoor Pepper Checklist (Gear + Supplies)
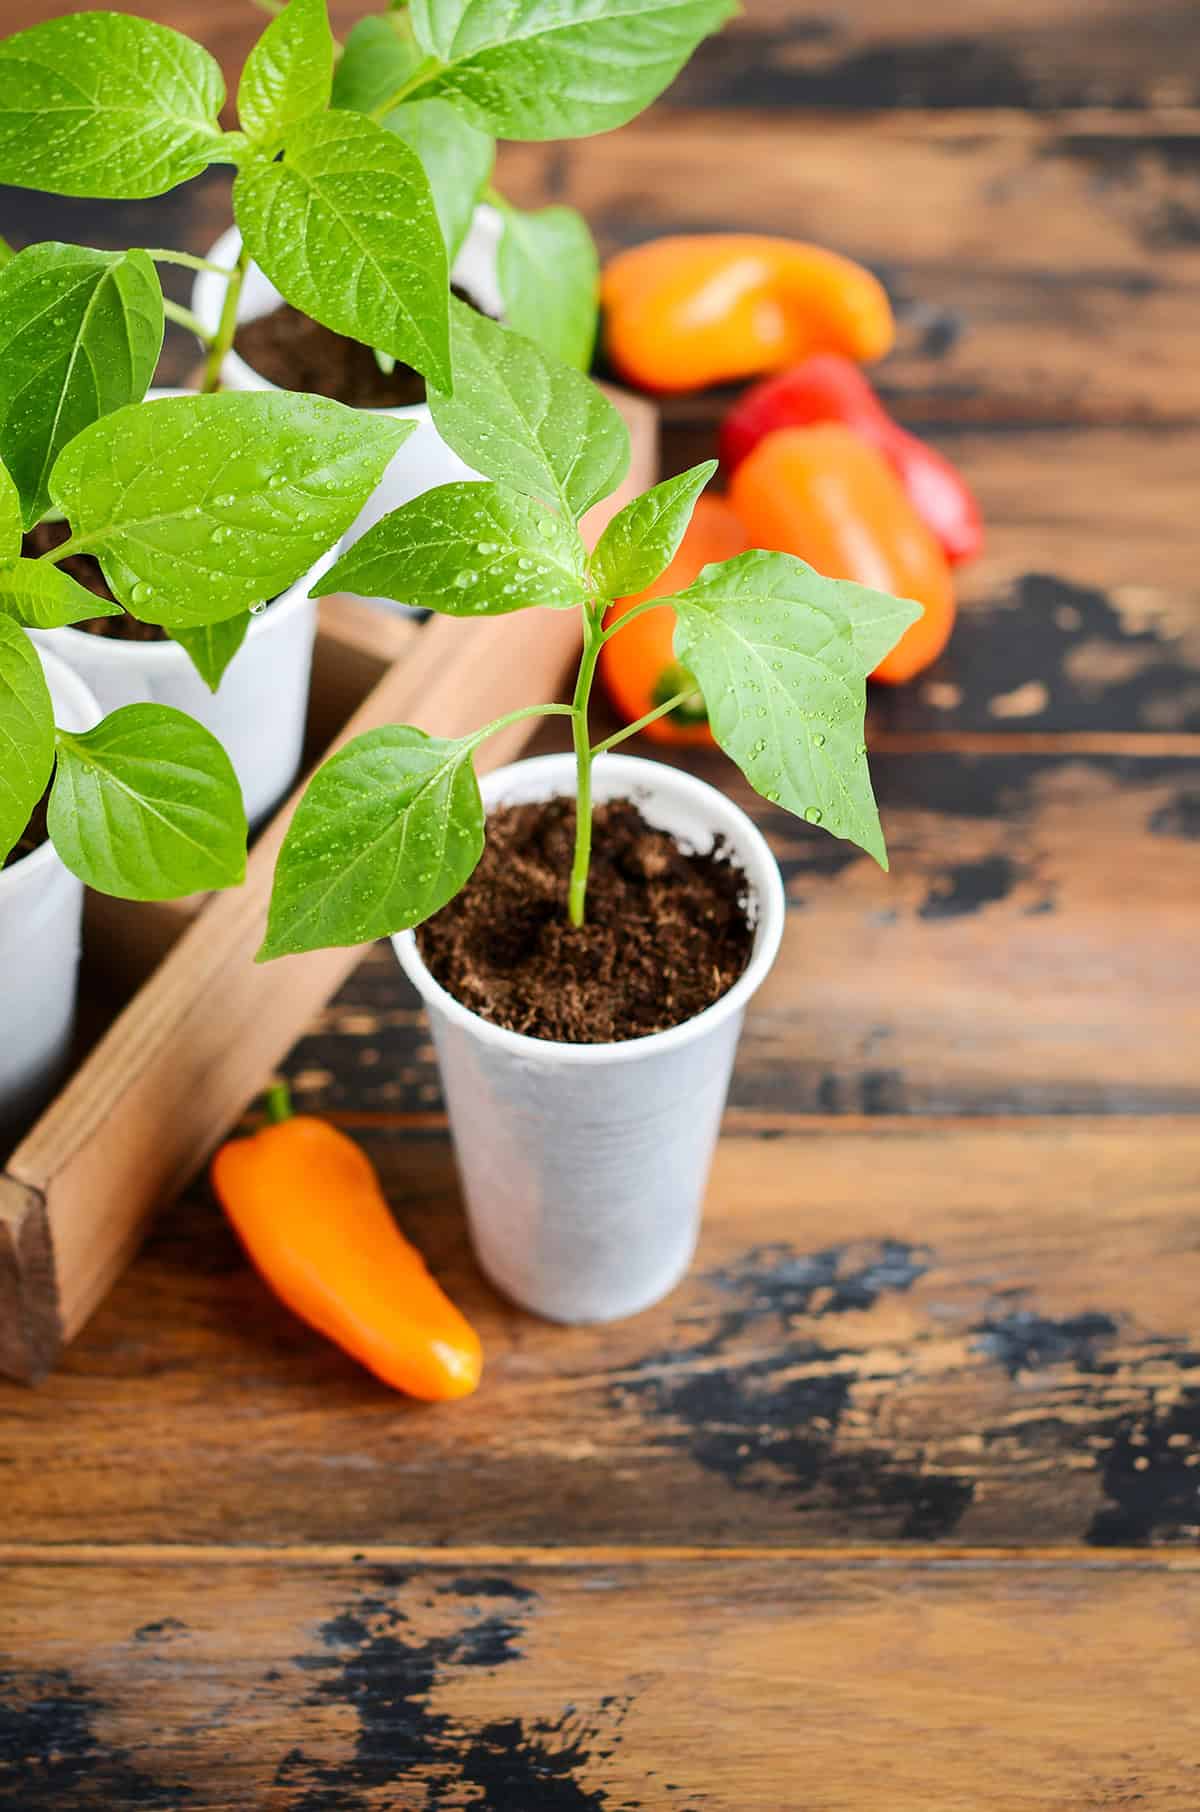
Start with seeds or compact nursery plants made for pots. If you’re doing seeds, start them about eight weeks before you want them going, even if you’re growing year-round.
Use a deep pot with drainage holes and a saucer. Go for a loose, quick-draining potting mix—garden dirt just stresses roots inside.
Full-spectrum grow lights close to the leaves are better than any window, and a timer helps keep things regular.
Warm roots are key. Heat mats help early on, and keeping the room warm keeps things moving. Hand-pollinate by gently shaking the plant to help fruit set.
Choosing The Right Pepper Variety For Indoors
Matching your plant to the indoor environment makes a real difference. Compact, early types with clear info on the seed packet are worth hunting down.
Best Compact Bell Pepper Varieties For Containers
Smaller bell pepper types are just better suited to life in a pot. Look for plants that stay under two feet and don’t need blazing sun. Mini Bell and Lunchbox types are solid picks—good flavor, short stems, and they don’t mind container living.
Early varieties like Gypsy bell peppers also help—they mature faster, which is a plus when you’re battling low light or short days. Classic types like California Wonder just get too big and needy for most indoor setups.
Seed packets labeled for patio or container use are your friend. They’re bred to stay upright and manageable, so you won’t be fighting a jungle in your living room.
What To Look For On Seed Packets (Days To Maturity, Size)
Read those packets closely. Days to maturity is a big one—55 to 75 days after transplant is ideal. Shorter is better for indoor growers.
Check plant height. Anything listed at 12 to 24 inches is manageable under lights or near a window. Wide, sprawling plants just hog space and block airflow.
Smaller fruit sizes are easier on indoor roots and light. Look for notes about container growth or compact habits. The more you know upfront, the fewer surprises later.
Setting Up Your Indoor Growing Space
Peppers only do well inside if you keep light, temp, airflow, and moisture in a tight range. The decisions you make now really shape how things go later.
Best Spots In The House (Windows, Corners, Spare Rooms)
Light is king. South or southwest windows that get at least six hours of direct sun are best. East-facing works, but you’ll probably get less fruit.
Corners are usually a bust unless you put a full-spectrum grow light there. Keep the light 12 to 18 inches above the plant and use a timer. A spare room is handy for controlling light and temp without family traffic messing things up.
Stay away from drafty spots or anywhere near exterior doors. Cold air just sets peppers back.
Temperature And Airflow Basics
Peppers like steady warmth. Daytime between 70°F and 85°F, nights above 60°F. Below 55°F, even inside, they’ll sulk.
Don’t put them near heating vents or radiators—hot blasts dry out leaves and flowers. Ceiling fans can help, but don’t aim them right at the plants.
Gentle air movement is what you want. It helps keep disease down and strengthens stems without stressing the plants out.
Humidity Basics (And When It Matters)
Normal household humidity is usually fine, but extremes cause issues. Aim for 40% to 60% for happy leaves and decent pollen. Too dry, and you’ll see flowers drop or leaves curl.
Humidity’s most important once flowers show up. Too dry and fruit set drops, even if everything else is perfect. Over 70% humidity, and you’re asking for disease.
If the air’s bone dry, try a shallow tray of water nearby or group plants together. Just don’t let water sit on the leaves—disease loves wet foliage inside.
Light Requirements (The #1 Success Factor)
Light makes or breaks indoor peppers. It’s not just about how much, but how steady and close you keep it. Fertilizer and pot size can’t make up for weak lighting.
How Many Hours Of Light Peppers Need
They want 14 to 16 hours of bright light daily. Less, and they’ll drag their feet or get leggy. Under 12 hours, you’re pretty much guaranteed slow, floppy growth.
Keep the light schedule locked in. Peppers hate surprises—random changes or missed days just mess with flowering.
Early on, they’ll take the higher end of that range. Once they’re flowering, just keep things steady so they don’t drop blossoms or fruit.
Window Light Vs. Grow Lights (What Actually Works)
Even good south windows usually aren’t enough. Glass cuts intensity, and winter sun angles don’t help. Bright rooms alone don’t cut it—expect slow growth and pale leaves.
Grow lights fix this. You’re in charge of how long and how bright, so you get compact plants and regular flowers. This is especially true if you’re in an apartment or it’s winter.
A window’s still useful if you combine it with a light. Natural sun adds spectrum, the fixture brings the muscle.
Simple Grow Light Setups (Budget To Better)
An LED shop light does the trick for a plant or two. Look for full-spectrum, at least 30 to 40 watts per plant. Keep it close to the leaves for best effect.
Mid-level grow lights cover more plants and need less fiddling with height. They’re good for small shelves or racks.
Top-tier fixtures spread strong light over a bigger area—nice if you’re serious, but not a must for most.
Light Distance And Schedule Mistakes To Avoid
Messing up light distance is a common fail. Too far, and plants stretch. Too close, and you’ll bleach the leaves.
Most LEDs work best 8 to 14 inches above the top leaves. Raise the lights as the plants grow. Try to keep the light right over the middle of the plant for even growth.
Forgetful schedules throw everything off. Skipped days or random late nights confuse the plants. Just use a timer and don’t overthink it.
Containers And Pot Size
Picking the right pot matters for roots, growth, and fruit. Size, material, and drainage all play their part in keeping things balanced.
Starting Pots Vs. Final Pots
Seeds and tiny seedlings start best in small pots—2–3 inches or so. That keeps water and warmth in check. Big pots early on just stay soggy and slow things down.
Once roots hit the edge and you see four to six leaves, move up a size. Don’t repot a bunch of times—just one jump to the final pot is usually enough.
Be gentle with roots and keep the stem at the same depth as before. Firm the soil a bit, but don’t pack it down hard.
Ideal Container Size For Bell Peppers
For mature plants, a 5-gallon pot is the sweet spot for one bell pepper. That’s enough space for roots and fruit, with a plant height of two to three feet.
Smaller pots dry out fast and limit fruit. Bigger pots aren’t really worth it—they just get heavy and stay wet. Aim for at least 12 inches deep and wide.
Plastic pots hold moisture longer, handy in dry air. Fabric pots dry out faster and need more attention. Ceramics are fine if drainage is good.
Drainage Rules (Holes, Saucers, Risers)
Water needs to get out fast. Use pots with several holes across the base—not just one in the middle.
Put a saucer underneath to save your floor, but empty it after watering. Don’t let roots sit in water or you’ll get rot and locked-out nutrients.
Lift the pot a bit with a rack or risers. Air under the pot speeds up drainage and helps stop salts from building up at the bottom.
Soil And Fertilizer Basics
Healthy peppers indoors need soil that drains fast, steady nutrients, and careful feeding. The mix and what you add make all the difference for roots, flowers, and fruit.
Best Potting Mix For Peppers (What It Must Include)
Loose, well-drained potting mix with steady moisture is the goal. Roots need air—heavy, dense soils just slow peppers down and invite problems.
You want a mix that holds shape when squeezed but falls apart easily. Drainage material, organic matter, and stable structure are what count—not the brand. pH between 6.0 and 6.8 is best for nutrient uptake.
Skip garden soil or mixes that brag about moisture retention. Those stay wet way too long inside and suffocate roots.
How To Improve Store-Bought Potting Soil
Most bagged soils need a tweak. They can get compacted after watering, which chokes roots.
Mix in coarse perlite or pumice to open things up. That helps drainage and keeps roots happy. A little finished compost adds organic matter without making things heavy.
Peat-heavy mixes need help too—peat holds water but collapses over time. You want the texture to stay loose from start to finish.
Fertilizer Types: Balanced Vs. Bloom-Focused
Two types to know: Balanced fertilizers (equal N-P-K) for leaves and roots early on. Once flowers show, switch to bloom formulas (lower nitrogen, higher phosphorus and potassium, like 5-10-10) for fruit.
Don’t overdo nitrogen after flowering starts—it’ll just push leaves, not peppers. Indoor plants react fast to changes, so go easy on the adjustments.
Feeding Schedule From Seedling To Fruit
Once those first true leaves show up, you can start feeding. Go easy—a quarter-strength balanced fertilizer is plenty. Every 10 to 14 days works fine.
After transplanting into the final pot, bump things up to half strength. Stick with that until buds form. Staying regular matters more than dumping in extra.
When flowers open, switch to a bloom formula. Feed every couple weeks, water in between. After a big harvest, cut back a bit to keep salts from building up.
Starting From Seed Indoors
Bell peppers actually do pretty well starting from seed indoors, if you manage the basics. You’re in control of timing, warmth, and light. The first few weeks are surprisingly important—mess that up and you’ll get slow, floppy plants. Details here really do make a difference.
When To Start Seeds (Timing That Makes Sense Indoors)
Forget frost dates for indoor peppers. You can sow seeds whenever you want, as long as you’ve got decent light and warmth. Most will give you the first peppers in 100 to 120 days, more or less.
If you’re planning to move them outside, aim to start seeds about eight to ten weeks before your last frost. That’s the sweet spot—too early and you’ll have lanky, root-bound starts. Too late and they’ll lag behind.
For full-time indoor growing, match your sowing to how much light you’ve got. If you’re short on light, don’t start too many. If you’ve got strong lights, you can be more flexible with timing.
Germination Temperature And Seed-Start Method
Pepper seeds like it warm. Shoot for 70–80°F at the roots. Anything below 60°F and they’ll drag their feet; 55°F and you’re probably wasting your time.
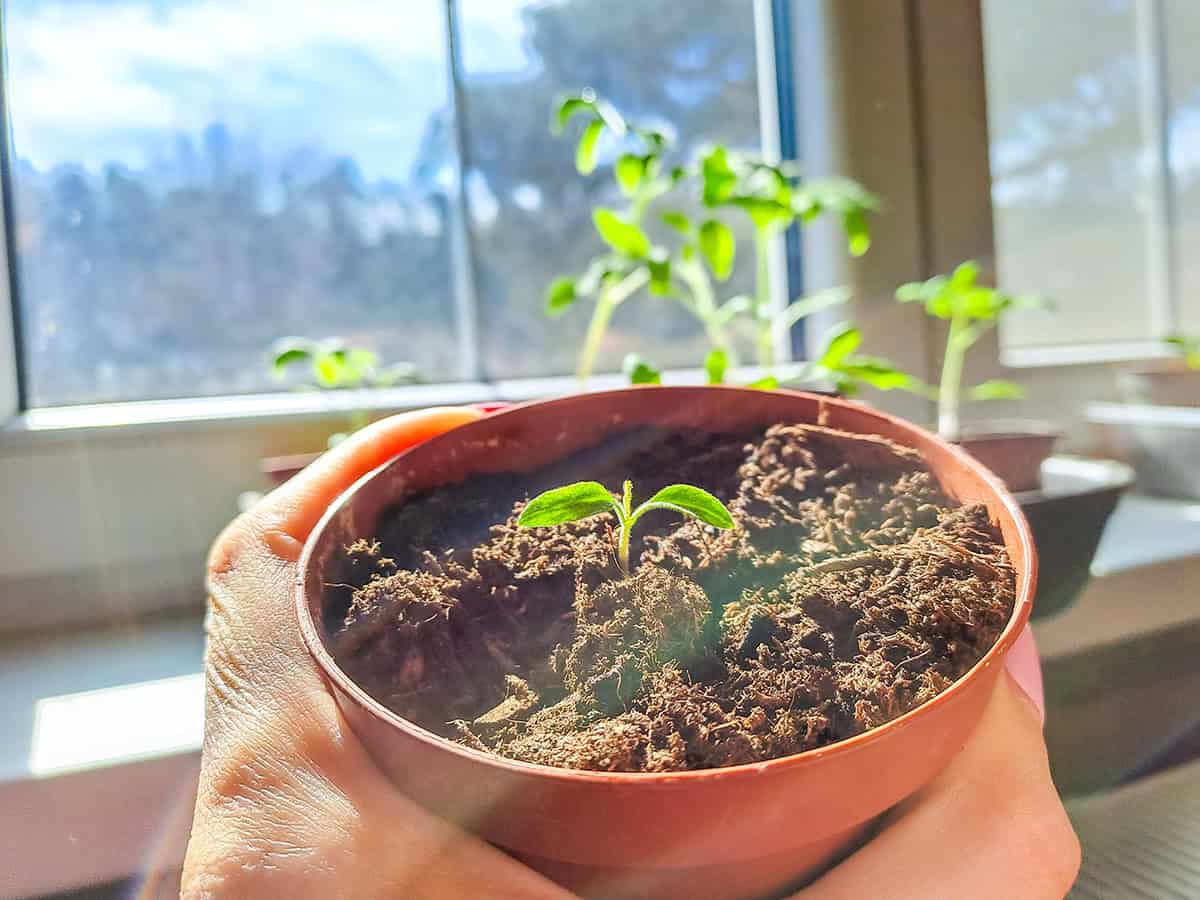
Use a fine, sterile seed-start mix—holds water but doesn’t pack down. Plant seeds about a quarter inch deep, press the top lightly. Cover the tray to keep things humid until you see sprouts.
Bottom heat helps a lot. A heat mat can cut sprout time down to a week or so. Once you see green, get the cover off so they don’t rot.
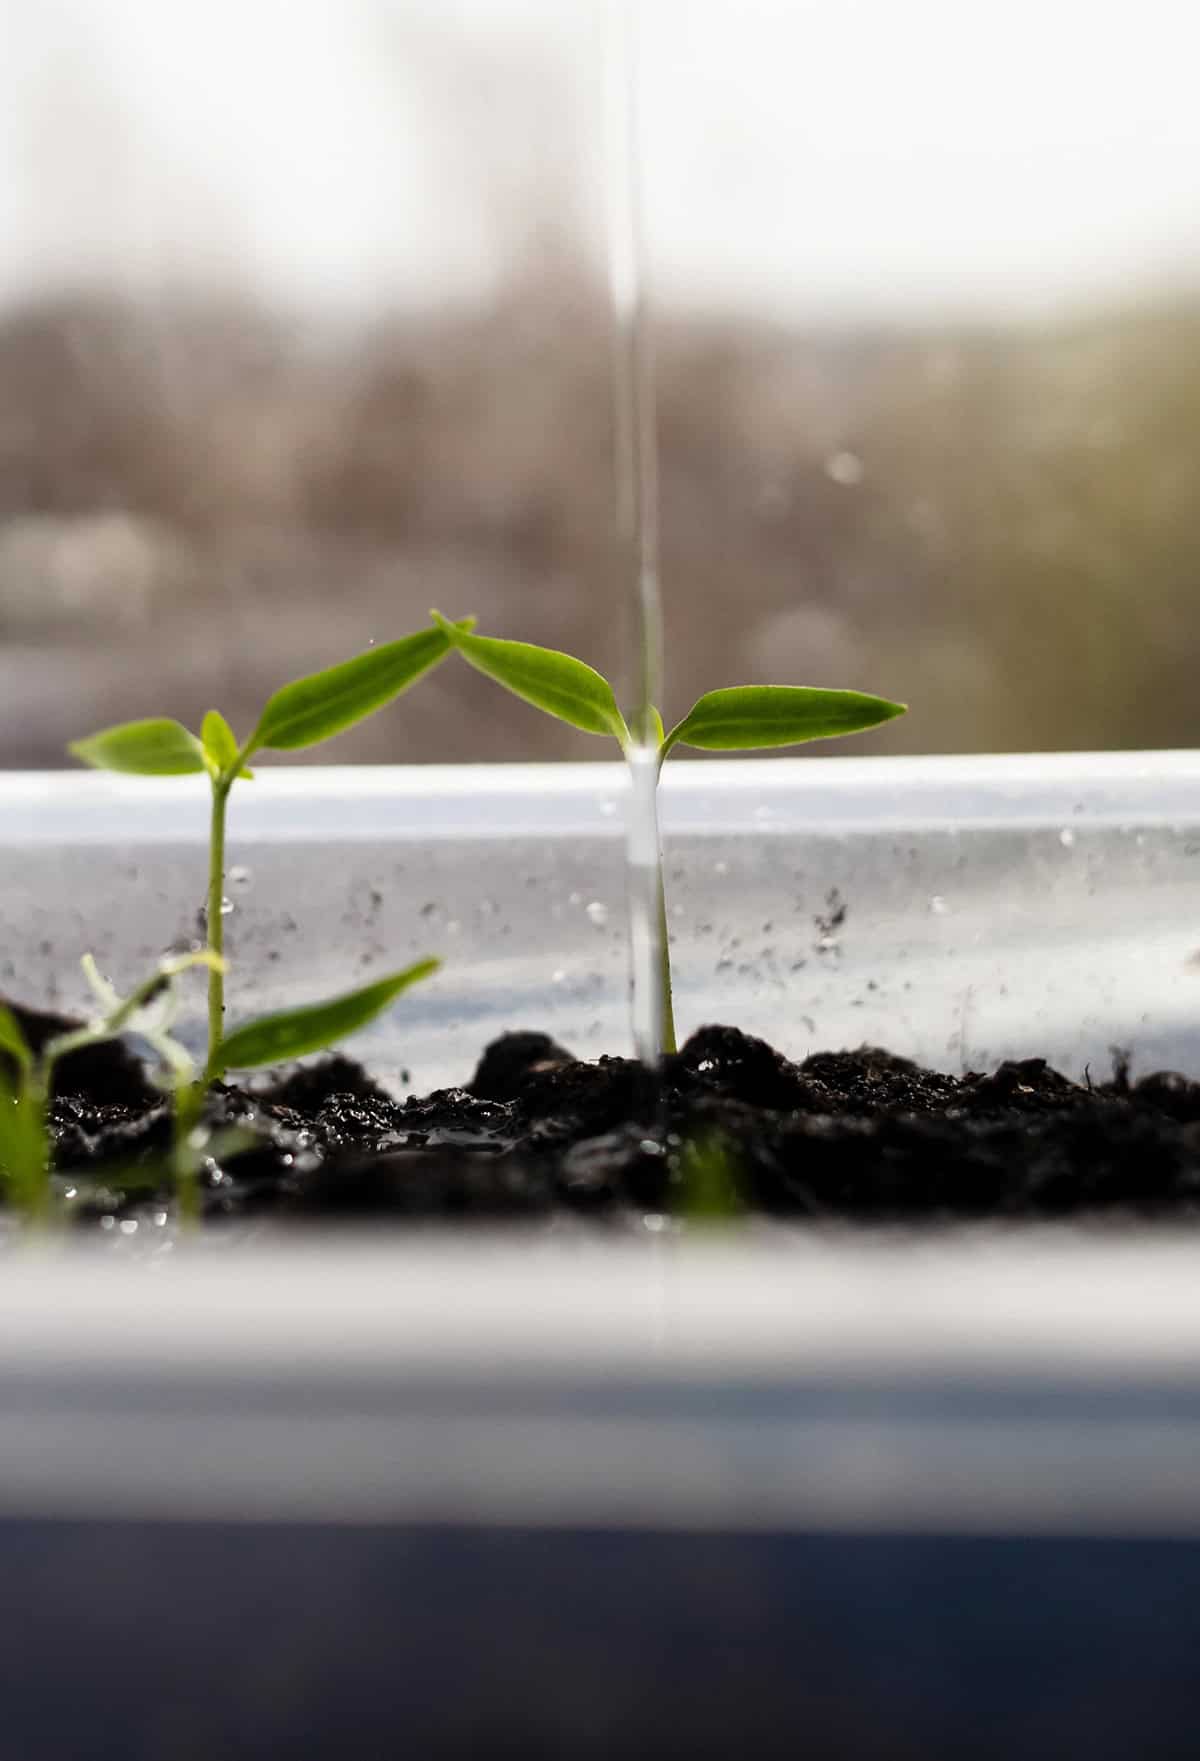
Seedling Care: Light, Watering, And Avoiding Legginess
After they pop up, light is everything. Fourteen to sixteen hours a day, keep the light two or three inches above the leaves.
Water so the soil is moist but not soggy. Let the top dry out just a bit before watering again—roots need some air too.
If your seedlings are getting tall and floppy, you probably need more light or a slightly cooler room—70°F during the day is good. A small fan helps them bulk up, too.
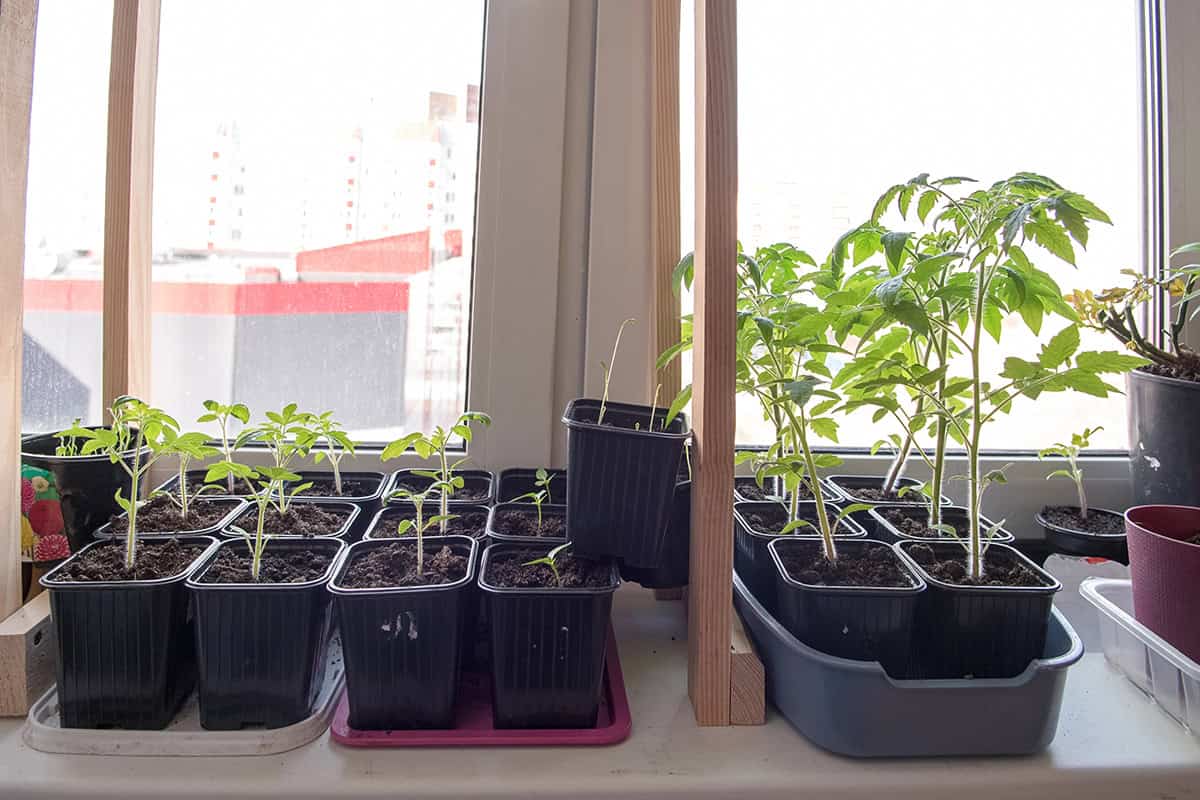
Thinning And Early Pot-Up Steps
Too many seedlings in one spot? They’ll fight for light and food. Once you see true leaves, snip out the weaker ones at soil level. One per cell is plenty.
When roots hit the edge of the cell, move each plant to a 3–4 inch pot. Keep the stem at the same depth as before.
After potting up, you can use a mild starter fertilizer at half strength. Don’t overdo it. Steady growth now sets you up for better fruit later.
Buying Seedlings Instead (Faster Option)
Picking up seedlings from a store saves you weeks and dodges the headaches of seed-starting. You get a jumpstart—roots are already established and you can get to harvest sooner indoors.
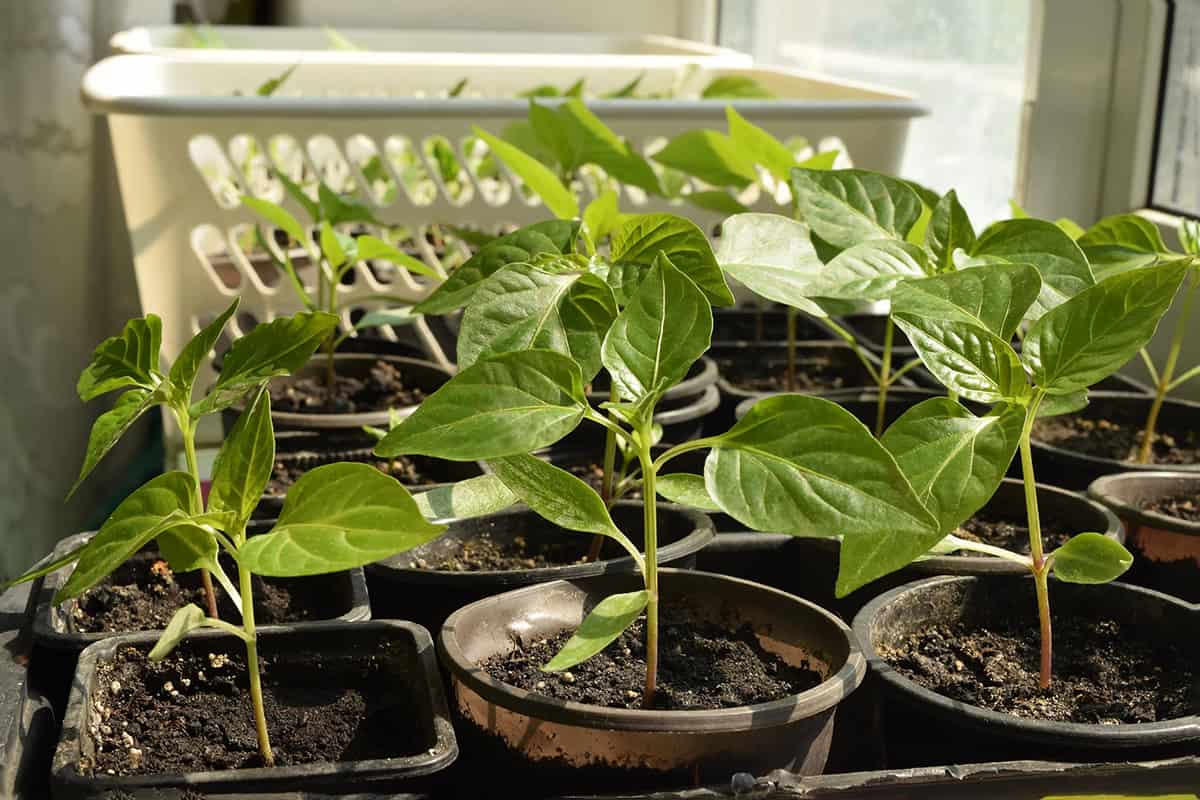
What A Healthy Pepper Seedling Looks Like
Look for compact, upright growth and a stem that stands on its own. You want plants 4 to 8 inches tall with three to five sets of true leaves. Leaves should be deep green, smooth, not spotty or curled.
Check at the soil line—the stem should be firm, not mushy or stretched out. Skip any with flowers or tiny fruit; those are already putting energy in the wrong place for indoor growing.
If you can, peek at the roots. White and holding the soil together? Good. Brown or smelly? Nope. That’s stress or rot.
How To Transplant Without Stalling Growth
Get your seedling into its final pot soon after you bring it home. Go for a container that’s at least 3 to 5 gallons and drains well. Use a loose, fast-draining mix that still holds some moisture.
Try not to disturb the root ball. Plant it at the same depth as before. Press the soil gently, water it in so everything settles.
Put it under bright light right away. Day temps around 70–80°F are best, and keep it away from cold drafts. Hold off on fertilizer for about a week so the roots can settle in.
Transplanting And “Potting Up” Without Stress
Peppers indoors do best with timely pot moves and stable conditions. Try not to mess with the roots more than you have to.
When To Move Up A Pot Size
If you see roots circling the pot or poking out the bottom, it’s time for a bigger home. Growth may slow a bit, but leaves usually stay healthy.
Go up just one size wider—not deeper—about two inches extra diameter is enough. Fresh mix should feel loose and drain well.
Water a few hours before moving so the root ball holds together. Gently slide it out by the root mass, not the stem. Keep the plant at the same depth to avoid shocking it.
How Deep To Plant Peppers In Containers
Unlike tomatoes, peppers don’t make roots on buried stems. Planting too deep can cause rot or stunted growth. Keep the soil line the same as before.
Set the crown just above the soil mix. Press down lightly to settle it, but don’t pack it tight—roots need air.
After transplanting, water until it drains out the bottom. Hold off on fertilizer for about a week to let the plant adjust.
Hardening Off—Does It Apply Indoors?
You don’t really need to harden off peppers indoors. The environment is steady, so there’s no big shock. Sudden changes are the real problem, not gradual ones indoors.
Bigger pots hold more water, so you might need to water less often. Let the top inch dry out a bit between waterings.
If you’re moving plants closer to stronger lights, do it in stages. Start with the light higher, then lower it over a few days. That keeps leaves from burning or growth from stalling.
Watering Bell Peppers Indoors
Peppers want steady moisture—not too wet, not too dry. Pot size, light, and growth all change how often you’ll need to water. Paying attention to what the plant tells you is way better than sticking to a strict calendar.
How Often To Water (Based On Pot Size And Light)
Small pots dry out faster. In a 1–2 gallon container, you might water every two or three days under bright lights. Bigger pots (like 5 gallons) can go four to six days.
Light makes a big difference. Grow lights running 12–14 hours will dry things out faster than a sunny window. Warm rooms also shorten the interval.
When plants are flowering or fruiting, they’ll use more water. Just check the soil before adding more—consistency beats any set schedule.
How To Tell If The Plant Actually Needs Water
The soil is your best clue. Stick a finger in about two inches—if it’s dry, time to water.
You can also lift the pot—a dry one feels much lighter. Try it after watering and you’ll get a feel for it.
Leaves will droop if you’re late, but that’s a lagging sign. If they’re limp in the morning, the soil’s probably too dry.
Overwatering Symptoms Vs. Underwatering Symptoms
Too much water? Roots can’t breathe. Leaves get pale, soft, or yellow from the bottom up. Growth just stops, even if the soil is wet.
Too little water and leaves curl, get thin, maybe drop flowers. The plant looks tired, not mushy.
It’s easy to mix up the two. Always check the soil before changing your routine. Usually, tweaking how often you water is enough.
Bottom Watering Vs. Top Watering
Watering from the top is fine for most peppers. Go slow until you see water drain out the bottom—helps flush out any built-up salts.
Bottom watering can help if your air is dry. Set the pot in a tray of water for 15–20 minutes so it soaks up from below.
Both methods have their place. Just don’t let the pot sit in water afterward—roots hate that.
Pruning, Staking, And Training
Even indoors, bell peppers can get weighed down by fruit, and airflow is always a thing. A little support and some careful cuts go a long way for healthy, upright plants.
When To Stake Indoor Peppers
Once the main stem hits 8–10 inches, it’s time to add support. Fruit weight will bend them fast. A slim stake or tomato spiral does the trick.
Put the stake close to the stem, but don’t jam it into the roots. Use soft ties and leave a bit of slack so the stem can grow. Too tight and you’ll just cause other problems.
Support is most important after flowers show up—small peppers get heavy quickly. A stable plant can focus on fruit instead of fixing bent stems.
Pruning For Airflow And Fruiting
Pruning lets light and air reach the middle. Snip off weak side shoots below the first main fork—those rarely do much indoors.
Remove leaves touching the soil or pressed against the pot. Poor airflow invites disease, especially with indoor humidity. Sharp scissors and quick cuts help the plant bounce back.
Don’t go overboard. Too much pruning slows growth and delays fruit. Aim for a balance—enough leaves for energy, but not so many that air can’t move.
Pinching Early Growth—When To Do It (And When Not To)
Pinching early can help shape the plant. If it’s under 10 inches, you can pinch the first flower bud to encourage branching and thicker stems.
Skip pinching if you see several flower clusters—by then, the plant needs stability for fruit. Cutting at that stage just sets you back.
If your light isn’t great, don’t bother with early pinching. Weak light slows recovery, so only do it if you’ve got strong lights and good nutrition.
Pollination Indoors (How To Get Fruit)
Without wind or insects, you’ll need to help peppers set fruit indoors. It’s not hard—just takes a little attention to pollen and flowers.
Why Indoor Peppers Sometimes Flower But Don’t Fruit
Bell peppers pollinate themselves, but the pollen has to move inside each flower. Indoors, still air and no vibration make that tough, even if the plant looks fine. Flowers may drop after a few days.
Temperature matters, too. Daytime in the 70–85°F range is best. If it gets up to 90°F or more, fruit set drops. Nights below 55°F slow things down.
Weak light or uneven watering can also mess with pollination. Flowers need to stay healthy long enough for pollen to do its thing.
Hand-Pollination Methods (Quick And Reliable)
You can move pollen yourself—just use a soft paintbrush or cotton swab. Dab the center of one open flower, then another on the same plant.
Best time is midday, when flowers are wide open and pollen is ready. Be gentle—no need to mash the flower.
Repeat every couple days while flowers are around. Usually, you’ll see tiny fruit forming at the base within a week if it worked.
Fans And Vibration Tricks
Wind doesn’t visit your living room, so a simple fan on low does the trick. Set it a few feet away—just enough to keep pollen moving, not to dry everything out.
Vibration works too. Tap the main stem or clusters lightly once a day. Or, if you’ve got an electric toothbrush handy, hold it near the stem for a few seconds—no need to touch, the buzz is enough.
Keep humidity somewhere around 40–60% while you’re at it. Too much moisture? Pollen clumps and won’t do its job. Too dry? Flowers drop. It’s all about balance—air, light, and a bit of patience.
Managing Pests Indoors
Sure, indoor peppers dodge a lot of outdoor bugs, but pests find a way in. They spread fast in a cozy room. Staying ahead means catching them early, checking often, and only treating when you have to.
Common Indoor Pepper Pests (Aphids, Spider Mites, Whiteflies)
Tiny bugs love the new growth and hide under leaves. Aphids pile up on stems and buds, making leaves curl and leaving sticky gunk behind. If you spot them, it’s often a sign of too much nitrogen or stuffy air.
Spider mites thrive in dry air and hide underneath. You’ll usually see pale specks or webs before you spot the mites themselves. They multiply fast in warm rooms, so things can get out of hand quickly.
Whiteflies? Brush the plant and you’ll see them flutter up. They suck sap and slow your peppers down. Their eggs stick to leaves, so you can’t just shoo them away.
Prevention Routine (Weekly 2-Minute Checks)
Quick checks save you headaches later. Once a week, peek under leaves, around stems, and at new growth. Look for spots or movement—catching things early is key.
Check if your plants are too close together, and keep air moving around. Wipe leaves with a damp cloth to clear off dust and any early bugs. It’s simple, but it helps more than you’d think.
Safe Treatment Options For Indoor Edible Plants
Start gentle. A strong spray of water knocks off aphids and whiteflies. Repeat every few days till they’re under control.
Insecticidal soap handles soft-bodied pests. Spray both sides of the leaves, read the label, and don’t overdo it. Neem oil helps with mites and whiteflies—just use it in the evening or low light, and go easy to avoid leaf damage.
Yellow sticky cards help you keep tabs on whiteflies and catch a few adults. Hang them near the plants, not right on the leaves. Mixing these tricks keeps your peppers and your harvest safe.
Preventing Common Indoor Problems
Indoor peppers react fast to changes in light, temp, water, and food. Spotting trouble early and tweaking things usually does the job.
Blossom Drop (Flowers Falling Off)
Flowers drop if things get out of their comfort zone. Day temps around 70–80°F and nights above 60°F are best. Cold air from windows or vents? That’ll knock flowers off.
Peppers are picky about light. They want bright, direct light for 12–14 hours or they’ll drop buds. If the light’s weak, the plant just saves its energy for leaves.
Water matters too. Letting soil dry out or stay soggy messes with nutrients. Try to keep soil evenly moist and don’t swing between bone dry and soaked.
Leaf Curl And Stressed Leaves
When leaves curl up, it’s usually too much heat or light. If temps go over 85°F or the light sits too close, back it off a bit.
Dry air below 40% humidity pulls water from leaves too fast. A small humidifier nearby often sorts it out.
If leaves curl and lose color, check the roots. Pots need drainage—trapped water rots roots. Use pots with holes and don’t let them sit in runoff.
Yellowing Leaves: Quick Diagnosis
Yellow leaves say a lot. If it’s the lower ones, you probably need more nitrogen. A balanced fertilizer (equal NPK) usually fixes it.
If the top leaves yellow first, it could be iron or magnesium—often from high pH or overwatering. Keep soil pH between 6.0–6.8 and don’t drown the plant.
Patchy yellow and floppy stems? Roots aren’t happy. Let the top inch of soil dry before watering again.
Blossom End Rot And Calcium Issues
Sunken, dark spots on fruit? That’s calcium not getting to the right place, usually from uneven watering. Keep moisture steady to avoid it.
Cold roots slow down calcium uptake. If your pots sit on a cold floor or near a draft, move them somewhere warmer.
Ease off the nitrogen when fruit starts forming. Too much boosts leaves but starves fruit of calcium. Stick to a balanced feed and water on schedule.
Slow Growth: The Usual Causes Indoors
If your peppers crawl along, it’s usually the light. They need strong, close light—think full sun, but indoors. Don’t let the stems stretch.
Cool temps slow everything down. Growth crawls below 65°F and just stops at 55°F. Keep things warm and steady.
Pots that are too small cramp the roots. Go for at least 3–5 gallons and refresh the soil each season.
Harvesting Bell Peppers Indoors
With a bit of luck and care, indoor peppers keep giving for weeks. Picking right, not snapping stems, and nudging the plant to set more fruit is the trick.
When Peppers Are Ready (Green Vs. Fully Colored)
You can pick peppers green or wait for them to color up. Green ones are full-sized, firm, and glossy—mild and crunchy, and picking them early often means more fruit later.
Letting them ripen to red, yellow, or orange bumps up sweetness and vitamins, but the plant puts more effort into each fruit, so you might get fewer overall.
Indoors, color change can drag on for a couple extra weeks. If the plant’s slowing down, go ahead and pick green. It’s up to your taste and how your plant’s doing.
How To Pick Without Damaging The Plant
Peppers snap off easily, especially inside. Always cut, don’t pull. Clean scissors or pruners help avoid spreading disease.
Leave a bit of stem on the fruit. It eases stress on the plant and avoids tearing. Support the branch with one hand while you snip with the other.
Pick when the plant’s flexible—usually midday, not right after watering when stems are soft and break easily.
How To Keep The Plant Producing Longer
Harvesting regularly tells the plant to keep flowering. Take off mature fruit when it’s ready, even if you’re waiting for some to color up. Mix early picks with a few left to ripen.
Keep temps between 62°F and 80°F. If nights get too cool, flowers and fruit slow down. Warmth keeps things moving.
After picking, check your light and feed. Aim for at least twelve hours of strong light. Fertilize at half strength to replace what the fruit used up.
Indoor Bell Pepper Care Schedule (Simple Routine)
Keeping peppers happy indoors isn’t complicated. Quick daily glances, weekly habits, and a few monthly tweaks catch most issues before they get serious.
Daily: What To Check In 30 Seconds
Each day, just glance at leaf color and how they’re holding up. Firm and green? Good. Droopy during bright light? Probably thirsty.
Check the light distance with your hand—warm is fine, hot isn’t. Keep grow lights 12 to 18 inches above the top leaves for best results.
Watch the flowers and tiny fruit. If they’re dropping, it’s probably light or temp. Keep things between 62°F and 80°F for steady fruiting.
Weekly: Watering And Pest Check
Once a week, poke your finger into the soil. Water only when the top inch feels dry. Give enough to soak the roots, then dump any extra from the saucer.
Look under leaves and along stems—aphids and mites like to hide. Wipe off any you find with a damp cloth, before they spread.
Give the pot a quarter turn every week. It keeps growth even and prevents leaning. Plants like a little change of perspective, too.
Monthly: Feeding And Light Adjustments
Once a month, go with a balanced fertilizer—something close to a 1-2-2 ratio works well. Keep it on the diluted side so you don’t end up with salty soil. Always feed after watering; roots appreciate the courtesy.
Take a minute to check your lighting situation. Shoot for 12 to 14 hours of grow light each day. If your plant’s getting leggy, either bump up the brightness or drop the light a bit closer.
Snip off those spindly inner shoots while you’re at it. A little pruning lets air move and helps the plant focus on making fruit. Sharp, clean cuts—don’t rush it, and your plant will bounce back in no time.