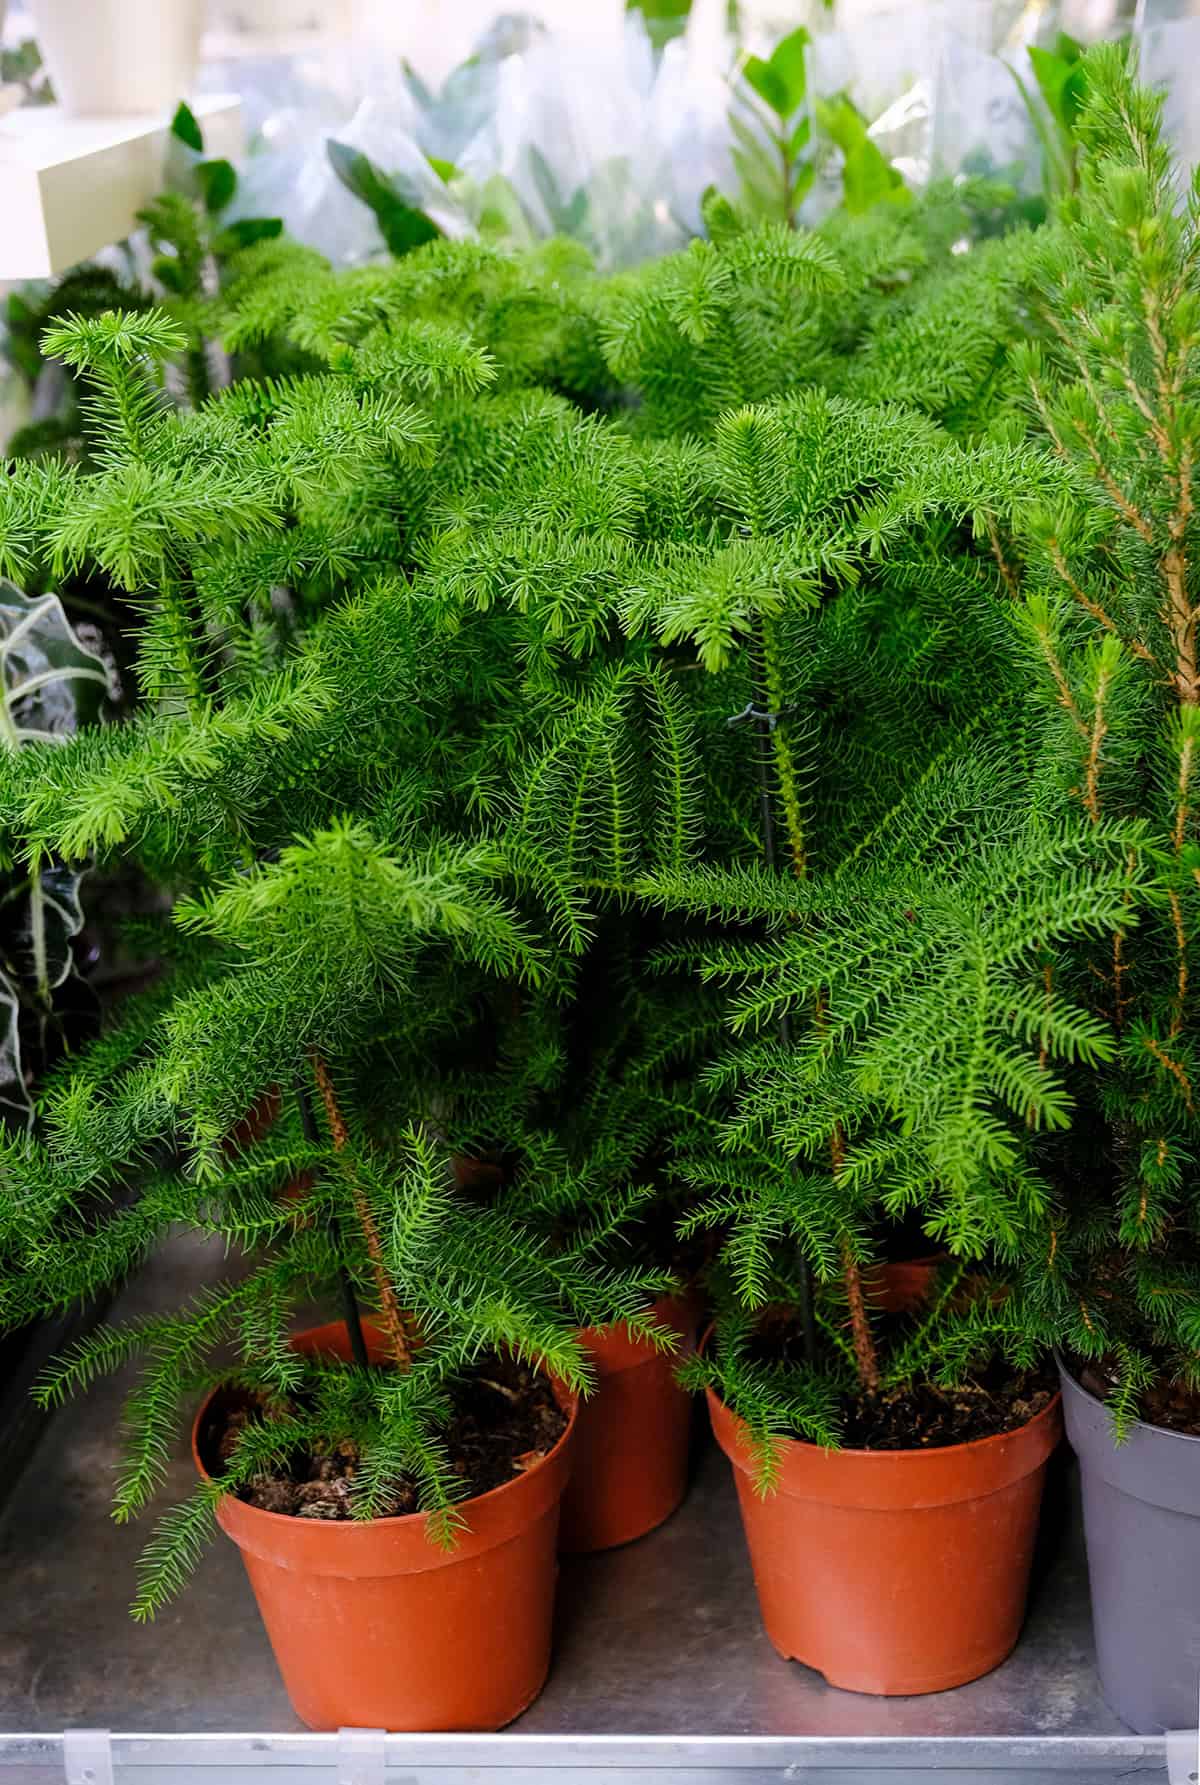
If you want a plant that feels festive in December and stylish the rest of the year, the Norfolk Island pine is a perfect pick. It’s graceful, adaptable, and surprisingly easy to grow indoors. Read on to discover the care tips that will keep it lush.
Table of Contents
- Light
- Soil
- Water
- Temperature And Humidity
- Fertilizer
- Propagation
- Pruning
- Potting And Repotting
- Common Problems & Troubleshooting
- Plant Varieties
- Frequently Asked Questions
- What are the optimal lighting conditions for a Norfolk Island pine when grown indoors?
- How do you water and maintain the soil moisture for a healthy Norfolk Island pine indoor plant?
- Can Norfolk Island pines be pruned, and if so, what is the proper technique?
- What temperature and humidity levels are ideal for an indoor Norfolk Island pine?
- How can you troubleshoot common problems with Norfolk Island pines?
- What is the average growth rate of a Norfolk Island pine when it’s kept indoors?
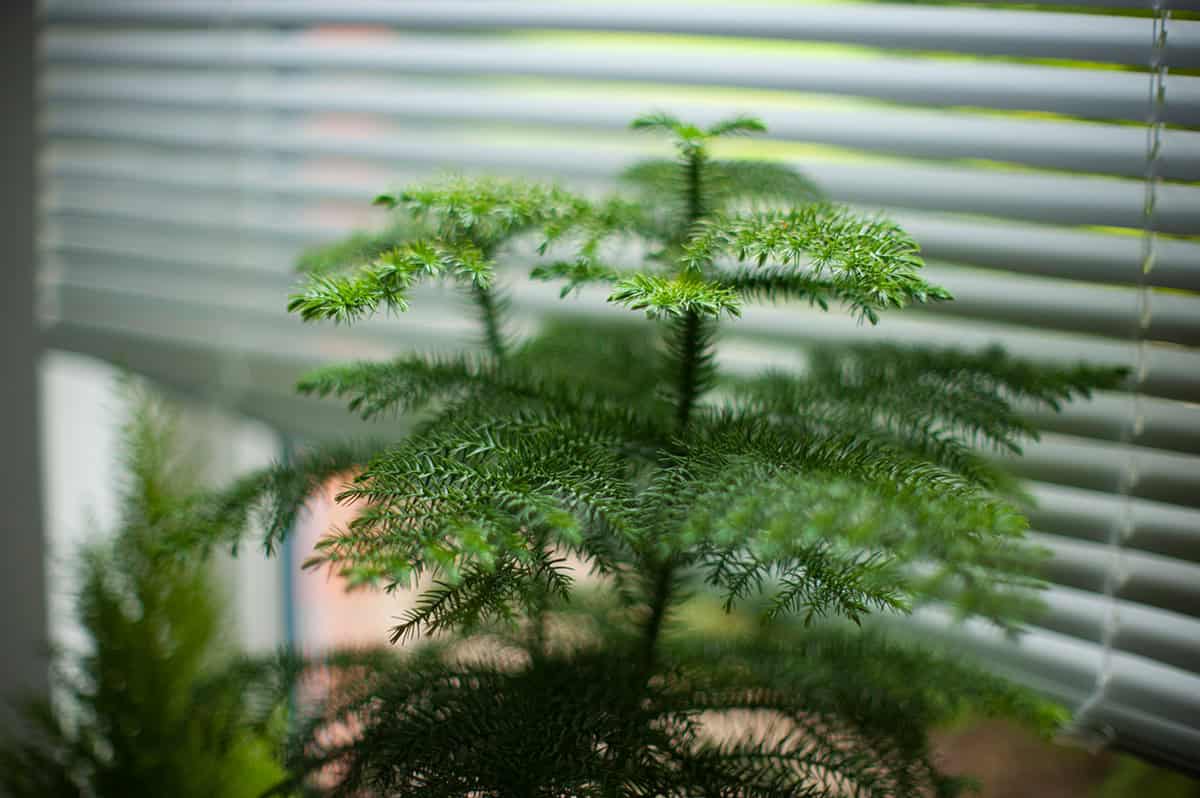
Light
You’ll want to find a spot with plenty of bright, indirect sunlight—not blasting rays, but not a gloomy corner either. An east, west, or even south-facing window usually works out pretty well.
Give the pot a little turn every week or so. That way, the branches don’t all lean toward the light and end up looking wonky. Afternoon sun can be a bit much—those needles scorch easily—so filtered light is the safer bet.
If your place is on the dim side, the pine will survive, though it might get a bit sparse or leggy. Moving it to a shadier spot? Try to do it gradually so the plant doesn’t freak out.
No shame in using artificial lights, honestly. If winter gloom sets in, a simple fluorescent or LED grow light for about 12 hours a day can keep things green.
If you notice needles yellowing or dropping, it might be a cry for more light. Sometimes these trees are subtle, sometimes not.
Soil
A Norfolk Island Pine isn’t too picky, but it’s not a fan of soggy feet. A regular potting mix with some organic matter is usually fine, as long as it drains well.
Slightly acidic to neutral soil is the sweet spot—think pH 6.0 to 7.0. If your potting mix feels heavy or clumpy, toss in some perlite or sand to lighten things up.
Skip the garden soil or anything clay-heavy; it just holds on to water and spells trouble for the roots. Light and fluffy is the way to go.
Let the soil dry out a bit between waterings. When the top inch feels dry, that’s your cue to water again. You’re aiming for “moist” not “marsh.”
Water
Keeping the soil just barely moist is the trick here—not swampy, not bone-dry. Let that top inch dry out before you water.
When you do water, go until it drains out the bottom, then ditch any extra water hanging around in the saucer.
Humidity’s a big deal for these guys. Dry air leads to those dreaded brown tips. A pebble tray with water underneath the pot can help, or just group a few plants together for a humidity boost.
Room temperature water is best—nothing icy or scalding. Too cold or hot and the roots might throw a fit.
If you see yellow or crispy foliage, check your watering habits—too much or too little can cause both. It’s a balancing act.
Come winter, your pine slows down and needs less water. Always check the soil before reaching for the watering can.
Temperature And Humidity
Your Norfolk Island Pine will be happiest if the temperature sticks between 60°F and 75°F. It’s not a fan of cold drafts or sudden chills, so keep it away from blasting heaters, AC units, or drafty windows.
Humidity is just as important as temperature. These trees are used to coastal air, so dry indoor heat can be rough on them.
Aim for at least 50% humidity if you can swing it. If things get dry, a little room humidifier or a tray of water nearby works wonders. Misting the leaves is okay, but don’t overdo it—wet leaves can cause problems too.
Grouping a few plants together helps keep the air moist. It’s worth checking both temp and humidity now and then if you want those needles to stay lush.
Fertilizer
During spring and summer, your Norfolk Island Pine appreciates a little extra food. A balanced, water-soluble fertilizer (like 20-20-20 or 15-15-15) is fine, but always dilute it to half strength. Less is more here.
Once a month during the growing season should be plenty. Lay off the fertilizer in fall and winter—your tree isn’t really growing then and extra nutrients can just cause trouble.
Don’t fertilize dry soil. Always water first, then feed. Otherwise, you risk burning the roots.
A balanced liquid houseplant fertilizer, mixed as directed, works just as well. Honestly, these trees grow slowly, so you don’t need to go overboard.
Watch out for brown tips or lots of leaf drop—could mean you’re overdoing it. If that happens, cut back and maybe flush the soil with water to clear out any buildup.
Propagation
If you’re hoping to start a new Norfolk Island Pine, you’ll need seeds. They usually sprout in about two weeks if you keep things warm and just a bit moist.
Cuttings? Not really worth your time—plants from cuttings usually end up looking pretty odd.
Spring or early summer is your window for best results. That’s when the plant is naturally geared up for growth.
Sow seeds in a pot with well-draining soil, cover them lightly, and set them somewhere bright but not in direct sun.
Go easy on the water—just enough to keep the surface damp. Too much, and the seeds might rot.
Once you see seedlings, move them to a brighter spot. Growth is slow at first, so don’t lose hope.
Patience is the name of the game. It can take years for a seedling to become a decent-sized indoor tree.
Pruning
You don’t need to prune Norfolk Island Pine much, but a little tidying up now and then helps. Snip off dead or brown lower branches to keep things looking neat.
Use sharp, clean scissors or pruners, cutting close to the trunk but not into it. Only remove what’s clearly dead or damaged—there’s no need to go wild.
Leave the soft growing tip at the top alone. That’s where all the upward action happens, and cutting it can really mess with the tree’s shape.
Gentle, occasional pruning is all you need. These trees grow slowly, so there’s no rush.
While you’re at it, keep an eye out for pests or weird spots. If you spot any, remove affected branches to nip problems in the bud.
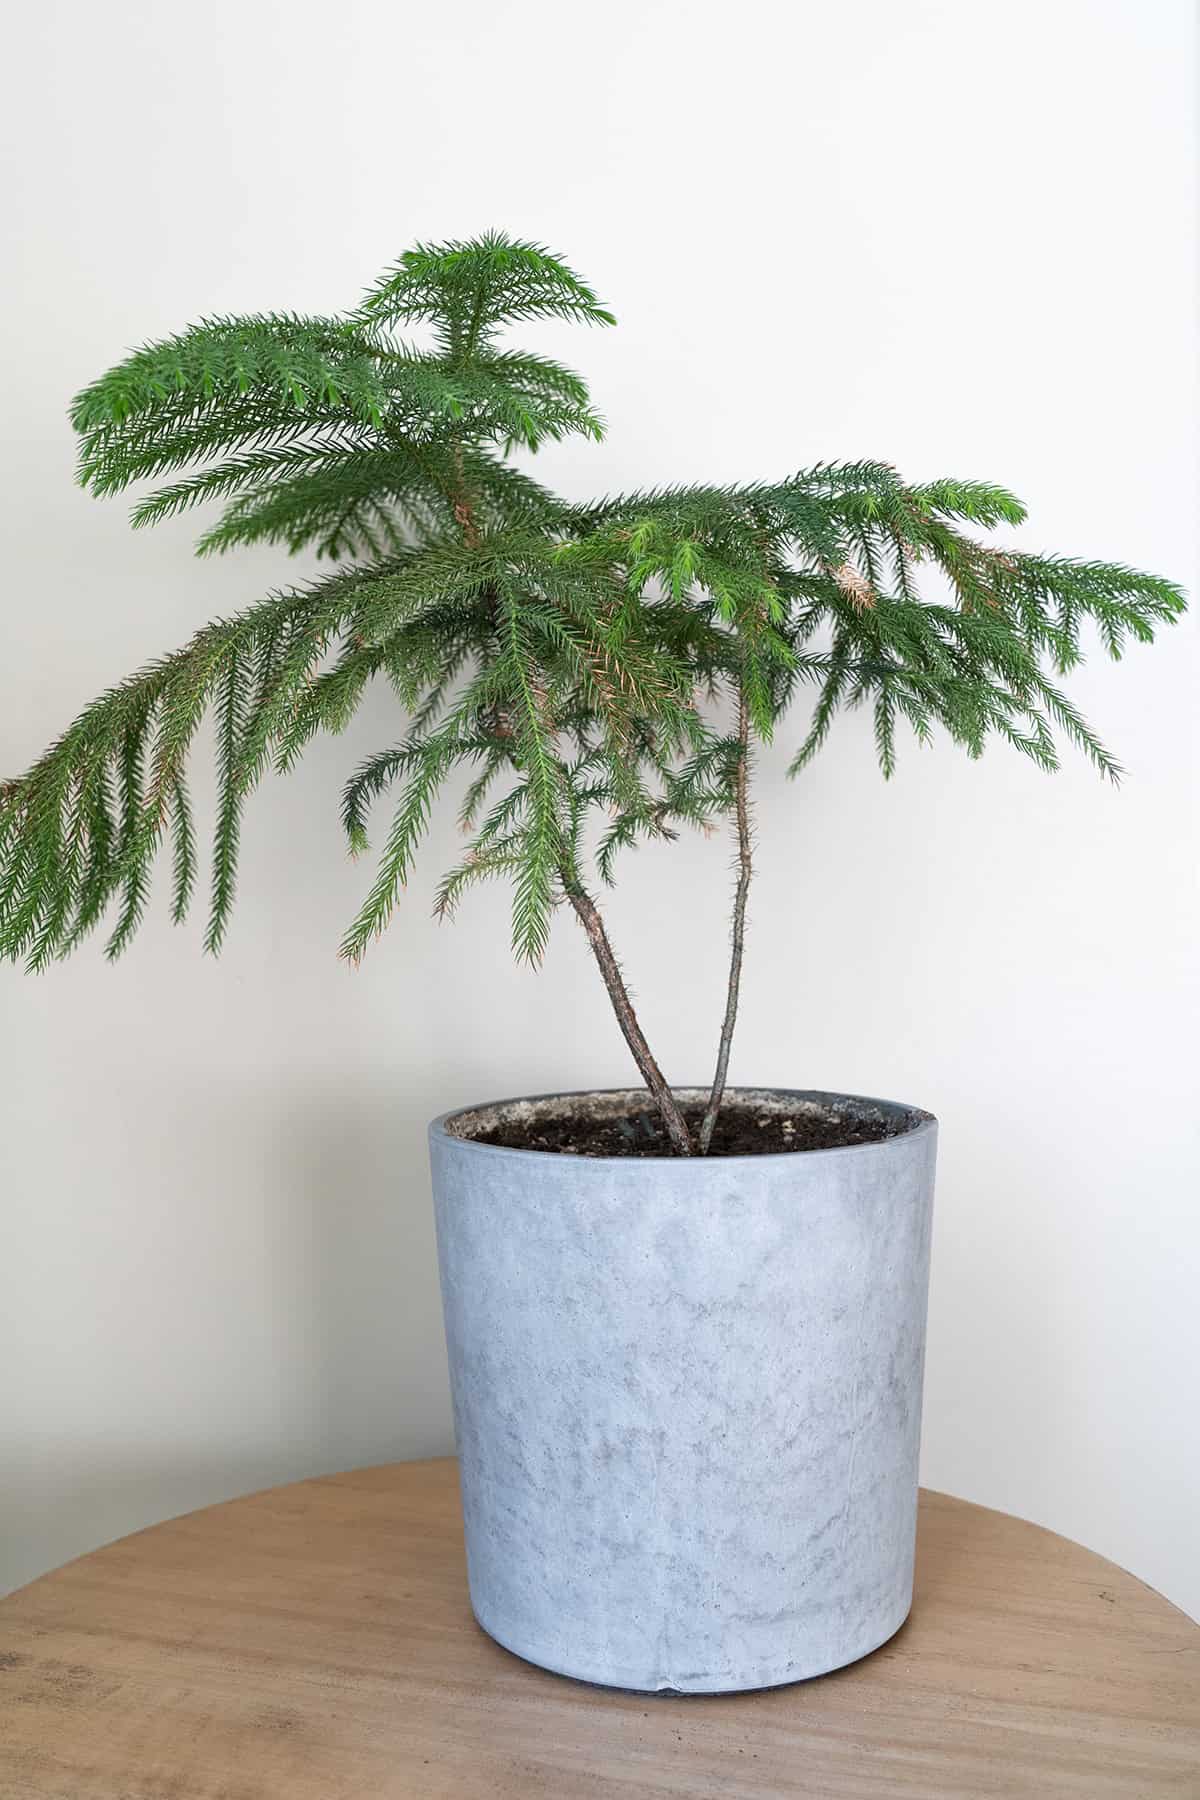
Potting And Repotting
When you first bring home your pine, pick a pot with drainage holes and go just a few inches wider than the root ball. Use a well-draining, slightly acidic soil mix to avoid soggy roots.
Bright, indirect light is your friend. Skip deep shade or harsh sun. Keep the soil moist, but don’t let it get waterlogged.
Repotting isn’t an annual event—these trees take their time. Check the roots once a year; if they’re circling the pot, it’s time to size up.
Spring or early summer is the best time for a move. Water the plant the day before, then gently loosen the roots and settle it into fresh soil.
Don’t bury the trunk deeper than before. Press the soil in gently—no need to compact it. Water well, then return the plant to its usual spot.
If you notice yellowing needles after repotting, don’t panic. Mist the leaves for a humidity boost and keep an eye on things for a week before resuming your regular routine.
Common Problems & Troubleshooting
Needle drop is usually a sign the air’s too dry. Humidifiers or trays of water nearby can help.
Brown or yellow needles? It’s probably a watering or light issue. Only water when the topsoil dries out, and make sure your tree gets enough indirect sunlight.
If the tree starts looking lopsided, it’s likely reaching for the light. Give it a turn every week or so to keep things even.
Spider mites sometimes show up—look for fine webs or tiny moving dots. Wiping the needles with a damp cloth and upping the humidity usually helps.
A stunted tree could mean it’s rootbound. If so, move it to a slightly bigger pot with fresh, well-draining soil.
Cold drafts are bad news—keep your pine away from chilly windows or doors. Scorched needles might mean the air is too cold.
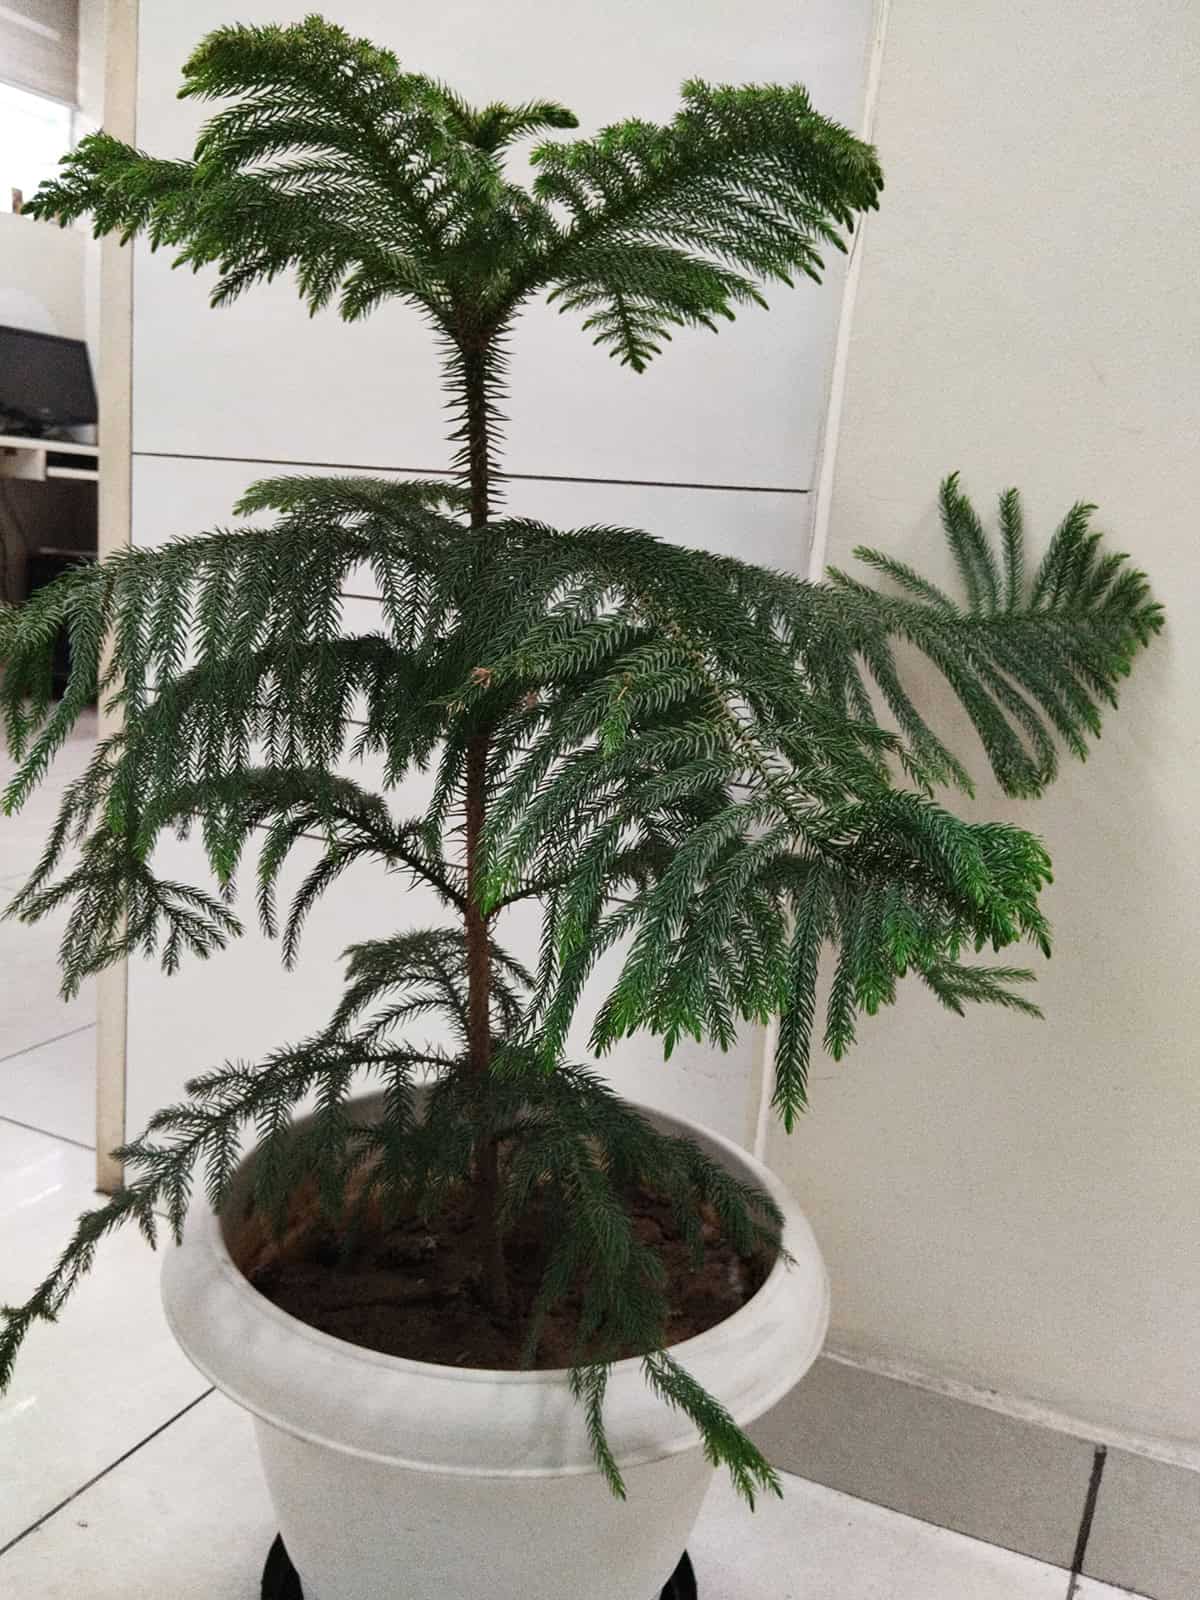
Plant Varieties
Technically, Araucaria heterophylla is the plant you’re buying when you see “Norfolk Island pine” at the store.
You might spot it labeled as “Star Pine” or “Australian Pine,” but it’s all the same species. The names are just marketing—don’t stress about it.
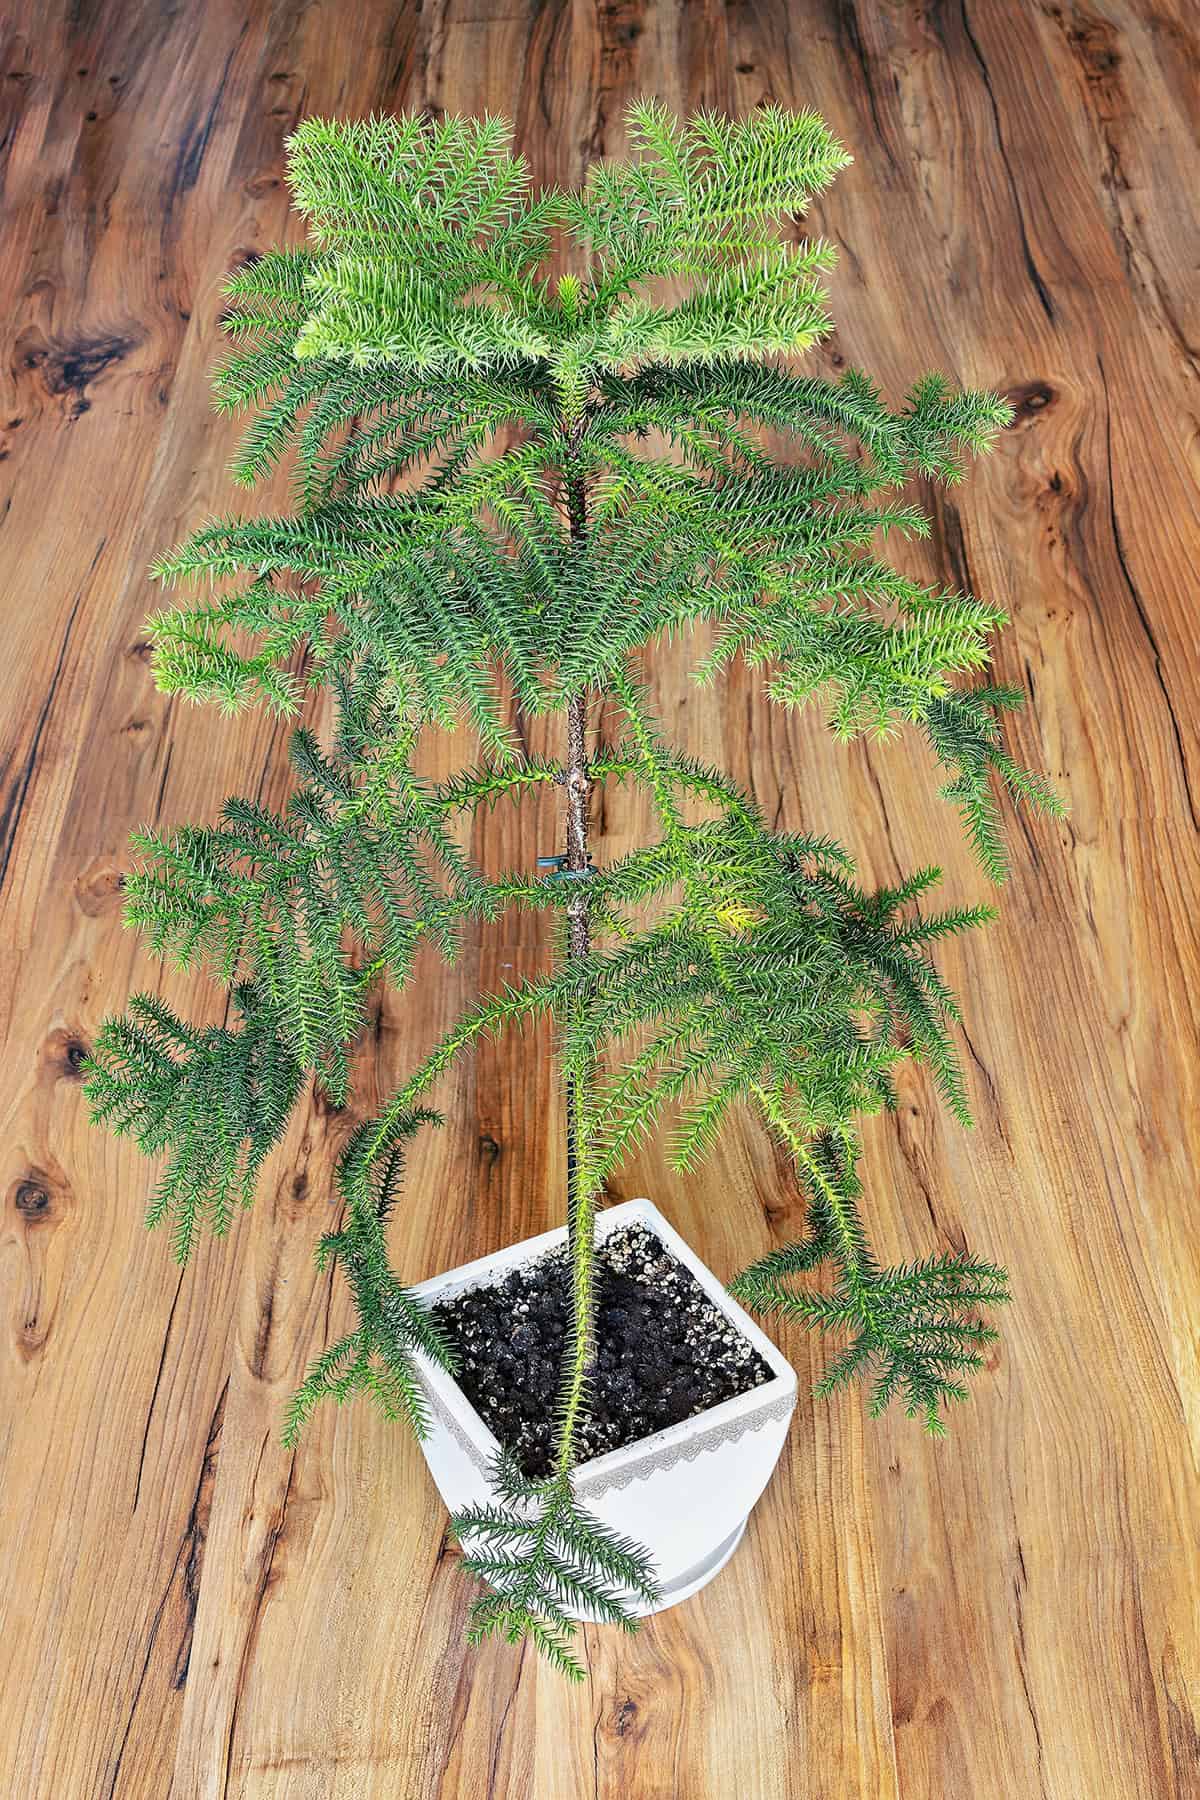
Growers don’t really offer special indoor varieties. Most plants are grown from seed and look pretty much alike, though you might notice a little variation in fullness or habit.
Young plants have soft, fine needles and that classic pyramid look. Indoors, they usually top out around 6 to 9 feet, though outside in the right climate, they can get massive.
No need to worry about picking between varieties—just focus on finding a healthy plant in the right size for your space.
Frequently Asked Questions
Keeping a Norfolk Island pine happy indoors mostly comes down to watching the light, water, humidity, and temperature. Most problems are fixable with a little tweaking.
What are the optimal lighting conditions for a Norfolk Island pine when grown indoors?
Set your pine near a bright window—east, west, or south-facing is ideal. Turning the plant every week keeps it growing straight and balanced.
How do you water and maintain the soil moisture for a healthy Norfolk Island pine indoor plant?
Wait until the surface of the soil feels dry, then water. The top inch should dry out between waterings, but don’t let it get bone-dry. Always use a well-draining mix so the roots don’t sit in water.
Can Norfolk Island pines be pruned, and if so, what is the proper technique?
Trim off any dead or brown branches at the base using sharp, clean scissors. Leave the main growing tip alone to preserve the tree’s shape. Just a light trim is enough.
What temperature and humidity levels are ideal for an indoor Norfolk Island pine?
Temperatures between 60°F and 72°F are best. Keep the tree away from drafts. Humidity above 50% is ideal—if the air’s dry, try misting or a humidity tray.
How can you troubleshoot common problems with Norfolk Island pines?
Yellowing leaves usually mean overwatering or poor drainage. Brown tips often point to dry air or too much fertilizer. If your pine’s lopsided, it probably needs more rotation or better lighting. Catching issues early keeps your tree looking good.
What is the average growth rate of a Norfolk Island pine when it’s kept indoors?
Indoors, you’ll probably notice it creeps up by just three to six inches a year—maybe a bit less if your place doesn’t get much sun or if you forget to water it now and then (happens to the best of us). Even after years, it rarely tops eight feet in a typical home, so you don’t really have to worry about it suddenly turning into a giant.