Gravel looks simple once it’s in place, but a lot can go wrong before the first stone even hits the ground. Poor preparation can lead to sinking, shifting, weeds, and uneven surfaces. The steps ahead will help you build a gravel area that lasts.
Table of Contents
Should You Lay Gravel Directly On Soil?
Laying gravel straight onto soil can be quick but has trade-offs involving stability, drainage, and long-term upkeep. The method’s success comes down to how you plan to use the surface and the type of soil you have.
Pros and Cons
Gravel over soil costs less and you can finish the job quickly. You skip buying extra materials or spending on extensive groundwork. Accessibility for future changes or repairs is easier since you are not dealing with layers like geotextile fabric.
You risk having the gravel mix into the soil over time, especially in wet or soft ground. This can lead to uneven surfaces and areas where weeds can break through. Heavy traffic or frequent rain can make the gravel sink or shift, requiring regular top-ups to keep the area useful and safe.
Wet soil or areas that drain poorly can cause water pooling under the gravel. In turn, this leads to mud rising and the gravel settling deeper. Without additional stabilization, you may also notice movement after heavy use or rain storms.
When It Works Best
Gravel works best laid directly on well-draining, stable soil in light-traffic areas. Places such as garden paths or temporary walkways benefit most from this method, provided the area doesn’t stay soggy after rain.
Dry, compacted soil supports gravel better since it limits how much sinkage or shifting happens over time. Sloped ground can also help prevent standing water issues that might cause the surface to deteriorate.
Sites that do not see vehicles or heavy loads hold up better. Areas needing landscape changes later can also use this method, since you can move or remove gravel easily as needs change. Proper edge containment is still useful for keeping gravel in place.
Tools and Materials Needed
Laying gravel on soil requires a few essential tools and the right choice of gravel for stable results. Choosing materials that fit your soil and layout ensures your project holds up over time.
Basic Tools
You need a sturdy shovel for digging and spreading gravel. Use a flat spade for even surfaces and a round-point shovel for breaking ground.
Get a garden rake to help level the soil before the gravel goes down. A tamper will compact the soil, creating a firm base so the gravel stays in place.
Work goes faster with a wheelbarrow. It lets you move gravel from the delivery pile to your site easily. If you want sharp, straight edges, gather some stakes, string, and a measuring tape for outlining the area. Landscape fabric may be useful if you want to reduce weed growth below the gravel.
Gloves protect your hands from sharp stones and rough tools. If your project area is large, consider using a hand compactor or renting a plate compactor for extra stability.
Gravel Types and Sizes
Choosing the right gravel affects drainage and stability. Pea gravel offers a smooth, rounded finish and works well for paths or patios. Crushed stone provides more grip underfoot and is ideal for driveways or areas with foot traffic.
For most projects, gravel particles between 1/4 inch and 3/4 inch in size work best. This range allows for easy compaction and solid support. Avoid using very fine gravel because it shifts easily and packs poorly.
If your area needs drainage, consider using a layer of coarse gravel under finer material. Check that the gravel suits your soil by comparing the particle size distribution, especially if you have clay or silt underneath. Proper matching prevents future shifting or sinking.
How to Prepare the Soil

Proper soil preparation gives your gravel a stable, long-lasting base. Without this step, gravel may shift, sink, or develop uneven areas that are costly to fix.
Clear and Level the Area
Start by removing any items like furniture, rocks, or debris from your site. Clear away garden ornaments, pavers, or similar materials. Strip away the turf or plants with a spade or flat shovel.
Work the soil surface to eliminate bumps and dips. Check the slope with a spirit level or straight board. The area needs to direct water away from your house or structures. Smooth out high spots and fill in low areas with native soil.
Use a rake to make the ground even. Don’t leave piles of loose material or visible clumps. Leveling at this stage helps prevent future drainage problems and keeps your gravel base stable.
Remove Weeds and Roots
You want a weed-free surface before laying gravel. Pull all visible weeds by hand. Dig deep to get entire root systems, especially for tough perennial weeds.
If you see signs of past growth, use a hoe or shovel to break up the soil. Remove existing plant roots, grass rhizomes, and large pieces of organic matter. These can regrow or decompose, causing your gravel layer to shift.
For stubborn growth, consider a weed killer according to product instructions. Allow a few days for weeds to die before continuing. Careful removal at this stage reduces maintenance and slows weed return.
Compact the Ground
Soil should be compacted before adding gravel. Loose soil settles under weight, which creates uneven patches. You want a firm base that resists movement.
Use a tamper or plate compactor to firmly press down the soil. Go over the area in overlapping passes. Work until you see minimal footprint or tool marks on the surface.
If your soil is sandy or loose, dampen it slightly for better compaction. Avoid working when it is soaking wet or extremely dry. Once finished, the soil should feel solid underfoot and have no soft spots.
Should You Use a Weed Barrier?
Choosing whether to use a weed barrier under gravel depends on the specific needs of your site. Some barriers block weeds well but may affect soil health and water movement.
Landscape Fabric vs. No Fabric
You might see landscape fabric recommended as a way to keep weeds from popping up through gravel. This fabric physically blocks weeds from growing while letting water and air through. It can help the gravel look tidy for a couple of years.
However, soil and mulch particles often fill the spaces in the fabric over time. This reduces its ability to let water move into the soil, which can cause plants stress or injury. New weeds can also grow on top of the fabric, especially after some seasons pass. Organic mulches sometimes perform just as well for keeping weeds down, especially with a thick layer.
When to Skip It
There are situations where you should not use a weed barrier. Some native or drought-tolerant plants do better if water drains freely through the gravel and into the soil. Weed fabrics can hold moisture around plant roots and limit air flow, which harms plant health in the long run. In permanent beds, the fabric does little to stop weed seeds that blow in later.
Gravel mulch with no barrier makes it much easier to dig, plant, or add amendments. You may want to avoid weed fabric if you need to work in the soil often or if plants need good drainage. For most yards, using a thick gravel layer alone will help stop many weeds.
How to Lay the Gravel
Laying gravel on soil involves a careful process to ensure a stable, long-lasting surface. Good preparation and stepwise installation give you a surface that resists shifting, promotes drainage, and holds up to foot or vehicle traffic.
Add the First Layer
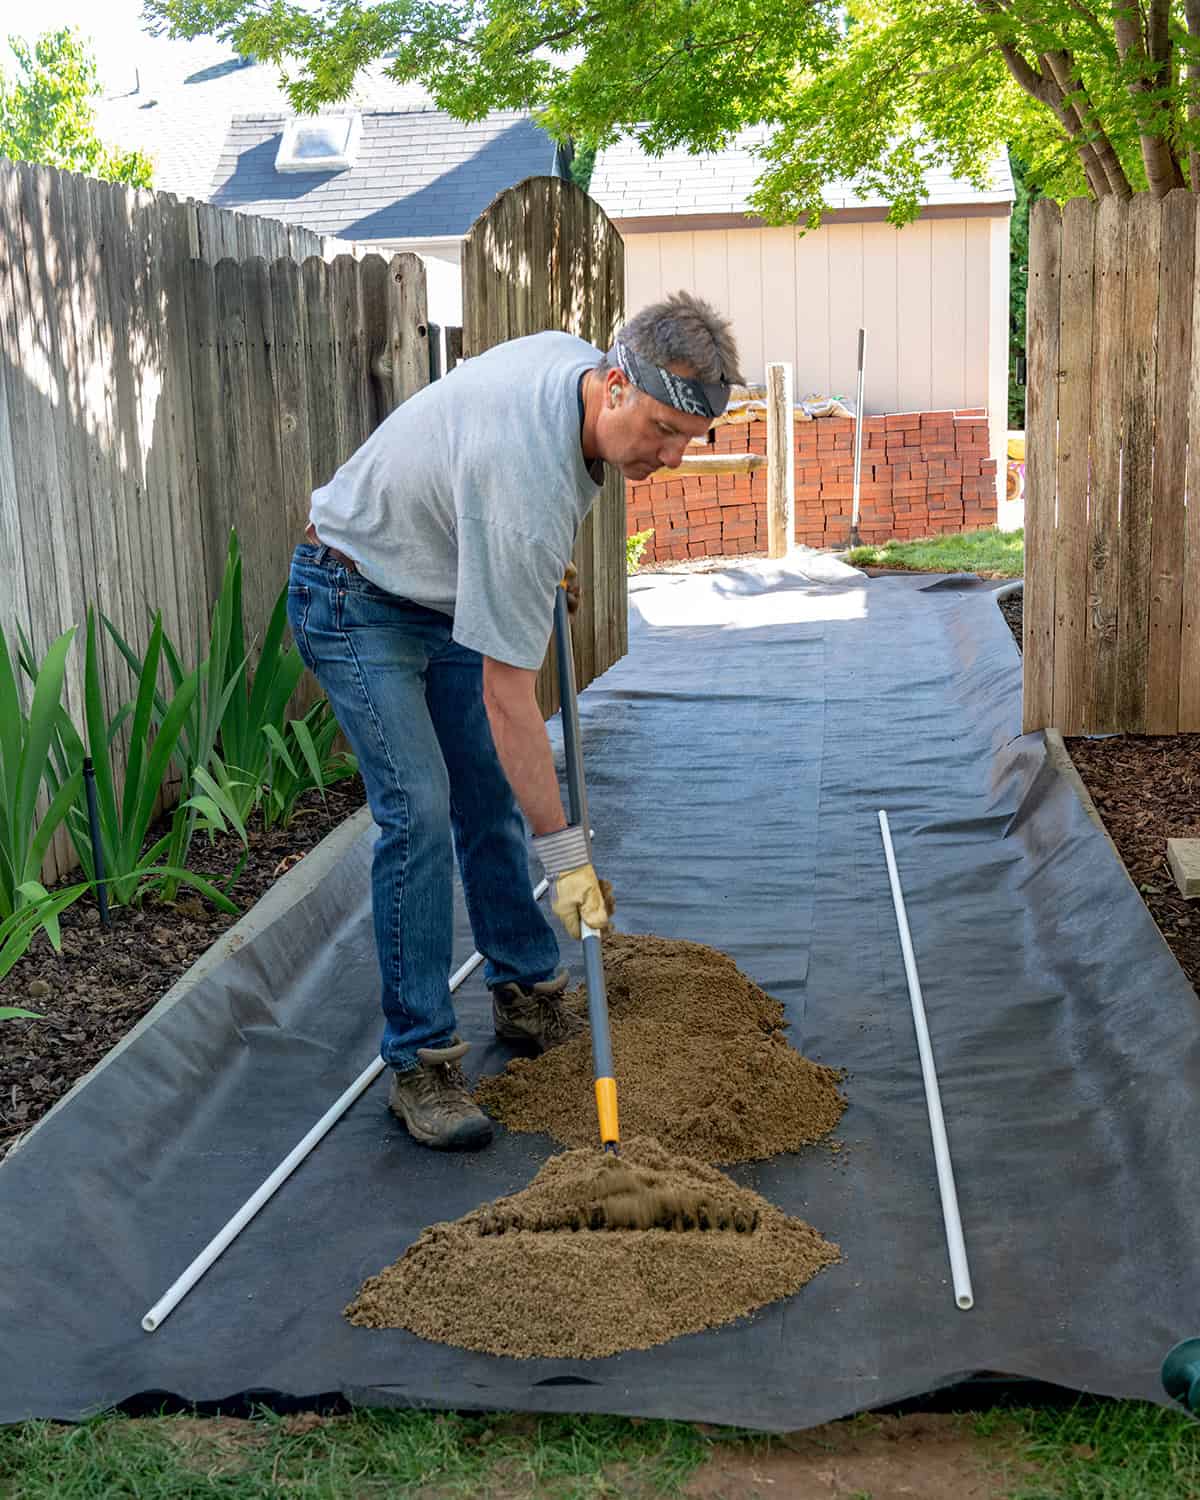
Start by placing the gravel directly onto the soil. The base layer serves as the foundation, so aim for a depth of about 2 to 4 inches. Choose gravel with sharp, angular edges. Rounded stones move around and do not lock in place.
You can use larger gravel, such as ¾-inch crushed stone, for this layer. Avoid spreading gravel too thin, since a shallow base will sink into the soil over time. If the area gets muddy, install geotextile fabric under the gravel. This keeps the layers separated and reduces mixing with the soil.
Spread Evenly
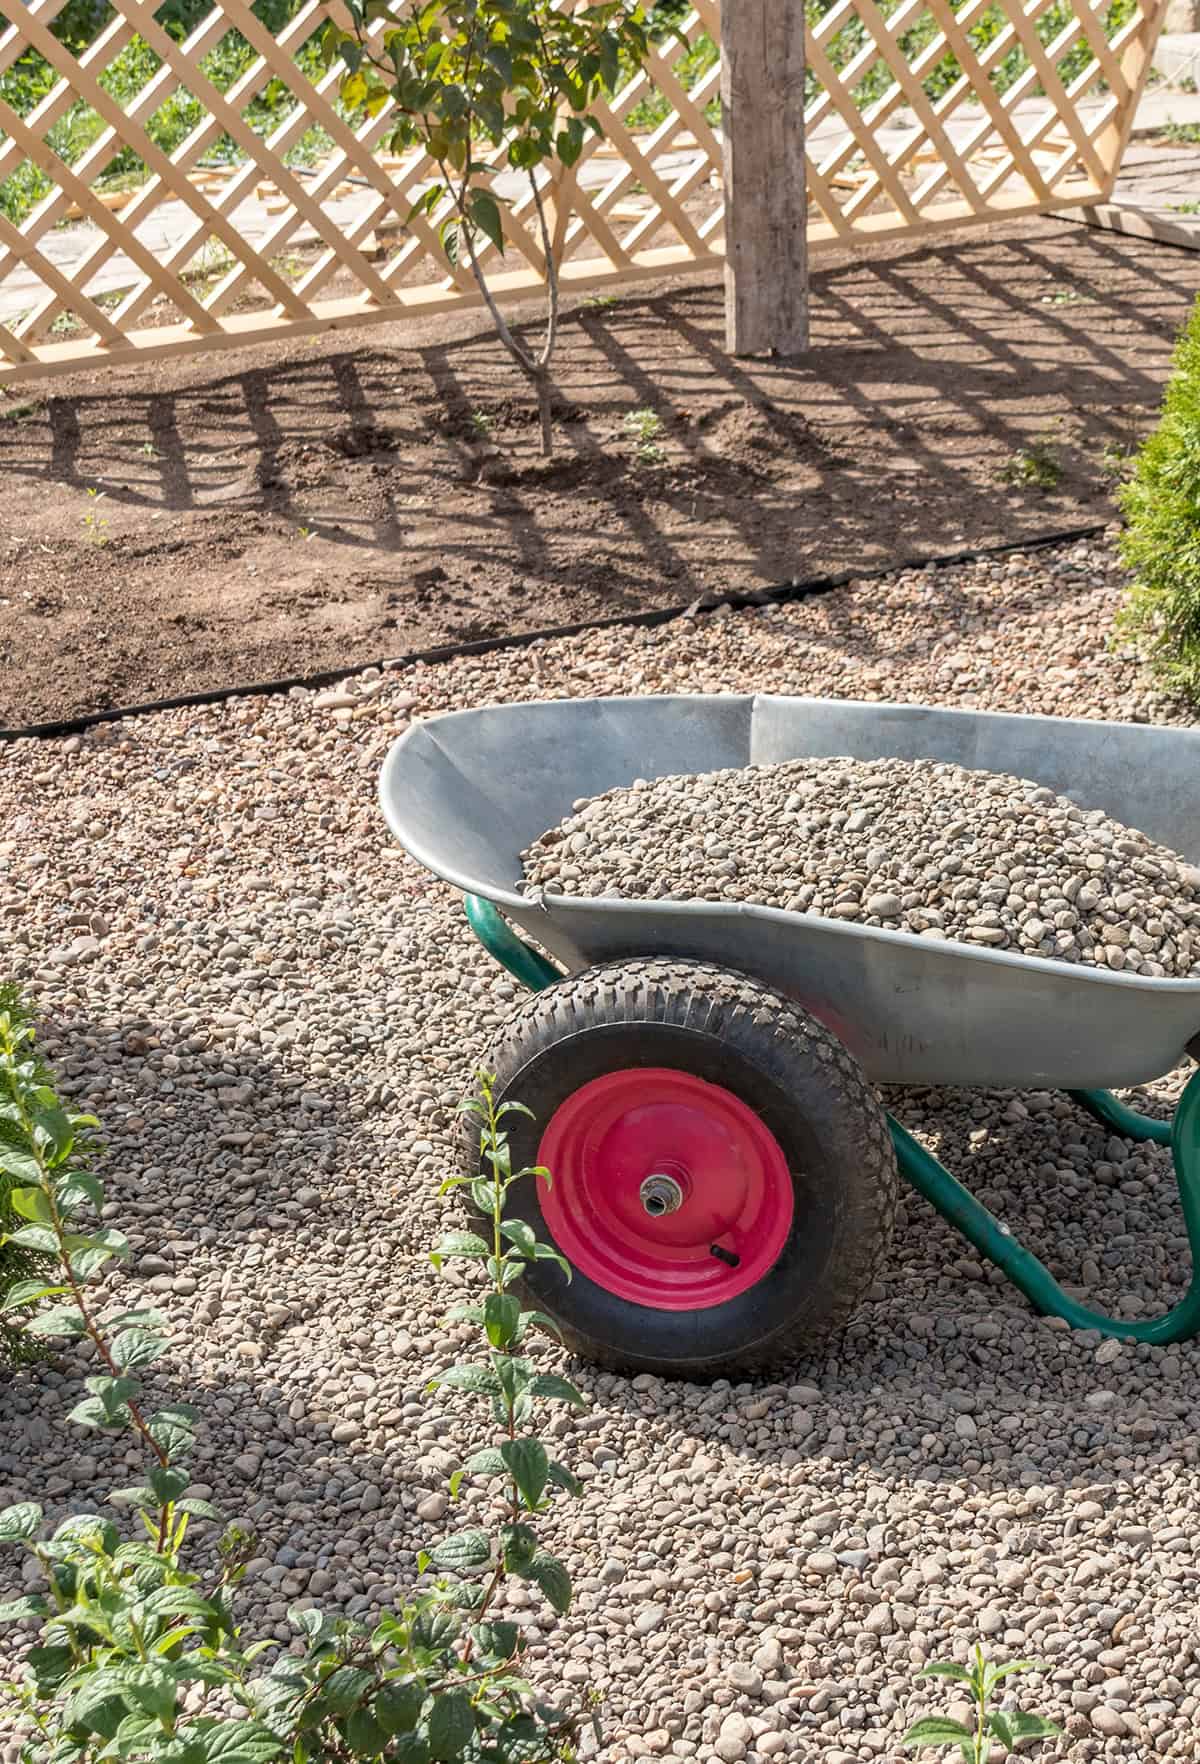
Once the first load of gravel is dumped, make sure you distribute it across the surface. Shovel and move smaller piles from the center toward the edges. Uneven spread can result in soft spots or low areas where water pools.
Use a garden rake, shovel, or even your boots for small spaces. For large areas, a landscape rake is useful. If applying gravel along a path or driveway, keep the depth and width consistent to prevent tracks from forming during use. Fill in any visible low points so no soil shows through.
Rake and Level
Focus on evening out the gravel. For clear boundaries, install edging or border materials before you finish raking. Good borders prevent the gravel from migrating into lawns or adjacent beds.
Check the slope, especially for driveways and drainage paths, to guide water away. A flat surface in high traffic areas reduces tripping hazards and makes walking easier. Use a straight board or a rake to check for bumps or dips, fixing any uneven spots as you go.
Compact for Stability
Proper compaction is key for a hard-wearing gravel surface. Compact the base with a manual tamper for small areas or with a plate compactor for larger ones. This locks the stones together and helps prevent movement over time.
Go over the full surface at least twice. Add extra gravel if the layer thins out after compacting. Repeat the compaction to create a firm, level finish. Your goal is a solid surface that does not shift easily under weight. For added durability, lightly hose the area to help settle loose pieces after compacting.
How Deep Should Gravel Be?
The right gravel depth depends on the specific use area. You need enough material for stability, drainage, and lasting performance.
For Walkways and Patios
A walkway or patio needs a gravel layer that supports weight and drains water. Aim for a base depth of about 4 inches for most foot traffic paths. This provides firm footing and reduces movement over time.
For high-use patios, you can increase the depth to 5 or even 6 inches for more support. Install a weed barrier beneath the gravel to help with weed control. After compacting the soil, lay the gravel in two layers and press it down as you go.
Using angular gravel, like crushed stone or decomposed granite, gives better lock and stability. Finer finishes, such as pea gravel, can go as the top layer for smoother walking.
For Driveways
Driveways require more gravel depth because they need to support vehicles. Typically, a driveway should have at least 6 inches of compacted gravel for cars. For trucks or frequent heavy loads, increase this to 8 inches.
The gravel should be installed in layers, each about 2 to 3 inches, then compacted. This approach improves durability and prevents shifting or rutting over time. Angular gravel, like crushed rock, works best for driveways since the pieces fit together tightly.
Subsoil under the driveway must be firm and well-drained. If the soil is soft or clay-heavy, you may need to lay a geotextile fabric to strengthen the base and avoid sinking.
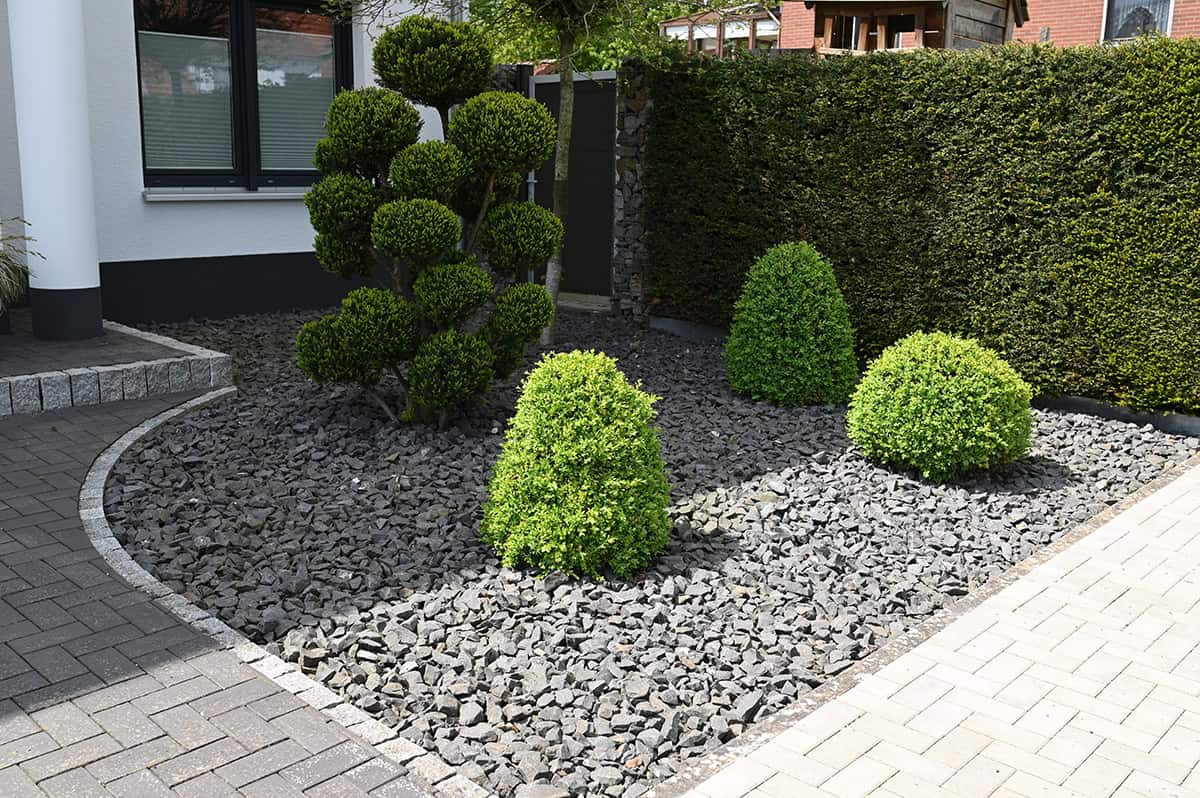
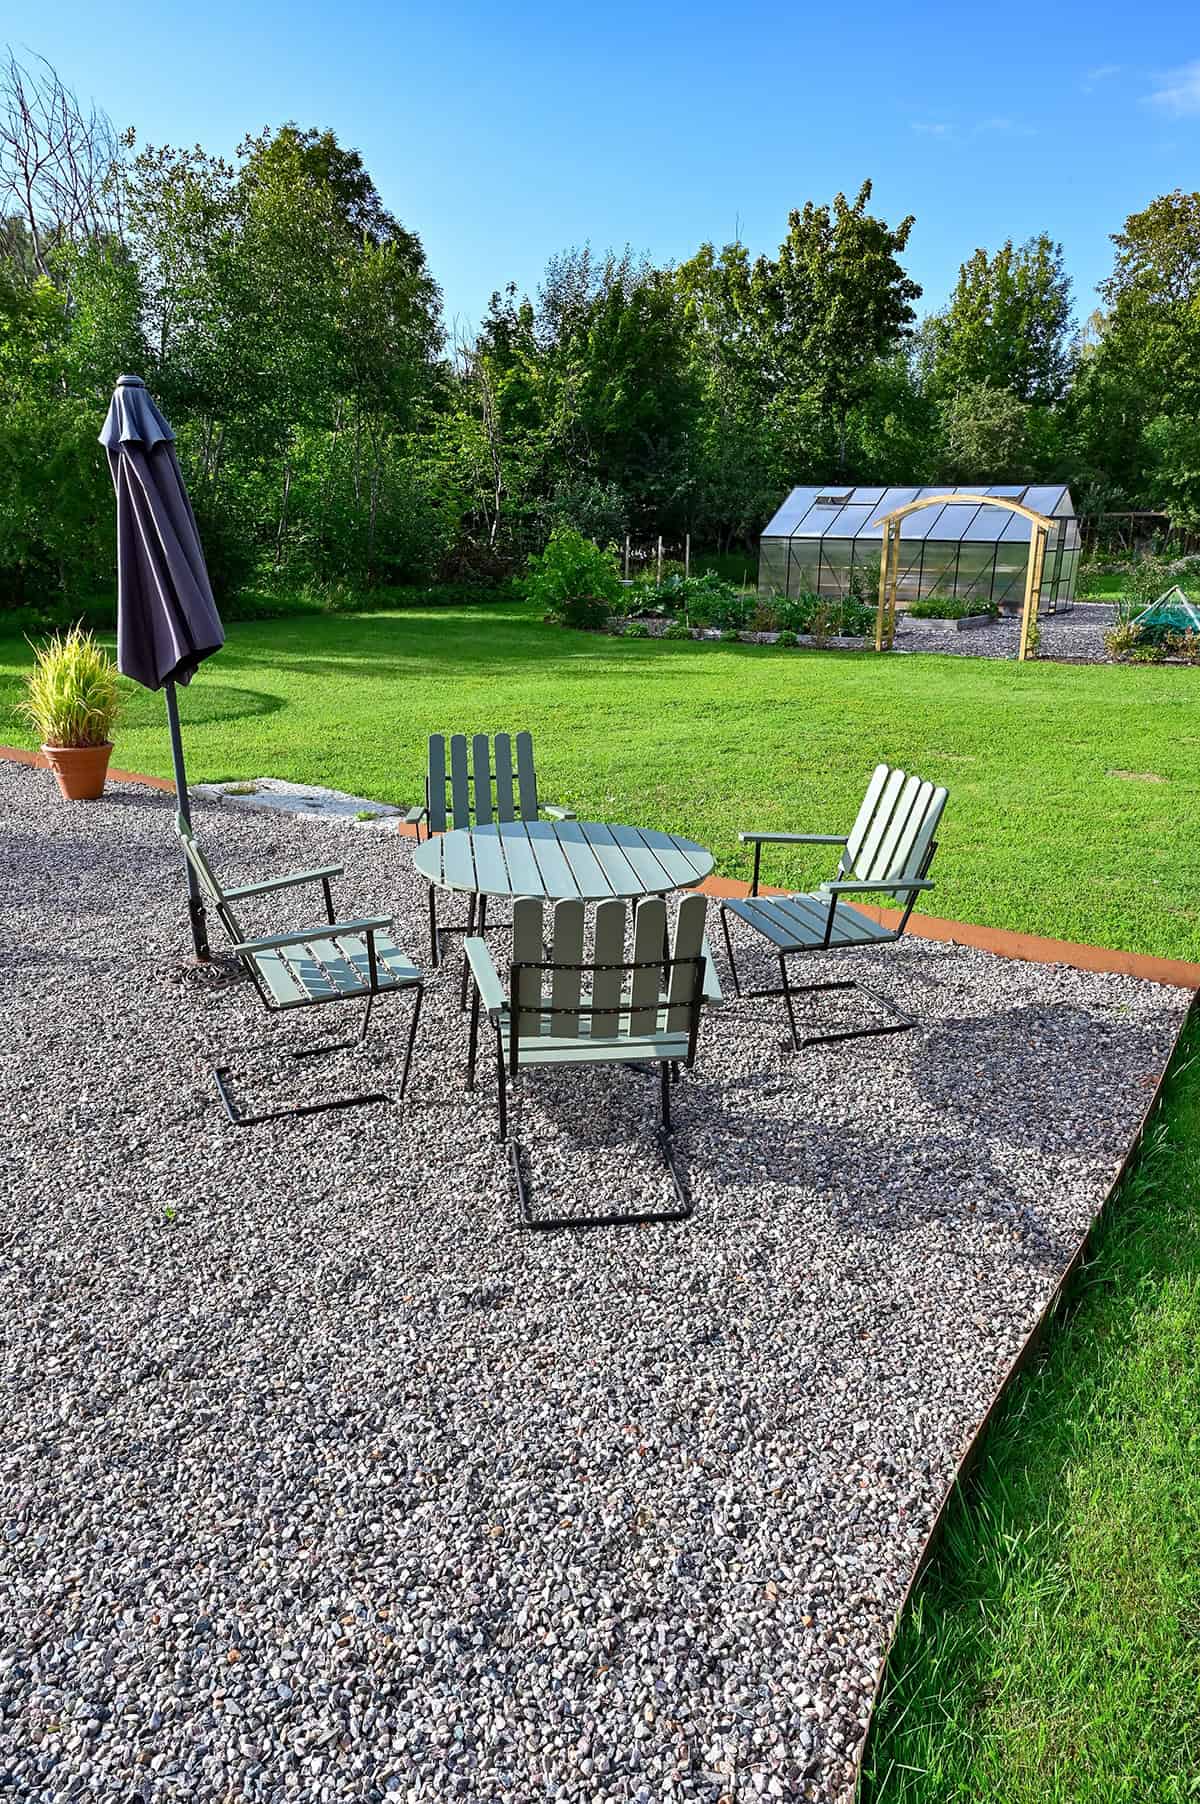
For Decorative Use
For decorative gravel placed around plants or as garden accents, you do not need a thick layer. A depth of 2 to 3 inches is enough for most uses. This depth covers soil, prevents weed growth, and keeps the gravel from moving.
In areas prone to soil erosion, you can add a little extra—up to 4 inches. Always clear and smooth the surface before laying gravel. Lay a weed barrier under the gravel if weeds have been a problem.
Smaller, rounded gravel types, such as river rock or pea gravel, look attractive in garden beds and provide good coverage. Keep the gravel layer consistent for a neat appearance.
Gravel Maintenance Tips
Proper care keeps gravel paths looking tidy and functional. Focus on stabilizing the surface and keeping growth and water issues minimal for long-lasting results.
How to Prevent Sinking and Shifting
Loose gravel tends to move if not installed with support. Use sturdy edges like bricks or pavers to hold the material in place. Strong borders stop gravel from spreading out or getting mixed with nearby soil during rain or heavy use.
Regular raking helps keep the surface level. When you notice dips, add new gravel where needed. Press it down after spreading so the stones compact into the soil. Gravel often settles after several weeks so monitor changes and refill low spots.
Select finer crushed gravel, such as crusher run, for the bottom layer. This locks the surface and limits movement. Avoid placing gravel directly onto bare clay or loose earth. A base layer of compacted soil or sand gives extra stability and slows down sinking.
Dealing with Weeds or Runoff
Weeds push through gravel if you do not create a barrier. Use woven landscape fabric under the gravel to block most unwanted growth. Cut an X shape to plant where needed but keep all other spots covered.
Remove weeds by hand as soon as you see them. Pulling early keeps root systems small and easier to manage. For any persistent regrowth, you may spot treat with a targeted herbicide.
Water runoff can wash gravel away and expose soil. Create a very slight slope away from buildings to direct water off the surface. Adding a drainage ditch or lining edges with rocks helps slow down erosion in problem areas. Choose gravel sizes that lock together firmly for more resistance to water flow.