There’s something exciting about growing your own food, and mushrooms are no exception. Indoors, they don’t take up much space and can thrive year-round. Read on to discover how to grow mushrooms indoors the easy way.
Table of Contents
Why Grow Mushrooms Indoors?
You can control the growing environment to suit your needs. There are practical benefits, including space savings, freshness, and access to specialty mushrooms you cannot always find in stores.
Compact, Clean, and Year-Round Growing
You do not need a lot of space to start an indoor mushroom project. Many people use a closet, basement, or even a corner of a room. Growing kits simplify setup for beginners, cutting down the need for special equipment.
Indoor setups allow you to avoid pests, weeds, and unpredictable weather. Common risks like mold and contamination are easier to prevent with good cleaning and basic air flow management. Year-round harvesting is possible because you can keep the temperature and humidity stable.
By growing indoors, you no longer have to wait for the right season. You avoid the need for outdoor space or large garden beds. For small homes or apartments, indoor mushroom gardens make the most of limited living areas without creating mess or strong odors.
Health, Culinary, and Sustainability Benefits
Growing your own mushrooms gives you access to fresh varieties like oyster, shiitake, and lion’s mane. You can harvest them at peak freshness when their nutrients are highest. Store-bought mushrooms often lose flavor and nutrients sitting on the shelf.
Many mushrooms are good sources of B vitamins, antioxidants, and minerals. Including them in your meals can boost nutrition. Indoor growing lets you avoid chemicals or pesticides, so you control the quality.
Sustainable indoor growing reduces food waste. You use just the amount you need and compost the leftover substrate. Short supply chains save resources and reduce transport emissions. By growing mushrooms, you help reduce your environmental impact while enjoying better-tasting food.
Best Mushrooms to Grow Indoors
Some mushroom types work better indoors than others. Your choice depends on the ease of the growing process, flavor, and the requirements of different varieties.
Top Beginner-Friendly Varieties
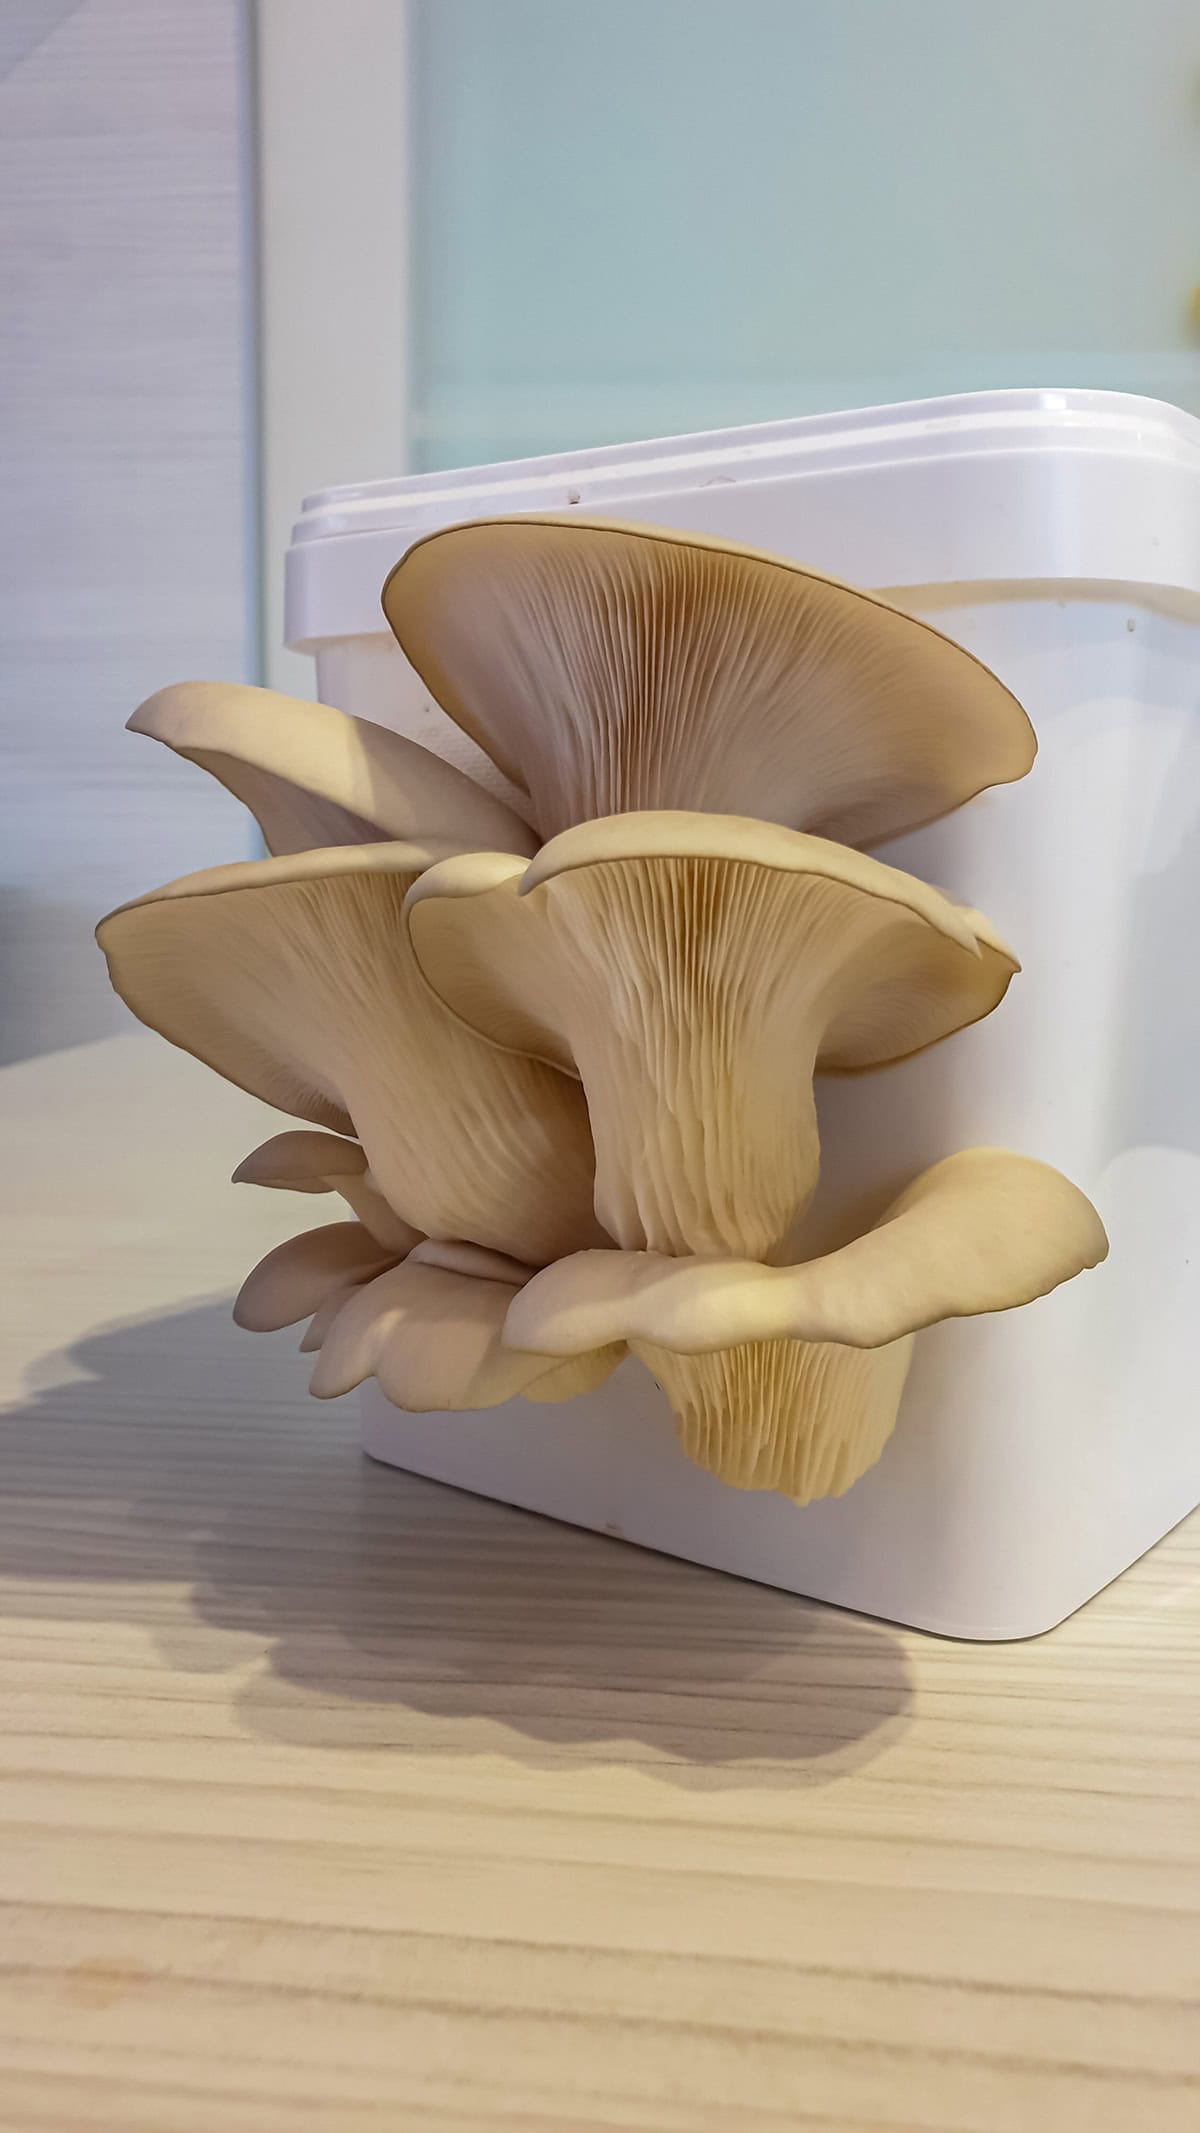
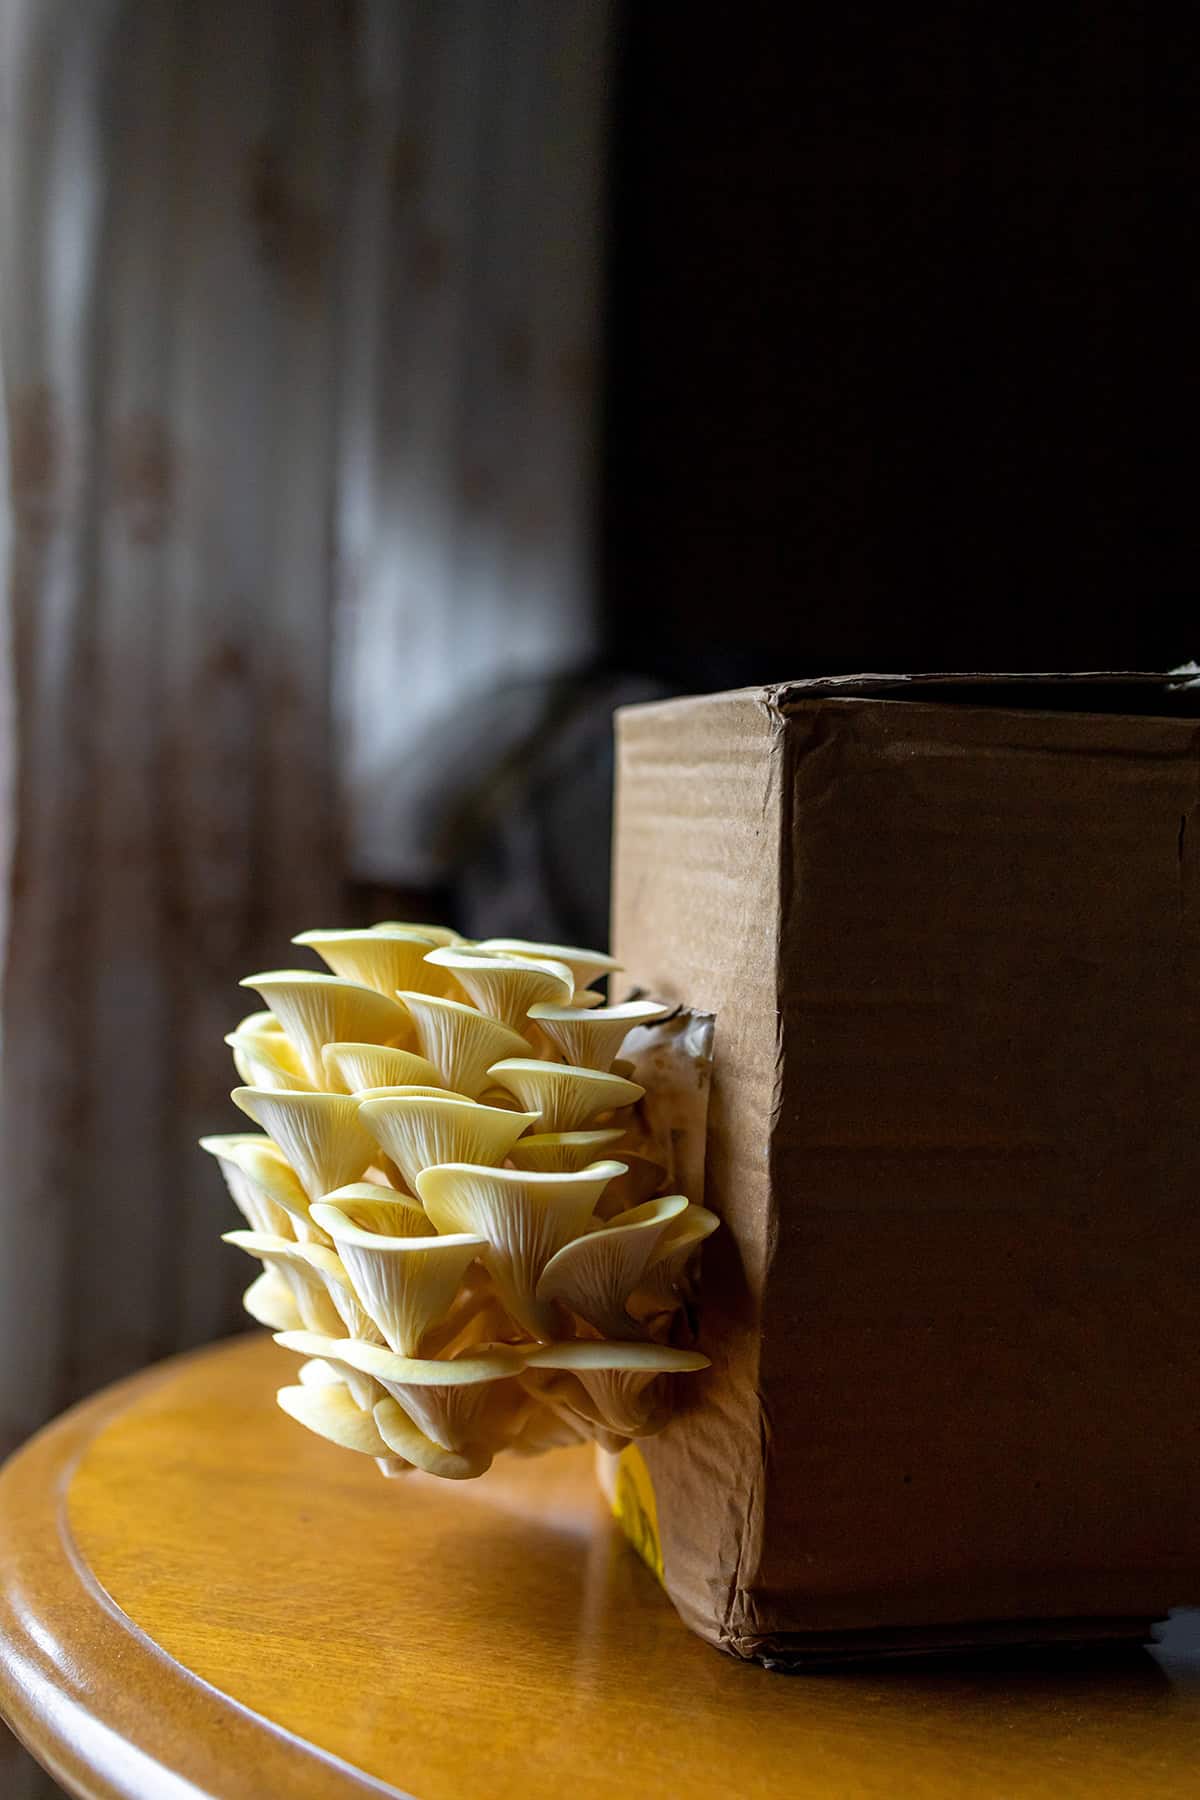
Oyster mushrooms are one of the easiest kinds for indoor growing. They adapt well to a range of temperatures and substrates. You can grow them on straw, coffee grounds, or sawdust.
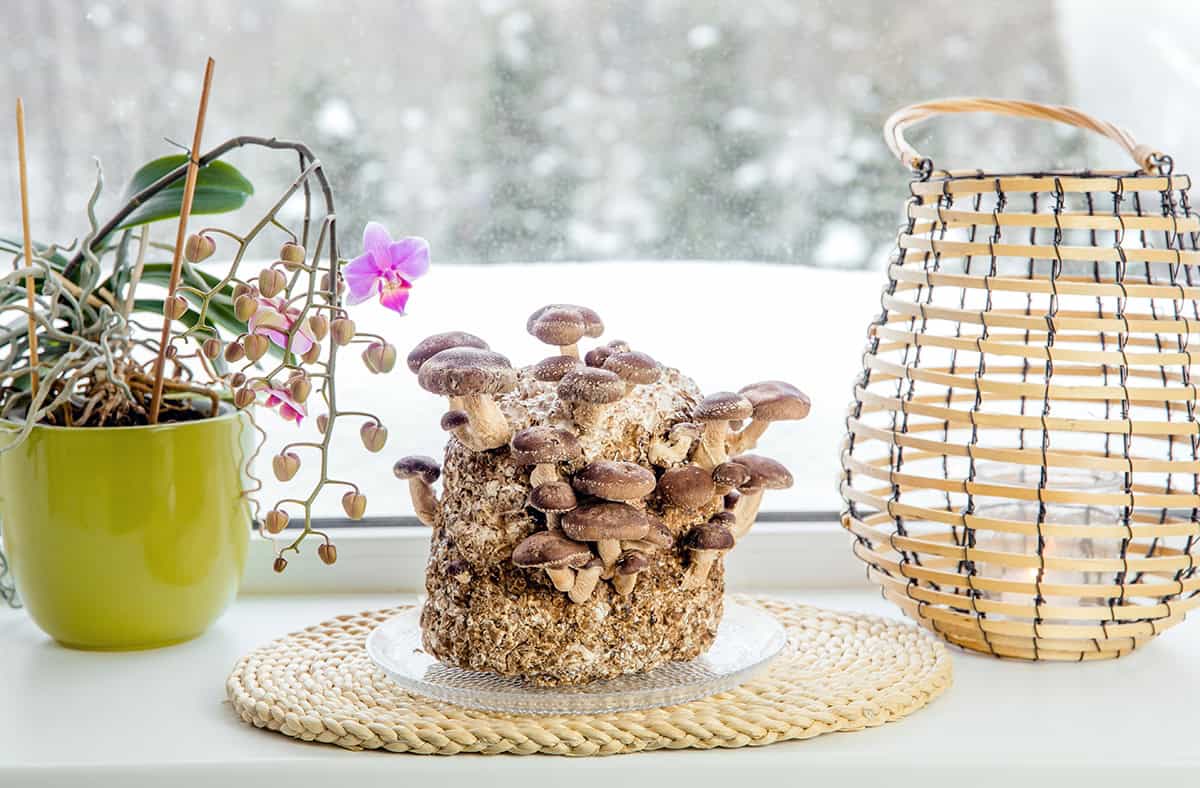
Shiitake mushrooms are common in stores and can be cheaper to grow at home. They have a rich flavor. You often need hardwood logs or sawdust blocks to start.
White button mushrooms and portabella mushrooms both work well indoors. Kits for these kinds are widely available online and in stores. Lion’s mane mushrooms can also be grown inside and offer a unique texture.
Choose varieties where you can find clear instructions and a reliable spawn source. These options help you build confidence before moving to more demanding species.
How to Choose Based on Flavor and Conditions
The flavor profile of a mushroom can drive your choice. Shiitake gives a deep, earthy taste, while oyster varieties often taste mild and slightly sweet.
Different mushrooms have unique growing needs. Some, like lion’s mane, prefer cooler conditions, while oyster mushrooms tolerate fluctuating temperatures. Button and portabella mushrooms favor compost or manure-based substrates.
Think about your available space. Some types need vertical space or logs, while others do well in small containers. Factor in the amount of light and air flow you can provide.
Research the specific needs of each type before making a selection. By matching the mushroom’s environment with your indoor conditions, you can maximize both yield and quality.
What You Need to Get Started
Growing mushrooms indoors requires basic equipment, proper substrates, and an understanding of helpful extras. Preparation at this stage sets you up for healthy growth and good yields.
Essential Supplies and Tools
You need mushroom spawn or spores to begin. Spawn starts the growth, so choose a reputable supplier for best results. A clean space is vital. Use a spray bottle for misting water. Sharp scissors or a small knife help you harvest.
Lighting is usually optional. Most mushrooms only need indirect sunlight or a low light source. Gloves and a mask can lower contamination risk. A thermometer and hygrometer let you track temperature and humidity.
Plastic sheeting or bags help keep things tidy. Rubbing alcohol or soap ensures your surfaces stay disinfected and safe. Work in an area you can clean easily. Avoid open windows or dusty spaces.
Understanding Substrates and Containers
The substrate is what your mushrooms feed on. Typical options include straw, sawdust, or pre-made blocks. Use only sterilized or pasteurized material to cut down on contaminants. Some mushrooms prefer different substrates. Oyster types do well with straw, while shiitake grow from hardwood sawdust.
Containers depend on your chosen type and space. Grow bags, small buckets, or shallow plastic boxes all work. Make sure your container has space for air flow and moisture control. Drill small holes in solid containers to allow air exchange.
Buy or prepare only enough substrate for your batch. Overfilling spaces reduces growth and can favor mold. Seal or loosely close your containers after inoculation for best results. Keep your substrate damp but not soaked.
Optional Add-ons for Better Results
You can improve your success using a few optional items. Heat mats help keep your growing area in the right range if your home is cool. Small fans maintain good air circulation, reducing the risk of mold.
Set up a simple humidity tent using plastic if your air is very dry. Some growers use timers for lights or misting to keep things on schedule. Labels or a notebook help you keep track of details for each batch.
Consider using a basic shelving unit if you want to grow more. You can grow vertically in limited space this way. Extra cleaning supplies make maintenance easier as you expand. Optional equipment is not essential at first, but upgrades bring more consistent results as you gain experience.
Preparing Your Indoor Growing Space
A well-prepared space gives mushrooms everything they need to thrive. Controlling the environment lets you avoid common problems that may slow or stop growth.
Light, Temperature, and Humidity Requirements
Mushrooms require steady conditions indoors. Most types prefer low, indirect light for several hours daily. You do not need direct sunlight. A fluorescent lamp or low-power LED works well.
Temperatures should match the species you choose. Oyster mushrooms usually fruit best at 60–68°F. Shiitakes often do well in similar ranges. Too much heat or cold will slow growth. Avoid sharp temperature changes.
Humidity remains crucial for good yields. Mushrooms need 80–95% air moisture during fruiting. Set up a small humidifier nearby or mist the air as needed. Dry air causes poor or cracked growth.
Best Spots in Your Home for Mushroom Cultivation
Look for a space that stays cool, dark, and moist. Many people use basements, closets, or spare bathrooms. Avoid direct sun or heat vents. High heat dries out your growing medium.
Garages or unused storage rooms work if you can keep the temperature in range. Think about using a plastic tent or shelving to keep humidity around your mushrooms. Limited airflow is better for humidity but not so much that air gets stale.
Keep the area away from pets and heavy foot traffic. Too much movement can stir up dust or contamination.
Cleanliness and Ventilation Tips
Cleanliness directly affects mushroom health. Wipe down all surfaces with soap and water before you start. Disinfect tools and containers. Wear clean gloves if possible.
Fans can improve air exchange, but mushrooms do not like strong drafts. Position a small fan at a distance for gentle airflow if air gets stale. Open a nearby window for a few minutes daily if you smell musty air.
Remove waste and spent substrate quickly from your growing area. Regular cleaning reduces mold or bacterial problems. Always monitor for unwanted smells or visible contaminants.
Step-by-Step: How to Grow Mushrooms Indoors
Growing mushrooms inside your home calls for careful preparation and close daily attention. Each part of the process builds on the last, from preparing materials to daily monitoring and harvest.
Step 1 – Prepare Your Substrate
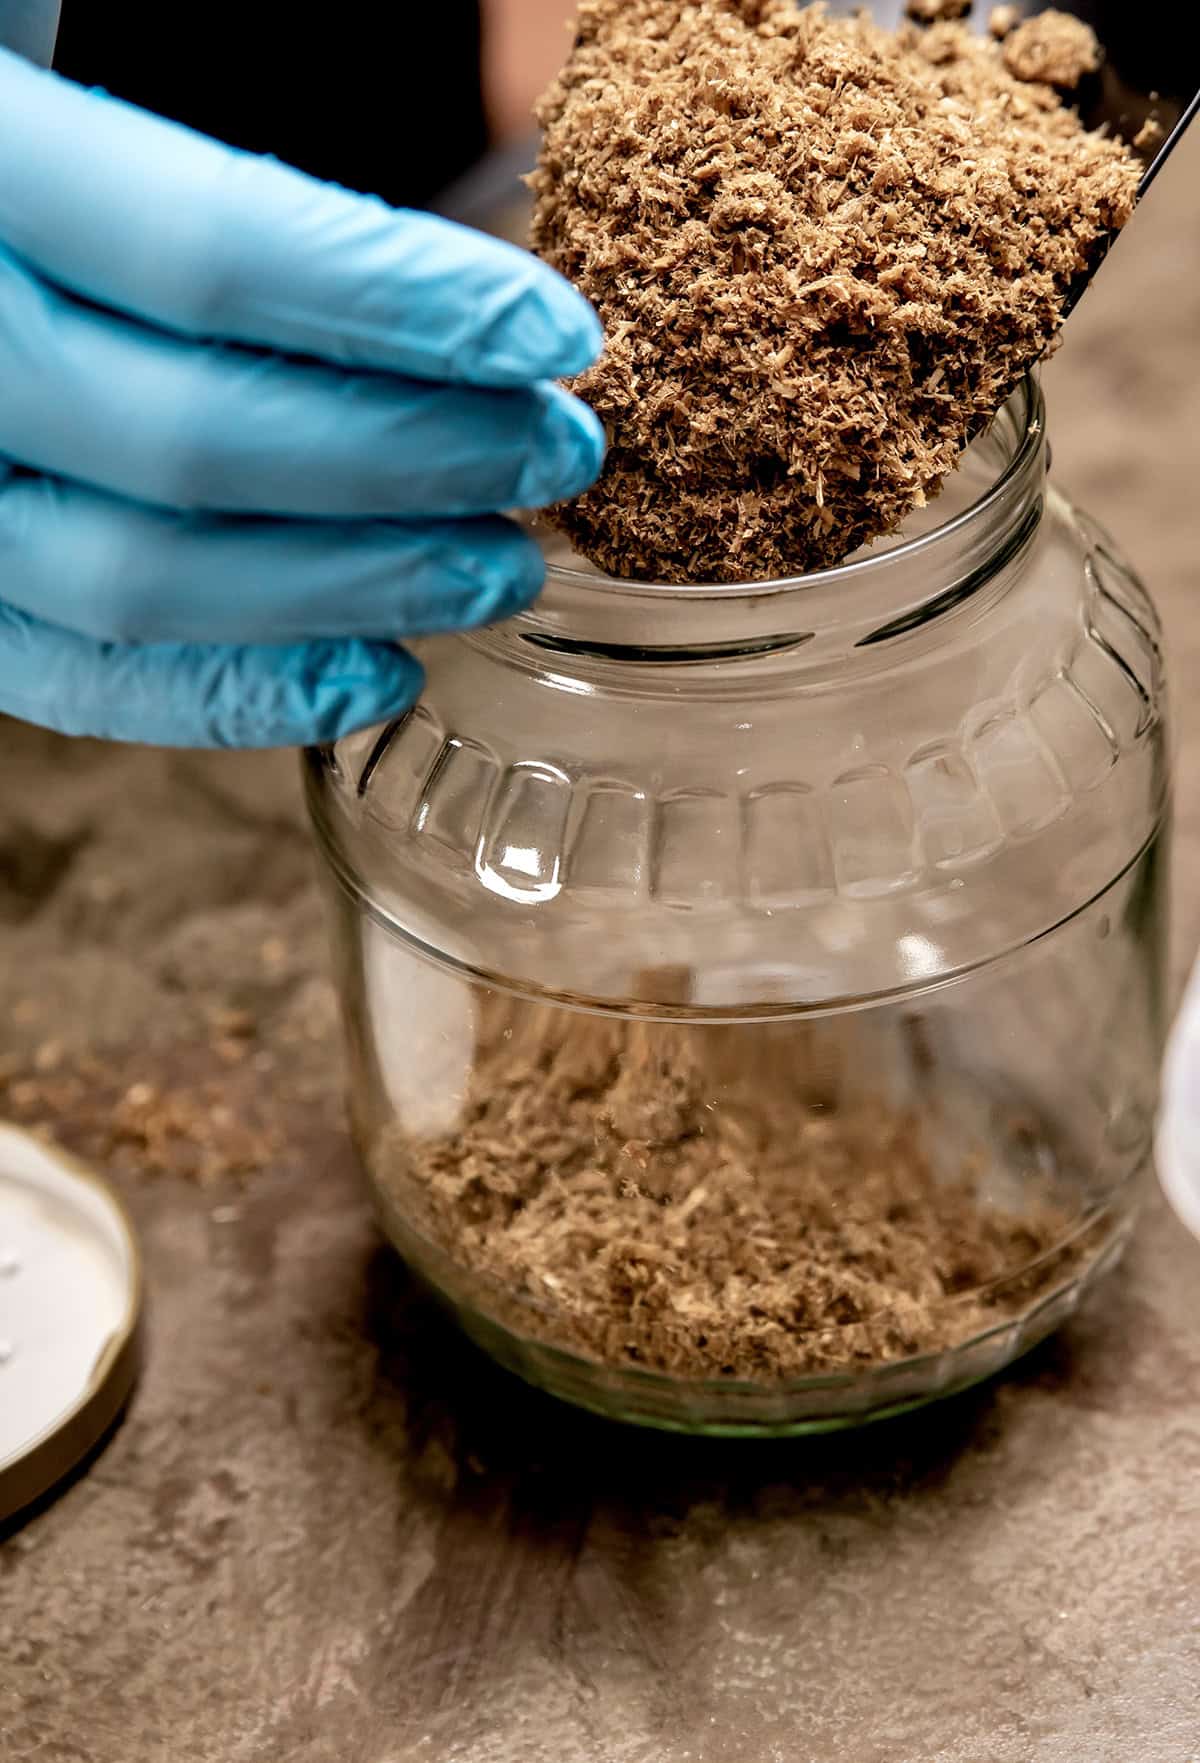
The substrate is the growing medium mushrooms use for nutrients. Common choices are sterilized straw, sawdust, or a mix designed for the mushroom type. Oyster and shiitake mushrooms do well on pasteurized straw or hardwood sawdust.
You must chop and moisten the substrate. Water helps with even colonization. Sterilizing or pasteurizing the material is crucial since it kills off mold and bacteria. Place the substrate into a plastic bag or container with small holes for air flow.
Allow the substrate to cool if you’ve heated it for sterilization. This step prevents harmful contaminants from taking over before you introduce mushroom spores or spawn.
Step 2 – Inoculate with Spores or Spawn
Once your substrate is ready, introduce mushroom spawn or spores. Most beginners use spawn because it’s more reliable than spores. Break the spawn into small pieces and mix it evenly into the substrate. Make sure the mix is not too hot or wet.
Thorough mixing ensures the mycelium spreads throughout the substrate. If using a bag, seal it loosely to allow airflow. Label the containers with the inoculation date and type of mushroom.
Keep everything as clean as possible during this step. Use gloves and disinfected tools to avoid contamination.
Step 3 – Incubate in the Right Conditions
After inoculation, your containers need a warm, dark place. Maintain a temperature between 65°F and 75°F, which is suitable for most varieties. Stack the containers to save space and reduce light exposure.
Mycelium, the root-like structure, will grow for two to four weeks. Check for white, thread-like growth across the substrate. Condensation and warmth encourage rapid colonization.
Do not disturb the containers unless you spot contamination. Mold that is green or black can ruin a whole batch, so keep a close watch.
Step 4 – Switch to Fruiting Conditions
Once the substrate has fully colonized, it’s time to switch to fruiting conditions. Move your containers to a spot with indirect light and temperatures slightly lower than in incubation—typically 55°F to 65°F.
Increase humidity by misting or using a humidifier. Open the container or cut holes in the bag to improve air exchange. Mushrooms need fresh, moist air and some light for proper growth.
Monitor for small pinheads along the surface. This is the first sign fruiting has begun. Avoid letting the substrate dry out.
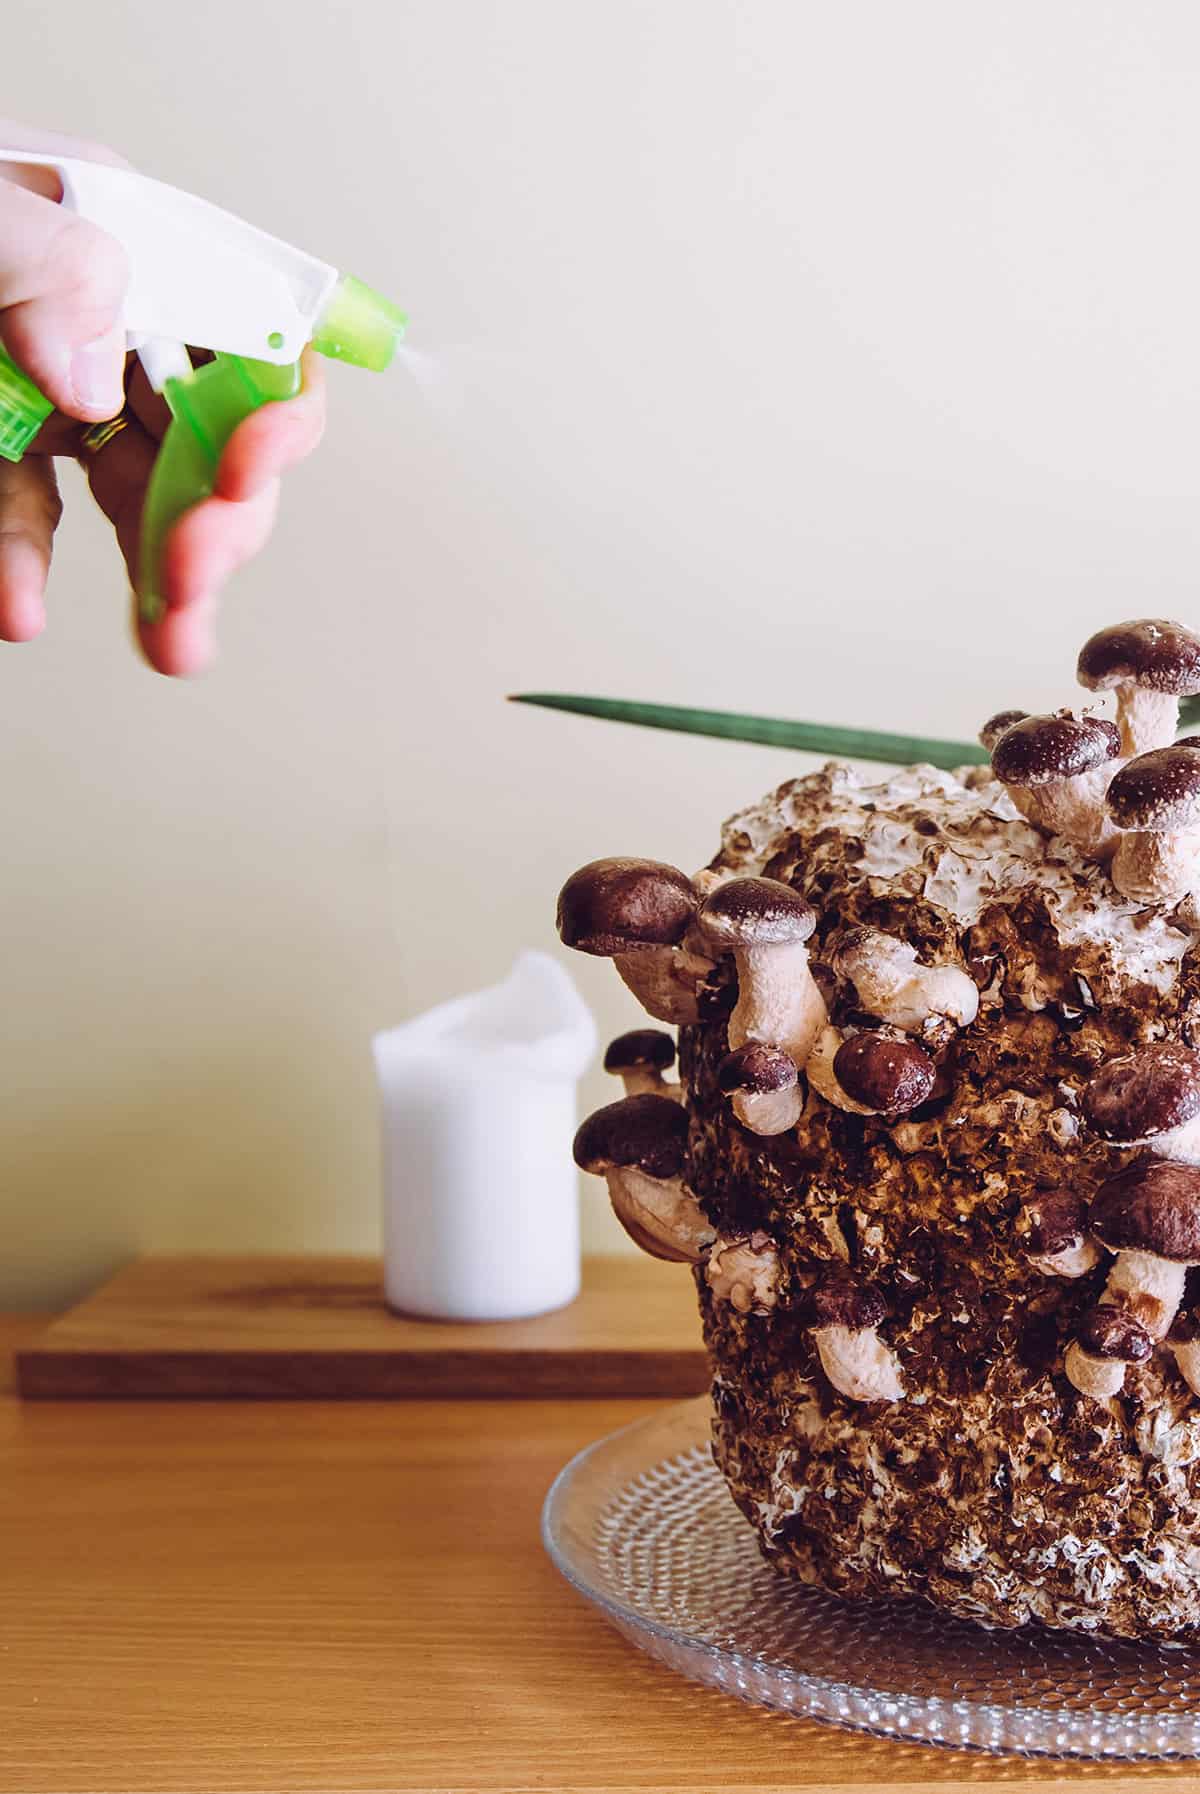
Step 5 – Mist and Monitor Daily
Mushrooms need steady humidity, so daily misting is required. Mist with clean water in the morning and evening. Keep the air moist but not soggy. Too much water can encourage bacteria or mold.
Check for condensation on the inside of your container. If it dries out, increase the frequency of misting. Make sure the air smells fresh.
Inspect the surface each day for mushroom growth and signs of contamination. Remove any moldy sections carefully and keep the growing area clean.
Step 6 – Harvest at the Right Time
Harvest mushrooms when caps have fully opened but before the edges flatten or curl up. Hold the stem and gently twist or cut close to the base. Use a sharp, clean knife for cutting.
Collect mushrooms promptly to prevent spores from spreading and to encourage more flushes from the substrate. Store harvested mushrooms in a paper bag in the refrigerator. They should stay fresh for up to a week.
If you miss the right harvest window, the quality and flavor drop. Regular picking extends your crop’s production cycle and prevents rot.
Common Issues and How to Solve Them
Growing mushrooms indoors can bring challenges. You need to catch problems early to avoid failed harvests and wasted effort. Understand what causes setbacks and how to fix them to keep your project on track.
Mold or Contamination
You might find green, black, or fuzzy patches on your substrate. Mold usually grows when there is too much moisture or when sterile technique was not followed. Always clean your hands, tools, and workspace before working with the mushrooms.
Make sure you use fresh, high-quality spawn and substrate. If you see spots of mold, remove the affected part right away if possible. For heavy contamination, discard the whole batch.
Clean the growing area with soap and water after a failed run. A solution of diluted hydrogen peroxide or rubbing alcohol can help disinfect surfaces. Pay close attention to air and substrate humidity, since high moisture encourages mold.
Mushrooms Not Growing or Pinning
Failure to see baby mushrooms often points to problems with light, temperature, or humidity. Most mushrooms need indirect light for a few hours each day to trigger pinning. Keep room temperatures within the range for your mushroom species.
If the air is too dry, cover your fruiting chamber with a plastic tent or mist water inside several times daily. Make sure you do not soak the substrate. A dry surface may stop pinning while excess water can promote bacteria.
Check the substrate for freshness. Some species need more oxygen. Gently fan the chamber a few times daily. If things still do not improve, consider starting a new batch with freshly prepared substrate.
Managing Moisture and Air Circulation
Proper water levels and air flow keep fungi healthy. Too much moisture or poor ventilation can allow bacteria and mold to take hold or cause mushrooms to rot. Make sure your fruiting chamber stays humid but not too wet.
Use a spray bottle to mist the walls of the chamber, not the mushrooms directly. This helps maintain even humidity. Open the chamber slightly each day to let in fresh air.
Fans or vents can improve circulation in larger growing spaces. Avoid letting the substrate sit in water. Good air movement and careful moisture control are vital for strong, healthy mushroom growth.
When and How to Harvest Your Mushrooms

Knowing when to harvest ensures you enjoy the best flavor and texture. Using the right picking methods can keep your crop growing well for several weeks.
Signs They’re Ready to Pick
Watch for specific signs before harvesting. The caps usually expand and flatten out just before the mushroom releases spores. For button and portabella types, check that the veil beneath the cap starts to tear away from the stem.
Oysters look ready when the edges of the caps flatten and look soft. Shiitake mushrooms turn from convex to almost flat when mature. If you harvest too late, mushrooms can release spores, wilt quickly, or become tough.
Harvesting at the right time keeps mushrooms firm and flavorful. If you see a dusty deposit on the caps or growing surface, that means spore release has started. Pick as soon as you notice these signs.
Best Harvesting Methods
Twist mushrooms gently at the base to remove them from the substrate. You can also cut the stem with a clean knife. Handle both methods with care because rough picking can damage the mycelium. A sharp knife helps prevent tearing.
Try not to pull with too much force. This keeps the growing surface intact for future flushes. Remove the entire stem to avoid rot. Check for clusters and harvest them before the largest mushroom drops spores.
Handle mushrooms gently to avoid bruising. Place harvested mushrooms in a tray or basket lined with paper. Keep them dry and out of direct sunlight before storage.
How to Get a Second or Third Flush
To encourage more flushes, keep the substrate moist but not wet after the first harvest. If the surface dries out, lightly mist it each day. Remove any loose stems or mushroom debris to prevent mold.
Some species benefit from a short rest period after picking. Lowering the temperature for a day or two can trigger more mushroom growth. You may see pins forming again within a week.
Be patient and keep the environment stable. Additional flushes may be smaller than the first but can still give good yields. Watch for any signs of contamination and remove affected areas quickly to keep the crop healthy.
Storing and Using Your Indoor-Grown Mushrooms
Fresh mushrooms picked from your indoor setup have a short shelf life, but simple methods extend their use. Storing, preserving, and preparing the crop helps you enjoy homegrown mushrooms throughout the week and beyond.
Short-Term and Long-Term Storage Methods
You need to store mushrooms properly to keep them fresh. Place unwashed mushrooms in a paper bag or a container lined with a paper towel. Store them in the refrigerator.
Moisture speeds spoilage, so always avoid sealed plastic unless you use a vented container. Mushrooms stored this way stay fresh for up to a week.
For longer-term storage, you can freeze or dry them. Do not freeze raw mushrooms because they become mushy. Instead, cook them quickly in a pan and let them cool before freezing. When dried, mushrooms last for months if stored in airtight containers kept in a cool, dark place.
Drying, Freezing, or Cooking Immediately
Some mushrooms need cleaning with a brush or damp cloth before you cook or store them. Drying is a popular method when you have a large harvest. Use a food dehydrator or your oven set on low heat. Make sure the slices do not overlap for even drying. Once dry, store in clean glass jars with tight lids.
If you want to freeze mushrooms, first sauté them in butter or oil until soft. Let them cool. Spread on a tray to freeze, then transfer to freezer bags.
Cooking mushrooms right after harvest delivers the best flavor. Mushrooms work well in many recipes, so consider preparing them fresh if you plan to use them within a day or two.
Favorite Ways to Use Mushrooms in the Kitchen
Mushrooms add depth to a variety of dishes. You can sauté them with garlic and herbs, blend into soups, or add to egg dishes and pasta. Many people enjoy mushrooms in stir-fries, risottos, or as a topping for pizzas and salads.
Some cooks roast sliced mushrooms to bring out their natural flavor. Chopped mushrooms mixed with ground meat increase moisture and boost nutrition.
Simple preparations like roasting, grilling, and simmering in broths showcase the unique taste of your indoor-grown mushrooms. Use them fresh when possible for the best results in everyday meals.