Looking for a plant that’s different from the usual leafy houseplants? Moss brings a lush, velvety texture that instantly softens any space. Keep reading to learn how to grow it indoors with ease.
Table of Contents
Why Grow Moss Indoors?
Moss looks unique and brings gentle color to indoor areas. It thrives with little care and fits spaces where other plants might not survive.
Natural Decor with Minimal Effort
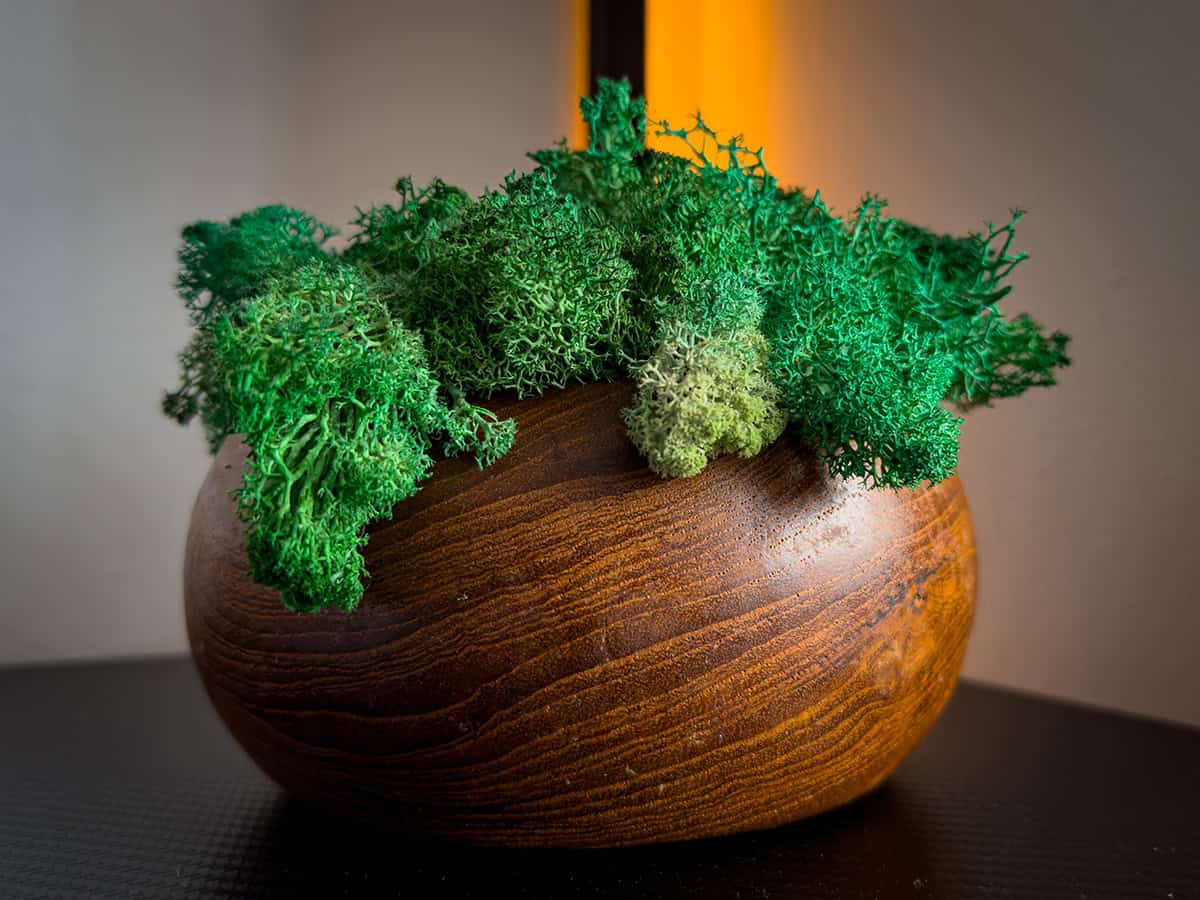
You can use moss to create a living accent in your home. Its bright green color stands out, even in small containers or between stones. Maintenance remains easy because moss does not need frequent watering.
You won’t have to trim or prune it. Moss spreads slowly and keeps its shape. Unlike many indoor plants, it does not produce pollen or shed leaves, so you avoid mess.
A moss terrarium, for example, takes little space and stays green year-round. For people seeking a natural look with almost no work, moss offers the perfect solution.
Perfect for Low-Light, Low-Maintenance Spaces
Your windowsill or office corner might not get much sunlight. Moss survives and even thrives in low-light spots where most houseplants struggle. You do not need to invest in special grow lights.
Most moss species do well with regular room light. They can tolerate less water and adapt to various humidity levels. If you forget to water for a few days, they usually recover easily.
For those with little time or demanding schedules, moss fits a low-maintenance routine. You can pick it for shady spots where nothing else seems to grow.
Air Purifying and Humidity Boosting Benefits
Having moss inside can help improve your environment. Moss absorbs airborne dust and some impurities through its small leaves. It may also support a fresh feeling by slightly raising air moisture.
When moss is hydrated, it releases a small amount of water vapor. This action works best in closed containers or grouped displays. Studies suggest even modest improvements in air quality.
People with allergies might notice fewer issues because moss does not shed allergens like many flowering plants. Adding moss can make breathing a bit easier in dry indoor settings.
Best Types of Moss for Indoor Growing
Choosing the right moss can shape your success indoors. Different types of moss adapt to containers or terrariums with unique looks and care needs. How you source moss also affects how it thrives at home.
Popular Varieties for Containers and Terrariums
For indoor spaces, Sheet Moss (Hypnum spp.) and Cushion Moss (Leucobryum spp.) work very well. You will find sheet moss growing flat on soil, logs, or rocks. It offers a soft, green carpet and is easy to place in shallow containers.
Cushion moss looks like soft, round cushions. This type is popular because it forms dense mounds and holds moisture well. It thrives in glass terrariums with moderate light and humidity.
Star Moss (Tortula spp.) and Fern Moss (Thuidium spp.) also adapt to indoor containers. Star moss has a spiky shape and is good for adding texture. Fern moss has fine, lacy fronds and remains green in high humidity.
Sheet Moss vs. Cushion Moss – Which to Choose?
Your choice between sheet moss and cushion moss depends on the look you want and your growing conditions. Sheet moss creates a flat, even surface. You can use it to cover large or oddly shaped areas.
Cushion moss grows in rounded clumps. It works best for adding height or filling small containers. Because it holds water well, cushion moss helps keep a terrarium moist.
Sheet moss needs steady moisture and light but dries out faster. Choose it where air flow is good. Cushion moss tolerates less watering, making it a better pick for busy caretakers or closed terrariums.
Where to Source Moss: Harvesting vs. Buying
You can gather moss from outdoors or purchase it from a nursery or online store. Harvest only from areas you own or have permission to use. Avoid removing moss from protected lands.
Buying moss ensures you get pest-free and healthy plants. Stores often sell species adapted for indoor use. Check for sustainably sourced options when shopping.
When you harvest, match your container’s conditions to where you found the moss. Commercial products sometimes come in dry sheets or small mats, ready for placement. Always rinse harvested moss to remove debris before bringing it inside.
What You’ll Need to Grow Moss Indoors
Growing moss indoors requires careful setup and selection of materials. Your choices affect moss health and overall appearance in your indoor space.
Choosing the Right Surface (Stone, Soil, Wood, Glass)
Surfaces influence how well moss takes root and thrives. Stone surfaces, like slate or river rocks, remain damp and provide stability for moss to anchor. Soil works for some species, but keep the depth shallow and ensure it holds moisture without becoming soggy.
Wood adds a natural look if you use bark or logs. Choose untreated wood that won’t rot quickly. Glass surfaces suit terrariums or jar gardens. Glass does not absorb moisture, so monitor humidity and water frequency carefully when using it for moss displays.
Pick a surface that holds moisture consistently. Avoid metals or plastics since moss prefers natural textures and porous materials for anchoring.
Tools and Materials for Setup
You will need clean spray bottles for watering, as moss takes in moisture best with mist rather than heavy watering. Use tweezers or small tongs to place moss fragments gently onto your chosen surface. Sharp scissors let you trim or divide moss without damaging its delicate structure.
A shallow tray or dish can help maintain humidity around your moss patch, especially in dry indoor conditions. For starting moss indoors, have a lid or clear plastic cover handy to create a mini greenhouse effect during the first weeks.
Choose distilled or rainwater for best results. Tap water sometimes contains chemicals that may harm moss growth. Sterilize all containers and tools before use to prevent mold or fungus issues.
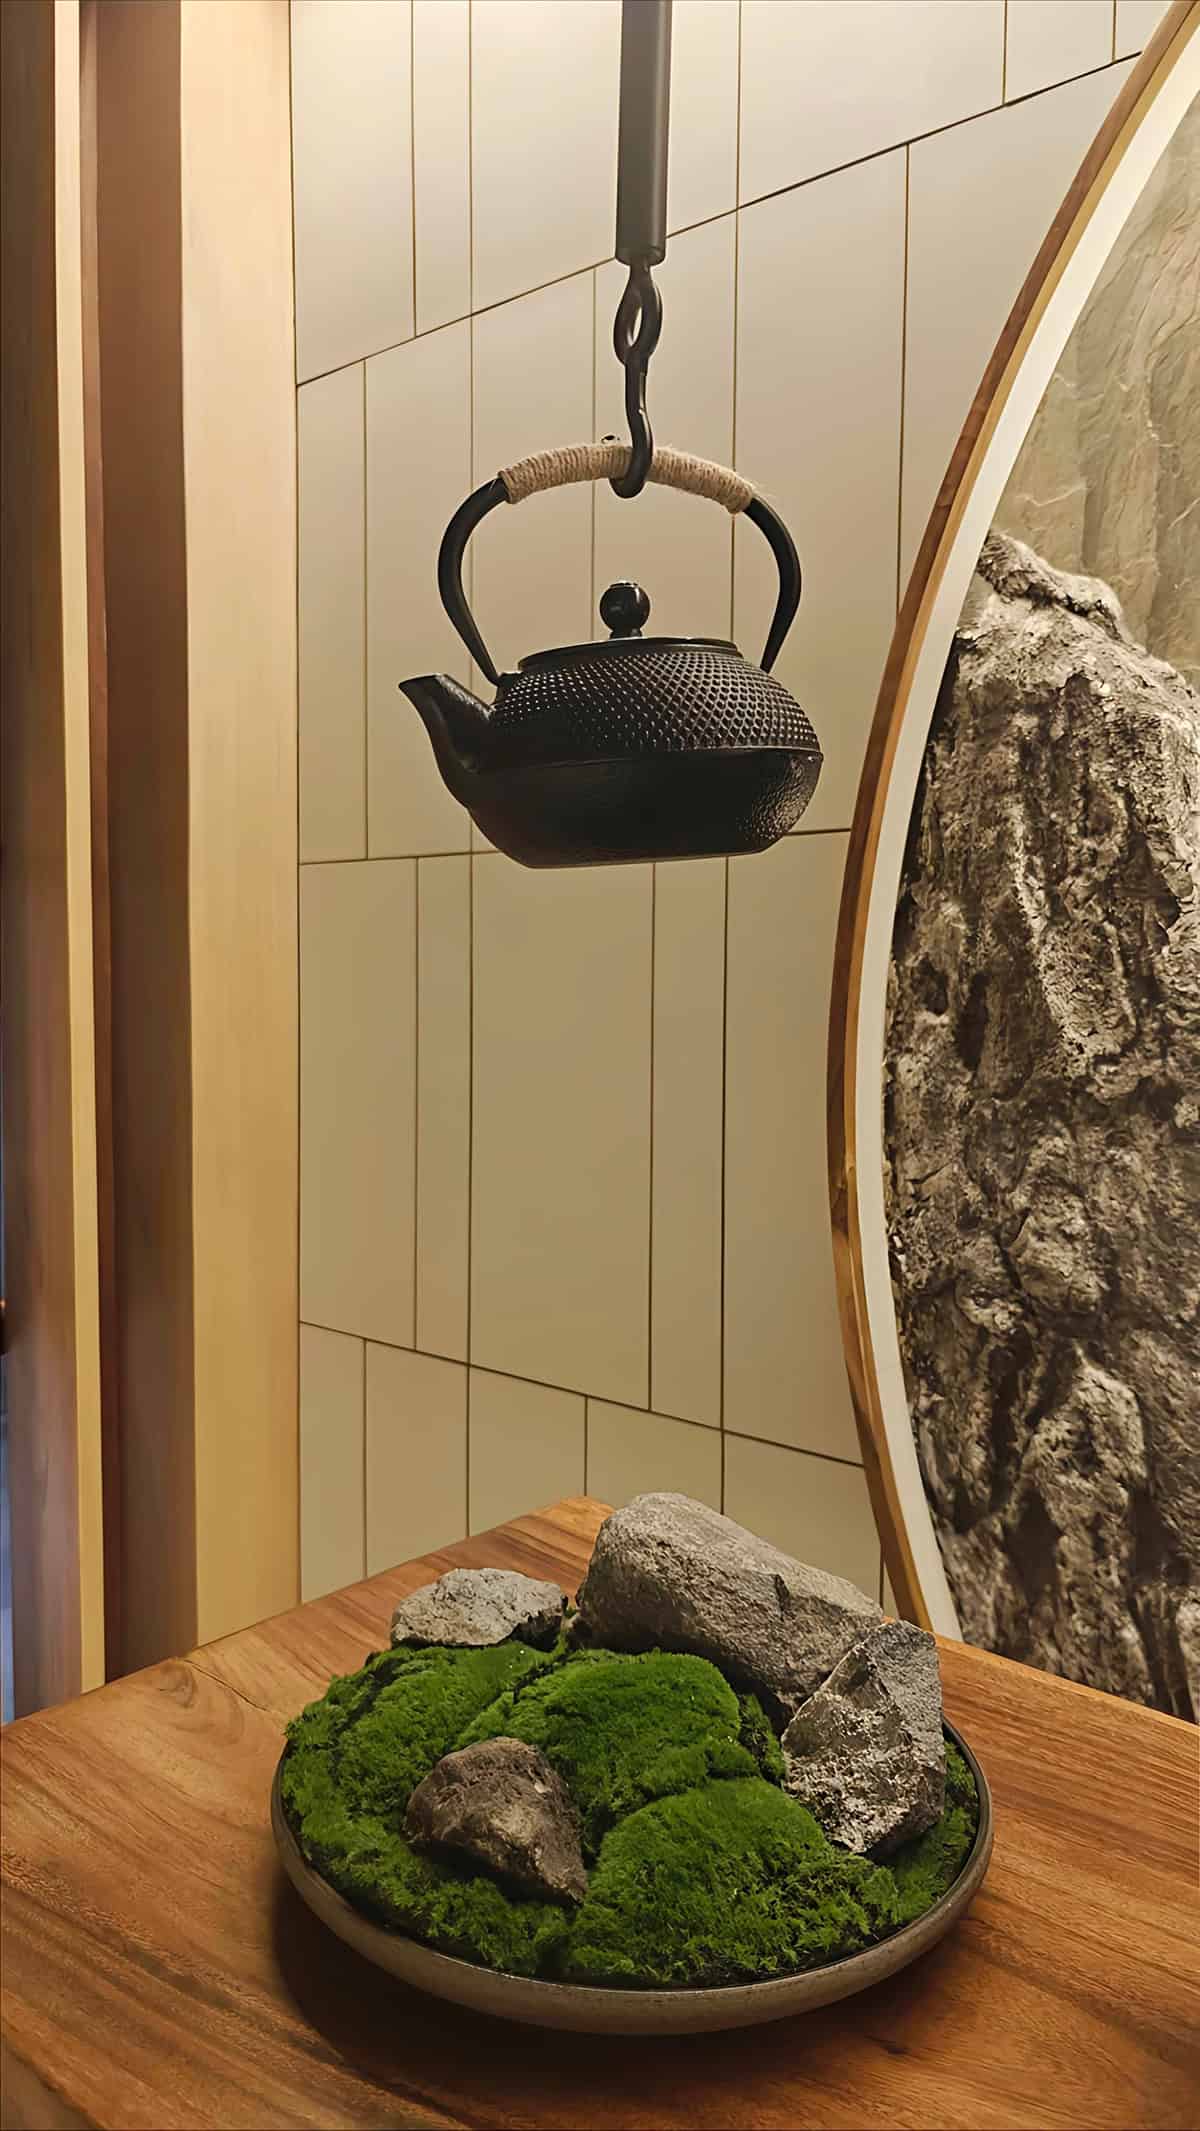
Optional Additions for Aesthetic Displays
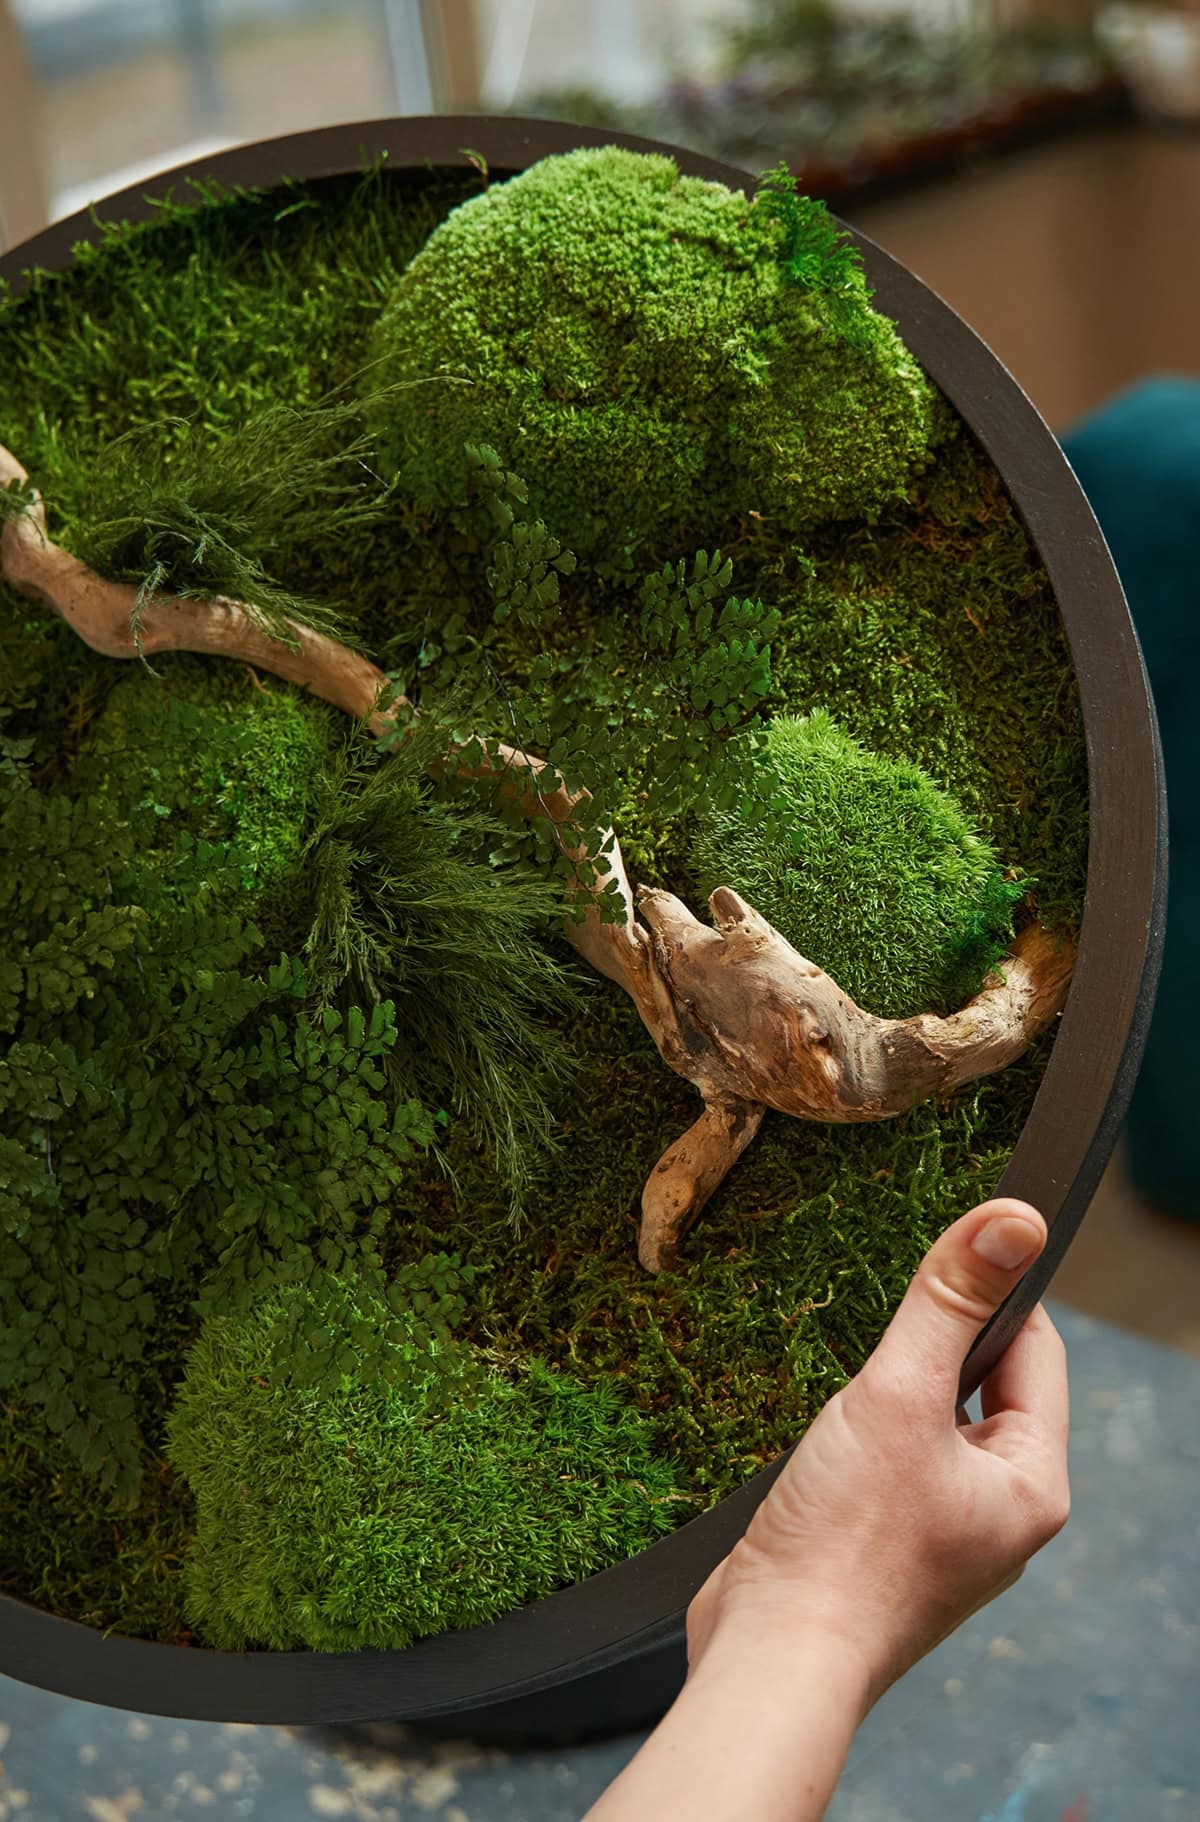
Incorporate small stones, decorative driftwood, or figurines to create landscape scenes around the moss. Adding pieces of charcoal beneath the moss can help reduce odors and control excess moisture. For a woodland effect, place twigs, pinecones, or dried seed pods nearby.
If you use a glass vessel, select one that allows light in but limits direct sun exposure. Closed containers help keep humidity high but require occasional airing. LED grow lights can supplement natural light but place them far enough away to avoid overheating.
Experiment with layout and features to match your style, but keep each addition moss-friendly by avoiding artificial or treated materials.
How to Prepare Moss for Indoor Growing
To grow moss indoors, you need to handle it carefully and set up the right environment. You must clean and rehydrate the moss, select a good base, and build a proper container.
Cleaning and Rehydrating Moss Properly
Start by brushing off dirt, sticks, and insects from the moss you collect. Use your hands or a soft brush. Check the moss for any yellow or dead spots. Remove any unhealthy portions before placing it in water.
Soak the cleaned moss in water for 10 to 15 minutes. This helps revive moss if it feels dry or brittle. Squeeze the extra water out gently. Moss should feel damp, not dripping. Well-hydrated moss adapts better to new indoor conditions.
Moist but not soggy moss gives you the best growth. If you skip rehydrating, moss might struggle to adjust after you bring it inside.
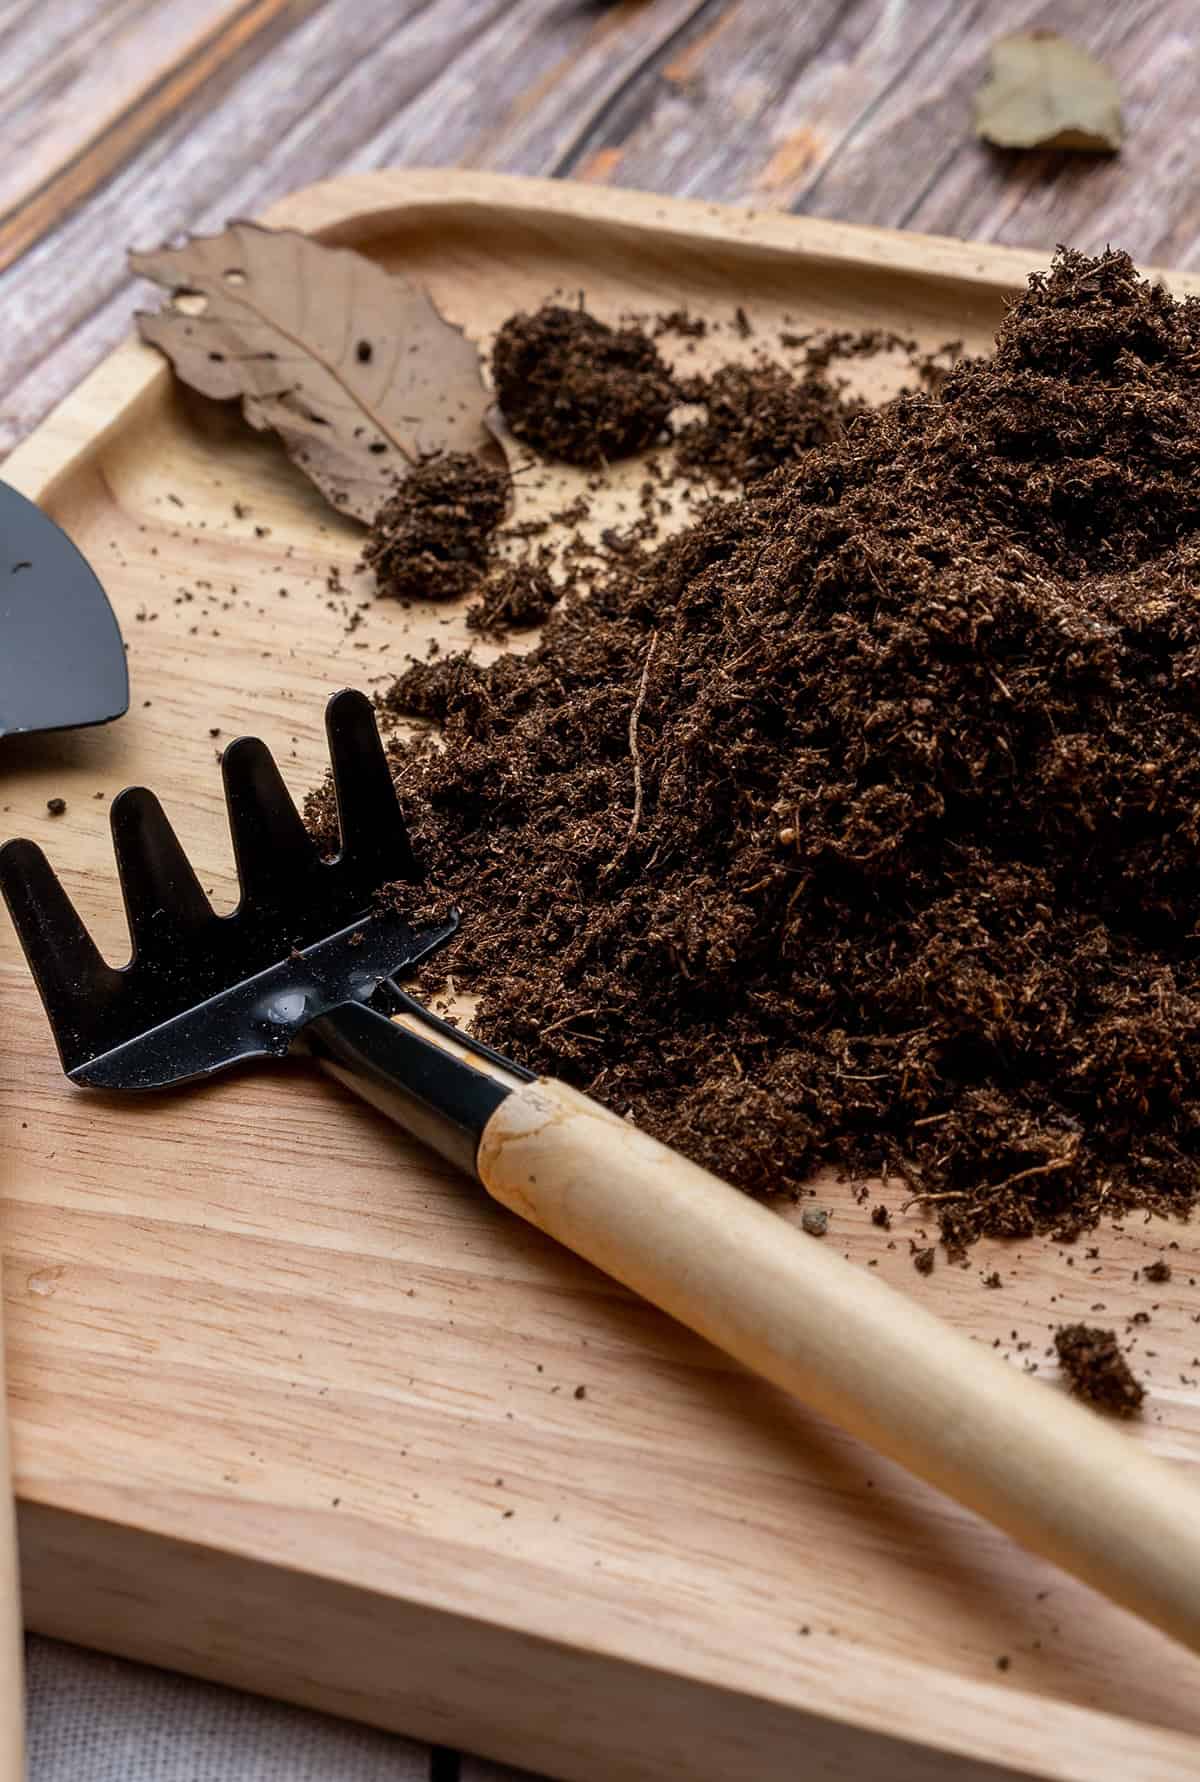
Selecting and Conditioning the Base Material
Choose a base that holds moisture but lets air reach the moss. Good options include peat moss, sphagnum moss, bark, soil, rocks, or a mix of these. Make sure your base is free of pests and mold.
If you use soil, wet it until it’s damp but not muddy. If you choose rocks or bark, rinse them first, then let them drain. A prepared base supports moss and anchors it in place.
Some people press moss into a shallow layer of peat or sphagnum moss to boost humidity. Moss rarely needs deep soil or dense substrates. Avoid using fertilizer or rich soil, since moss prefers poor, neutral ground.
Assembling a Suitable Container or Display Area
Glass containers, shallow trays, or open terrariums make good homes for indoor moss. The container should have enough room for the moss to spread. Clear sides let in light but help trap humidity.
Before adding moss, clean the container with water. Skip chemicals that leave residue. Arrange your base material evenly across the bottom.
Set damp moss onto the base. Press gently so the moss makes good contact. Leave a gap around the edges for air flow. Mist with water after arranging. Place your display in indirect light. Avoid direct sun to prevent drying out.
Step-by-Step: How to Grow Moss Indoors
Successful indoor moss growing depends on proper surface placement, maintaining moisture, providing the right light, keeping the humidity steady, and regular care. Each step lets you create a green display that thrives with minimal fuss.
Step 1 – Arrange Moss on the Surface
Start by selecting a suitable container. Shallow trays, terrariums, or wide-mouthed jars work best for moss. Make sure the container allows air circulation and has a clean surface free of debris.
Prepare the base using a thin layer of stones or gravel if you want drainage. Add a layer of pH-neutral soil or use no soil if you plan to attach moss directly to rocks or wood. Press the moss pieces firmly against the dampened surface.
Avoid gaps beneath the moss. Push out any air pockets so the moss gets maximum contact with the base. Gently press and shape the moss to fit the area, making sure there are no curled edges.
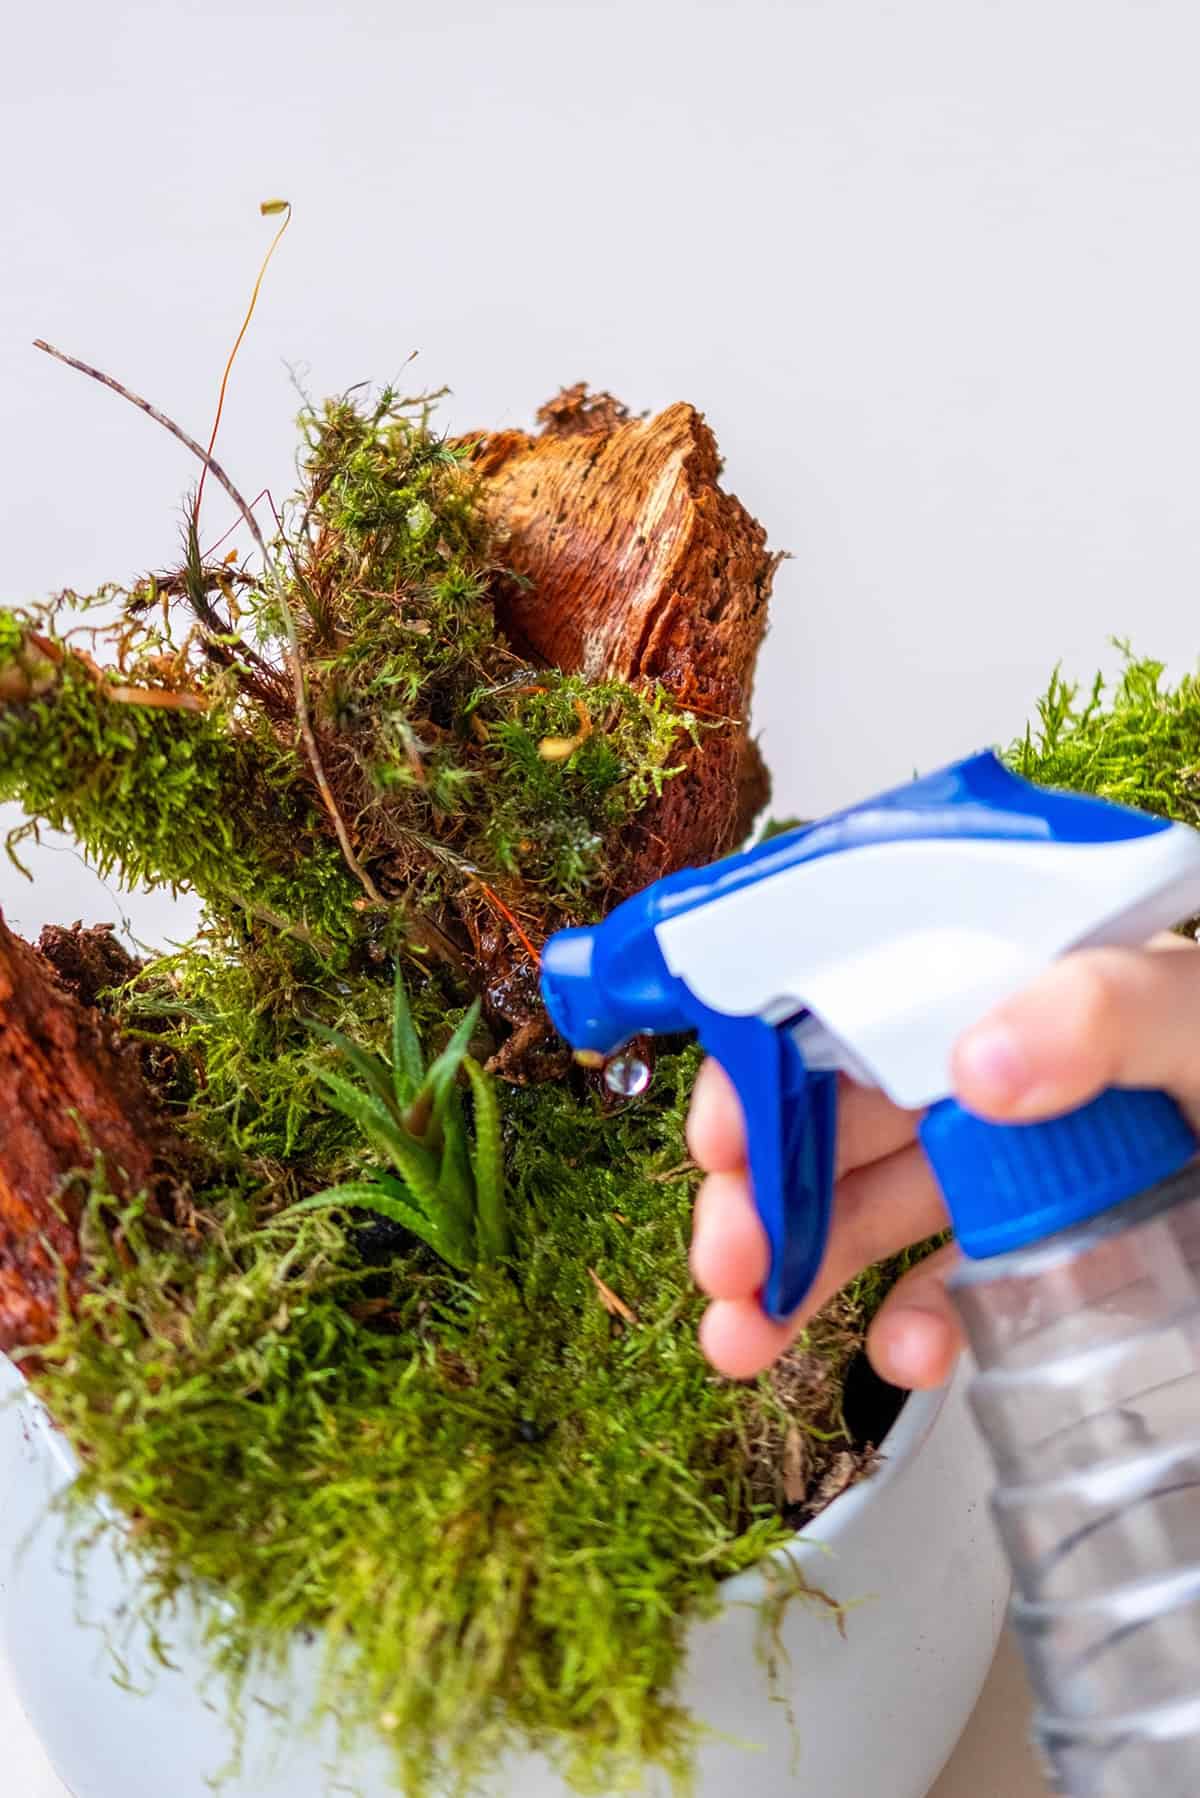
Step 2 – Mist to Keep Moist (Not Soaked)
Moss needs consistent moisture. Use a spray bottle to mist the surface lightly every day. The moss should feel damp to the touch, but never soggy or waterlogged.
Check often, because dry air indoors can cause rapid moisture loss. Mist early in the day to let excess water evaporate. Avoid water pooling at the bottom, which leads to mold.
If you see any standing water, drain it out as soon as possible. Overwatering can cause the moss to rot. Most types prefer filtered, room-temperature water to avoid chemical buildup from tap water.
Step 3 – Place in Indirect Light
Choose a spot for your moss with bright, indirect light. Direct sun can dry moss quickly and bleach its color. East-facing windows or spaces with filtered daylight work well.
Keep moss away from heating vents and drafty windows. A location with steady, mild light supports healthy growth and keeps the green color vibrant. A little morning or evening sun is usually fine.
If you do not have enough natural light, use a fluorescent or LED grow light. Place the light about a foot above the moss and leave it on for 10 to 12 hours each day.
Step 4 – Maintain Consistent Humidity
Moss thrives in humid environments. Try to keep the humidity around 50% or higher. Place a small dish of water near the moss or keep the container loosely covered with clear plastic to hold in moisture.
Monitor the moss daily for signs of dryness or curling. You may need to mist more often in winter when indoor air is drier. Avoid sealing the container completely, as stagnant air can promote mildew.
A small humidifier near your display can help in dry climates. When the humidity drops, the moss can go dormant and brown at the edges, so regular checks are important.
Step 5 – Trim, Clean, and Refresh as Needed
Over time, dust and debris can build up on your indoor moss. Use soft tweezers or a small brush to clean the surface gently. Trim any dead or brown areas with scissors to keep the moss looking neat and uniform.
Remove fallen leaves or foreign material promptly. If any section of moss looks unhealthy, you can replace it by pressing fresh, healthy moss into the space.
Check for mildew or unwanted algae, especially in closed containers. Clean affected areas right away. Occasional gentle care helps your moss stay attractive and encourages healthy new growth.
Ideal Conditions for Indoor Moss Growth
Moss requires specific conditions to thrive inside. You need to create the right balance of light, moisture, and placement to maintain healthy growth.
Light and Shade Requirements
Moss prefers low to medium indirect light. Direct sunlight will usually dry out and damage most moss species. Place your moss in an area where light filters through sheer curtains or falls gently from a north or east-facing window.
Shade is important because moss lacks the structures that protect typical houseplants from strong sun. Aim for soft, diffused light. If your room is dark, you can use a fluorescent grow light for a few hours each day, positioning it about a foot above the moss.
Avoid placing containers right at a sunlit windowsill. Moss tolerates lower light than most indoor plants. Always check to see that the moss stays moist and green but not scorched.
Temperature and Humidity Ranges
Most moss species do best between 60 and 75°F (15–24°C). Avoid areas with strong temperature swings. Keep moss away from heaters, air conditioners, and vents, as these can dry it out or cause stress.
Humidity is one of the most important factors. Indoors, moss thrives with a relative humidity of 60% or above. Mist your moss regularly or place a shallow tray of water nearby to help raise moisture in the air.
Dry indoor air can quickly cause moss to turn brown. Bathrooms and kitchens work well because humid activities like showers and boiling water add needed moisture. Never let moss dry out fully, even for a short period.
Indoor Placement Ideas (Terrariums, Bathrooms, Windowsills)
You have several options for growing moss indoors. Closed glass terrariums provide consistent moisture and protect moss from sudden air currents. They create a humid microclimate that is ideal for delicate moss varieties.
Bright bathrooms are a strong choice because steam maintains higher humidity levels. Place moss near the shower or bath, but not in spots where water directly runs over it. Bathrooms with frosted windows give the perfect amount of filtered light.
On a windowsill, north-facing ones are best because they stay cool and avoid harsh sun. Err on the side of too little sun instead of too much. Be sure your containers have good drainage and water the moss carefully to keep it damp but not soggy.
Common Moss Growing Mistakes to Avoid
Maintaining healthy indoor moss takes careful attention to environmental details. Several common mistakes can damage moss or prevent it from forming a lush green carpet.
Overwatering and Poor Drainage
Water sits on the surface when drainage is poor, and moss roots cannot get enough oxygen. If you add too much water, moss may start rotting or develop mold. Stagnant water can turn the growing surface slimy or smelly.
You should use a shallow container with holes if possible. Mist moss lightly so it feels moist but never soggy. Avoid containers that collect water at the bottom, especially those without any air flow.
Always touch the moss to check for dampness before watering. The top should feel slightly moist, not dripping wet. Excess moisture kills moss faster than a brief dry period.
Placing in Direct Sunlight
You weaken moss quickly if you keep it in direct sunlight. Indoor moss prefers diffused, indirect light. Too much sun will dry out the moss and bleach the bright green color.
Windows facing south or west usually bring in too much intense light. Fluorescent lighting set a few feet above moss provides a gentle alternative. Even shaded window sills can be too bright without curtains or films.
You should watch for leaves turning pale or brown as an early warning sign. Move your moss to an area with less light if you spot color fading, and avoid placing it near heat sources or bright lamps.
Letting the Moss Dry Out Completely
Dry moss turns brown and crispy within days. Indoor environments with heating or air conditioning often make this worse. Once moss desiccates fully, it struggles to recover and may not turn green again even with water.
Touch the moss daily, especially if your home’s air is dry. Raised planters or glass terrariums help retain humidity. Slight moistness is key for healthy growth.
If you forget to water and it starts to dry out, add mist rather than soak it immediately. This mimics natural dew and lets the moss recover more gently. Consistent hydration in small amounts works best for keeping moss lush indoors.