It’s hard to ignore an orchid in bloom. The flowers last for weeks and instantly draw attention. Still, many indoor growers feel nervous about keeping one alive after the first round of blooms fades.
The good news is orchids aren’t as fragile as they look. A few smart adjustments can keep them healthy for years. Read the article to learn how to grow orchids indoors the right way.
Table of Contents
Indoor Orchids: First Things First
Getting started comes down to picking the right plant and a setup that makes sense for how orchids live in the wild. You’re in control when you go for forgiving species and give roots what they want: air, light, and drainage.
Best Beginner Orchids To Choose
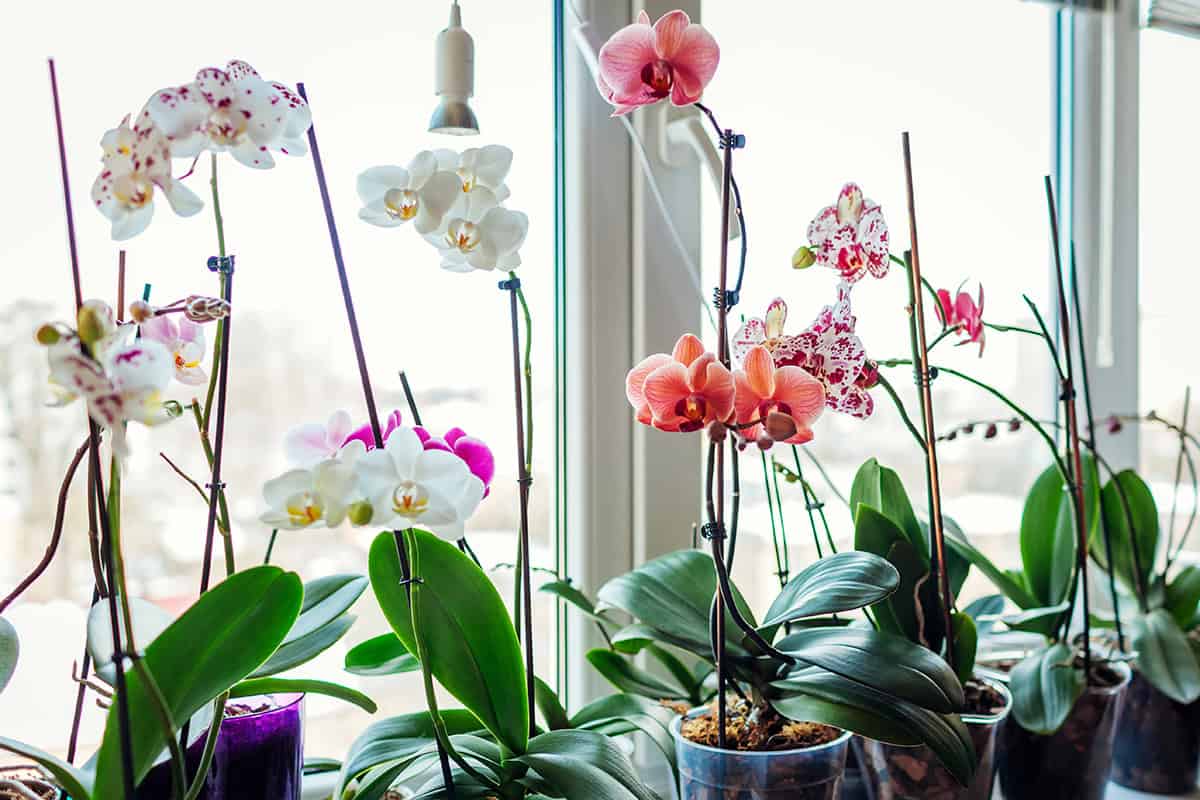
Stick with orchids that handle indoor light and dry air without drama. Phalaenopsis—moth orchids—are everywhere for a reason: they don’t mind the average home and their blooms hang around for weeks.
Paphiopedilum does well with less light and steady temps. The flowers last, and the leaves tell you what’s up. These are pretty chill if you keep things consistent.
Cattleya and Dendrobium like more light, but if you’ve got a bright spot, they’ll reward you with striking flowers. Go for hybrids labeled for home growing, not wild species.
What You Need (Pot, Medium, Light)
Orchid roots want air, not a deep pot. Use something with plenty of drainage holes—clear plastic pots are handy for checking roots and moisture. Skip decorative pots that trap water.
Forget regular potting soil. Use a mix with bark, charcoal, or perlite so roots can breathe and dry out between waterings. That’s how you avoid rot.
East or shaded south windows are usually best—bright, indirect light is the sweet spot. Direct sun fries leaves. If the leaves are a pale green, you’re probably good. Dark green? Probably too little light.
Pick The Right Orchid For Indoors

It really comes down to matching your plant to your space and habits. Some orchids settle in easily; others are just stubborn unless you have the right setup.
Phalaenopsis Vs. Other Common Types
Most folks have luck with Phalaenopsis—they’re unfussy about humidity and thrive in indirect light. Plus, you get months of blooms, which is pretty satisfying.
Other types make you work. Cattleya wants more sun and room, Dendrobium likes cooler nights, and Oncidium can’t stand dry air. Those are only worth it if your space already fits their demands.
What To Look For When Buying An Orchid
Look for firm, green or silvery roots filling the pot (no mushy or black ones). Leaves should be stiff and evenly colored—skip anything with yellow crowns or floppy, soft stems.
Check the pot and mix. Bark or moss is good, compact soil isn’t. Clear pots let you see what’s happening below the surface. If you can, pick a plant with unopened buds so you’ll get to enjoy the blooms at home.
Light Setup
Light is the big one for indoor orchids. Where you put them, how strong the light is, and how long they get it—it all shapes how they grow and bloom. Sometimes just moving a plant fixes everything.
Best Window Directions
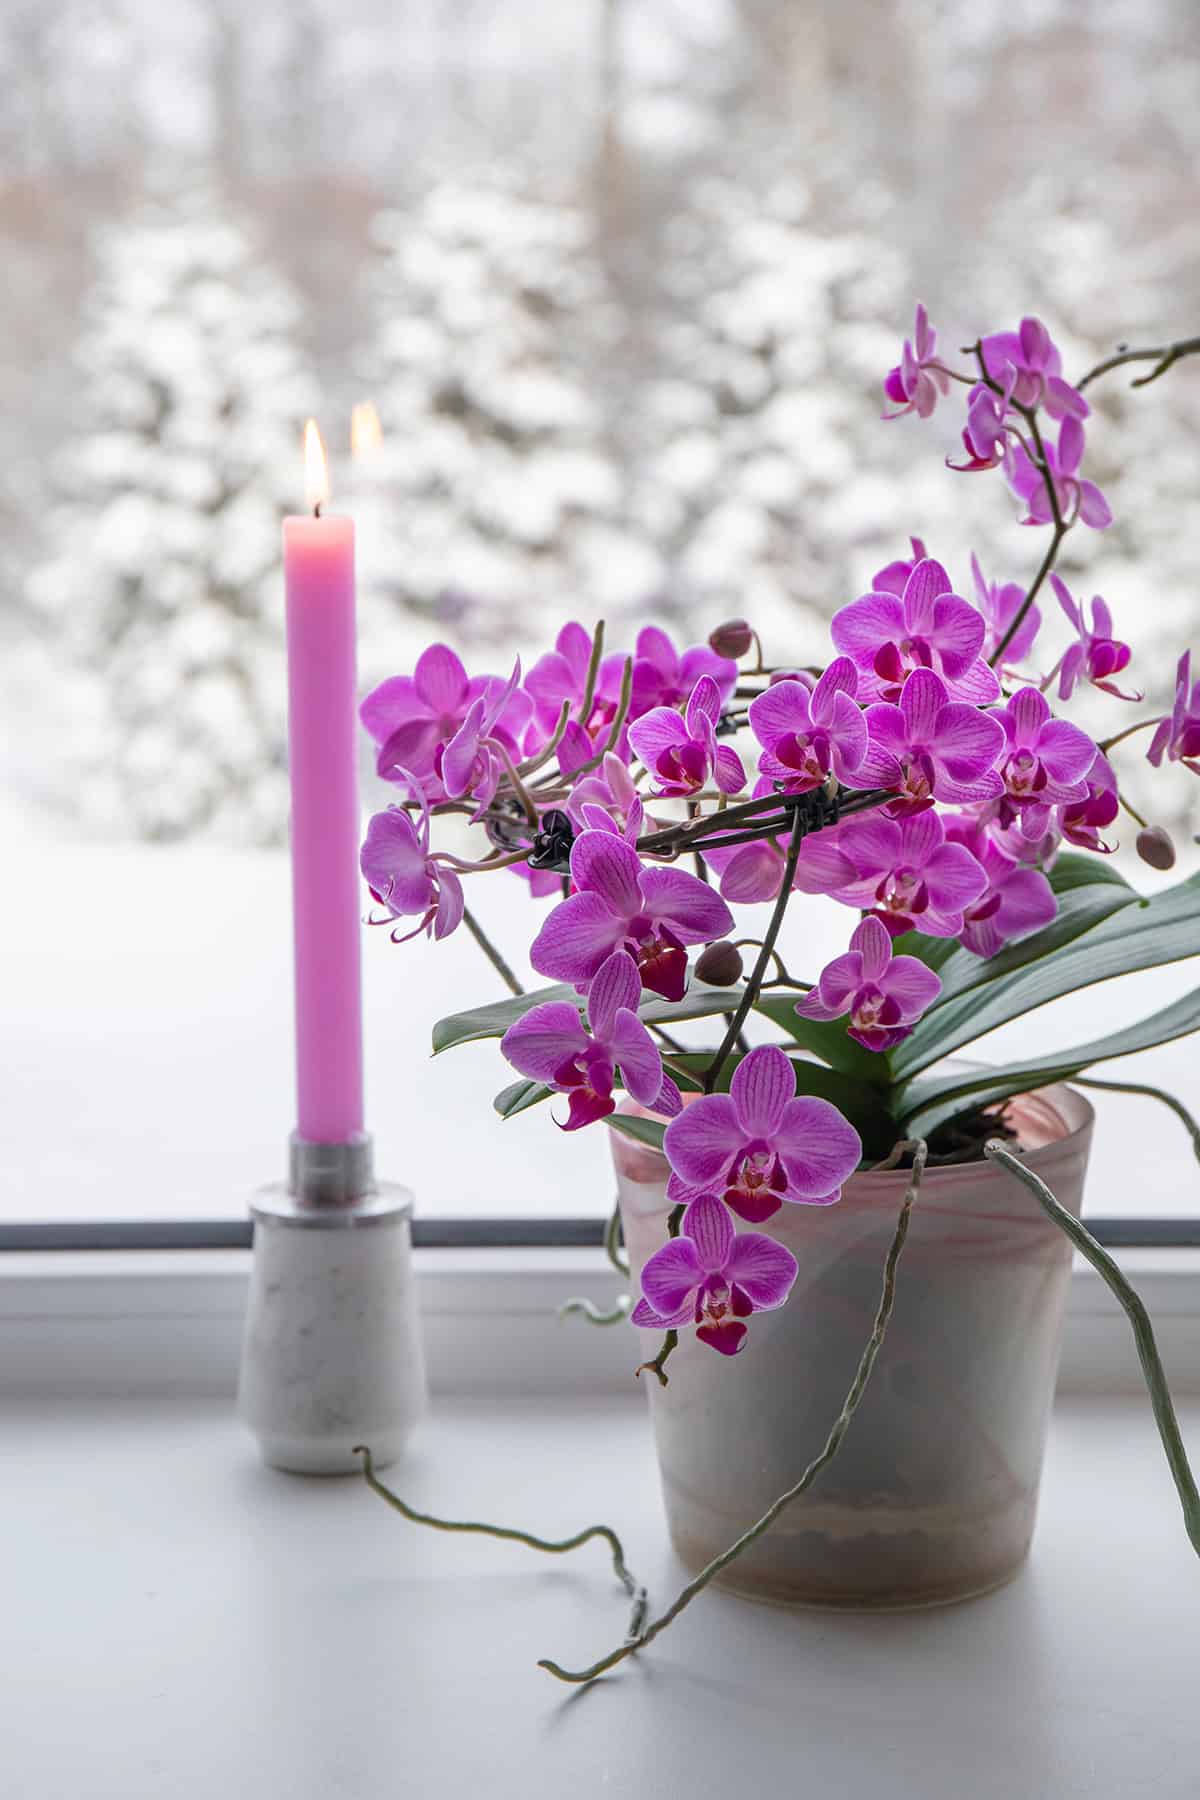
East-facing windows work best—gentle morning light, not too harsh. South windows are fine if you use a sheer curtain to block midday sun. Keep the plant close to the glass, like within a couple feet.
West windows can be dicey—hot afternoon sun can scorch leaves. North windows usually aren’t bright enough unless the plant’s right up against the glass.
Wipe down your windows now and then—dust blocks more light than you’d think. Rotate the pot every week or two so all sides get a turn.
Grow Light Option (Simple Setup)
If your windows aren’t cutting it, a basic full-spectrum LED for houseplants does the job. Don’t bother with cheap shop lights—they’re not balanced for plant growth.
Keep the light about a foot above the leaves and run it for 10–12 hours a day. A timer is your friend here.
Make sure air can move around the plant—lights can get warm. Turn the pot now and then to keep growth even.
Signs Of Too Much Vs. Too Little Light
Leaf color tells you a lot. Medium green and firm? Good. Dark green? Probably not enough light.
Yellow patches or crispy brown spots mean too much sun, usually on the side facing the window. Back it up or use a curtain.
If you see floppy, stretched leaves with no flower spikes, it’s likely too dim. Short, thick, or scorched leaves? Too much light.
Pot, Medium, And Repotting
Orchids care way more about air and drainage than rich soil. The pot, the mix, and when you repot all affect moisture and oxygen at the roots. Most problems start here.
Pot Types And Drainage
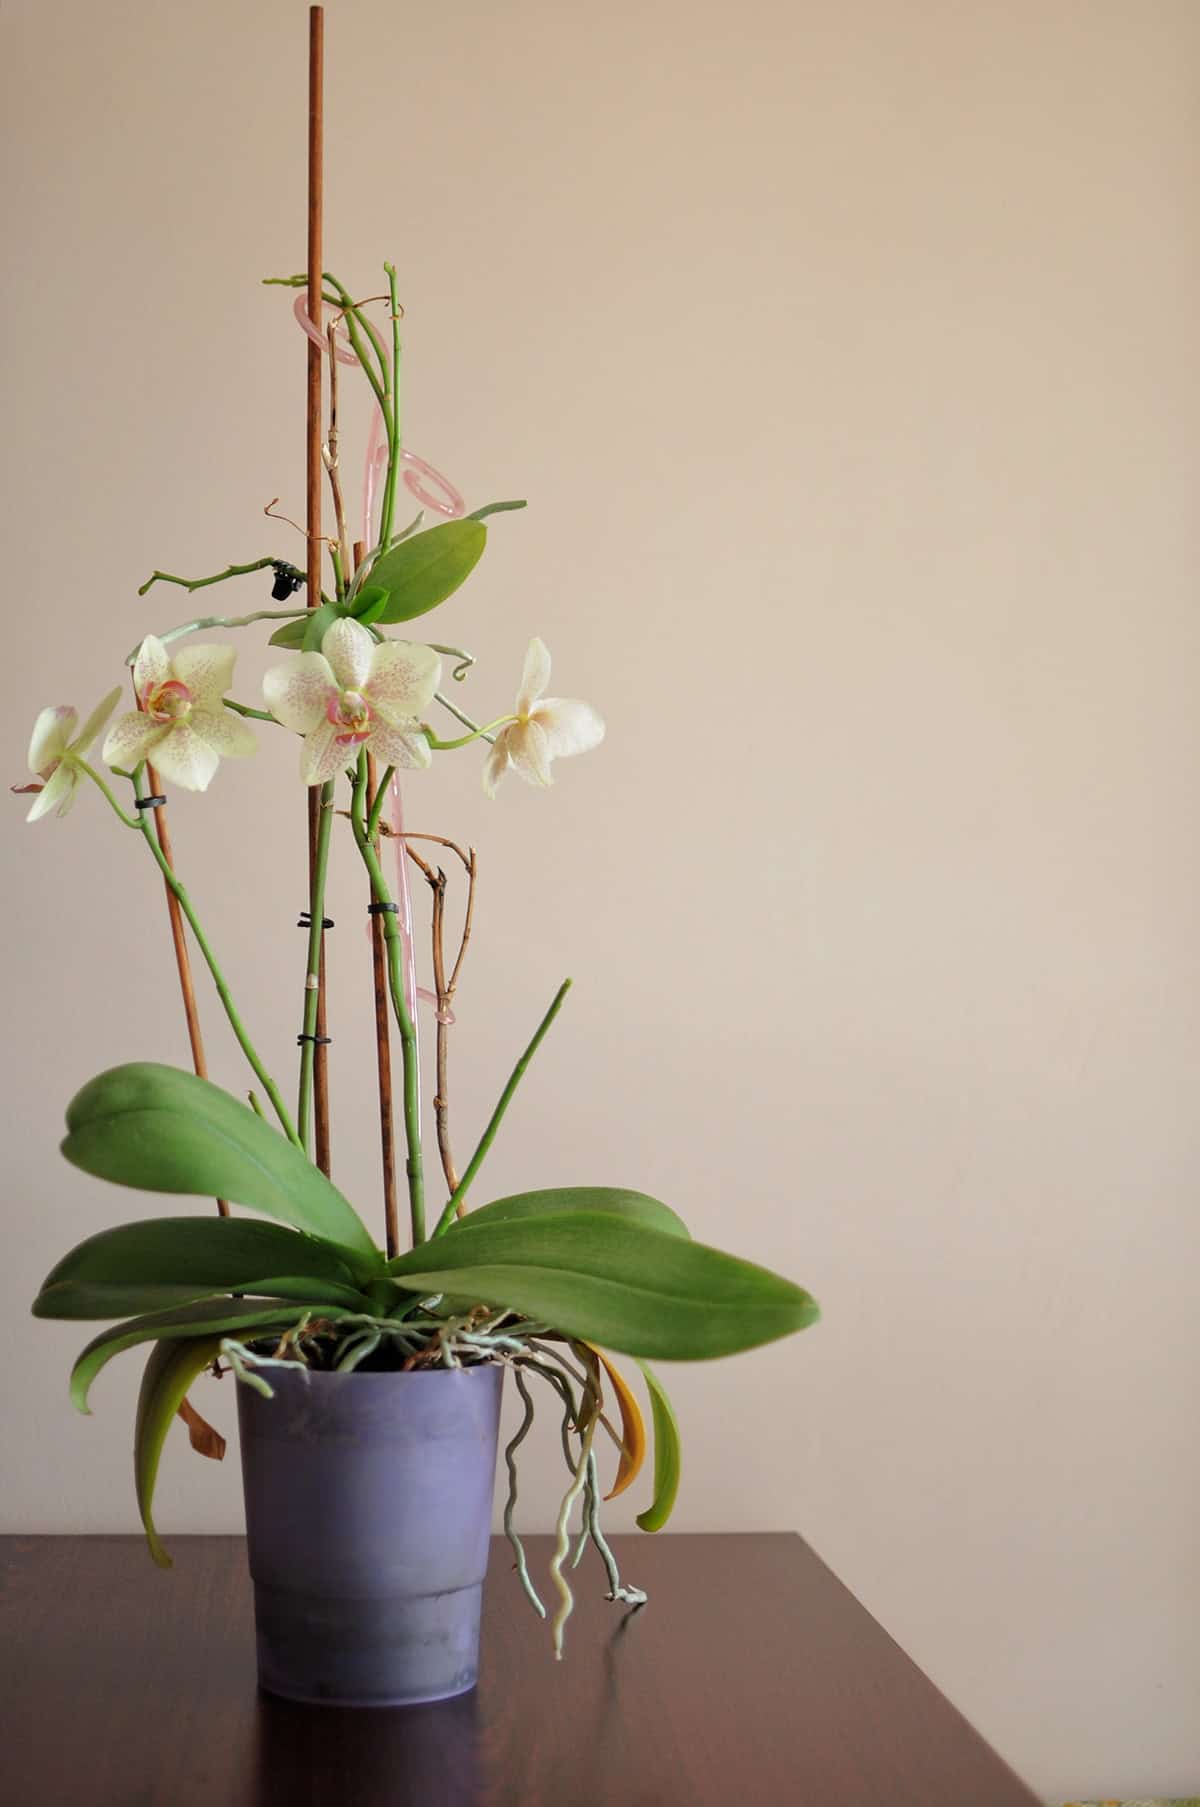
Roots want air as much as water, so pick a pot with holes in the bottom and sides. Clear plastic pots are handy for checking roots and moisture.
Go for a size that fits the roots snugly—too big, and the mix stays wet too long. Clay pots dry out faster, which is nice in humid places. Plastic holds moisture longer, so it’s better for dry rooms. If you use a decorative outer pot, make sure it doesn’t trap water.
Bark Vs. Moss (Quick Rule)
The mix controls how long roots stay wet. Bark dries out fast and suits most homes. Moss holds water longer, which is handy if your place is dry or you forget to water sometimes. But packed moss can suffocate roots, and you’ll need to swap it out more often.
If your place is dry and warm, moss might be your friend. Cool or humid? Stick with bark. Don’t mix old and new media in one pot.
When And How To Repot
Repot when the mix breaks down or roots fill the pot—usually every couple of years. Late winter or early spring is best, when new roots start to show.
Pull the plant out, shake off the old mix, and trim any dead or mushy roots with clean scissors. Healthy roots are firm and pale green or silver.
Set the plant at the same depth as before, fill with fresh mix, and tap the pot to settle things. Hold off on watering for a few days so any cut roots can callus over.
Watering (Simple Rules)
Getting watering right is half the battle. It’s about timing, how you do it, and what kind of water you use—not just dumping water on a schedule.
When To Water
Orchids like to dry a bit between waterings. Stick a finger or wooden skewer in the mix—if it feels dry, go ahead and water.
Most need it every 7–10 days, but if your place is warm and bright, they’ll dry out faster. Cooler rooms? Less often.
Check the roots: silvery or pale? Time to water. Green? Still good.
Don’t just follow the calendar—light, temperature, pot size, and airflow all change how fast things dry out.
How To Water Without Root Rot
Root rot happens when water hangs around the roots too long. Bark and similar mixes drain fast, which helps.
Water at the sink until it runs out the bottom, then let it drain well before putting it back. Never let the pot sit in water. If you use a cachepot, make sure there’s space at the bottom for drainage.
Some gentle air movement helps roots dry at a safe pace. Even a small fan in the room can make a difference.
Water Quality Basics
Water quality matters over time. Most orchids can handle tap water, but if you see white crusts on the pot or mix, switch to filtered or rainwater. Flush the pot with plain water monthly to clear out buildup.
Use room-temperature water—cold water can shock roots. Avoid softened water; the sodium messes with roots and nutrients.
Humidity And Airflow
Orchids indoors need steady humidity and some air movement. You can tweak both at home, and a few small changes can prevent a lot of hassle.
Easy Ways To Raise Humidity
Most orchids are happiest with air moisture between 40 and 60 percent. Oncidiums and a few others can handle the lower end, but dry air leads to wrinkly leaves and sad roots.
Group your plants together to trap moisture, or set a shallow tray of gravel and water under the pots (but not touching the roots). Put the tray where it still gets light.
A small humidifier is the easiest fix in winter. Aim it near the plants, not directly at them. A cheap hygrometer helps you keep tabs so things don’t get too damp.
Airflow Rules To Prevent Fungus
Orchids need gentle air movement—especially if humidity’s up. Still air lets fungus settle in, usually at night when it’s dampest.
A small fan on low keeps air moving. Don’t blast the plants—just enough so the leaves flutter a bit. Too much airflow dries things out and drops humidity, so skip drafty spots or vents. Mild, steady circulation is the goal.
Feeding Orchids
Orchids don’t want heavy feeding—just a light, regular schedule and the occasional flush to keep salts from building up.
Simple Fertilizer Plan
A balanced fertilizer (like 20-20-20), diluted to about a quarter strength, works for most. Feed every two weeks when the plant’s actively growing.
During winter or if light is low, cut back to once a month. Most orchids slow down then and don’t need much. More fertilizer won’t give you more flowers—if anything, it can backfire.
Water first, then feed. Wet roots take up nutrients better, and dry roots can burn, even with weak fertilizer.
Phalaenopsis can handle low-dose feeding year-round, but others like a break. Watch the leaves and roots—they’ll tell you if your plan’s working.
Flushing Salts (Why And When)
Fertilizer leaves salts behind, which can hurt roots and block water. Flush the pot with plain water for a minute once a month, then let it drain well.
If you see white crust on the pot or bark, or brown leaf tips, it’s time to flush. Bark and moss mixes trap salts, so regular flushing keeps roots happy and blooms coming.
Bloom Care And Reblooming

Blooms last longer if you manage light, water, and temperature well. A little pruning and minor seasonal tweaks help most orchids flower again indoors.
What To Do While It’s Blooming
Orchids seem to hang onto their flowers longer if you give them bright, indirect light—direct sun just zaps the color and shortens their show. A sheer curtain over the window usually does the trick.
Stick to a regular watering rhythm and make sure excess drains away quickly. Roots like it moist but not soggy, and you really don’t want water pooling near the crown (that’s a recipe for rot).
During this stage, stable temps help a lot. Shoot for around 70°F during the day and a bit cooler at night, maybe 65°F. Skip the fertilizer until the blooms are done; honestly, it doesn’t seem to make much difference right now.
How To Cut The Flower Spike
When it comes to pruning, it all depends on your orchid and how the spike looks. For Phalaenopsis, if the spike’s still green, you might get side blooms—just snip above a visible node, about an inch from the base.
If the spike’s brown or dried out, it’s not coming back. Cut it off near the base using sharp, clean scissors. That way, the plant redirects its energy to roots and leaves instead.
Cattleya and other sympodials only bloom once per spike, so once the flowers fade, just cut the spike at the base. Always clean your tools before and after, just to be safe.
How To Trigger Rebloom
Light’s the big driver for flower production, more than anything else. After blooms drop, bump up the brightness, but keep it gentle—no harsh midday sun. Most orchids want more light after blooming than you’d expect.
Temperature swings matter too. Phalaenopsis likes cooler nights, around 55–60°F, for about a month. Keep daytime temps steady while you’re at it.
Once you see new growth, start feeding lightly again. Go with half-strength balanced orchid fertilizer every couple of weeks. Let roots dry out a bit between waterings to encourage strong new spikes.
Common Problems And Fixes
Orchids are quick to react if something’s off with light, water, or their roots. You can usually spot issues by watching the leaves and roots—they’ll tell you what’s going wrong.
Wrinkled Leaves And Limp Orchids
If leaves are soft or wrinkled, water stress is usually to blame. Sometimes it happens even if you’re watering on schedule, especially if roots can’t actually take up the moisture. Dry indoor air can make it worse.
Check out the roots first. Healthy ones are firm and pale green after watering. If they’re dark or hollow, they’re not moving water up, and the leaves get floppy.
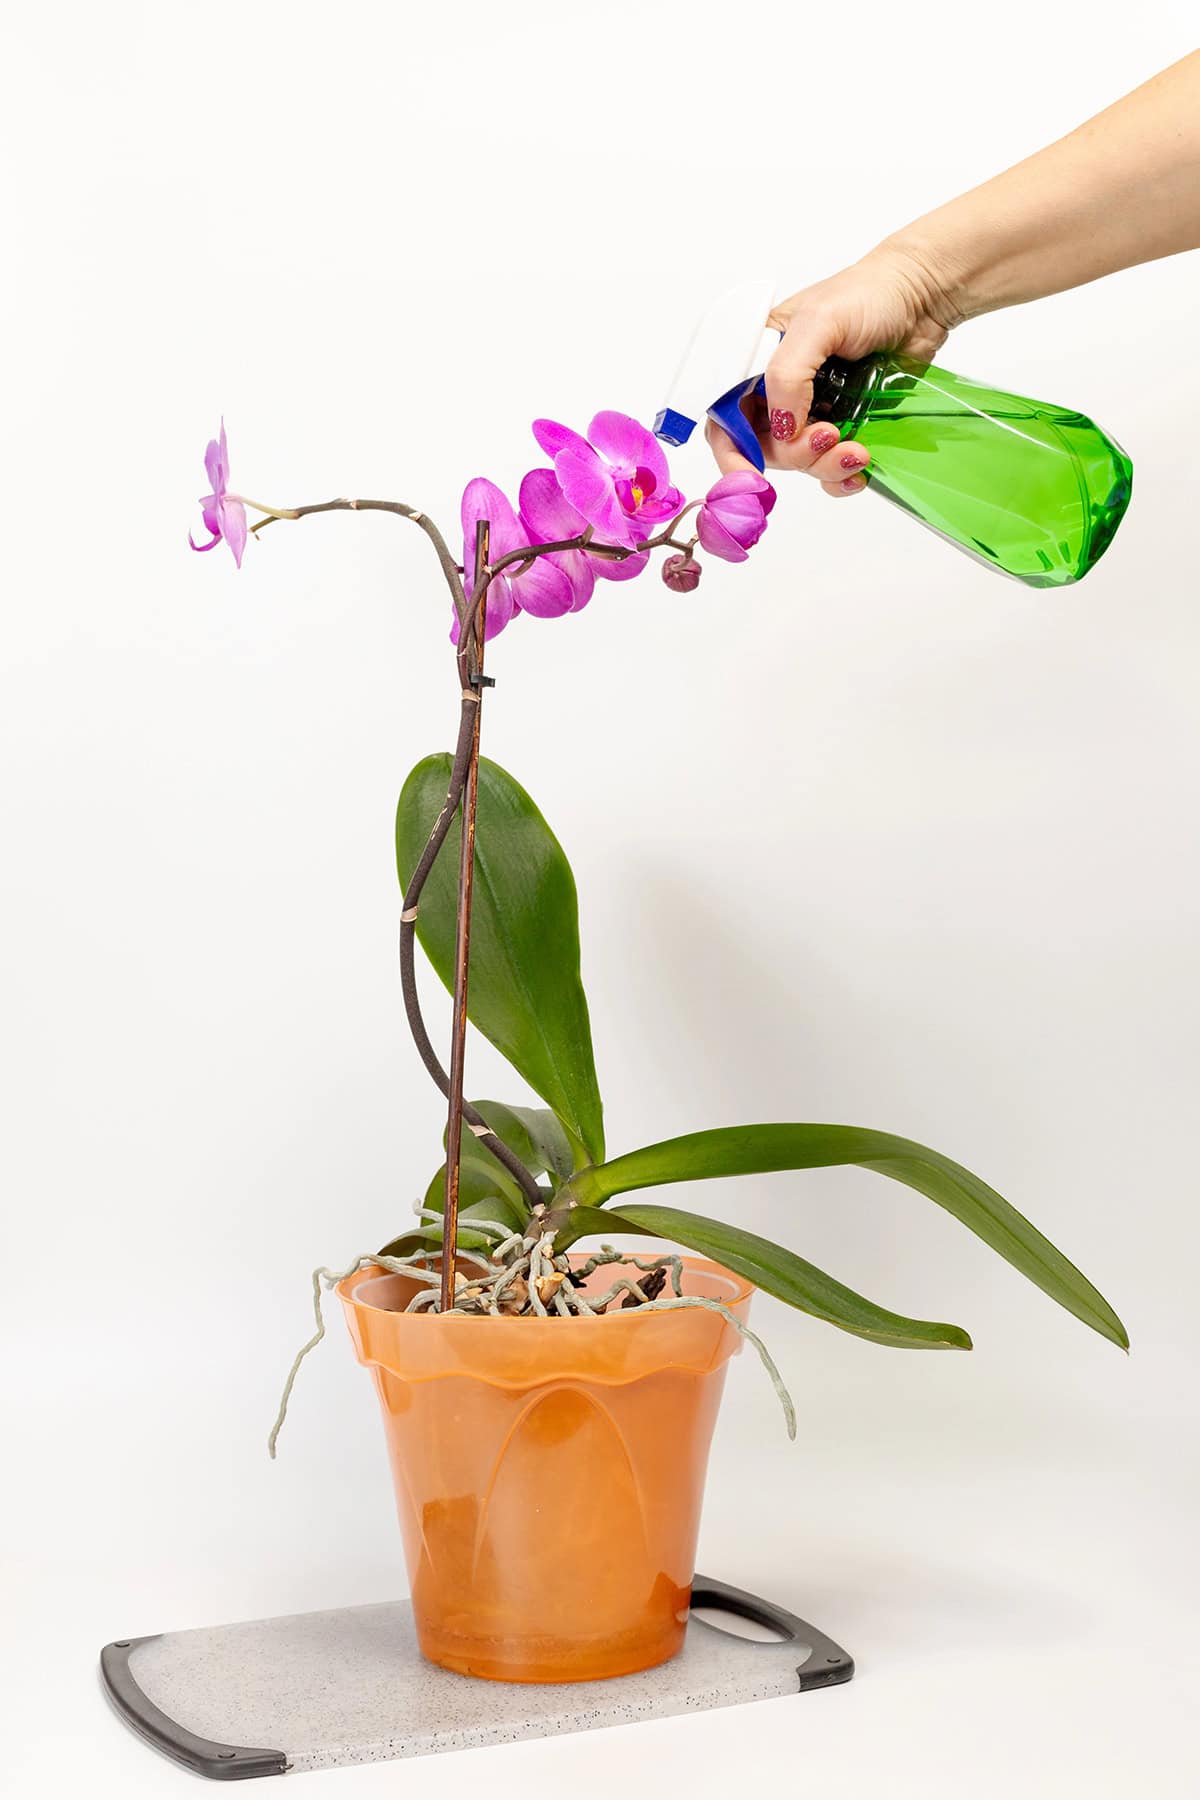
Try watering thoroughly, then let everything drain well. Boost humidity with a tray and a bit of airflow, but skip misting—wet leaves just invite disease and don’t solve the root problem.
Yellow Leaves And Sunburn
One yellow leaf at the base isn’t a concern—that’s just old age. But if several turn yellow at once, it’s usually a stress signal. Light is the usual culprit, not water or fertilizer.
Direct sunlight can scorch orchid leaves in no time. You’ll notice pale spots that turn yellow or brown and never really bounce back. This is especially common on sunny windowsills.
Move the plant to a spot with bright, indirect light. East-facing windows are usually safe for most types. Keep leaves off the glass. New growth should look healthier, but the damaged leaves are basically permanent.
Root Rot And Mushy Roots
Roots start to rot if they can’t breathe, which happens in old, soggy potting mix. Overwatering just makes it worse, but really, it’s the poor drainage that starts the trouble.
Take the orchid out of its pot and check the roots. Healthy ones feel firm. Rotten ones are soft and mushy, and they’ll collapse if you squeeze them.
Cut away all the mushy roots with clean scissors or pruners. Repot in fresh orchid bark that drains quickly. Only water after the mix is almost dry. Roots will bounce back before the leaves do, so you’ll need a bit of patience here.
Common Pests Indoors
Orchids indoors seem to have a knack for attracting a handful of persistent pests—mealybugs, scale, aphids, spider mites, and thrips are the usual suspects. They like to hide out at leaf joints or sneak around under the leaves where you might not notice them right away.
If you spot sticky residue, some fine webbing, or odd little bumps, you might be dealing with an infestation. Leaves that lose their color or start looking a bit wonky are another red flag.
Best move? Get that orchid away from your other plants immediately. Dabbing the pests with a bit of alcohol on a cotton swab works surprisingly well, but you’ll probably need to do it weekly until they finally give up. Honestly, keeping the air moving and wiping down leaves now and then goes a long way toward keeping these bugs at bay.