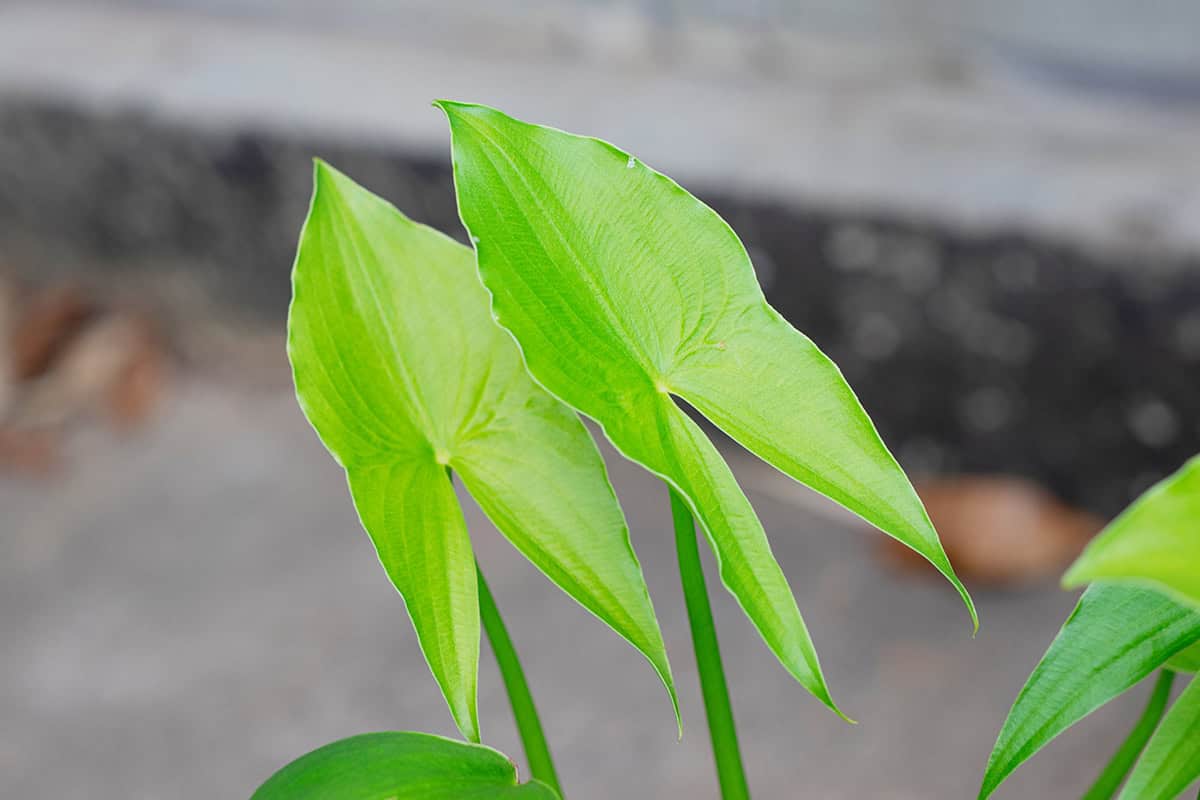
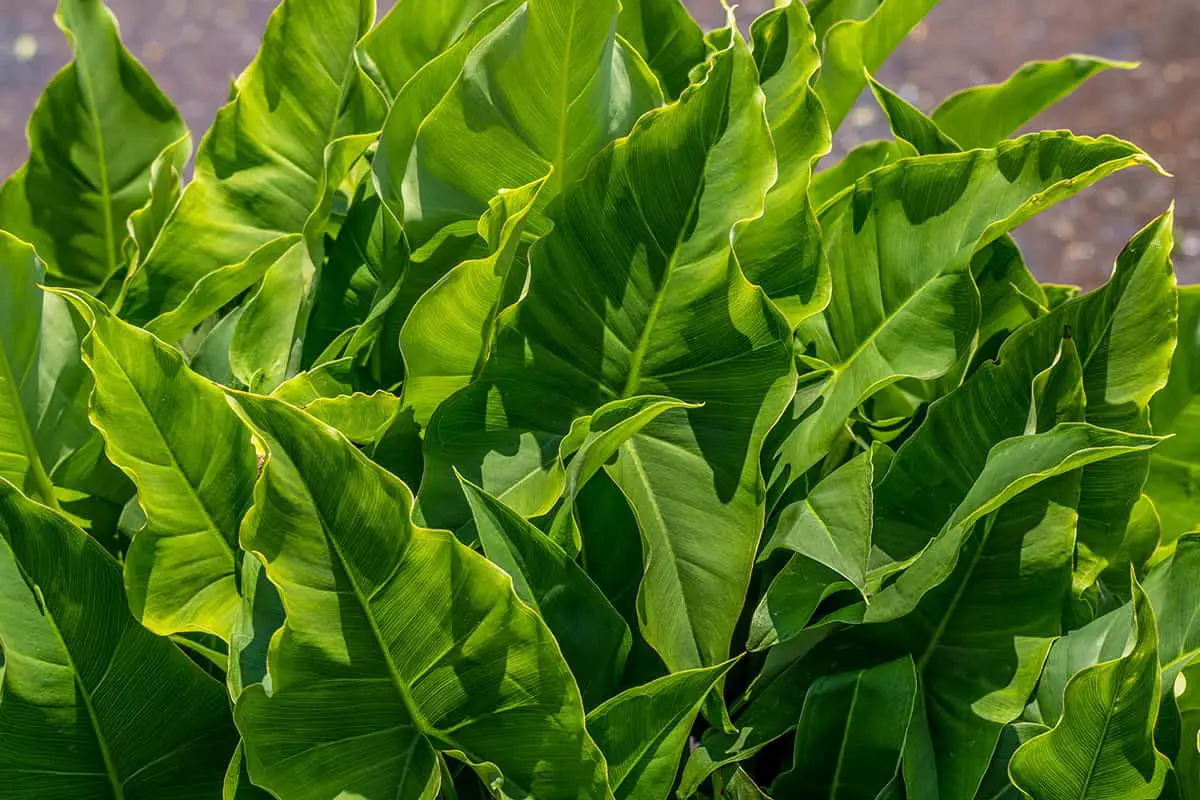
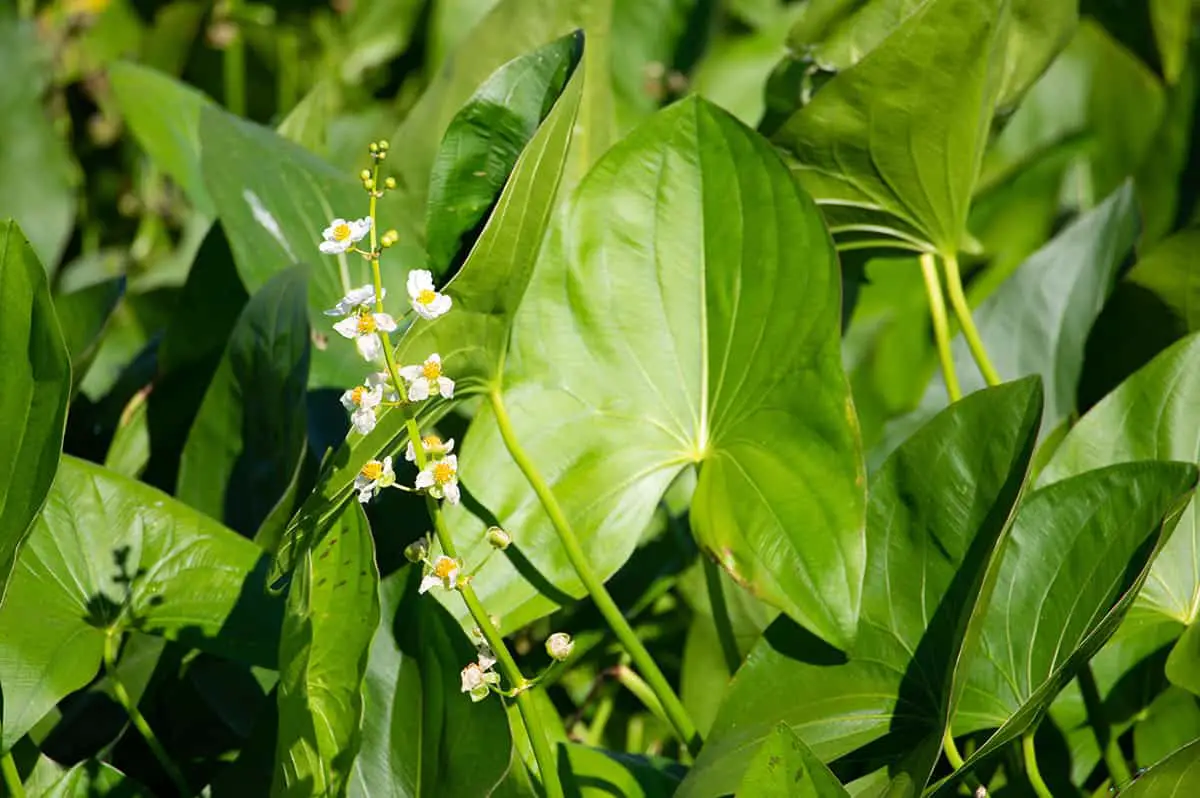
You notice a friend’s home filled with lush, vibrant arrowhead plants, and you decide you want that same touch of greenery in your own space. Growing and caring for the arrowhead plant is simpler than it seems. Gain the knowledge to keep your arrowhead plant thriving to enhance your home’s fresh, lively vibe.
| Common Name | Arrowhead Plant |
| Botanical Name | Syngonium podophyllum |
| Family | Araceae |
| History & Origin | Native to Central and South America |
| Plant Type | Perennial, climbing vine |
| Mature Size | 3-6 feet long |
| Sun Exposure | Bright, indirect light |
| Soil Type | Well-draining potting mix |
| Soil pH | 5.5-6.5 |
| Temperature | 60-75°F |
| Watering | Keep soil consistently moist, not waterlogged |
| Fertilizing | Monthly during growing season with liquid fertilizer |
| Bloom Time | Rarely blooms indoors |
| Flower Color | Greenish-white |
| Hardiness Zone | 10-12 USDA |
| Toxicity | Toxic to pets and humans if ingested |
| Common Problems | Root rot, pests like spider mites, aphids |
Table of Contents
Light

The Arrowhead Plant is primarily known for its low-light tolerance. However, exposing your Arrowhead Plant to an optimal lighting condition helps it thrive better. This plant does well in indirect sunlight. Placing it near a window where it acquires bright, filtered light is ideal.
In the absence of natural light, you can rely on fluorescent lighting as an alternative. Low-light plants like the Arrowhead Plant typically require between 10 and 15 watts of fluorescent light per square foot of growing space. Refrain from exposing your plant to direct sunlight, as it can lead to scorching leaves and hamper its growth.
Adjusting the light requirement for your Arrowhead Plant allows it to soak up enough energy through photosynthesis. Consequently, your plant produces the sugars it needs, enabling it to grow and flourish. Monitoring and providing the appropriate lighting conditions significantly contributes to the successful cultivation of this popular houseplant.
Soil
When growing an Arrowhead Plant, well-draining soil is vital. A mix of peat moss, potting soil, and perlite or coarse sand constitutes an ideal soil composition. Especially important is the balance between moisture retention and proper drainage.
Fertilizer is another crucial factor in maintaining healthy Arrowhead Plants. Incorporate a slow-release, balanced fertilizer into the soil mix. It’s good practice to use a ¼ strength liquid fertilizer twice a month during the growing season.
You may encounter a variety of soil pH levels for your Arrowhead Plant, as it tolerates a range of acidic to neutral conditions. Generally, aim for a pH level between 5.5 and 7.0. To monitor the soil pH, consider investing in a soil pH testing kit.
Lastly, keep an eye out for soggy conditions in the soil, as Arrowhead Plants thrive best in consistently moist but not waterlogged conditions.
Watering
It’s crucial to provide your arrowhead plant with the proper amount of water. Start by ensuring that the soil is consistently moist but not soggy. Ideally, you should water your plant when the top inch of soil feels dry to the touch.
When you water your arrowhead plant, do so thoroughly. This means allowing water to flow through the drainage holes at the bottom of the pot. In addition to preventing root rot, this method also promotes nutrient absorption within the soil. However, avoid over-watering, as it can lead to yellowing leaves and other issues.
To maintain optimal moisture levels, consider using a self-watering container or placing a saucer under the pot. Make sure to empty any excess water in the saucer to prevent stagnant water from accumulating. Remember that your plant’s water requirements may change with the seasons, so adjust your watering routine accordingly.
Temperature and humidity also play a role in your arrowhead plant’s watering needs. The plant thrives in warm temperatures (between 65°F-75°F) and high humidity. In drier environments, consider placing a humidity tray beneath the pot or using a humidifier to increase the moisture in the air.
Temperature and Humidity

For the arrowhead plant, maintaining a consistent temperature and humidity level is crucial. Ideally, you should place your plant in an environment where the temperature ranges from 60 to 75°F (16 to 24°C). Keep your plant away from drafty areas or sudden changes in temperature.
Arrowhead plants thrive in higher humidity levels. It’s important to maintain a moist environment for the plant to grow successfully. You can achieve this by placing a tray filled with water and pebbles beneath your plant, or by using a humidifier.
Remember to group your arrowhead plant with other humidity-loving plants. Grouping several plants together can help create a more humid microclimate. Additionally, regularly misting your plant with water can help maintain the desired humidity level.
Fertilizer
When it comes to fertilizing your Arrowhead Plant, selecting the right fertilizer is crucial. You should look for a fertilizer containing essential nutrients such as nitrogen (N), phosphorus (P), and potassium (K).
Be mindful when applying the fertilizer, as excessive use can be harmful to the plant. A water-soluble fertilizer should be applied once every four to six weeks during the growing season. Remember to dilute the fertilizer to half its recommended strength to avoid over-fertilizing.
Monitor the condition of your Arrowhead Plant during the fertilization process. Healthy plants will display bright green leaves and steady growth. If you notice any yellowing or wilting, consider adjusting your fertilizer application.
To optimize growth, it is advisable to gently loosen the soil around the plant before applying fertilizer. This will allow the nutrients to penetrate the soil and reach the roots more effectively.
Propagation
To propagate your Arrowhead Plant, you have a few options at your disposal. One popular method is stem cuttings, which involves taking a portion of the plant’s stem and placing it in water or soil.
First, choose a healthy stem with leaves. Next, make a clean cut below a node, and remove any lower leaves from the cutting. Place the cutting in a jar with water or directly in a pot with slightly damp soil. Keep an eye on it, and once you notice new roots, transplant it to a bigger pot.
Another propagation technique is air layering. In this method, you create a wound on the stem and cover it with a moistened medium to encourage new root formation.
Begin by selecting a healthy stem, and make a small cut about halfway through the stem’s width. Next, add a small ball of damp sphagnum moss around the cut area and wrap it with plastic. This will retain the moisture, promoting root growth. After several weeks, inspect for new roots. When they’re visible, carefully detach the new plant from the parent and plant it in the soil.
Lastly, simple layering is another effective way to propagate your Arrowhead Plant. For this method, bend a stem or branch down to the soil or guide it to a nearby container with potting soil.
Bury the stem 2-4 inches deep, ensuring at least one node is buried. Leave the tip of the branch exposed, and keep the soil moist. In time, your plant will form a new set of roots and can be separated from the parent plant.
Pruning
Pruning your arrowhead plant is essential to keep it in proper shape and promote healthy foliage. To begin, assess its overall health and remove any dead or damaged leaves, stems, or branches. Make sure to use clean and sharp pruning shears to avoid damaging the plant.
To maintain your plant’s appearance, trim back any overgrown and unwanted branches. Always cut just above a leaf node or a branching point. This process encourages new growth and helps maintain a compact, bushy shape. Arrowhead plants can also be trained to climb onto a support system, allowing you to shape them as desired.
Prune your arrowhead plant at least once a year, preferably during the spring or early summer months when the plant is in active growth. However, it’s important to note that different species of Viburnum may have specific pruning requirements, so be sure to research the specific needs of your plant.
Potting and Repotting
When it’s time to pot or repot your arrowhead plant, choose a container that’s slightly larger than its current one. Be sure to select a well-draining pot with drainage holes to prevent root rot. Use a sterile potting mix designed for houseplants to provide the proper nutrients and aeration.
After selecting an appropriate container and potting mix, water the plant in its original pot and let it sit for one hour before repotting. If you’re using a previously used container, clean it before beginning the process. Begin repotting by carefully sliding the plant out of its old pot, preserving the root ball as much as possible. As you move the plant to its new pot, gently loosen tangled roots with your fingers.
Fill the new pot with enough potting mix to elevate the root ball to just below the rim. Place the plant in the pot, ensuring the top of the root ball is level with the soil surface.
Gradually add more potting mix around the roots, pressing it down lightly to ensure good contact and stability. Keep the top of the soil at least 1/4 to 1/2 inch below the rim, giving space for water to pool and soak in, as suggested by Iowa State University.
Proper placement is crucial for your arrowhead plant’s health and growth. Place it in a spot with bright, indirect sunlight to allow the plant to thrive. Keep an eye on soil moisture, ensuring it remains barely moist. When signs of outgrowing the container appear, such as drying out between waterings or producing small leaves with little new growth, plan to repot your arrowhead plant once again following the same steps.
Common Problems & Troubleshooting
As a lovely houseplant, the arrowhead plant may experience a few issues. In this section, we’ll discuss some common problems and how to address them, ensuring your plant flourishes.
Yellowing Leaves: This issue could stem from over-watering. Make sure you let the soil dry out a bit before you water the plant. Additionally, check for proper drainage to prevent stagnant water.
Leggy Growth: Inadequate lighting can lead to stretched, spindly stems. Consider placing your arrowhead plant in a bright area, away from direct sunlight. Also, don’t hesitate to pinch off any leggy growth to maintain a neat appearance.
White Spots on Leaves: You may encounter pests like spider mites or scale insects. To manage this, gently clean the affected leaves with soapy water, then rinse thoroughly. Regularly inspect your plant to control future infestations.
Root Rot: If you observe a foul smell or black, mushy roots, your plant might have root rot. To combat this, carefully remove the affected roots and repot the plant in fresh soil. Don’t forget to trim the root system during repotting to encourage healthy growth.
Arrowhead Plant Varieties
Syngonium Podophyllum ‘White Butterfly’
The Syngonium Podophyllum ‘White Butterfly’ variety showcases stunning white and cream-colored leaves. As a low-maintenance plant, it adapts well to low-light conditions and prefers a well-draining potting mix. Regular watering and occasional pruning encourage a bushier overall appearance.
Syngonium Podophyllum ‘Neon Robusta’
The ‘Neon Robusta’ variety exhibits bright, neon-green leaves, adding a pop of color to your indoor garden. You should provide it with moderate indirect light and maintain a consistent watering schedule. Its vibrant foliage makes it a favorite among Syngonium enthusiasts.
Syngonium Podophyllum ‘Pink Allusion’
With its soft pink and green leaves, the ‘Pink Allusion’ variety adds a touch of elegance to your home. This plant thrives well in indirect light and moderate humidity. Mist your ‘Pink Allusion’ occasionally to mimic its natural tropical habitat and encourage healthy growth.
Syngonium Podophyllum ‘Maria Allusion’
The ‘Maria Allusion’ is another beautiful variety featuring dark green leaves with copper-colored veins. Keep it in a spot with bright, filtered light and water it regularly, making sure the soil remains moist but not soggy. This plant will reward you with stunning foliage all year round.
Syngonium Podophyllum ‘Berry Allusion’
‘Berry Allusion’ boasts olive-green leaves with striking red veins, creating a unique visual appeal. Provide it with bright indirect light and maintain even soil moisture levels to keep this plant looking vibrant. Occasional pruning can help maintain its bushy appearance.
Syngonium Podophyllum ‘Emerald Gem’
The ‘Emerald Gem’ is named for its rich green leaves, resembling the precious gemstone. This plant does well in low to medium light and requires a well-draining potting mix. Make sure to water it consistently, allowing the top inch of soil to dry out between waterings. The ‘Emerald Gem’ adds a touch of lush greenery to your indoor plant collection.
