A Norfolk Island Pine looks like a traditional evergreen tree, but it behaves much more like a houseplant. That distinction catches many new owners by surprise and can lead to avoidable problems. Understanding its basic needs makes a huge difference in long-term success. Read on before placing yours in its permanent spot.
Table of Contents
Norfolk Island Pine Care Basics
This tree responds pretty quickly to changes in light, humidity, and watering habits. It helps to know how fast it grows and how big it gets so it doesn’t catch you off guard down the line.
What It Is and Why It Drops Needles Indoors
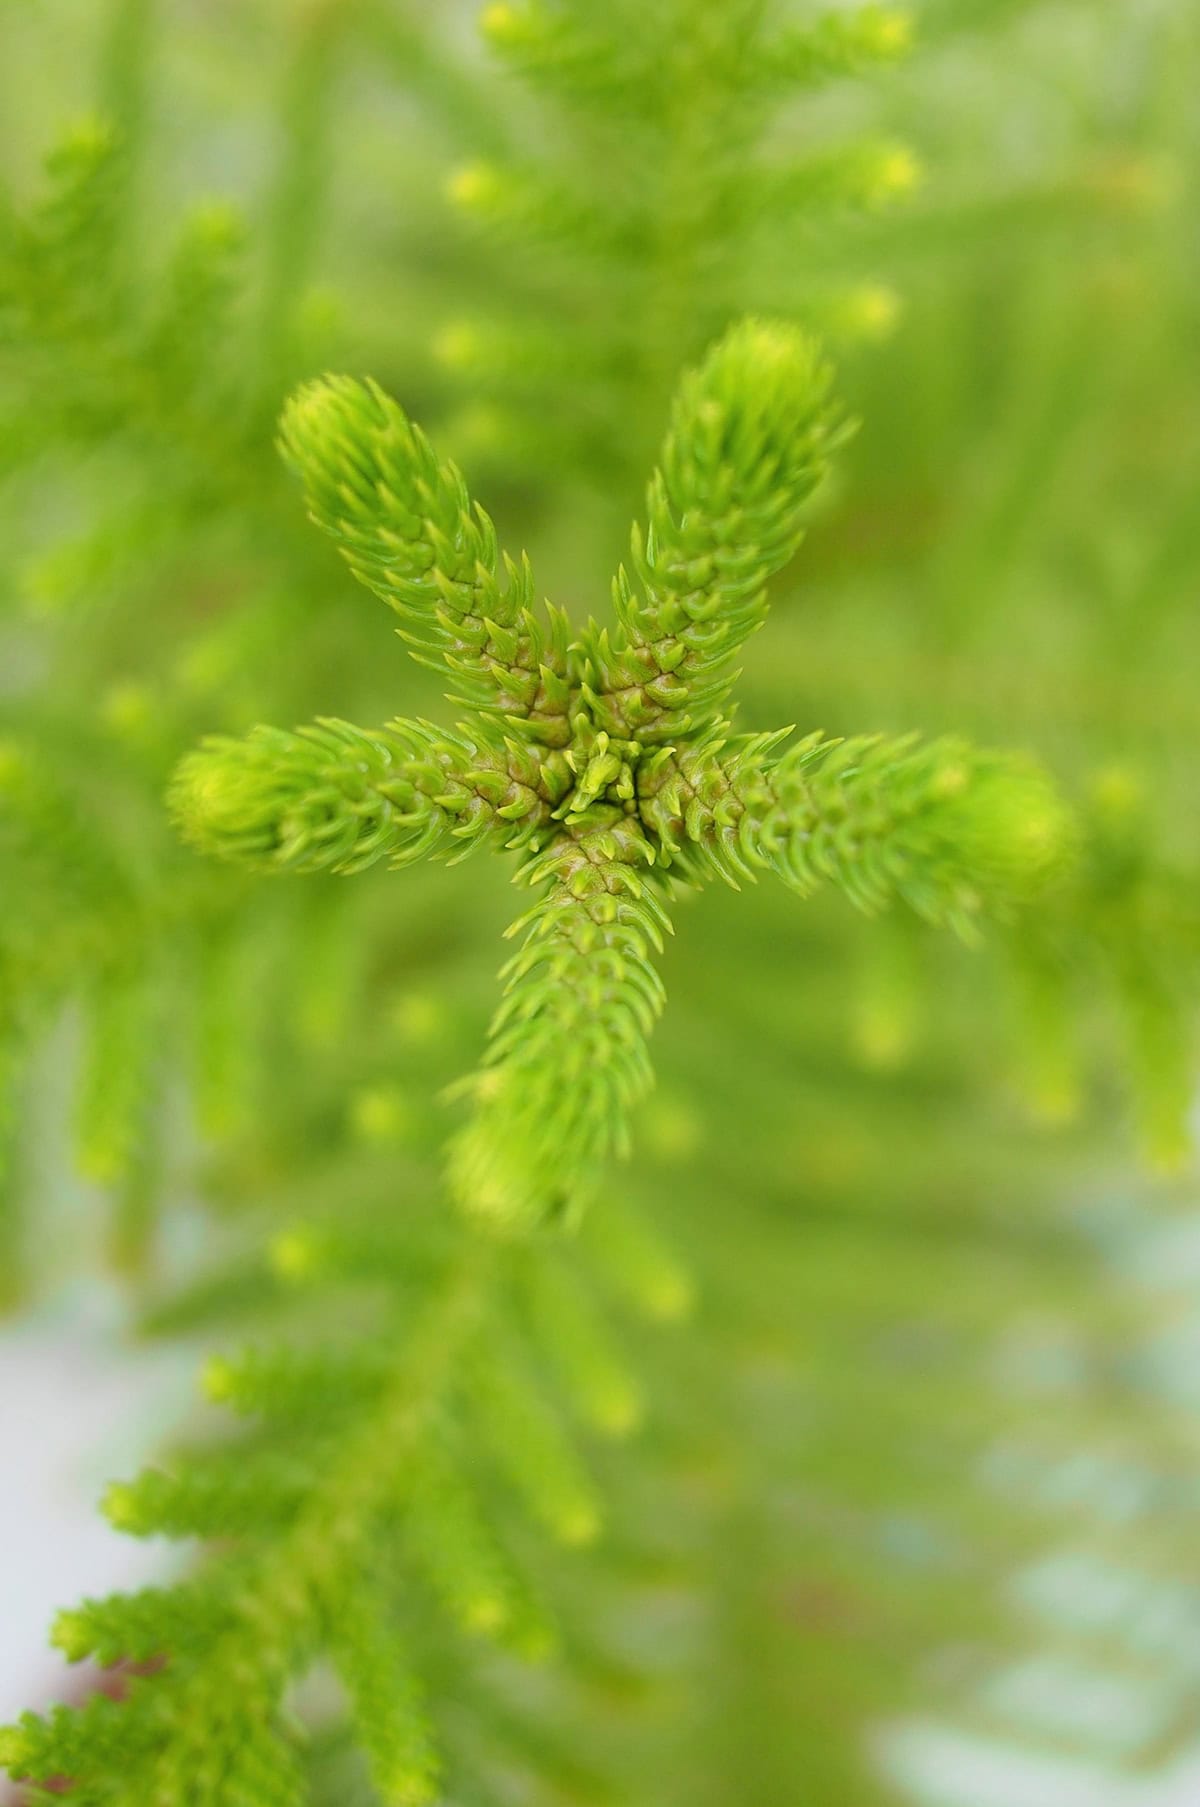
Despite its name, you’re working with a tropical tree, not a true pine. It’s from a humid island and expects consistent moisture in both the air and the soil. Indoors, dry air is the main culprit behind needle drop, especially on the lower branches. Not enough light? That’ll make the growth sparse and the structure weak.
Watering can be a bit of a balancing act. If the soil stays soggy, roots get damaged; if it dries out too much, the tree gets stressed. Both situations usually show up as needle loss. And don’t underestimate drafts or heat blasts from vents—those sudden changes can really throw the plant off.
What to Expect (Growth Rate + Size)
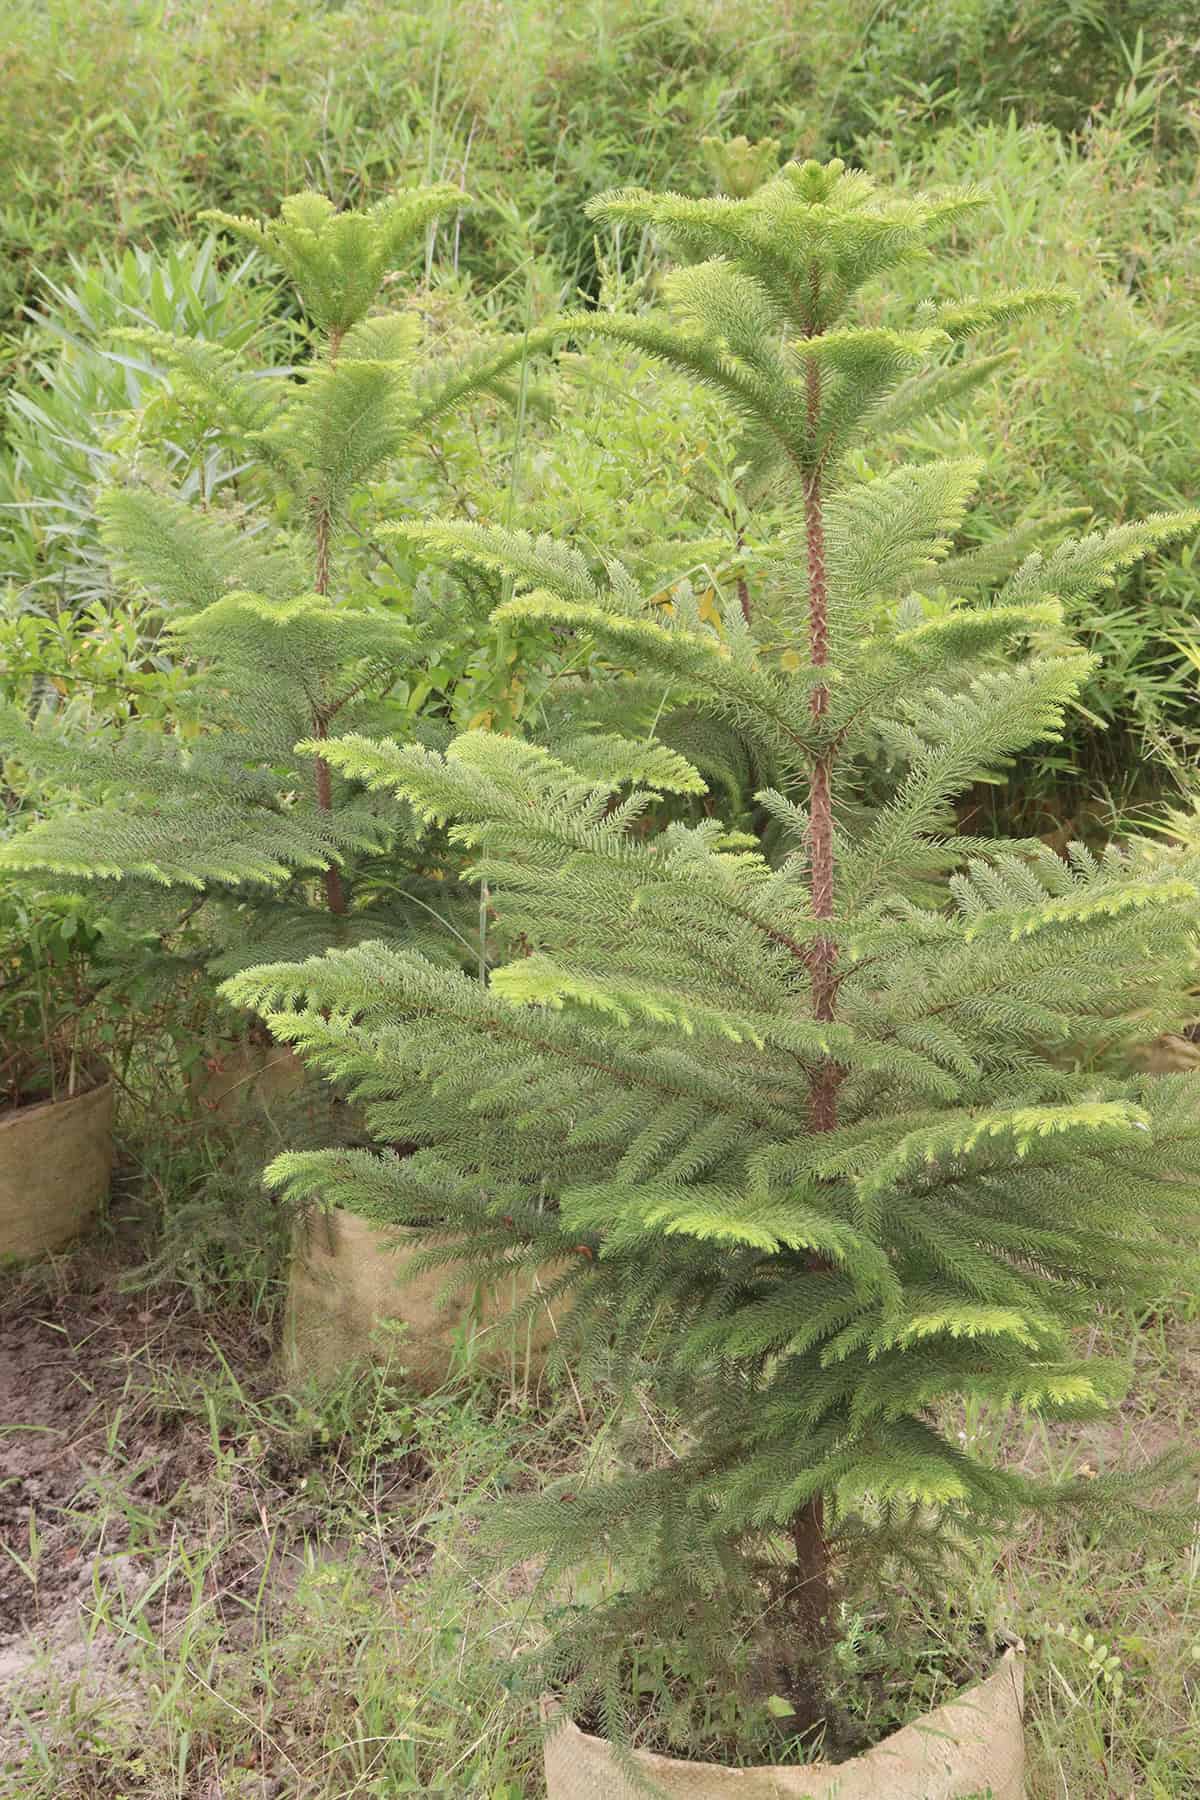
Out in the wild, these trees get massive, but indoors, they’re much more restrained. With decent care, expect slow to moderate growth. Most will max out somewhere between six and ten feet tall, though your ceiling might have the final say.
They don’t regrow branches if they break, so where you put the plant is a bigger deal than you might think. Rotating the pot helps keep the shape even and prevents it from leaning. Patience is key—shape is all about light and space, not hacking away at branches.
Best Spot in the House
Where you put your Norfolk Island pine matters more than you’d guess. Light quality and a steady environment beat out any design choices. Sometimes, just moving it a few feet makes all the difference.
Light Needs (Best Window Directions)
Bright, indirect light is the sweet spot. East-facing windows are great for soft morning sun. West or south windows can work too, but keep the plant a bit back from the intense rays.
It’ll survive in low light, but the growth turns leggy and color fades. You’ll see longer gaps between branch whorls and a tilt toward the light. Give it a quarter turn each week to keep things balanced.
If your windows don’t cut it, a grow light above the plant can help keep it symmetrical. Lopsided light means a permanent lean, which is tough to fix later.
Keep It Stable (Drafts, Vents, Heaters)
Stick to a spot where temps hover between 60°F and 75°F. Cold blasts from doors or windows are rough on the needles. Hot air from heaters dries things out fast.
Steer clear of floor vents and ceiling registers. Constant air movement dries out the foliage and drops the local humidity, which leads to browning and shedding.
Once you find a good spot, don’t keep moving it around. Plants like this one get stressed by frequent changes—consistency is what helps it fill out nicely.
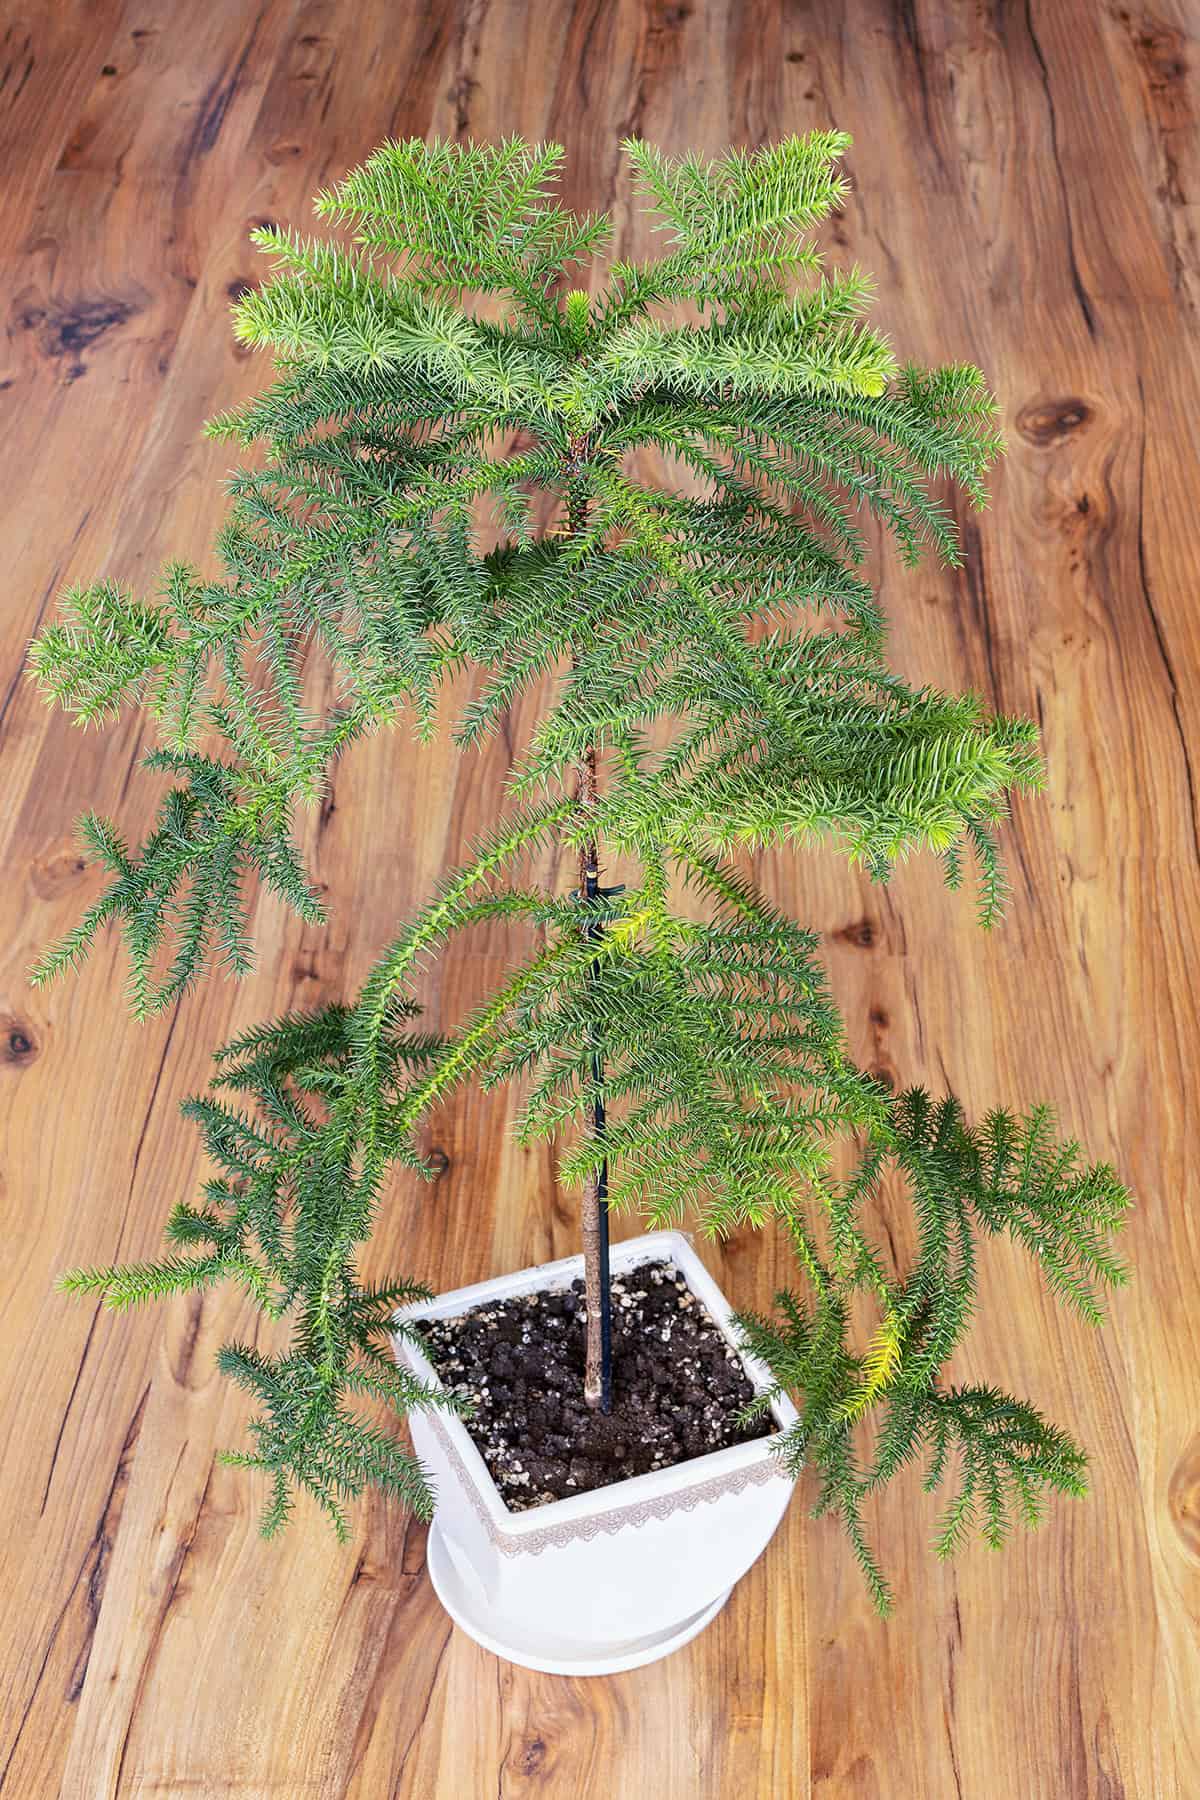
Pot + Soil Setup
The right pot and soil mix make a big difference in how well your Norfolk Island pine does over time. Good drainage, just enough space, and an airy mix help keep roots happy and branches healthy.
Pot Size and Drainage
Pick a pot that’s just big enough for the roots—don’t go oversized. A slightly snug fit is better because oversized pots hold extra moisture, which can backfire. Drainage holes are non-negotiable; water needs to run out freely.
Saucers are fine for catching drips, but don’t let water sit there. Heavy ceramic pots are a nice choice for taller plants—they’re less likely to tip over.
Soil Mix That Stays Airy
Roots need air as much as water, so skip dense mixes. Go for something loose that drains well but doesn’t dry out instantly.
Try mixing three parts potting soil, two parts peat moss, and one part perlite. That combo keeps things light and breathable. Avoid garden soil or sandy mixes—they pack down and suffocate roots over time.
When to Repot (And When Not To)
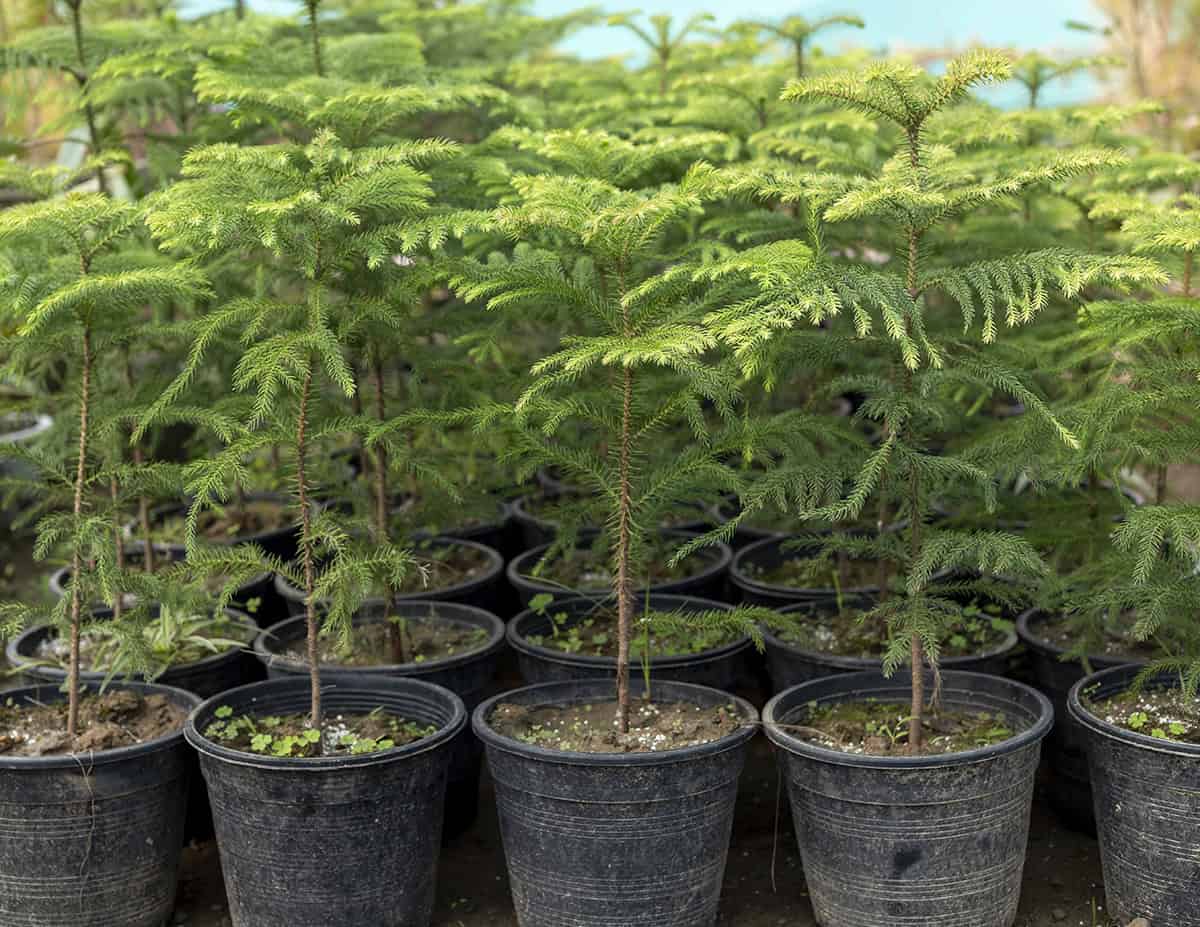
These trees grow slowly, so repotting isn’t something you’ll do often. Every four years or so is usually enough. Wait until you see roots circling the pot or poking through the drainage holes.
Don’t jump up several pot sizes at once—roots need time to settle, and too much soil can stay wet for too long. Spring’s the best season to repot, since the plant’s already gearing up for new growth.
Watering Rules
Getting the watering right is probably the biggest factor in keeping your Norfolk Island pine happy. It’s all about consistency—too much or too little, and you’ll see it in the needles. Pay attention to what the plant’s telling you, and adjust as needed.
When to Water
Forget the calendar—let the soil be your guide. Water when the top inch or two feels dry. Usually, that’s about every week or so, but brighter rooms dry out faster.
Water thoroughly until it drains out the bottom, then dump any excess from the saucer. That way, you’re reaching all the roots and avoiding salt buildup. Giving the pot a turn after watering helps keep growth even, too.
Overwatering vs. Underwatering Signs
If you’re overdoing it, the lower branches will tell you first—needles turn yellow, get soft, and drop. The soil might even smell sour. Underwatering, on the other hand, leaves you with crispy, brown-tipped needles and stiff branches. Letting it get too dry can cause permanent loss.
Water Quality Tips
Stick to room-temp water to avoid shocking the roots. If your tap water has chlorine, let it sit out overnight before using it.
Minerals can build up and cause problems over time. Every few months, flush the soil with distilled or rainwater to clear out salts that lead to browning tips and sluggish growth.
Humidity + Airflow
Norfolk Island pines are quick to react if the air’s too dry. Keeping humidity around 50% helps the needles stay flexible and green. A little airflow is good, but blasts of air are not.
Easy Humidity Upgrades
Homes tend to be drier than these trees like, especially in winter. A room humidifier is your best bet—just don’t set it right next to the plant. Keep it running steady rather than cranking it up high.
You can also use a pebble tray with water under the pot (just don’t let roots sit in water), or cluster houseplants together to bump up local humidity.
Airflow Without Drying It Out
Fresh air is good, but direct blasts from heaters or AC units are rough. Keep the tree out of their path—those dry out needles fast.
A gentle ceiling fan on low or a cracked window on mild days helps keep air moving without stressing the plant. Rotate the pot every few weeks so no side gets neglected. Uneven airflow leads to lopsided growth, and who wants that?
Feeding
This tree isn’t a heavy feeder. A little fertilizer goes a long way, and too much does more harm than good. Keep an eye on how the plant looks and adjust as needed.
Simple Fertilizer Schedule
Feed during the active growing season—early spring through late summer—when the plant is actually putting out new growth. Use a balanced liquid fertilizer at half strength every month or so. Water first, then fertilize to avoid stressing the roots.
Skip feeding in fall and winter. The plant slows down and doesn’t need the extra boost. Look for a standard houseplant fertilizer with balanced numbers (like 10-10-10), but steer clear of anything with too much nitrogen—it can throw off the plant’s natural shape.
Signs of Too Much Fertilizer
Too much fertilizer shows up as brown or yellow needle tips and sometimes a crusty white layer on the soil. Growth might get weird—soft or uneven, with branches losing their usual symmetry. Roots can suffer, too, making the whole plant droop.
If you think you’ve gone overboard, flush the soil with water and let it drain well. Hold off on feeding until the plant looks stable again.
Pruning, Shaping, and Rotation
Less is more with pruning this tree. Rotation is your main tool for keeping it straight, and any trimming should be minimal and careful to protect the tree’s shape.
Why You Shouldn’t Top It
Tempted to cut the top to control height? Don’t. Norfolk Island pines grow from a single central leader, and once that’s gone, the plant can’t replace it. Cutting it off usually stops growth or makes things lopsided.
If you need to slow it down, keep it a bit root bound and go easy on fertilizer. That’ll keep vertical growth in check without risking the tree’s form.
How to Rotate for Even Growth
Indoor light usually comes from one direction, so the tree will lean if you don’t rotate it. A quarter turn every week, always in the same direction, helps keep things even. Good light from an east, west, or south window is ideal. With regular rotation, you’ll get a balanced, upright tree.
Removing Brown Branches Correctly
Lower branches can brown as the plant ages or after a rough patch. Only remove branches that are fully brown and dry—if there’s green, leave it. Use sharp, clean pruners and cut close to the trunk, but don’t nick the bark.
Don’t snip healthy branch tips to shape the tree. That messes with its layered look. Stick to removing dead stuff and let the plant’s natural form do its thing.
Common Problems and Fixes
When this tree’s stressed, you’ll see it in the needles, the shape, or sometimes from pests. Most issues trace back to light, water, humidity, or waiting too long to act. Adjusting your care routine usually turns things around.
Needle Drop and Browning Tips
Older needles drop off now and then, but if you’re seeing lots of browning, something’s off. Overwatering suffocates roots and browns the tips; underwatering dries them out and makes needles brittle.
Check soil moisture with your finger before watering. Let the top inch dry out, then water thoroughly. Never let the pot sit in standing water.
Dry air is another big cause of brown tips. Use a humidifier or pebble tray, and keep the plant away from heat sources that dry the air.
Weak, Leaning Growth (Low Light)
If your tree’s leaning or branches are stretching, it’s not getting enough light. It’ll reach for the brightest spot and lose its usual symmetry, sometimes in just a season.
Move it closer to a bright window with filtered sun. East, west, or bright south exposures are best. Skip the dark corners or rooms with only overhead lights.
Keep up with the weekly pot rotation to even out growth. And remember, cold rooms slow things down, so keep it above 60°F if you want steady, healthy growth.
Pests (Spider Mites, Scale, Mealybugs)
Stressed trees—especially in dry, heated rooms—seem to attract pests like magnets. Spider mites leave pale specks and spin fine webbing along the branches. Scale and mealybugs show up as odd bumps or cottony fluff stuck to stems.
Take a close look at branch joints and the undersides of needles every few weeks. Catching things early makes a world of difference and stops pests from hopping over to your other plants. If you spot anything, move the tree away from the rest right away.
A cloth with a splash of diluted alcohol works well for wiping down the trouble spots. After that, insecticidal soap (used as the label says) can help. Boosting humidity and giving the tree more light seems to help keep pests at bay—healthy trees just handle problems better.
Seasonal Care
Light, temperature, and moisture shift with the seasons, and your tree will notice. You’ll want to tweak your care routine through the year to keep color, structure, and growth on track.
Winter Care Indoors
With shorter days, light drops off, so scoot your tree as close as you can to a window with plenty of indirect sun. East, west, or south-facing spots usually do the trick. Giving the pot a little turn each week helps the trunk stay upright.
Heaters dry out the air, which almost always means some needle drop, especially at the bottom. Keep your tree away from blowing vents and cold drafts. A humidifier or even just a tray of pebbles with water under the pot helps a surprising amount.
Growth nearly stalls in winter, so water only after the top inch of soil dries out. Let any extra water drain away—don’t let it sit. Skip the fertilizer until spring rolls in. Best to keep the room around 60–70°F if you can swing it.
Summer Options (Outdoor Move, If You Do It)
When it warms up, you can let your tree hang out outside, but don’t just toss it into full sun. A shady patio or porch with bright, indirect light is ideal. Strong afternoon sun will fry those needles in a hurry.
Wait until nights are consistently above 55°F before moving it out. Bring it back in before temperatures drop in the fall. Sudden changes stress the branches, so ease the plant in and out over a few days instead of all at once.
Check the soil more often outside—pots dry out fast in the heat. Water thoroughly, but let the soil partially dry before the next round. Keep spinning the pot every week. If a branch snaps, don’t bother pruning it; once a limb is lost, it’s not coming back.
Propagation
Most houseplants you’ll find are grown from seed, but if you’re hoping to propagate at home, expect mixed results. The way you start the plant shapes its look and long-term health, and honestly, the odds aren’t always in your favor.
Why It’s Usually Seed-Grown
Nurseries stick with fresh seed because it gives you those classic, straight, well-layered trees. A single upright leader forms naturally, which is what most folks want indoors. Seed-grown plants just keep their shape without much fuss.
Cuttings? Hit or miss. Sure, you can root stem tips, but most of the time the growth goes sideways, and the tree ends up looking a bit wonky. Strong central leaders are rare from cuttings, and many never really take off.
Seedlings also tend to grow more evenly, with balanced roots and branches. This matters since these trees grow slow and don’t handle stress all that well. So, if you’ve ever wondered why nearly every houseplant version comes from seed, that’s pretty much the whole story.
What to Try If You Want to Propagate at Home
If you’ve got access to a very fresh source, seed is your best shot. Old seed just isn’t worth the trouble, honestly—it fizzles out even if you baby it. You’ll need to sow it right after harvest, using warm, barely damp soil. Germination drags on for weeks sometimes, so yeah, you’ll need a bit of patience.
Cuttings? Possible, but not exactly a breeze. You’d have to snip a semi-hard stem tip from the plant’s main leader, which does mess with its shape for good. Some cuttings root, some just sit there looking sad, and a bunch stall out even after you spot roots.
Air layering almost never pans out, and division’s just not an option here. If you’re picky about how your plant looks, honestly, buying a young one might spare you a headache or two.