If you’ve ever thought root vegetables were only for big gardens, carrots will prove you wrong. They’re perfectly happy in pots with the right care. Read on to find out how to grow carrots in containers.
Table of Contents
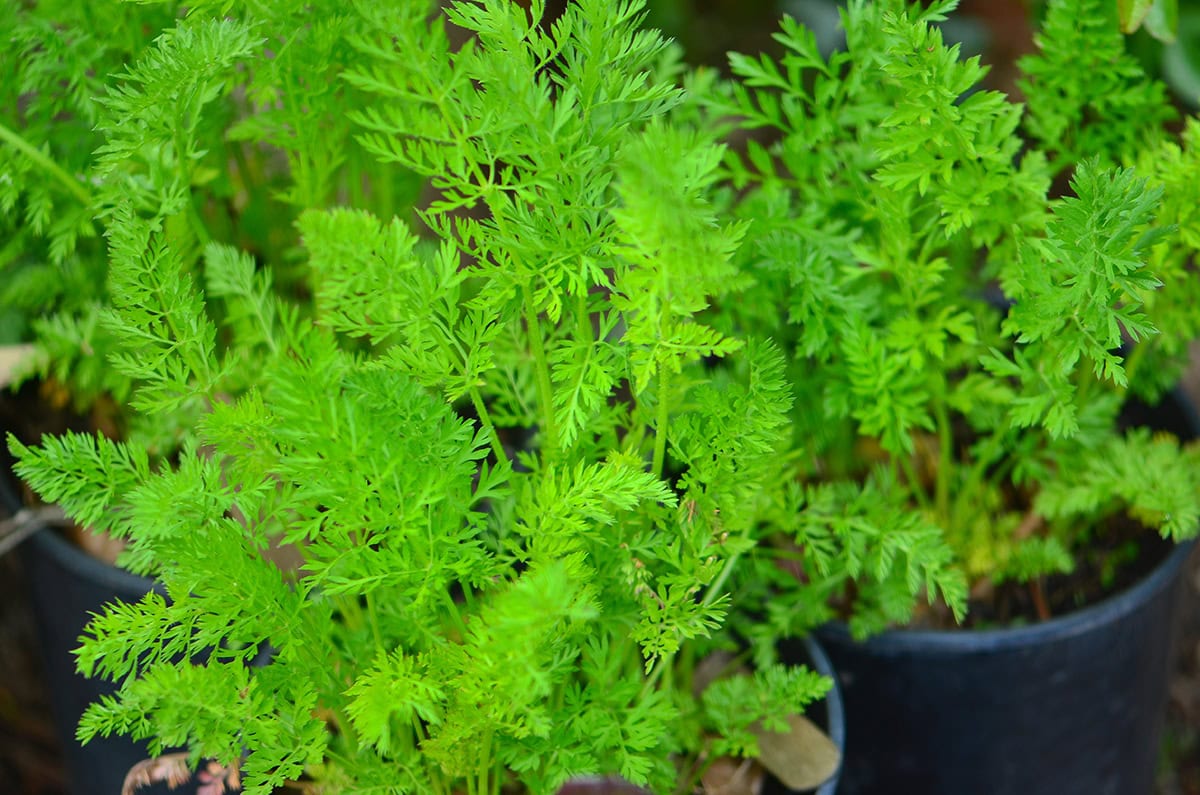
Best Carrot Varieties for Containers
Some carrot types are just better suited for pots. Compact varieties don’t mind the limited space and can give you a solid harvest, even in small containers.
Short and Round Types
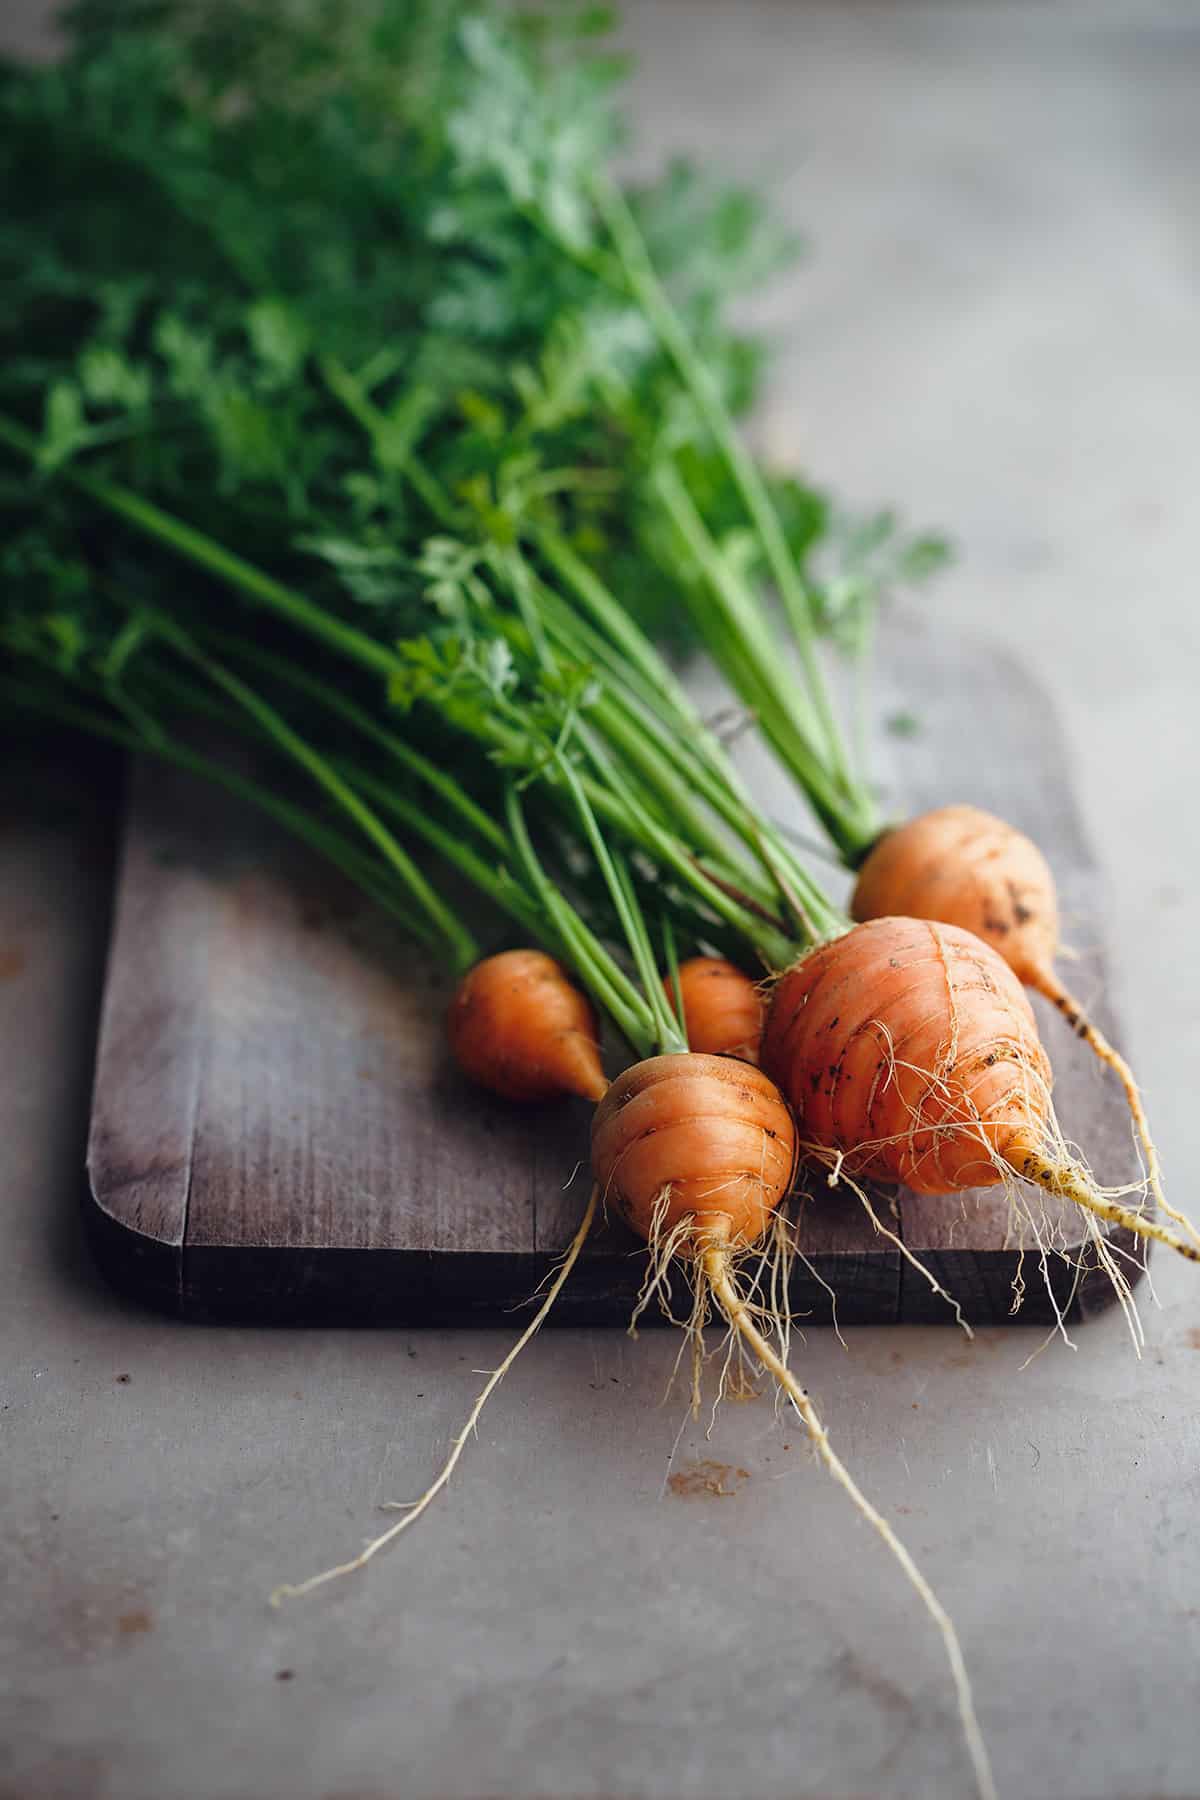
If your container isn’t super deep, short and round carrots are the way to go. These stubby types don’t demand much root room, so even an 8- to 12-inch pot can work.
Look for Thumbelina, Parisian, or Orbit. Their round or squat shape means you’re less likely to end up with weird, forked roots. They don’t care much about small stones or dense patches in the soil, and harvest is a breeze—great for tight spaces.
The smaller size means they don’t crowd each other as much, and the flavor’s surprisingly sweet and tender. They’re kind of fun, honestly, especially for kids who like quirky veggies.
Container-Friendly Hybrids
Some hybrids are bred to handle containers and deliver uniform results. Options like Short ‘n Sweet, Little Finger, and Babette grow straight, petite roots and don’t get unruly in a pot.
They’re less likely to split, even if you mess up watering a bit. Thinning isn’t a huge chore since the seedlings don’t get out of control. These are favorites for anyone gardening on a balcony or patio—compact, tidy, and reliable.
Quick to mature, too. They strike a nice balance between size and flavor without getting too big for your space. Makes the most out of every inch of container.
Choosing the Right Container
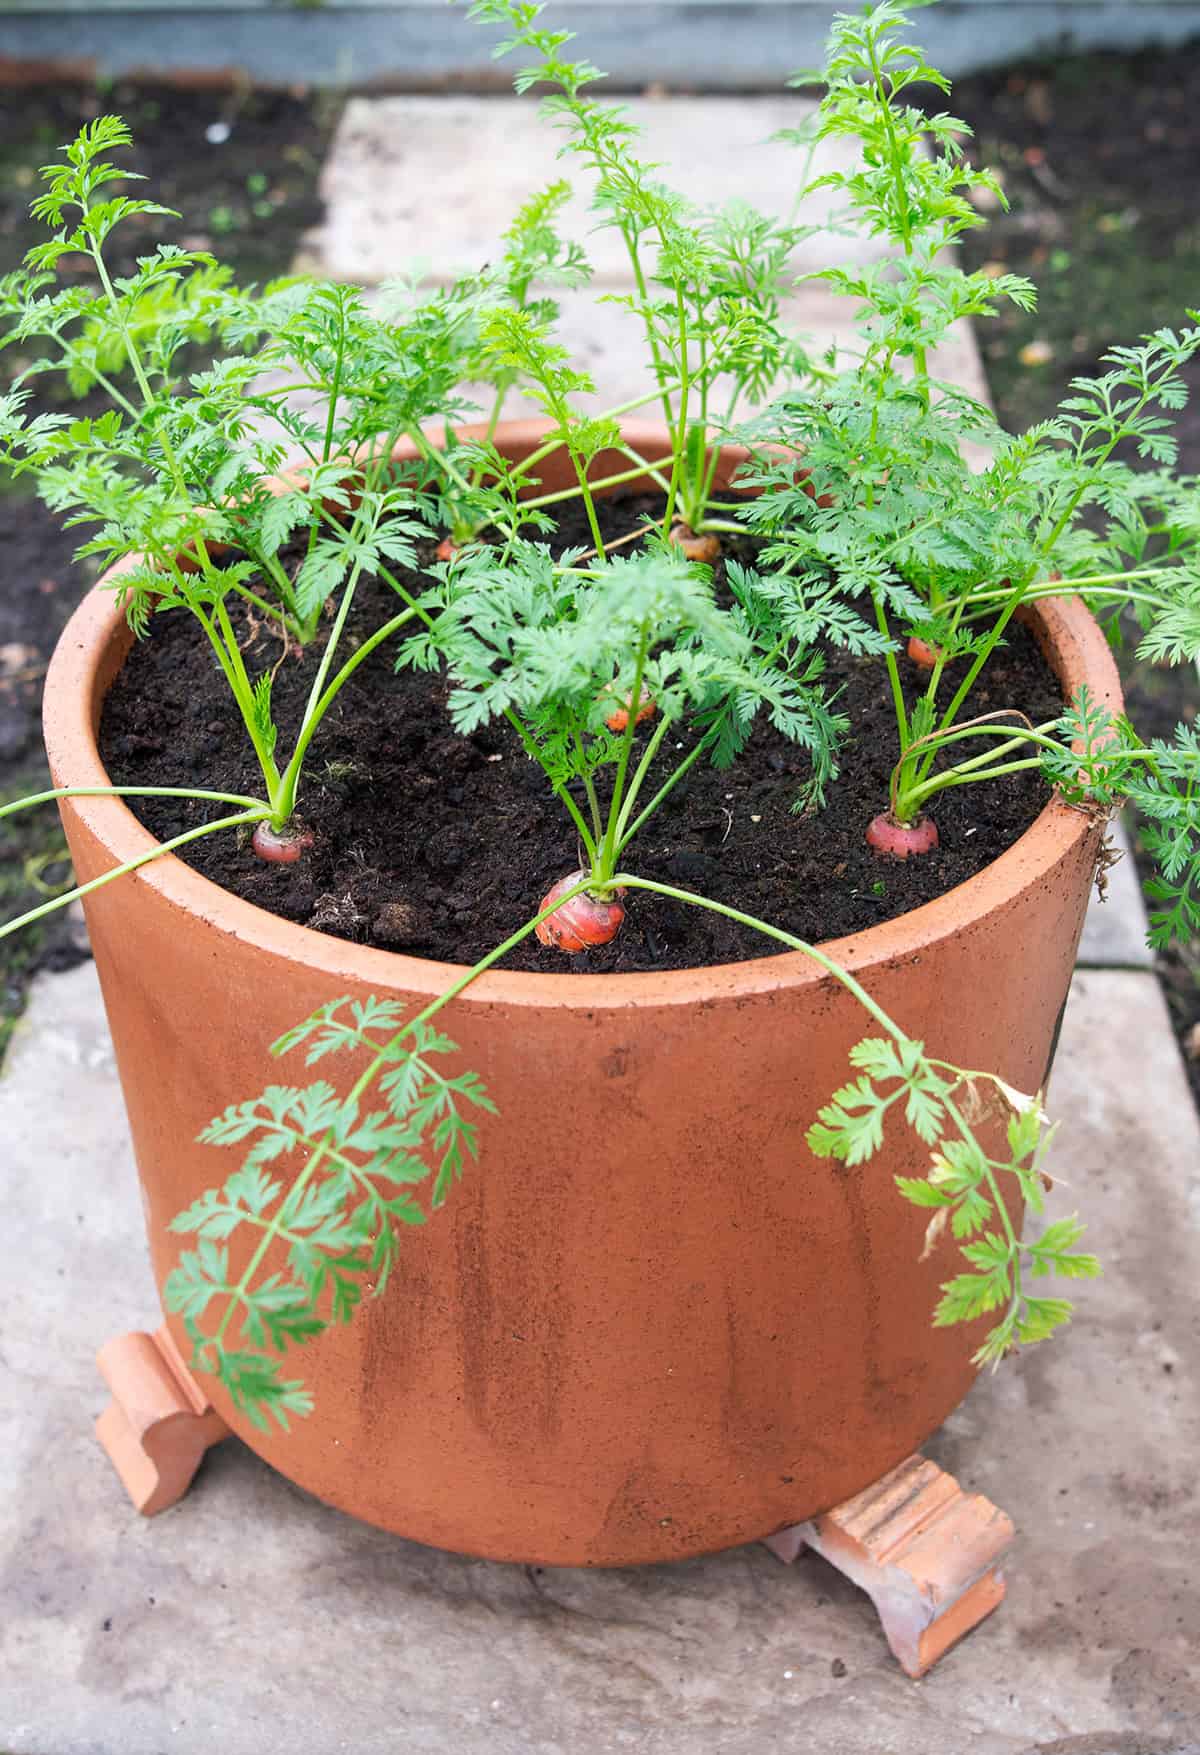
The container you pick really matters for carrot health. Depth and drainage are the main things that decide whether you get straight, full-size roots or not.
Size and Depth Requirements
For most carrots, a pot that’s at least a foot deep is ideal. That gives roots the room they need to stretch out. With something like ‘Thumbelina’ or ‘Short ‘n Sweet’, you can get away with 10 inches. How wide your pot is depends on how many carrots you want to cram in.
Spacing’s important—about 2 inches apart is good. Wider containers mean more rows. If you’re set on growing long carrots, like ‘Imperator’, you’ll need a really deep pot (think 16 inches). Whatever you use, make sure it holds enough soil to keep moisture steady.
Drainage and Material Tips
Drainage is non-negotiable. Your pot needs holes at the bottom—otherwise, you’ll end up with rotting roots. Steer clear of containers with no holes or tiny ones that clog easily.
Plastic, glazed ceramic, or wooden boxes all work. They tend to keep soil moist longer than something porous, like unglazed clay, which dries out in a flash. Plastic’s light and easy to move, and it holds water well. If you’re reusing an old pot, give it a good scrub to avoid passing on diseases.
Pick something sturdy that won’t crack in the sun. It needs to be heavy enough not to tip over in the wind, too. Less porous pots are easier on your watering schedule since they don’t dry out as fast.
Soil and Fertilizer Needs
Loose, well-draining soil is a must for carrots in pots. Fertilizer matters too—timing and type can make a big difference in your harvest.
Ideal Soil Mix
Go for a light, fluffy potting mix. Dense, compacted soil just makes life hard for carrot roots. A blend of peat, coarse sand, and compost is usually spot-on.
Well-rotted compost adds drainage and helps hold moisture. Rocks or big clumps are a no-go—they’ll mess up the shape of your carrots. Aim for a pH between 6.0 and 6.8 for best results.
Start with weed-free, disease-free mix. Always use containers with drainage holes to avoid soggy roots. Mixing in a bit of slow-release fertilizer at the start gets your carrots off to a good start.
When and How to Fertilize
Begin with a balanced fertilizer like 10-10-10 or 10-15-15, mixed into the soil before planting. Don’t overdo it—follow the package instructions.
Once seedlings hit about two inches tall, feed them again, but switch to a low-nitrogen blend. Too much nitrogen means you’ll get lots of leaves, not roots. Sprinkle the fertilizer evenly, scratch it into the top of the soil, and then water.
Too much fertilizer can do more harm than good. Watch for crusty soil or white residue—those are signs of salt buildup. If your carrots seem slow, a little compost or diluted liquid feed is a gentler fix.
How to Plant Carrot Seeds
Spacing and depth matter a lot for carrots. Get those right, and you’ll avoid a lot of headaches with tiny or weird-shaped roots.
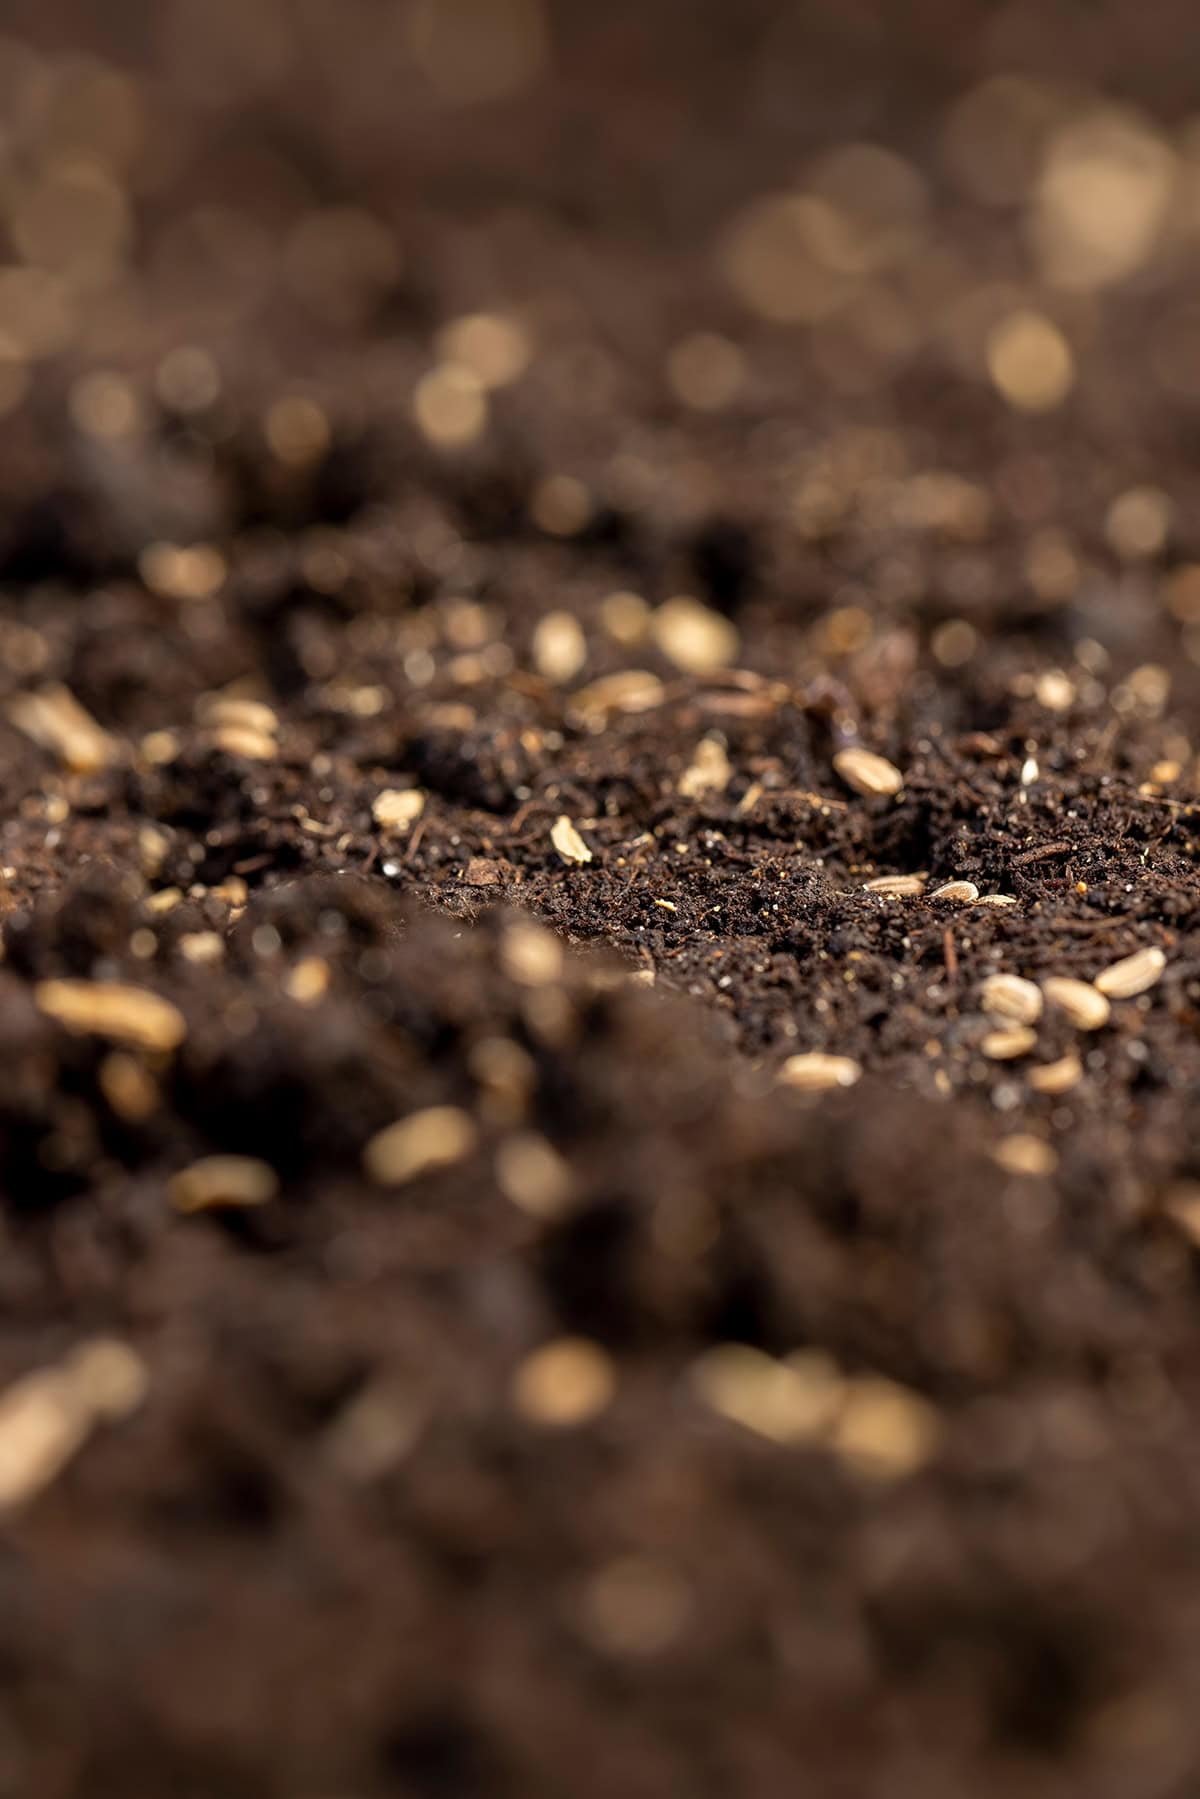
Seed Spacing and Depth
Sow carrot seeds directly into moist, loose mix. They don’t like being transplanted. Plant seeds about 1/4 to 1/2 inch deep—any deeper, and they might not come up.
Keep seeds 1 to 2 inches apart. Crowding just leads to problems later. Shorter types can be a bit closer, but still, don’t skimp on space. Lining them up in rows makes watering and thinning way easier.
After covering the seeds, press the soil gently. Use a fine spray to water so you don’t wash seeds away. Keep the soil damp until you see sprouts—sometimes it takes up to three weeks, so patience is key.
Thinning for Proper Growth
When seedlings have two true leaves, it’s time to thin. Crowded carrots won’t grow well. Leave about 2 to 3 inches between each plant.
Snip the extras at the soil line instead of pulling them out—less risk of disturbing the ones you want to keep. You might need to thin again if things are still crowded.
Good spacing helps with airflow and cuts down on disease. It also makes watering and feeding easier down the line. Don’t be shy about removing the runts for a better harvest.
Watering and Sunlight
Getting the watering and light right is half the battle with carrots in pots. Consistent moisture keeps roots growing straight, and enough sun keeps the tops healthy.
How Often to Water
Keep the soil evenly moist, but not soggy. Water when the top inch feels dry. Seeds and young plants need extra care—dry soil at this stage can really mess with root growth.
Check daily, especially in hot or windy weather. Stick your finger in the soil to check—containers dry out faster than garden beds, so don’t just guess.
With deep pots, make sure water gets all the way down. Skip overhead watering—water at the soil level instead. As harvest nears, let the soil dry just a touch more to help prevent splitting.
Light Requirements for Healthy Growth
Carrots want at least six hours of direct sun each day. Put your pots where they catch the most rays—south-facing spots are gold.
Eight hours of sun is even better for lush tops. Less sun? The roots might take longer or stay smaller, but you’ll still get something.
Partial shade is doable, but yields drop. If sun’s uneven, rotate your pot now and then. Full shade’s a no-go—carrots end up thin and pale.
Common Problems in Containers
Carrots in pots can hit a few snags—root issues and pests are the big ones. Staying on top of soil quality and keeping an eye out for bugs makes a difference.
Forked or Misshapen Roots
Roots fork or twist if the soil’s not loose or has junk in it. Stones and clumps send roots in weird directions.
Heavy or compacted soil just won’t cut it. Stick with fine, well-draining mix, not garden soil full of sticks or chunks.
Crowding makes for odd shapes, so thin your seedlings to give each at least two inches of space.
Watering matters, too—let soil dry out too much or water unevenly, and you’ll see forking or stunted carrots.
Deep enough containers (at least 12 inches) help roots grow straight down instead of hitting the bottom and turning.
Pests and Root Damage
Aphids and spider mites might show up on leaves, but the real headache is root pests. Root-knot nematodes are pretty common, especially in reused or untreated soil.
If you spot small, knobby bumps on roots, nematodes could be the culprit.
Use fresh, sterile potting mix to dodge most soil pests. Cover pots with mesh to keep carrot flies from laying eggs in the soil.
Carrot rust flies can be a problem, too—their larvae tunnel into roots. Keeping pots up off the ground or using row covers helps keep them away.
Check your plants and roots often. Toss any infested carrots far from your growing area.
When and How to Harvest Carrots
Carrots in pots usually hit maturity after several weeks, but timing and a gentle touch make all the difference for taste and texture. Checking for size, color, and firmness stops you from picking too soon or too late.
Signs They’re Ready
Most carrots need around 70 to 90 days from planting to full size, depending on the type. You’ll often see the top of the root poking out of the soil—look for a deep, rich color (orange, purple, whatever you planted).
Press gently on the shoulders. A mature carrot feels firm and resists a little pressure. If it’s soft or skinny at the top, it’s probably not ready. For baby carrots, you can pick earlier when the roots hit about half an inch thick.
Not sure? Brush away some soil and check the top third of a root. It should look smooth and well-formed. Don’t wait too long—overgrown carrots get woody and lose their sweetness.
Harvesting Without Damaging the Roots
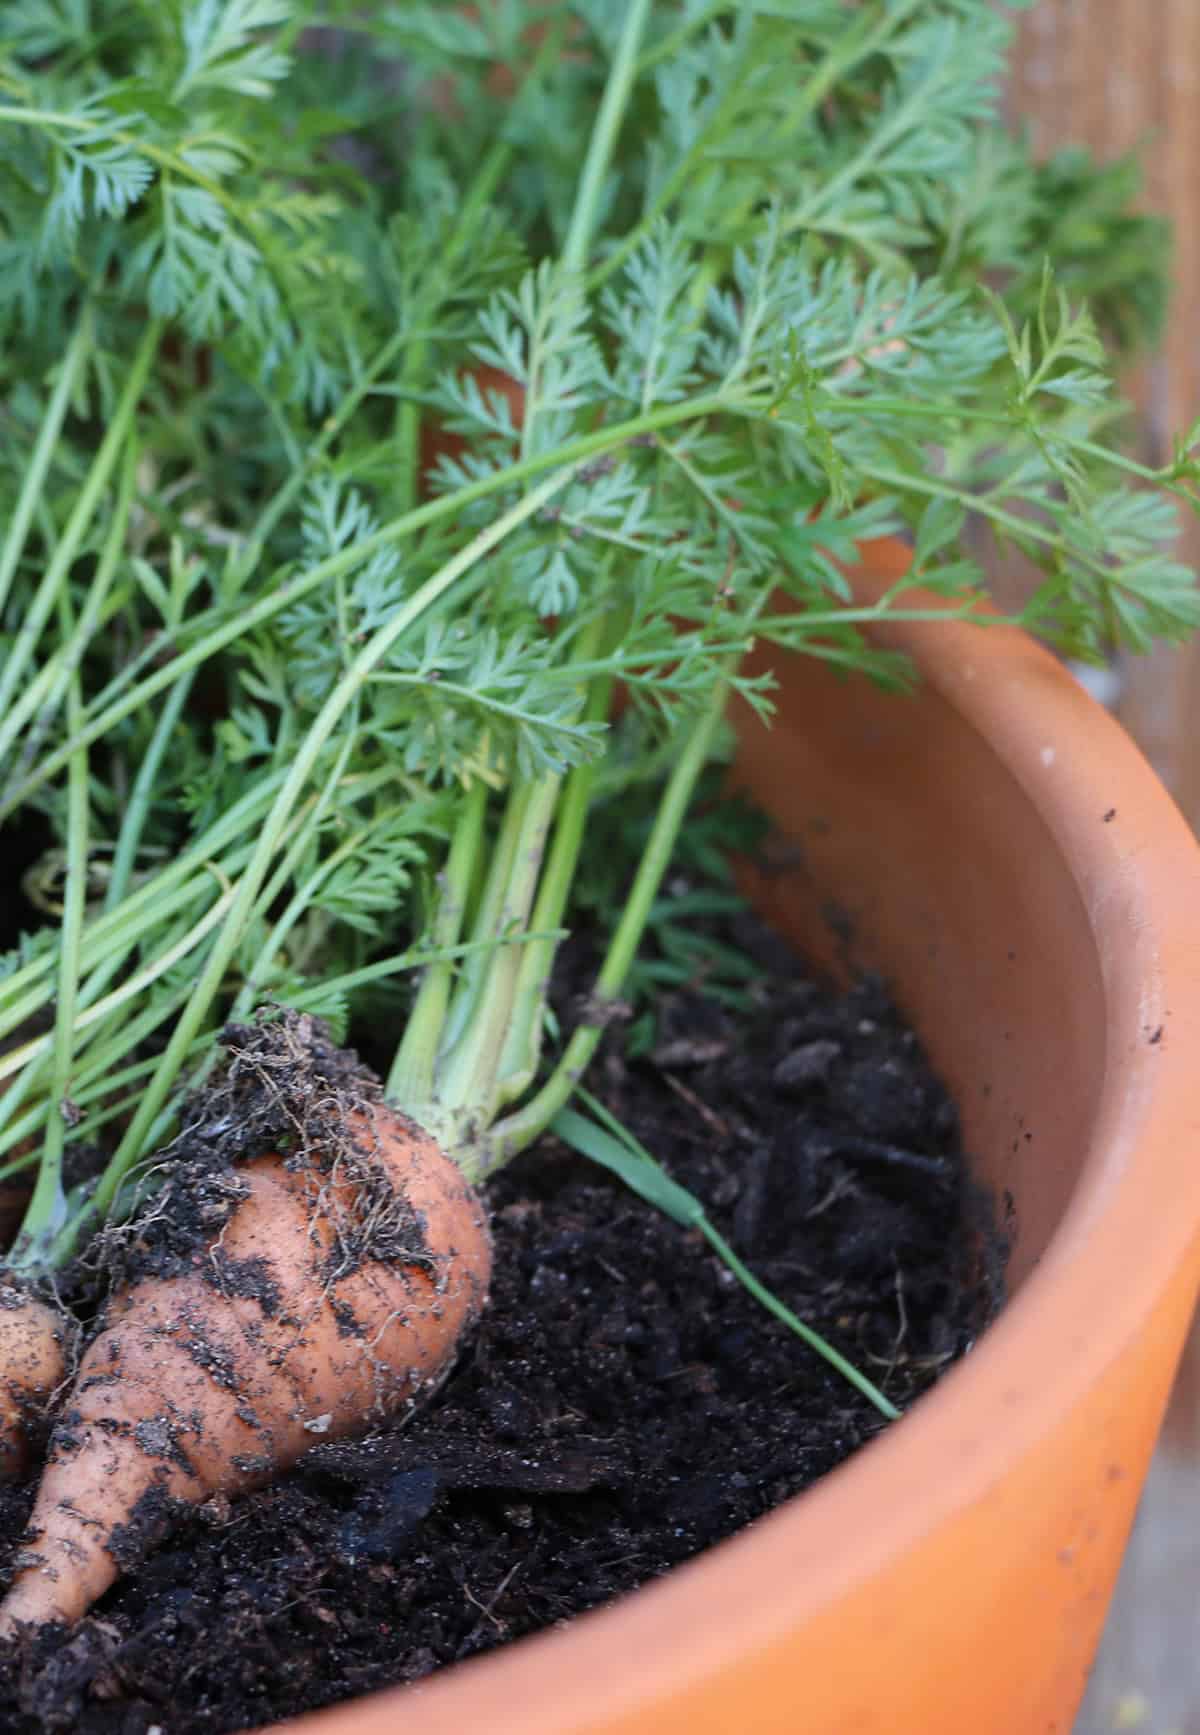
Water the container a few hours before you start. Damp soil makes things a lot easier and helps keep the roots in one piece. Grab the carrot tops right at the base, as close to the soil as you can, and pull straight up—slow and steady wins here.
When a carrot refuses to budge, a little side-to-side wiggle usually does the trick. In tight spots, a small garden fork or even just your fingers can help pry them out. Try not to nick or stab the roots; any damage tends to make them go bad so much faster.
Give each carrot a quick look for splits or cracks—these pop up when things get crowded or dry. Handle them gently, and stash the good ones in the fridge right away to keep them sweet and crisp. Snip the greens down to about an inch before storing.