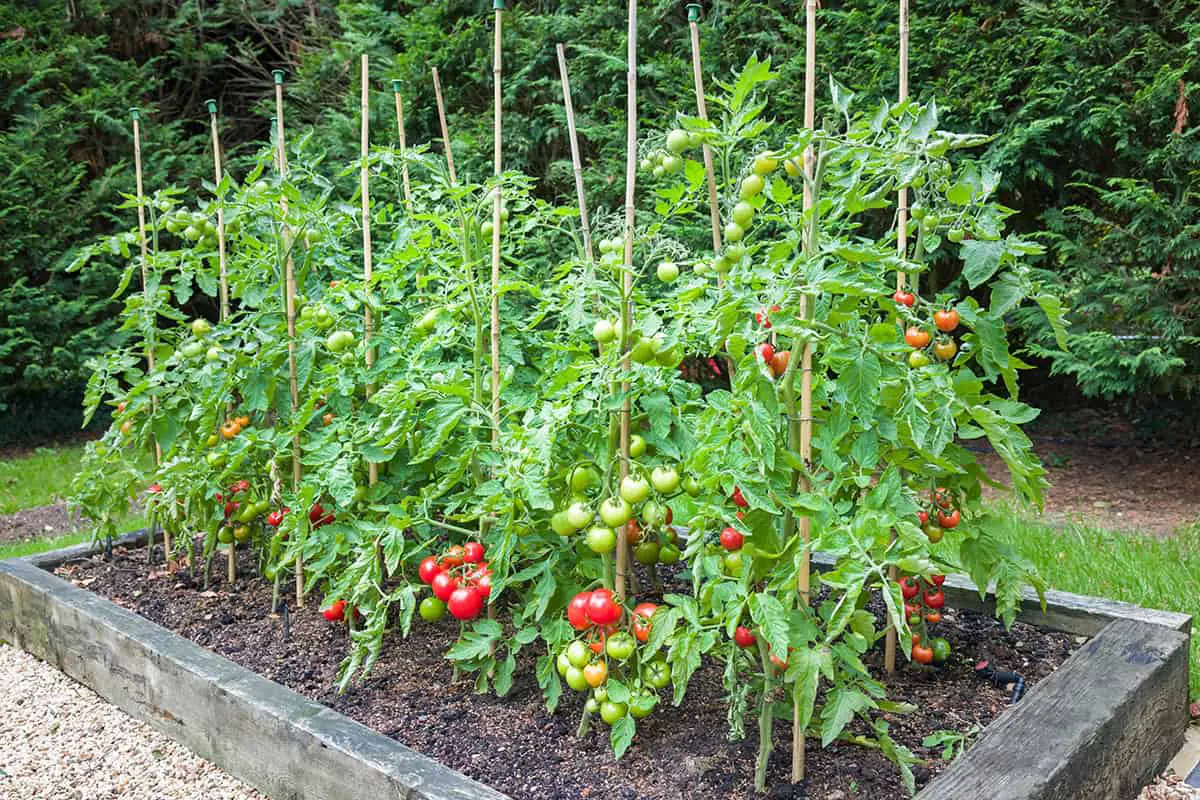
Tomatoes forgive a lot, and they still punish a short list of mistakes every summer. Cold soil, uneven watering and crowded, unpruned plants account for most disappointing harvests, along with the cracked, spotted and rotten fruit that follow.
Most fixes come down to timing and habit, with little or no extra money involved.
Planting date leads the list of twelve, since a tomato set out in cold soil spends weeks catching up.
Table of Contents
Planting Too Early
Tomato seedlings need warmth. Set out too early, they sit still and develop purple, stunted leaves in cold soil and chilly nights. Wait until nights hold above 50°F and a soil thermometer reads at least 60°F at a depth of 4 inches, about a week or two after the last frost date.
Cold soil slows root growth and phosphorus uptake, so early plants grow slowly and set less fruit. Tomatoes planted two weeks later in warm soil frequently catch up and pass them.
Start seeds indoors 6 to 8 weeks before the expected transplant date. Use a sterile seed-starting mix and a soil temperature of about 75 to 85°F for quick germination, then grow the seedlings under bright light.
Harden off transplants for a week before planting, with a few hours outside on the first day and a little more each day after. Watch the forecast, and cover young plants if a late cold snap arrives.
Overwatering or Underwatering
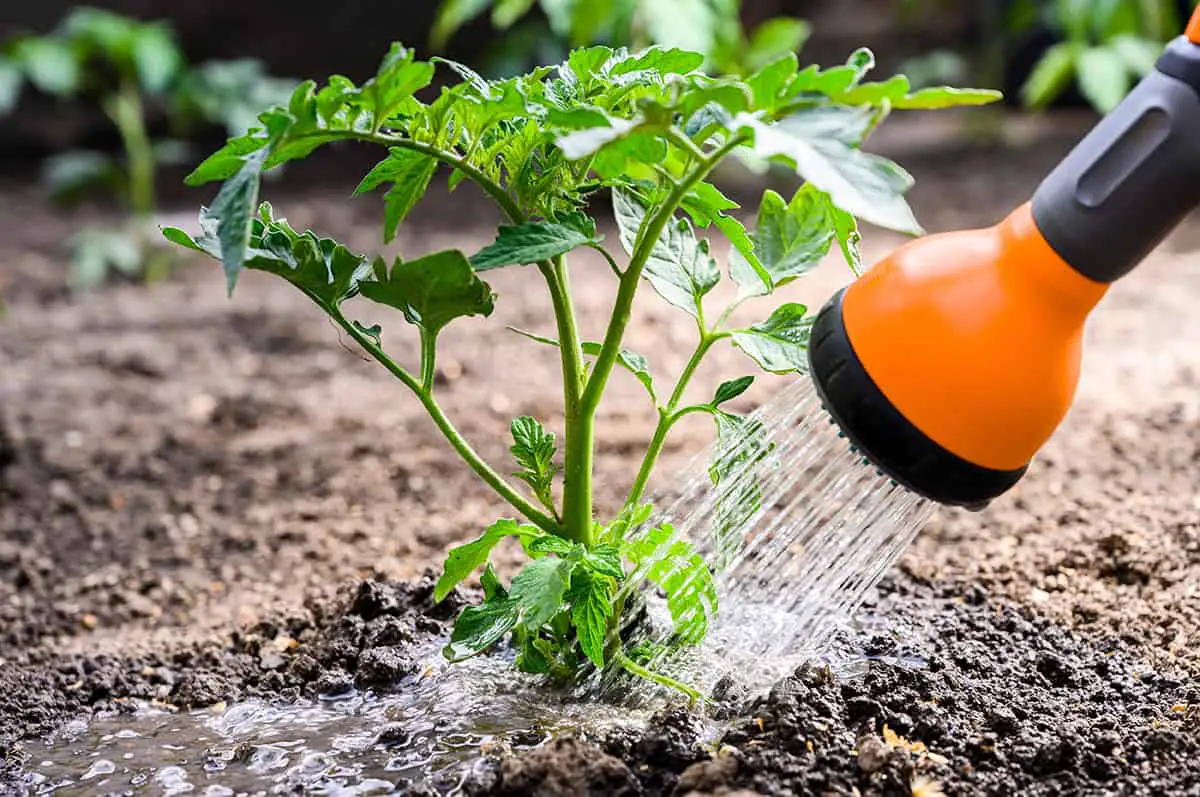
Tomatoes need steady moisture, and both extremes cause trouble.
Overwatering in heavy or poorly drained soil starves roots of oxygen and leads to root rot, with yellow leaves and wilting even when the soil is wet.
Underwatering stresses plants, slows growth and causes flowers to drop. Deep, regular watering, about 1 to 2 inches a week from rain and irrigation combined, holds the soil evenly moist. In hot, dry weather, plants in containers need water every day.
Check the soil with a finger before watering, and wait if it is still wet a few inches down. A layer of mulch evens out soil moisture and protects against both extremes.
Not Providing Enough Sunlight
Tomatoes need at least six to eight hours of direct sun a day, and more is better. With less light, plants grow tall and spindly and produce fewer, smaller fruits.
Pick the sunniest spot in the garden, away from the shade of trees, fences and buildings. Watch how shadows move through the day before you plant, since a spot that looks sunny at noon may fall into shade by mid-afternoon.
Indoor windowsills rarely provide enough light for fruiting tomatoes. Seedlings started indoors need a grow light a few inches above them for 14 to 16 hours a day to grow stocky and strong.
Poor Soil Preparation
Healthy tomatoes start with healthy soil. A soil test before planting shows the pH and nutrient levels and takes the guesswork out of fertilizing.
Tomatoes prefer slightly acidic soil with a pH of about 6.2 to 6.8. Add lime if the soil is too acidic, or sulfur if it is too alkaline, according to the soil test recommendations.
Mix 2 to 3 inches of compost into the planting area to improve soil structure, drainage and fertility. Good soil supports deep roots and steady growth.
Heavy, waterlogged soil invites root diseases, so build raised beds or plant on mounds in clay. In cool spring climates, black plastic laid over the bed for a week or two before planting warms the soil.
Overcrowding Plants
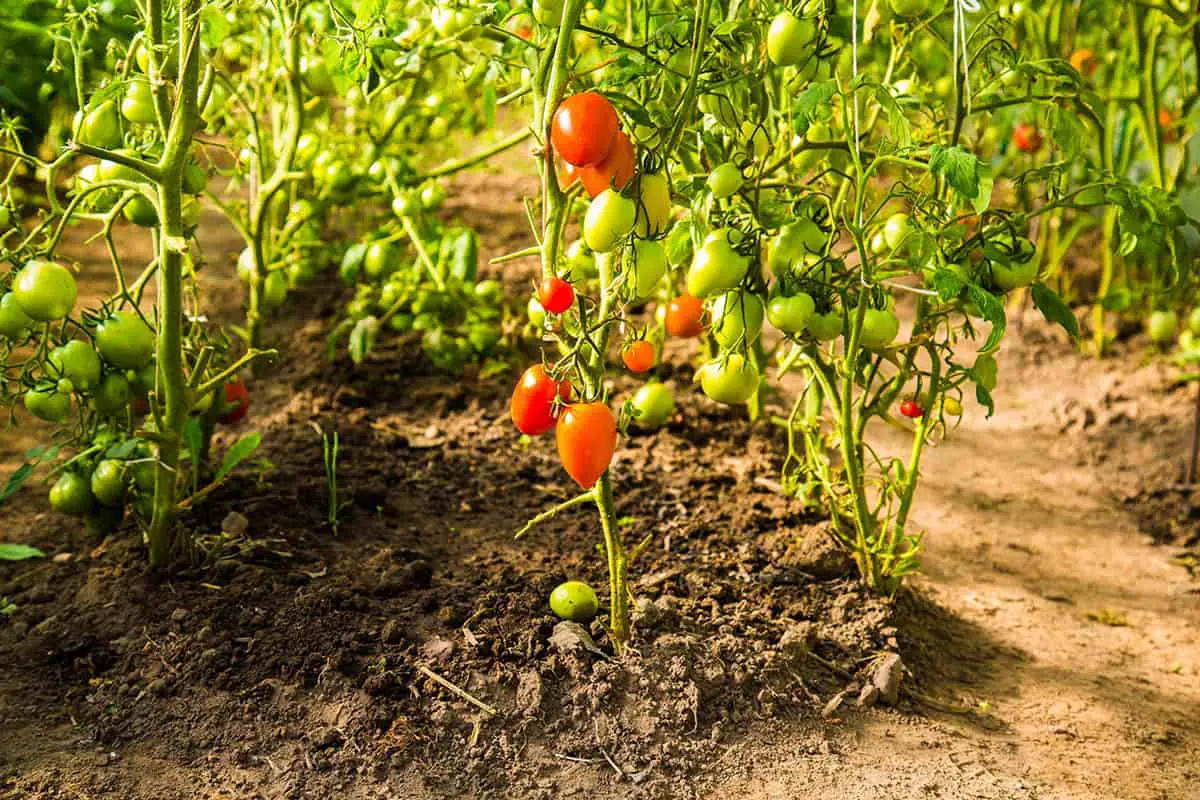
Crowded tomatoes compete for light, water and nutrients, and the dense foliage traps moisture. Leaves dry slowly after rain or watering, and fungal diseases spread quickly from plant to plant.
Follow the spacing on the seed packet or plant tag. Most staked or caged tomatoes need 18 to 24 inches between plants, and indeterminate types left to sprawl on the ground need 3 feet or more. Leave 3 to 4 feet between rows.
Plants that look tiny in May fill that space by July. Good airflow reduces early blight, septoria leaf spot and late blight, so leave each plant room to breathe.
Ignoring Pests and Diseases
Pests and diseases move fast in summer heat. Tomato hornworms strip a plant overnight, and blights spread from the lower leaves upward. The University of Minnesota Extension recommends inspecting your tomato plants weekly, under the leaves and on the fruit.
Prevention is the easiest cure. Space plants for good airflow, water at the base in the morning and stake plants off the ground. Advice from Penn State Extension adds disease-resistant tomato varieties and a layer of mulch, which stops soil from splashing spores onto the leaves.
Act at the first sign of trouble. Hand-pick hornworms, remove spotted lower leaves and dispose of them in the trash, and clean pruners between plants.
Healthy, well-fed plants with steady water resist pests and diseases better than stressed ones.
Inadequate Support Structures
Tomato plants grow heavy with fruit, and unsupported plants sprawl, snap or rot where fruit touches the soil. Set supports in place at planting time, before the roots spread.
The Florida weave supports a row of tomatoes with sturdy stakes and twine woven between them. Single stakes do the job for pruned plants, as long as they match the mature height of the variety. Compact determinate types need 3- to 4-foot stakes, and indeterminate vines need 6 to 8 feet.
Cages are a popular choice. Use heavy, tall cages, since the flimsy cone-shaped ones sold at garden centers fold under a full-size plant, and anchor them firmly against wind.
Tie or tuck new growth into the support every week or so. Plants held off the ground are healthier, with better airflow and cleaner fruit.
Improper Pruning Techniques
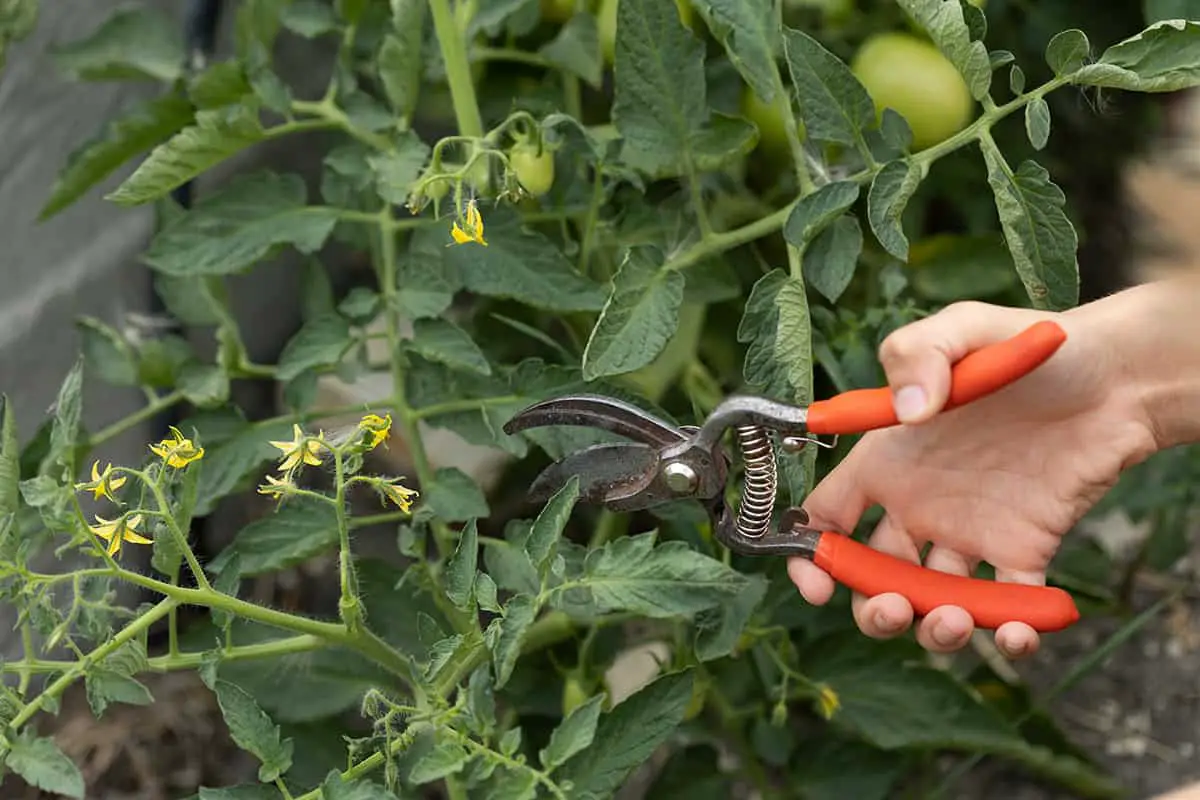
Pruning helps indeterminate tomatoes, and too much or too little causes problems.
Suckers are the shoots that grow in the joint between a leaf and the main stem. On indeterminate varieties, removal of most suckers while they are under 2 inches long puts energy into fewer, larger fruits and makes staking easier. Pinch them off with your fingers or snip them with clean pruners.
Avoid stripping too many leaves. Leaves shade the fruit from sunscald and produce the sugars that ripen it.
Remove the lowest leaves up to about 12 inches above the soil, which reduces soil-borne diseases. Prune on dry days, since wet plants spread disease.
Determinate tomatoes set all their fruit at once, so leave their suckers alone, since removing them reduces the harvest.
Fertilizing Incorrectly
Fertilizer mistakes show up fast in tomatoes.
Too much nitrogen produces huge, lush plants with few flowers and fruits. Use a balanced fertilizer or one made for tomatoes, with less nitrogen than phosphorus and potassium.
Too little fertilizer leads to pale leaves, slow growth and small, poorly colored tomatoes. Follow the label rates and schedule.
Inconsistent feeding causes uneven growth. Mix a slow-release fertilizer or compost into the soil at planting, then side-dress with a small amount of fertilizer when the first fruits reach about the size of a golf ball, and every few weeks after that.
A soil test before planting shows what your soil lacks, so you add only what the plants need.
Timing matters as much as amount. Heavy feeding late in the season delays ripening.
Start with a lighter dose and increase it as the plants grow. Local extension offices share advice tailored to your region’s soil and climate.
Water before and after applying fertilizer, which spreads the nutrients evenly and prevents root burn.
Not Rotating Crops
Tomatoes planted in the same spot every year invite soil-borne diseases such as early blight, fusarium and verticillium wilt, along with pests that overwinter in the soil and wait for their host to return.
Crop rotation breaks that cycle. Plant tomatoes in a different bed each year, and wait three to four years before you return them to the same spot.
Rotate by plant family, since tomatoes share diseases with their nightshade relatives, eggplants, peppers and potatoes. Follow them with beans, squash, lettuce or onions. In small gardens with no room to rotate, grow tomatoes in large containers with fresh potting mix each year.
Good air circulation and a clean garden, with diseased plants removed in fall, add to the benefits of rotation.
Neglecting to Mulch
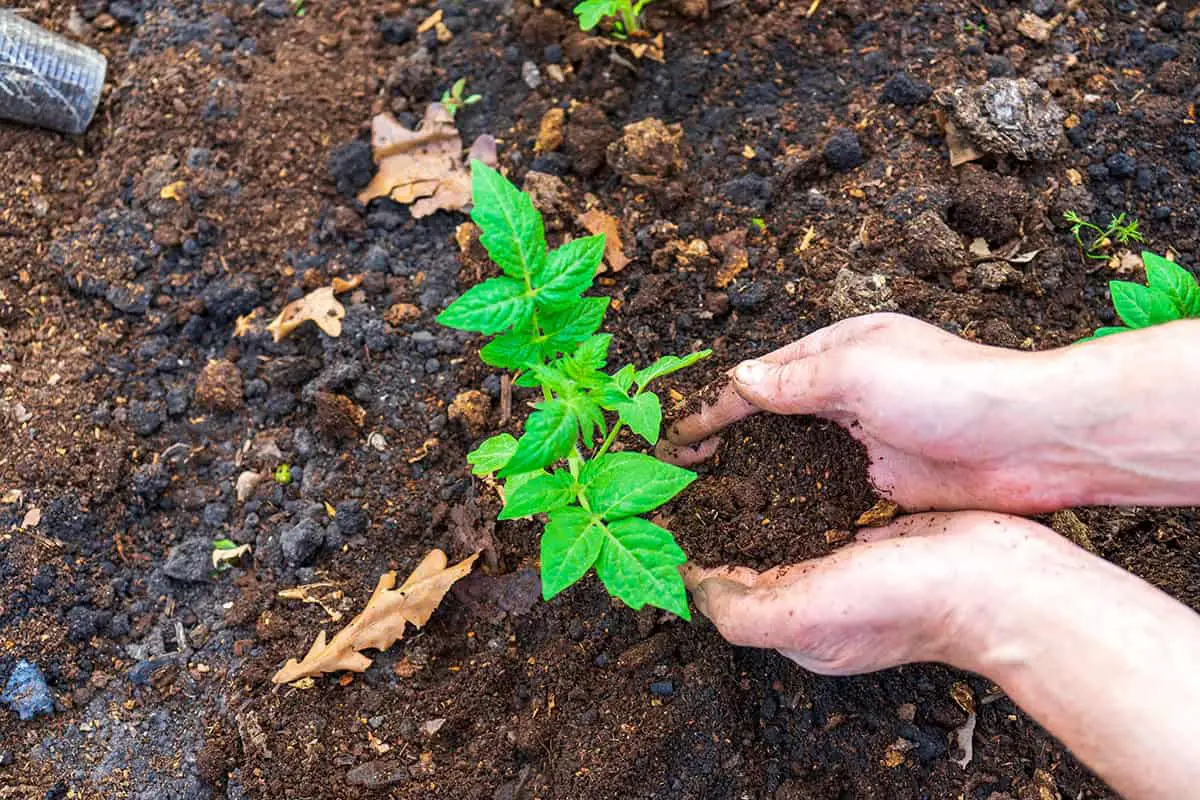
Mulch evens out soil moisture and temperature, and bare soil swings between soggy and bone-dry, which stresses tomato plants.
Plastic mulch, black or red, warms the soil in spring and speeds early growth, a good choice in cool climates. Organic mulches such as straw, shredded leaves or untreated grass clippings go down once the soil is warm, a few weeks after planting, in a layer 2 to 3 inches deep. Mulch also smothers weeds that steal nutrients and water.
Water relations are critical for tomatoes. Uneven moisture leads to blossom-end rot, a leathery, dark patch on the bottom of the fruit caused by poor calcium uptake, and to cracked fruit after heavy rain. A steady layer of mulch prevents both.
Mulch also stops soil from splashing onto lower leaves, which spreads blight spores.
Overlooking Watering Consistency
Consistency matters more than any single watering. Tomatoes use water to move nutrients, especially calcium, into the leaves and fruit, and irregular watering interrupts that flow.
Plants that swing between dry and soaked suffer from blossom-end rot, cracked fruit and flower drop. Aim for evenly moist soil, checked with a finger a few inches down every couple of days.
Water deeply at the base of the plants in the early morning, which reduces evaporation and lets the leaves dry quickly. A soaker hose or drip line on a timer is the easiest way to water on a steady schedule.
Adjust for weather and plant size. Young plants need less water, and full-grown plants loaded with fruit in midsummer heat need much more.