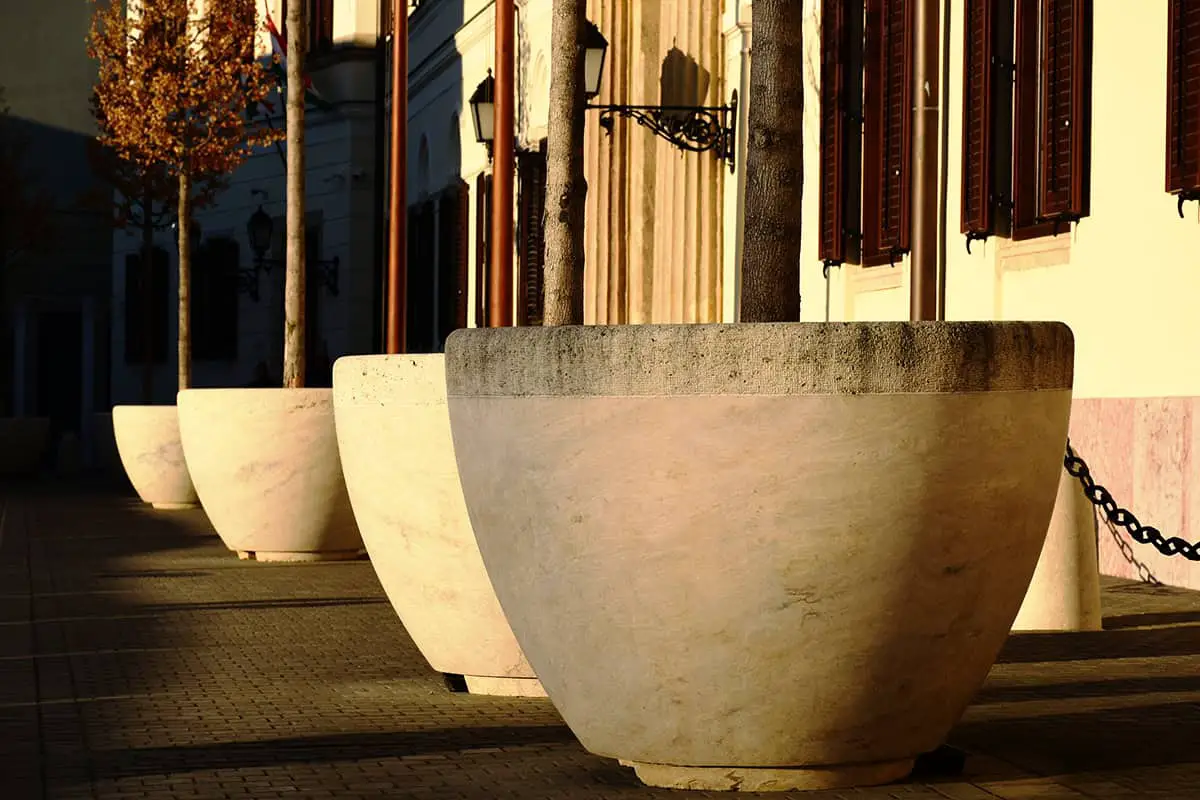
You just bought a beautiful, large planter pot for your patio, but now you’re unsure how to fill it without using up all your potting soil. Finding efficient ways to fill large planter pots can save you time and money. Uncover the best techniques and materials to use, ensuring your plants thrive while keeping costs down.
Table of Contents
Using Lightweight Fillers
When filling large planter pots, it is essential to use lightweight fillers to promote healthy plant growth and prevent oversaturated soil. You can follow these tips to effectively utilize lightweight fillers in your large planters.
Begin by selecting materials such as foam packing peanuts, plastic bottles, or crushed aluminum cans. These items provide a good lightweight base to help ease the strain of heavy soil on your container. Make sure these materials are clean before placing them in your planter to avoid unwanted chemical reactions or pests.
Next, create a layer of landscape fabric or weed barrier on top of the lightweight fillers. This ensures proper separation between the filler material and soil, preventing soil from falling in between the fillers, which would lead to poor water management.
Now, you can fill your container with a high-quality potting mix, ensuring that there is adequate space for your plant’s root system.
Don’t forget that the proper container size plays a vital role in the overall health of your plants. Pots should be a minimum of 8 – 10 inches in diameter to accommodate larger plants.
Finally, be mindful of your plant selection and maximize visual appeal by including a thriller, filler, and spiller in each container. This combination provides a visual balance to your large planter pots while optimizing container space for healthy growth.
Creating a Drainage Layer
When filling large planter pots, it’s essential to create a drainage layer that allows water to flow through it, preventing root rot for your plants. You can create this layer by placing rocks at the bottom of the container, ensuring that water drains effectively and doesn’t stay saturated within the pot.
After placing the rocks, carefully add a layer of soil, making sure to leave a gap of about one inch from the pot’s lip for a water reservoir. This will provide enough space for the water to collect before draining into the bottom drainage layer.
To enhance the drainage, consider placing a large rock or solid object over the hole, allowing water to flow easily around it without causing soil leakage.
When choosing the size of your planter pot, remember that it should be large enough to support the root system of your plants. To avoid overcrowded and underdeveloped plants, avoid cramming them into a small planter.
Adding a Barrier Layer
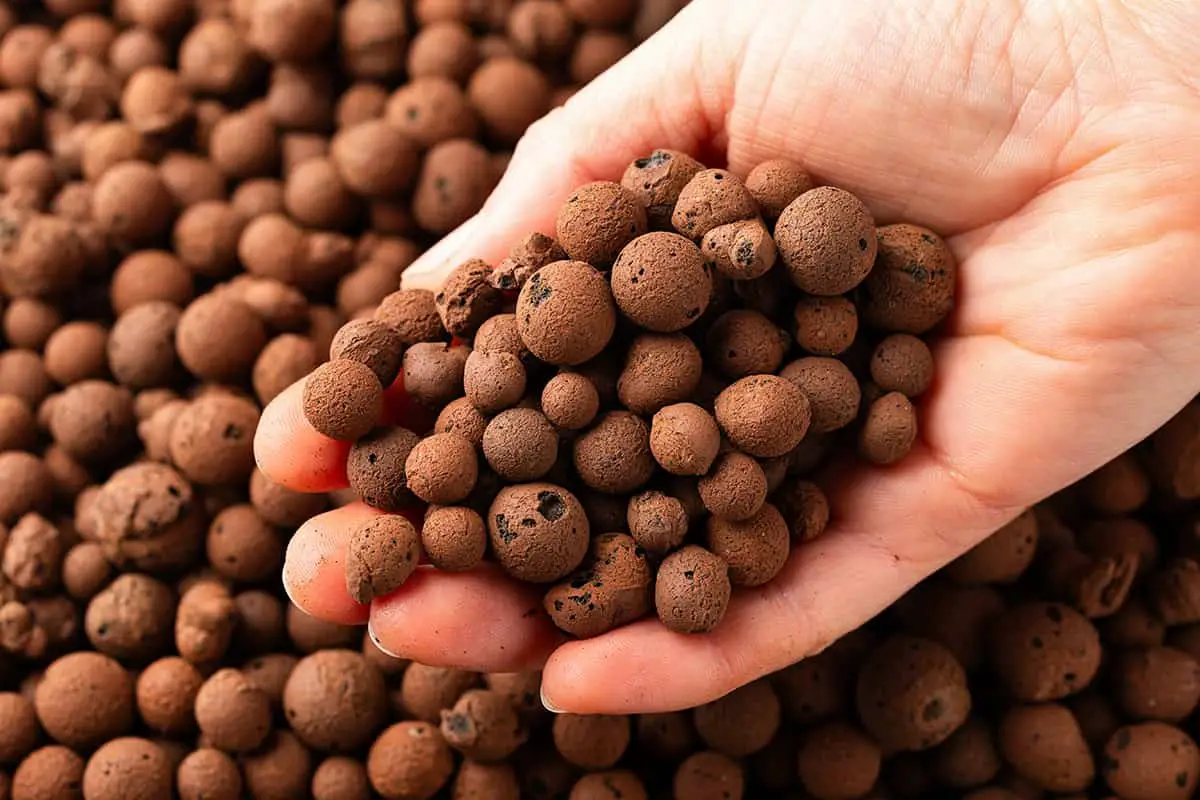
When filling large planter pots, it’s essential to add a barrier layer at the bottom. This layer helps regulate drainage, ensuring your plants remain healthy. You may use rocks, gravel, or even a piece of landscape fabric to create a barrier. Let’s discuss some tips for adding the barrier layer.
First, choose an appropriate material. Rocks or gravel are often used for their durability and resistance to rot. Alternatively, you can use landscape fabric, which is an air and water-permeable material. This helps prevent soil from falling through the drainage holes while still allowing excess moisture to escape.
Next, place your selected material at the bottom of your pot. You should aim for a layer of approximately 1-2 inches thick. This is effective in promoting proper drainage without taking up too much space in the planter, leaving more room for soil and plant roots.
Remember, a good barrier layer can regulate water flow, preventing the saturated zone that may form when using rocks.
Lastly, fill your container with soil. When filling the planter, leave about 1 inch of space from its lip, creating a water reservoir. Plant your desired plants, ensuring they are well-watered. Throughout the season, monitor your plants and adjust your watering schedule as needed. The top 1-2 inches of soil should remain slightly dry.
Mixing Potting Soil with Compost
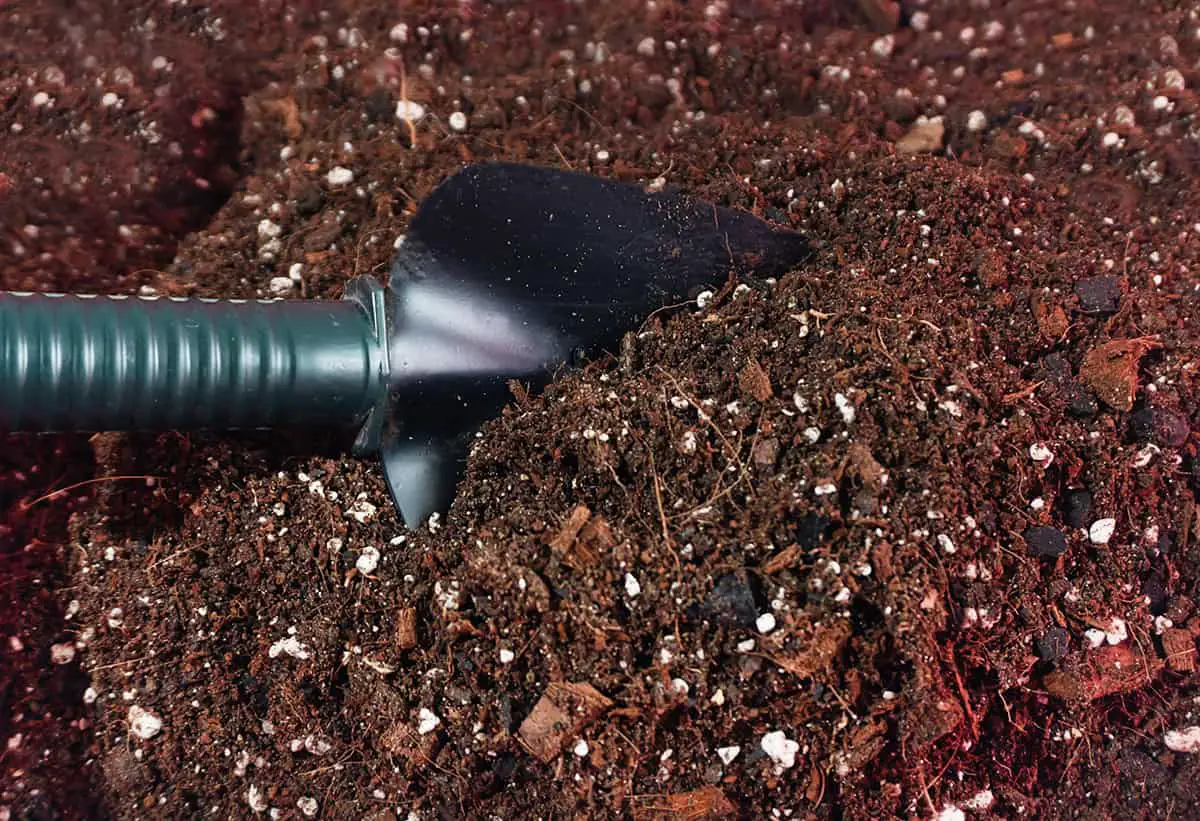
When creating a potting mix for your large planter pots, combining potting soil with compost is essential. By integrating the two, you’ll provide your plants with the right balance of nutrients and aeration for optimal growth.
The University of Maryland suggests a good mixture consisting of 50% soilless mix and 50% compost for container vegetables.
To create the perfect mix, start by adding equal amounts of potting soil and compost. Make sure you’re using high-quality, well-aged compost for the best results.
If you’re using a soilless mix as your base, blend it with compost at a ratio of 1:1. You can also consider a Homemade Potting Mix that consists of 2 parts compost, 2 parts peat moss, and 1 part pre-wet vermiculite.
After adding the ingredients, gently mix the soil and compost together until they are evenly combined. This will ensure your plants receive consistent nutrients from the mixture.
It’s crucial to avoid using too much compost, as it can reduce air space in the soil, which is essential for proper root growth. Limit compost to no more than 1/3 of the potting mix.
Incorporating Water-Absorbing Crystals
Water-absorbing crystals can be a valuable addition to large planter pots. They help maintain soil moisture and reduce the frequency of watering required. By properly incorporating these crystals, you can promote healthy plant growth in your containers.
The first step is to purchase high-quality water-absorbing crystals, usually found in gardening supply stores. Please choose a reliable brand to ensure the best results.
The preparation of the crystals involves soaking them in water for several hours before mixing them with the potting soil. This process allows them to fully expand and absorb water.
When adding crystals, use a 1:1 ratio of soaked granules to moistened potting soil for optimal performance. Once combined, fill your large planter pot with this mixture, approximately six to eight inches from the top.
It’s important to note that in extreme drought conditions, water-absorbing crystals might pull water away from plant roots.
Layering with Organic Material
To create a healthy environment in your large planter pots, it’s essential to use organic materials. Start by placing a layer of firmly packed organic material at the bottom. Ensure the layer is 4 to 5 feet wide and approximately 8 inches deep.
The next step is to add a high-nitrogen component, such as animal manure or grass clippings. If using animal manure, apply a 1 to 2-inch thick layer. For grass clippings, a 4-inch thick layer should suffice. Aim to achieve the right balance of nitrogen to promote healthy plant growth.
Now, sprinkle a complete fertilizer (e.g., 5-10-5) and distribute ground limestone evenly across the surface. You can add a thin layer of good-quality garden soil to complete this layering process.
Properly incorporating each material will provide the necessary nutrients for your plants.
As your plants grow annually, add 1 to 2 inches of high-quality compost to replenish nutrients in the planter pot.
Using Inverted Pots or Containers
When filling large planter pots, you might face issues like using excessive amounts of soil or your plants needing better drainage. A clever solution to these issues is using inverted pots or containers inside the planter. This technique can save you both time and money, and it maintains the health of your plants.
First, choose a pot or container smaller than your planter pot. Make sure it is sturdy enough to support the soil and plants above. Place the inverted pot or container at the bottom of your planter pot to create a false bottom and improve the drainage for your plants.
Next, add a layer of landscape fabric over the inverted pot). This fabric stops soil from seeping through the gaps, while still allowing water to pass. It enables proper drainage, ensuring that excess water doesn’t collect around the plant roots.
After setting up the inverted pot and landscape fabric, fill the remaining space with a suitable soil mix for your plants. This technique reduces the amount of soil needed, making the planter lighter and more manageable. Additionally, the soil costs are lowered, making it more budget-friendly.
Topping with Decorative Stones or Pebbles
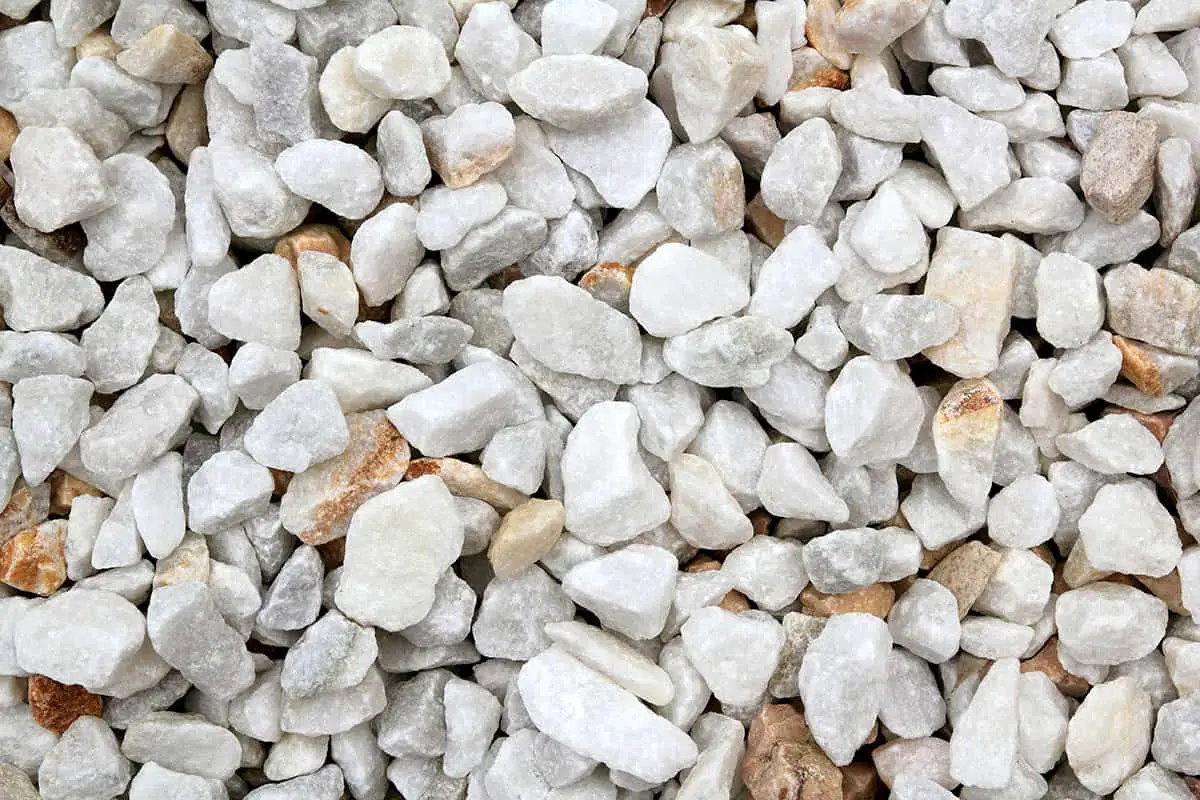
Filling your large planter pot with decorative stones or pebbles not only adds an appealing visual touch, but also has practical benefits. These topping materials can help regulate moisture levels and temperature within your planter.
First, ensure your stones or pebbles are high-quality. They should be smooth and hard to prevent your planter’s soil from compacting. Look for materials like polished river rocks or aquarium stones for an attractive and effective addition to your pot.
To apply the topping, make sure your planter has a proper drainage hole. It is essential for maintaining your plants’ health and preventing root rot. Cover the drainage hole with a large rock or solid object before filling your large planter pot with soil and the plants of your choice.
Now, it’s time to add your decorative layer. Gently pour a layer of stones or pebbles over the soil, ensuring an even coverage and a depth of about 1-2 inches. This ensures adequate moisture retention and temperature control, while still allowing your plants to thrive.
Don’t forget to periodically check your planter’s soil moisture levels, as the topping materials are known to reduce evaporation. Water your plants accordingly and enjoy the beauty of your topped planter.