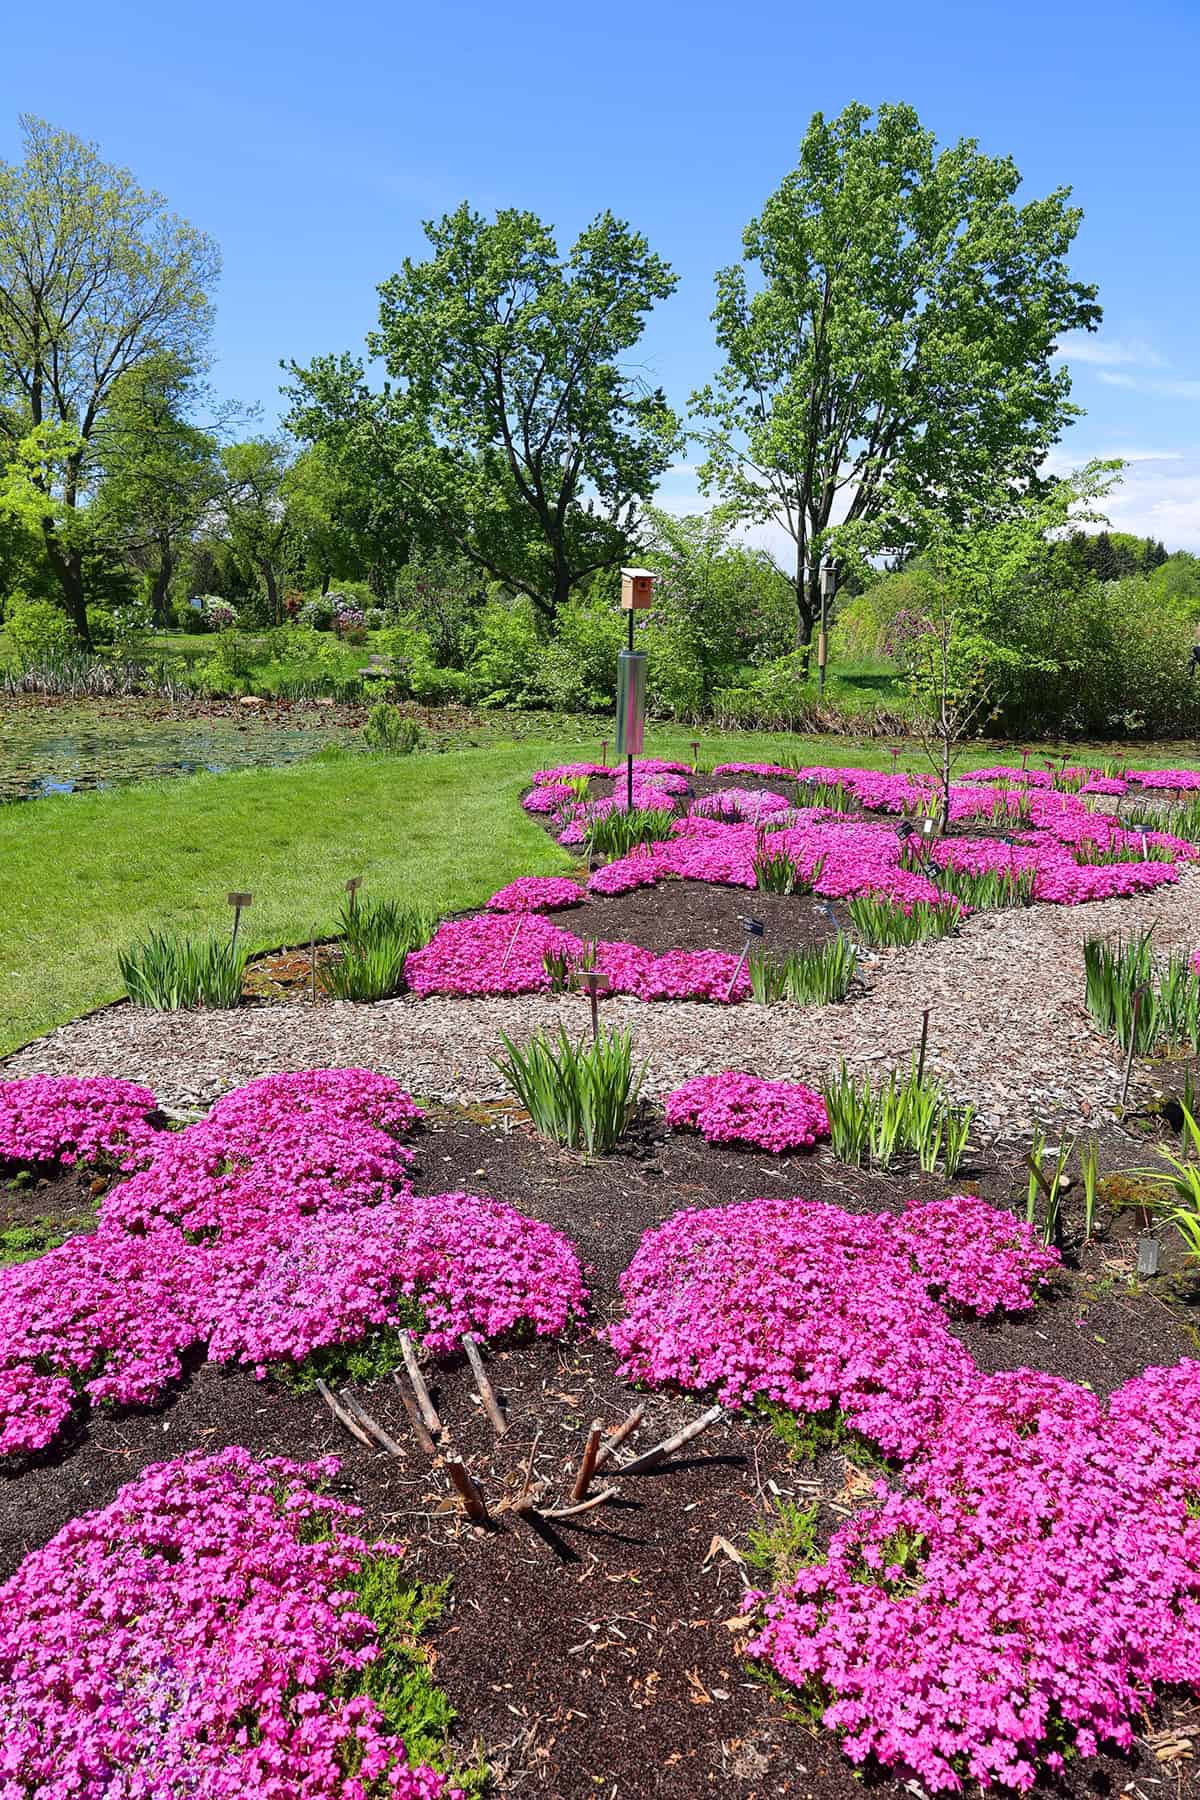
Few plants can brighten a garden like creeping phlox. With its carpets of colorful blooms and easygoing nature, it’s a favorite for gardeners of all levels. Here’s how to grow and care for it in your yard.
Table of Contents
Light
Sunlight is a big deal for creeping phlox. If you want those thick mats of flowers, pick a spot with lots of sun.
Partial shade works, especially if your summers are scorchers, but the more sun it gets, the denser and brighter the growth. Afternoon shade can be a lifesaver in really hot areas.
Some types can handle a bit of shade, though you’ll probably notice fewer blooms. If it’s too shady, the phlox gets thin and patchy, which isn’t the look most folks are after.
Shoot for at least six hours of sunlight each day. Less than that, and you’ll notice the blooms aren’t quite as showy or long-lasting.
Making sure your creeping phlox gets the right amount of light is key for a bold, healthy display. Before planting, watch how the sun moves across your garden. It’s worth a little planning upfront.
Soil
Creeping phlox really wants well-drained soil. If the roots sit in water, the plant will struggle or rot. Sandy or loamy soil is ideal—think loose, crumbly, and not too rich.
Moderate fertility is fine; heavy, soggy clay is not. If you’re stuck with dense soil, mix in some compost or peat moss to loosen things up and add a bit of organic matter. This helps keep moisture balanced and gives roots room to breathe.
Phlox likes its soil neutral to a touch acidic, somewhere between 6.0 and 7.0 on the pH scale. If you’re not sure, a cheap soil test kit can clear up any doubts.
Keep new plantings moist until they’re settled in. Once established, phlox is surprisingly tolerant of dry spells. Putting in a little effort at planting time pays off big later.
Water
Young creeping phlox needs consistent water while it’s getting established. The soil should stay moist, but not soggy—roots hate being waterlogged.
Once it’s settled in, you can let the soil dry out a bit between waterings. It copes well with short dry spells, but standing water is a no-go, so drainage is crucial.
Try watering in the morning. Wet leaves overnight can invite disease, and it’s better to aim water at the base of the plant rather than overhead.
Hot, windy days dry things out faster, so check the soil with your finger. If the top inch feels dry, give it a drink.
A thin layer of mulch helps hold moisture and keeps roots cool, but don’t pile it against the stems. Two inches is plenty.
Temperature And Humidity
Creeping phlox is pretty tough. It’s hardy from USDA zones 3 to 9, so it’ll take both cold winters and hot summers in stride.
Cool nights in spring and early summer help keep the colors sharp. When summer heat ramps up, a bit of afternoon shade can prevent stress, but even then, this plant rarely wilts.
Moderate humidity is best. Unlike some other phlox, this one resists mildew if there’s good air movement. If it’s extra humid, avoid getting the leaves wet—just aim for the soil.
Dry spells aren’t a big deal, but if you get a long stretch without rain, a little extra water helps. In hot, humid weather, a quick trim after blooming can keep the plant neat and healthy.
Fertilizer
Creeping phlox isn’t needy when it comes to feeding. Too much fertilizer is actually a mistake—it can make the plant leafy and reduce the number of flowers.
If your soil is poor, sprinkle a balanced fertilizer (like 10-10-10) in early spring before new growth starts. Just a light touch around the base, mixed into the top few inches.
Honestly, a soil test is the best way to know if you need to fertilize at all. Most of the time, a thin layer of compost once a year is plenty. Overfeeding is more likely to cause problems than help.
Always water after fertilizing to avoid burning the roots. With the right balance, your creeping phlox will be healthy and colorful every spring.
Propagation
Want more creeping phlox? It’s easy. Division is the go-to method, and early spring or fall is the sweet spot.
Use a spade or garden fork to lift up mature clumps. Break them into smaller chunks, making sure each piece has some roots. Replant right away and water well.
Stem cuttings work, too. Snip healthy stems with several leaf nodes in early summer and stick them into moist, well-drained soil. Keep the soil damp and wait for roots to form.
If you’re not picky about colors, you can let phlox self-seed. Just know that seedlings often revert to wild hues, so if you want to keep a specific color, stick to division or cuttings.
Sometimes, roots form where stems touch the ground—these rooted runners can be dug up and transplanted to new spots. It’s a handy way to fill in bare areas.
Each method is pretty straightforward, so pick whichever suits your garden best.
Pruning
After creeping phlox finishes blooming in spring, it’s time for a trim. This keeps things tidy and helps prevent the plant from getting too leggy or overgrown.
Cut back any dead or damaged stems to healthy growth. Removing spent flower stems tidies up the plant and helps keep disease at bay.
Pruning encourages thicker growth and helps the plant spread out nicely. If things get too dense, thin out a few sections to improve sunlight and airflow.
Use clean, sharp shears, and don’t go overboard—never remove more than a third of the plant at once. Heavy pruning can stress it.
If you spot brown or unhealthy patches in midsummer, trim them back right away to stop disease or pests from spreading. Regular pruning really does keep your phlox looking its best.
Potting And Repotting
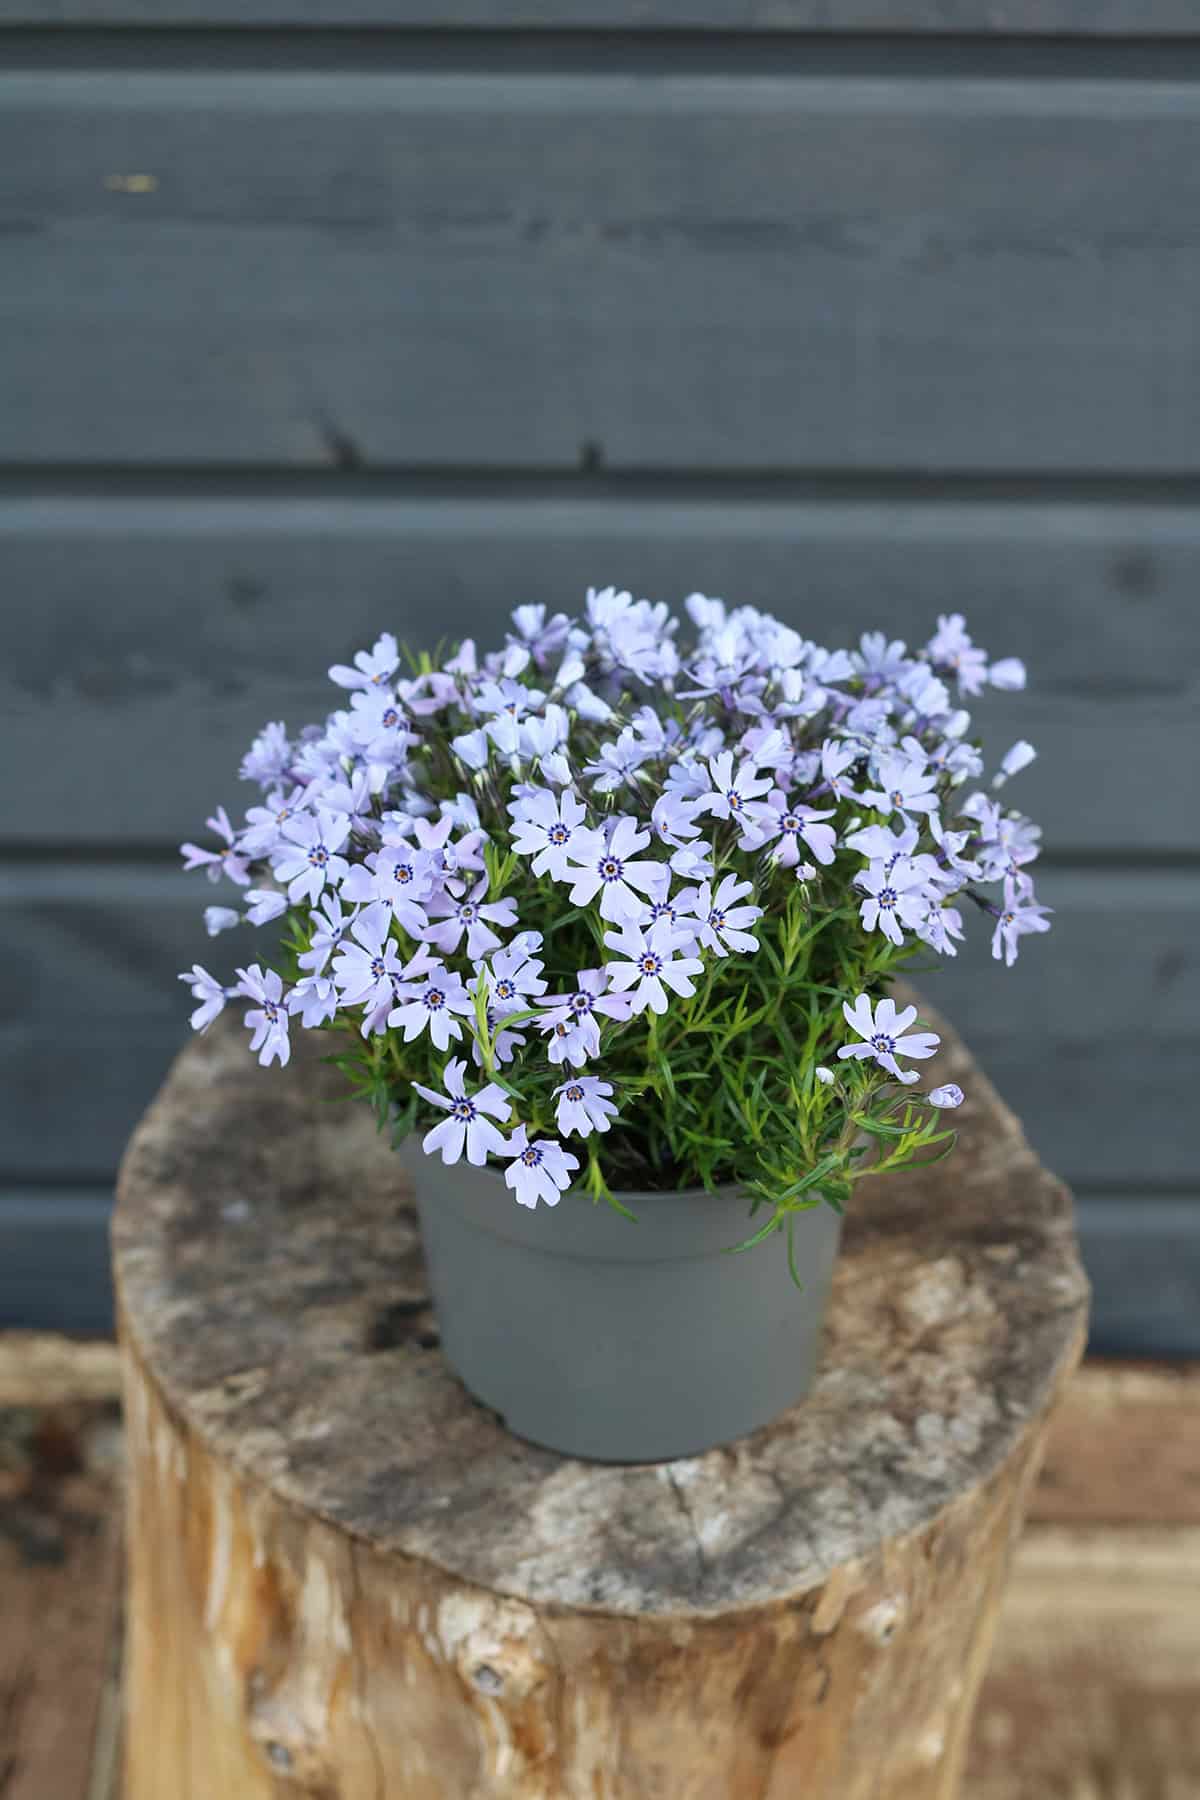
While creeping phlox is usually grown in beds, it’ll do fine in containers, too. Go for a wide, shallow pot with drainage holes—soggy roots are a dealbreaker.
Fill the container with a well-draining, slightly acidic mix. Look for something labeled for flowers or ornamentals. Keep the soil lightly moist, but never soggy.
Set the pot in a bright spot—full sun is best. You want at least six hours of direct light.
Repot when the plant is rootbound or the soil dries out super fast. Spring is the best time for this. Gently remove the plant, shake off old soil, and check the roots. Move it to a slightly bigger pot with fresh mix.
Water well after repotting to settle the soil and help with transplant shock. Give it a few days in the shade until you see new growth.
If you want, mix in a little slow-release fertilizer, but don’t overdo it. Too much can make the plant leggy instead of compact and healthy.
Common Problems & Troubleshooting
Creeping phlox runs into a handful of issues in the garden. If you notice the leaves turning yellow or looking limp, you might be watering too much. This plant really can’t stand soggy soil—good drainage is a must.
Fungal diseases like powdery mildew or root rot sometimes show up, especially if things get too humid or the plants are packed too close together. Make sure there’s enough space for air to move and try to water right at the base, not over the leaves.
Honestly, pests aren’t a huge deal for creeping phlox, but spider mites and aphids might pop up now and then. If you spot sticky leaves or a bit of webbing, it’s probably them. Blasting them off with water or using a mild soap spray usually does the trick.
Weeds and grass can sneak into the mat and give your phlox a tough time. Pull weeds by hand, and if you’re up for it, add a bit of mulch—but don’t pile it over the crown or you’ll cause more harm than good.
Brown or patchy leaves? Could be too much sun, not enough water, or maybe a lack of nutrients. Creeping phlox likes full sun, but it still needs regular watering until it’s established. Try watering in the morning and go easy on the fertilizer—just a light touch in early spring is enough.
Plant Varieties
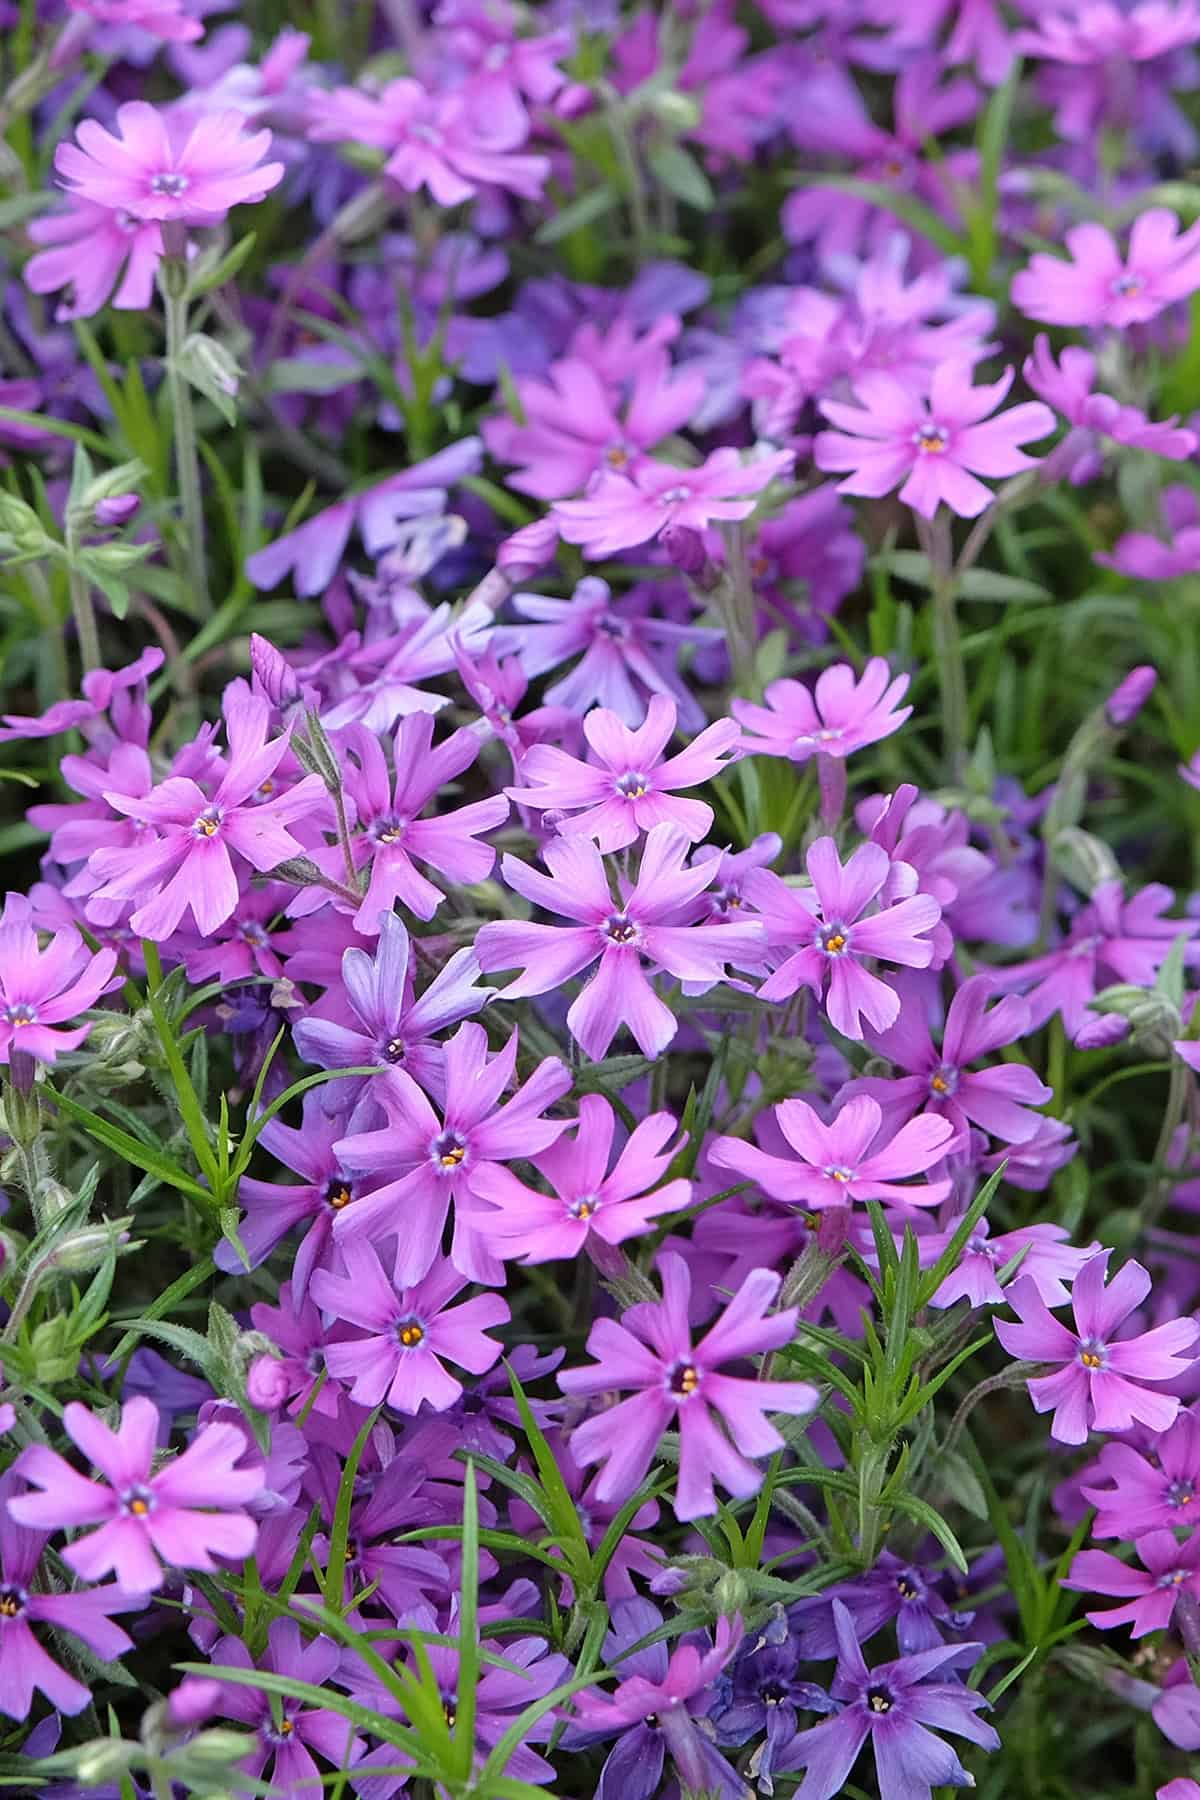
There are plenty of creeping phlox types out there for gardens, and each has its own quirks—different shapes, colors, and ways of spreading around.
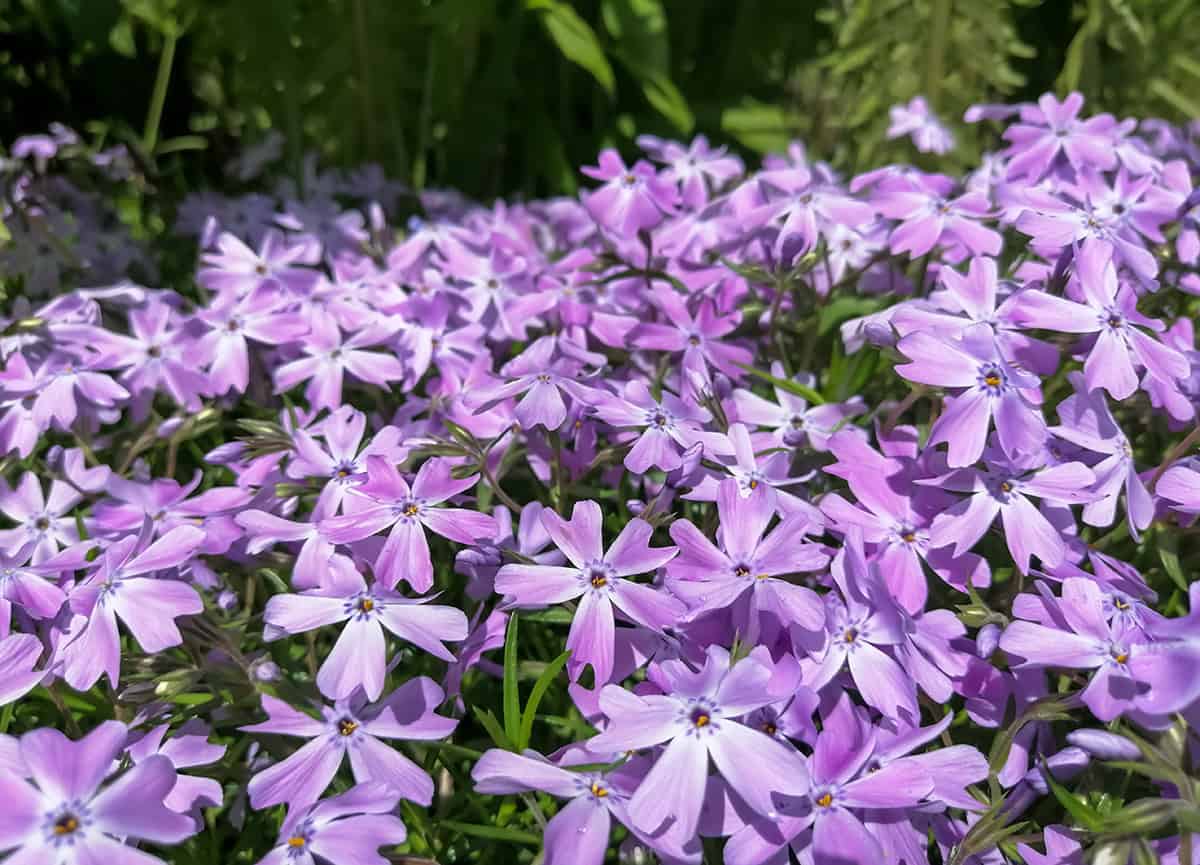
Moss phlox is a classic favorite. You’ll spot its low, spreading mats and those eye-catching spring flowers in shades like pink, lavender, blue-purple, red, and white. It’s hard to miss when it’s blooming.
Then there’s Phlox stolonifera, which is a bit taller and actually prefers a bit of shade. It tends to spread by sending out stems that root as they go. Pretty clever, honestly.
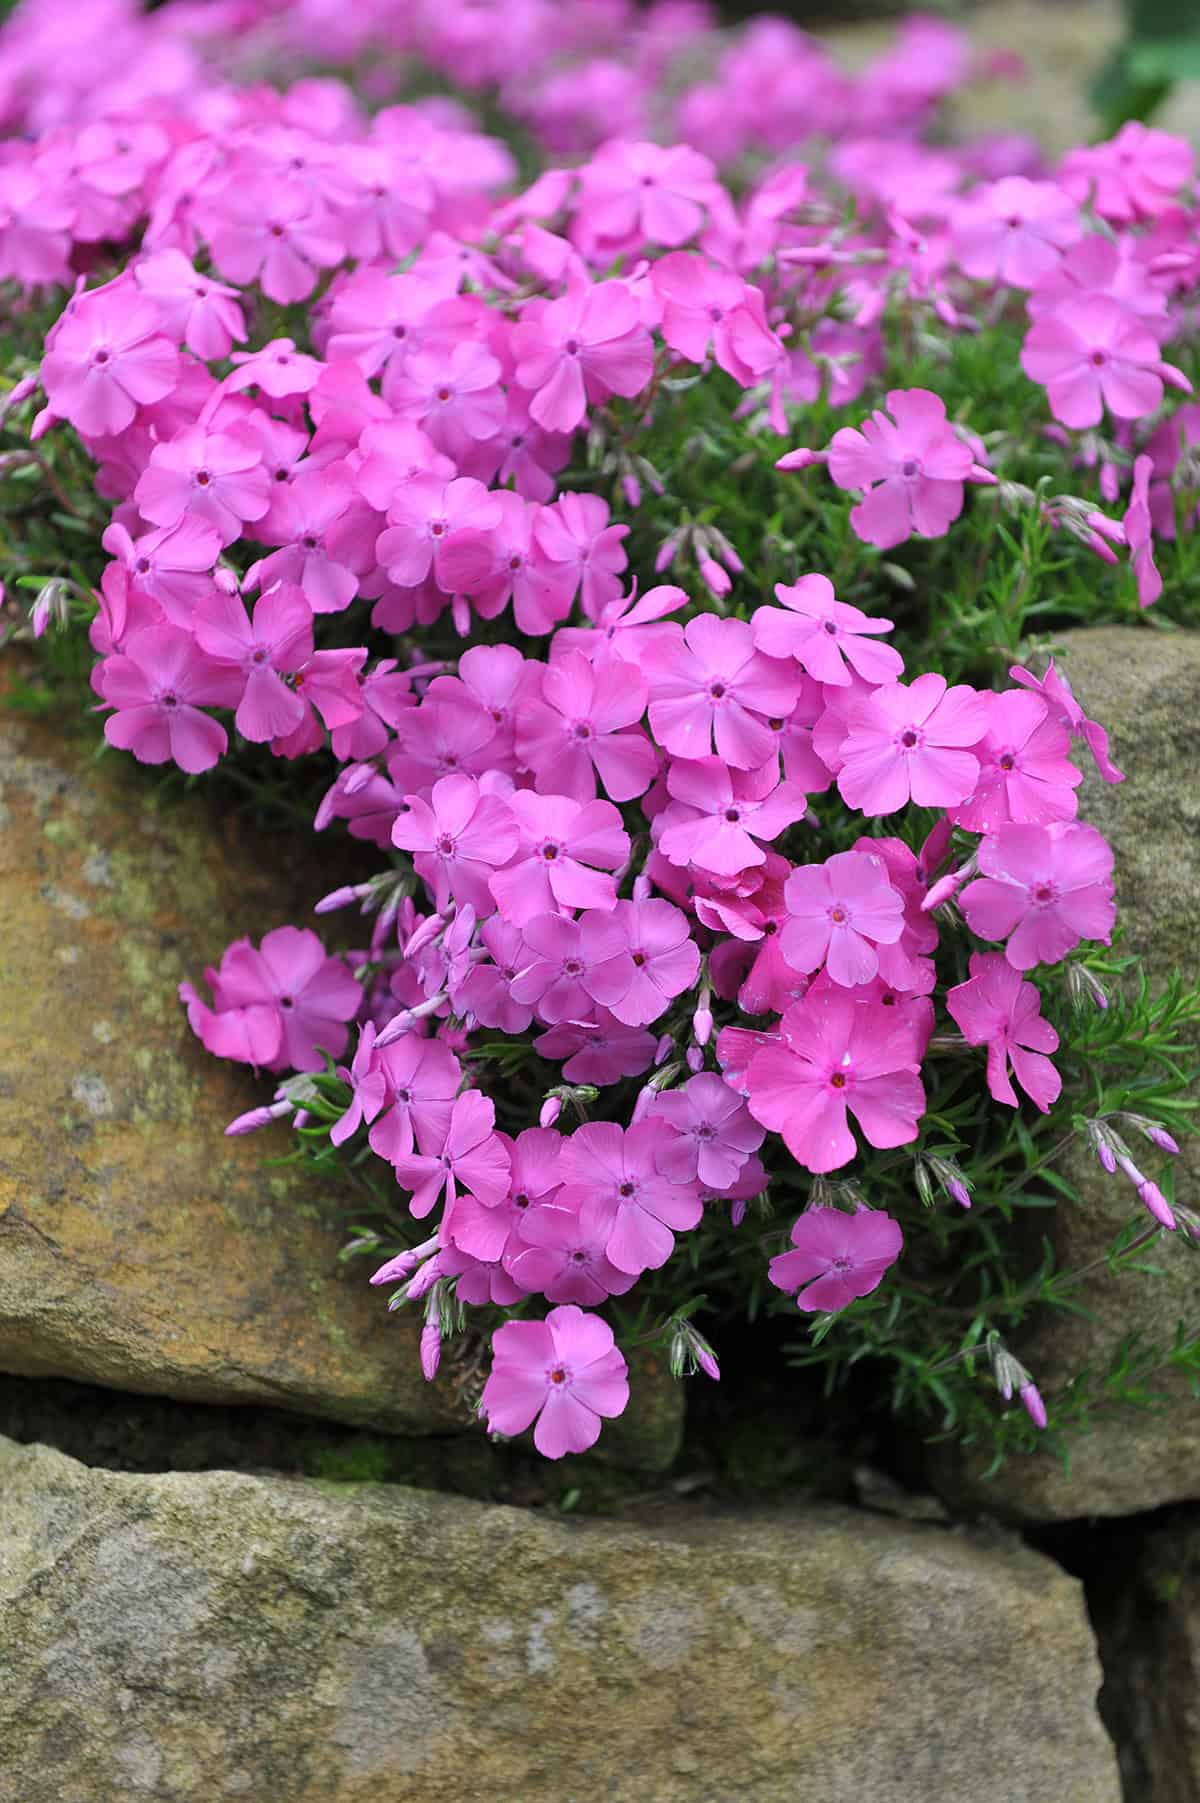
Most of these bloom from late April into early May. Some varieties really go all out, covering the ground with color for weeks, while others are a bit more subtle about it.
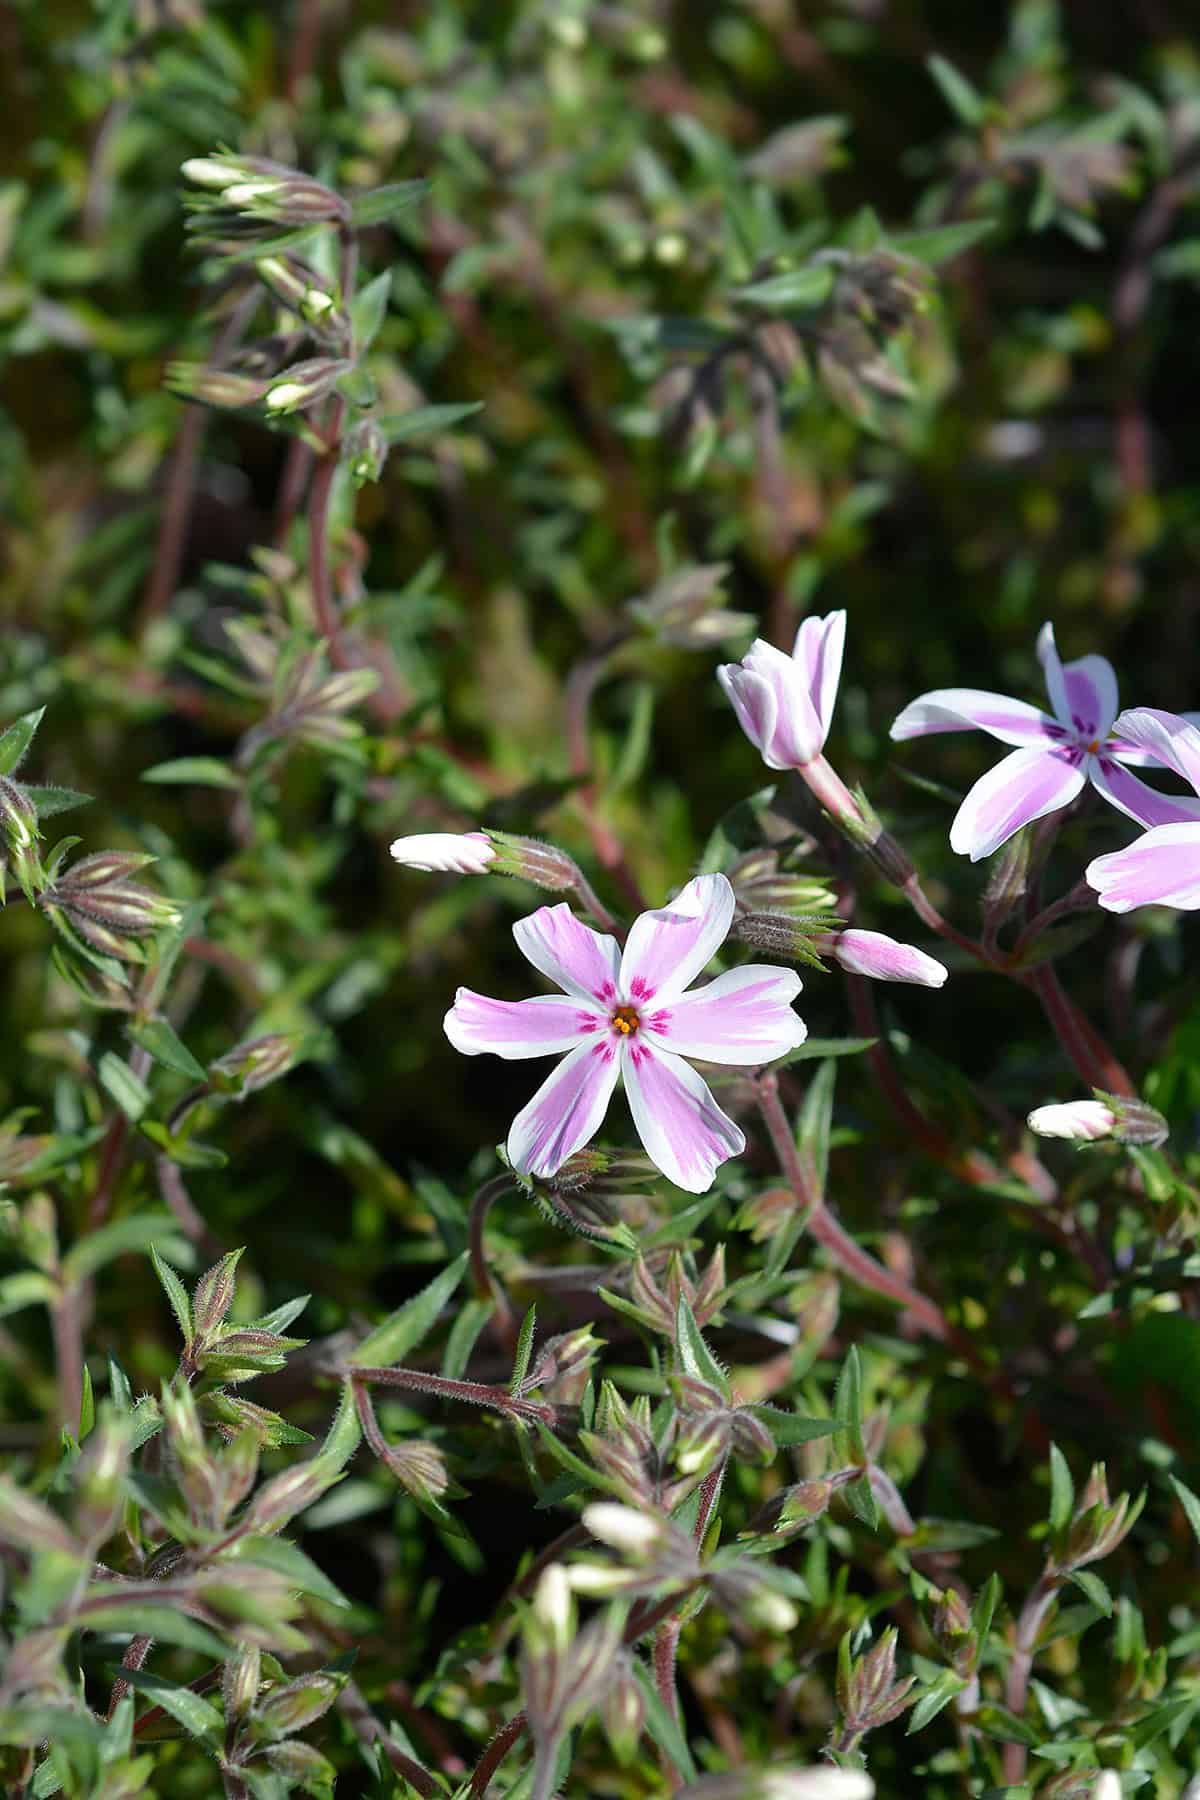
Garden centers usually carry cultivars that have been bred for things like disease resistance or unusual flower colors. You’ll probably run into names like ‘Emerald Blue’, ‘Candy Stripe’, or ‘Snowflake’—they pop up a lot on plant tags.
It’s really about picking the look and growth style you want. Most creeping phlox types are pretty easygoing when it comes to care, and they’ll adapt to a bunch of different growing spots.