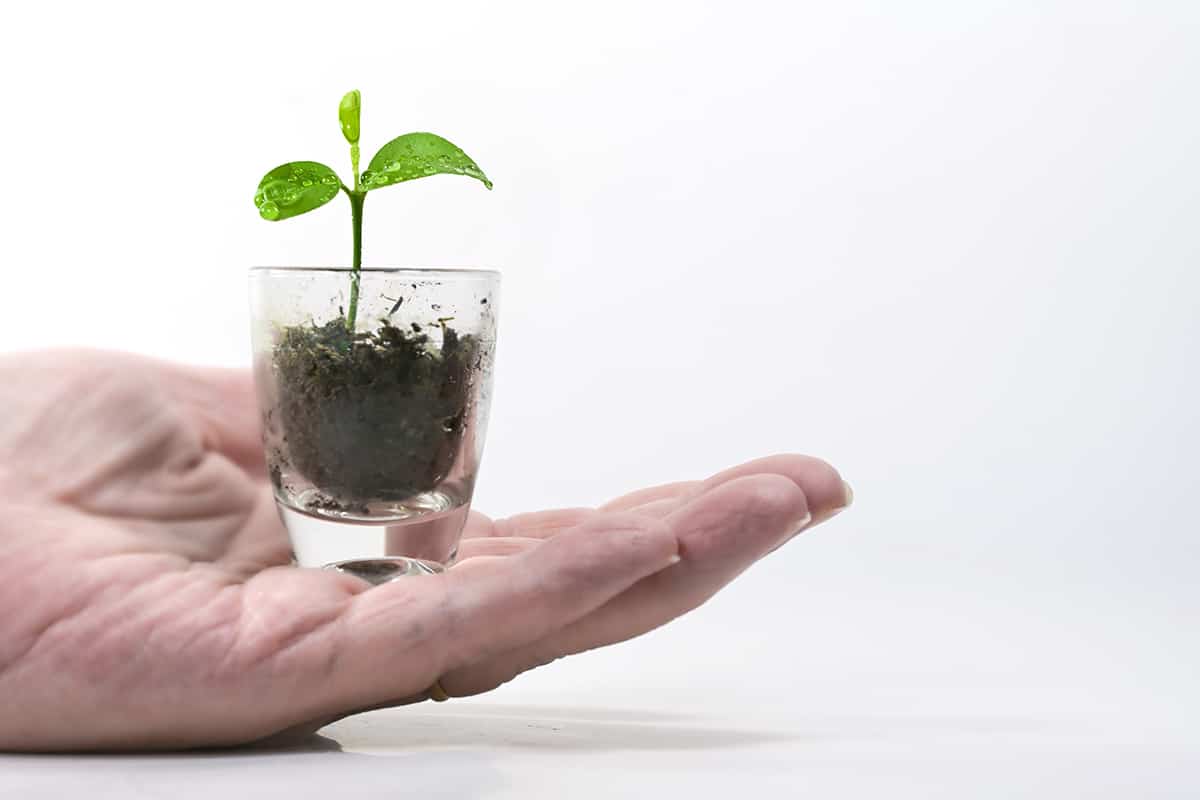
Growing lemons can start in the simplicity of your own home. Using just a cup, some soil, and a seed, you can cultivate lemon plants. This method offers an accessible and rewarding gardening experience, even for beginners.
Starting with the right seed is crucial when planting a lemon in a cup. Select healthy, viable seeds from a fresh lemon for the best chance at successful germination. The process involves preparing the seed, selecting the appropriate soil, and ensuring suitable environmental conditions. Keep reading to learn more.
Table of Contents
Selecting the Right Lemon Seed
The success of growing a lemon tree in a cup begins with the right seed selection. It is essential to choose viable seeds that are suitable for indoor cultivation.
Sourcing Quality Seeds
To ensure a successful beginning, it’s essential to acquire seeds from a reputable nursery or a trusted online retailer. Opt for fresh seeds from organic lemons that have not been subjected to growth inhibitors, as these seeds tend to exhibit a higher germination rate.
Understanding Seed Varieties
Different varieties of lemon seeds yield plants with distinct characteristics, so it’s important to select a variety that matches your growing conditions and space requirements.
For growing in limited spaces such as cups, a dwarf variety is recommended. The ‘Meyer’ lemon, for example, is a popular choice for indoor cultivation due to its compact size and is well-suited for confined spaces. Additionally, when choosing a variety, consider opting for dwarf lemon species like ‘Meyer’ or ‘Ponderosa,’ which are ideal for smaller areas.
It’s also crucial to ensure the variety you select is compatible with your local climate, especially if you have plans to eventually move the plant outdoors.
Be prepared for the fact that indoor lemon trees may take several years to bear fruit and will require specific care to thrive.
Preparing the Cup
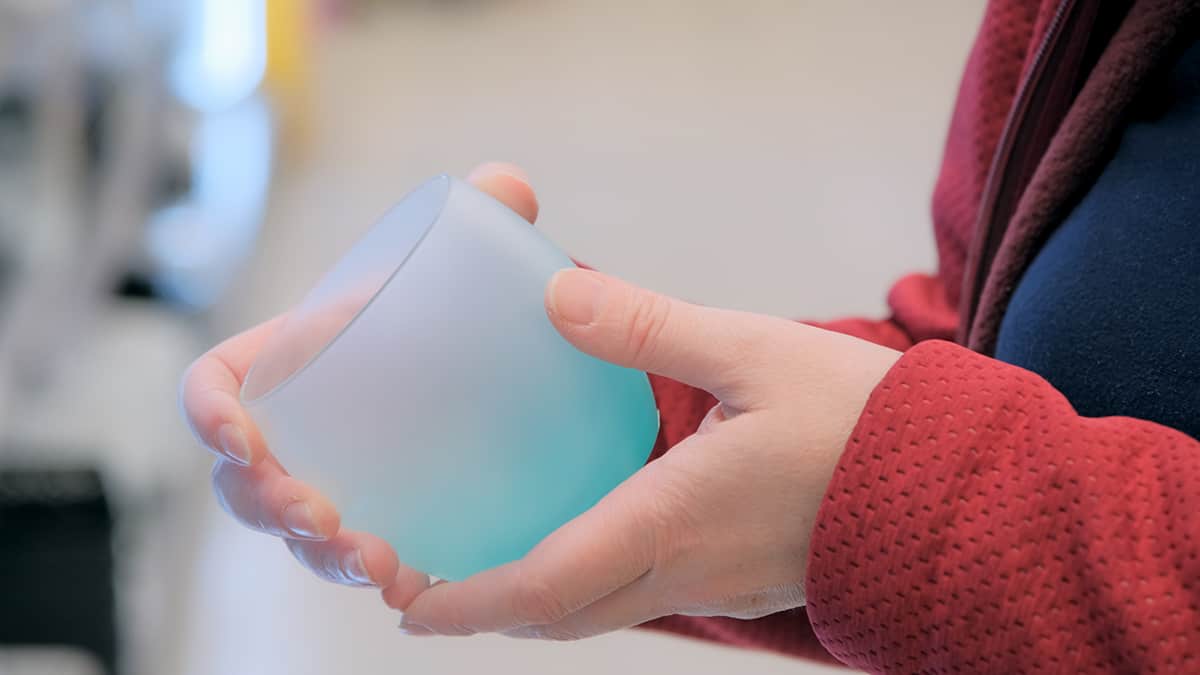
When planting a lemon in a cup, the proper preparation of the cup is crucial for the growth and health of the plant.
Choosing the Cup Size
You should opt for a cup that is at least 12-16 ounces in size. This allows enough space for root growth.
| Cup Size | Recommended for |
|---|---|
| Small (<12oz) | Temporary planting |
| Medium (12-16oz) | Initial growth phase |
| Large (>16oz) | Long-term growth |
Drainage Requirements
Make sure the cup you use for planting has drainage holes at the bottom to prevent overwatering. To achieve this, drill three to four holes evenly spaced around the base of the cup. To prevent soil from escaping through these holes, you can place a mesh or a coffee filter inside the cup before adding soil.
Selecting Soil and Fertilizer
Fill the cup with a lightweight, well-draining potting mix that is specifically designed for citrus plants to ensure the right soil conditions for your lemon seed. For enhanced nutrition, mix in a slow-release fertilizer that is either citrus-specific or has a balanced N-P-K (nitrogen, phosphorus, potassium) ratio, such as 14-14-14.
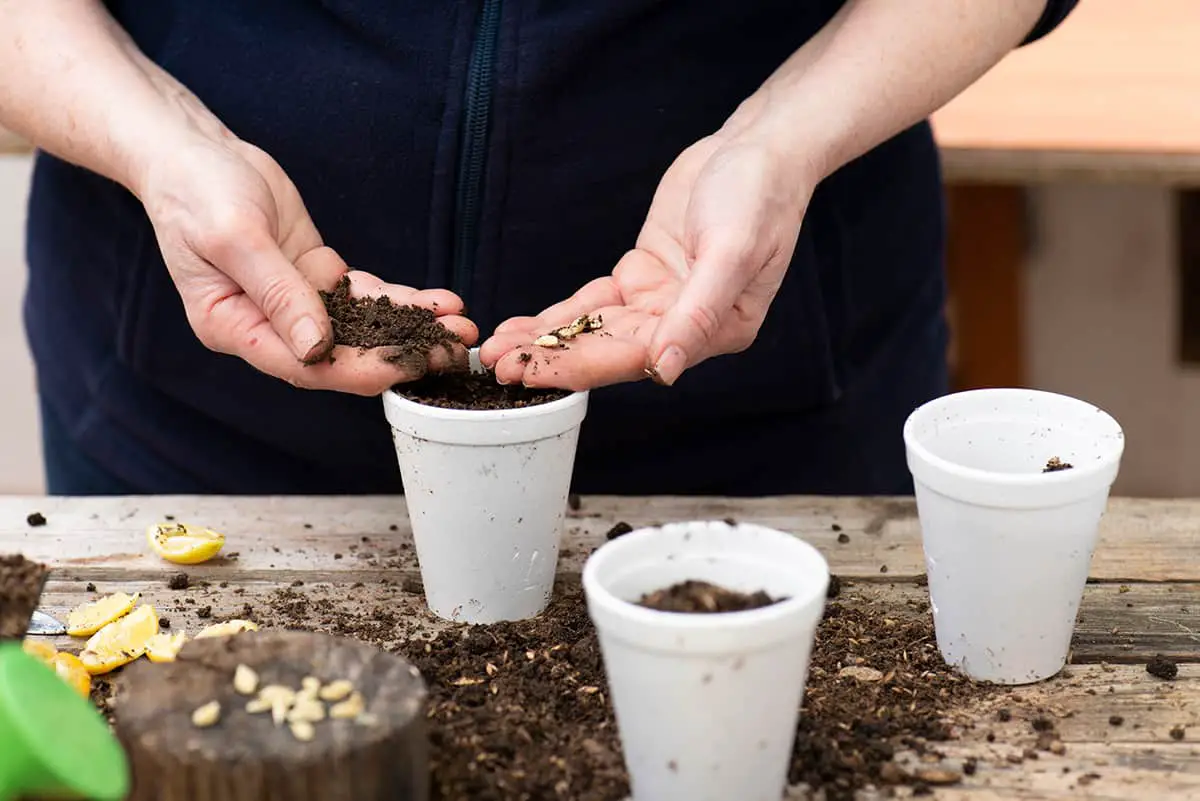
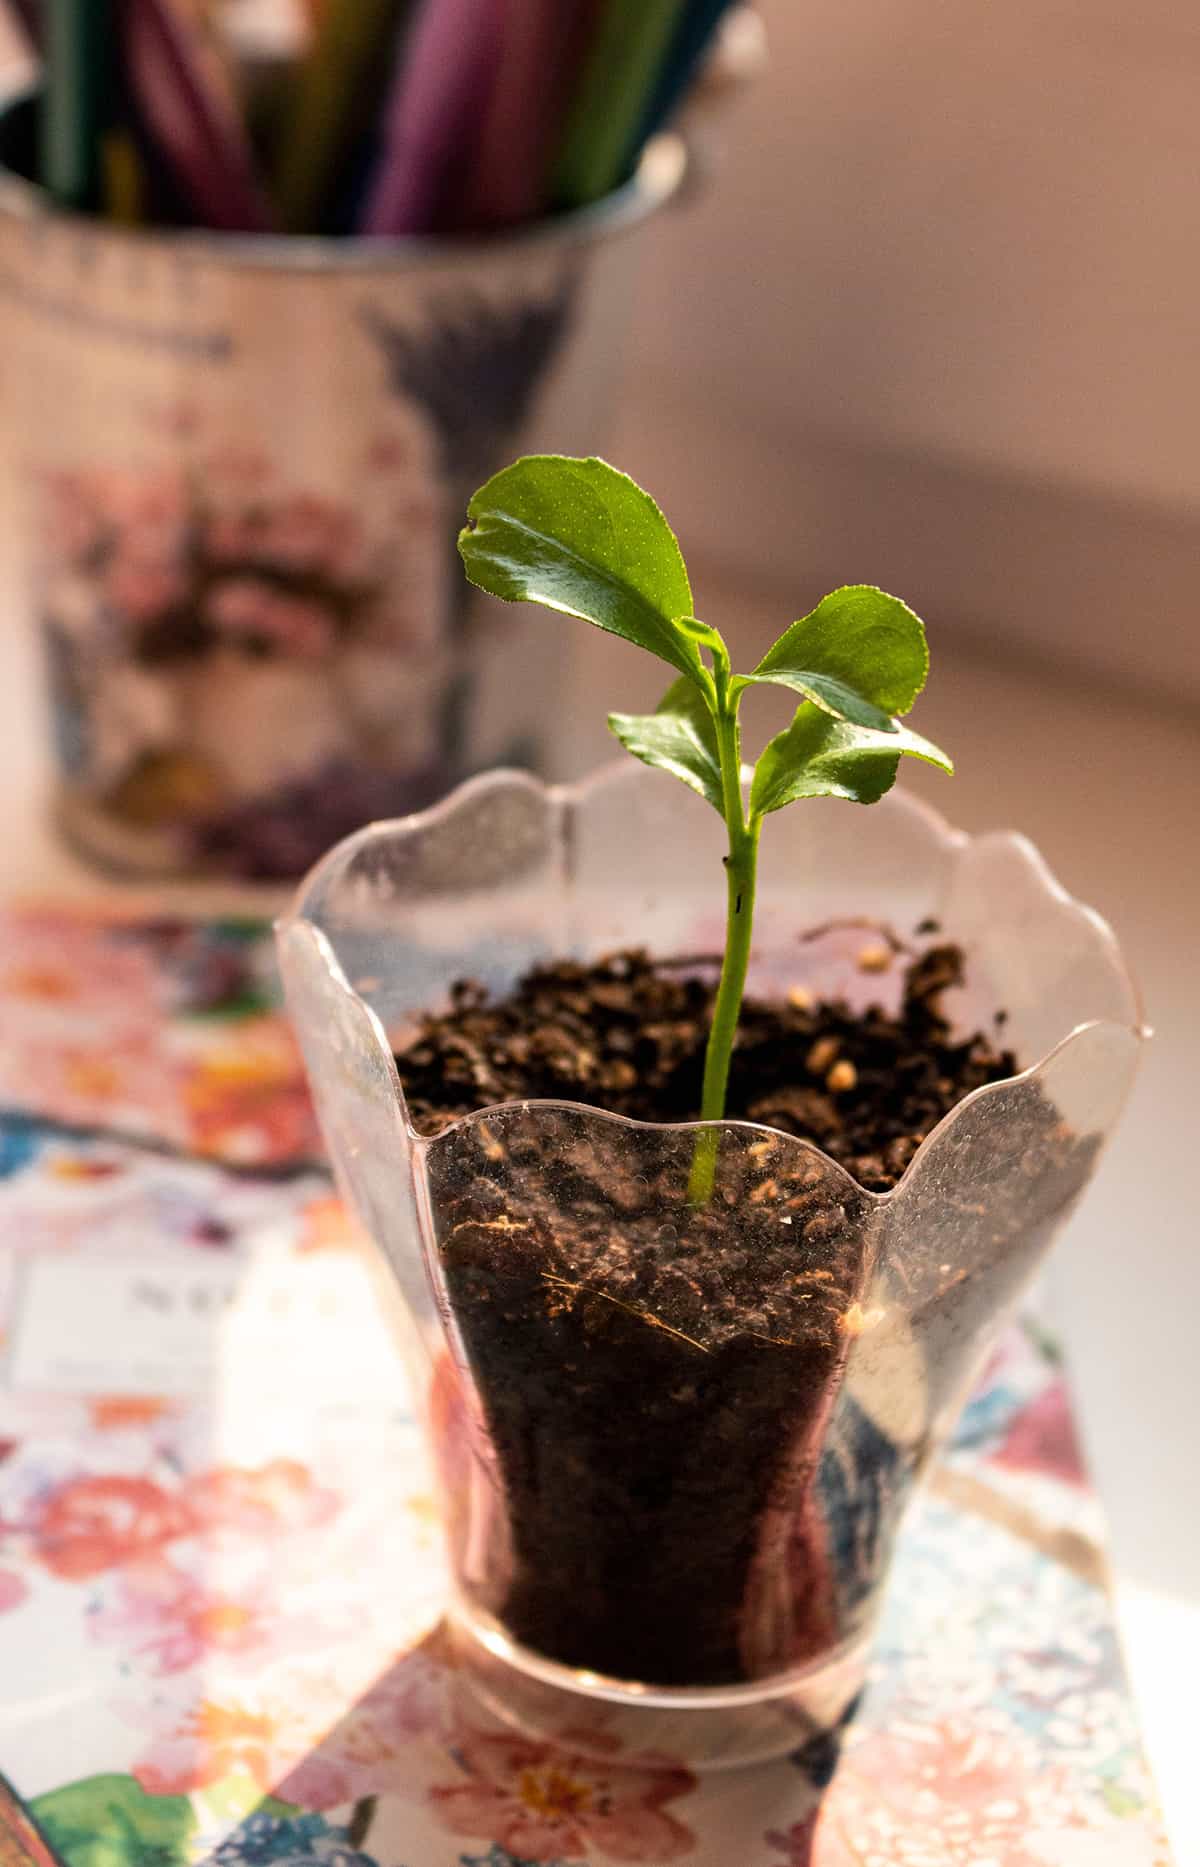
Planting the Seed
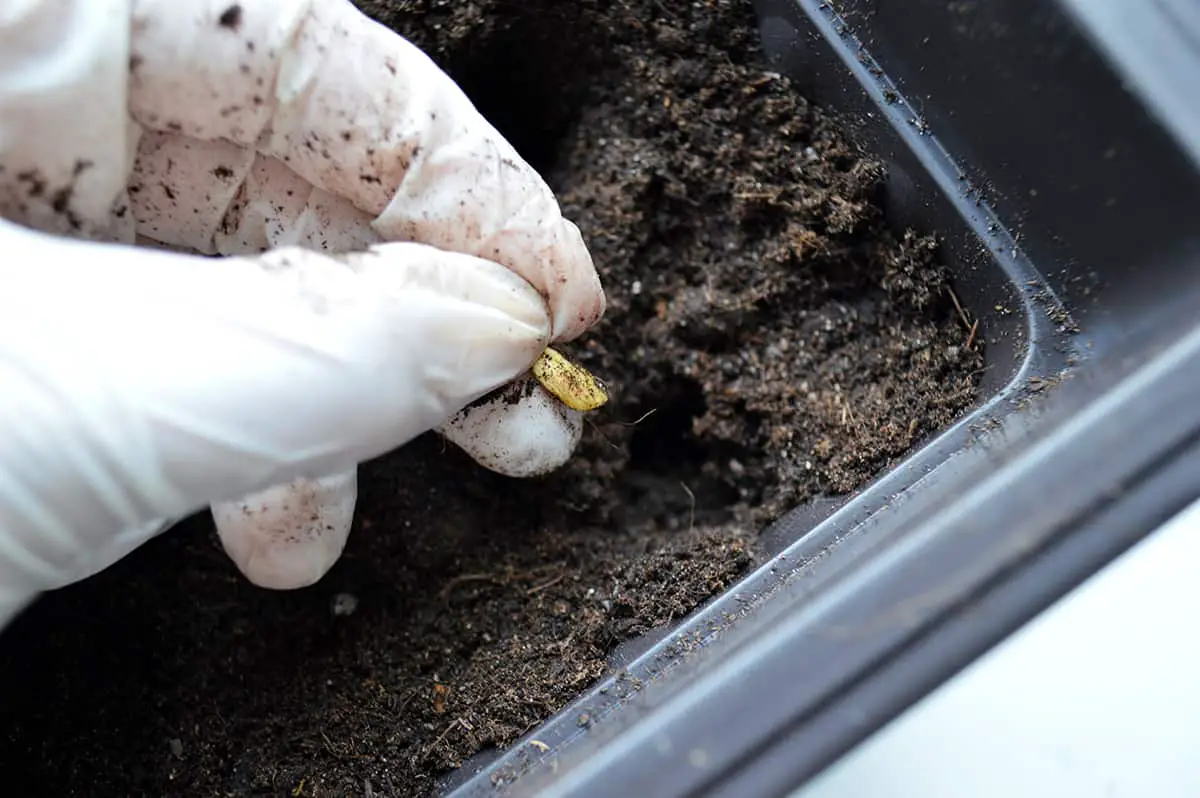
Proper seed placement and moisture are crucial for successful germination. Ensuring the right soil depth is equally important.
Seed Placement
Select a healthy lemon seed and clean it gently. Place the seed on the center of the soil in your cup.
Soil Cover and Depth
Cover the seed with 1/2 inch of soil. Press down lightly to ensure contact with the soil but avoid compacting it.
Moisture Levels
The soil should be moist but not waterlogged. Use a spray bottle to mist the soil, achieving even moisture distribution.
Germination Process
To successfully germinate a lemon seed, you need to understand the timeframe and how to control the temperature and humidity. These factors are crucial for the seed to sprout.
Germination Timeframe
Lemon seeds typically germinate within one to two weeks. However, some factors can extend this period up to three weeks. Be patient and monitor your seeds regularly. Below is a simple timeline to track the germination stages.
- Day 1-7: Seed swelling and root emerging.
- Day 8-14: First sprouts appear, if conditions are ideal.
- Day 15-21: Additional sprouts may appear, but if not, evaluate the moisture and temperature conditions.
Temperature and Humidity Control
Proper temperature and humidity are essential for germination.
- Temperature: Maintain a steady temperature between 68°F and 77°F (20°C – 25°C).
- Humidity: Aim for high humidity, ideally around 70%.
You can use a heat mat and a plastic cover or dome to create a greenhouse effect. Keep the soil moist but not waterlogged to avoid root rot.
Seedling Care
Taking care of your lemon seedling in a cup involves careful attention to sunlight, water, and the density of your plants.
Sunlight Exposure
Provide your lemon seedlings with 8 to 12 hours of sunlight daily. A south-facing window is ideal for consistent light. If natural light is limited, consider an LED grow light for supplementary exposure.
Watering Schedule
Water your seedlings when the top inch of soil feels dry. About 1 to 2 tablespoons of water is typically enough to moisten the soil without causing waterlogging.
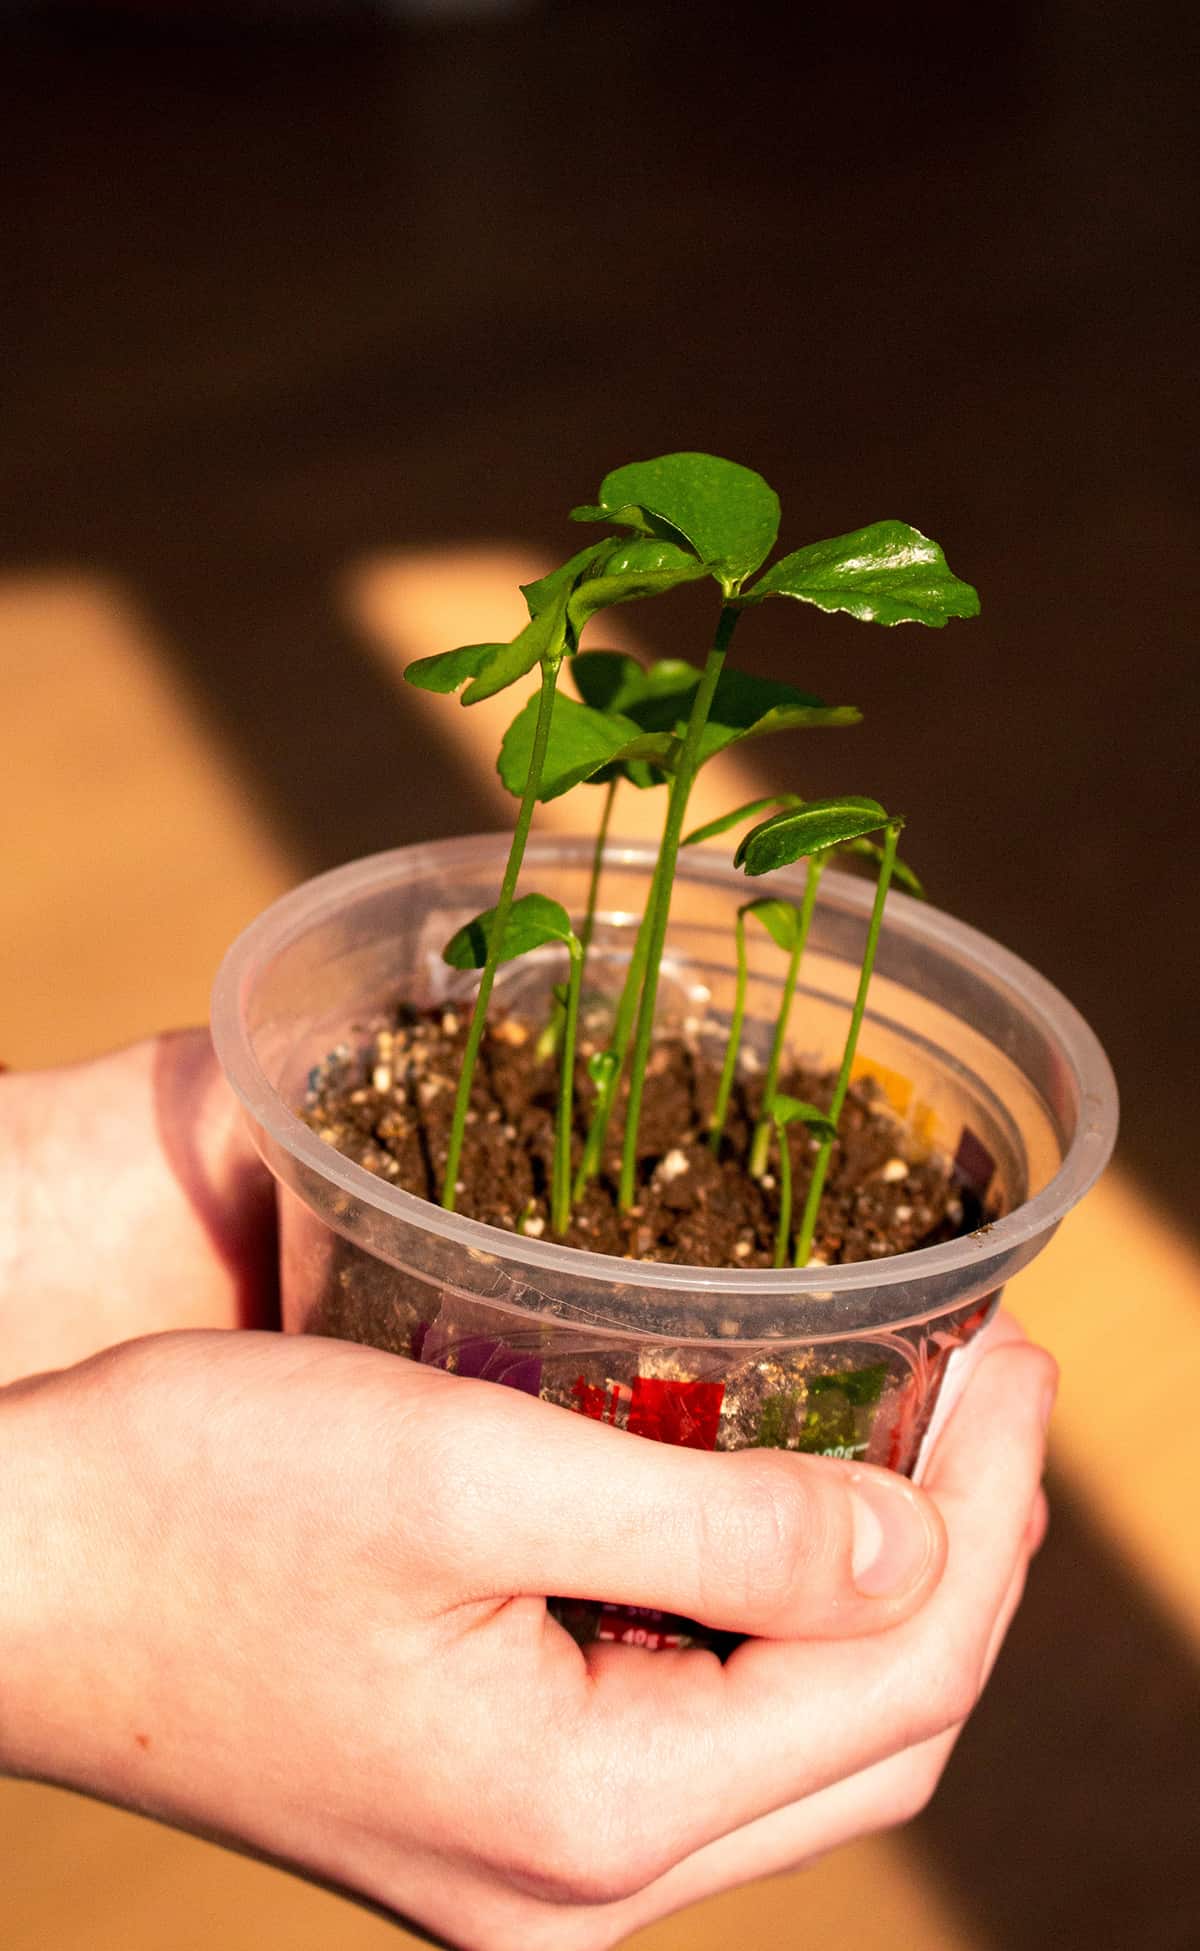
Thinning Seedlings
If you planted multiple seeds in a cup, thin it out to keep only the strongest seedling. Cut weaker seedlings at soil level with scissors. This prevents crowding and ensures adequate nutrients for the remaining plant.
Transplanting
Once your lemon seedling has outgrown its initial cup, it’s time to move it to a larger home. This transplanting process is crucial for its continued growth and health.
When to Transplant
Transplant when the seedling is 3 to 4 inches tall. Ensure the roots fill the cup but aren’t circling densely, to avoid root-bound issues. Look for at least two sets of true leaves, which indicate strength.
Transplanting Techniques
Prepare the new pot: Choose a pot that is one size larger. Fill it with potting mix, leaving room for the seedling.
Remove the seedling: Gently tip the cup and support the seedling’s base. Ease the plant out, being careful not to damage the roots.
Place the seedling: Create a hole in the center of the new soil. Set the seedling in, ensuring the base is level with the soil surface.
Soil and Water: Fill the surrounding area with soil. Water the plant to help settle the roots.
Acclimatizing the Lemon Plant
After transplanting, place the lemon plant in a shaded area for a few days. Gradually increase sunlight exposure to prevent shock. Monitor moisture and maintain consistent watering.
Ongoing Maintenance
After planting your lemon tree in a cup, it’s crucial to maintain it properly. This includes regular pruning, pest control, and adhering to a fertilization schedule.
Pruning
You should prune your lemon tree to remove dead or weak branches. This encourages healthy growth. Snip off any branches that are not producing leaves or fruit, or that seem to be withering.
Pest Control
Inspect your lemon tree frequently for pests such as aphids or spider mites. If you find pests, remove them with a damp cloth or use an appropriate insecticide. Always follow the instructions on the label closely for your plant’s safety.
Fertilization
Fertilize your lemon tree once a month with a high-nitrogen fertilizer. Dilute the fertilizer to half the recommended strength to avoid overfeeding. Mark your calendar to keep track of the schedule.
Harvesting
Lemon trees grown in a cup will have a limited yield due to space constraints. It’s crucial to harvest lemons at the right time to ensure optimal taste and quality.
How to Know When Your Lemon Is Mature
Lemons typically mature when they achieve a consistent yellow color. The skin should give slightly under pressure. For indoor plants, the process may take longer due to less exposure to the elements.
How to Harvest
To harvest your lemon, use a pair of sharp shears or scissors. Cut the stem close to the fruit, being careful not to tug harshly as this can damage the plant. Handle the fruit gently to prevent bruising.