Indoor ferns look lush, elegant, and instantly make any space feel like a jungle retreat. The problem? They also have a reputation for being divas. Before you give up on them, check out this guide—it might just save your fern’s life.
Table of Contents
Choose The Right Fern Variety
Selecting the best fern for your indoor space affects how well it survives and how easy care will be. Some types work well inside because they match home environments, while others struggle unless you change your space or routine.
Best Ferns For Indoor Conditions
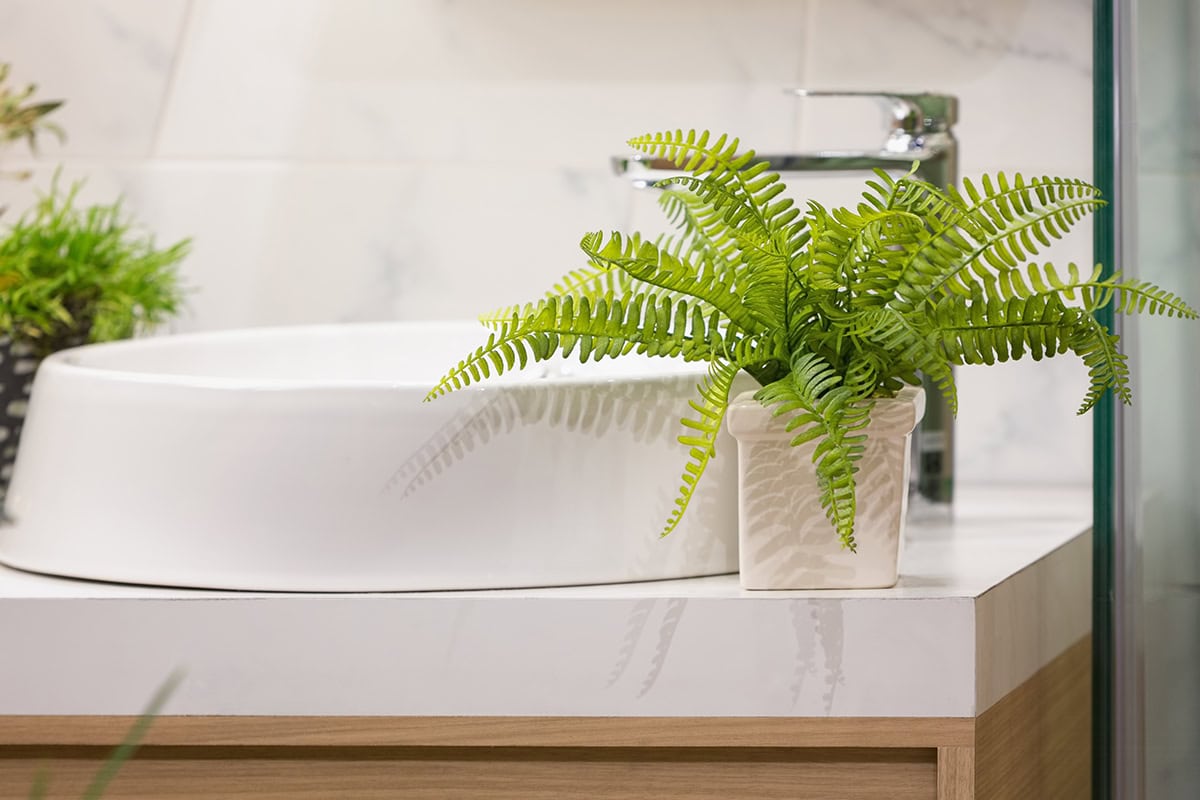
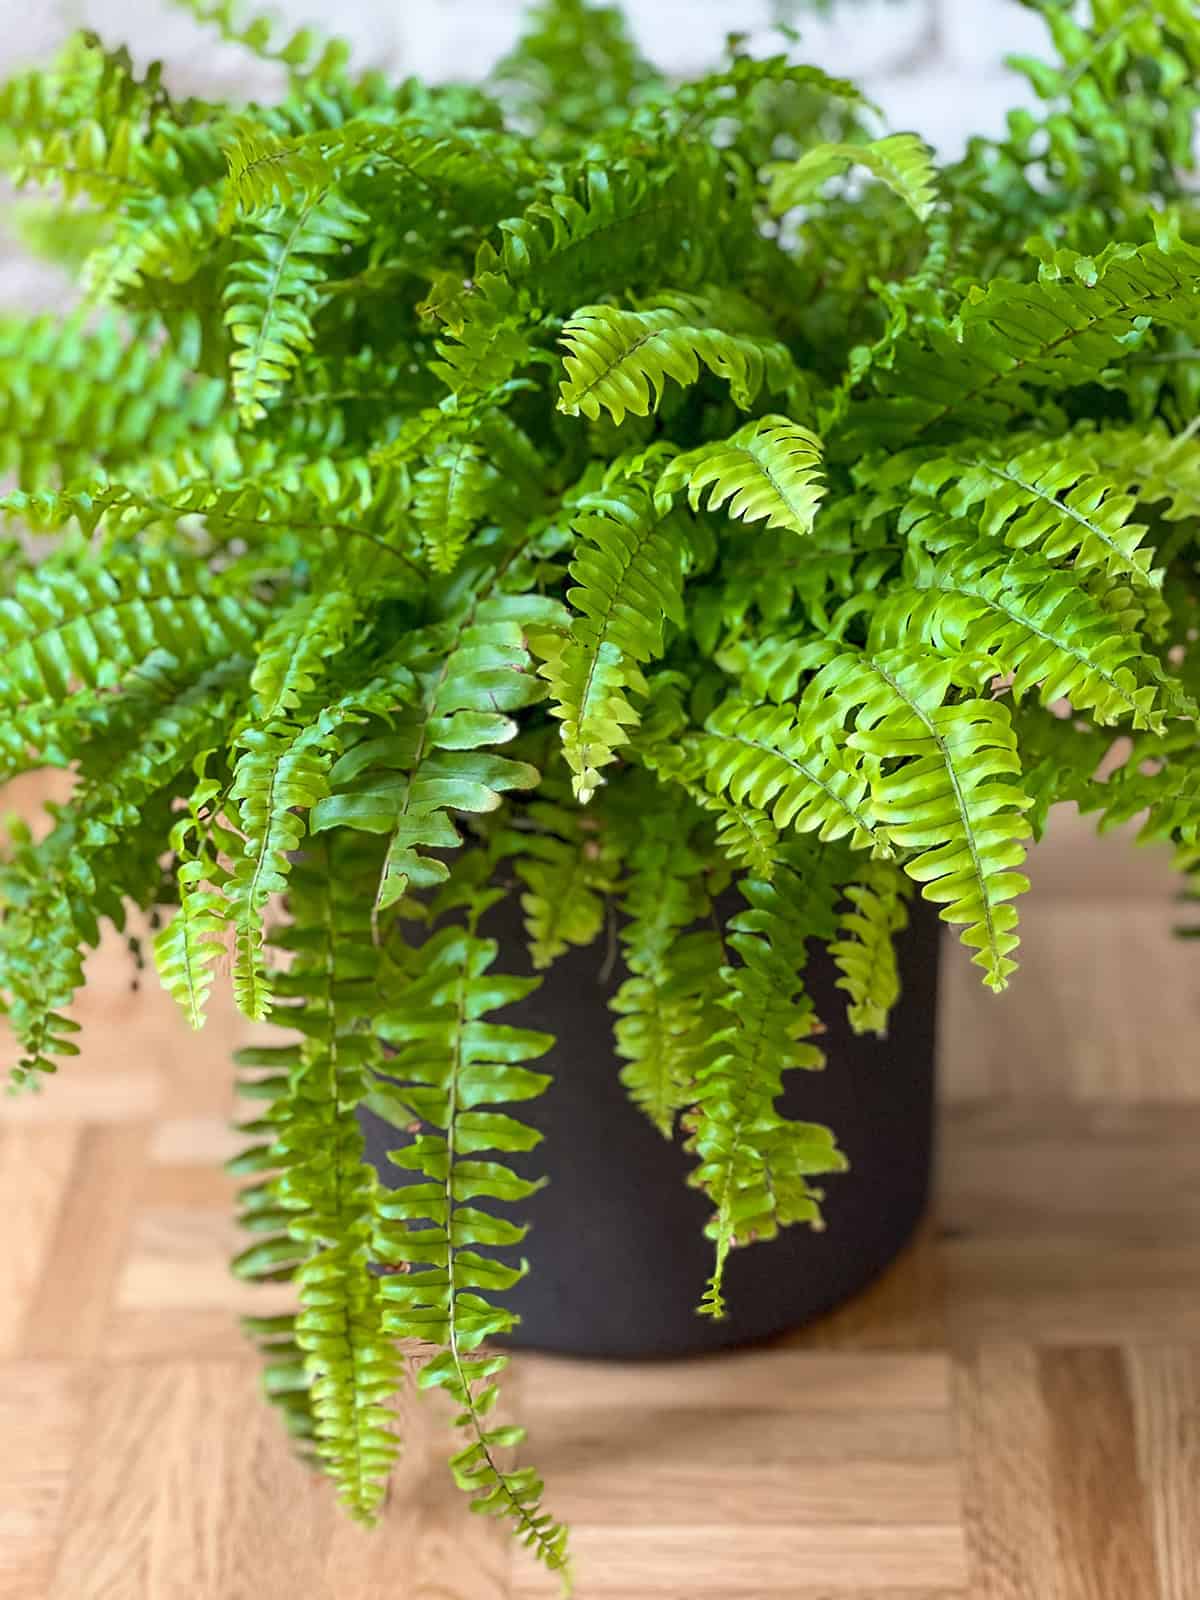
Boston fern, maidenhair fern, bird’s nest fern, and rabbit’s foot fern do best indoors. These ferns tolerate lower light and appreciate steady moisture levels. Boston fern (Nephrolepis exaltata) adapts well to rooms with filtered light and humidity.
Maidenhair fern (Adiantum) looks delicate but needs consistent moisture and high humidity. Bird’s nest fern (Asplenium nidus) grows upright and resists occasional dry air better than other ferns. Rabbit’s foot fern (Davallia) manages drier soil and less humidity.
Most of these ferns fit well on shelves, tables, or in hanging baskets. You get texture and lush greenery when you choose these varieties. Regular misting and not letting the soil dry out help these ferns look healthy.
Ferns To Avoid Indoors
Tree ferns, such as Dicksonia and Cyathea, require more space, moisture, and humidity than you will find in most homes. These types grow large and dislike drafts or dry indoor air. Holly fern and brake fern varieties sometimes tolerate less regular watering but can still decline in the dry air found in many homes.
Some ferns, including autumn fern and ostrich fern, mainly grow better outside. If you try these indoors, you may notice slow growth and brown tips on fronds. Avoid ferns adapted for full sun or cool climates since your indoor conditions most likely do not meet their needs.
Skip any species that need constant heavy moisture or specific soil mixes. Your care routine and space will affect which ferns survive indoors, so choose those already suited for houseplant living.
Give Them The Right Light
Ferns have specific needs when it comes to light indoors. Without the correct lighting, fronds may brown or drop, and growth can slow to a crawl.
Avoid Direct Sun
Sunlight through a window can seem gentle, but it is often too harsh for indoor ferns. Direct sun can scorch the delicate fronds, turning them brown and brittle. Most ferns thrive in filtered or dappled light, similar to what they receive on a forest floor.
You should avoid placing ferns on a windowsill that gets direct sun, especially during the hottest hours. Lace curtains or blinds can help diffuse strong light. If you notice dry or discolored leaves, reevaluate how much sun the plant is receiving each day. A position out of the sun but still bright is ideal.
Where To Place Ferns Indoors
Choose a spot that mimics a shady, well-lit forest floor. East or north-facing windows usually offer the right balance of light. These locations provide brightness without intense sun exposure.
Rooms with plenty of natural light but no glaring rays from the sun work well. Shelves a few feet from a window are often suitable. You can also use artificial lights, such as fluorescent or LED grow lights, for rooms with very little daylight. Keeping your fern near a source of indirect light will help it stay green and healthy. Rotate the pot occasionally to ensure all sides of the plant receive adequate light.
Keep Humidity Levels High
Ferns come from places with steady moisture in the air. Without enough humidity, their leaves can dry out and look unhealthy.
Simple Ways To Add Moisture
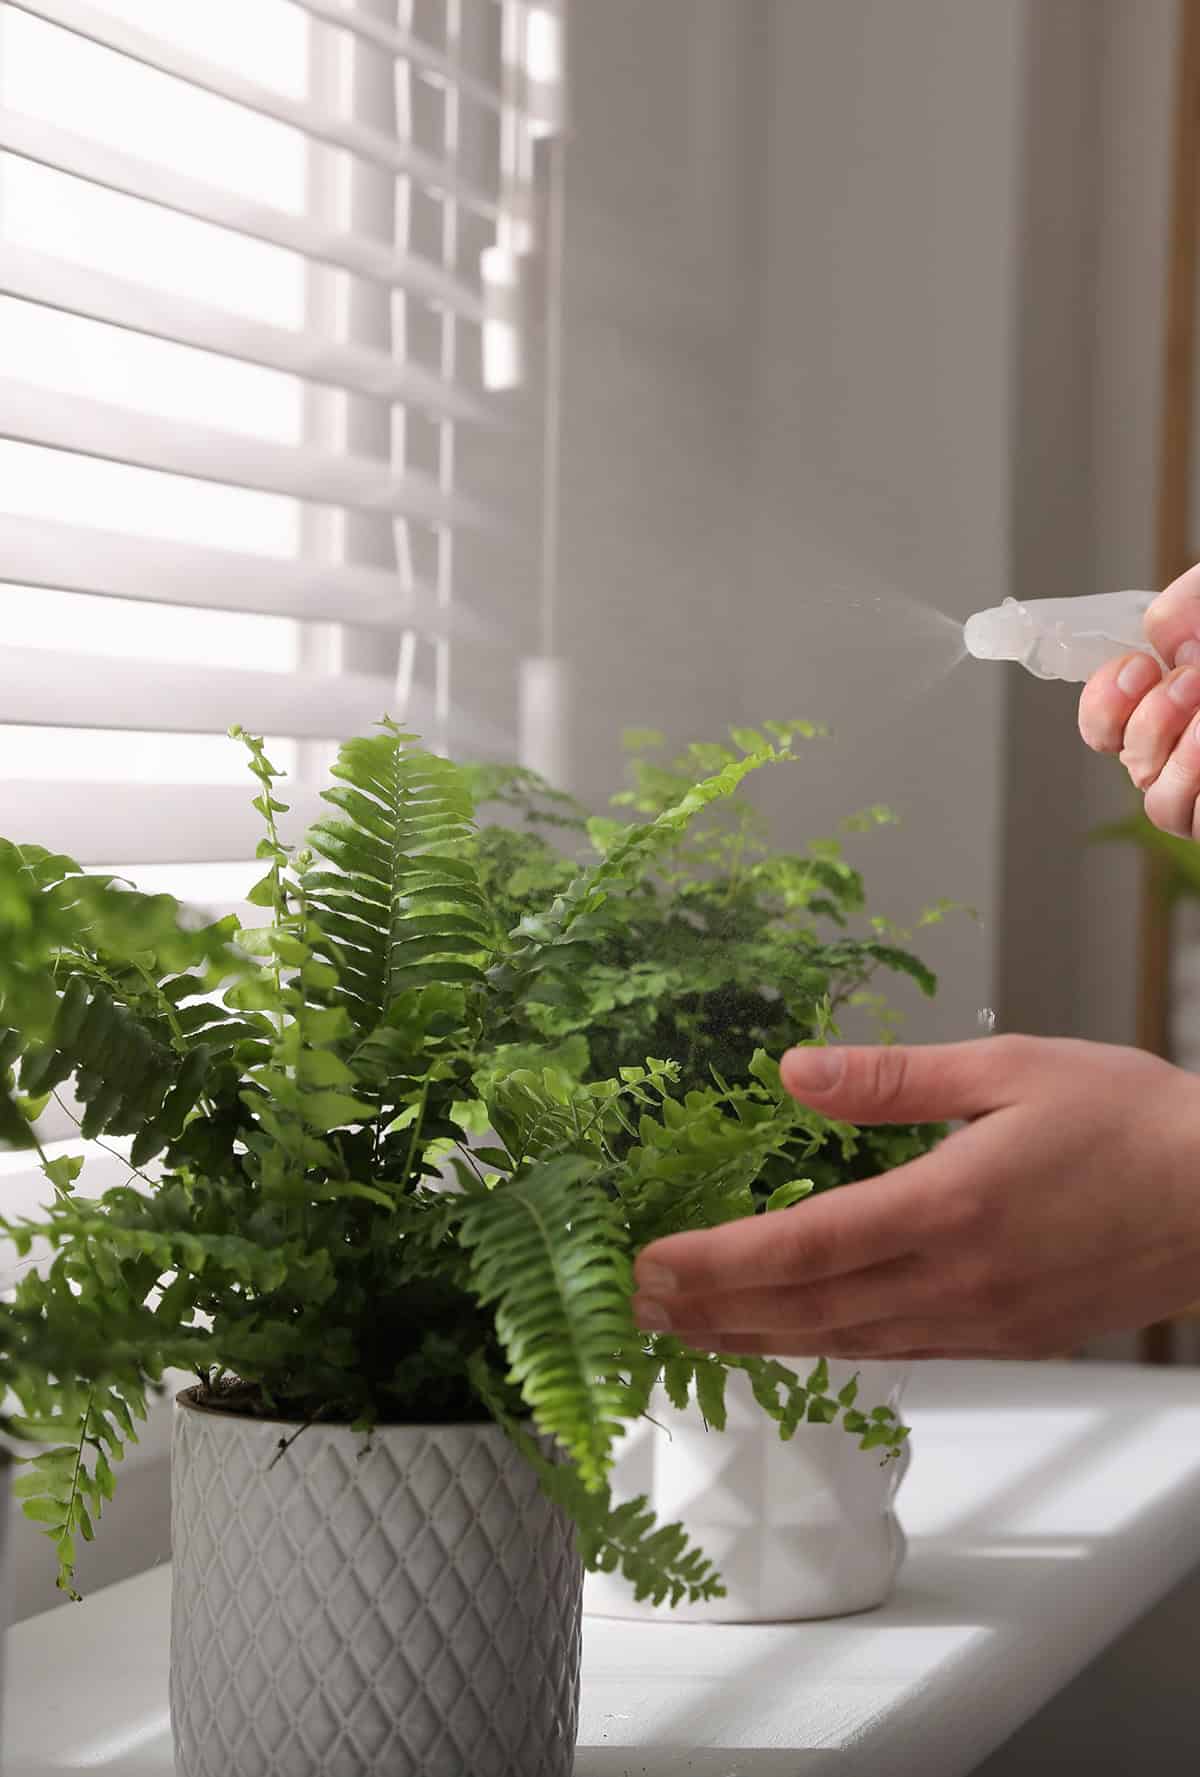
Your fern will need about 50% humidity or higher to thrive indoors. Many homes, especially in winter, fall well below this. Dry air can make the leaf tips turn brown and brittle.
To raise moisture around your plant, set the pot on a tray filled with water and small pebbles. Make sure the pot sits on the stones, not in the water. Grouping ferns together can also help by sharing the damp air.
A humidifier placed nearby will keep the area more consistent if you have many plants. Misting ferns rarely helps and can raise the risk of leaf spot diseases, so it is best avoided. Always keep your fern away from heat vents or drafty windows since these quickly lower humidity.
Signs Of Low Humidity Stress
When air gets too dry, your fern will show clear signs. Leaf tips often turn brown or crispy. Entire fronds may begin to yellow or shrivel.
Foliage can drop early or look dull and lifeless. Growth may slow and new leaves might fail to open fully. Watch for these problems especially in heated rooms or during the winter.
Detecting stress early lets you respond fast. Raise humidity around the plant as soon as you see these changes. Regularly check leaves for any sign of damage so you can adjust conditions before your fern declines.
Water Correctly
Ferns do best when the soil stays consistently moist but not soggy. You need to strike the right balance between underwatering and overwatering to prevent root damage.
How Often To Water Indoor Ferns
Check the top layer of soil every few days to determine when your fern needs a drink. If the surface feels dry to the touch, it is time to water.
Most types prefer to stay slightly damp, but never soaked. Use your finger to test the soil at least once a week. Some environments require more frequent checks, especially if humidity is low.
Water less in the winter, when growth slows. Always adjust your schedule if your home is especially dry or warm, since these conditions make soil dry out faster. Misting the leaves can help maintain humidity, but it does not replace watering the roots.
Avoiding Overwatering And Root Rot
Frequent overwatering causes root rot, which can quickly kill your fern. Make sure your pot has proper drainage so water escapes through the bottom each time you water.
Leave no water standing in the tray or saucer. Empty out any pooling water right after you finish watering. Fern roots need oxygen as much as they need moisture, so soggy soil will harm them.
Signs of root rot include yellowing, limp fronds, or a sour smell from the pot. If these appear, remove the plant and trim away mushy roots. Only water again once the top inch of soil dries slightly. Choose lightweight, well-draining potting soil to prevent excess moisture from lingering around the roots.
Use The Right Soil And Pot
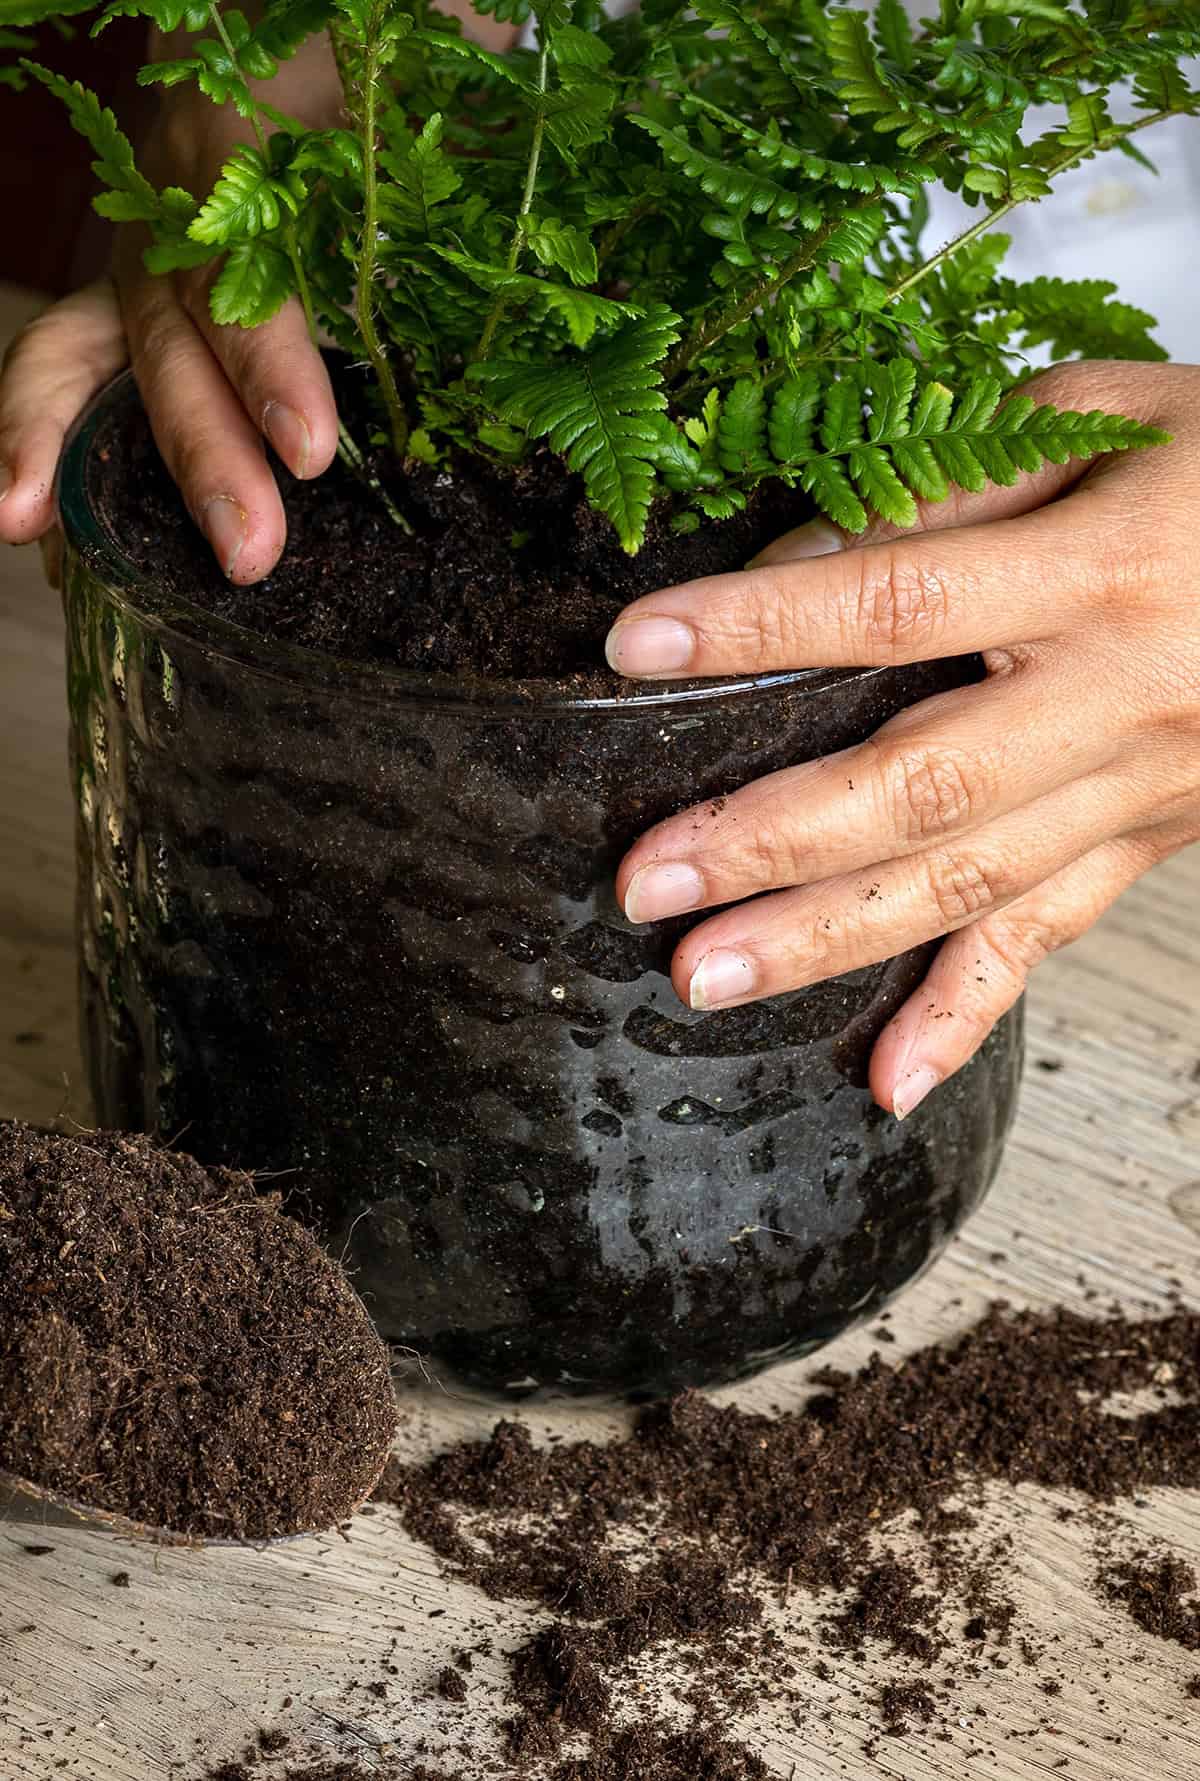
Healthy ferns need soil that holds moisture but drains well. Picking the best pot helps prevent root rot and stress.
Best Soil Mix For Ferns
Potting soil for ferns must have a balance of moisture retention and drainage. Mixes with peat moss or sphagnum help keep water available, while sand or fine gravel prevents soggy conditions. Avoid standard garden soil, as it compacts too much for potted ferns and can introduce pests.
Look for a mix with organic matter to feed your fern’s roots. Some bagged potting soils work if they list high organic content, but check if they include coarse ingredients for drainage. If the mix seems dense, add perlite or coarse sand until it feels loose and crumbly. Sterilized soil helps prevent fungus and disease. This is important because ferns react badly to root disease and poor airflow around their roots.
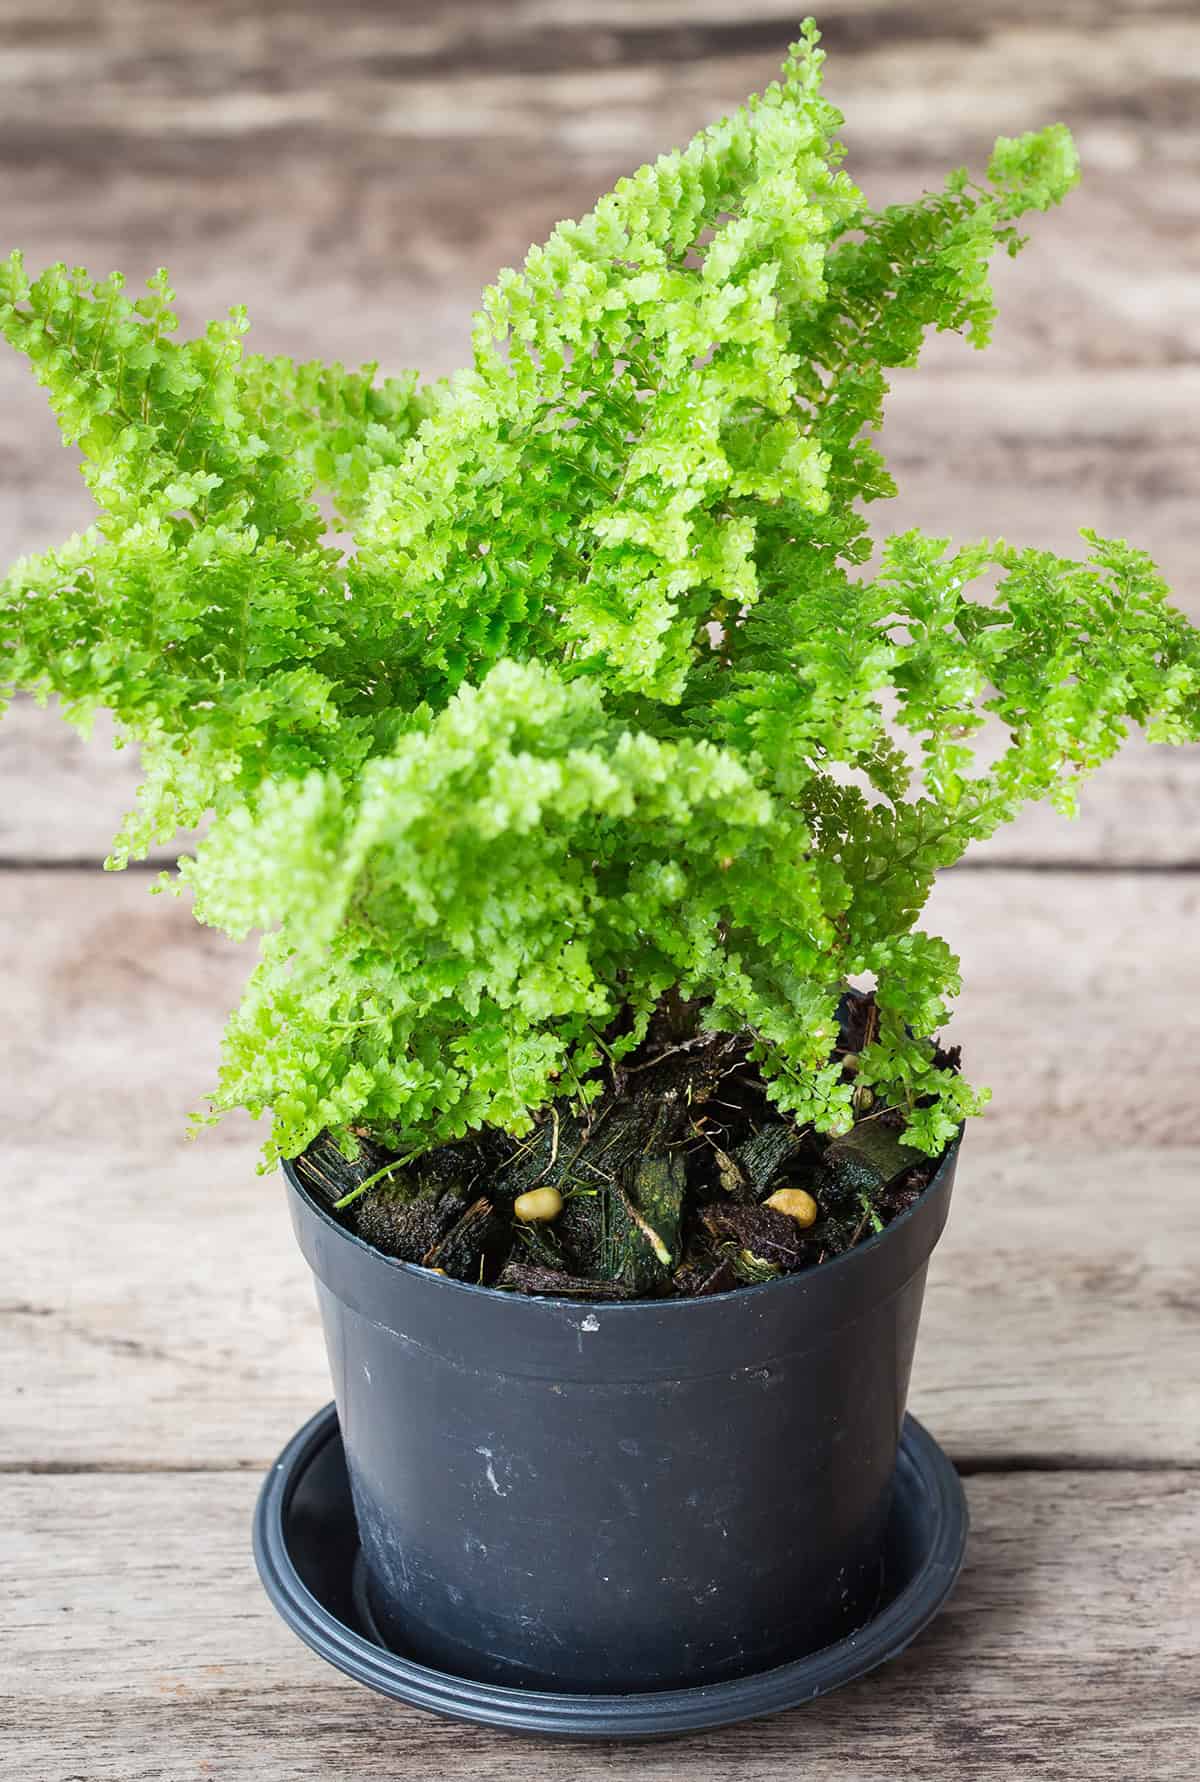
Choosing A Pot With Good Drainage
Any pot used for ferns must have a drainage hole in the base. Without drainage, excess water sits in the bottom, which often causes root rot. Clay pots provide better airflow than plastic, but either works if drainage is good.
Ferns grow best when their root ball fits snugly but has an inch or two of space around it. Never choose a pot that is much larger than the root mass because this increases the risk of soggy soil. Check regularly that roots are not circling or pushing out of the bottom. If this happens, it’s time to move your fern to a slightly larger pot with new soil. Always place a shard or mesh over the hole to prevent soil from washing out but never use gravel at the bottom, as it can actually create drainage issues.
Feed Occasionally, Not Excessively
You need to nourish your fern but avoid giving it too much. Balanced, sparse feeding keeps your plant healthy and prevents stress.
When And How To Fertilize
Ferns need only light feeding during their growth periods. Fertilize every four to six weeks in spring and summer, when your indoor fern produces new fronds. Use a half-strength balanced liquid fertilizer rather than a full-strength dose.
Apply fertilizer to damp soil. Pour gently at the base, not on the leaves. Never fertilize if your fern looks wilted or dry; wait until it recovers. Do not fertilize in winter, as your fern rests then. Overfeeding can make fronds yellow or brown.
Avoiding Nutrient Burn
Too much fertilizer harms ferns more than too little. Signs of excess include brown leaf tips, wilting, and salt crust on the soil. Nutrient burn is common when you fertilize too often or use a strong formula.
If you see these warning signs, stop fertilizing. Flush the soil with clean water to wash out excess salts. Cut away damaged fronds to encourage new, healthy growth. Feeding only in moderation avoids chemical buildup and keeps your fern’s roots safe from harm.
Watch For Pests And Brown Leaves
Ferns often develop problems that appear as pests or brown leaf tips. Quick, specific action keeps your plant looking healthy and lush.
Common Fern Problems
Scale insects and spider mites show up the most on indoor ferns. Scale often looks like tiny brown or green bumps stuck to fronds and stems. Honeydew from scale can make leaves sticky or shiny.
Spider mites create fine webbing and cause a faded, stippled look. Brown tips or edges often mean your fern lacks humidity or suffered irregular watering. You may also see brown patches if dust covers the leaves or soil dries out too much.
Yellowing or dropping fronds point to pests, stress, or root rot from soggy soil. If leaves feel sticky, inspect for scale or aphids.
Easy Fixes For Common Issues
Remove visible pests by gently wiping fronds with a damp cloth. For scale, prune badly infested areas. You can use insecticidal soap on affected leaves, but repeat every few days for best results.
Wash leaves with lukewarm water to get rid of dust and mites. Let tap water sit overnight before use if your area has treated water. Trim brown leaf tips with clean scissors to prevent further browning.
Keep the soil slightly moist but never soggy. Use a humidity tray or mist with plain water to raise humidity if leaves keep turning brown. Make sure to check your plant weekly for changes.