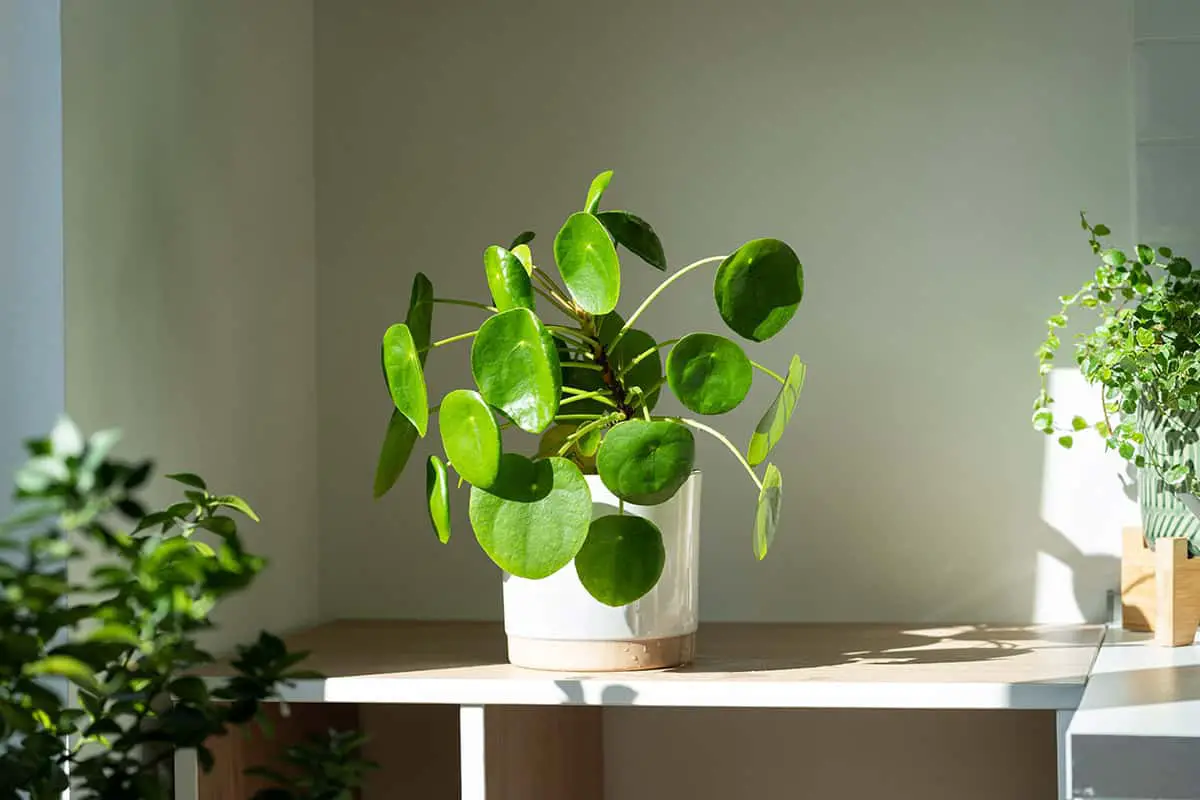
You’ve just received a Pilea Peperomioides as a gift. It sits on your windowsill with its charming, round leaves. You love how it brightens up your space, but now you wonder how to keep it healthy. This guide provides easy tips to care for your Pilea Peperomioides and ensure they remain a vibrant and joyful part of your home decor.
Table of Contents
Light
When growing Pilea Peperomioides, make sure to provide the plant with bright indirect light. Position the plant near a window, but avoid direct sunlight, as this can scorch its leaves. Too much direct sun will harm the plant, while too little light can cause leggy growth.
Maintaining the right light balance will ensure your Pilea has a healthy, compact form. If you notice your plant leaning toward the light source, rotate it regularly to promote even growth.
Soil
Choose a well-drained potting medium rich in organic matter. High-quality commercially formulated or nursery-blended peat-like mixes are suitable, as they ensure good aeration.
Pilea Peperomioides requires a low pH, around 5.0 to 6.0. You can achieve this by adjusting your soil with dolomitic limestone. This not only contributes to the proper pH balance but also provides calcium and magnesium, which are crucial for the plant’s growth.
In addition to proper soil composition, it’s important to regularly check your Pilea’s soil moisture. During the growing season, water the plant moderately, being careful not to overwater. The soil should be moist, but not soggy. Reduce watering frequency in the fall and winter months when the growth rate slows down.
Watering
The first tip is to water moderately during the growing season. Make sure you provide the right amount of water for your plant to thrive. Too much water can cause root rot, while too little water may lead to wilting.
The best time to water your Pilea is in the early morning. Research suggests that watering between 6 and 9 am helps plants stay healthy and avoid fungal diseases. Also, plant foliage dries off quickly during this time, reducing the risk of disease.
Moreover, choose the right soil type for your Pilea. A well-drained potting medium rich in organic matter is ideal and should have a pH between 5.0 to 6.0. This type of soil supports healthy root growth and makes sure your plant receives the necessary nutrients.
Lastly, pay attention to the moisture level of the potting mix. Ensure that the top 1 inch of soil is dry before watering the plant. This method prevents overwatering and root rot. In addition, it’s beneficial to provide your Pilea with a humid environment for optimal growth.
Temperature and Humidity
These plants thrive in a temperature range of 65 to 85°F during the day. At night, it’s important to keep the temperature above 50°F to prevent damage or stunted growth.
Humidity plays a significant role in the health of your Pilea Peperomioides. High humidity helps to keep the leaves lush and vibrant. The plant enjoys high humidity levels, ideally between 60% and 75%. To create a humid environment, you can use a humidifier, mist the leaves, or place the pot on a tray filled with wet pebbles.
Fertilizer
It’s essential to find a balanced fertilizer for Pilea Peperromioides for optimal results. You want a fertilizer with equal parts nitrogen, phosphorus, and potassium. These three nutrients play a major role in your plant’s overall health and growth.
When you’ve chosen an ideal fertilizer, apply it during the Pilea’s active growth period. Generally, this is between spring and summer. Dilute your fertilizer to half-strength and fertilize your Pilea every 4 weeks. Remember, over-fertilizing can harm your plant, so moderation is key.
Keep an eye on your plant’s leaves for signs of nutrient deficiency. Pale or yellowing leaves may indicate a lack of nutrients, requiring a slight increase in fertilization. Conversely, dark, curled leaves could suggest over-fertilization.
Propagation
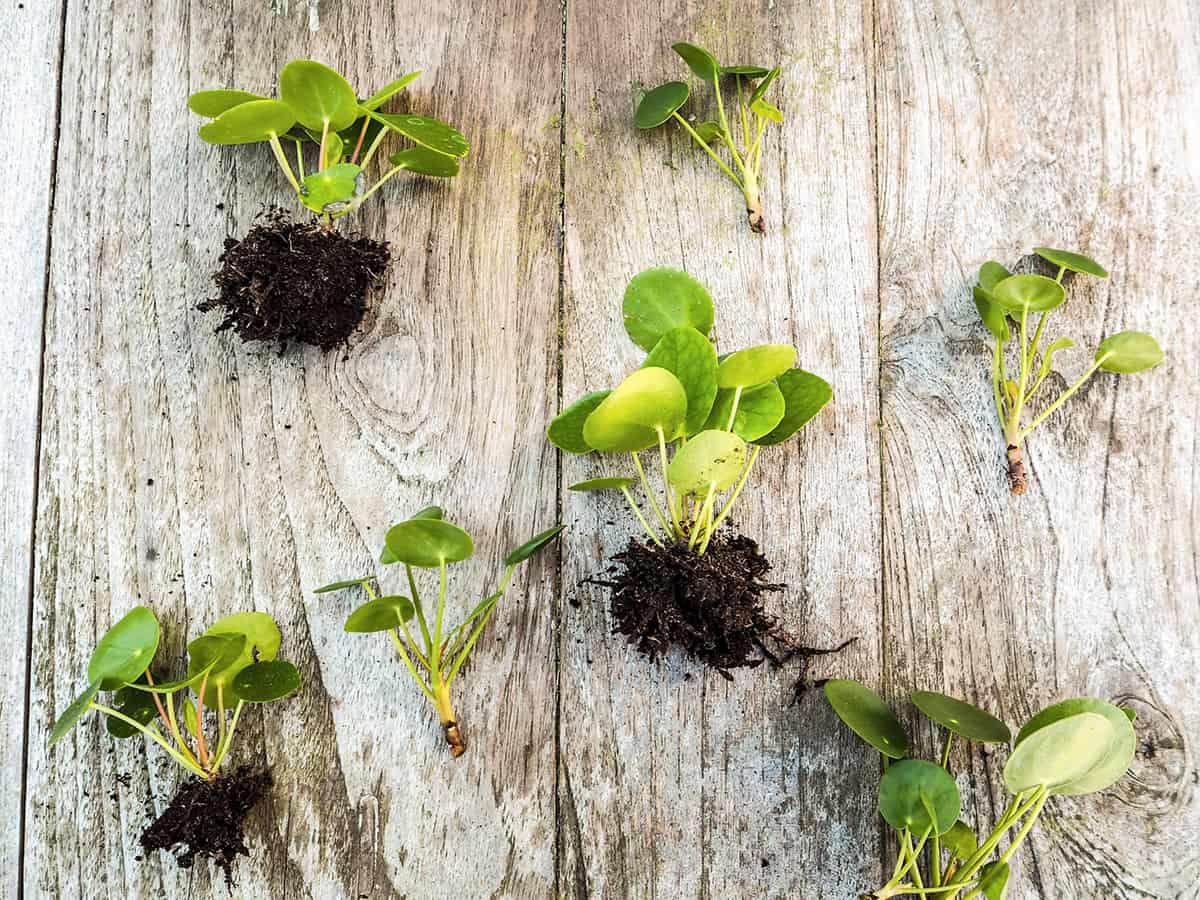
To propagate your Pilea peperomioides, choose healthy leaves with a small portion of the stem still attached. An ideal time to take these cuttings is during the spring or early summer when the plant is actively growing. Place the cut end of your cutting in a container filled with peaty soil-based potting mix, ensuring the leaf is not buried.
Providing proper care conditions is crucial for successful propagation. Keep the environment warm and humid for the cutting. Encourage optimal growth by placing your cutting in bright, indirect light. Too much direct sunlight may harm the young plant. Keep your potting mix moist, but not soaking wet, by watering frequently. Remember to reduce watering during the fall and late winter months.
In a few weeks, you’ll notice new roots developing from the cutting. Once a strong root system has formed, transfer your young Pilea peperomioides to a larger pot.
Pruning
The best time to prune is during the growing season, which usually starts in spring and lasts till early fall.
Begin by examining the plant for any discolored, damaged, or dead leaves. Carefully remove those leaves using a clean, sharp pair of scissors or pruning shears. It will encourage new growth and prevent diseases from spreading.
Additionally, do not forget to prune your plant’s leggy stems. This will help your Pilea Peperomioides maintain its compact form, fostering a bushier appearance and better growth. As you prune, be cautious not to remove more than 20% of the overall foliage, as this may stress the plant.
Potting and Repotting

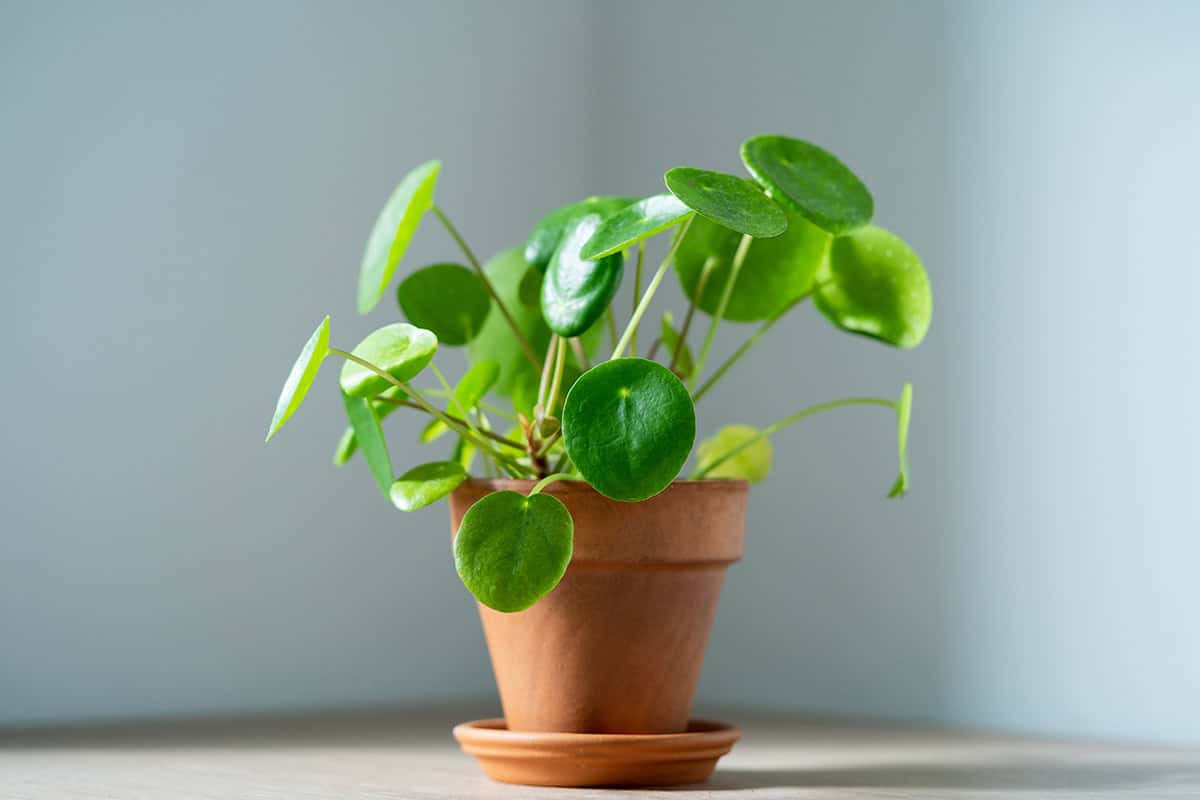
To grow a healthy Pilea Peperomioides, choose a well-draining peaty soil-based potting mix. You should place the plant in a pot with drainage holes, allowing excess water to escape and prevent root rot.
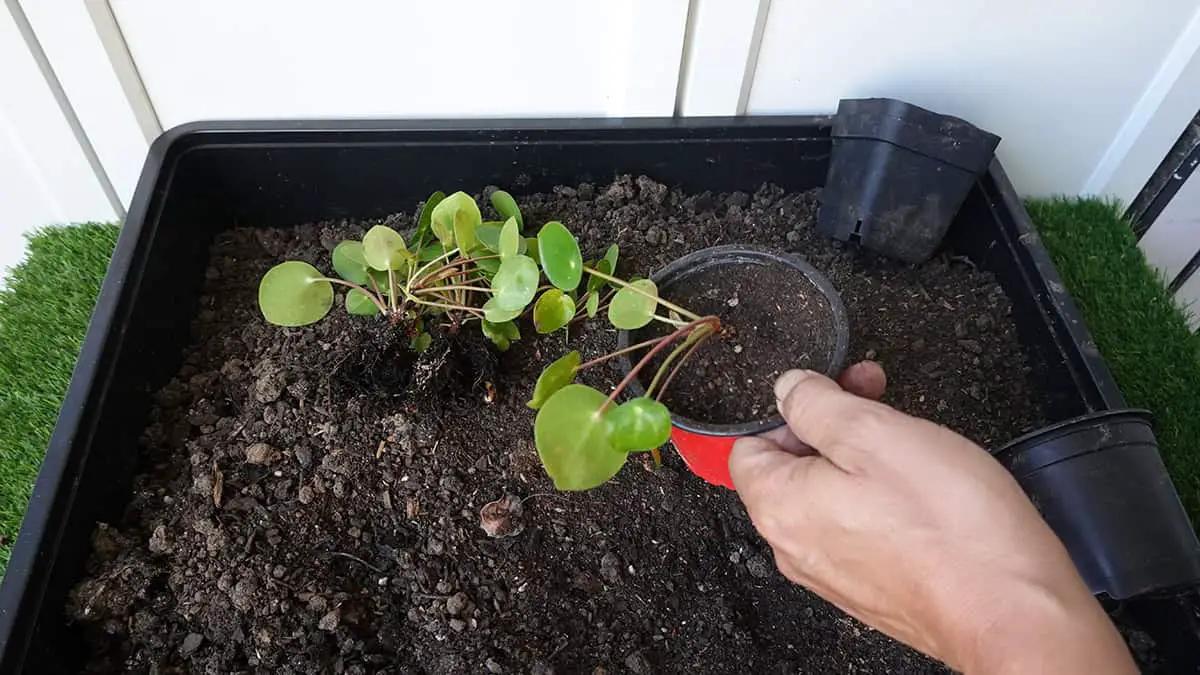
It’s essential to repot your Pilea Peperomioides every 1-2 years, particularly during spring. When repotting, gently remove the plant from its current pot, shake off the excess soil, and examine the root system. Prune away any damaged or tangled roots before placing your plant in a pot one size larger than its current home, filled with fresh potting mix.
Common Problems & Troubleshooting
Mealybugs and spider mites are pests that can affect the Pilea peperomioides. If you notice small, cotton-like white masses or tiny, web-like structures on your plant, it’s time to take action. You can remove these pests by wiping the leaves with a soft, damp cloth. Don’t forget to check the undersides of the leaves.
Another issue that can create problems for your Pilea is overwatering. Signs of overwatering include yellowing leaves, wilting, and root rot. To avoid overwatering, make sure to let the soil dry out slightly between watering sessions. Use well-draining soil and ensure that your pot has proper drainage holes.
When it comes to light, Pilea peperomioides can handle a variety of conditions. However, it doesn’t appreciate direct sunlight, which can cause leaf discolorations. Place your plant near a bright but indirect light source to help it grow well.