You’ve been excitedly tending to your small garden, but despite your best efforts, some plants just don’t seem to thrive. It’s a common frustration for many aspiring gardeners. Luckily, a few clever plant hacks can make a world of difference. In this article, we’ll explore essential strategies to boost your gardening skills, helping your plants grow healthier and stronger
Table of Contents
- Coffee Grounds As Fertilizer
- Eggshell Water For Calcium
- Cinnamon As Natural Fungicide
- DIY Moisture Meter With Chopsticks
- Banana Peel Leaf Shine
- Vinegar Mix For Acid-Loving Plants
- DIY Bottle Drip System
- Potato Rooting Aid For Cuttings
- Milk As Gentle Fertilizer
- Diaper Hydrogel For Soil Moisture
- Plastic Forks As Pest Deterrent
- Soap Water Pest Repellent
- Aluminum Foil Light Reflector
- Yogurt For Moss Growth
- Chamomile Tea For Healthy Seedlings
- Lemongrass As Mosquito Repellent
- Sand For Improved Drainage
- Matchsticks For Soil Sulfur
- Garlic Water For Pest Control
- Aquarium Water For Fertilizing
- Sponge In Pot Base For Moisture
- Plastic Bottle Mini-Greenhouse
- Clothes Hanger Herb Drying Racks
- Epsom Salt For Greener Leaves
- Tea Bags To Retain Moisture
- Shoe Organizer Vertical Garden
- Vegetable Cooking Water For Plants
- Pantyhose For Plant Support
- Ice Cubes For Gradual Watering
- LED Lights For Extra Plant Lighting
Coffee Grounds As Fertilizer
Coffee grounds can be a key ingredient in your garden’s health. They are rich in nitrogen, providing about 2.5-3% of this essential nutrient. With a carbon-to-nitrogen ratio of roughly 20 to 1, coffee grounds are excellent for plant growth.
Your plants can thrive with the help of coffee grounds. They improve soil quality and provide essential nutrients. Mixing coffee grounds into your soil can support healthy plant development. You should be mindful of the amount you use, as too much can be harmful.
For composting, integrate coffee grounds modestly. Aim to keep their volume under 20% of the total compost mix. This ensures that your compost remains balanced and beneficial for your plants.
It’s important to note that some seeds germinate better with coffee grounds, while others might face inhibition. Research by Texas A&M University indicates that used coffee grounds can benefit turfgrass. Coffee grounds can also be composted or used directly in your garden. They should be dispersed thinly to prevent molding and clumping.
Eggshell Water For Calcium
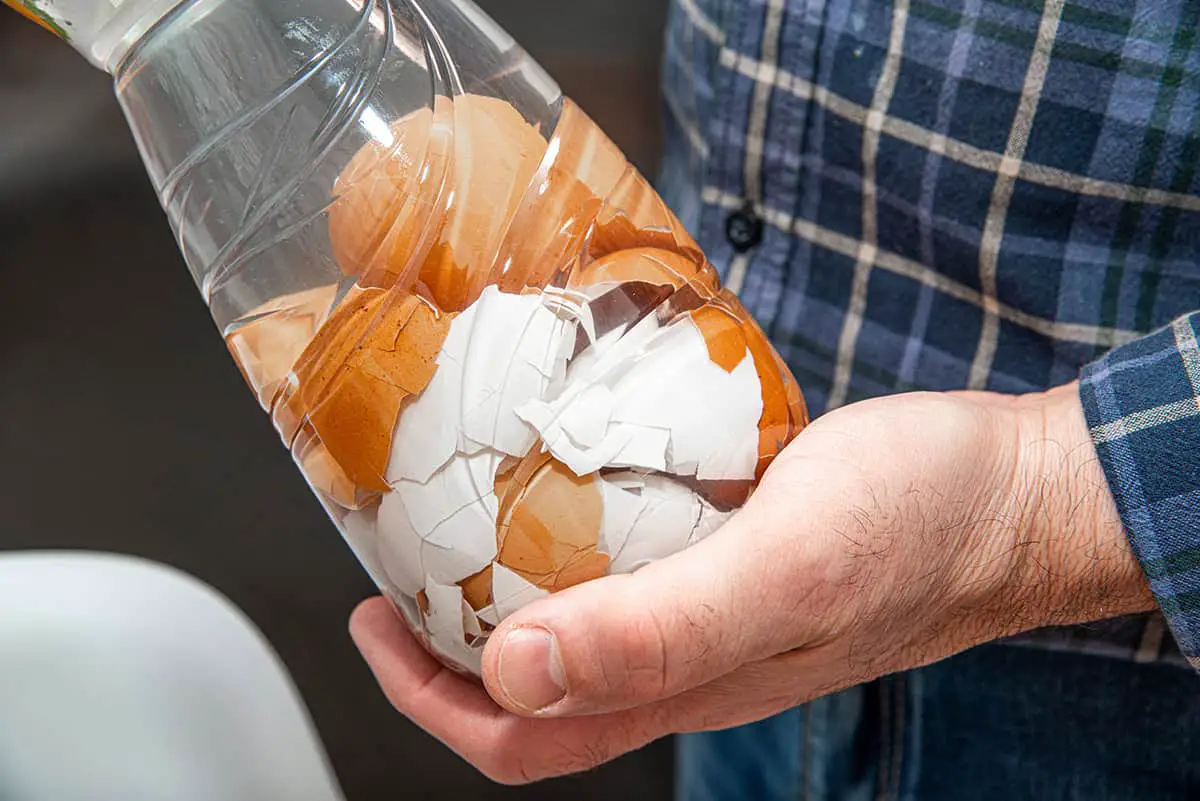
Eggshell water offers your plants a calcium boost. Calcium is crucial for plant growth, as it helps in building strong cell walls. If your plants lack calcium, you might notice stunted growth and underdeveloped roots.
You can make a simple calcium solution using eggshells. Boil 10 to 20 clean eggshells in water. Let this mixture sit overnight. Next, strain the shells from the water. Your eggshell water is ready. You have an easy-to-use liquid calcium source. Apply two cups of this water to your plants every fourteen days.
Research from Illinois Extension shows the benefits of this practice. Your garden will absorb the calcium directly through the roots from this enriched water. Eggshells contribute significant calcium to the soil with this method.
Keep in mind to use this water judiciously. Adding calcium does not automatically solve all plant problems. For example, it won’t fix blossom end rot caused by inconsistent watering, as noted by Mississippi State University Extension Service. Nevertheless, consistent use of eggshell water can positively impact your garden’s calcium levels over time.
Cinnamon As Natural Fungicide
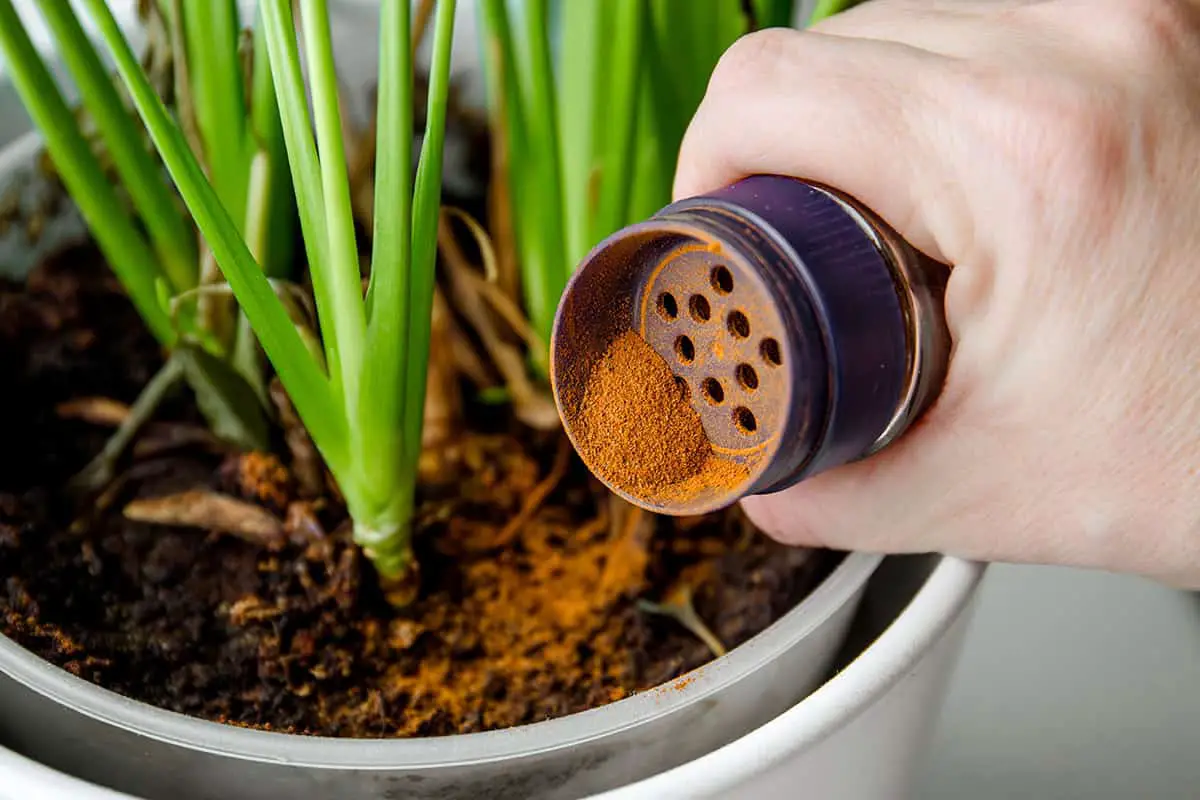
Cinnamon, a spice from tropical plants, serves well beyond culinary uses. It contains bioactive chemicals like cinnamaldehyde, which have anti-fungal properties. This makes cinnamon an effective, eco-friendly fungicide for your plants.
When you notice signs of fungal growth, such as mildew or rot, apply a dusting of cinnamon directly on the affected area. The spice’s natural compounds combat the fungi without harming your plant or the environment.
For soil-borne pathogens, mix ground cinnamon into the soil. This method helps prevent the germination of fungal spores. Importantly, cinnamon does not affect beneficial organisms in the soil, preserving the vital ecosystem.
To protect seedlings from common fungi, sprinkle cinnamon on the soil surface after planting. This acts as a protective barrier, reducing the likelihood of fungal diseases.
Regular use of cinnamon can bolster your plants’ defenses, providing a safe and natural alternative to synthetic fungicides.
DIY Moisture Meter With Chopsticks
Creating a DIY moisture meter is a simple way to check your plants’ water needs. You need only two common items: chopsticks and a pencil. By using this method, you determine soil moisture and water your plants accurately.
To start, sharpen one end of a chopstick with a pencil sharpener. You’ll want a pointy tip for easy soil insertion. Your moisture meter is now ready for testing. Ensure the chopstick is dry before using it to get a true read of the soil’s condition.
Push the sharp end into the soil, near your plant’s base, until it reaches the root level. Wait about ten minutes, then pull it out. If the chopstick emerges clean and dry, the soil lacks moisture. Your plant likely needs water. If it comes out with soil clinging to it, the soil still holds moisture. No watering is necessary just yet.
This method guides you in watering your plants just right. It reduces the risk of both overwatering and underwatering.
Banana Peel Leaf Shine
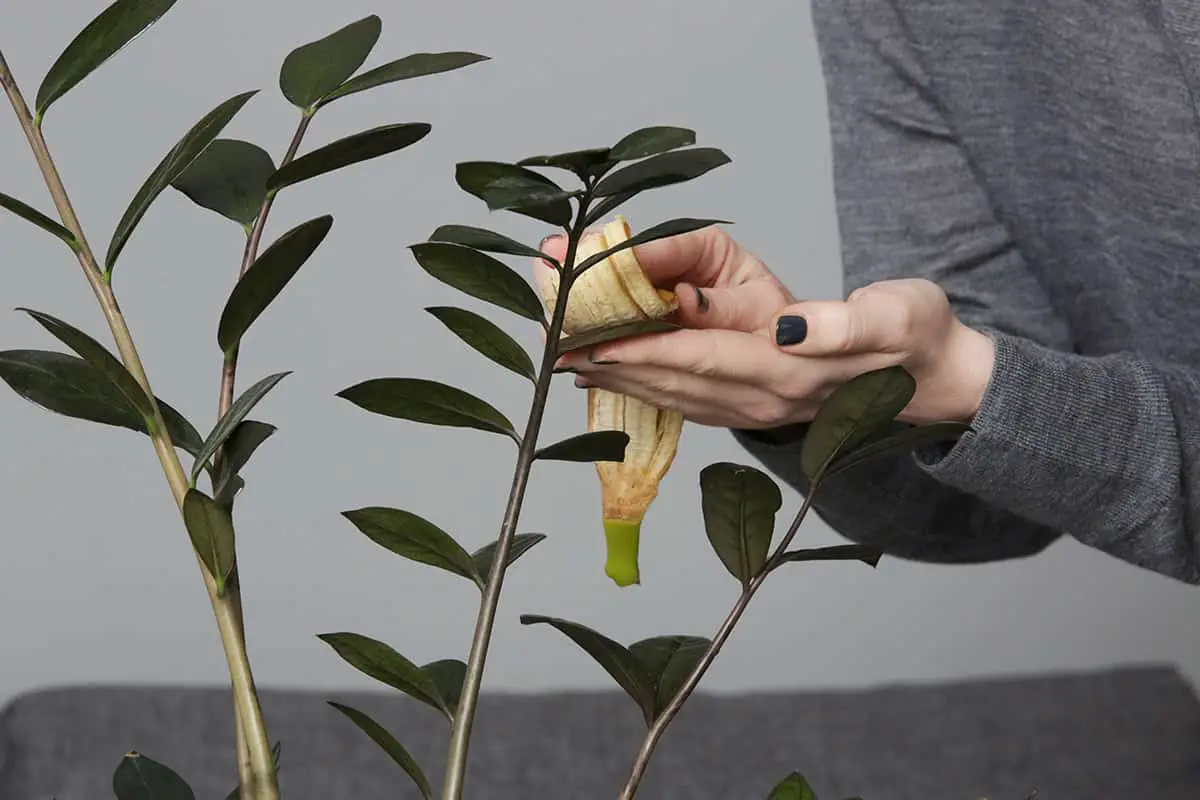
Experience the benefits of banana peels for your houseplants. Banana peel leaf shine is a straightforward and natural way to add luster to your plant leaves. Rich in potassium, banana peels make for an excellent, chemical-free choice for plant care.
Prepare the Banana Peel: Begin by removing any leftover strings from the peel. You can use the inner part of the peel directly on the leaves. Rub the soft inside layer of the banana peel gently against each leaf. The natural oils and nutrients work wonders in cleaning and adding shine.
The peels are packed with minerals that nourish your plants. As you buff the leaves, the residue left behind includes potassium and other trace elements beneficial for plant health.
By using banana peels, you’re recycling kitchen waste. This not only reduces trash but provides a cost-effective way to care for your indoor garden. Once used for shining, do not discard the peel. Cut it up and bury it in the soil for an extra nutrient kick.
Vinegar Mix For Acid-Loving Plants

Creating a vinegar mix can benefit your acid-loving plants. These plants thrive in acidic soil with a pH between 4 and 5.5. Common acid-lovers include magnolias, dogwoods, and conifers.
Begin by testing your soil’s pH. If it’s above 5.5, a vinegar mix can help. Mix one tablespoon of white vinegar with one gallon of water. Water your plants with this solution sparingly. Overuse can harm your plants’ roots and soil health.
Household vinegar has 5% acetic acid, but herbicidal vinegar is stronger. For garden use, choose a vinegar with high acetic acid content. This University of Maryland Extension guide sheds light on vinegar as a natural herbicide. Remember to use it carefully around your plants to avoid damage.
Mix the solution thoroughly before applying it to your acid-loving plants. You can adjust the mixture’s strength based on your soil test results and plant response. Observe your plants after treatment. Look for signs of improved health such as vibrant foliage and robust growth.
DIY Bottle Drip System
Creating your DIY Bottle Drip System is a straightforward method to ensure your plants receive consistent moisture. You start with an empty two-liter bottle. Make sure it’s clean to prevent any contamination.
First, drill small holes in the cap of the bottle. This allows water to seep out slowly. Attach the cap back onto the bottle after you’ve drilled the holes. Invert the bottle and bury it slightly next to your plant. Ensure the cap is close to the roots where they can absorb the water.
Fill the bottle with water, and gravity will do the rest. The water will drip slowly, providing a steady supply to your plants. This system works great for indoor plants and outdoor gardens alike.
By implementing this DIY Bottle Drip System, you save time and reduce water waste. Your plants get the right amount of hydration without the need for daily watering by hand. It’s especially useful during hot or dry periods.
To learn more about setting up and using a bottle drip system, including tips for optimal water flow, visit this guide on Two-Liter Drip Irrigation Bottle. This method is an effective, economical, and eco-friendly way to keep your garden thriving.
Potato Rooting Aid For Cuttings
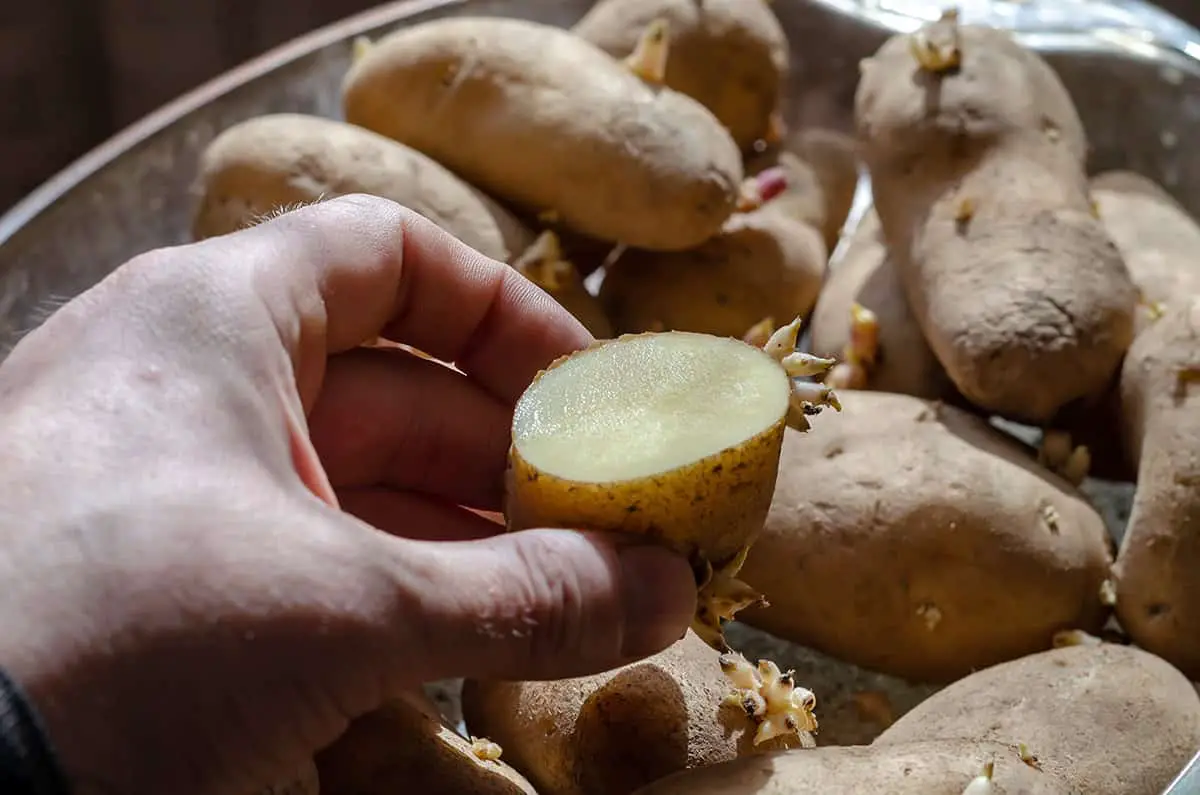
Potato slices can help root your plant cuttings. This method is simple and effective. You need a healthy potato and a plant cutting. Potatoes naturally hold moisture, which benefits the cutting.
First, choose a potato without sprouts or green areas. These parts contain a chemical called solanine and can be harmful to your plant. You can learn more about this in the Guide to Growing Potatoes in Your Home Garden.
Next, cut the potato in half and insert the cutting directly into it. The potato acts as a support and keeps the cutting moist. This reduces the need for frequent watering.
Place your potato and cutting in a warm, well-lit area. Avoid direct sunlight as this may dry out the potato. Instead, choose a spot with indirect light.
With time, the cutting should develop roots. Test for root formation by gently pulling on the cutting. If there’s resistance, roots have likely formed.
Milk As Gentle Fertilizer

Using milk as a gentle fertilizer provides a natural alternative for your plants. Milk contains essential nutrients like nitrogen, which is crucial for plant growth. When you apply milk to your garden, you offer a soft yet effective boost to soil fertility.
How to Use Milk:
- Mix spoiled milk with water in a 1:4 ratio.
- Pour the solution around the base of your plants.
This mild mixture will help your plants absorb calcium from the milk. Calcium is key in preventing blossom end rot in tomatoes and other fruiting plants.
Precautions:
- Avoid overuse, which can lead to an unpleasant odor and attract unwanted pests.
- Use it sparingly to complement your regular plant care routine.
Diaper Hydrogel For Soil Moisture
You can use diaper hydrogel to keep your plants hydrated. This gel absorbs water, then releases it slowly, ensuring consistent soil moisture. Here’s how to apply this hack:
First, extract the hydrogel from a clean disposable diaper. To do this, cut the diaper open and shake out the absorbent material inside. You’ll see it transforms into a gel when wet. This is what will help your soil retain water.
Next, mix this hydrogel into your potting soil. A good ratio is one tablespoon of hydrogel for every two cups of soil. Be sure to evenly distribute the gel. This will prevent water from pooling and provide moisture to your plants’ roots.
Remember, the diaper hydrogel swells with water. Water your plants as usual, but you may notice they require less frequent watering than before. The gel holds the water and slowly releases it over time, which is particularly useful during dry spells.
This simple hack can be a game-changer, especially if you often forget to water your plants. With diaper hydrogel in your soil, you give your plants a consistent water supply. Your plants will thrive even when your watering schedule isn’t perfect.
Plastic Forks As Pest Deterrent
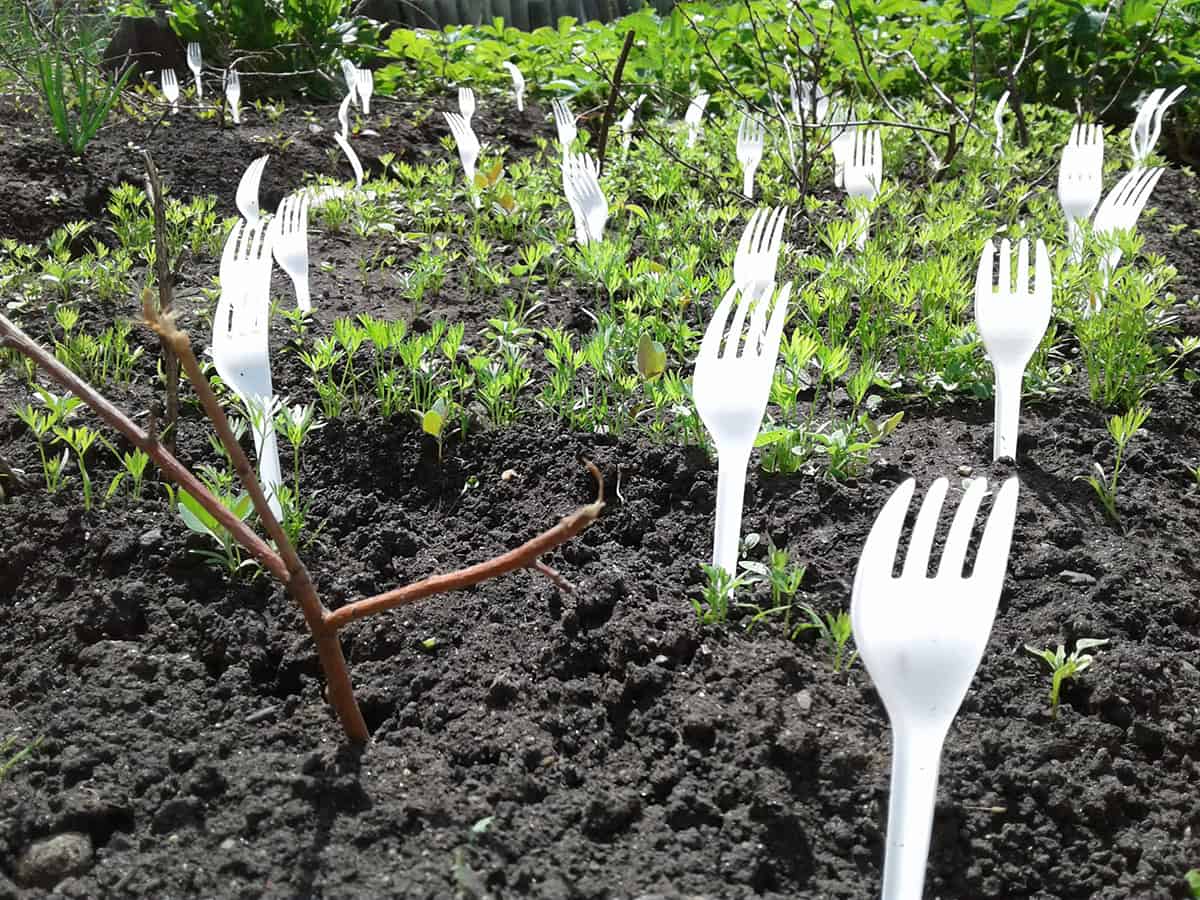
Gardening challenges often include dealing with pests. You can use plastic forks to keep pests away from your plants. Stick them in the soil around your seedlings. The prongs should face upwards.
Pests find the upward-pointing forks uncomfortable. They deter animals and insects from stepping over. Your garden stays unharmed.
The method is simple. It uses everyday household items. You avoid harsh chemicals. Your garden remains an eco-friendly place.
Soap Water Pest Repellent
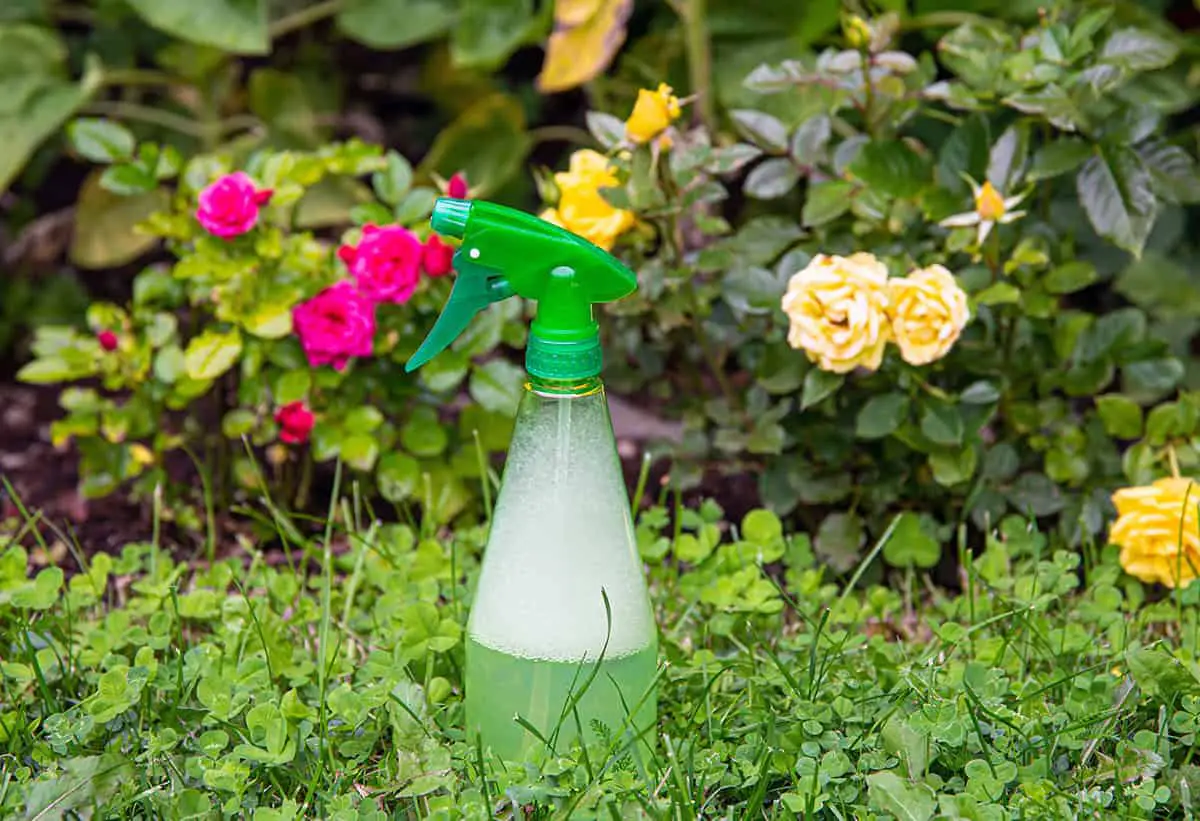
Soap water pest repellent helps you protect your plants from pests. Mixing soap with water creates a solution that can deter pests. You can opt for insecticidal soap or a homemade mixture.
To prepare the mixture, add a small amount of soap to water. It’s crucial to use soap free from additives and fragrances. A 2% solution is often effective. This means adding 2 teaspoons of soap to 1 pint of water.
Before applying, test the soap solution on a few leaves. If there’s no damage after a day or two, you can treat more of your plant. Spray the soap water on affected areas, usually the undersides of leaves where pests hide.
Remember, apply the soap water during cooler parts of the day. Sunlight can interact with the solution, potentially harming your plants. It’s best to spray in the early morning or late evening.
Aluminum Foil Light Reflector
If your indoor plants are not receiving enough sunlight, aluminum foil can be your ally. This simple item reflects light onto your plants. When you place it near your plants, it bounces light back. This is like giving your plants extra sun.
To do this effectively, wrap cardboard with foil, shiny side out. Then, place these reflectors opposite the natural light source. Position them at an angle. This ensures the best light redirection to your plant’s leaves.
Remember to adjust the foil reflectors as needed. This guarantees consistent light delivery all day. Your plants get the full benefit once you position the reflectors correctly.
Many gardeners use aluminum foil in this smart, cost-effective way. It maximizes the light available to plants, especially in darker rooms. This can lead to healthier plant growth. You ensure all sides of the plant get light without spending much money.
Yogurt For Moss Growth
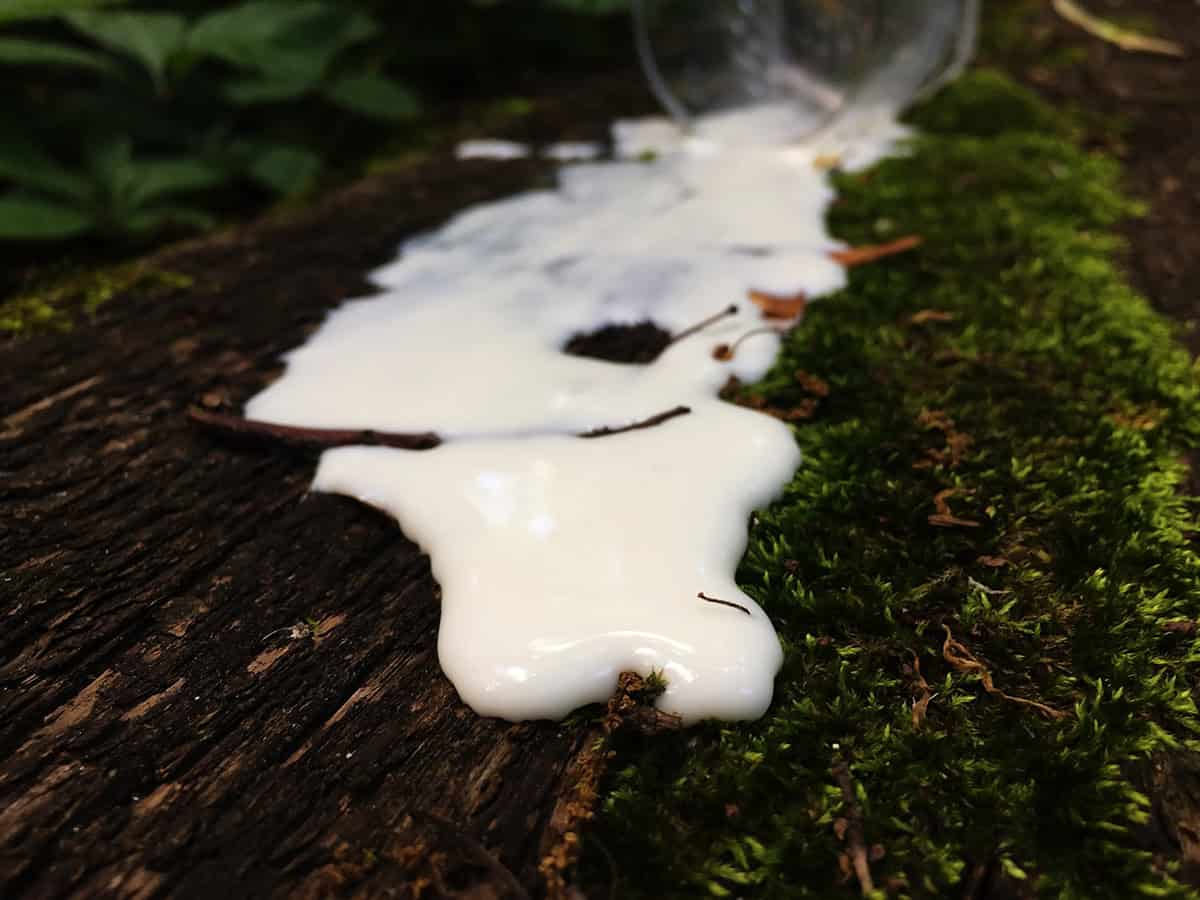
Moss adds a lush green accent to your garden. You can grow moss using yogurt. This method creates a suitable environment for moss spores to thrive. Prepare a mixture of moss and plain yogurt.
First, find living moss. Scrap it off a surface gently. You’ll need a handful. Combine the moss with two cups of plain yogurt in a blender. The consistency should be smooth and spreadable. Look for shady and moist areas in your garden. These locations are best for moss growth. Apply the mixture onto soil or a porous surface, like a rock or a log. The yogurt acts as an adhesive, helping the moss to attach and grow.
Ensure the area stays moist after application. Mist the moss regularly with water. Clear the area of leaves and debris to prevent mold. In a few weeks, you should see new moss beginning to grow.
Chamomile Tea For Healthy Seedlings
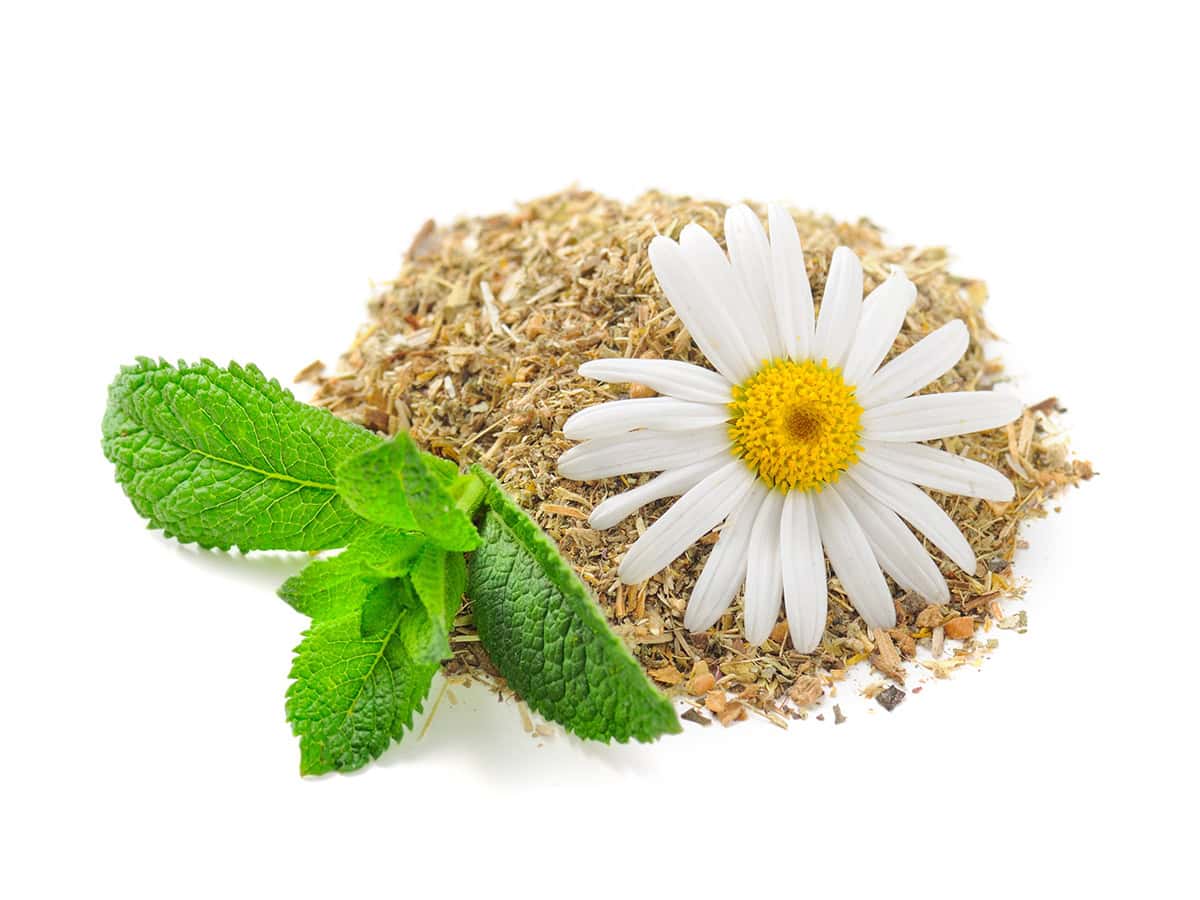
Chamomile tea is your secret to nurturing robust seedlings. With its natural antifungal properties, chamomile tea helps prevent damping-off disease, a common issue for young plants. By simply watering your seedlings with a chamomile tea solution, you’re setting them up for stronger growth.
Prepare the tea by steeping chamomile flowers in boiled water. Allow it to cool to room temperature. Then, use this tea to water your plants. Ensure it’s mild, as strong concentrations can be harmful. For the best results, apply once a week to maintain seedling health.
This method is especially effective because chamomile contains compounds that bolster the seedling’s defense system. By integrating chamomile tea into your plant care routine, you’re avoiding the use of harsh chemicals. Your seedlings will thrive, lessening the need for synthetic fungicides.
Lemongrass As Mosquito Repellent
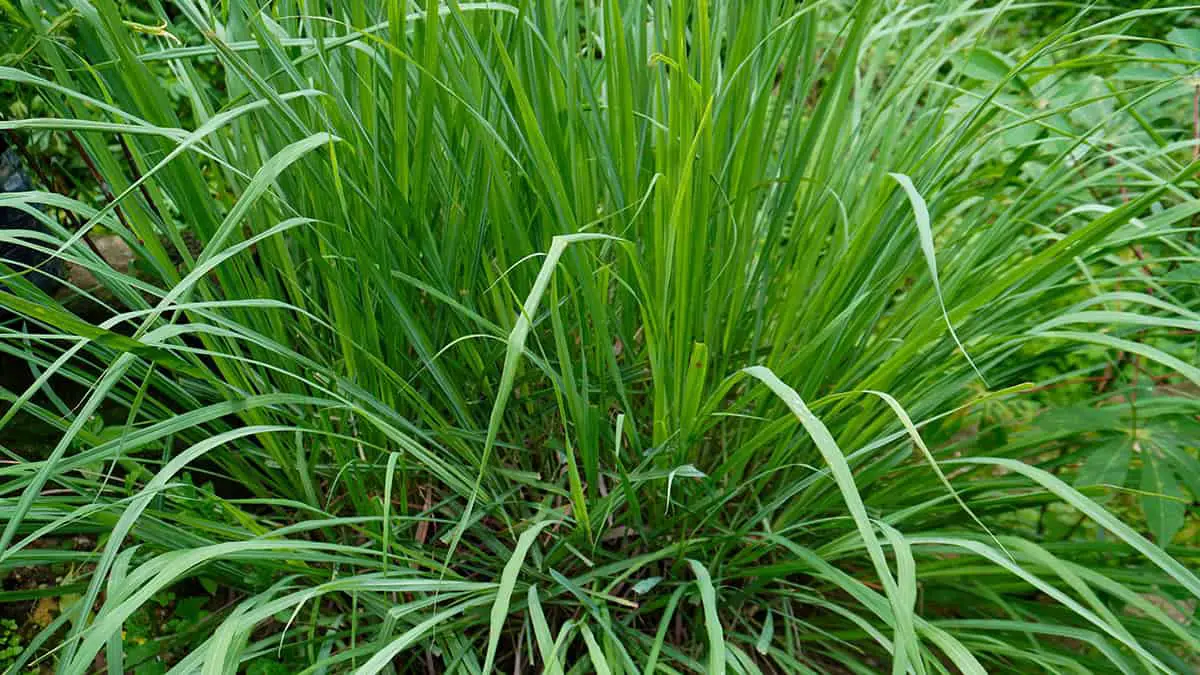
Lemongrass contains citronella oil, a natural mosquito repellent. It emits a scent that mosquitoes find unpleasant. Planting lemongrass in your garden can serve as a deterrent to these insects. The essential oils are key in repelling mosquitoes but remember, the mere presence of lemongrass plants may not suffice for significant protection.
For optimal results, you need to crush lemongrass leaves to release the oils. You can then rub the crushed leaves on your skin for a light, natural repellent. It’s important to note that lemongrass is most effective when the essential oils are applied directly.
Cultivating lemongrass is a low-maintenance task. It thrives in full sun and well-draining soil. Regular harvesting and trimming can encourage more oil production. Additionally, lemongrass serves a purpose beyond repelling mosquitoes; it’s also a flavorful herb in cooking.
Lastly, consider using lemongrass essential oil. When diluted properly, it’s safe to apply to the skin and can be part of your mosquito-repelling toolkit. Remember to reduce standing water around your home to lessen mosquito breeding as well. This advice is confirmed by research from the Mississippi State University Extension.
Sand For Improved Drainage
When you add sand to soil, it can enhance drainage. The sand’s larger particles create spaces that allow water to move freely. If your garden has heavy clay soil, improved drainage is key for healthier plant roots.
However, mixing sand with clay should be considered carefully. Sand could lead to a dense, concrete-like soil if not done correctly. For better results in clay soil, incorporate organic matter instead. Increasing sand may present challenges, such as compaction and reduced nutrient retention.
Performing a percolation test helps you understand your soil’s drainage needs. If the water drains too slowly, adding sand might be beneficial. Ensure you choose coarse sand; fine sand can compound drainage problems.
Matchsticks For Soil Sulfur
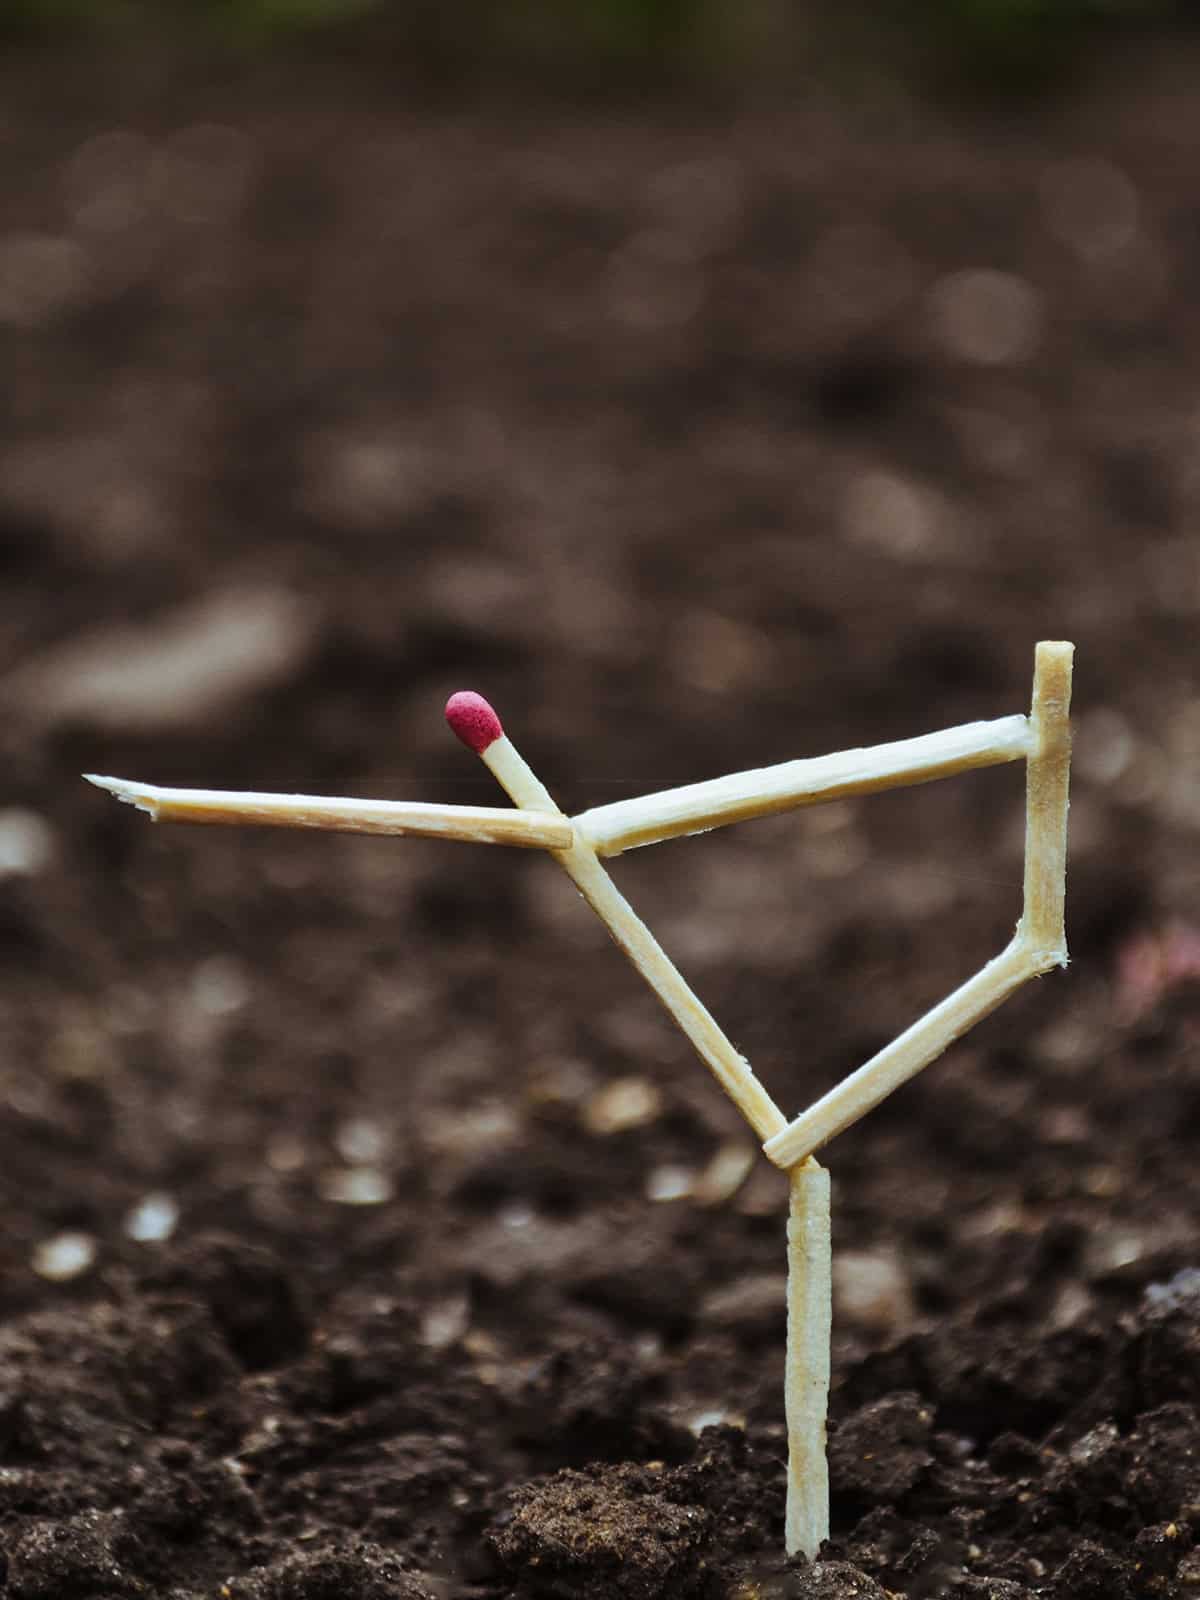
Matchsticks can enrich soil sulfur. Strike-anywhere matchsticks contain sulfur. When you plant them with your seeds, they decompose. The decaying process releases sulfur into the soil.
Many plants need sulfur. It’s crucial for growth and disease resistance. Some signs of a deficiency include yellowing leaves. If your garden shows these signs, matchsticks could help.
Remember this is a traditional tip. Always test your soil first. You’ll know exactly how much sulfur your garden needs. Testing avoids ill effects from too much sulfur.
A quick soil test determines sulfur need. For details on soil sampling, consult advice from sources like University of Florida IFAS. They provide a method for collecting soil samples. Proper testing ensures your plants get the right nutrients.
Garlic Water For Pest Control
Garlic water acts as a natural deterrent against pests in your garden. When you use this method, you make an eco-friendly choice for pest control. This solution targets a range of common garden pests without resorting to harsh chemicals. Transforming garlic into pest control requires simple steps.
First, crush several garlic cloves and let them soak in water for a few days. The soaking process releases compounds from the garlic into the water. Strain the mixture after soaking. Your garlic infusion is now ready for use.
Next, pour the solution into a spray bottle. Coat your plants lightly with garlic water. Make sure to spray both the tops and undersides of leaves where insects often hide. Apply this spray once a week for best results. In high pest conditions, use it more often.
Garlic’s pungent smell is key in repelling pests. It masks the scent of your plants, making them less attractive to insects. This water can protect against various pests, including aphids and beetles.
Regular use of garlic water can serve as part of your integrated pest management strategy. Remember to rotate your treatment options. Employ garlic water alongside cultural tips for growing onions and garlic to keep pests guessing.
Aquarium Water For Fertilizing
Aquarium water can benefit your houseplants. It’s rich in nutrients like nitrogen and phosphorus, essential for plant growth. When you change the water in your fish tank, consider using the old water to water your plants. This practice recycles water and provides a natural fertilizer.
Your fish contribute to this nutrient-rich water. Through their waste, they create a natural ecosystem. It’s like a liquid compost that can enhance the health of your plants. Aquarium water also contains beneficial bacteria that help break down organic matter into forms plants can absorb.
Before using aquarium water, make sure it’s free of chemicals harmful to your plants. If you treat your tank water, let it sit for a few days after the last addition of any substances. This waiting period lets harmful additives evaporate or break down.
Sponge In Pot Base For Moisture
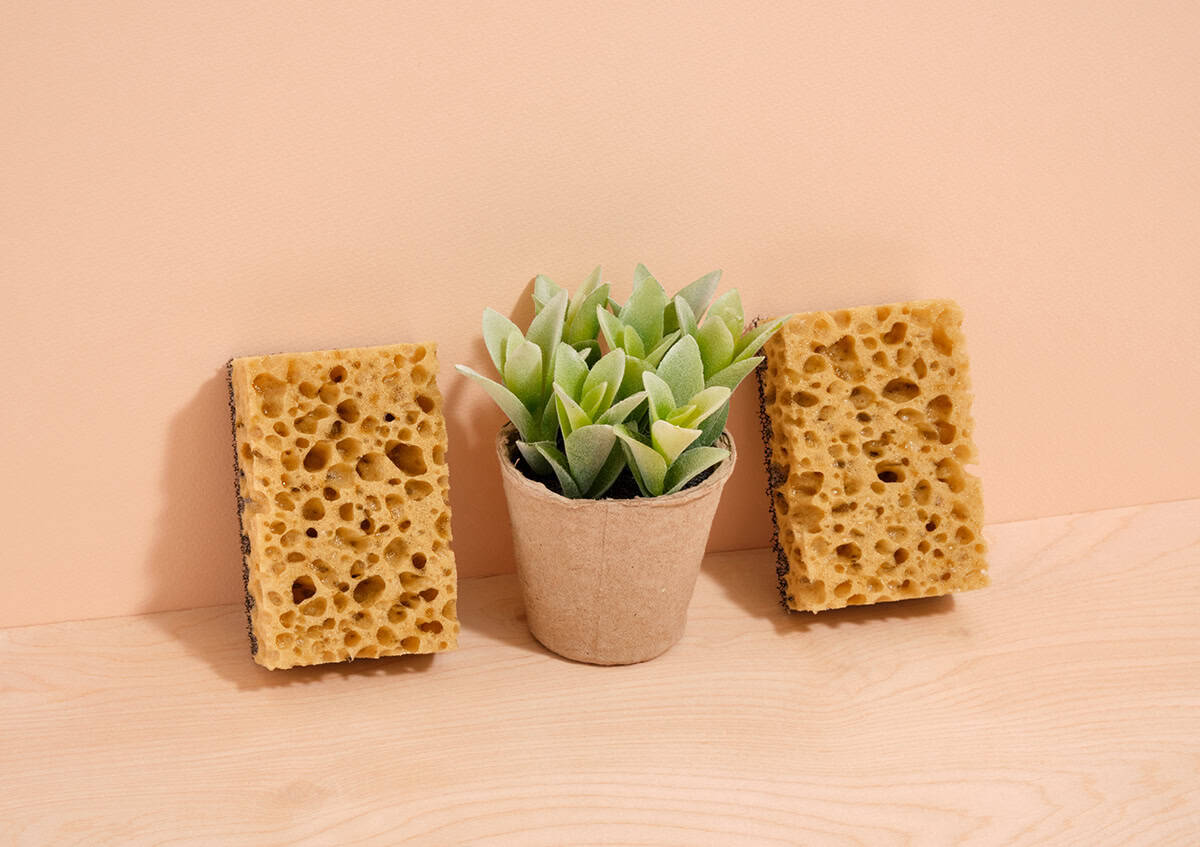
Place a sponge at the bottom of your pot to retain moisture. This simple trick helps keep your plants hydrated. Sponges absorb excess water, which roots can use as needed. It reduces the frequency of watering and safeguards against drought.
Choose a sponge that fits snugly at the pot’s base. Ensure it’s free from soap and chemicals. Natural or synthetic sponges work, but natural options are usually better for the environment. Trim the sponge to size if necessary.
When you water your plants, the sponge holds surplus moisture. Your plants can access this reserve slowly over time. It’s a smart way to provide a consistent water supply. It’s especially useful for thirsty plants or hot climates.
Plastic Bottle Mini-Greenhouse
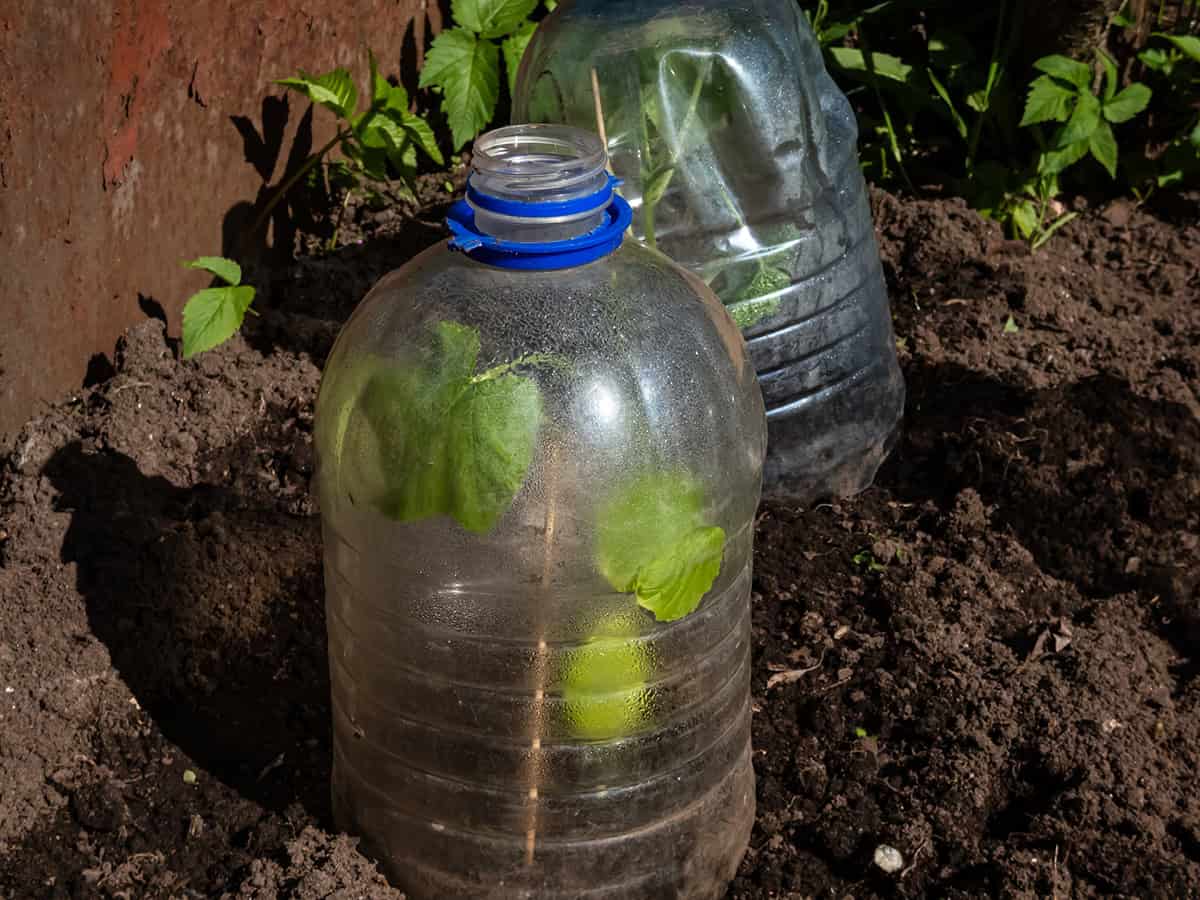
Creating a mini-greenhouse is simple. You need a plastic bottle, seedling mix, seeds, and water. Begin by cutting a plastic bottle in half. Your greenhouse base is the bottom part.
Fill the base with the seedling mix. Sow your seeds by following packet instructions. The seed depth is crucial for good germination. Moisture helps seeds sprout, so water them gently.
Cover the base with the top half of the bottle. You’ve made a plastic bottle mini-greenhouse. This structure retains humidity and warmth, aiding in seedling growth.
Place the mini-greenhouse where it gets indirect light. Light is essential for seedlings but avoid direct sun. It can cook your young plants inside the bottle.
When seedlings emerge, gradually increase ventilation. You do this by removing the bottle cap or the top for short periods. This step hardens off your plants before moving them outside.
Be mindful of watering needs. Your greenhouse traps moisture, but seedlings may still require water. Check soil moisture regularly and water as needed.
Clothes Hanger Herb Drying Racks
Transform your ordinary clothes hanger into a Clothes Hanger Herb Drying Rack with ease. You’ll find this method effective in drying herbs neatly and efficiently. Hang your herbs in a space-saving manner and enjoy the simplicity of this DIY solution.
Begin by selecting a wooden clothes hanger. The sturdy structure keeps your herbs secure during the drying process. Attach hooks or clips to the bottom bar of the hanger. They create secure spots for holding the herb bundles.
Gather your herbs into small bunches. Tie each bundle with twine near the base of the stems. Make sure the bundles are not too thick; this ensures proper airflow and even drying.
Hang the bundles upside down from the hooks or clips. Place the hanger in a warm, dry area with good ventilation. A dark spot is ideal to preserve the vibrant colors and essential oils of the herbs.
Your Clothes Hanger Herb Drying Rack is a simple yet inventive way to air-dry herbs. This set-up allows for sufficient airflow around each bunch, resulting in evenly dried herbs ready for use or storage.
Epsom Salt For Greener Leaves
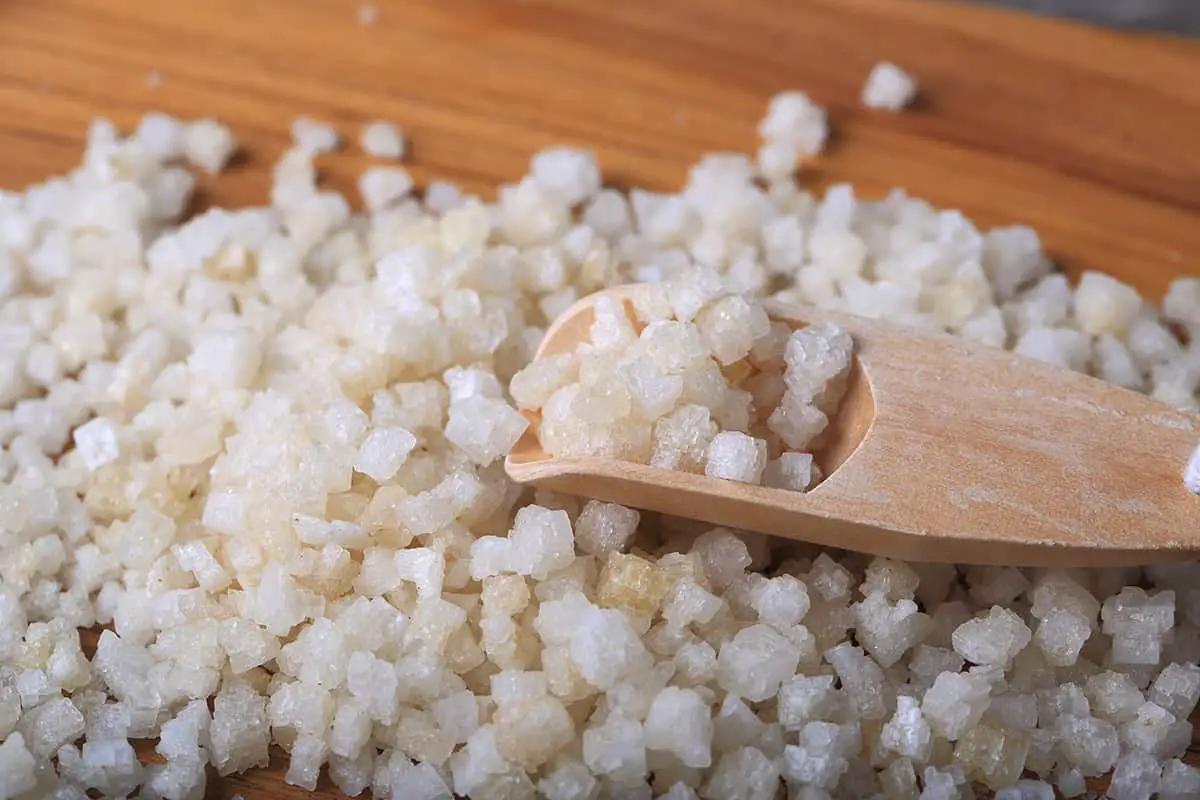
Epsom salt can enhance the green color of your plant leaves. Rich in magnesium, Epsom salt improves chlorophyll production, essential for photosynthesis. You want healthy plants, and magnesium is a key nutrient for plant growth. Sprinkle Epsom salt around your plants to encourage lush, green foliage.
Applying Epsom salt is straightforward. If your plant leaves appear lackluster, they may need that extra boost. Just mix one tablespoon of Epsom salt with a gallon of water. Use this solution to water your plants every few weeks. Remember, consistent use is important for results.
Excessive use can harm plants. Always test the soil before applying Epsom salt. The UF/IFAS Extension Highlands County warns against its overuse. Sandy soils, in particular, should be approached with caution.
Note, though, Epsom salt is not a cure-all. Some believe it can prevent problems like blossom end rot in tomatoes; however, this is incorrect. As the NDSU Agriculture explains, this can lead to more issues. Use Epsom salt only for its proven benefits. It’s not a substitute for proper plant care.
Tea Bags To Retain Moisture
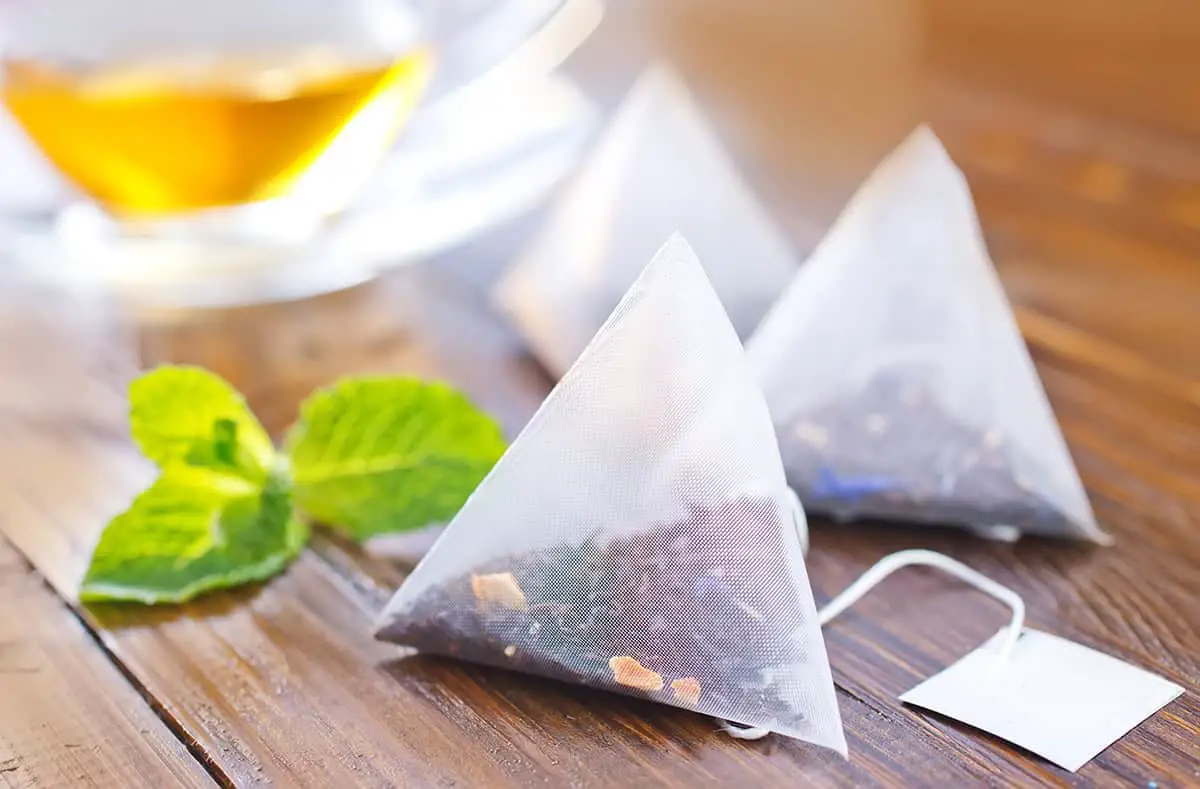
Using tea bags can improve your plant’s moisture retention. They act like mini sponges. Tea bags slowly release water, keeping soil damp. Your plants will need less frequent watering.
Place used tea bags near the bottom of your plant pot. First, hydrate them. They should be thoroughly wet. Then, cover them with a layer of soil before planting. This method is especially useful for indoor plants that thrive in moist environments.
Be cautious with the type of tea bags you use. Some may have inks or staples, which are harmful to plants. Opt for natural, biodegradable tea bags. These are safe and provide nutrients as they decompose.
Your plants will flourish with this simple hack. Tea bags not only conserve water but also repurpose waste. It’s an eco-friendly solution to maintain optimal soil moisture.
Shoe Organizer Vertical Garden
Transform a shoe organizer into a vertical garden to save space and grow plants efficiently. This method suits small areas, such as balconies or patios. You’ll need a hanging shoe organizer, potting soil, and your choice of plants.
First, ensure your shoe organizer is made of a sturdy material. Fabric organizers work best as they allow water drainage and let roots breathe. Hang your organizer on a wall or fence where it gets adequate sunlight.
Next, fill each pocket with potting soil. Choose a soil that retains moisture yet drains well to prevent waterlogging. Insert seeds or seedlings into the pockets. Remember to water them regularly, as vertical gardens tend to dry out faster.
Vegetable Cooking Water For Plants
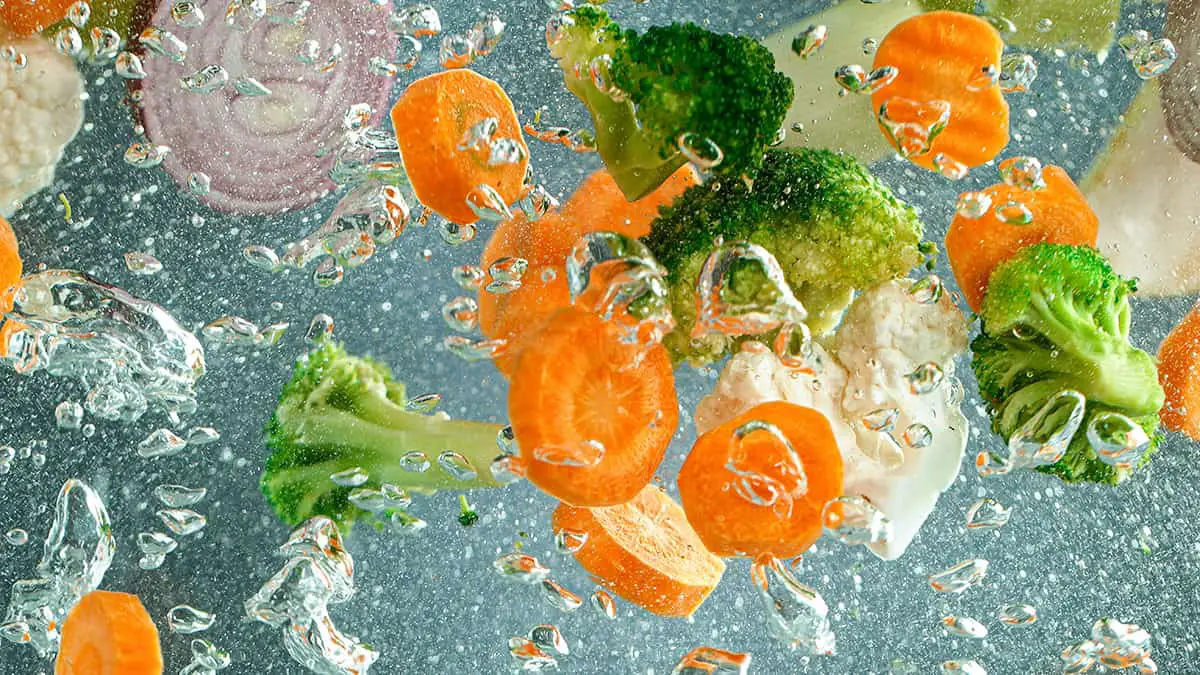
When you cook vegetables, nutrients leach into the water. Instead of pouring this water down the drain, use it to water your plants. This method recycles valuable vitamins and minerals directly into your garden. Make sure the water cools down before you apply it, as hot water could harm your plant roots.
Rich in nutrients, vegetable cooking water offers a natural fertilizer solution. Plants need nitrogen, potassium, and phosphorus which are commonly found in this water. It’s an easy hack to boost plant growth without any additional cost.
Remember to avoid using water from vegetables cooked with salt or oil. These additives can damage the soil structure and plant health. Stick to plain water from boiled or steamed vegetables for the best results.
Pantyhose For Plant Support
Pantyhose can be your garden’s unexpected ally. They offer a versatile approach to supporting plants. When your plants grow tall, they may start to droop or even break under their own weight. The material is soft yet durable, perfect for tying up tomato branches or supporting the heavy heads of blooming flowers.
You can use pantyhose to stabilize saplings too. By cutting them into strips, you create gentle ties. These won’t damage the tender stems, unlike wire or plastic options. Wrap the strips loosely around both the stake and the plant stem. This method allows room for growth, without strangling the plant.
For your vining plants, pantyhose serves as an excellent makeshift trellis. Attach the pantyhose legs to your trellis or fence and guide the vines to climb them. This soft support can prevent damage during high winds or heavy fruiting. As described by the University of Maryland Extension, anchoring your plants with the right supports, like pantyhose, enhances their health and productivity.
Ice Cubes For Gradual Watering
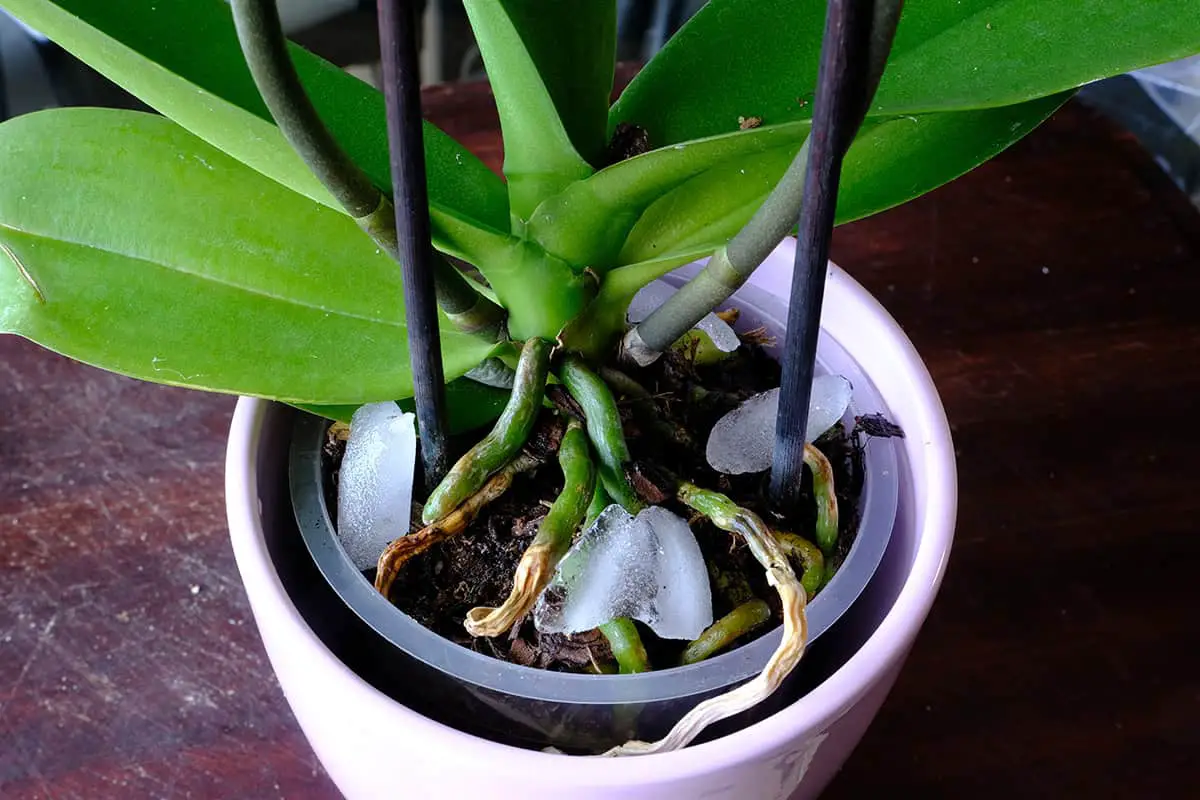
Ice cubes can be a useful tool for watering your plants. They provide a slow-release watering method that ensures the soil absorbs moisture effectively. This technique is especially handy for plants that thrive with consistent, measured hydration. By placing ice cubes on top of the potting media, you allow water to seep in gradually as they melt.
Using ice cubes for watering orchids has gained popularity. Orchids grown in bark media respond well to this method. You can add three ice cubes once a week to your Phalaenopsis orchid. It’s crucial to avoid direct contact with the leaves to prevent damage. This gradual watering approach reduces the risk of overwatering.
When you use ice cubes, factor in the light and temperature conditions. Ensure that your plant is in a suitable spot where temperature fluctuations from the melting ice won’t cause stress. This method works best for plants with similar water needs.
LED Lights For Extra Plant Lighting
When you need to brighten up your indoor garden, LED grow lights are a smart choice. LEDs deliver light that supports plant growth, without using excess energy. Your houseplants will thrive under these lights, especially during the darker months.
For optimal results, place LED lights close to your plants. If your greens crave full sunlight, you may want to buy high-intensity LEDs. A cozy setup with these lights can quickly enhance your green thumb.
You should align your lighting with the plants’ needs. Those who prefer shade won’t need as much light intensity. LEDs allow you to control brightness, making it easier to cater to different plants.