Garlic propagation might sound technical, but it’s actually easy enough for any gardener to try. With just a little effort, you can grow an endless supply. Read on to learn how to propagate garlic successfully.
Table of Contents
Best Time to Propagate Garlic
Choosing when to plant garlic determines how well your crop grows. Both the season you choose and your local climate affect the harvest and bulb quality.
Fall vs. Spring Planting
Most gardeners plant garlic in the fall. You want to put cloves in the ground about 4-6 weeks before your first hard frost. This gives the cloves time to grow roots before winter but not enough time to grow shoots above ground that may get damaged. Fall planting leads to larger bulbs and a better yield.
Spring planting is possible, but it usually results in smaller bulbs. When you plant in spring, do it as early as the soil can be worked. The shorter growing period until harvest limits how big the bulbs get. Fall planting remains the preferred choice if your winters are not too severe.
Timing Based on Climate
Mild winters benefit garlic growth most. You should plant in autumn if you live in a region with cold but not extreme winters. In areas with harsh winters, plant garlic after the worst heat of summer but well before deep frost. Areas with mild winters and hot summers let you plant even later into autumn since the soil stays workable longer.
For those in the warmest climates, late autumn to early winter planting works best. If you live where the ground never freezes, you may plant as late as December or January. Extreme cold can threaten garlic if planted too early, so wait until temperatures cool but before heavy frost. Optimal timing depends on your local weather pattern and soil conditions.
Propagation From Cloves
When you want to grow garlic, use individual cloves taken from a healthy bulb. Each clove develops into a new garlic plant with its own bulb made of several cloves.
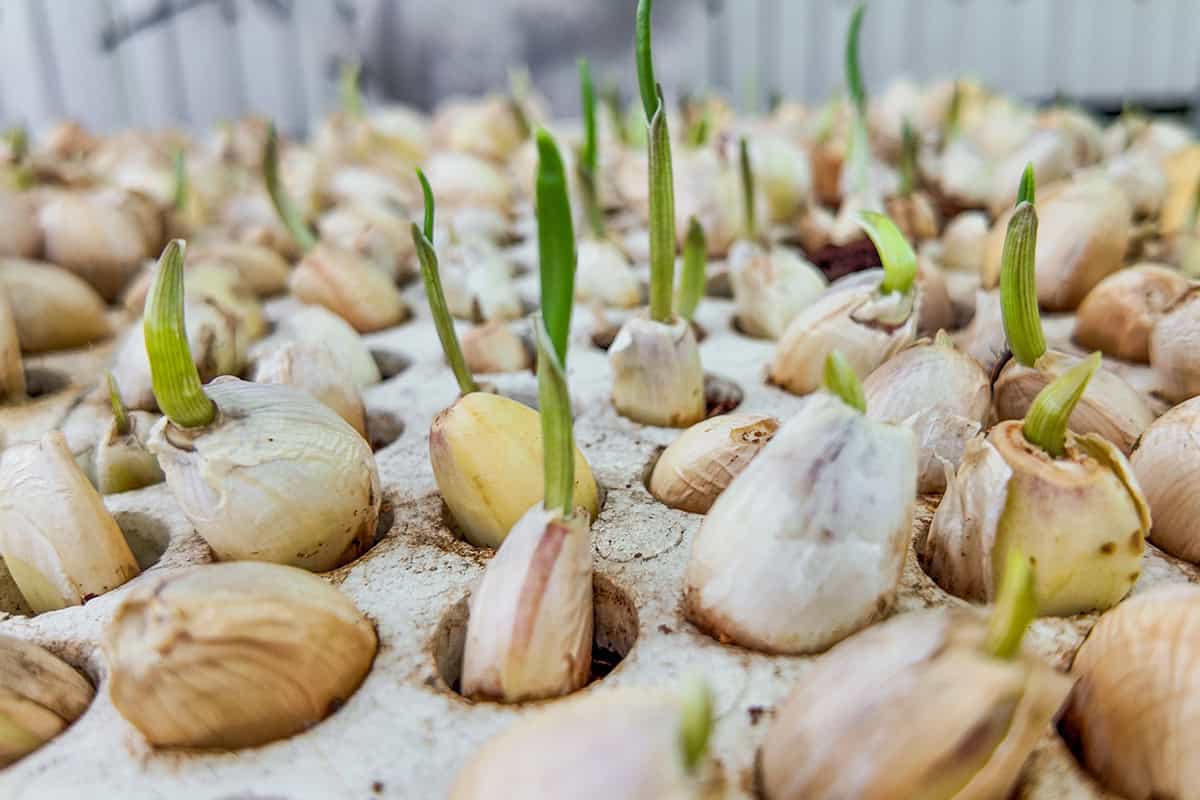
Before planting, separate the cloves but leave the papery skin on each one. Make sure to only do this right before planting to prevent them from drying out.
Place each clove root side down and pointy end up. The root side usually looks flat or has a brown spot. If you plant them upside down, garlic will struggle to grow properly.
Give each clove enough space. Six to eight inches between cloves helps each plant form a large healthy bulb. Rows should have 10 to 14 inches of spacing between them.
Firm the soil over each clove after planting. Garlic grows best in loose, well-drained soil. Cover the planted area with a layer of straw or mulch to help protect the cloves and conserve moisture.
You do not need to use seeds for garlic propagation, as garlic rarely produces viable seeds. Using cloves is simple and reliable for both new and experienced gardeners.
Propagation From Bulbils
You can propagate garlic using bulbils. These small, aerial cloves grow at the top of hardneck garlic scapes. Bulbils look like tiny garlic cloves and usually appear in late spring or early summer.
Planting bulbils lets you avoid some soil-borne diseases. Each bulbil carries the genetics of its parent garlic. This method produces plants identical to the original.
After collecting bulbils, dry them for a week. You can sow them in well-prepared soil in the fall or very early spring. Space them about one inch apart and cover them lightly with soil.
Growth from bulbils will take longer than from cloves. Most bulbils form small bulbs in their first year. These young bulbs, sometimes called rounds, can be dug up and replanted for normal-sized garlic in the second or third year.
Patience is necessary when you propagate garlic from bulbils. Although this method demands more time, it can be useful if you want to multiply a rare or disease-free variety. Starting from bulbils also increases your garlic planting stock over time.
Propagation From Green Garlic or Sprouted Cloves

You can grow garlic from sprouted store-bought bulbs or young green shoots. Both methods use common kitchen garlic and work indoors or outdoors.
Using Store-Bought Sprouted Garlic
Choose a bulb that has firm cloves and green shoots coming out. Avoid soft or moldy garlic. Grocery store garlic may not be ideal since some bulbs get treated to prevent sprouting, but if yours has started to grow, you can use it.
Break apart the cloves just before planting. Look for a small root base at the end of each clove. Leave the papery skin on each clove and plant them with the sprout or pointed tip facing up. Give each one at least four to six inches of space so roots do not become crowded.
Plant only healthy sprouted cloves. Old bulbs or cloves with signs of rot will fail to grow well. Sprouted garlic can provide you with mild-flavored green shoots or mature bulbs if left to grow through the season.
Regrowing in Soil or Water
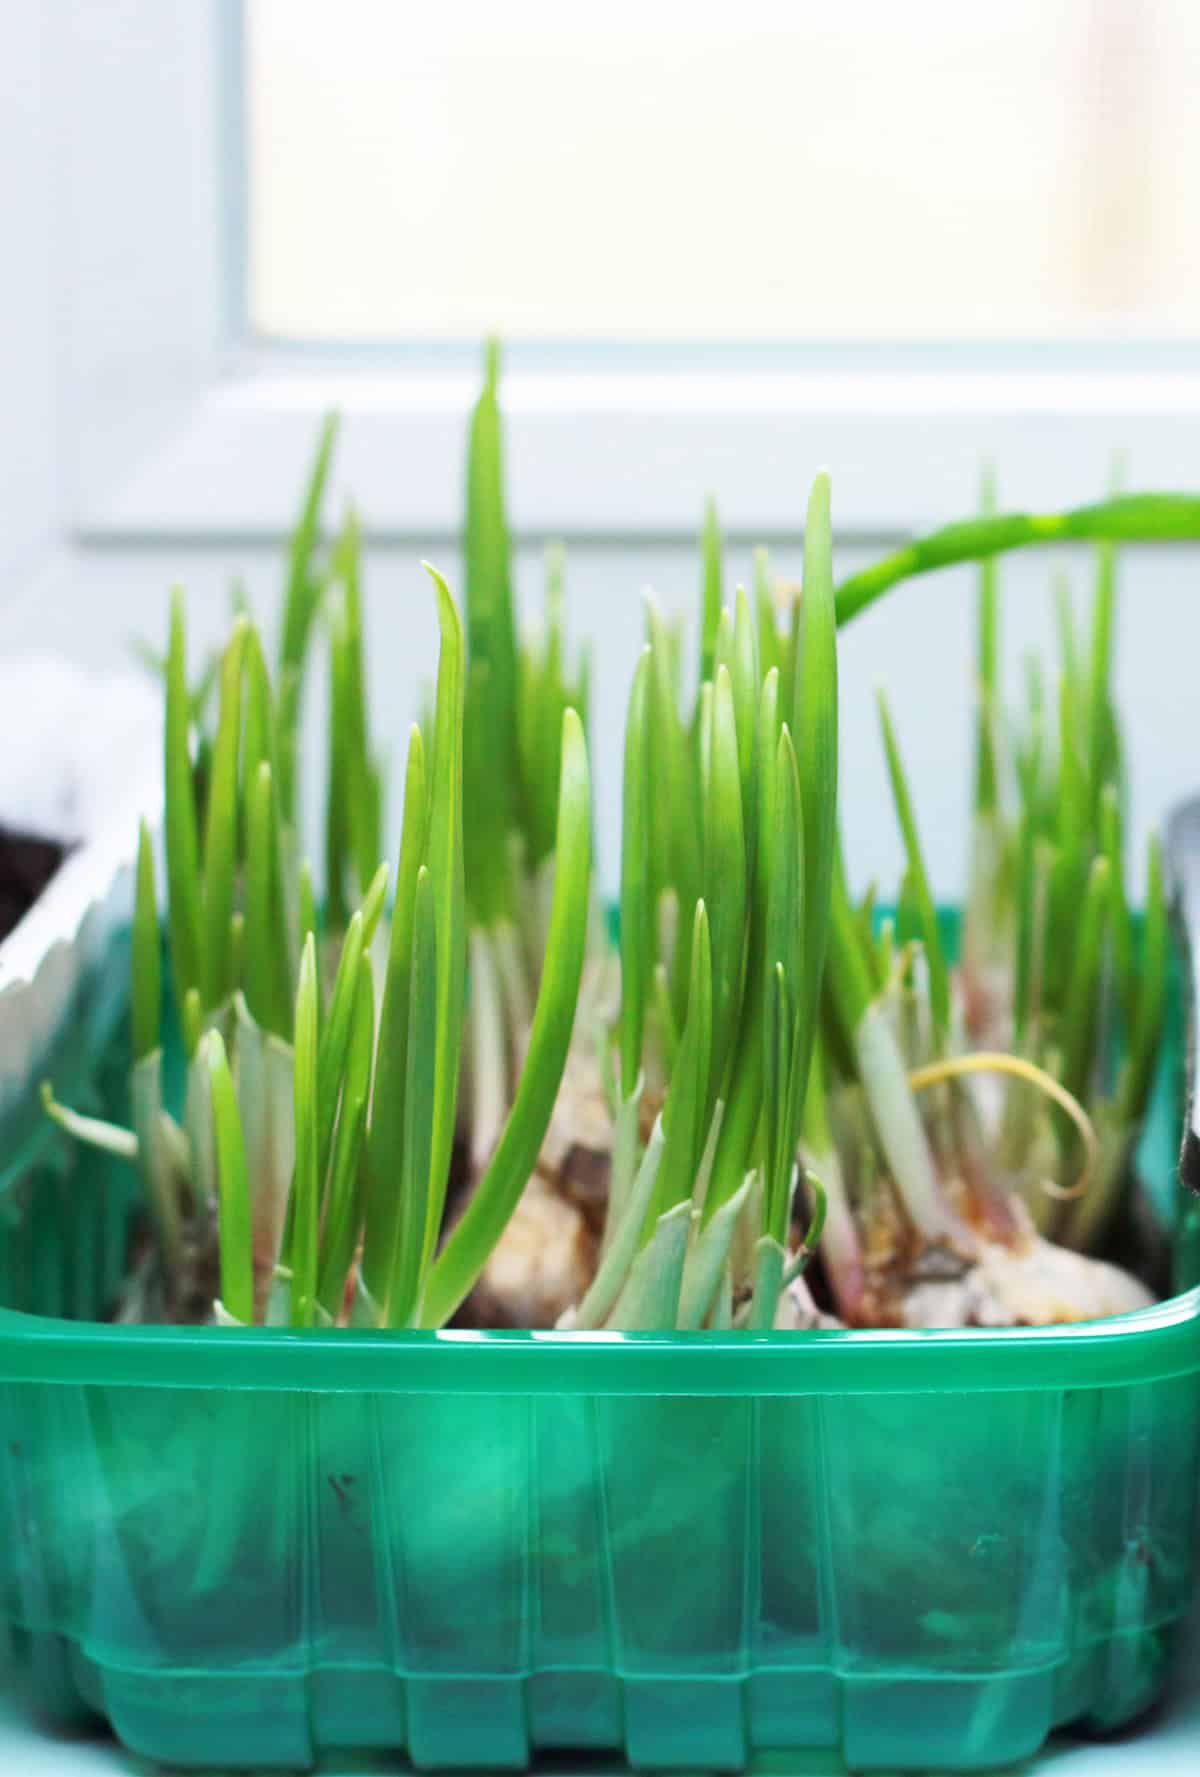
You can regrow sprouted garlic in either soil or water. With soil, choose a loose potting mix and a container or bed with drainage. Plant each clove with the root side down and cover with about two inches of soil. Place the container where it will get plenty of sunlight.
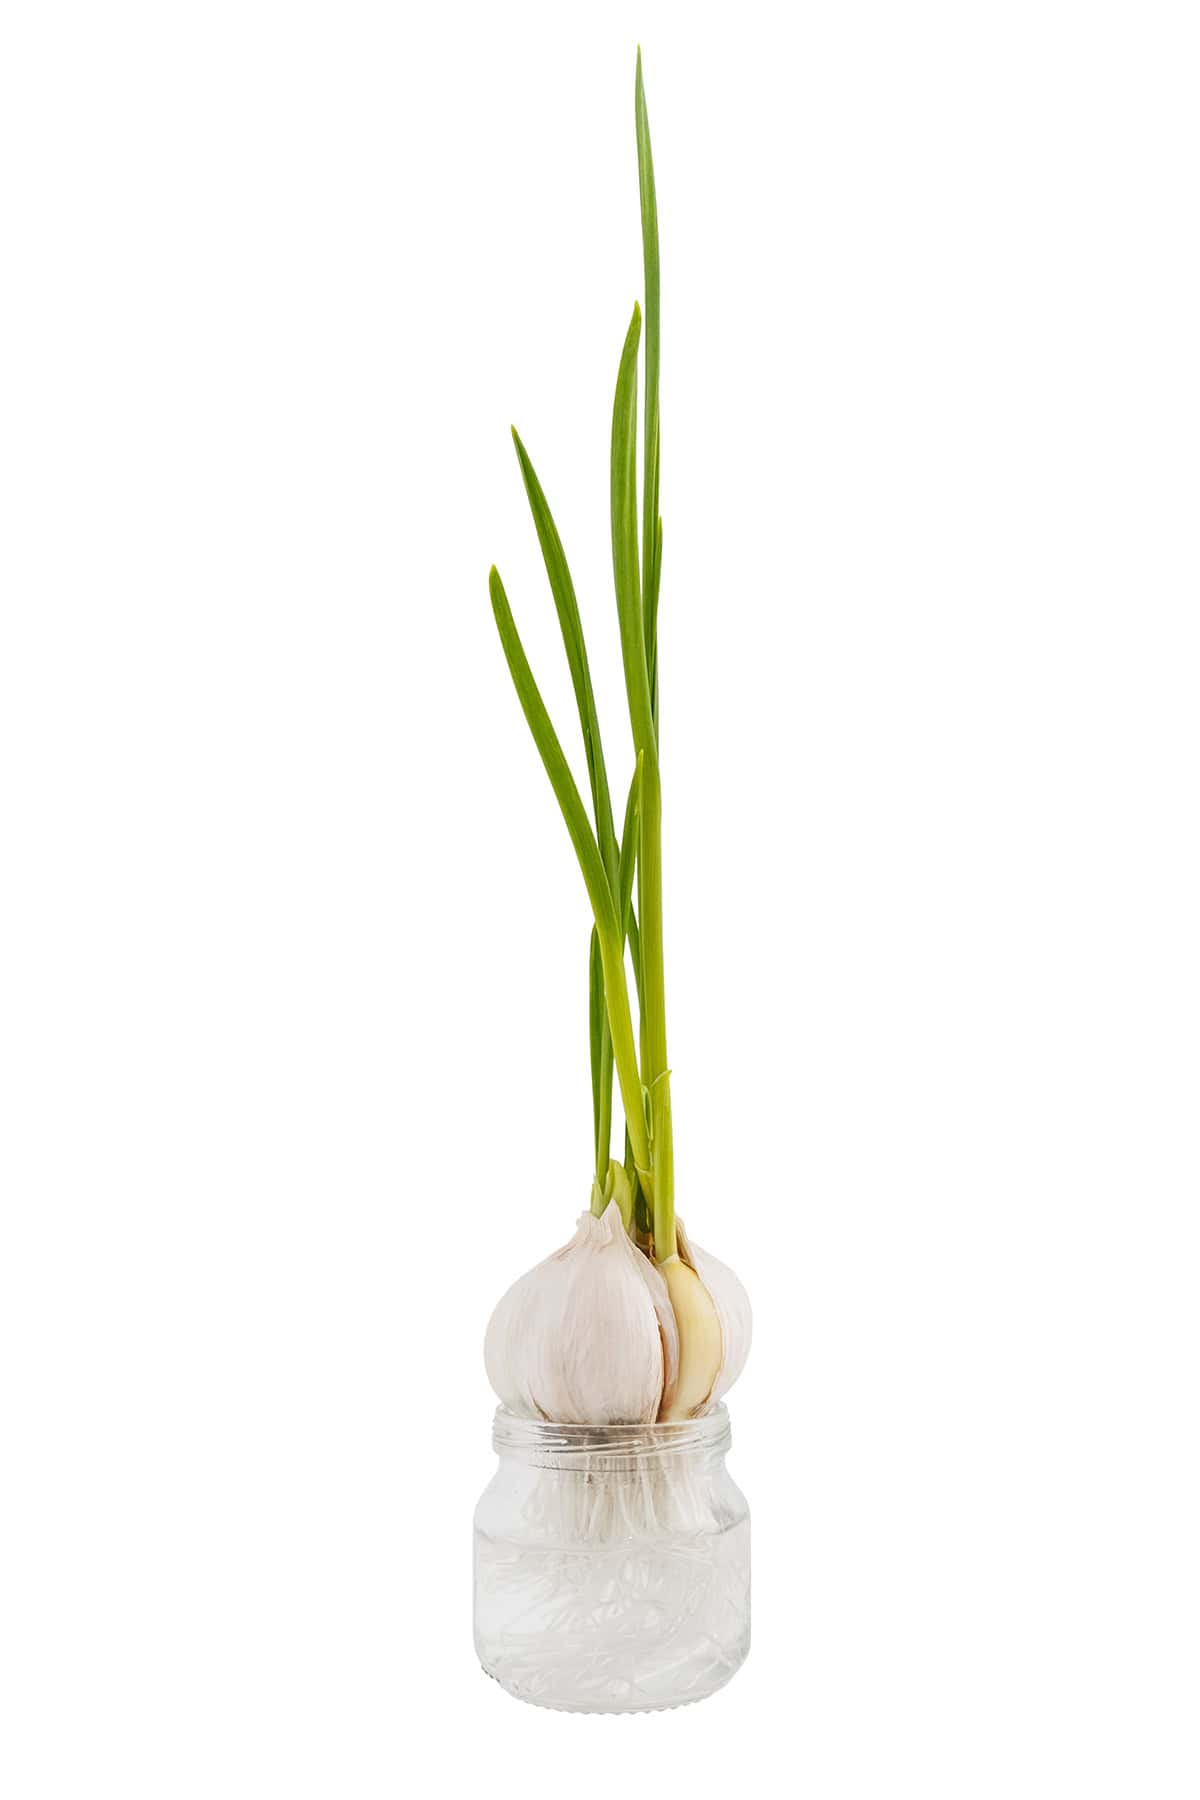
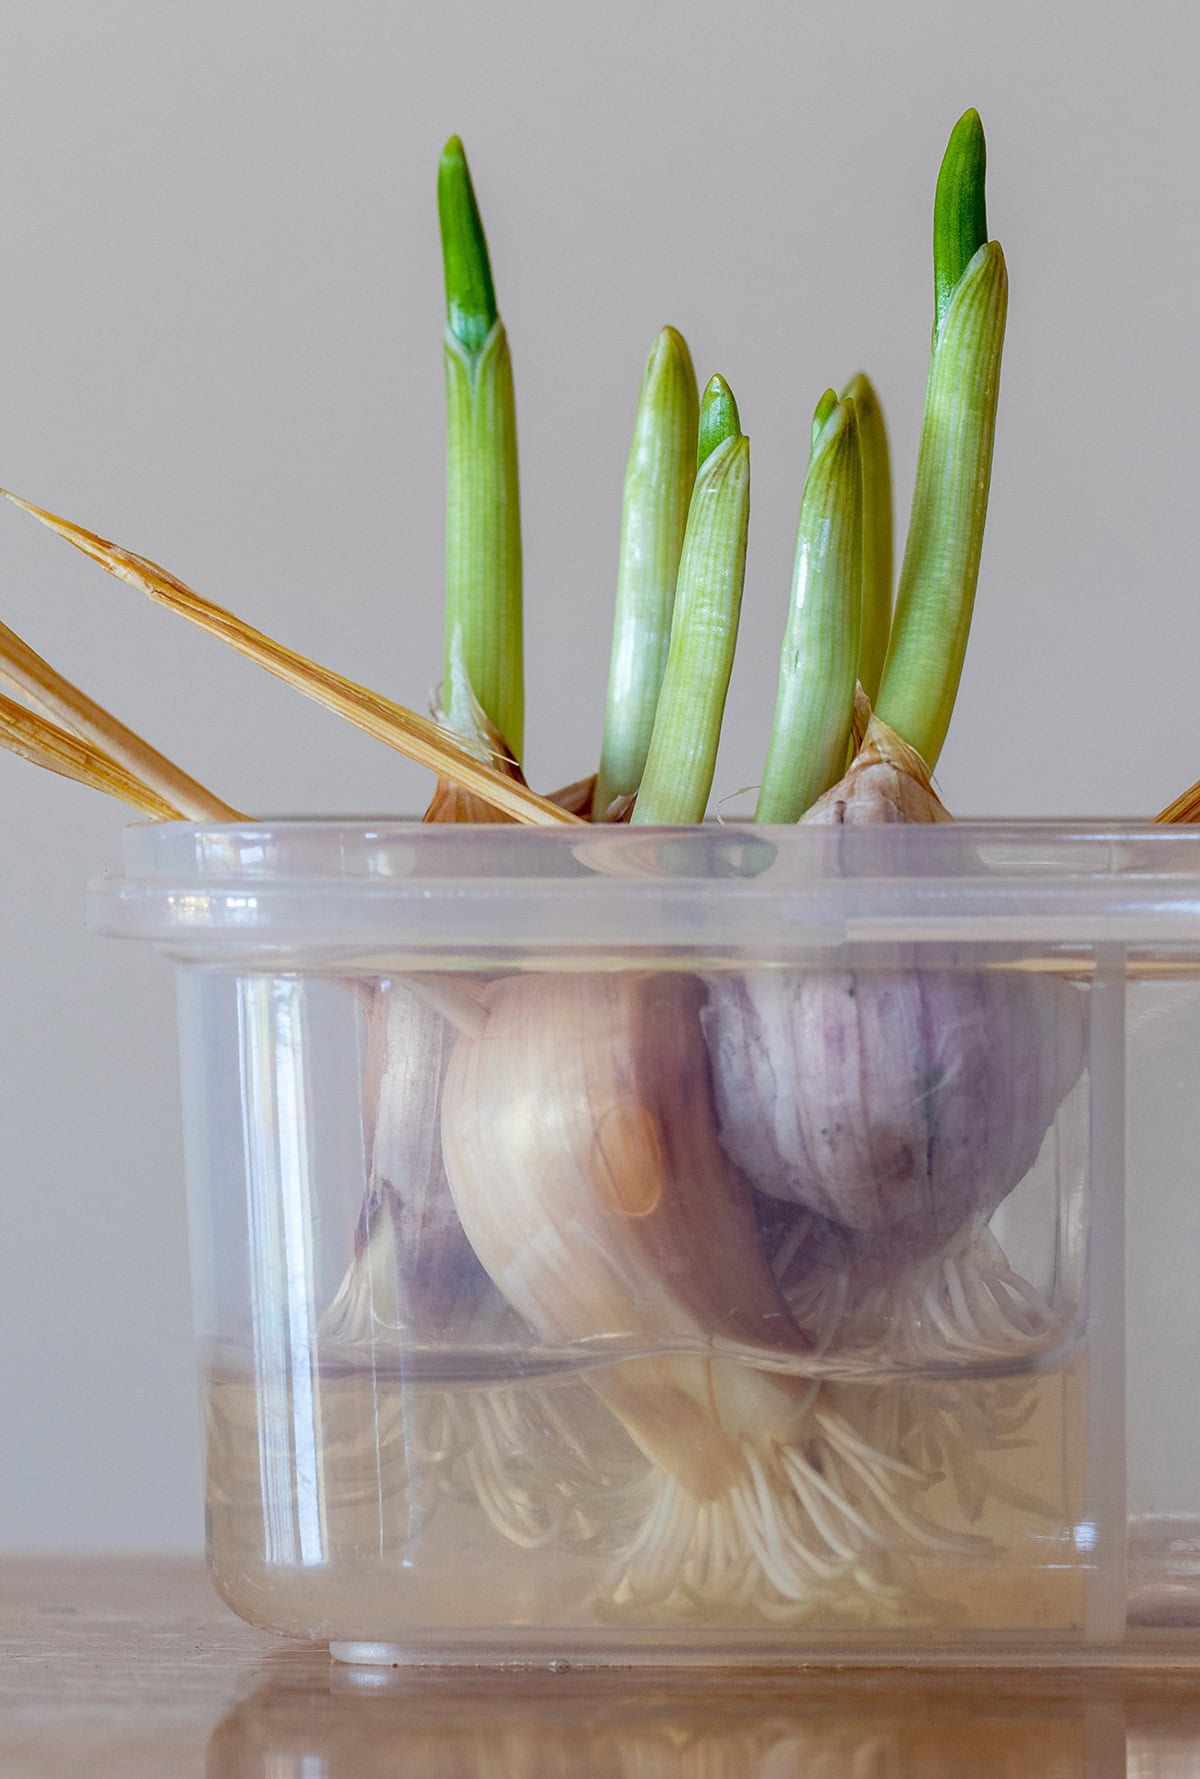
For the water method, set the base of a sprouted garlic clove in a small glass or jar. Fill with enough water to cover the roots, but do not cover the top of the clove. Put the jar near a window with bright light. Change the water every few days to prevent mold. New roots and green shoots will grow quickly. Once roots are strong and shoots reach an inch or two, move the clove into soil if you want a bigger harvest.
Tips for Successful Garlic Propagation
Proper garlic propagation depends on healthy soil, correct moisture, and disease control. Managing harvest and curing methods also ensures better results and longer storage success.
Soil, Sunlight, and Water Needs
Garlic prefers loose, well-drained soil with high organic matter. Sandy loam is ideal because it holds nutrients while draining excess water. Compact or heavy soils can stunt bulb growth and cause rot.
Sunlight matters when growing garlic. Place your garlic where it will receive full sun for at least six hours each day. Lack of sun can slow leaf and bulb development.
Keep soil evenly moist, especially during spring growth. Avoid overwatering since garlic does not tolerate soggy soil. Moisture levels should drop off about two weeks before harvest to help bulbs mature.
Avoiding Disease and Rot
You can reduce garlic disease risk by planting only healthy, disease-free cloves. Do not plant cloves from a previously diseased crop or damaged bulbs. Rotate growing sites each year to prevent soilborne diseases.
Proper soil drainage is essential. Wet ground increases the risk of fungal infections and rot. Mulch may help conserve moisture, but use it sparingly in wet climates.
Sanitize tools before planting and after working in infected areas. Removing debris and old plant material can keep disease pressure low. Avoid overhead watering, which can spread fungal spores on leaves and cloves.
When to Harvest and Cure
Harvest garlic when most lower leaves turn brown, but upper leaves remain green. Waiting too long after this stage can cause bulbs to split and lose storability.
Loosen soil gently before pulling bulbs to prevent bruising. Handle each bulb carefully to avoid damage. Shake off soil but do not wash the bulbs.
Cure garlic by placing bulbs in a dry, well-ventilated area out of direct sunlight. Leave them to cure for two to three weeks. Curing strengthens skins and improves storage life. Avoid stacking bulbs, so air reaches all sides.