You’ve just finished repotting your favorite houseplants and now you’re left with a pile of old, used potting soil. It seems wasteful to throw it away, but you’re unsure how to reuse it effectively. This scenario is common for many gardeners. Thankfully, there are practical ways to rejuvenate that tired soil and make it beneficial for your plants once again. Here’s how you can breathe new life into your old potting soil.
Table of Contents
The Importance of Potting Soil Revitalization
Revitalizing your potting soil is vital for sustainable gardening. It conserves resources and reduces waste. Over time, used soil loses its nutrients and structure. This affects plant health.
By refreshing potting soil, you ensure plants receive essential nutrients. Nutrient-rich soil is the backbone of healthy plant growth. Revitalizing soil also improves its texture and aeration. Plant roots need air and water to thrive.
You can recycle last year’s potting soil. This is an eco-friendly practice. It saves money and limits the demand for new resources. Healthy soil supports a stronger ecosystem in your garden.
Adding new life to your potting soil isn’t just practical; it’s a step towards responsible gardening. You help create a regenerative cycle that benefits both plants and the environment.
Identifying Soil Depletion Signs
When reusing potting soil, you must check for signs of depletion. Soil that has lost its vitality may impact plant growth negatively. Here is how you can spot tired or spent potting media.
First, observe the soil’s color and texture. Healthy potting soil should be dark and crumbly. If it appears pale and dense, the soil may be exhausted. Such soil can be weaker in supporting your plants.
Next, consider the soil’s moisture retention. Potting soil should hold water well. If water drains too quickly or the soil repels water, making it hard to wet, this can indicate hydrophobia, a trait of old or poor-quality soil.
Another important aspect is the presence of old root systems. If many roots are overcrowded or if remnants of last year’s plants are still in the mix, it can impede new root growth. An abundance of roots also suggests it is time to replenish the soil.
Lastly, a reduction in plant health from a previous season could mean the soil lacks nutrients. If your plants have struggled despite proper care, consider the need for soil revitalization.
Preparation for Soil Revitalization
Revitalizing your old potting soil prepares it for sustaining new plant growth. This process involves collecting, sorting, debris removal, and testing for pH and fertility.
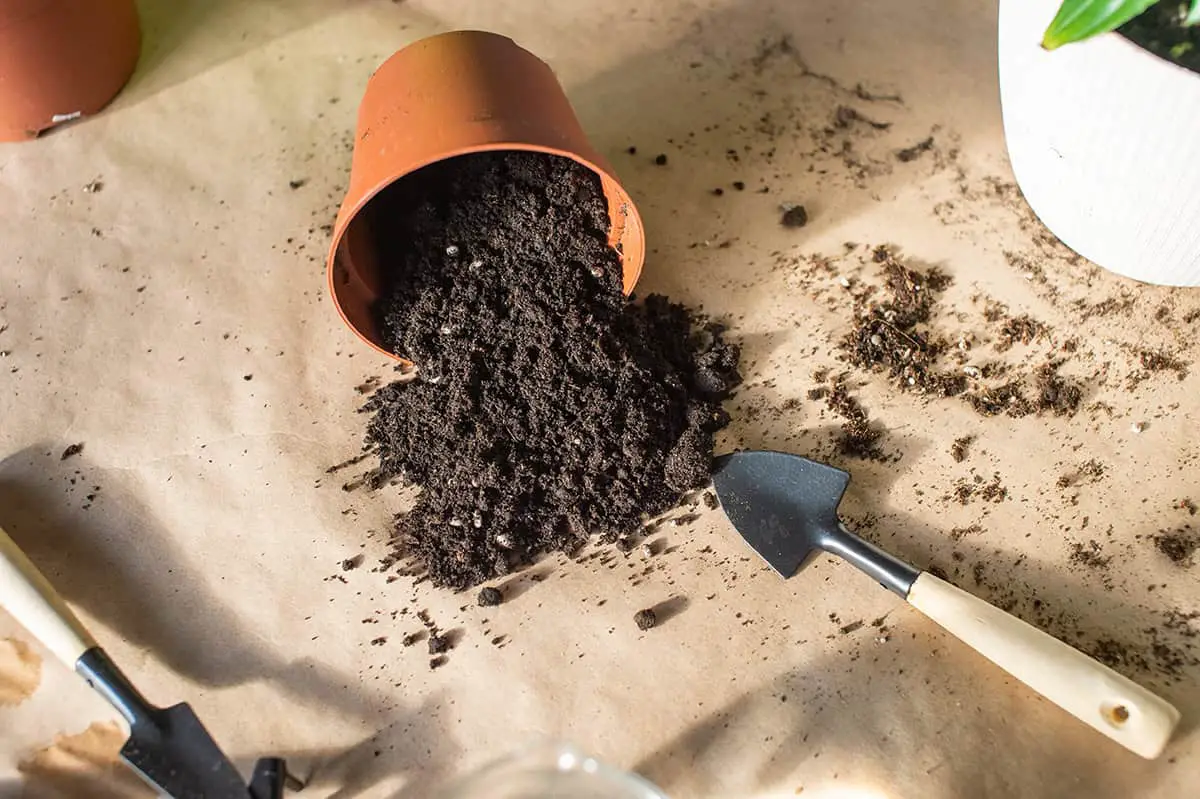
Collecting and Sorting Old Soil
First, gather your old potting soil. Check for differing types, as you may discover some that are better suited for certain plants. Keep separate piles for each type. Likewise, old potting soil can vary in quality, so be mindful of appearance and texture.
Removing Debris and Contaminants
Once sorted, remove all visible debris such as leaves, twigs, and roots. Also, discard any soil that hosted diseased plants to prevent contaminating your new plants. Sift through the soil to ensure thorough cleansing.
Soil Testing for pH and Fertility
Testing your potting soil’s pH and fertility informs you about necessary amendments. Ideal pH levels usually fall between 6.0 and 7.0. Soil fertility depends on nutrient levels, and this test determines what to add to restore balance.
Step-by-Step to Revitalizing Old Soil
Revitalizing old potting soil improves plant health and saves resources. Follow these steps to bring new life to your soil.
Aeration and Loosening
Your potting soil needs air to breathe. Begin by breaking up compacted soil clumps. You can use a fork or your hands to ensure thorough aeration. This process helps roots receive oxygen.
Amending with Compost
Enrich your old soil with compost. Add a layered scoop of mature compost to the mix. This step boosts nutrient levels and soil structure.
Balancing Soil pH
Test the pH level of your soil. If necessary, adjust it using lime for acidic soil or sulfur for alkaline soil. Aim for a pH suitable for your plants’ growth.
Supplementing with Fertilizers
Your soil may need added nutrients. Use a balanced fertilizer to fulfill the soil’s requirements. Keep the fertilizer application in line with the type you choose.
Incorporating Beneficial Microbes
Lastly, include beneficial microbes. These can come from compost or a soil inoculant product. They help break down organic matter and support root health.
Alternatives Methods for Soil Reuse
A variety of methods can be utilized to give old potting soil new life. These options ensure sustainability while preserving plant health.
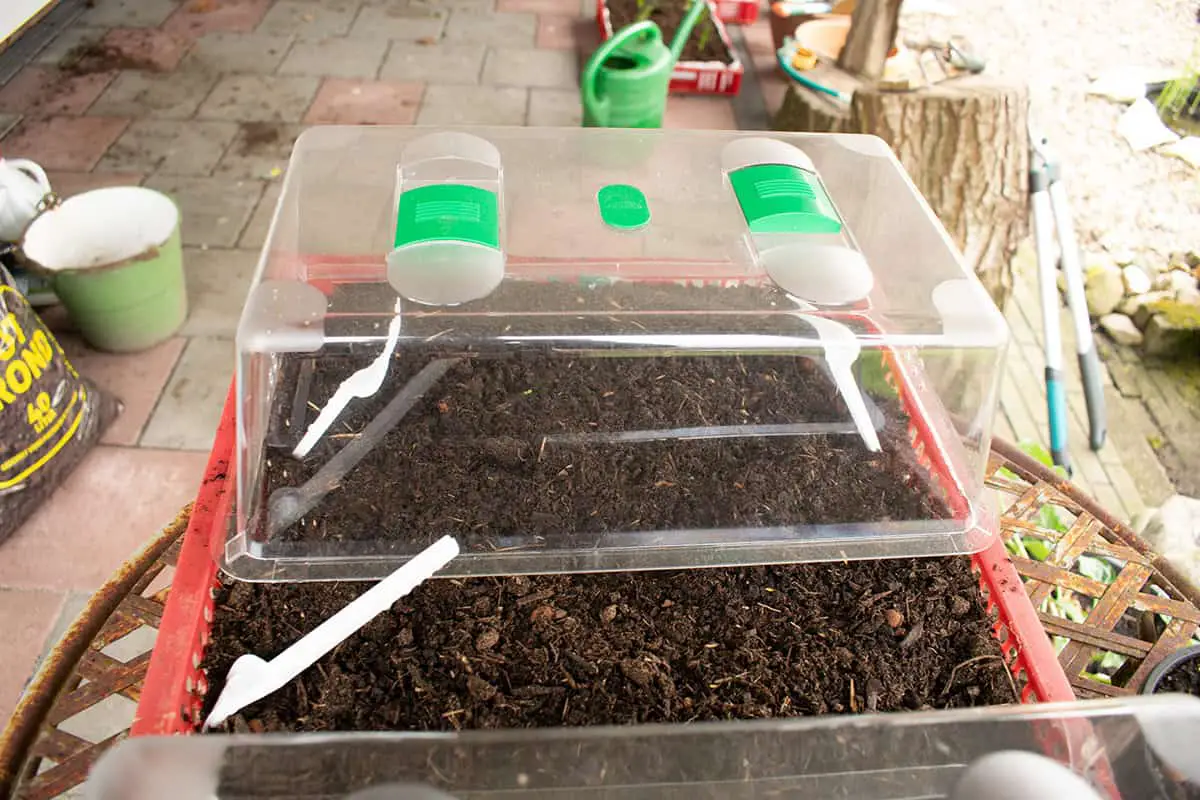
Solarization
You can revitalize your soil through solarization. This process involves heating the soil by capturing solar energy. You need to spread the soil thinly over a clear, plastic sheet and allow it to bake in direct sunlight. This method effectively kills pathogens and weeds, giving you a cleaner slate for planting.
Lasagna Gardening
Lasagna gardening is an approach that layers organic materials to create rich soil. Start by placing a layer of old potting soil on the ground. Then alternate layers of green and brown materials. Green layers can be grass clippings or vegetable scraps, while brown layers may include straw or leaves. This stack will decompose over time, enriching the old potting soil with nutrients.
No-Till Gardening Methods
No-till gardening methods preserve soil structure and beneficial microorganisms. Instead of turning the soil, you add amendments on top. Gently incorporate compost and other organic matter into the top layer of your old potting soil. This enhances fertility and structure without disrupting the existing soil ecosystem.