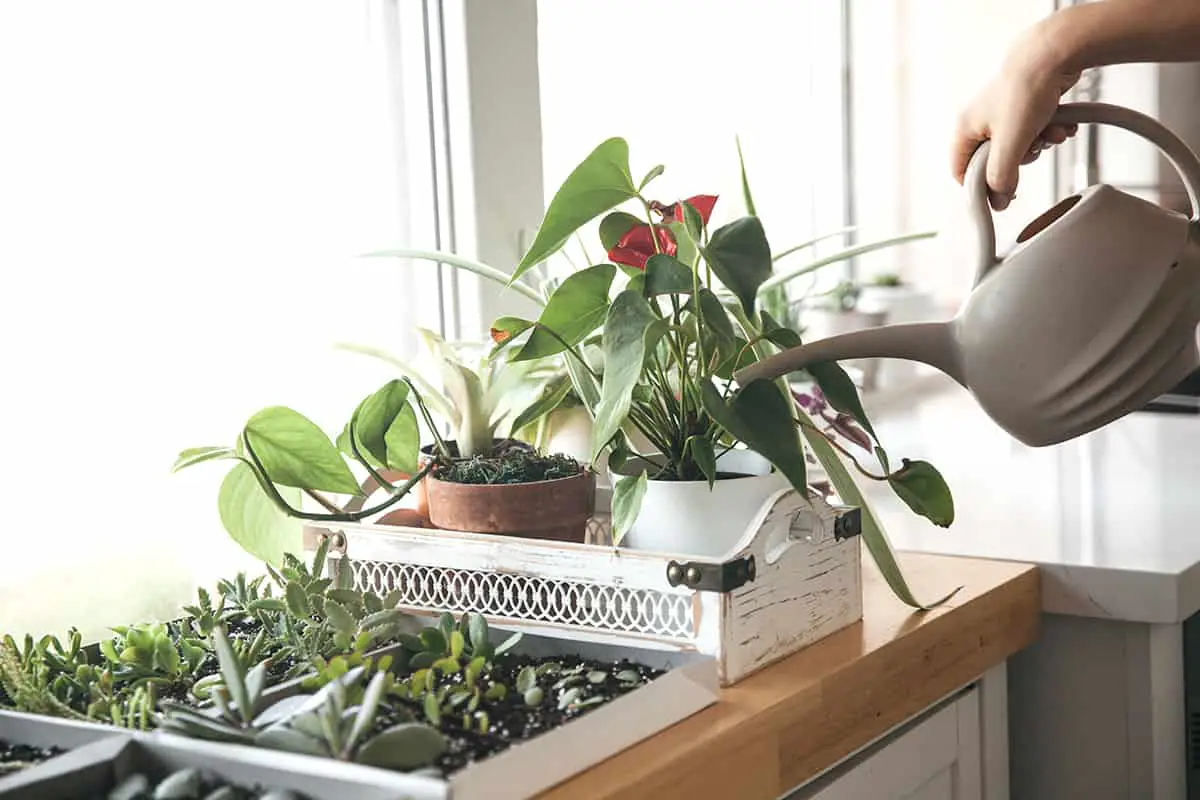
You’ve been faithfully watering your plant, but lately, its leaves have started to yellow. Could it be a sign of excess salt buildup from your tap water? This is a common issue, especially in areas with hard water, and the solution is simpler than you might think: leaching your houseplants.
This process flushes out excess salts, giving your plant a fresh start and ensuring it stays healthy and vibrant. Here’s when and how to do it effectively.
Table of Contents
Signs Your Houseplants Need Leaching
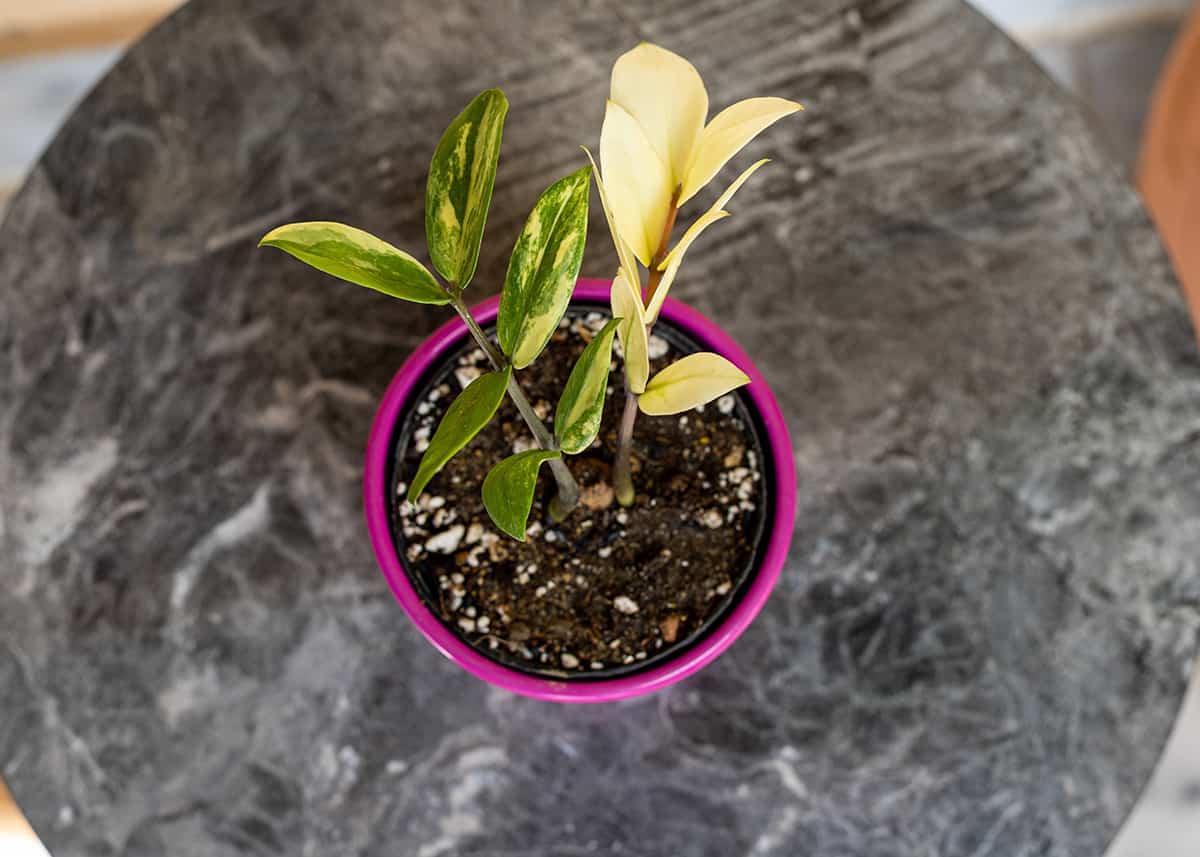
Houseplants may require leaching to remove the buildup of soluble salts in the soil. It’s essential to watch for specific indicators that signal it’s time to leach your plants. In this section, you’ll learn the signs that your houseplants need leaching.
Watch for brown leaf tips: When your houseplants need leaching, the first noticeable sign is often the browning of leaf tips. Brown leaf tips indicate that salt buildup is affecting your plants negatively and leaching will help.
Check for wilting: Wilting is another sign that your plants may require leaching. Excessive salts in the soil can interfere with the plants’ ability to take up water, causing wilting. Leaching can alleviate this issue by removing the excess salts.
Observe dropping lower leaves: Your plants may be dropping their lower leaves because of too much salt in the soil. Leaching at the right time can protect your plants from further damage due to excessive salt levels.
Look for slowed growth: If your houseplants experience little or no new growth, it might be time to leach them. Slower growth may be a sign that your plants are struggling with high salt concentrations in the soil, and proper leaching will remedy this situation.
Consequences of Excess Salts
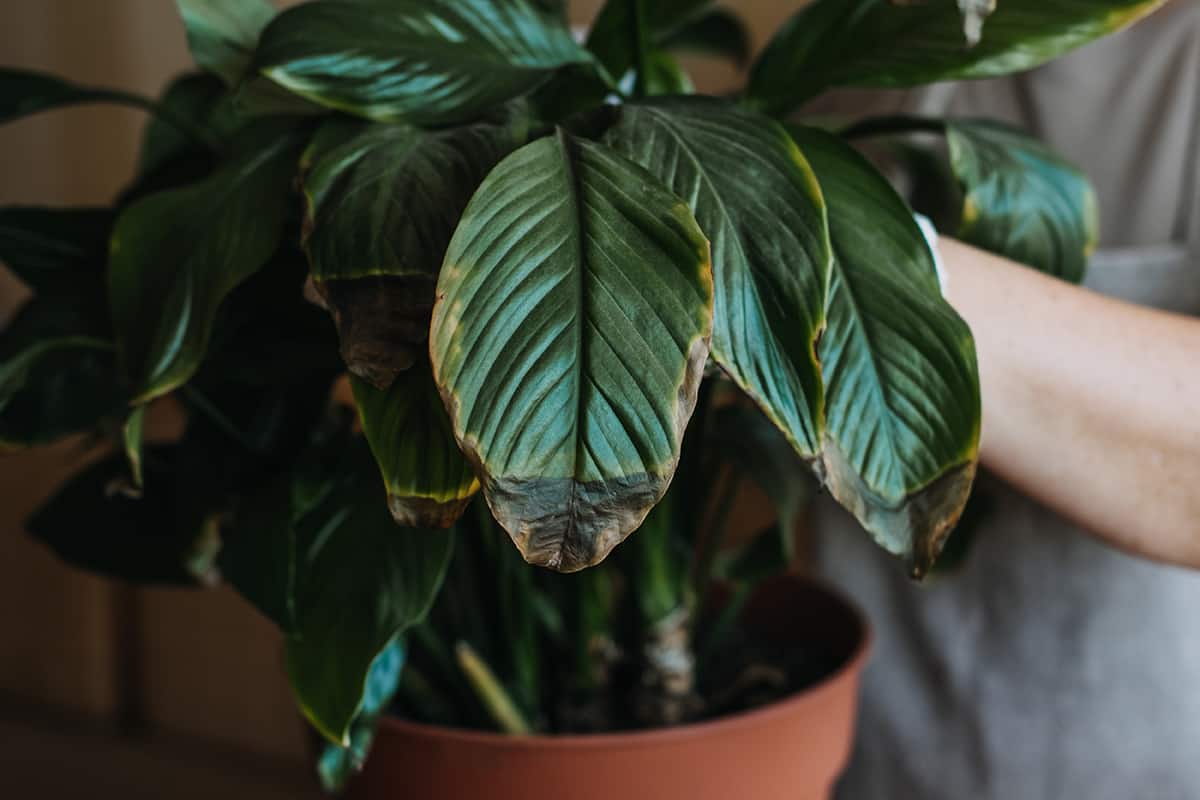
When it comes to houseplants, excess salts can be a significant issue. Salts accumulate in potting soil over time due to various factors like the use of hard water, water-soluble fertilizers, and inadequate drainage. Excess salts in your houseplants’ soil can lead to negative effects on plant growth and overall health.
You might begin to notice symptoms in your houseplants, such as leaf tip burn, stunted growth, and wilting despite proper watering. In severe cases, plants may even die from the build-up of salts.
Preparation for Leaching
Choosing the Right Time
Perform this task when your plants are neither in their growth stage nor under stress from temperature or humidity changes.
Materials Required
Prepare the following items before starting the leaching process:
- A large sink or tub: It’s essential to have a suitable area where excess water can freely drain while leaching your plants.
- Water: Use distilled or rainwater if possible, as it is free from mineral salts that could further damage your plants. Alternatively, you can use tap water, but ensure it has had enough time to sit and off-gas chlorine.
- Gloves: Wearing gloves will protect your hands while handling wet soil and plants.
- A towel or cloth: This will be useful to clean up any spills and keep your workspace tidy.
Step-by-Step Leaching Instructions
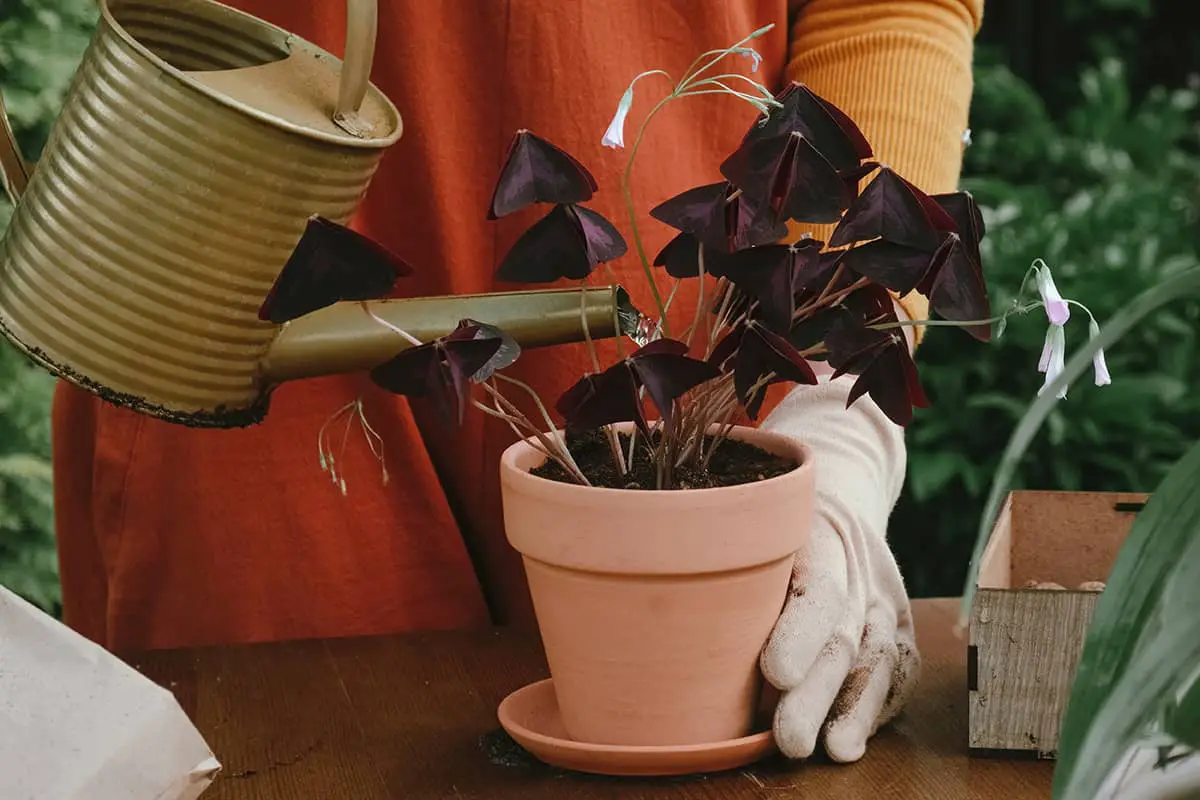
Leaching your houseplants is a simple process that can greatly benefit their health. To start, you’ll need a sink or container large enough to hold your plant’s pot, fresh water, and a towel or tray for draining excess water. Let’s begin!
First, place your plant in the sink or container. If your plant is too big to move, you can still leach it in place. Fill the container with lukewarm water until it covers the pot’s drainage holes. Remember to only use water that has been allowed to settle overnight, as this will have less chlorine and minerals that could harm your plant.
Next, gently pour water onto the soil surface, making sure not to disturb the plant too much. Do this until the water flows freely from the bottom drainage holes. Be patient, as this might take a few moments. According to University of Maryland Extension, using enough water to remove salt deposits is essential for your plants’ health.
After the water has drained, wait five minutes before repeating the process. During this time, the salts in the potting soil will dissolve. Then, water the plant once more, allowing the water to wash away the dissolved salts through the bottom drain holes. It is recommended to leach your houseplants every two to three months to maintain their health and well-being.
Upon finishing the leaching process, carefully remove your plant from the sink or container. Allow any excess water to drain completely by placing it on a towel or tray. Finally, return your plant to its usual spot, and enjoy its lush, healthy appearance!
Duration and Frequency of Leaching
To maintain the health of your houseplants, it’s essential to know when and how often to leach them. Typically, you should leach your plants every two to three months. This frequency helps prevent the accumulation of harmful salts in the potting soil, which can negatively impact your plants’ growth and appearance.
To perform leaching efficiently, start by watering the soil thoroughly, as you usually would. After about five minutes, water again, allowing the excess water to flow out from the bottom drain holes. This process ensures that the first watering dissolves the salts, and the second watering helps wash them out of the potting mix.
In some cases, you may see a white crust on the soil surface, which indicates a high concentration of salts. In such situations, it’s advisable to remove the crust before starting the leaching process. Otherwise, the salts may not dissolve properly, and their detrimental effects on your plants will persist.
Post-Leaching Care
Monitoring Your Houseplants
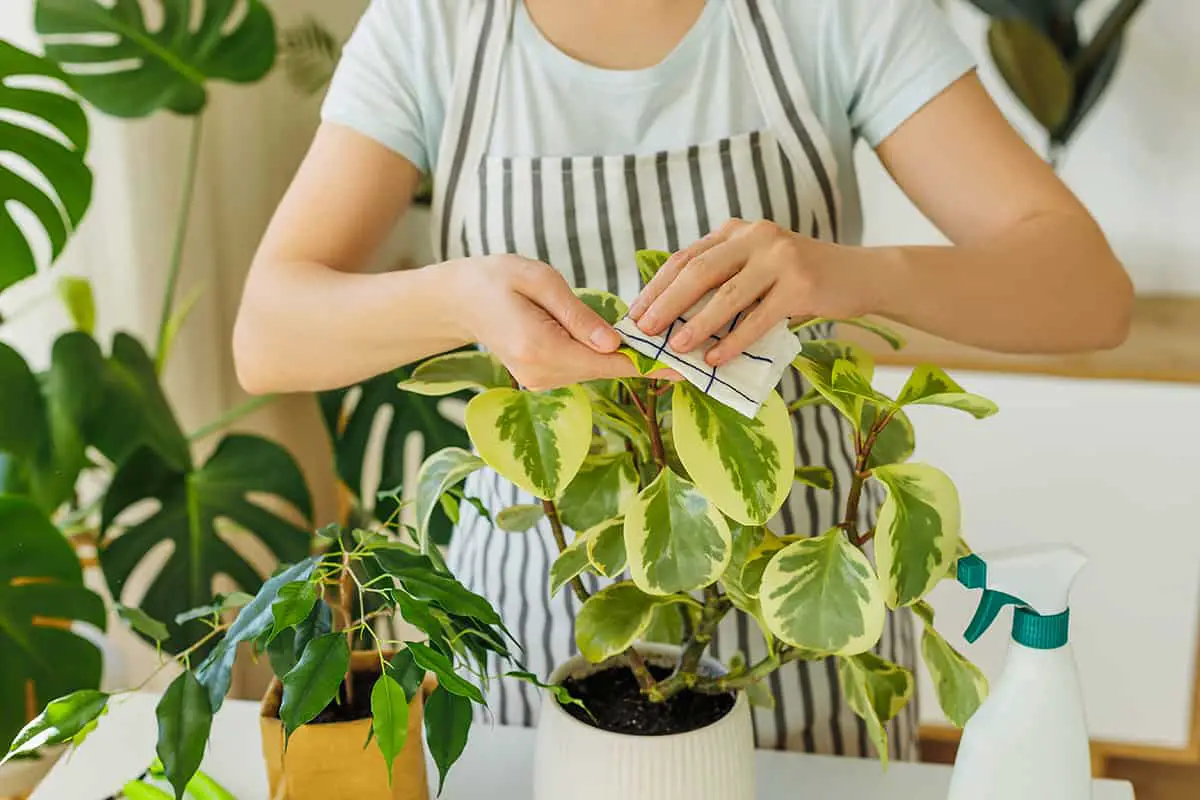
After leaching your houseplants, it is essential to monitor their condition. Keep an eye on the leaves and growth patterns for any signs of improvement or continued stress. Additionally, observe the soil’s moisture levels and surface crust to ensure that the salt buildup is reduced.
Adjusting Watering Practices Post-Leaching
Post-leaching, you should be aware of your watering practices to prevent salt buildup from recurring. Use water with low mineral content, such as distilled or rainwater, to minimize the addition of salts to the soil. Adjust the frequency of watering according to the plant’s needs and the environment to ensure proper hydration without overwatering. Also, consider leaching your houseplants every few months to maintain a healthy environment for their growth.
Troubleshooting Common Issues
Dealing with Overly Sensitive Plants
Some houseplants are more sensitive to soluble salts than others, which can lead to root damage or even death. To prevent this, ensure that your watering routine is consistent and provides ample water. Check the moisture by feeling the soil; it should be evenly damp but not soaked. If it’s too wet, reduce the amount of water and increase the time between waterings.
Addressing Insufficient Leaching Results
If you have tried leaching your houseplants but still notice issues like salt crusts on the soil surface or continued signs of stress, you may need to increase the frequency of leaching or adjust your approach.
One effective method is to water your plants thoroughly, wait five minutes, and then water again, allowing excess water to flow out from the bottom drainage holes. This process, as described on UCANR, dissolves the salts during the first watering and flushes them out during the second watering.
For a more aggressive approach, you can replace the top layer of potting mix with fresh soil to help eliminate stubborn salt accumulations. After replacing the potting mix, be sure to monitor the overall health of your plant and adjust your care routine accordingly. This will help maintain optimal growing conditions with minimal soluble salt damage.
Advanced Leaching Techniques
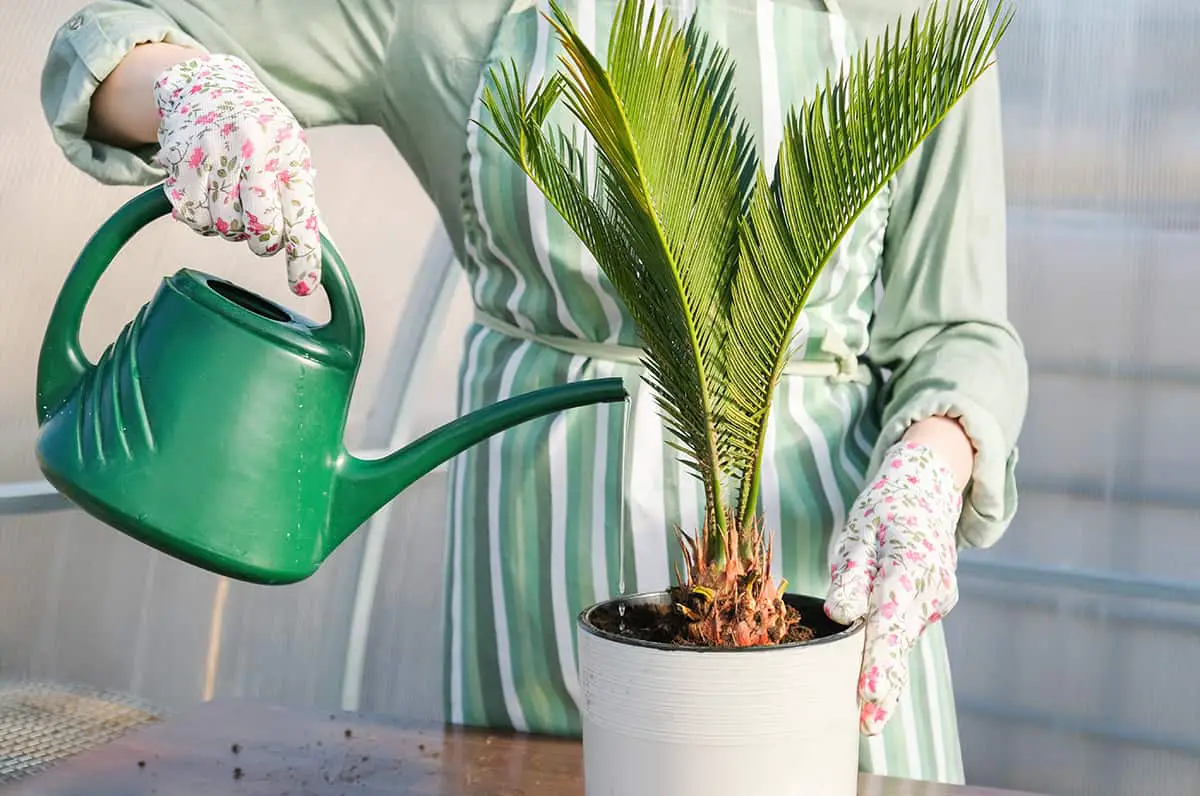
Incorporating advanced leaching techniques into your plant care routine can significantly improve the health of your houseplants by removing excess salts from the soil.
One effective method is the double watering technique. To perform this, water your plants as you usually would, let the water drain for about five minutes, then water them again. This allows the first round of watering to dissolve the salts, while the second flushes them out.
Another advanced technique is the volume-based leaching method. For this, you should use an amount of water that equals twice the volume of the pot to flush out the salts. Make sure the water runs through the soil thoroughly for optimal results. If you notice a salt crust forming on the soil surface, remove it before implementing this method.
For larger plants with a higher salt buildup, consider the root ball surface removal approach, which helps in leaching salts from potting mixes. Gently take off one-half to one-inch of the potting mix from the root ball’s surface, being cautious not to damage the roots. Afterward, place the pot in a sink or container without a saucer and thoroughly water the plant to flush out the accumulated salts.
