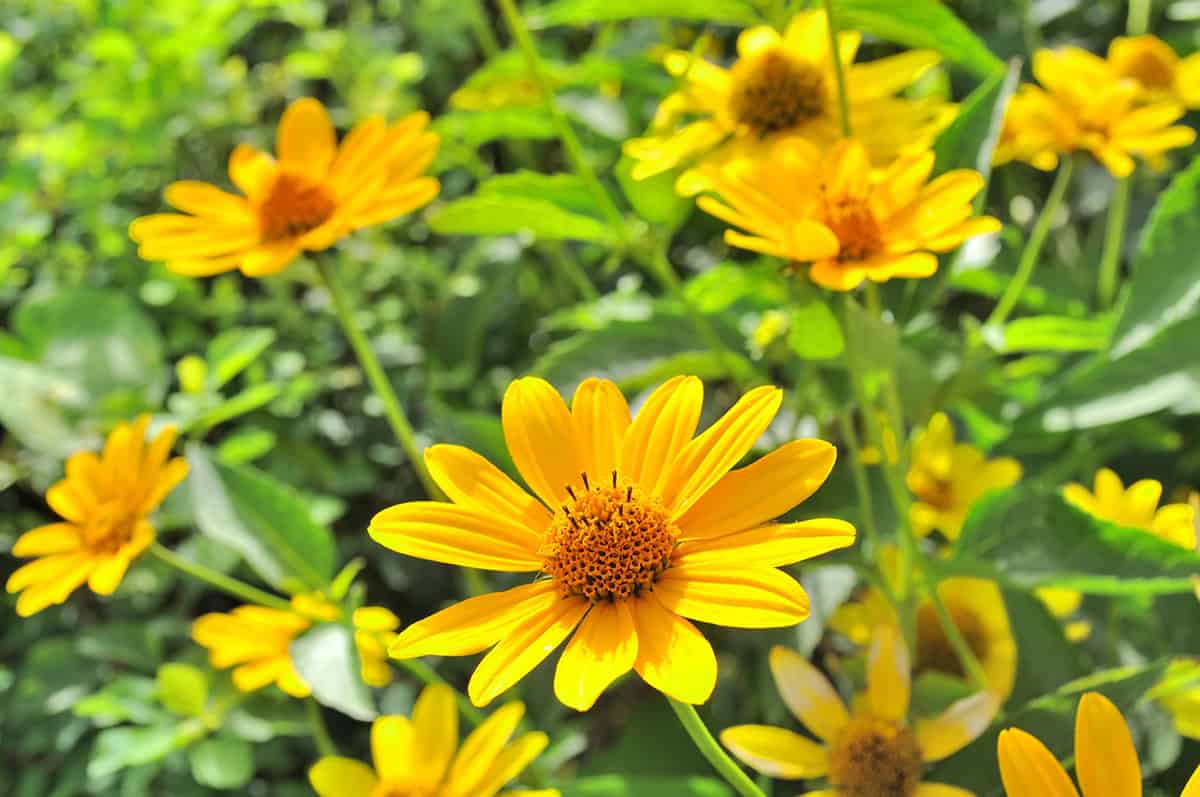
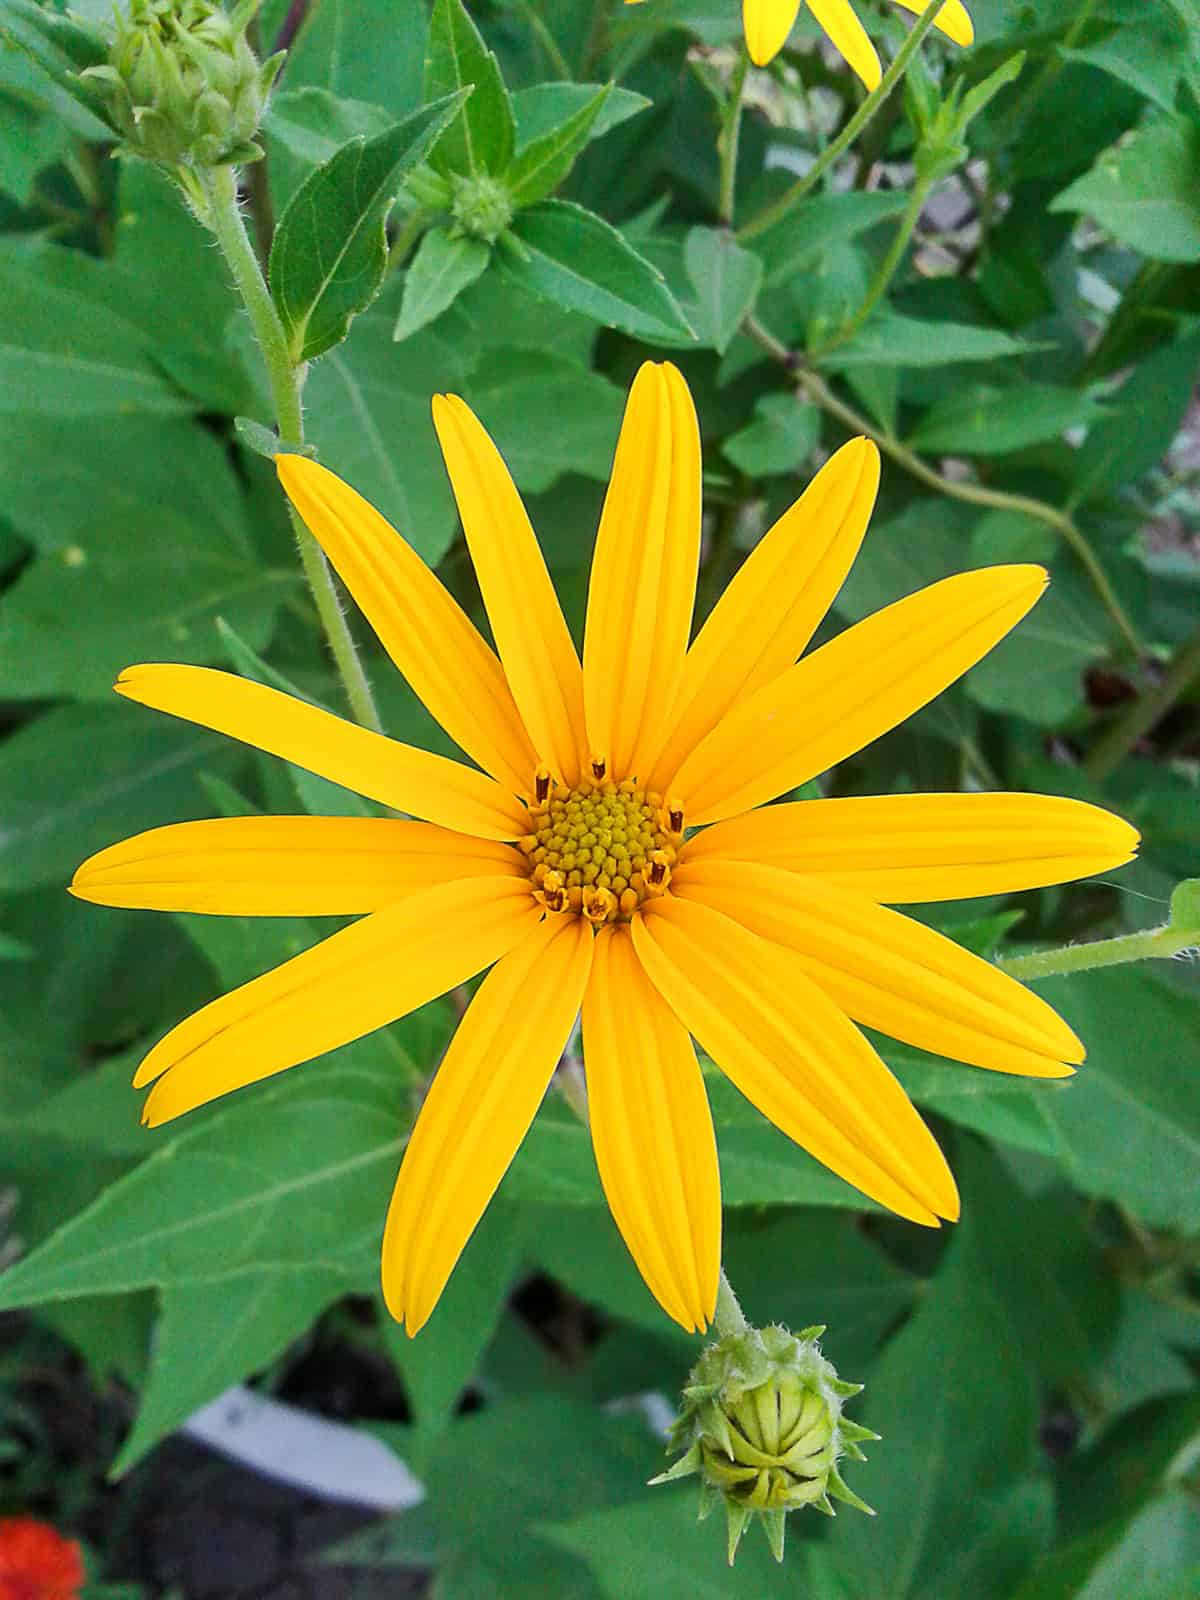
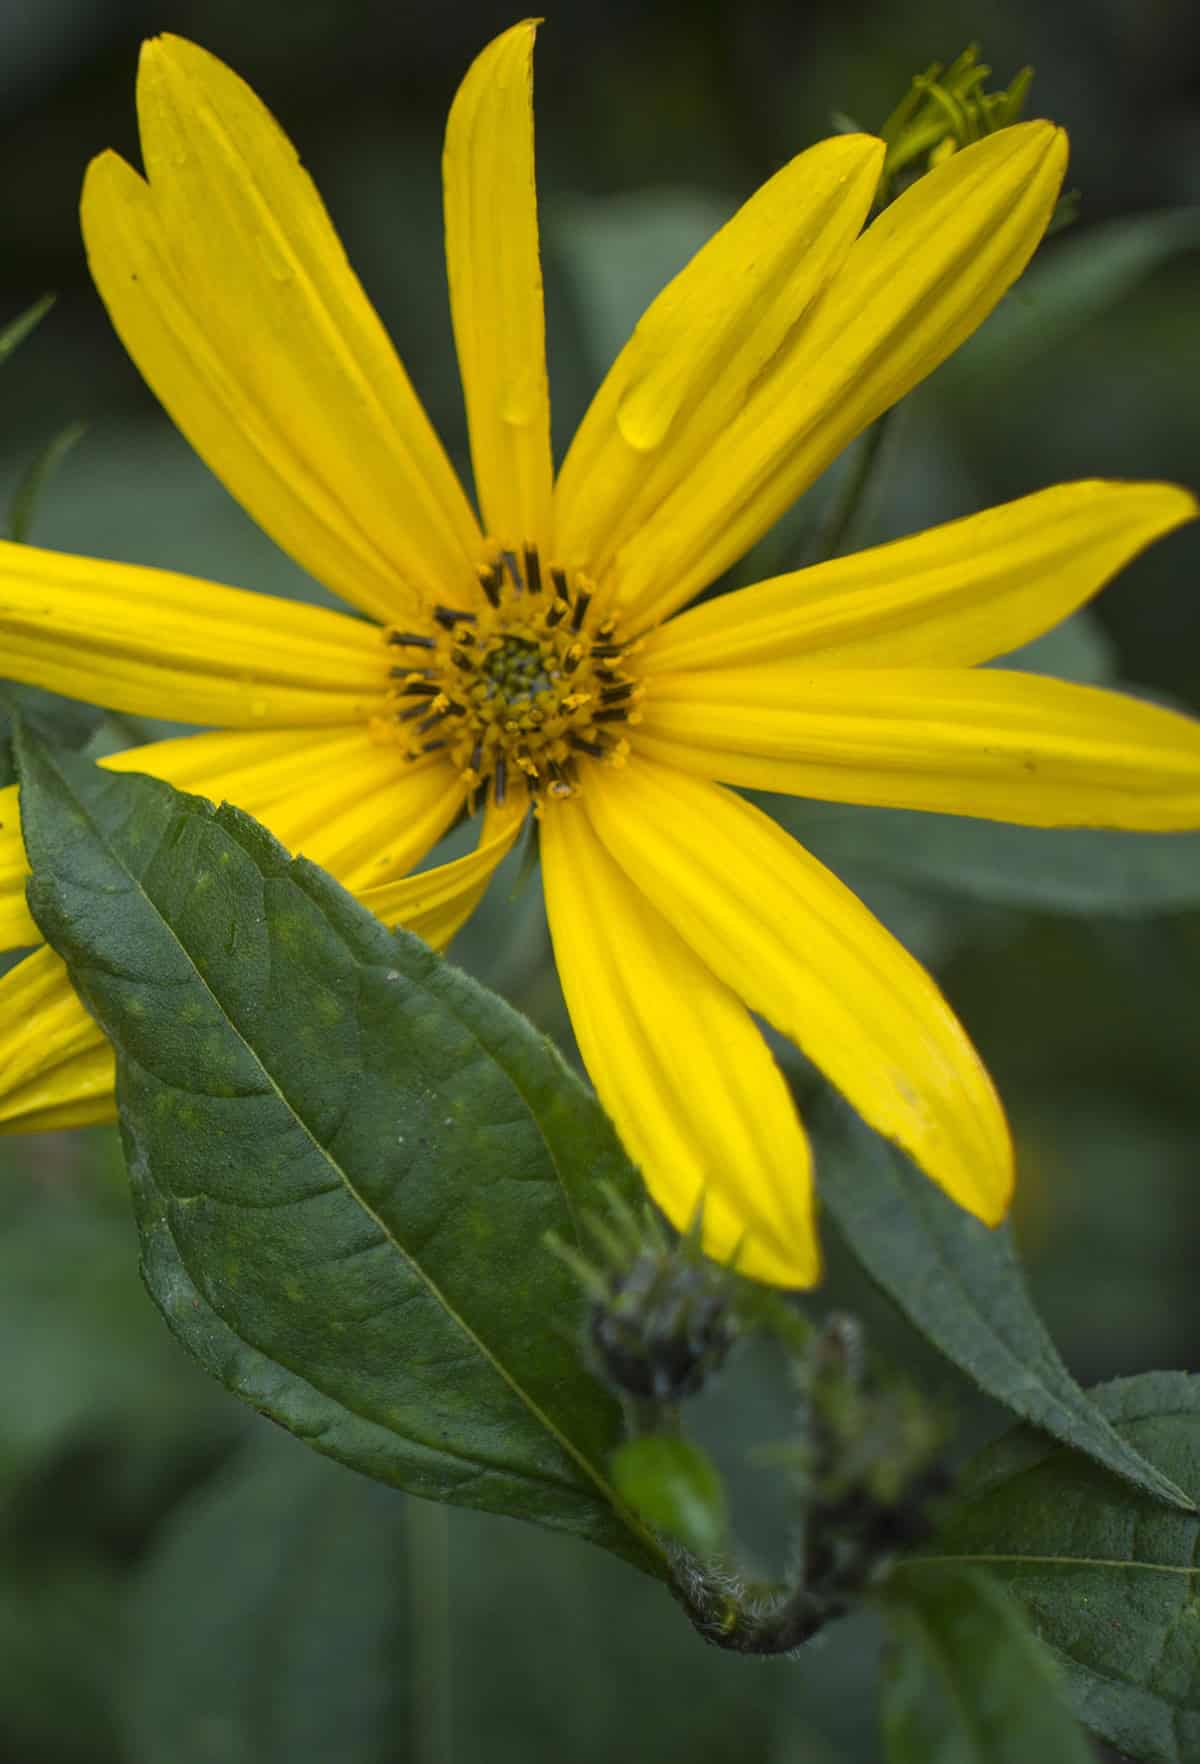
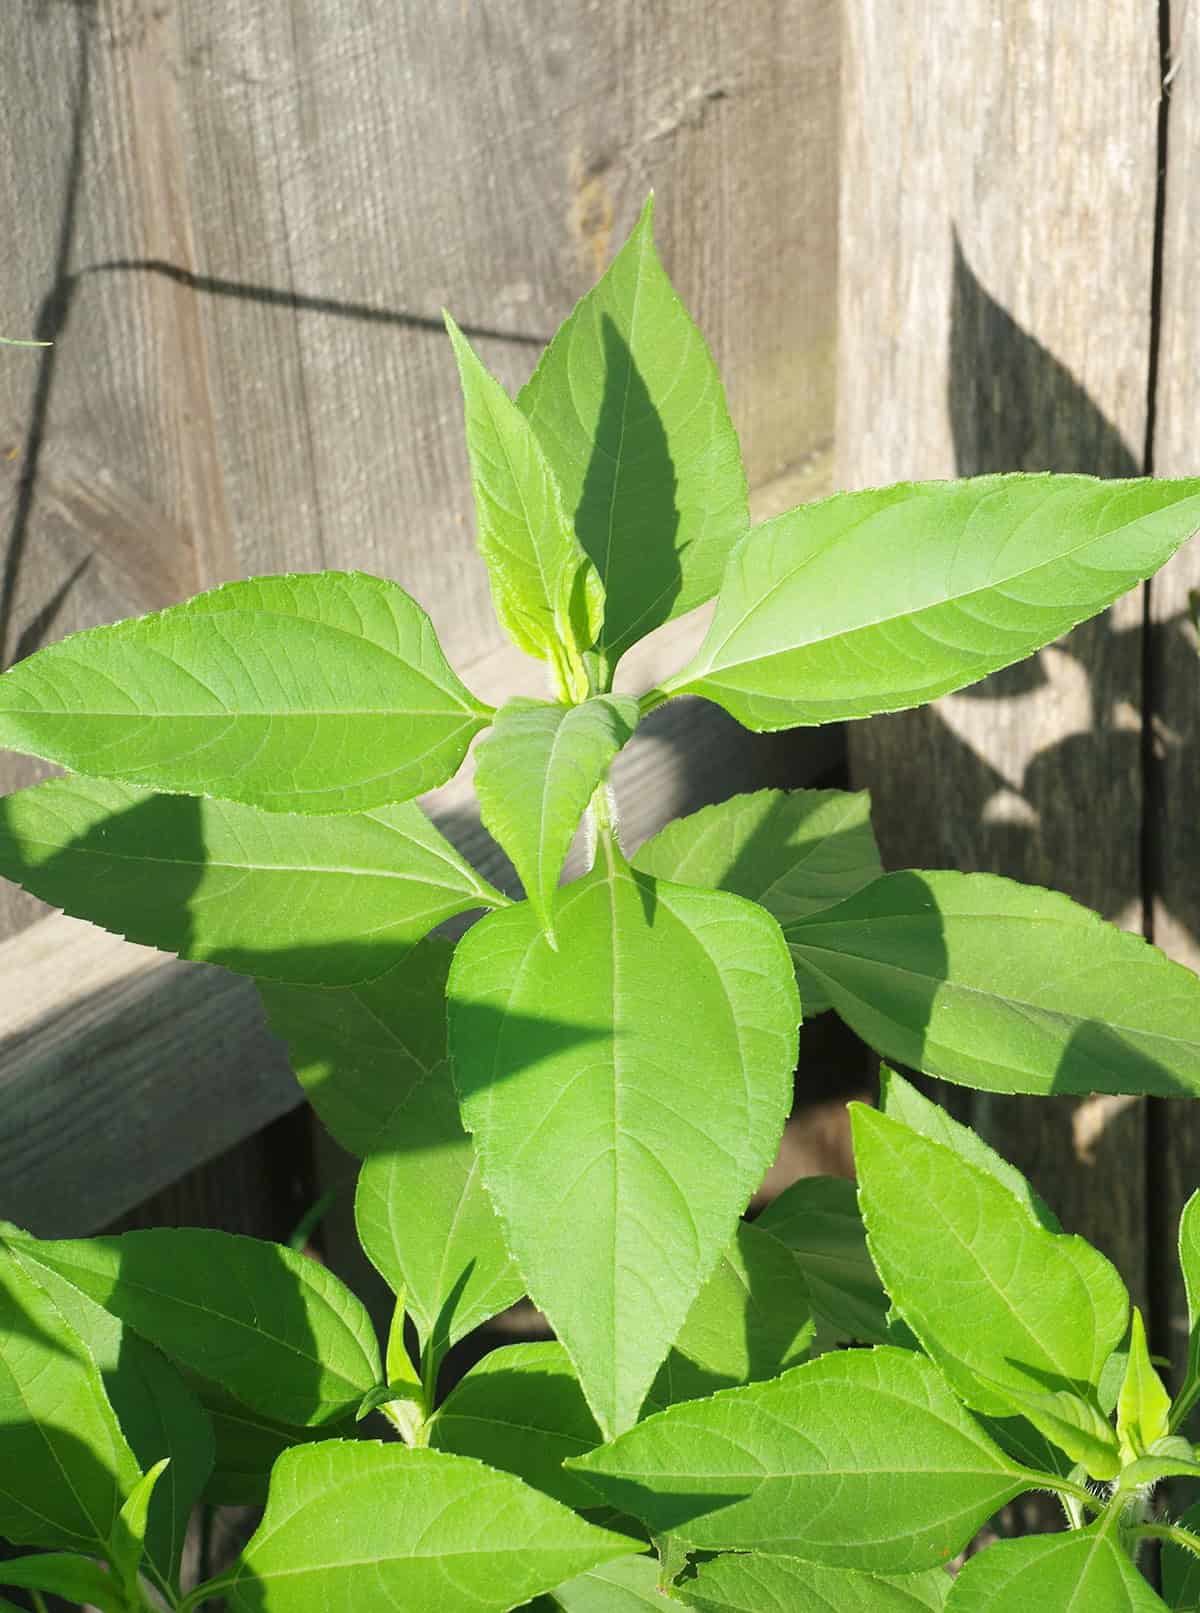
Jerusalem artichoke—sunchoke, if you’re feeling casual—hails from North America and is actually in the sunflower family. It’s one of those tall, cheerful plants that pulls double duty: bright yellow flowers up top, food underground. You don’t have to fuss much, either; it’s forgiving and fits right into most home gardens.
To grow Jerusalem artichoke, plant tubers in early spring, give them plenty of sun, some water, and dig them up in fall. They’re pretty low-maintenance. Once they settle in, they’ll come back every year and, honestly, they’ll spread if you let them.
How you prep your soil and pick your spot really does make a difference. Light and space matter too, especially if you’re thinking about growing them in containers. Timing, troubleshooting, all that—it’s not rocket science, but there are a few tricks worth knowing.
Table of Contents
Soil
You want soil that’s loose and lets water drain through after a rain. If you’ve got heavy clay, mixing in some compost or other organic stuff helps a lot. They’ll grow in rougher dirt than most veggies, but if you can give them something richer, you’ll notice the difference at harvest.
Don’t let the soil stay soggy, though. That’s just asking for rot. Aim for moisture that hangs around but doesn’t pool. A pH that’s neutral or a bit on the alkaline side is just fine.
Before you plant, work in compost. It feeds the plants and keeps the soil airy. Skip the high-nitrogen fertilizers—those just make the tops shoot up and leave you with puny tubers.
Once they’re established, these plants can handle a dry spell without much drama.
Planting
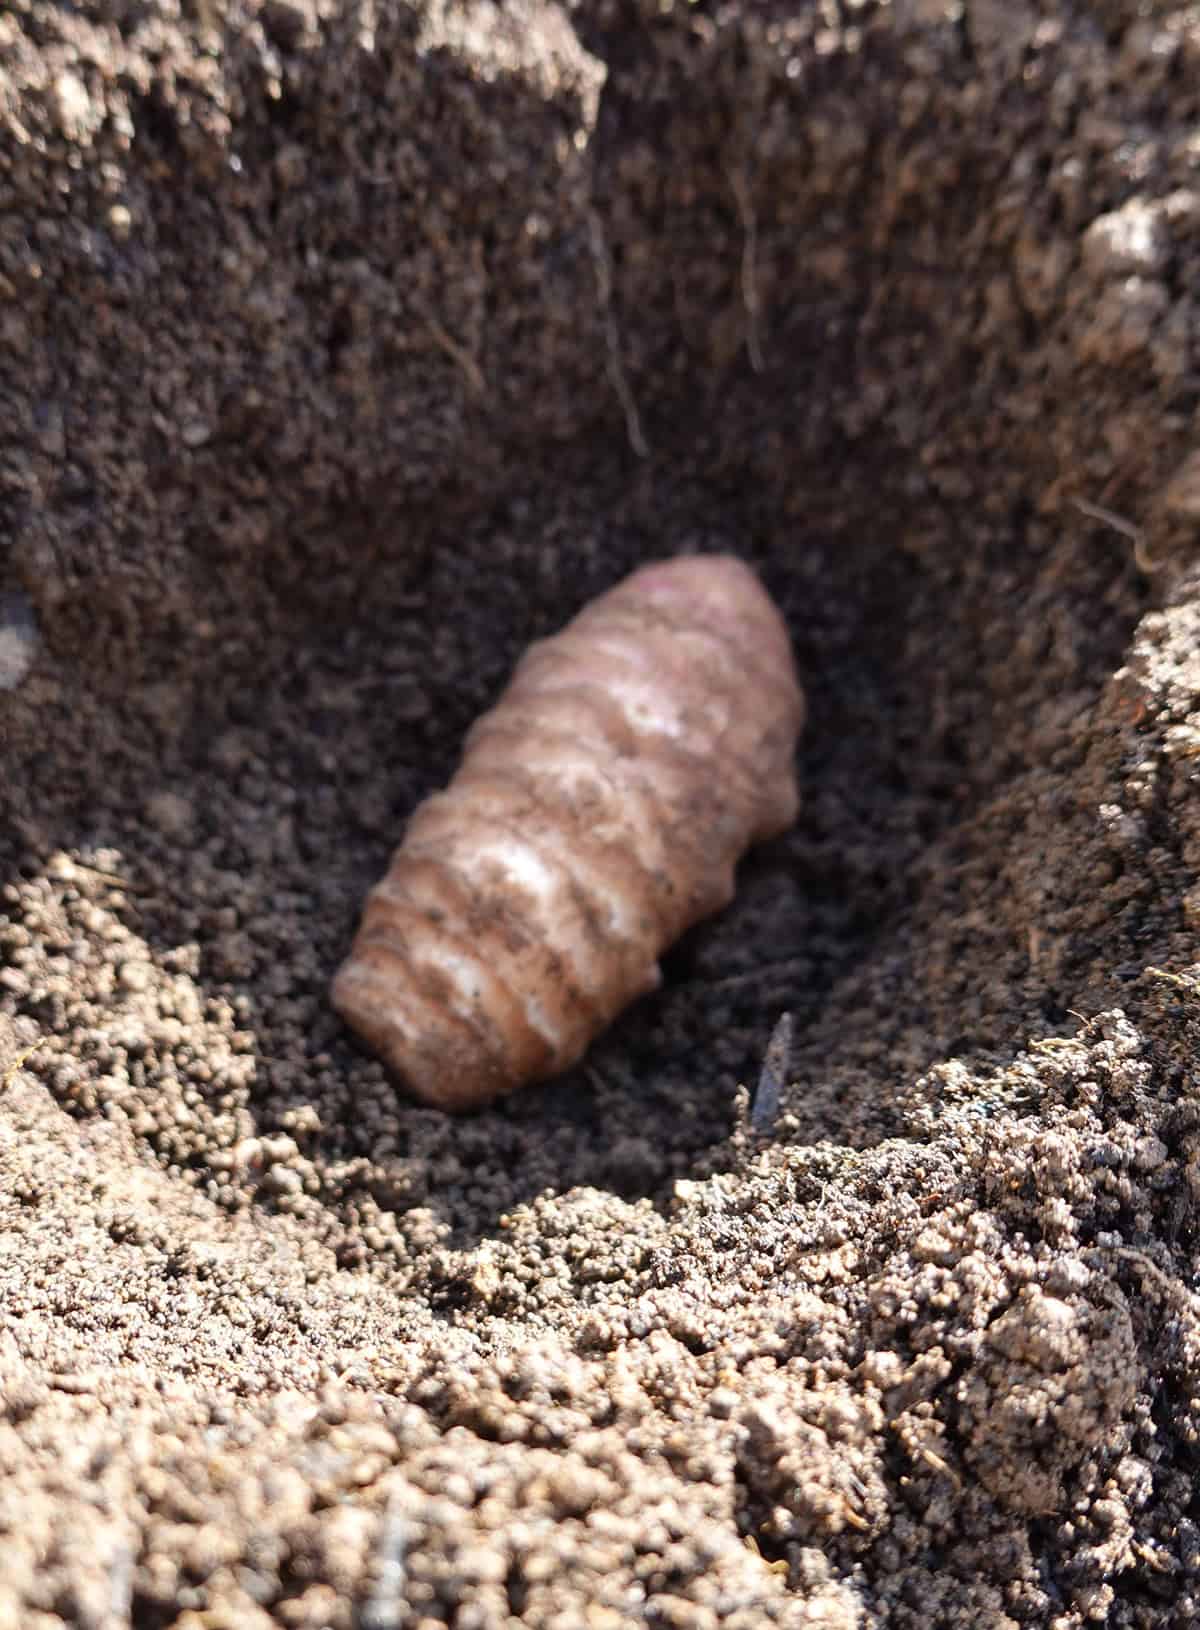
Pick tubers that are firm and unblemished. If they’re big, cut them into pieces with at least one eye each, but let the cuts dry out for a day before you put them in the ground.
Find a sunny, well-drained spot. Full sun is the goal—tubers and stalks both do better that way. Avoid the low, swampy areas.
Plant in early spring, after the ground’s thawed. Tubers should go about 2 to 3 inches deep. Leave 18 to 24 inches between them so they’re not fighting for room. Rows need space, too; these plants get tall—think 6 to 12 feet.
Water after planting, but don’t drown them. Early on, keep the soil evenly moist. Mulch is handy for keeping weeds down and holding in water.
Be thoughtful about where you put them. Even a tiny bit of leftover tuber will pop up next year, so maybe give them their own bed or use a barrier if you don’t want them taking over.
Recommended Varieties
Your pick here affects everything from how tall the plants get to how easy the tubers are to clean. Some types are just better for home gardens.
Beaver is a good bet if you want consistent results in temperate climates. It’s been tested plenty in the Midwest—reliable harvests, sturdy plants, tubers that come in tidy clusters.
Clearwhite is for folks who want smoother, paler tubers and a milder flavor. They’re easier to peel, and the plants don’t get too wild.
Stampede is more compact, so if wind is an issue or you just want easier digging, it’s a solid choice.
European varieties like Fuseau and Waldspinel are all about long, less-knobby tubers—great if you care about even slices for the kitchen.
If you can, avoid the nameless or wild types. They tend to spread like crazy and the tubers can be a pain—lumpy, odd shapes, hard to clean. Stick with named varieties for a better experience.
Light
Sun makes a big difference here. You want at least six hours of direct light; eight is even better. Less light, and you’ll get lanky plants and fewer tubers.
Partial shade is doable, but don’t expect much. If you’re in a hot region, a bit of afternoon shade is okay, but deep shade is a no-go—stems get floppy, tubers get sparse. Steer clear of spots blocked by buildings or trees.
Sun also affects flowering. They’ll throw out yellow blooms in late summer, but that doesn’t make up for a lack of light earlier on. Just pick the brightest spot you’ve got.
Water
Getting things started right matters. Give them a good soak after planting. Keep the soil evenly moist while they’re settling in.
Once they’re up and growing, they’ll shrug off a dry spell now and then, but you’ll get better tubers if the soil doesn’t dry out completely. During hot spells, check the top few inches—water if it’s dry.
Drainage is as important as how often you water. Waterlogged soil is bad news, even for these tough plants. If you see puddles sticking around, cut back on watering and look for ways to improve drainage.
Late summer is when they need water most. Tubers are bulking up, so don’t let things dry out for too long. After frost hits and the tops die back, stop watering and let the ground dry a bit before digging.
Feeding
These aren’t fussy feeders. Rich soil at planting is enough for most gardens. Too much fertilizer, especially nitrogen, just gives you tall plants and skimpy tubers.
Mix in finished compost before you plant. That’s usually all they need. Skip fresh manure—it can mess with tuber growth.
Go easy on nitrogen all season. If the plants start looking pale, a light side-dressing of compost in early summer is fine.
Potassium is more important for tubers, but most soils have enough phosphorus already. If you’re not sure, a quick soil test saves the guesswork.
Container-grown sunchokes need a little more attention. A balanced, slow-release organic fertilizer at planting is good. Don’t overdo the liquid feeds; that just makes soft stems and lower yields.
Growth Time
It’s a long season, but pretty straightforward. Plant in spring, and shoots show up in two or three weeks once the soil’s warm. They’ll shoot up fast in early summer—six to ten feet isn’t unusual by the time fall rolls around.
Tubers take their sweet time, forming through the whole season. Usually, it’s four or five months before it’s really worth digging. Cooler fall temps make them taste better. Lots of folks wait until after a light frost for the best flavor.
Since they’re perennial, they’ll come back on their own if you leave any tubers behind. Old patches sprout earlier than new ones. If you want to keep them in check, dig thoroughly and don’t let the bed get too big.
Growing in Containers
Short on space? Containers work. Pick a big one—you want to keep the roots happy and the plant from invading the rest of your garden. Plus, it makes harvest way easier.
Go for at least 18–24 inches deep and wide. That’s enough room for tubers to develop. Sturdy pots—plastic, wood, or fabric—are all fine, but make sure they won’t tip over.
Use a loose, fertile mix with compost. Set the pot where it gets plenty of sun—six to eight hours is about right.
Water when the top layer dries out. Containers dry faster, so check often. Feed lightly once or twice during the season with a balanced fertilizer. Too much nitrogen isn’t your friend here.
The tubers can handle some cold. In mild climates, leave the pots outside over winter. If you’re somewhere colder, tuck them into an unheated shed or garage to keep them from freezing solid.
Harvest
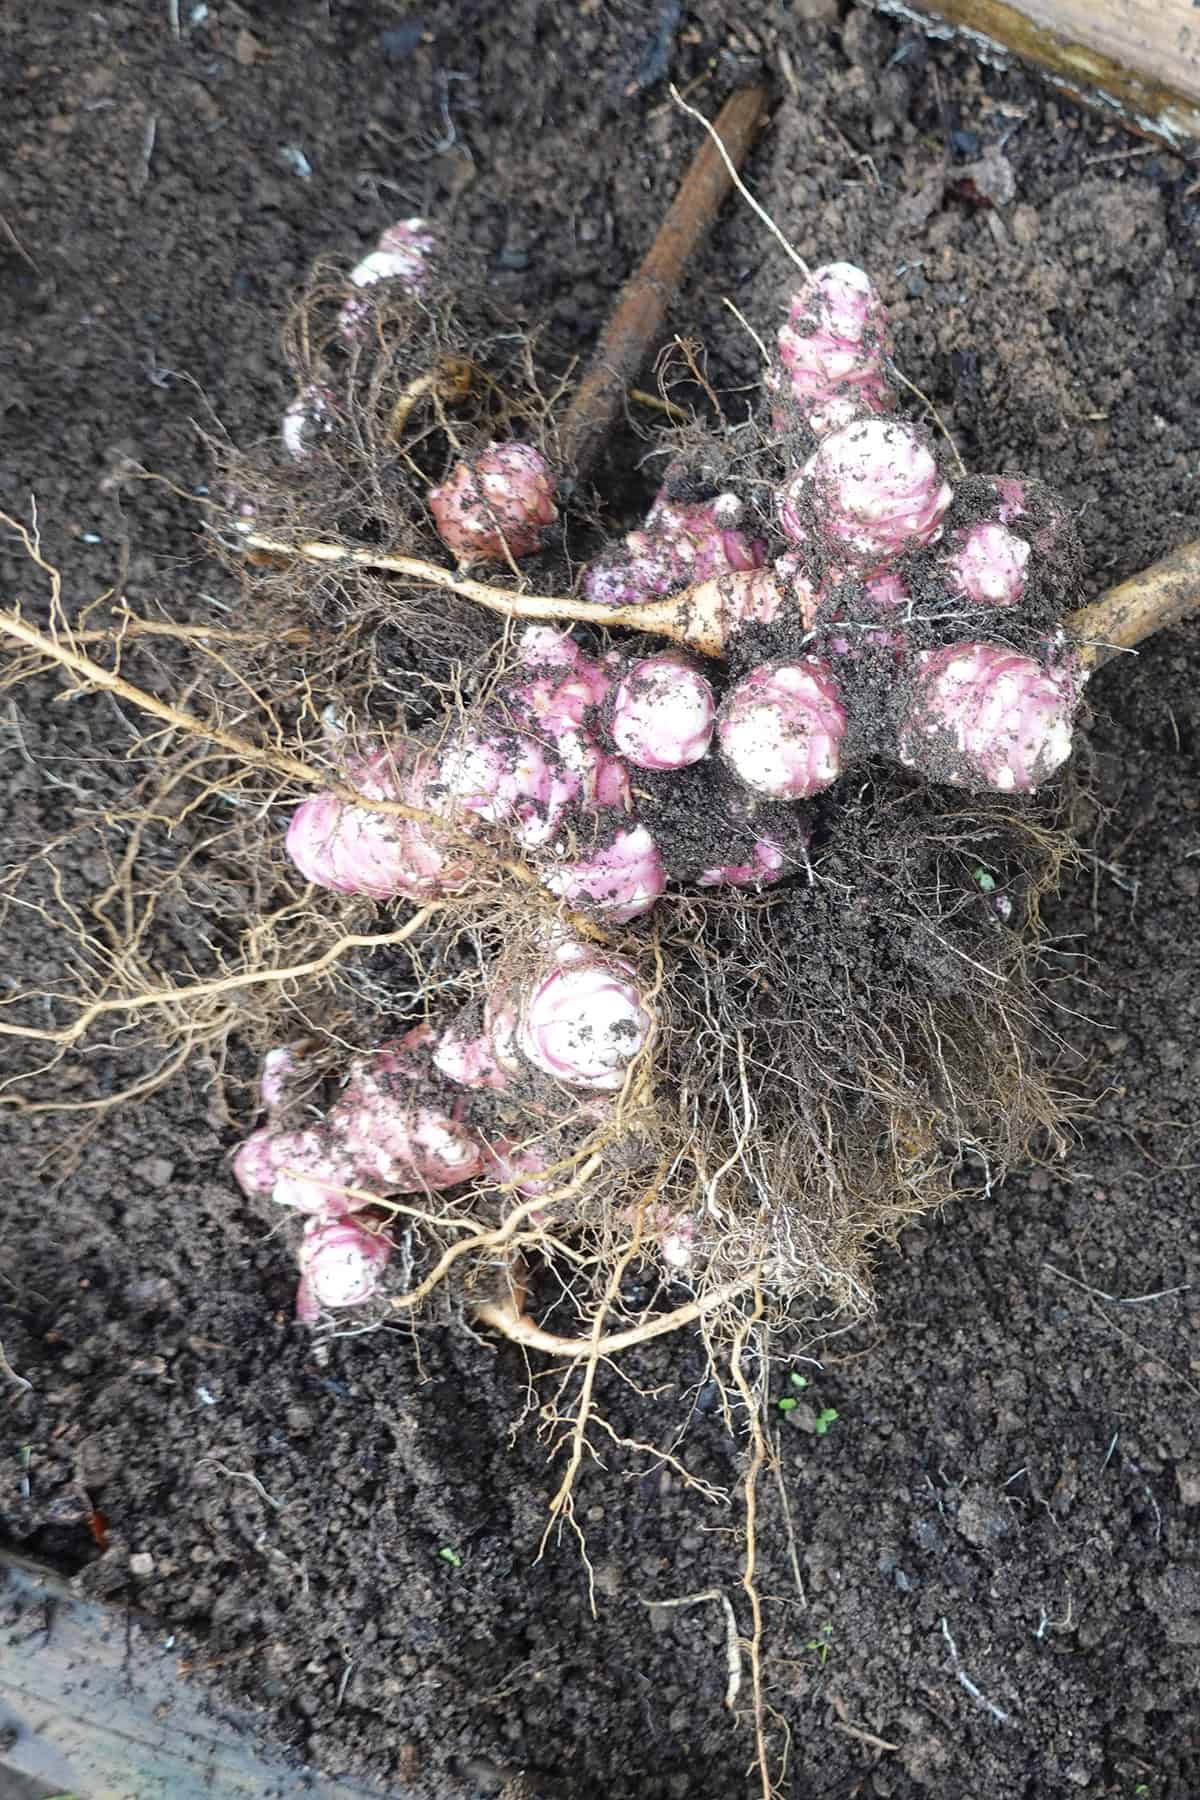
Wait for cold weather before digging—after the first hard frost is best. The tops will turn brown, and that’s your cue. Frost converts starches to sugars, which makes the tubers taste sweeter. Most folks hold off until late fall for peak flavor.
Use a garden fork and start well outside the stalks to avoid slicing up the tubers. They can be deep and spread wide, so take your time. Any little pieces left behind will probably sprout next year.
No need to dig the whole patch at once. Tubers keep well in the ground through winter as long as the soil doesn’t freeze solid. Just pull what you need and cover the rest.
After digging, brush off the dirt but hold off on washing until you’re ready to use them. Extra moisture shortens their shelf life. For short-term storage, stash unwashed tubers in a breathable bag in the fridge. Use them within a few weeks for best results.
Common Problems And Troubleshooting
Crowding’s a headache with this crop. Tubers shoot out everywhere and, if you don’t bother with barriers, they’ll just take over. Deep edging and harvesting the whole patch every fall? That’s your best bet for keeping things reasonable.
If you’re seeing floppy stems or barely any tubers, blame the shade. These plants want all the sun you can give them. Not enough light, and you’ll end up with tall, weak stalks, tiny tubers, and a patch that flops over before you know it.
When the leaves start curling and plants don’t seem to be bulking up, it’s probably water. Letting the soil dry out in the summer slows everything down, but soggy ground’s just as bad—rot creeps in fast. Try to keep things evenly moist, especially when it’s hot.
Pests? Not much of a problem, honestly. Disease, though, can sneak in during wet spells. White mold is the main culprit, especially if your soil stays damp and the air doesn’t move. Spacing plants out, keeping beds tidy, and switching up where you grow them each year helps a lot.
Tubers that look weird or taste bland? That’s usually a timing thing. Letting them stay in the ground until after a frost really brings out the flavor. If you dig them early, they’ll be firm but not as sweet—depends what you’re after.
One last thing: go easy at first. These tubers are packed with inulin, which can mess with your stomach if you eat too much. Smaller servings and thorough cooking usually make things easier to handle.