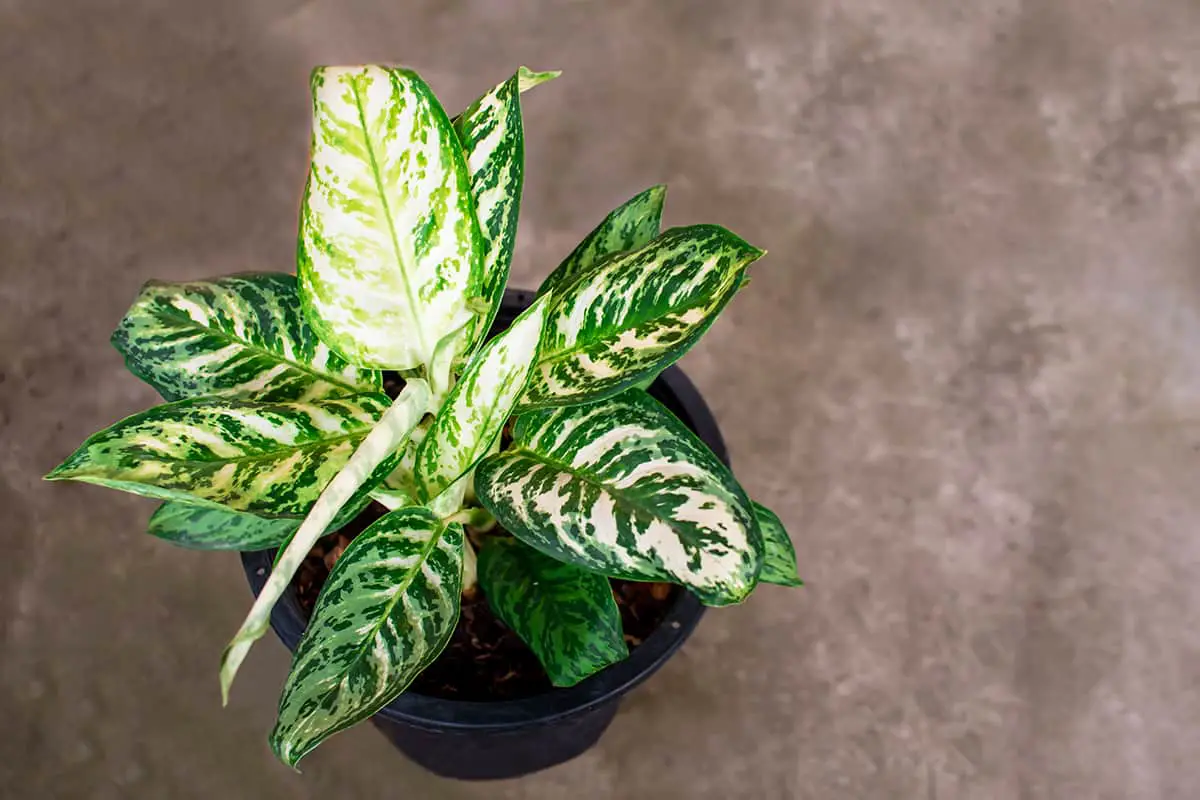
Are you looking to elevate your indoor space with some lush, vibrant greenery but worried about the upkeep? Enter Dieffenbachia, a striking addition to any room with its bold, patterned leaves. Stick with us through this post to learn how to care for this hardy plant to transform any corner of your home into a vibrant, lush oasis with minimal effort.
Table of Contents
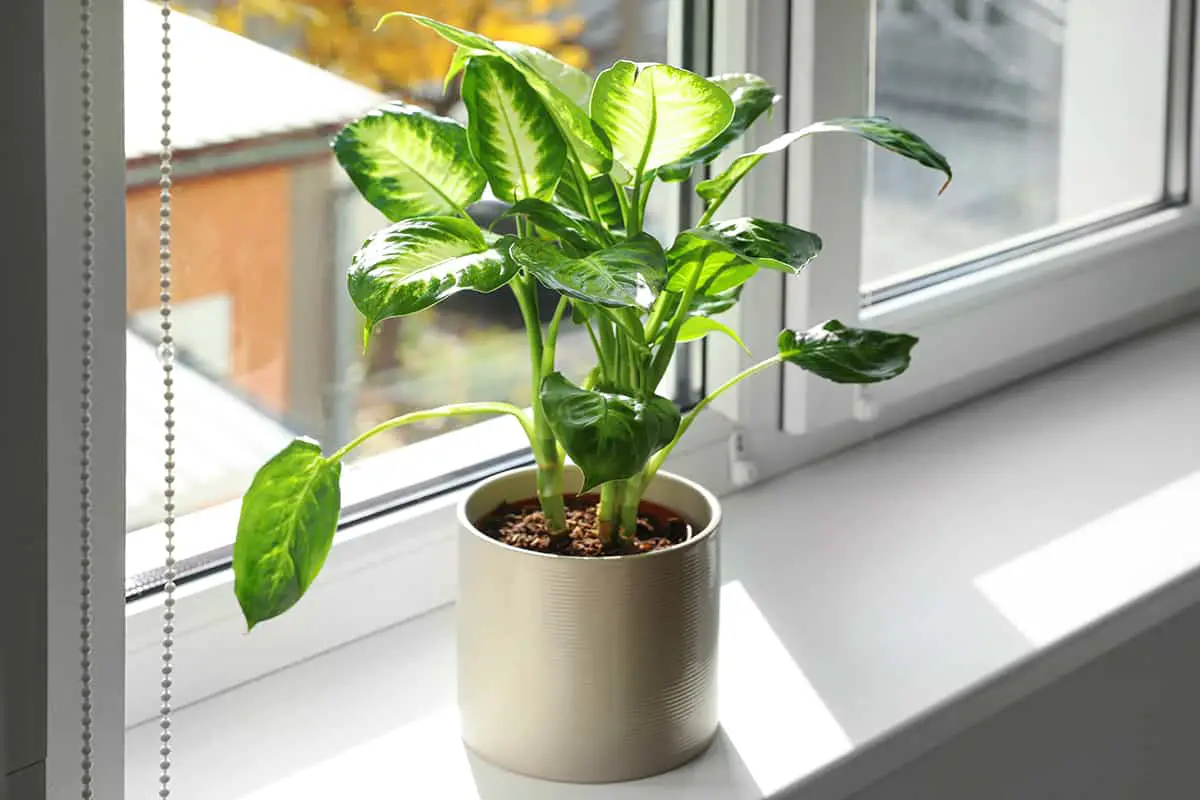
Light
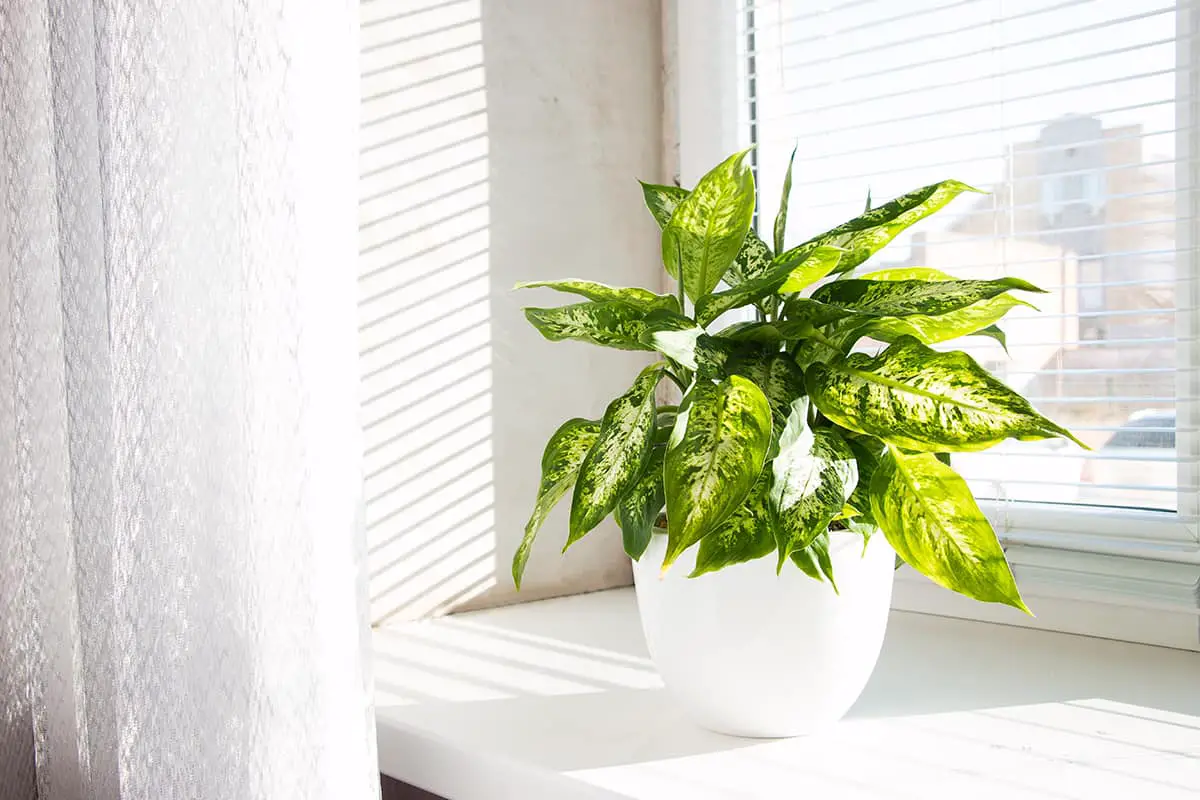
As it tolerates a wide range of light conditions, you can place it in various spots in your home. Ideally, it should be exposed to bright indirect light. This level of lighting ensures optimum growth.
In darker areas, your Dieffenbachia will still grow, but at a slower pace. If your plant is situated in a low-lit room, consider using artificial light sources, like grow lights, to supplement the natural light.
Regarding temperature, Dieffenbachia thrives in a range of 65º to 75ºF. Keep your plant away from cold drafts or temperature drops below 50ºF, as they can cause harm to the plant.
Soil
A loose, fertile, high organic medium is ideal for this plant. This ensures proper drainage and aeration while providing the required nutrients.
Several soil mixes can be used for Dieffenbachia. Pure peat, peat and perlite (1:1), soil and peat (1:1), or soil, peat and perlite/vermiculite (1:1:1) are some of the combinations you can try. The growing medium must have good water retention and drainage characteristics. This will ensure the plant remains healthy and well-nourished.
Water
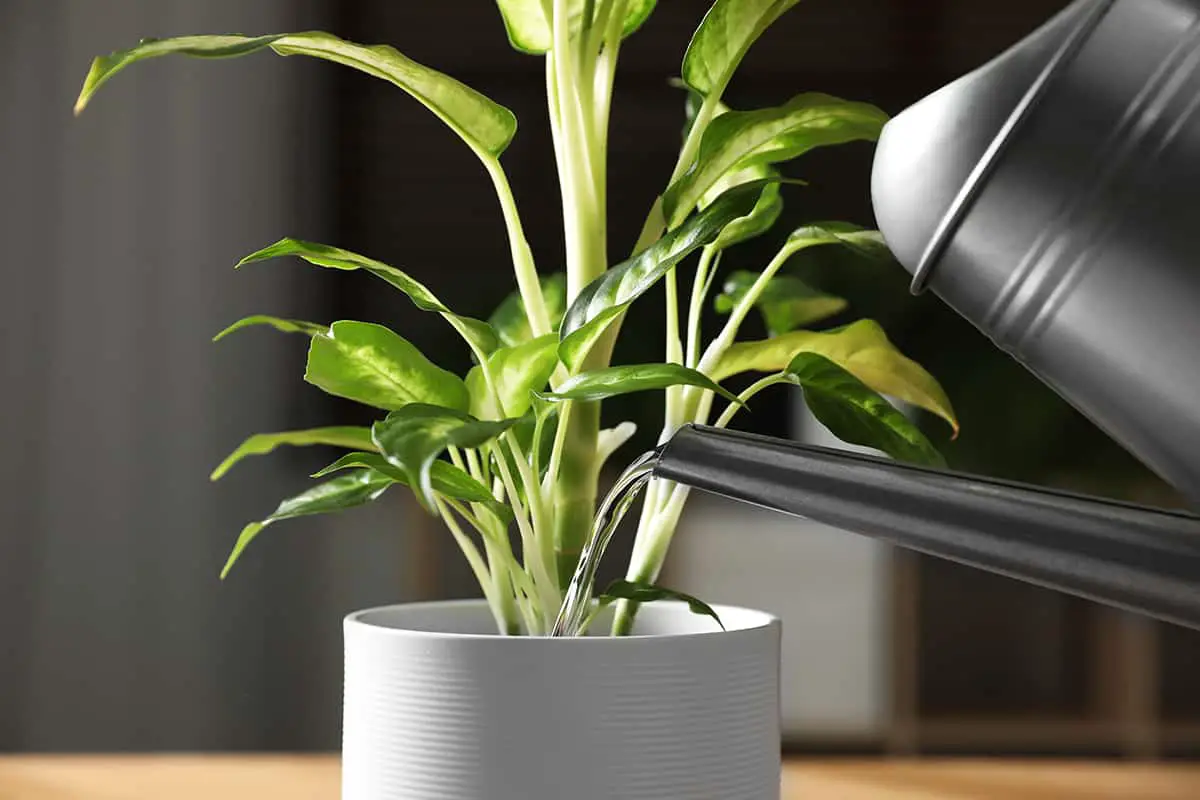
Overwatering can lead to root rot, while underwatering might cause the plant’s leaves to wilt. The key is to maintain moderately moist soil. To achieve this, you should water the plant thoroughly and then wait until the top inch of soil is dry to the touch before watering again. This approach ensures that the plant receives adequate water without drowning its roots.
The frequency of watering might vary depending on the season and environment. During the active growing season, you may need to water your Dieffenbachia more frequently. Keep an eye on your plant by checking the soil’s moisture level regularly, and adjust your watering schedule accordingly. Conversely, in colder months or more humid environments, you can reduce the frequency of watering.
Temperature and Humidity
The ideal temperature range for this plant is between 65 and 75 degrees Fahrenheit. Make sure not to expose your Dieffenbachia to temperatures below 50 degrees Fahrenheit, as this may harm the plant.
In terms of humidity, Dieffenbachia thrives in a relatively moist environment. The plant’s large leaves can dry out if placed in a hot and dry room. To maintain proper humidity levels, try grouping your plants together or use a pebble tray to increase the moisture in the air around the plant.
Fertilizer
To ensure healthy growth, use a complete fertilizer such as a 20-20-20 mixture. This balanced nutrient blend promotes strong root, shoot, and foliage development.
During the active growing season, usually in spring and summer, fertilize your Dieffenbachia every 4-6 weeks. However, adjust the frequency according to the lighting situation. In a dark area, the plant will need less frequent fertilization. Always remember to water your plant before and after applying fertilizer to avoid root burn.
Paying attention to the signs of over or under-fertilization is crucial for maintaining your Dieffenbachia. When the leaves start yellowing and become weak, it might indicate a deficiency in nutrients. On the other hand, too much fertilizer will cause the leaf edges to turn brown. In both cases, you need to modify your fertilization schedule accordingly.
Propagation
When propagating your dieffenbachia, you will mainly use vegetative methods, such as stem cuttings. This University of Connecticut Home & Garden Fact Sheet suggests using tip cuttings from the terminal portion of the plant or from small side shoots.
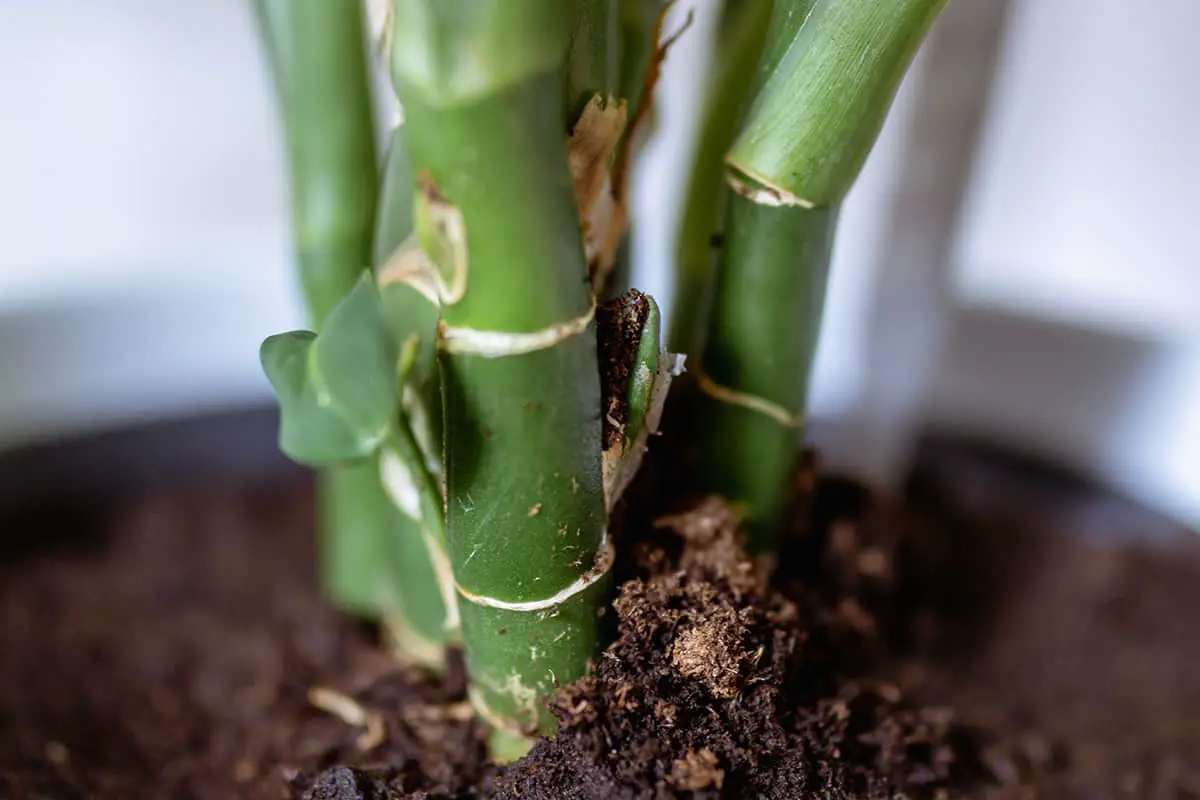
In order to take a stem cutting, first, make sure you have a sharp and sterile knife or pruning shears. Next, identify a healthy stem with at least two to three leaves on it and cut approximately 4 to 6 inches below the node. You may want to wear gloves to protect yourself from the plant’s sap, as it can be harmful if it comes into contact with your skin.
After cutting, gently remove the lower leaves, leaving one or two at the top of the cutting. Dip the cut end of the stem into a rooting hormone powder, which can promote faster root development and increase the chances of success. Place the cutting in a growing medium like a mixture of peat and perlite, as suggested in this Home and Garden Education Center article. The medium should have good water-holding capacity and be well-drained.
Finally, provide your propagating dieffenbachia with indirect sunlight and regular, moderate watering. Keep an eye on the cutting to ensure it is showing signs of growth.
Pruning
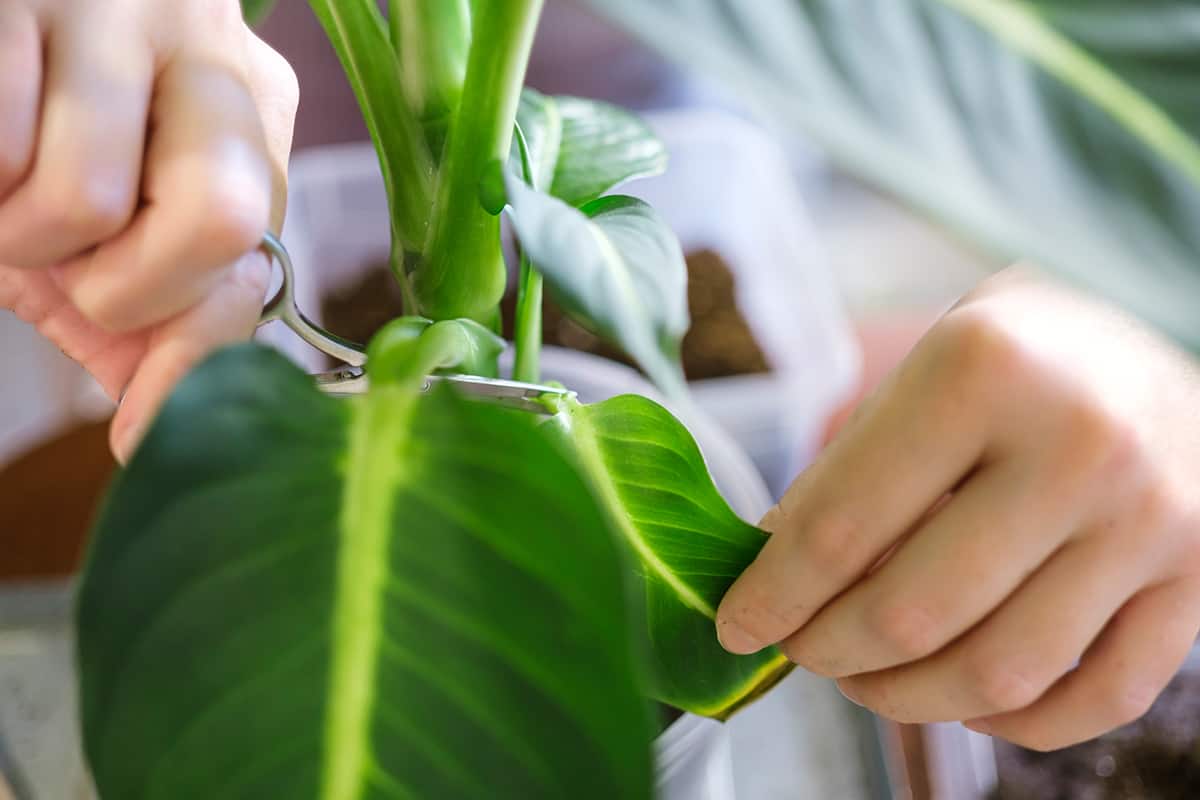
Proper pruning is essential for maintaining a healthy and well-shaped dieffenbachia plant. The first step is to remove any yellow, brown, or damaged leaves. To do this, use clean, sharp shears and cut close to the stem, being cautious of the plant’s sap as it may cause skin irritation and swelling of the mouth if ingested. Remember to wear gloves during this process to protect your skin.
Another reason to prune your dieffenbachia is to control its size and shape. Regularly cut back the top of the plant to encourage bushier growth and a more compact form. You can also remove any unruly or excessively large leaves to maintain the desired appearance. When you prune, make clean cuts at a slight angle to promote faster healing for the plant. Don’t forget to disinfect your shears before and after each use to prevent the spread of disease.
Occasionally, dieffenbachia plants become leggy and lose their lower leaves, revealing bare stems. To rejuvenate your plant and encourage fresh growth, cut the main stem back to about 6 inches in height. This pruning method will stimulate new growth from the base, making your plant dense and full again. It is best to perform this type of pruning during the growing season, giving your dieffenbachia ample time to recover and thrive.
Potting and Repotting

When potting your Dieffenbachia, choose a container with adequate drainage holes to prevent waterlogging. Fill the pot with a well-draining, peat-based potting mix to promote healthy growth. Your plant enjoys a slightly acidic to neutral pH level between 6.1 and 6.5.
Regular repotting is essential for maintaining your Dieffenbachia’s health. It’s ideal to repot every two or three years and do this during the spring. When you notice roots emerging from the drainage holes or your plant outgrows its pot, it’s time to move it to a larger container.
To repot, gently remove your Dieffenbachia from its current pot and untangle any visible, circling root systems. Choose a new container that is at least one size larger than the previous one. Fill the new pot with fresh potting mix, then plant your Dieffenbachia so its top roots are just slightly below the soil line.
Common Problems & Troubleshooting
In your journey caring for dieffenbachia plants, some problems may arise. Knowing how to identify and address these issues can make all the difference.
One issue to watch for is brown leaf spots with a yellow halo. This symptom indicates a fungal infection. To solve this, avoid overhead watering and apply fungicide to protect the healthy plants.
You may also encounter slow growth in your dieffenbachia. Low light conditions often cause this. To ensure healthy growth, provide your plant with brighter, indirect light, but avoid direct sunlight.
In addition, overwatering can cause root rot. This is a common problem among houseplants, including dieffenbachia. Ensure the soil drains well and only water when the top few inches are dry to the touch.
Lastly, be aware that dieffenbachia is toxic if ingested. The plant’s sap can cause swelling in the mouth and throat. Keep dieffenbachia out of reach of children and pets to prevent accidents.
Dieffenbachia Varieties
Dieffenbachia ‘Camille’
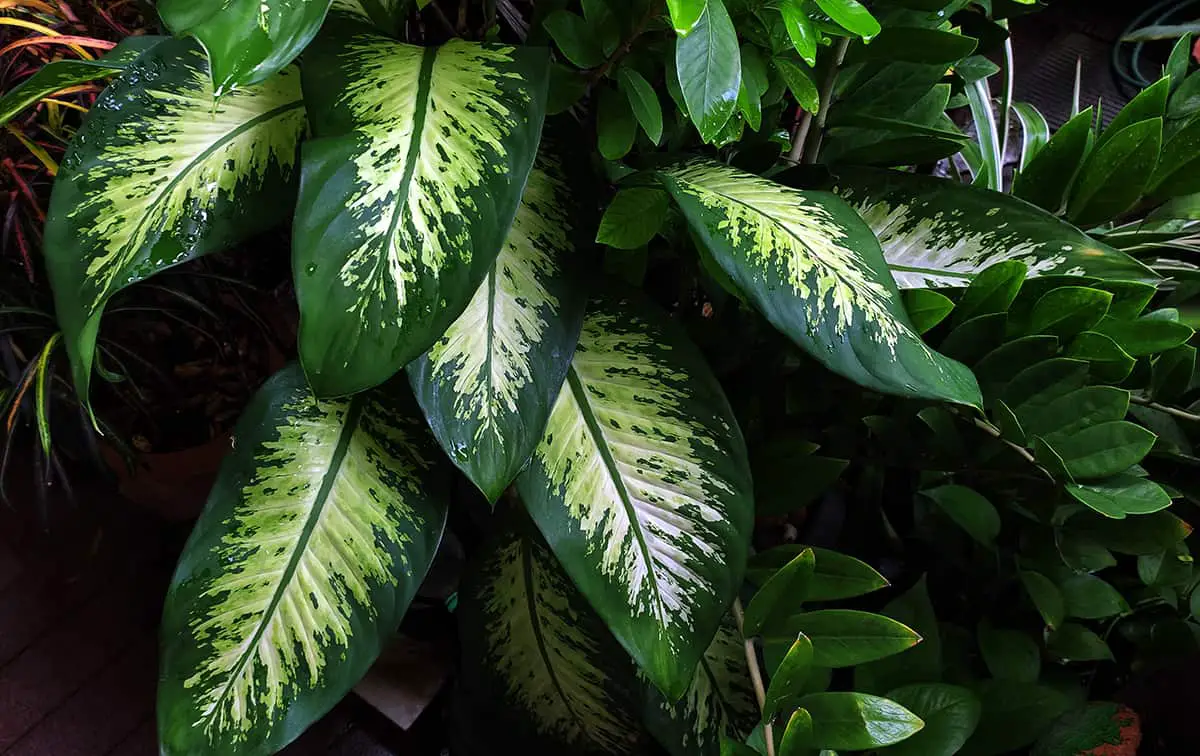
Dieffenbachia ‘Camille’ is a popular variety with large, attractive leaves. The leaves have a creamy-yellow center surrounded by a rich green border.
Dieffenbachia ‘Tropic Snow’
Dieffenbachia ‘Tropic Snow’ is a beautiful cultivar developed at the University of Florida. Its leaves feature brighter yellow-green centers with a darker green border. ‘Tropic Snow’ can also adapt well in indoor conditions, making it an excellent houseplant choice.
Dieffenbachia ‘Compacta’
If you have limited space, Dieffenbachia ‘Compacta’ is a perfect option for you. This low-growing variety has a more compact growth habit, allowing it to fit seamlessly in smaller spaces. Its leaves are striking with cream-colored centers and green edges. ‘Compacta’ requires similar care as other dieffenbachia varieties.
Dieffenbachia ‘Carina’
Dieffenbachia ‘Carina’ is known for its vibrant, eye-catching foliage. The leaves of this variety have a rich, dark green border, contrasted by a lighter green and cream center. ‘Carina’ is a suitable choice for adding a touch of color to your indoor plant collection.
Dieffenbachia ‘Sparkles’
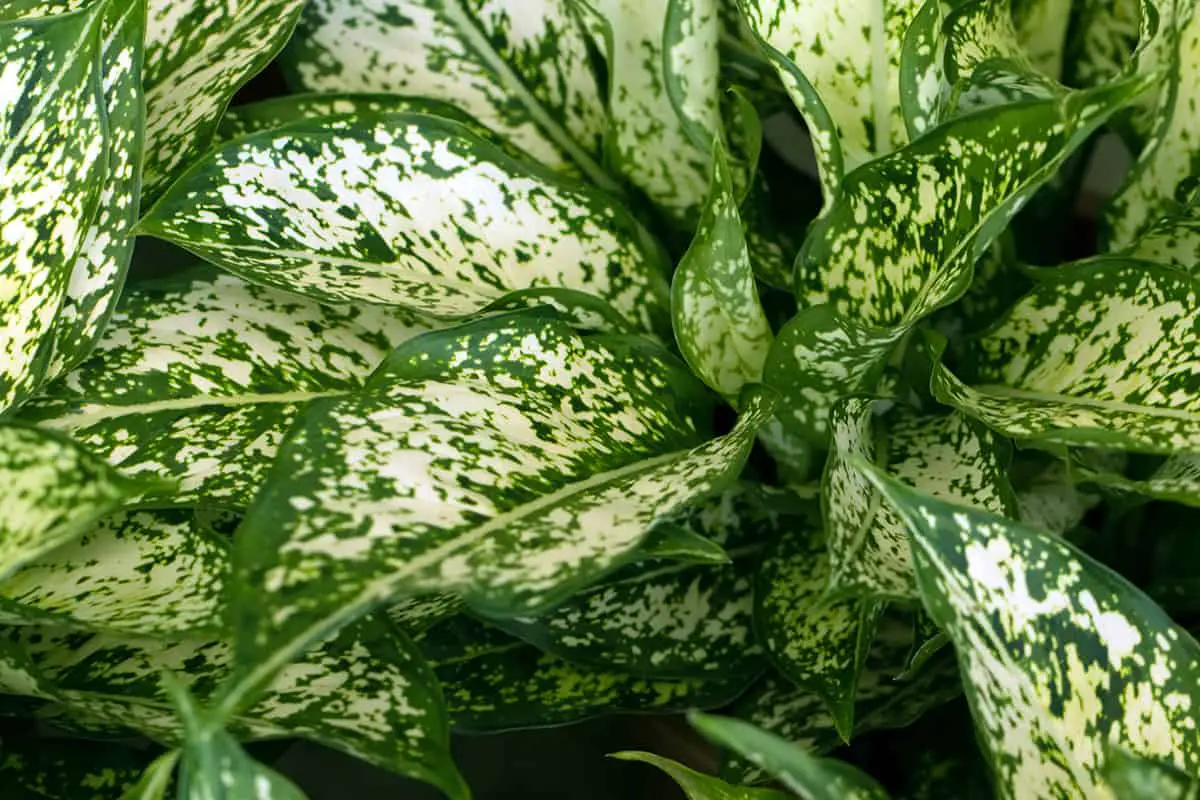
Another stunning variety is Dieffenbachia ‘Sparkles’. The name is fitting, as the leaves feature small, sparkling, light green and cream speckles. These speckles surround a central creamy-colored vein, giving the plant a unique appearance.