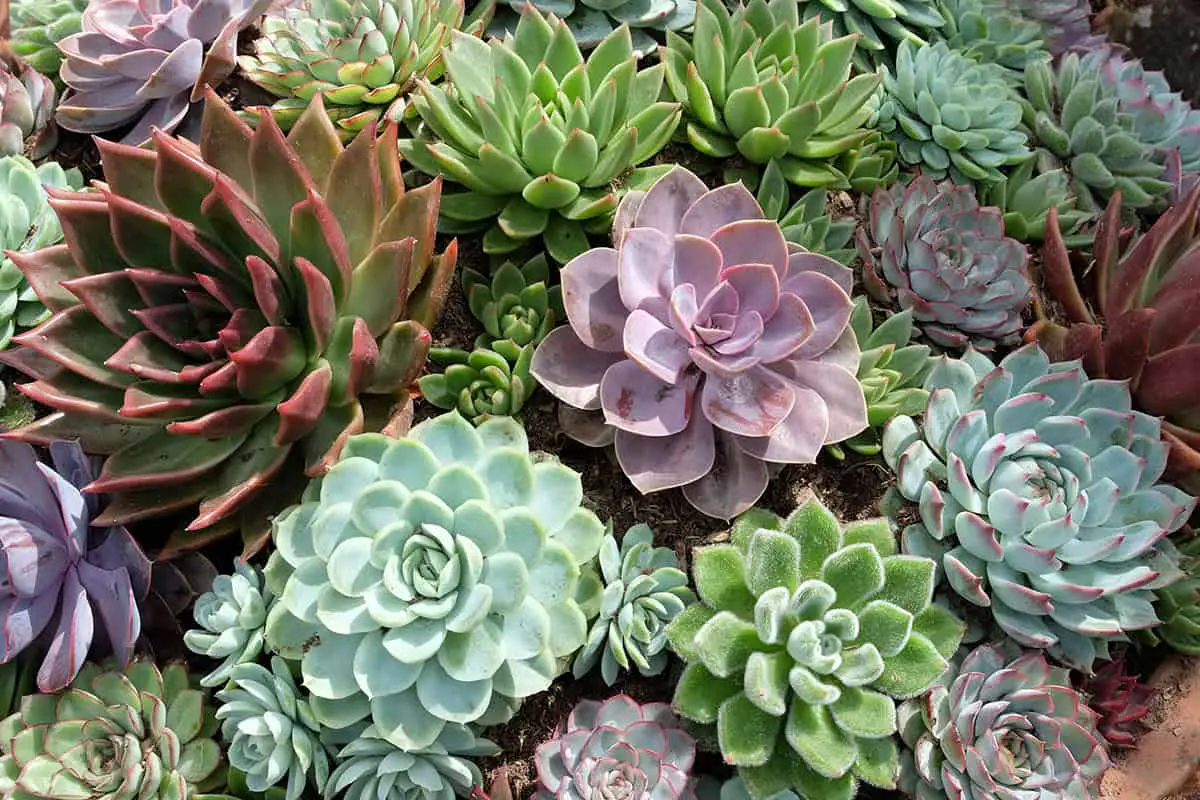
Echeverias are the tidy, rose-shaped succulents stacked on every garden center bench, in powdery blue, lavender, near-black and lime green. They look tough, and they mostly are, yet a stretched or rotting rosette is one of the most common succulent complaints.
Nearly every one of those failures comes down to light and water. Those two topics get the most space in the care notes for exactly that reason, and the variety list at the end is worth a look before your next nursery trip.
| Common Name | Echeveria |
| Botanical Name | Echeveria spp. |
| Family | Crassulaceae |
| History & Origin | Native to Central and South America |
| Plant Type | Succulent |
| Mature Size | 2-12 inches tall, 2-12 inches wide |
| Sun Exposure | Full sun to partial shade |
| Soil Type | Well-draining, cactus or succulent mix |
| Soil pH | 6.0-7.0 |
| Temperature | 65-80°F |
| Watering | Water when soil is dry, avoid overwatering |
| Fertilizing | Light feeding during growing season, diluted fertilizer |
| Bloom Time | Spring to summer |
| Flower Color | Red, orange, pink, yellow |
| Hardiness Zone | 9-11 USDA |
| Toxicity | Non-toxic to pets and humans |
| Common Problems | Overwatering, root rot, pests like mealybugs |
Table of Contents
Light
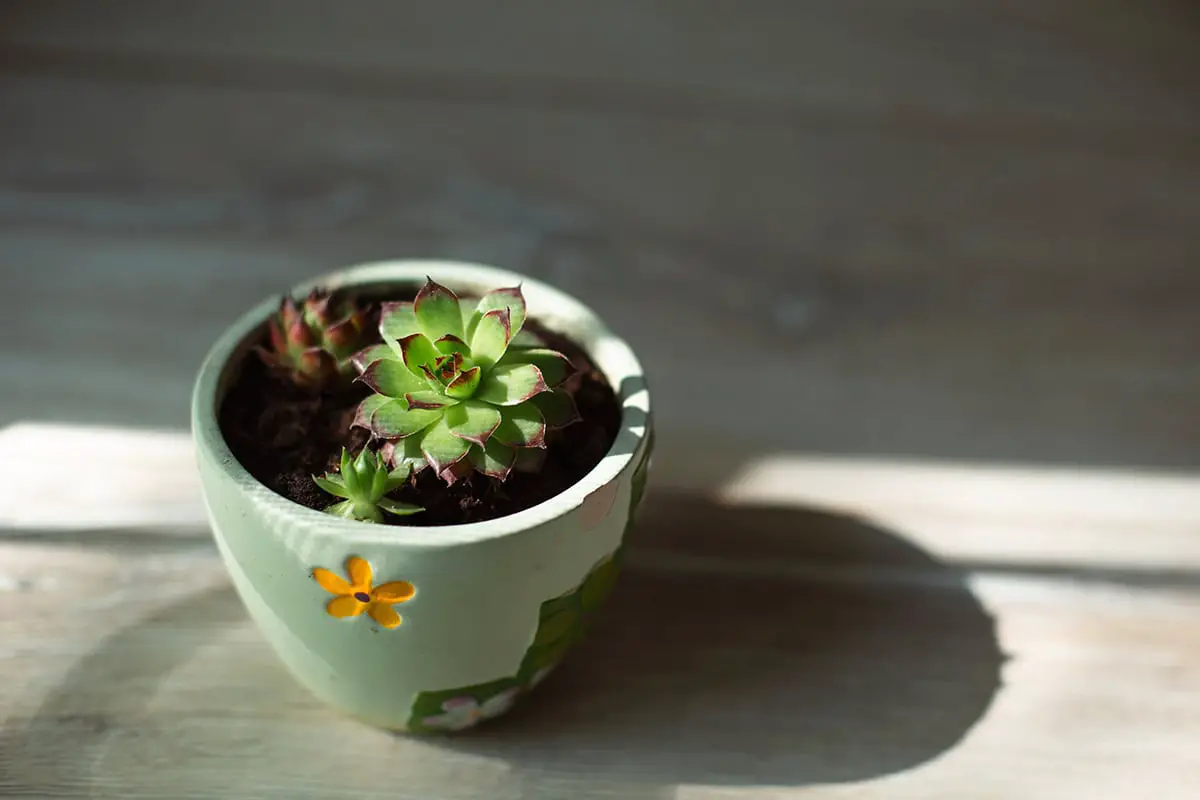
Echeverias want sun, and plenty of it. Six hours of direct light a day is the target, and indoors a south-facing window comes closest.
Low light makes the rosette stretch toward the window. The leaves space out along a bare stem, and the bright pinks and blues fade to plain green.
During winter indoors, a grow light fills the gap. Move plants into stronger sun gradually over a week or two, since a sudden jump from shade to full afternoon sun scorches the leaves.
Brown or bleached patches mean the light is too harsh for that plant. Shift it to a spot with light afternoon shade and watch the new growth.
Soil
Start each plant in a gritty cactus or succulent mix. To make your own, combine regular potting soil with coarse sand and perlite in roughly equal parts.
Fast drainage is the whole point. Dense, clay-heavy soil holds water around the roots and leads straight to rot.
Outdoors, plant in sandy ground or amend heavy soil with gravel and grit. A top layer of small pebbles dries quickly around the base of the rosette and discourages weeds.
Echeverias prefer a pH between 6.0 and 7.0 and need very little in the way of rich, fertile soil. Pots must have drainage holes so water never pools at the bottom.
Watering
Overwatering kills more echeverias than any other mistake. Let the soil dry out completely, then water deeply until it runs from the drainage holes. Empty the saucer afterward.
In spring and summer, that cycle comes around every week or two. Heat and pot size set the exact pace. In winter, when growth slows, water every two to four weeks.
Aim the water at the soil instead of the rosette. Drops trapped between the leaves lead to rot and leave spots on the powdery coating.
Yellow, soft or translucent leaves, mold on the soil and fungus gnats all point to too much water. Shriveled, deflated leaves mean the opposite.
Temperature and Humidity
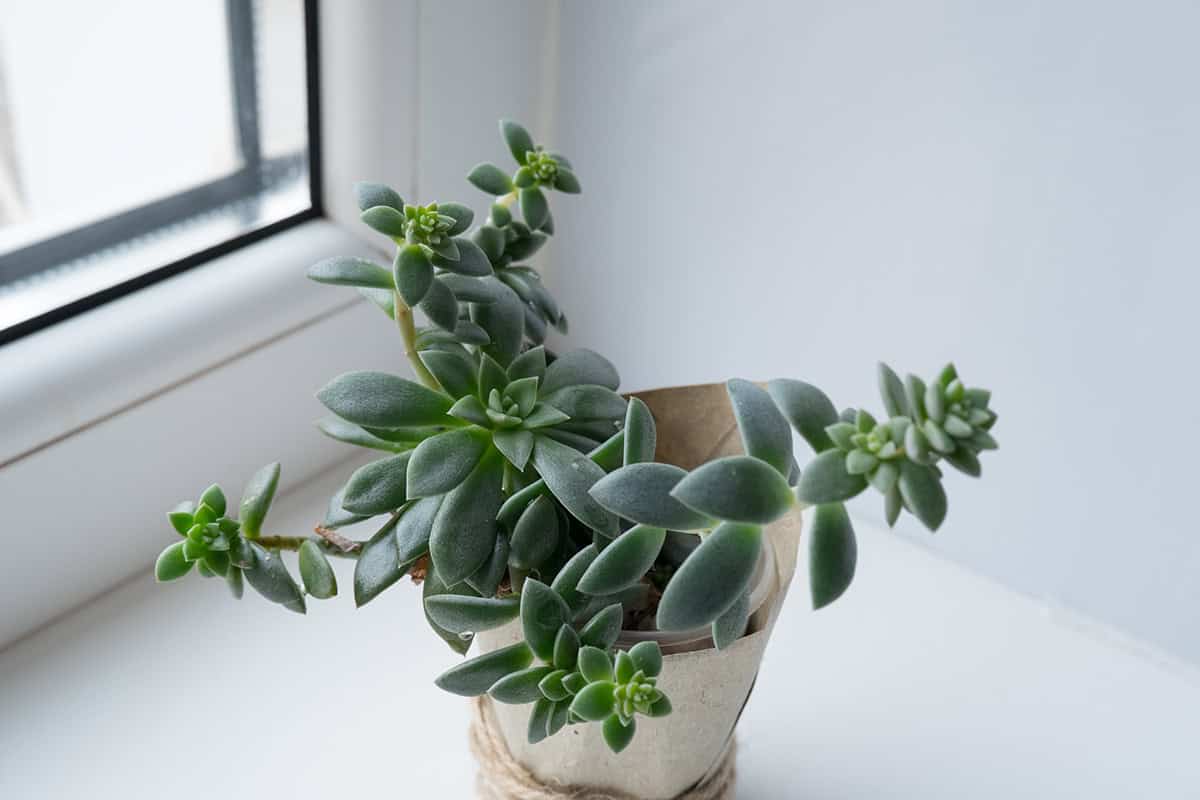
Echeverias grow best with daytime temperatures between 65°F and 80°F and cooler nights in the 50s. Most varieties handle a brief dip to 32°F, though frost marks the leaves and few survive a hard freeze.
Dry air agrees with them. Average indoor humidity around 40 to 50 percent is fine, and high humidity with poor air flow invites rot.
In cold climates, move outdoor pots inside before the first frost and set them in your sunniest window.
Fertilizer
Echeverias need very little food. Once a month in spring and summer, feed with a balanced water-soluble fertilizer diluted to half strength, or quarter strength for powdered formulas. Skip feeding in winter.
A slow-release product such as Osmocote, applied once in spring, is a hands-off alternative.
Water the soil lightly before feeding to protect the roots. Too much fertilizer produces weak, leggy growth and dull color.
Propagation
Offsets, or pups, are the quickest route to new plants. Once a pup has a few roots of its own, cut it free with a sharp, clean knife and pot it up.
For leaf cuttings, twist a plump leaf cleanly off the stem with the base intact. Let it dry for a few days until the end calluses, then lay it on top of dry succulent mix. Tiny roots and a baby rosette appear within weeks.
Stem cuttings rescue leggy plants. Cut the rosette off with an inch or two of stem, let it callus for several days, then set it into dry mix and wait a week before watering.
Seeds are the slowest route. Scatter them on the surface of moist, gritty mix and expect months before the seedlings look like rosettes. Seeds from hybrids rarely match the parent.
Place new plants in bright, indirect light until they root, and use sterile tools throughout.
Pruning
Pull dry, dead leaves from the bottom of the rosette as they appear. They trap moisture and hide mealybugs.
Cut spent flower stalks at the base once blooming ends. Clean, sharp scissors and a wipe of rubbing alcohol between plants lower the risk of spreading disease.
A plant that has stretched out of shape won’t tighten back up. Behead it instead. Cut the rosette off with a short stem and root it as a stem cutting, and the old stump sprouts new pups along its length as a bonus.
Potting and Repotting
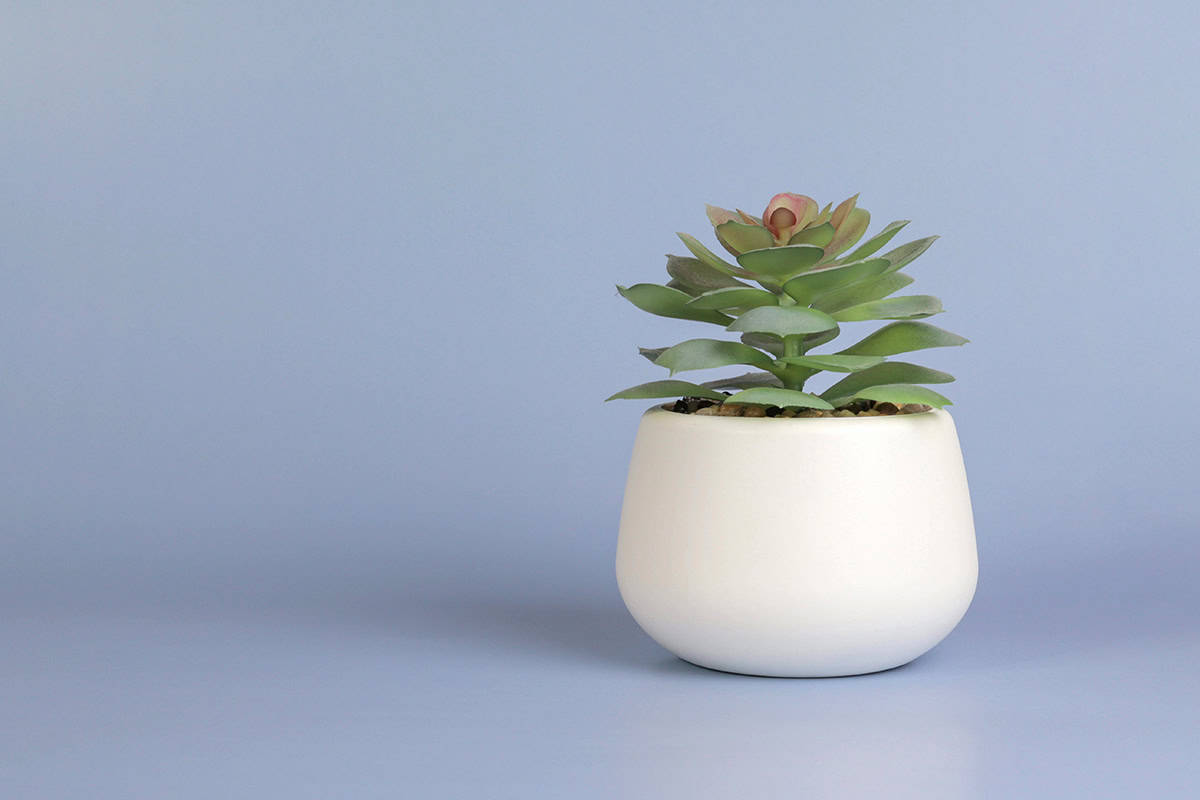
Choose a shallow pot with drainage holes and fill it with cactus mix or a blend of equal parts perlite and potting soil. Terracotta dries fastest, which helps. Garden soil is too heavy for pots.
Repot every two to three years in spring or early summer, as active growth begins. Ease the plant out, shake off old soil and trim any dead or rotting roots.
Set it in a pot only slightly larger than the last one and fill in with barely damp mix. Wait about a week before the first watering so damaged roots heal over.
Oversized pots hold extra moisture around a small root system and lead to rot. After repotting, return the plant to its sunny spot.
Common Problems & Troubleshooting
Overwatering shows up as yellow, soft, mushy leaves, moldy soil and fungus gnats. Unpot the plant, remove rotten roots and repot it in dry, gritty mix.
Underwatering leaves the lower leaves wrinkled and thin. A thorough soak plumps them back up within a day or two.
Low light causes stretching, pale color and widely spaced leaves. Move the plant to a sunnier window or add a grow light.
Pests are few, but watch for mealybugs and aphids. Mealybugs hide as white fuzz deep in the rosette and at the roots. Dab them with rubbing alcohol on a cotton swab, or spray insecticidal soap.
Sudden temperature swings and cold drafts shock the plant. Place it away from heating vents and drafty doors.
Echeveria Varieties to Choose
Hundreds of echeveria species and hybrids exist, and almost all of them form neat rosettes. These seven are easy to find and easy to grow.
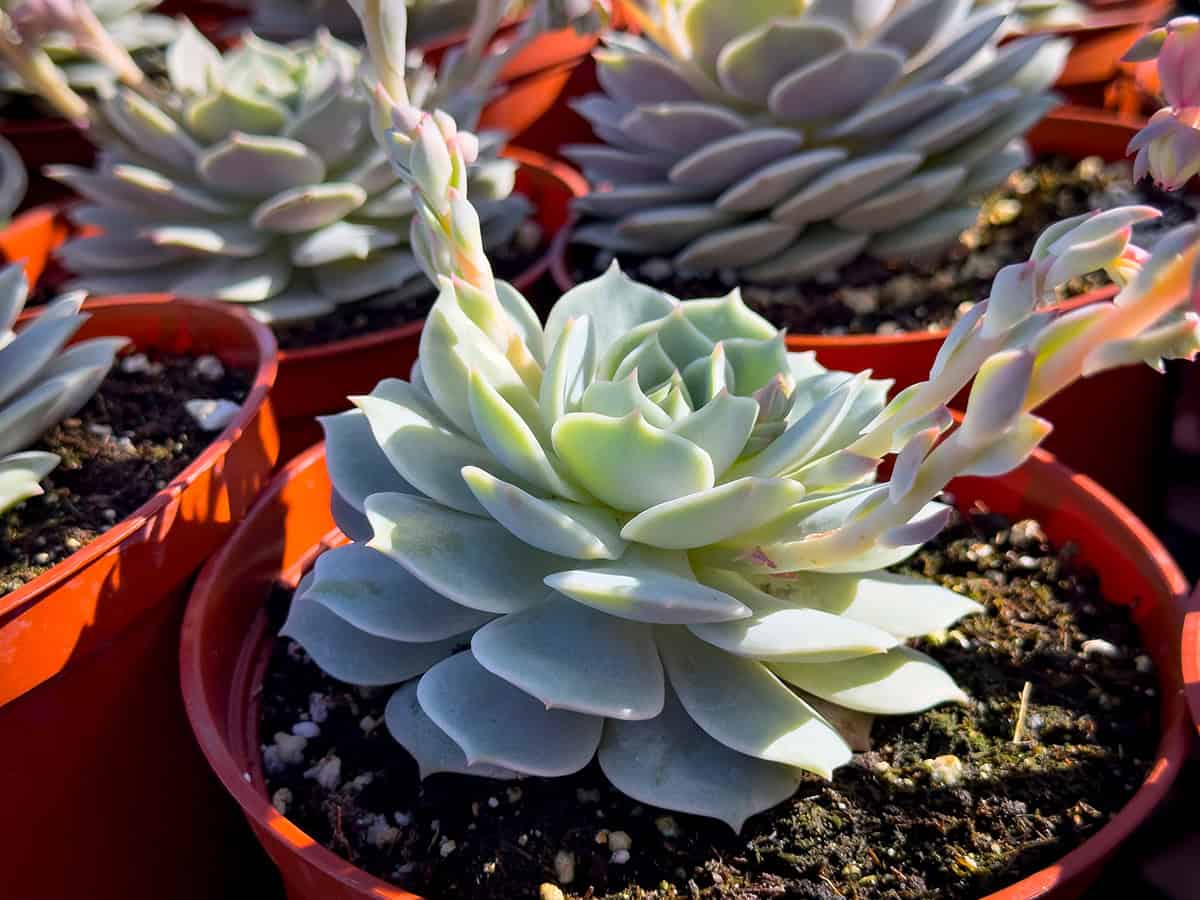
Echeveria ‘Lola’ has pale lavender-gray leaves packed into a tight, rounded rosette. It shines in containers and rock gardens.
Echeveria ‘Perle von Nürnberg’ carries pinkish-purple leaves with a powdery coating that rubs off at a touch, so handle it gently. Full sun deepens the color.
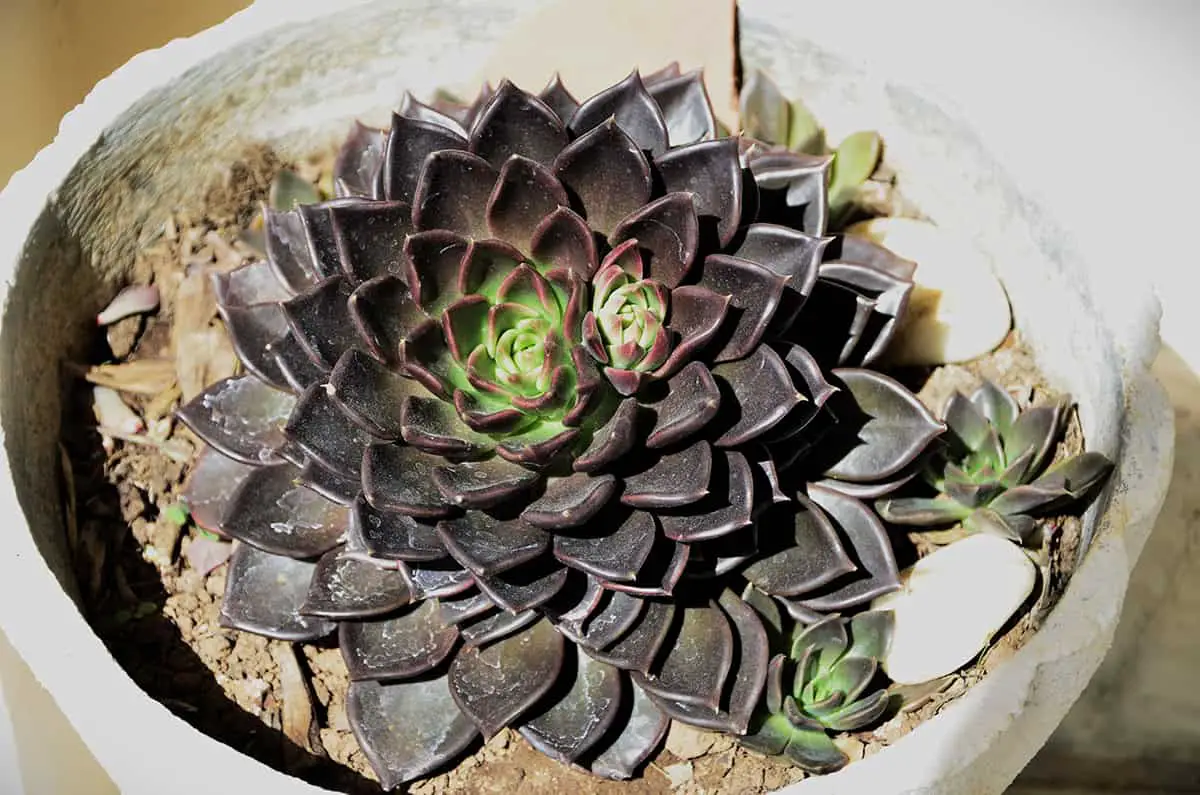
Echeveria ‘Black Prince’ grows small, compact rosettes in a deep chocolate shade close to black. It ranks among the darkest echeverias available.
Echeveria ‘Topsy Turvy’ has blue-gray leaves that fold lengthwise and curl back toward the center. It grows readily indoors or out.
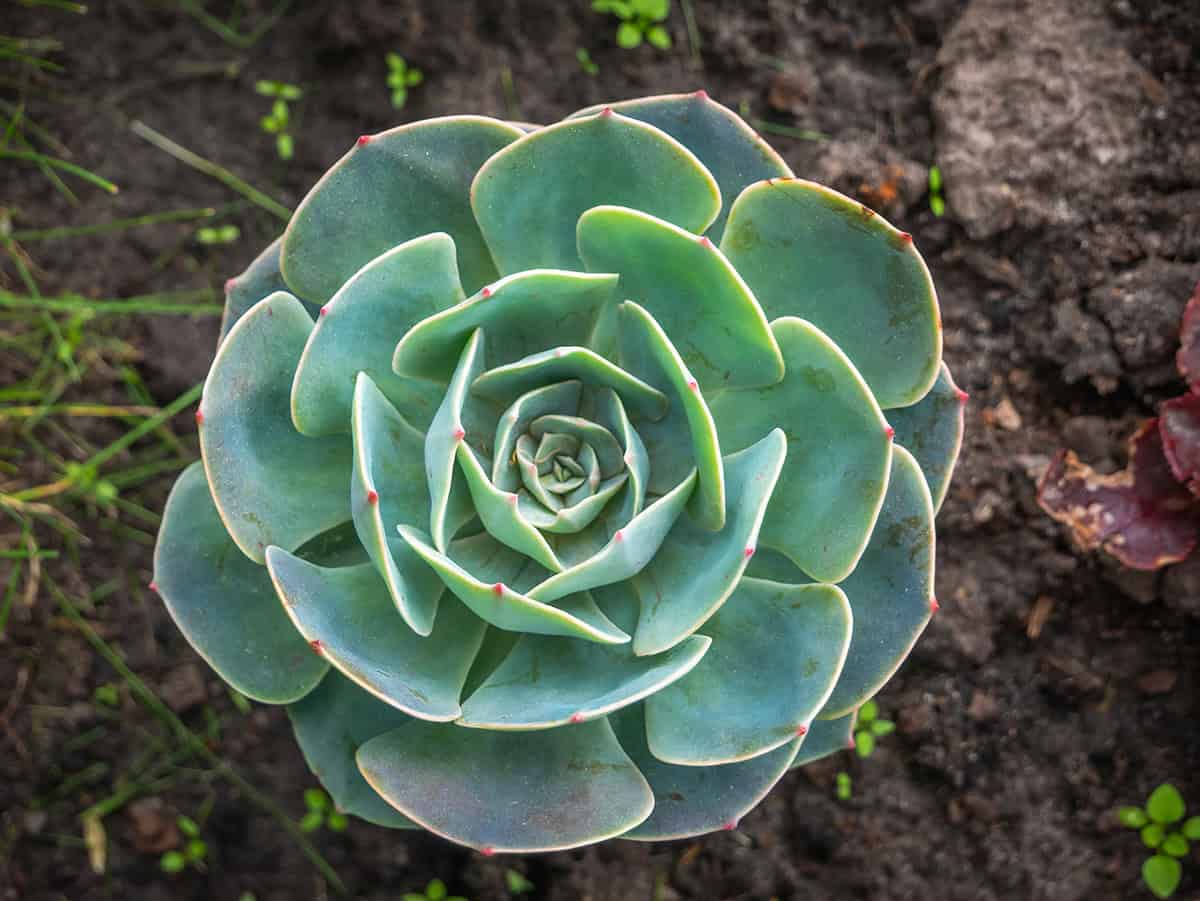
Echeveria secunda forms blue-green rosettes up to about 6 inches wide and produces offsets freely.
Vigorous and quick to flower, Echeveria x gilva forms green rosettes and handles brief dips to around 32°F.
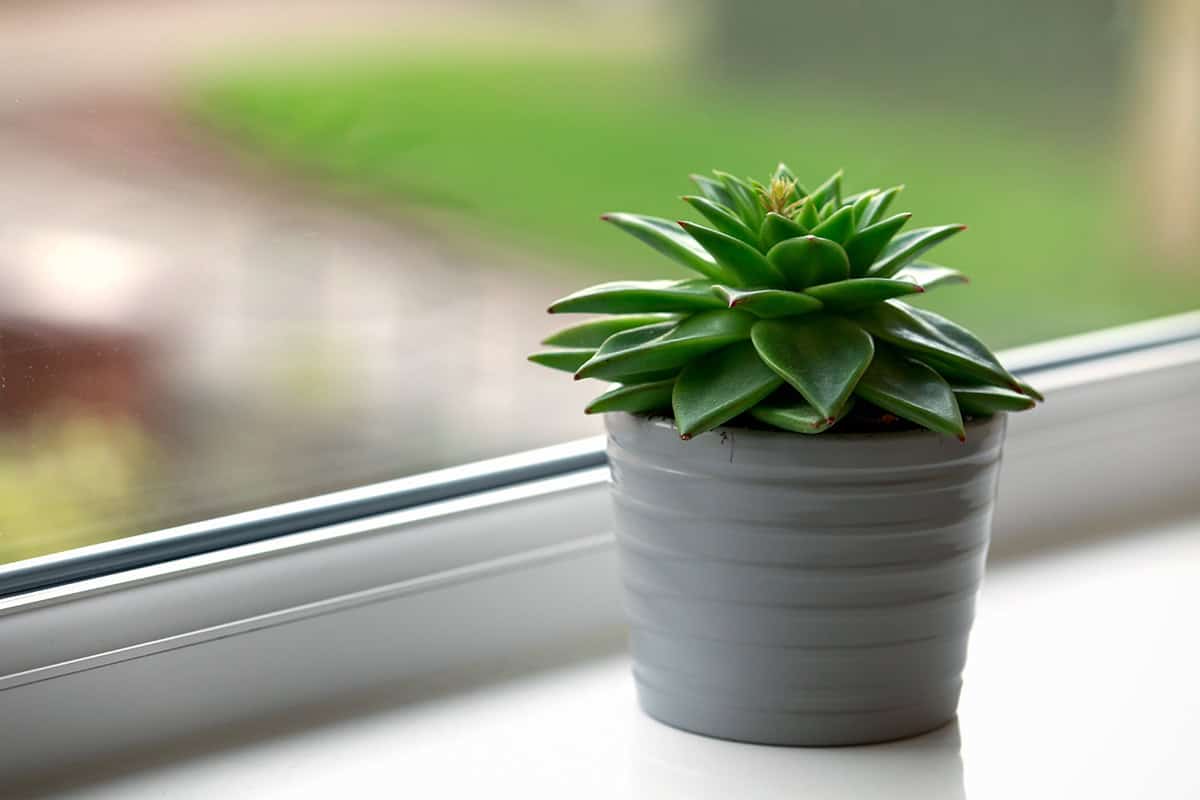
Echeveria agavoides has pointed, bright green leaves with red tips. Strong light sharpens that red edge.
In mild climates, several of these grow outdoors year-round in gravel beds and rock gardens. A wide, shallow bowl planted with three or four colors makes a striking display.