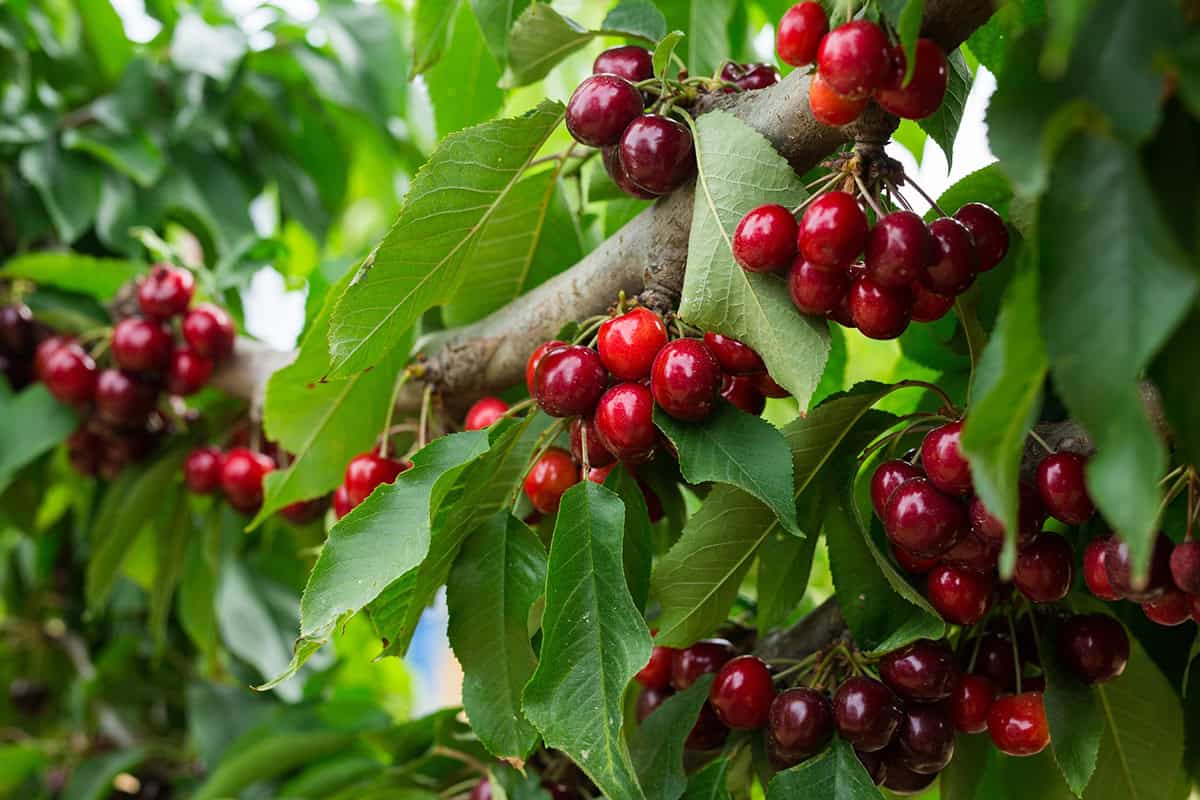
Cherry trees bring beauty in spring and delicious fruit in summer, making them a gardener’s dream. The best part? You can start one from seeds at home. Stick around to find out exactly how to do it.
Table of Contents
Can You Grow A Cherry Tree From Seeds?
You can grow cherry trees from seeds under the right conditions. The type of cherry, where you get the fruit, and local climate all affect your results.
Store-Bought Cherries Vs. Home-Grown Varieties
Cherries from grocery stores often come from hybrid trees. These hybrids do not grow true to type from seed. If you plant the seeds from store-bought cherries, you may not get a tree like the parent. The fruit can be small, sour, or even inedible.
Commercial cherries can also be treated with chemicals to prevent sprouting. This can keep seeds from germinating at all. It is usually better to collect seeds from local or home-grown cherry trees. These trees are already adapted to local conditions and are less likely to be hybrids. Fresh seeds also have a higher chance of successful germination.
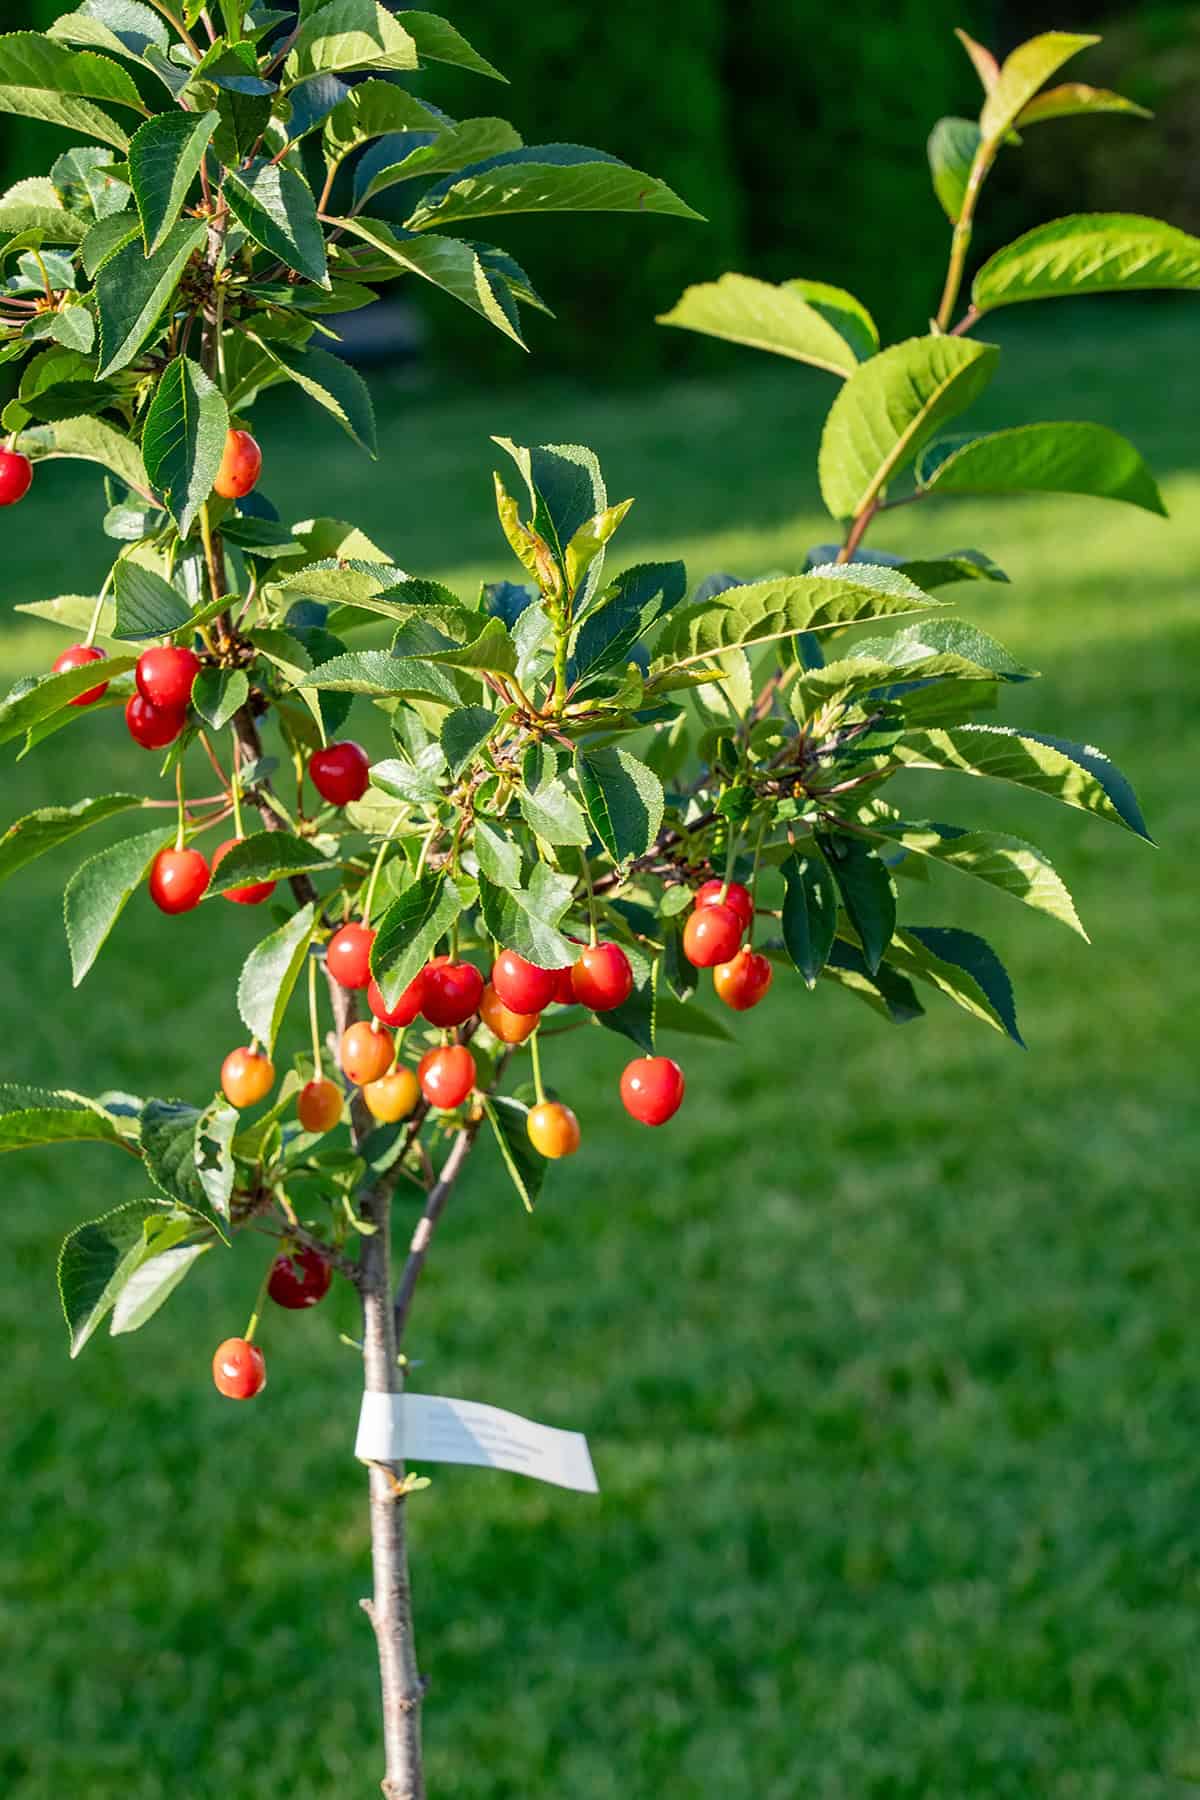
If you have access to a healthy, mature cherry tree in your area, it is the best source for seeds. You will know more about its fruit quality.
Sweet Cherries Vs. Sour Cherries
Sweet cherries and sour cherries have different requirements. Sweet cherry trees need warmer conditions and are harder to grow from seed in many areas. They often require a longer chilling period to break seed dormancy. Some sweet cherry varieties struggle to produce fruit outside their ideal climate.
Sour cherries are more adaptable to different climates. They grow reliably from seed if you provide the proper cold-stratification, which means chilling the seeds in a moist medium in the refrigerator for several weeks. Sour cherry trees also tend to be smaller and fruit earlier than sweet varieties. You will often find that sour cherries are easier for most gardeners to grow at home because of their hardiness.
Preparing Cherry Seeds For Planting
You need to prepare cherry seeds correctly to ensure healthy germination. Proper cleaning, chilling, and timing all affect your chances of success.
Collecting And Cleaning Cherry Pits
Choose ripe cherries from healthy trees. Remove the pits by cutting the cherries in half and gently prying out the stones. Wash the pits under running water to remove any fruit residue.
You should let the cleaned pits dry on a towel for a day. This helps prevent mold later. Any leftover fruit flesh can cause rot and block germination.
Inspect each pit for cracks or damage. Only undamaged and firm pits work well for planting. If you plan to plant several trees, gather extra seeds to account for low germination rates.
Stratifying Cherry Seeds
Seeds from cherries need a cold period to break dormancy. This is called stratification. It simulates winter and encourages sprouting in spring.
Start by soaking clean pits in water overnight. Next, mix the pits with slightly damp peat moss or sand in a sealed container or plastic bag. Place them in the refrigerator at about 1–5°C (34–41°F).
Leave the seeds in the fridge for 60 to 90 days. Check them every few weeks. The peat moss or sand should stay moist, but not wet, to avoid mold. Once you see signs of tiny roots, the seeds are ready for planting outdoors.
When To Start The Process
Begin preparing cherry seeds several months before you want to plant them outside. Timing matters since stratification takes at least two months.
Plan to start the cold treatment during the winter. This allows you to plant the sprouted seeds in early spring when the soil has warmed. If you refrigerate the seeds too late, they may not be ready in time for transplanting outdoors.
Check your local climate to find the right planting window. Early April is ideal in many regions, after the last severe frosts have passed. This ensures the young seedlings will not be damaged by cold snaps.
Planting Cherry Seeds
Healthy soil, the right way to sow, and careful watering all help your cherry seeds succeed. Pay close attention to environment and moisture for better germination.
Choosing The Right Soil
A well-draining, loamy soil supports strong cherry seed growth. Your soil’s pH should sit between 6.2 and 6.8 for best results. Soil that drains well stops water from pooling and protects seeds from rotting.
Remove large rocks and break up clumps so roots can easily spread. Dark, crumbly, and slightly moist soil shows good organic content. Cherry seeds do not do well in dense, clay-heavy or very sandy soils.
If your yard’s soil contains too much clay or sand, improve it by adding compost, peat moss, or leaf mold. Avoid soils where water puddles after heavy rain. Good preparation increases your seed’s chances of sprouting.
Sowing The Seeds Indoors Or Outdoors
For the most control, plant seeds indoors in pots during late winter. Fill each pot with your prepared soil. Place a single seed 1/2 inch deep in each pot and cover gently. Pots should have drainage holes.
If you want to direct sow outdoors, wait until spring and the danger of frost has passed. Plant the seeds 1/2 inch deep and at least a foot apart. Choose a spot with sunlight and protection from strong winds.
Indoor sowing lets you monitor temperature and moisture more closely. Outdoors works well if you have mild winters and safe conditions. No matter the choice, label your seeds and keep track of planting dates.
Watering And Germination Tips
Consistent moisture is key for germinating cherry seeds. Water until the soil feels damp but not soggy. Overwatering may rot your seeds, while letting the soil dry out can stop germination.
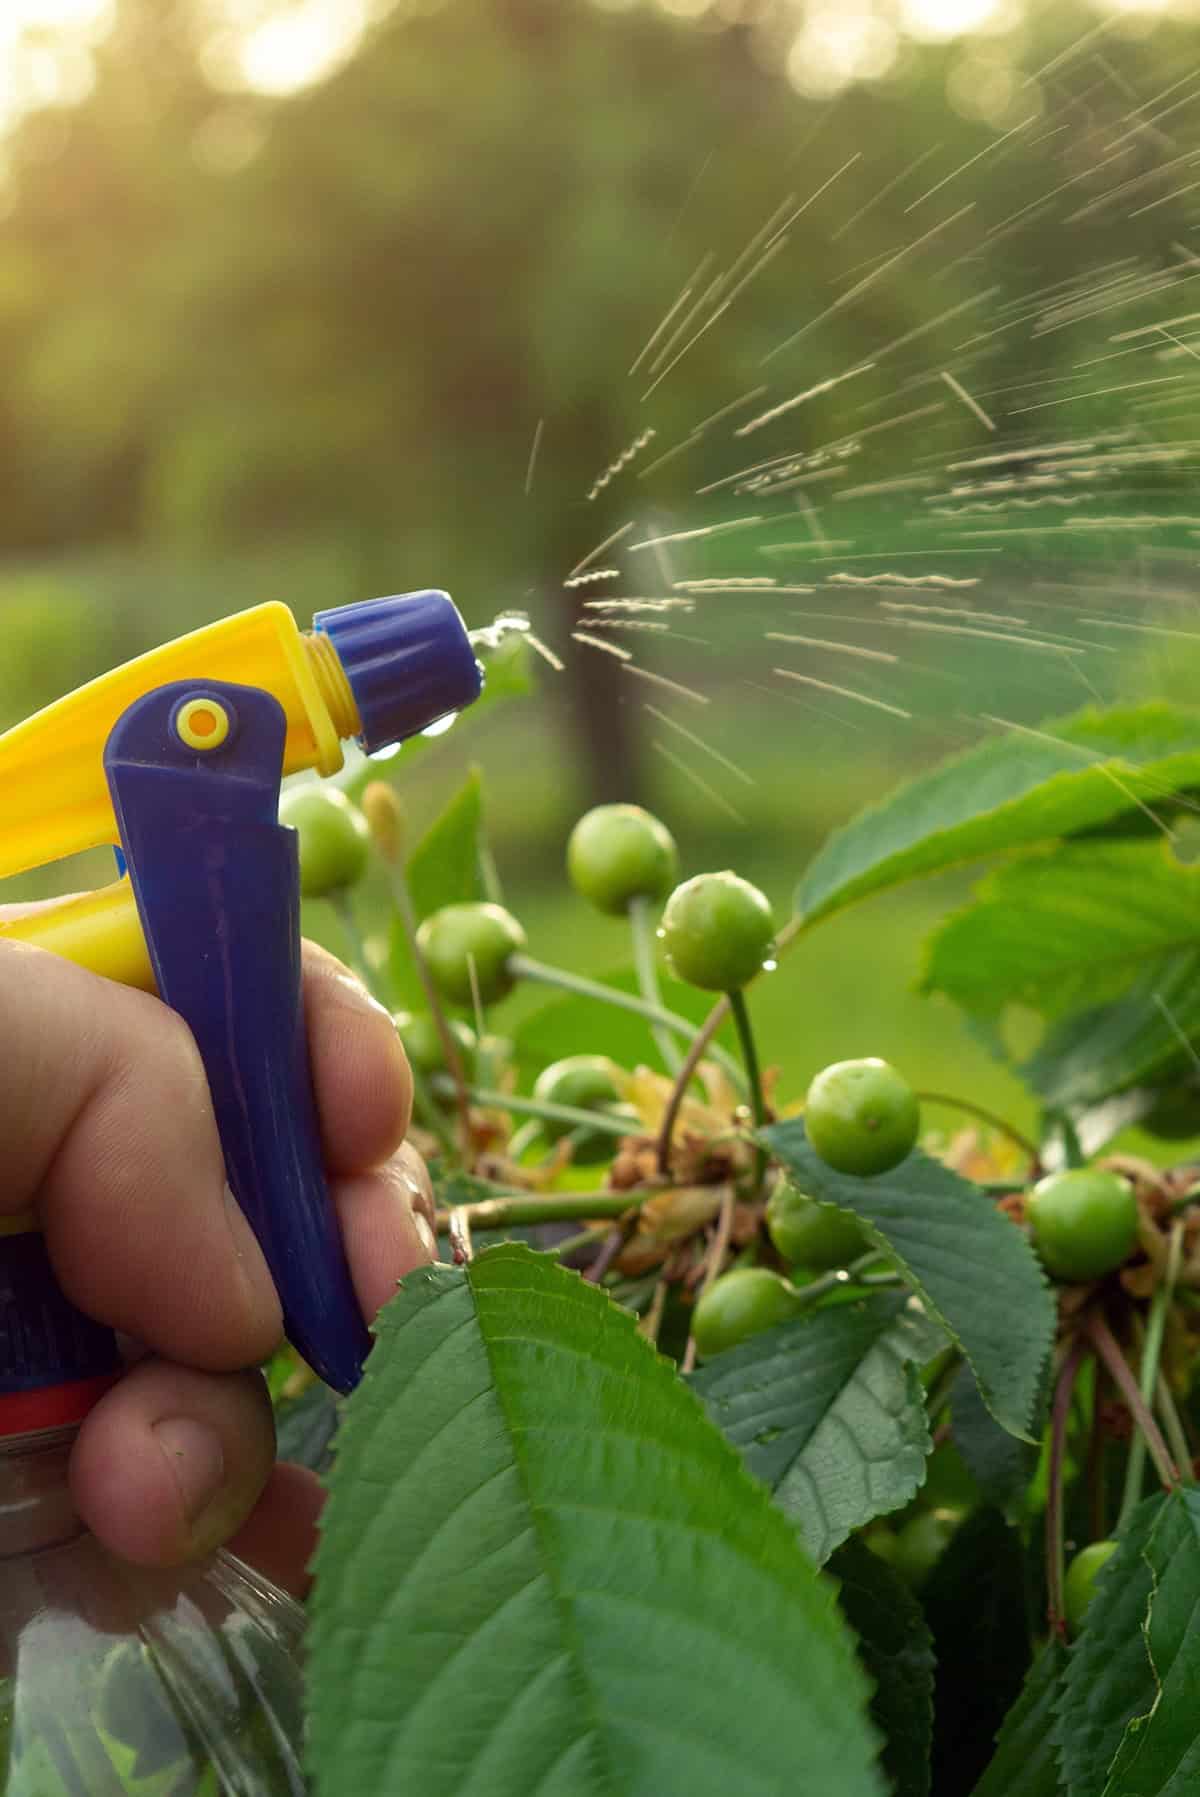
Mist the surface with a spray bottle for even moisture. For indoor pots, plastic covers or domes help keep humidity stable until seeds sprout. Outdoors, check soil often and water if it begins to dry.
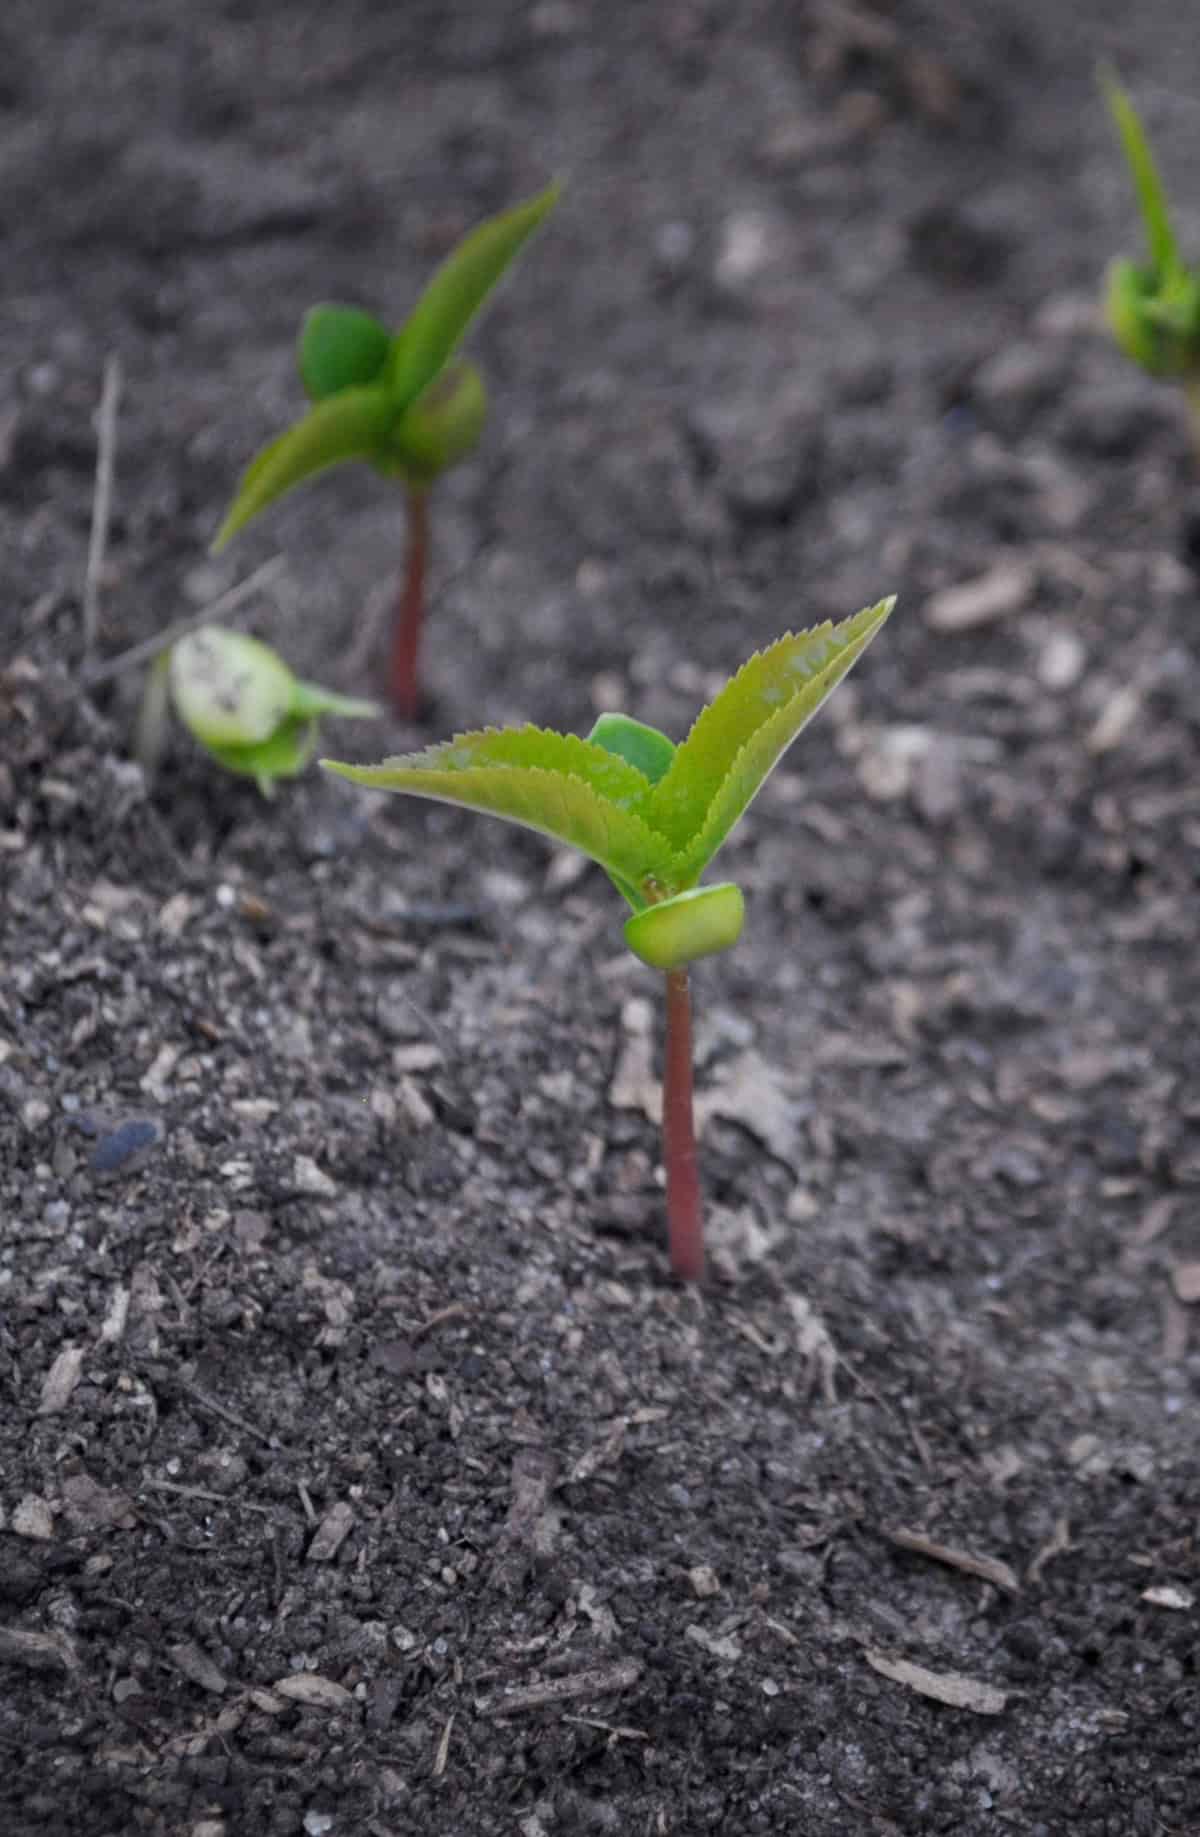
Be patient, as germination takes several weeks to months. Watch for the first green shoots. Remove covers once seedlings appear to prevent mold and allow airflow. Keep soil moist as the seedlings grow.
Caring For Young Cherry Seedlings
Proper care during the early stages helps ensure your cherry seedlings become healthy trees. Attention to sunlight, temperature, transplanting, and pest protection makes a big difference.
Light And Temperature Requirements
Seedlings need full sunlight each day to grow strong. Place the young plants in a bright area that receives at least six hours of direct sun. South-facing windows often work well indoors.
Keep the temperature between 65°F and 75°F for the best growth. Stable temperatures help prevent stress and slow growth. Avoid placing seedlings near heating vents or cold drafts, as these can cause damage.
If natural light is limited indoors, use a grow light. Keep the light about 6 inches above the plants. Check daily that the soil stays moist, not soggy, when providing extra heat.
Transplanting Seedlings To Pots Or Ground
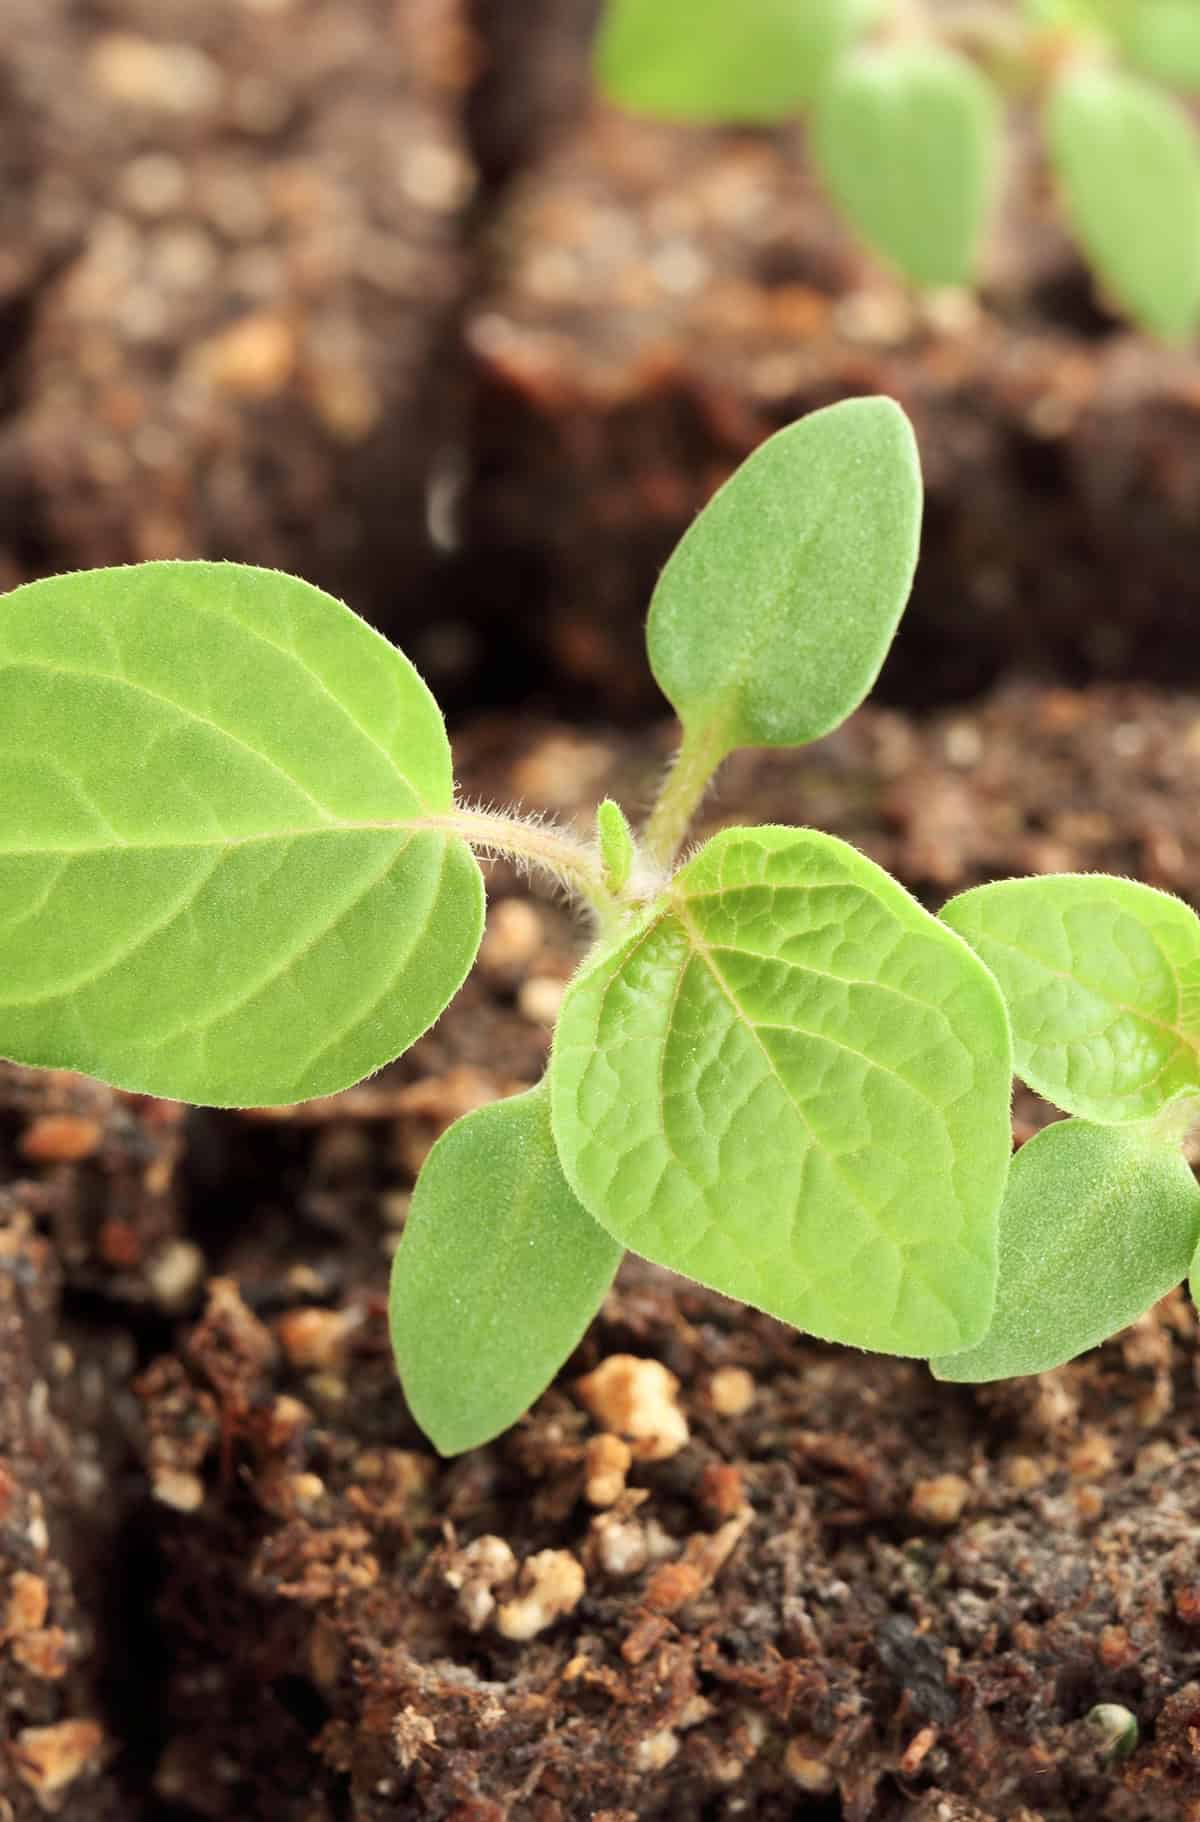
Once your cherry seedlings have a few sets of true leaves, you can move them to individual pots. Use a potting mix with good drainage. This prevents root rot and supports healthy root development.
If you want to plant outside, wait until all risk of frost has passed. Harden off the seedlings by placing them outside for a few hours each day. Increase the time outdoors over a week to help them adjust.
Space the young trees about 12 to 20 feet apart if you are planting more than one. This gives each tree plenty of room to grow. Water thoroughly after transplanting and monitor the soil moisture.
Protecting Seedlings From Pests
Young cherry seedlings often attract pests like insects and small animals. Check your plants daily for signs of damage. Look for holes in leaves or missing stems.
Use fine mesh or netting to keep birds, rodents, and larger insects away. Keep the area around the seedlings free of weeds and debris, as these attract pests. Sticky traps can help control insects if you see many around the plants.
If you notice disease spots or heavy infestation, remove damaged leaves right away. Avoid chemical sprays on very young plants unless you have no other option. Early intervention keeps your cherry seedlings healthy as they grow.
Growing On: Cherry Tree Care As It Matures
Once your cherry tree is established, it relies on regular attention to build strong growth and encourage future fruiting. You need to manage nutrients, water needs, and pest risks with care.
Fertilizing And Pruning Young Trees
You should apply a balanced fertilizer only after the first growing season. Young trees typically do not need heavy feeding. Choose a slow-release formula with equal nitrogen, phosphorus, and potassium. Over-fertilizing can cause excessive leaf growth with weak wood.
Pruning matters just as much as feeding. Remove upright shoots and favor outward-facing branches. This approach trains the tree to a manageable size and shape. Every spring, look for crowded or damaged branches and prune them out. Focus on shaping a strong, open framework early on, while the branches are still flexible and easy to train.
Watering Schedule
During the tree’s first few years, regular moisture is crucial for healthy root development. Water at the base deeply once a week, especially in dry spells. Avoid frequent light watering; deep soaks encourage deeper rooting.
As the tree matures, check the soil before watering. It should feel moist at a depth of a few inches but not soggy. Overwatering can cause root rot and other fungal issues. Late summer and fall need less water as the tree prepares for dormancy. If rainfall is lacking, maintain a steady schedule, but do not allow prolonged soggy conditions in the root zone.
Common Problems And Solutions
Pests and diseases can target cherry trees of any age. Insects such as aphids or cherry fruit flies may be troublesome. Remove affected leaves by hand or use insecticidal soap if needed. Fungal diseases like leaf spot are common, especially in wet years.
Good air circulation reduces disease risk. Prune crowded branches as needed. Watch the trunk for sap oozing, which can signal borers or canker. If this occurs, prune away affected areas and keep bark wounds clean. Mulch properly to protect roots but do not pile mulch against the trunk, which encourages fungi and pests.
When Will My Cherry Tree Produce Fruit?
Cherry trees grown from seed take patience and proper care to reach maturity. The wait depends on the variety, your climate, and how you care for the tree.
How Long Until Harvest?
You can expect cherry trees grown from seed to begin producing fruit in 5 to 7 years. Sour cherry varieties may fruit a bit earlier, sometimes around 4 years. Sweet cherry types usually take closer to 7 years before they set their first fruit.
Dwarf and semi-dwarf cherry trees often bear fruit sooner than standard-sized trees. From a seed, most trees grow as standard types and require more years. Adequate sunlight, routine watering, and protection from disease also affect how quickly the tree mature.
If you plant a single sweet cherry tree, it may not produce fruit without another compatible pollinator nearby. Most sweet cherries are not self-fertile. Sour cherries are usually self-pollinating. Planting more than one tree may improve fruit set, depending on the type.
Tips For Encouraging Flowering And Fruiting
To help your cherry tree bloom and produce, make sure your site gets full sun. At least 6 hours of sunlight each day is needed. Sandy or loamy soils with good drainage support strong root growth. Water the tree during dry periods, especially in the first years.
Prune cherry trees each spring to remove dead or weak branches. Pruning helps shape the tree and increases airflow, which reduces disease risk. Avoid heavy pruning during fruit production years. Too much can reduce the crop.
Fertilize sparingly because too much fertilizer, especially nitrogen, leads to leafy growth at the expense of fruit. If the tree looks healthy, you may not need extra fertilizer. Protect against pests and diseases by keeping the tree healthy and the area around it clean.