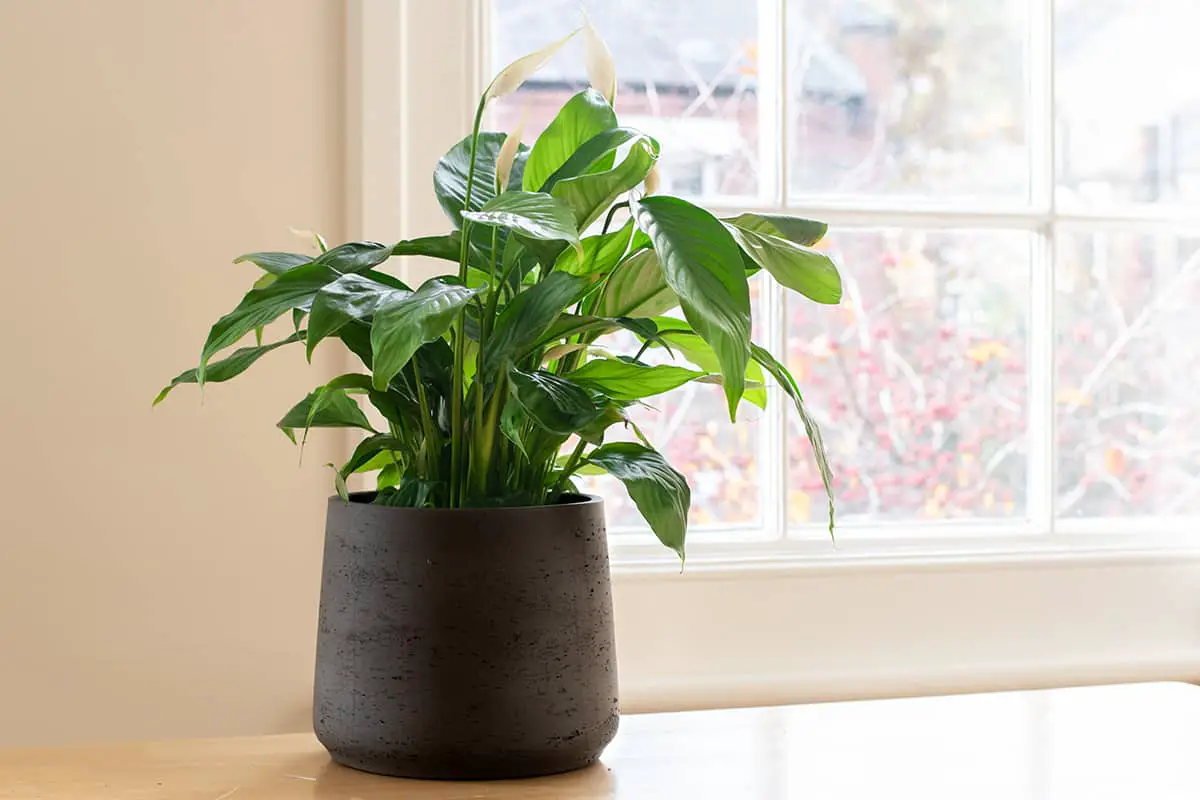
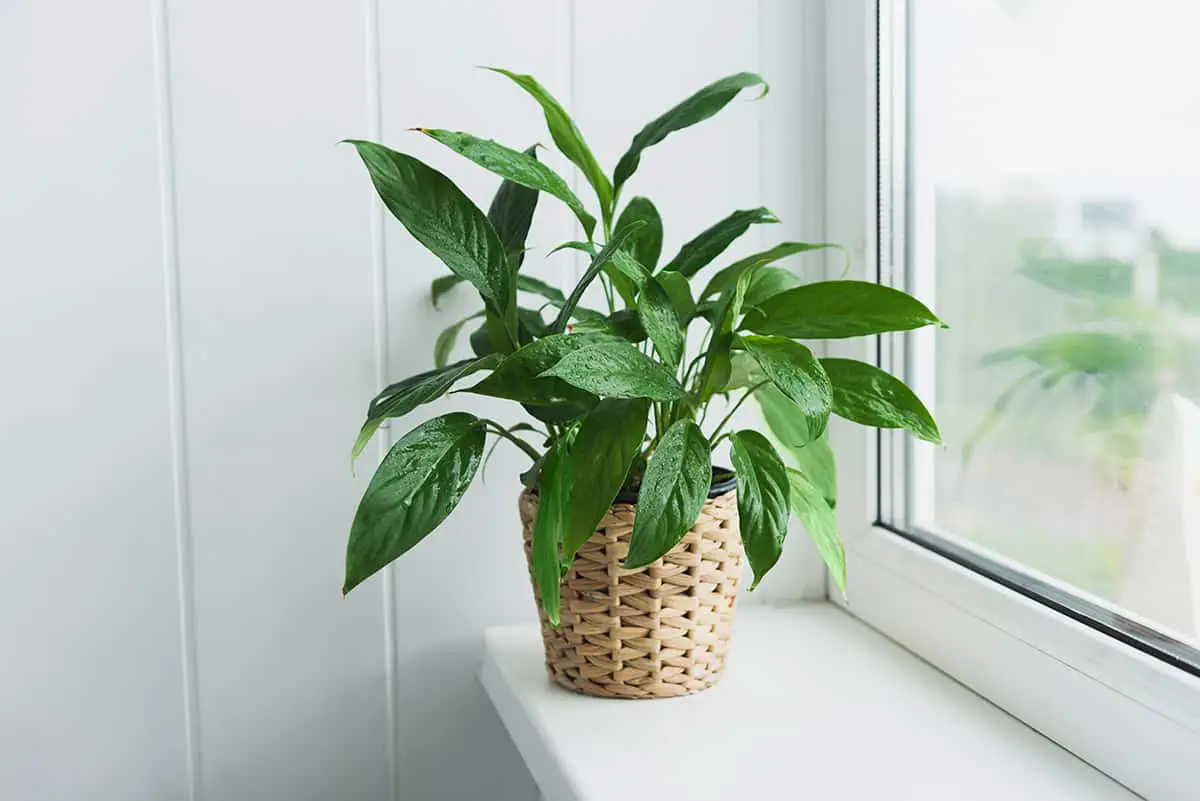
Your peace lily has just gifted you with its unique white blooms, a sign it’s happy and healthy. But to keep those flowers coming and the leaves lush, understanding its care essentials is key. Whether you’re a seasoned gardener or new to houseplants, here’s how to ensure your peace lily thrives, adding beauty and cleaner air to your home.
| Common Name | Peace Lily |
| Botanical Name | Spathiphyllum spp. |
| Family | Araceae |
| History & Origin | Native to tropical rainforests of America |
| Plant Type | Perennial, evergreen |
| Mature Size | Up to 3 feet tall and 2 feet wide |
| Sun Exposure | Prefers shade; tolerates low light |
| Soil Type | Well-draining, rich potting mix |
| Soil pH | Slightly acidic to neutral (5.8 to 6.5) |
| Temperature | Thrives at 65-85°F; avoid temperatures below 45°F |
| Watering | Keep soil moist; reduce watering in winter |
| Fertilizing | Feed lightly during growing season |
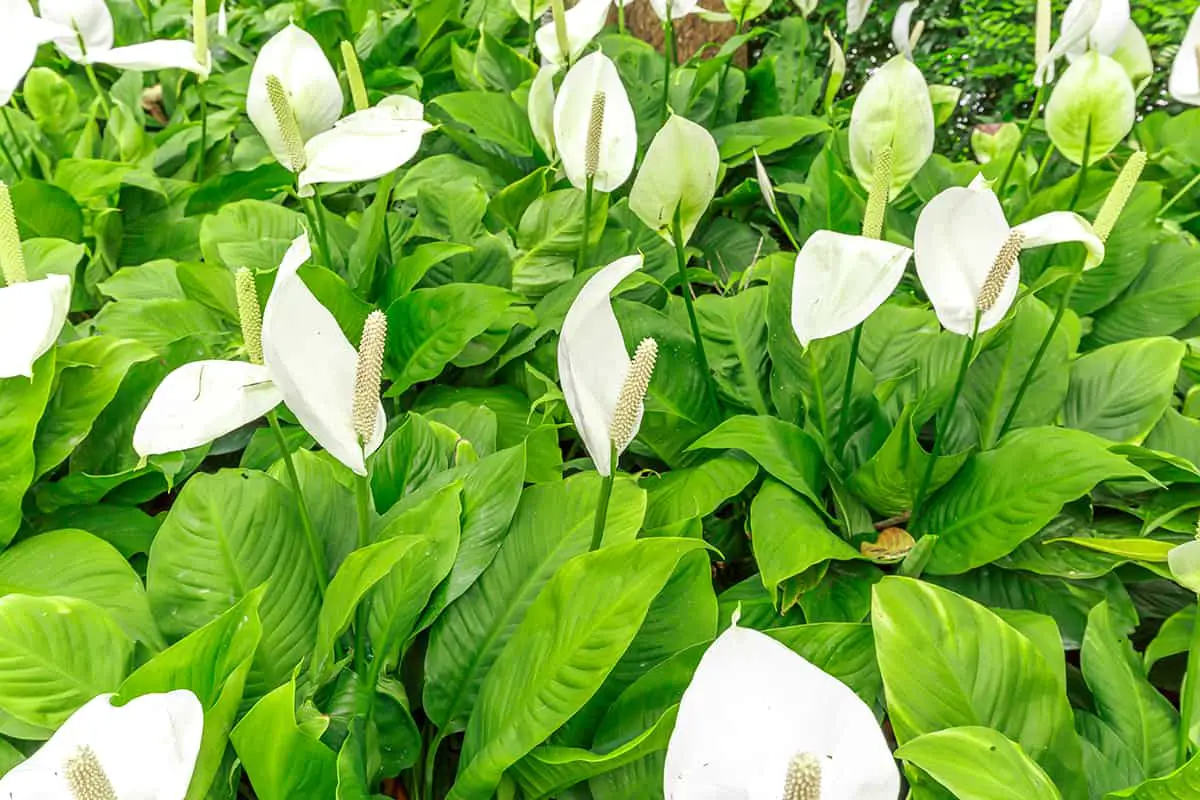
| Bloom Time | Spring, but can bloom sporadically throughout the year |
| Flower Color | White spathes and spadices |
| Hardiness Zone | Typically grown indoors; hardiness zones don’t apply |
| Toxicity | Toxic to cats and dogs |
| Common Problems | Root rot, brown leaf tips, pest infestations |
Table of Contents
Propagation
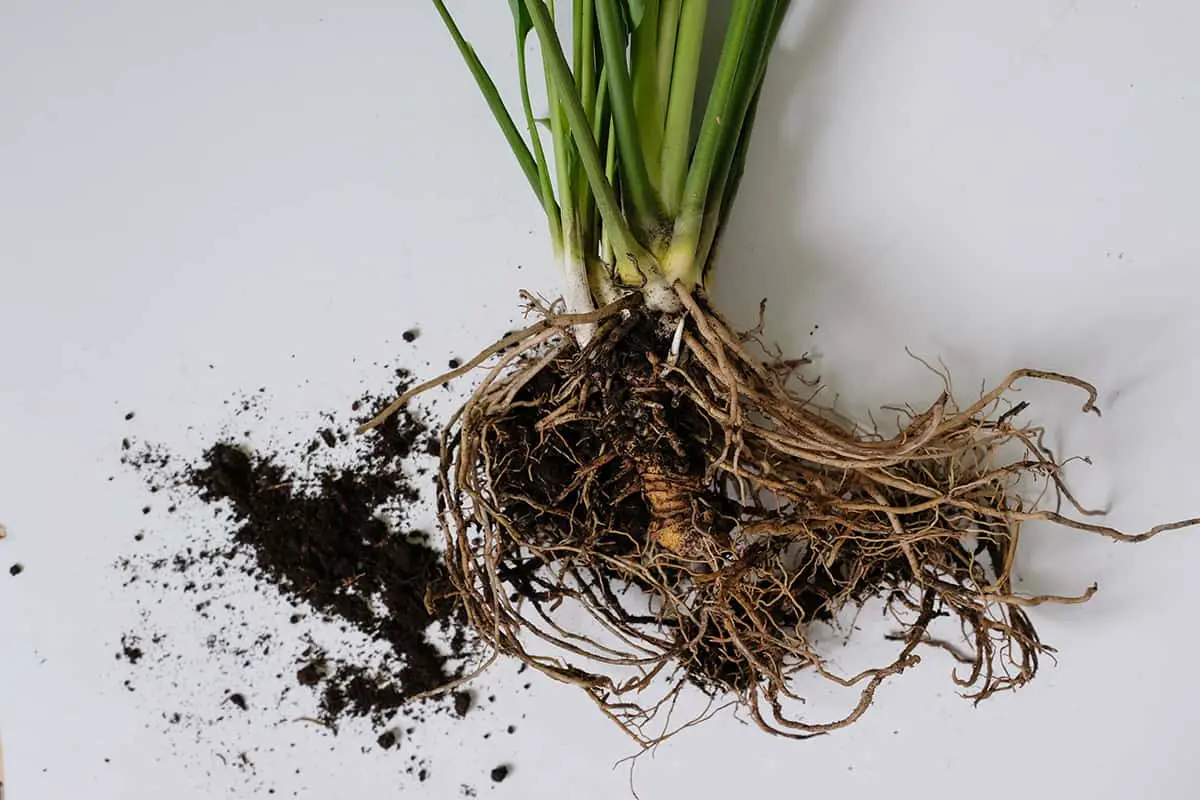
Peace lilies are relatively easy to propagate, and you can do this by using the division method. The best time to propagate your peace lily is when you’re repotting the plant. This will allow you to efficiently divide the root ball and separate the plant into smaller pieces.
First, you need to gently remove the peace lily from its container. Lay the plant and its root ball on its side, and carefully loosen the root ball with your fingers or hands. In case the root ball is difficult to separate, use a knife, sharp spade, or a reciprocating saw.
When dividing the root ball, make sure to keep a few leaves and roots on each division. This will help ensure the successful growth of the new plants. After separating the divisions, plant each one in a new pot with fresh soil. Proper care such as placing the new plants in a well-lit area away from direct sunlight and maintaining adequate moisture will encourage their growth.
Keep an eye on the newly potted divisions as they establish themselves. They may require more frequent watering initially, and it’s important to monitor them for any signs of stress, such as yellowing leaves or wilting.
Light
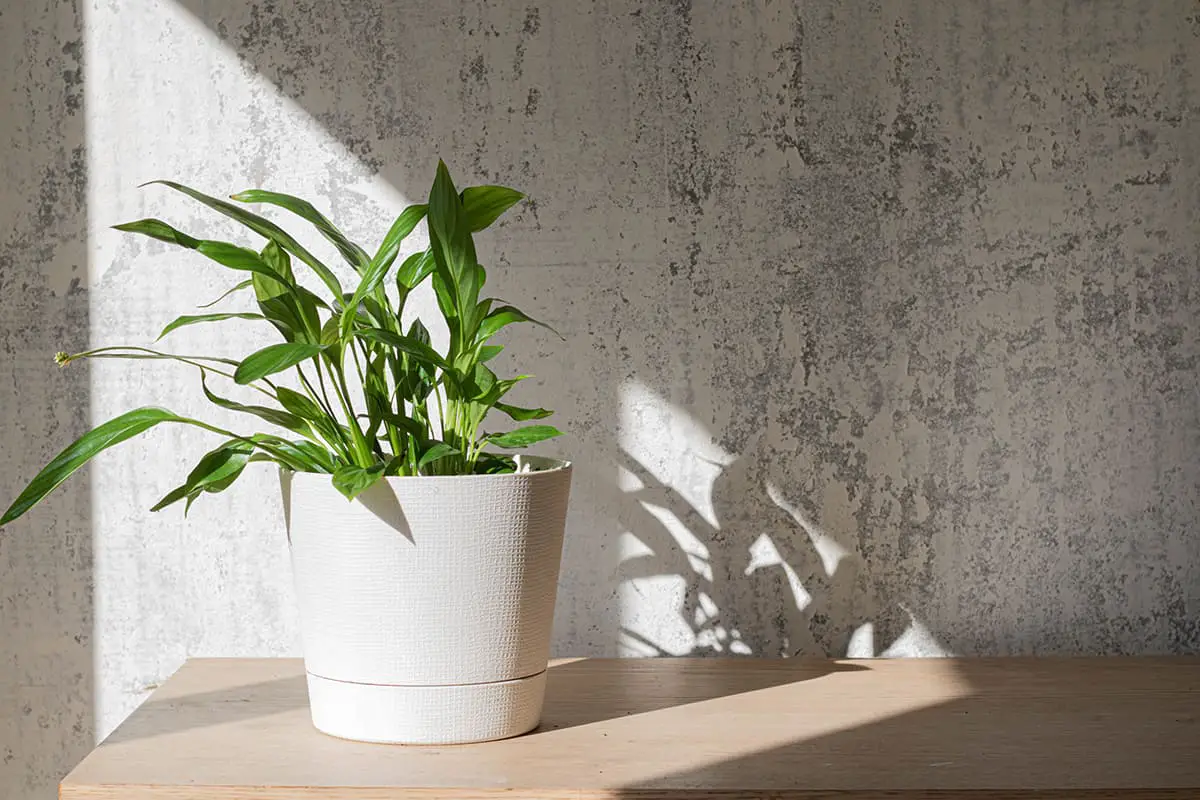
Although peace lily can tolerate low light conditions, they thrive in bright, indirect light. To ensure your peace lily’s success, avoid placing it in direct sunlight, as this can cause the leaves to scorch and turn yellow.
To provide the best lighting for your peace lily, choose a spot in your home that receives filtered sunlight, such as near a north or east-facing window. However, if your peace lily is placed in a room with less natural light, it may grow slower and produce fewer blooms. Remember that peace lilies still have a chance to grow and survive in low light conditions, although it is not their preferred environment.
Providing the optimal lighting conditions for your peace lily assists in its overall health and increases its chances of producing beautiful, long-lasting blooms.
Soil
Choosing the right soil is essential for your peace lily. It prefers a well-draining soil mix with a slightly acidic pH. Consider using a mix of peat moss, perlite, and vermiculite to create the perfect environment for your plant.
When planting your peace lily, ensure the pot has drainage holes to prevent waterlogging. This will help maintain the desired moisture level without causing root rot. Remember that peace lilies thrive in moist but not soggy soil, so finding the right balance is important.
To retain the right level of moisture, consider using a layer of mulch over the soil surface. This can be a great way to reduce evaporation and keep your peace lily happy. Be cautious not to let the soil dry out too much, as this can cause the leaves to yellow and wilt.
Keep track of your peace lily’s growth and, if needed, repot it in a larger container. A sign that it may be time to repot is when roots start to emerge from the drainage holes or the surface of the soil. When repotting, use fresh soil mix and ensure proper drainage to support the plant’s continued growth and health.
Water
Watering your peace lily regularly is important, but avoid over-watering. Allow the soil to dry between waterings, but not so much that the plant wilts. Generally, watering once a week should suffice, depending on your indoor environment and the plant’s needs.
The temperature of the water you use matters too. Room temperature water is best for your plant, as it prevents shock to the roots. It’s also recommended to let the water sit for a while before using, allowing chlorine to evaporate.
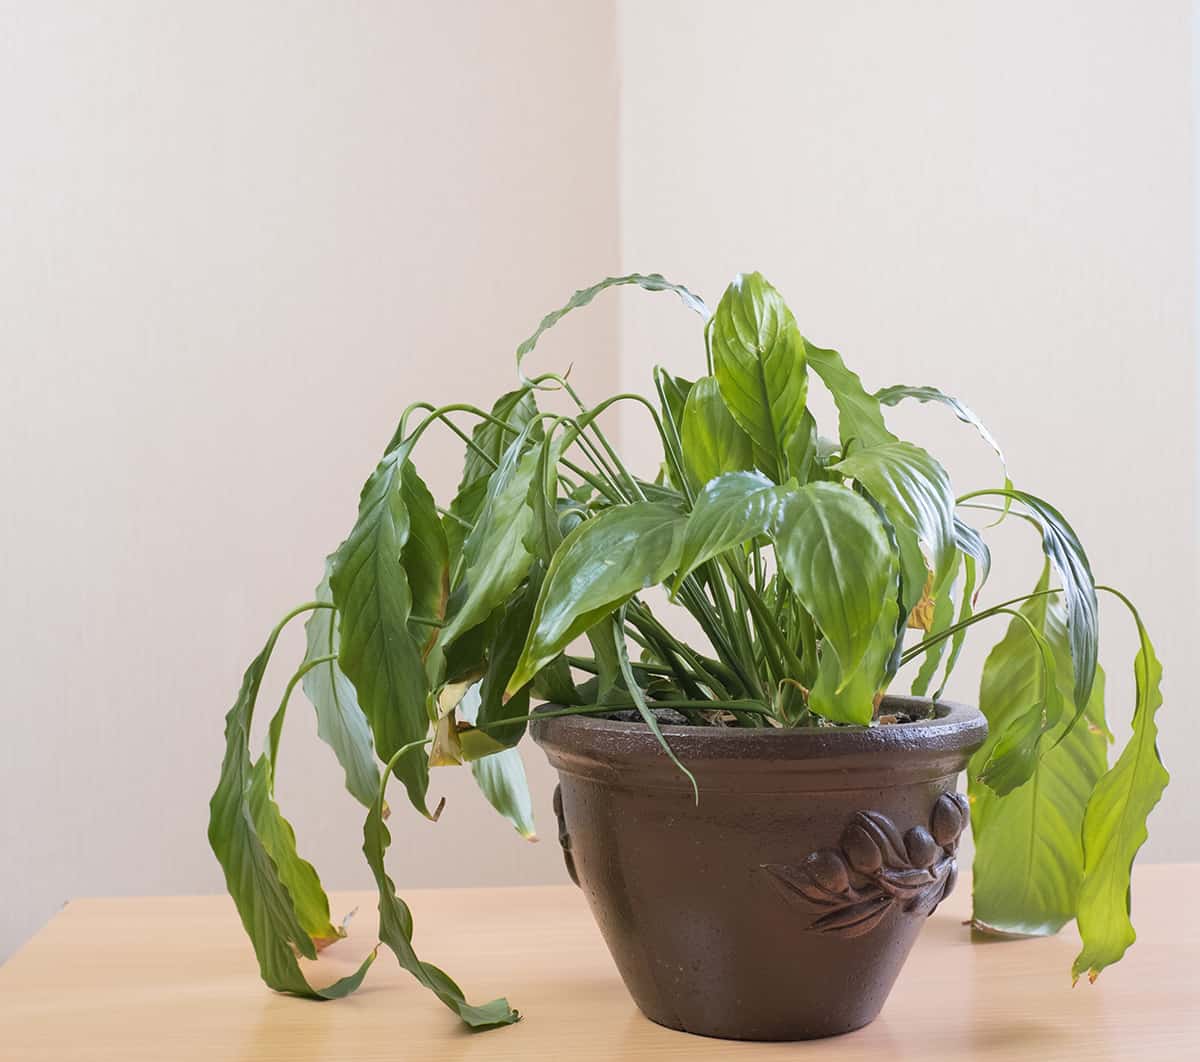
Recognizing the signs of over-watering and under-watering can help you adjust your watering schedule. Yellow leaves may indicate over-watering, whereas brown leaf tips can signal under-watering. Keeping an eye on these signs will ensure your peace lily stays healthy and vibrant.
Temperature and Humidity
Ideally, these plants thrive in temperatures between 68-85°F. Try to keep your surroundings within this range to create a healthier environment for your peace lily. Avoid placing it near drafts or air vents, as sudden temperature fluctuations can stress the plant.
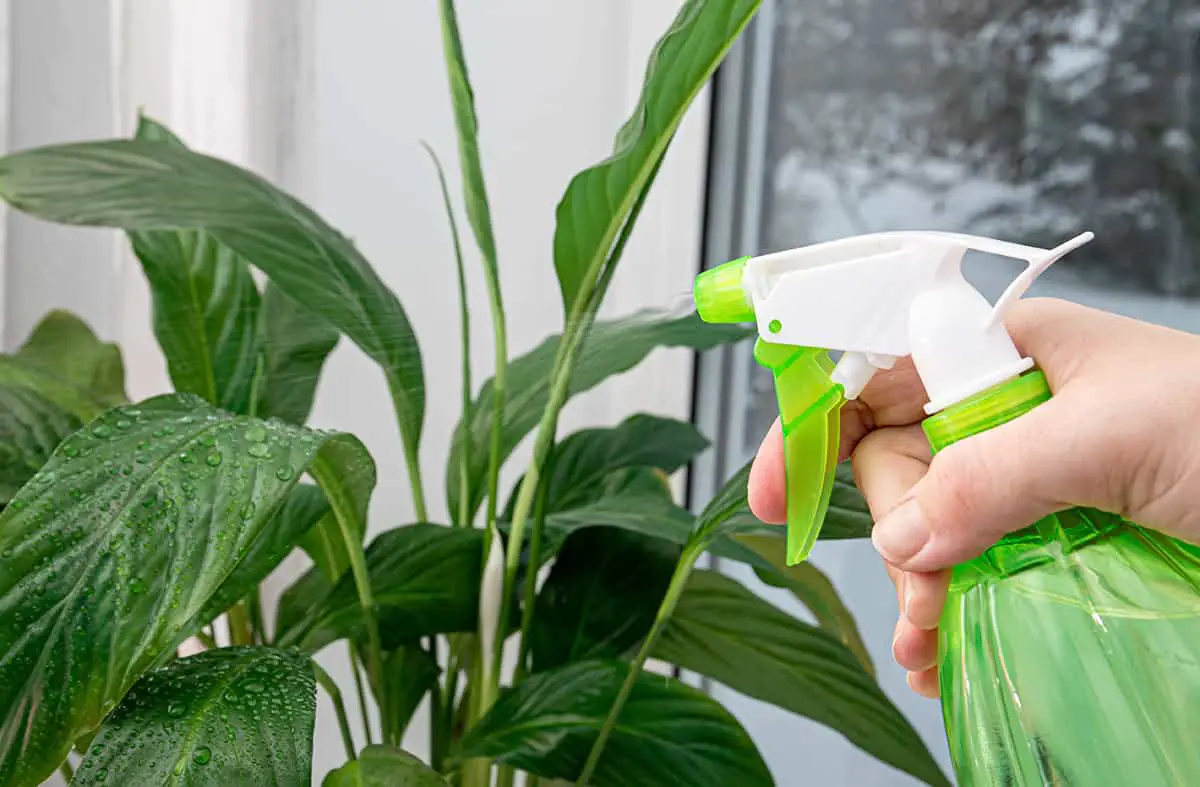
Peace lilies prefer high humidity, mimicking their natural habitat in tropical rainforests. A humidity level of 40-50% is suitable for these plants. You can achieve this by placing a tray filled with water and pebbles under the pot, ensuring the water doesn’t come in contact with the pot’s base. As the water evaporates, it will increase the humidity around the plant.
Moreover, you can use a humidifier to further control the humidity levels. Installing a hygrometer helps monitor the humidity and maintain the ideal range. Alternatively, spritzing your peace lily with room temperature water is another method, but it’s essential to avoid overwatering the plant.
Fertilizer
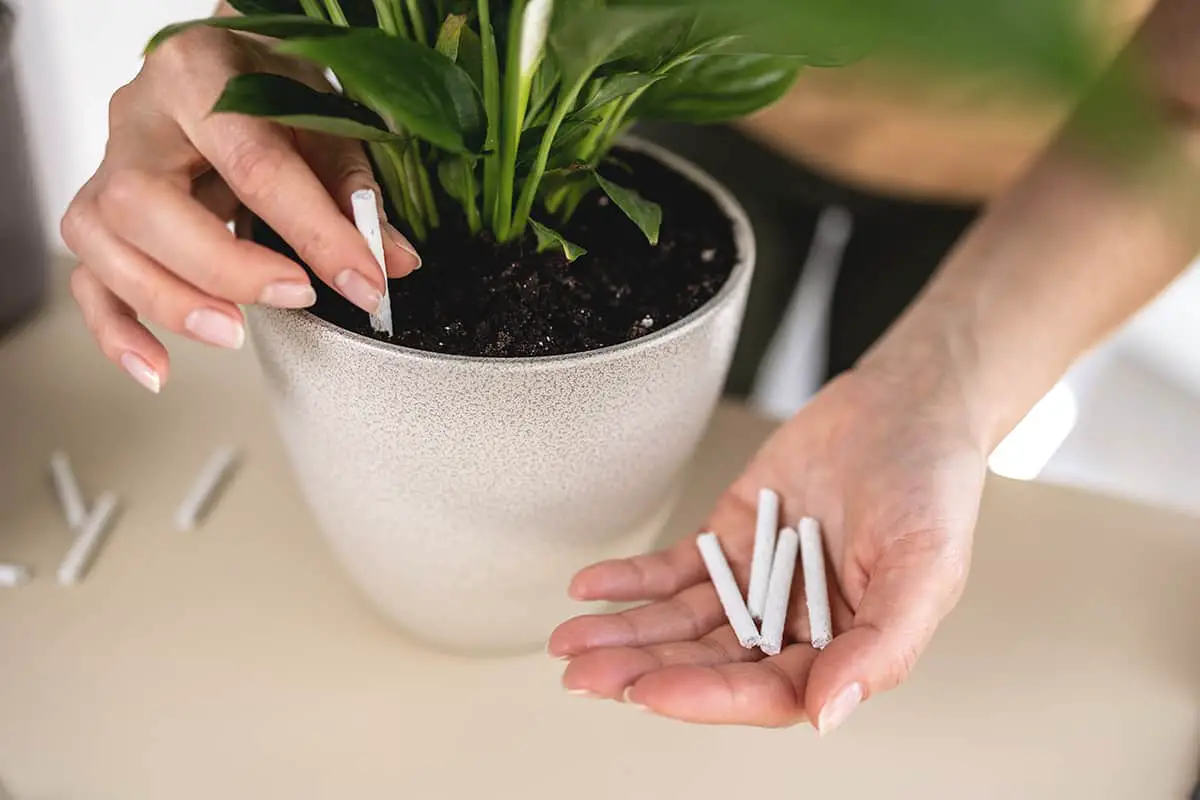
Peace lilies require very little fertilizer to thrive. It’s essential to choose a balanced, liquid houseplant fertilizer like 20-20-20 for optimal growth. You should dilute the fertilizer to one-quarter of the recommended strength, as overfertilizing may cause the leaf tips and roots to burn and turn brown.
Start applying the diluted fertilizer to your peace lily every six to eight weeks during the spring and summer growing seasons. These months are crucial for the plant’s development, and proper fertilization ensures robust growth. Remember to always water your plant before applying the fertilizer to avoid root burn or damage.
Keep in mind that peace lilies growing in low light will need less fertilizer. Adjust the application rate and frequency accordingly to ensure your plant remains healthy and happy.
Pruning

It’s important to prune your peace lily regularly to maintain its appearance and prevent disease.
First, inspect the peace lily for any leaves that are yellow, brown, or wilted. These signals indicate that the leaf is no longer performing well and should be removed. To prune, use a pair of clean, sharp scissors or pruning shears to cut the leaf at its base, close to the soil line.
Next, pay attention to the flowers on your peace lily. They will turn a pale green as they age. Once a flower loses its white color and becomes pale green, it’s time for it to be removed. This will help the plant focus on producing new blooms. Gently hold the base of the flower stalk, and with your other hand, use the scissors or shears to cut it off as close to the soil line as possible.
While pruning your peace lily, also make sure to remove any dust or debris from the remaining healthy leaves. Wiping the leaves with a soft, damp cloth will ensure they continue to receive adequate light for photosynthesis.
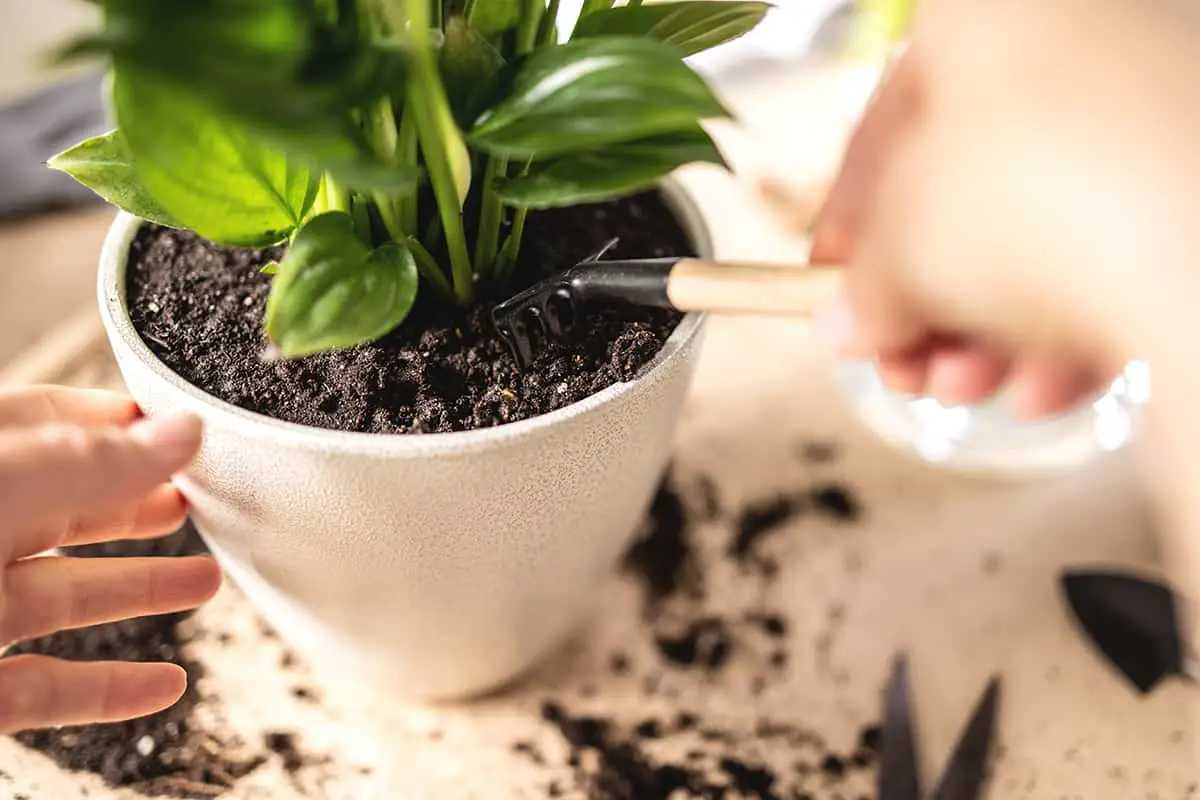
Potting and Repotting
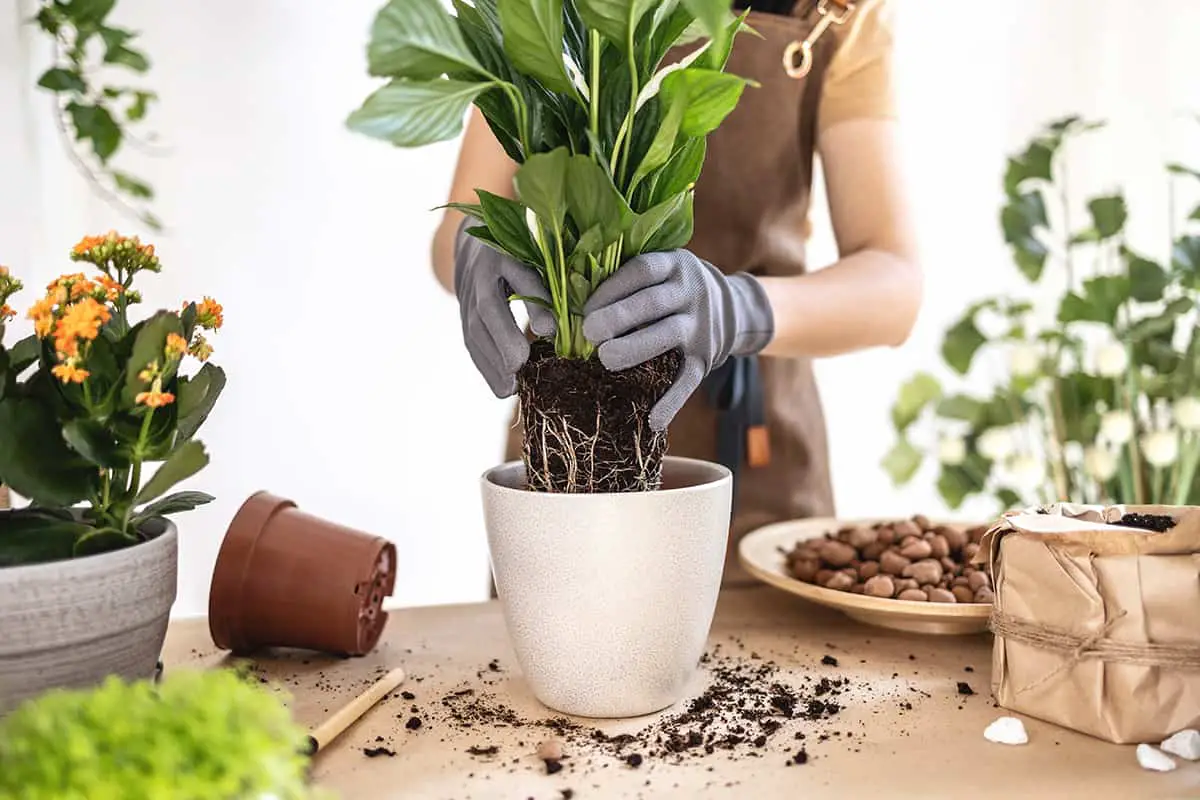
When you start potting a Peace Lily, select a container that suits its size. It thrives in slightly pot-bound conditions, so use a pot that is only one to two inches larger than the previous one. Avoid choosing a substantially larger pot, as excessive moisture in potting mix may result in root rot.
Before you begin the repotting process, hydrate the plant thoroughly a day in advance. Sufficient hydration lets the roots swell, making it easier for you to proceed with repotting. Typically, winter is the best season to repot and possibly divide your Peace Lily.
During repotting, carefully pull the roots apart, eliminating dead or damaged ones. Fill the new pot with fresh prem-oistened potting soil and replant your Peace Lily following these steps. Remember that it’s crucial to repot during the growing season for optimal results.
Your Peace Lily will flourish if you maintain a well-lit environment without direct sunlight. Keep the soil damp, but do not over-water, as this can lead to root rot. To clean dusty leaves, simply wipe them with a soft, damp cloth.
Common Problems & Troubleshooting
Overwatering: One common issue when growing peace lilies is overwatering. You might notice yellow leaves, which could be a sign of excessive water. To avoid this issue, make sure to water your peace lily only when the soil feels dry to the touch.
Underwatering: On the other hand, underwatering can cause your peace lily’s leaves to turn brown. To ensure proper hydration, always check the soil moisture and water it thoroughly when needed. Keep the soil consistently moist, but not soggy.
Pests: Spider mites and mealybugs can infest peace lilies. If you notice small insects or sticky residue on the leaves, it’s time to take action. Isolate the affected plant and treat it with insecticidal soap or neem oil, following the product instructions carefully.
Fertilizer Burns: Peace lilies require minimal fertilizer to thrive. Applying too much fertilizer can cause burned leaf tips and slowed growth. To prevent this, always follow the recommended dosage and application frequency on the fertilizer package.
Peace Lily Varieties
Spathiphyllum ‘Mauna Loa’
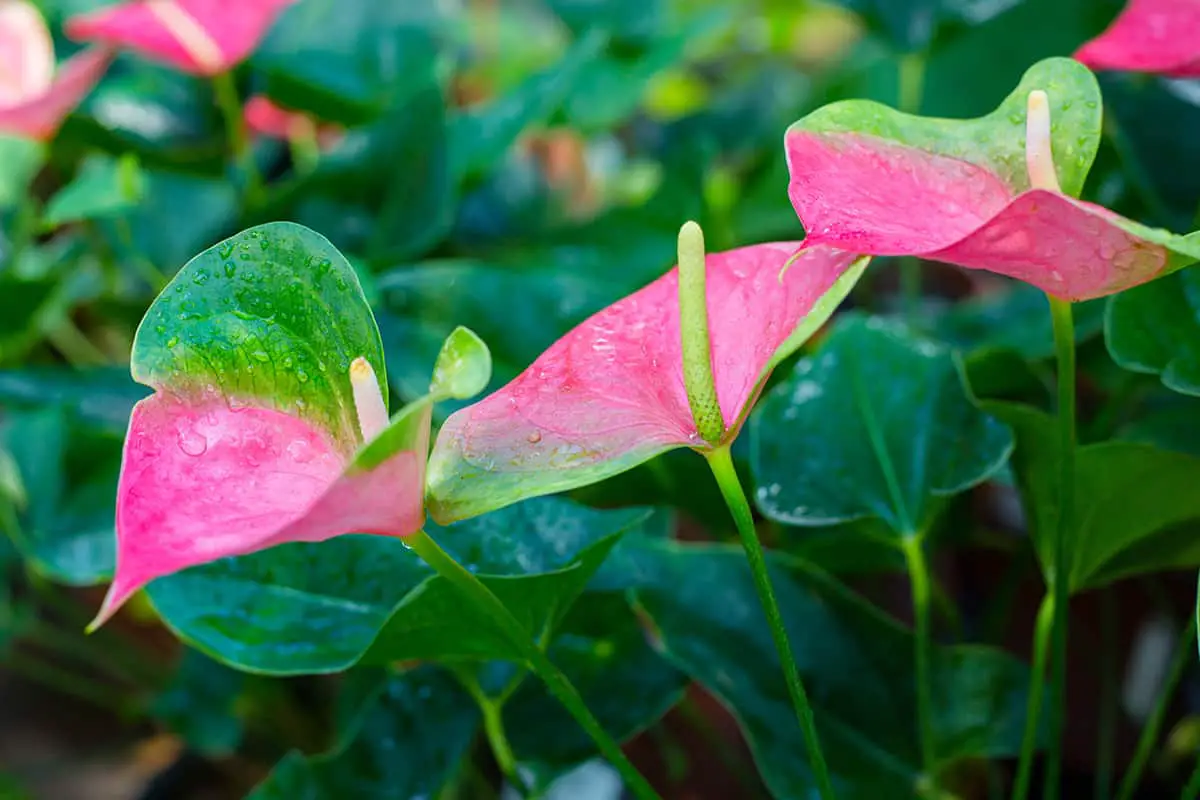
The Spathiphyllum ‘Mauna Loa’ is a popular peace lily variety known for its large, dark green leaves. It can grow up to four feet tall, and its white, spoon-shaped flowers are quite showy. You can enjoy this variety by placing it in a well-lit area, away from direct sunlight.
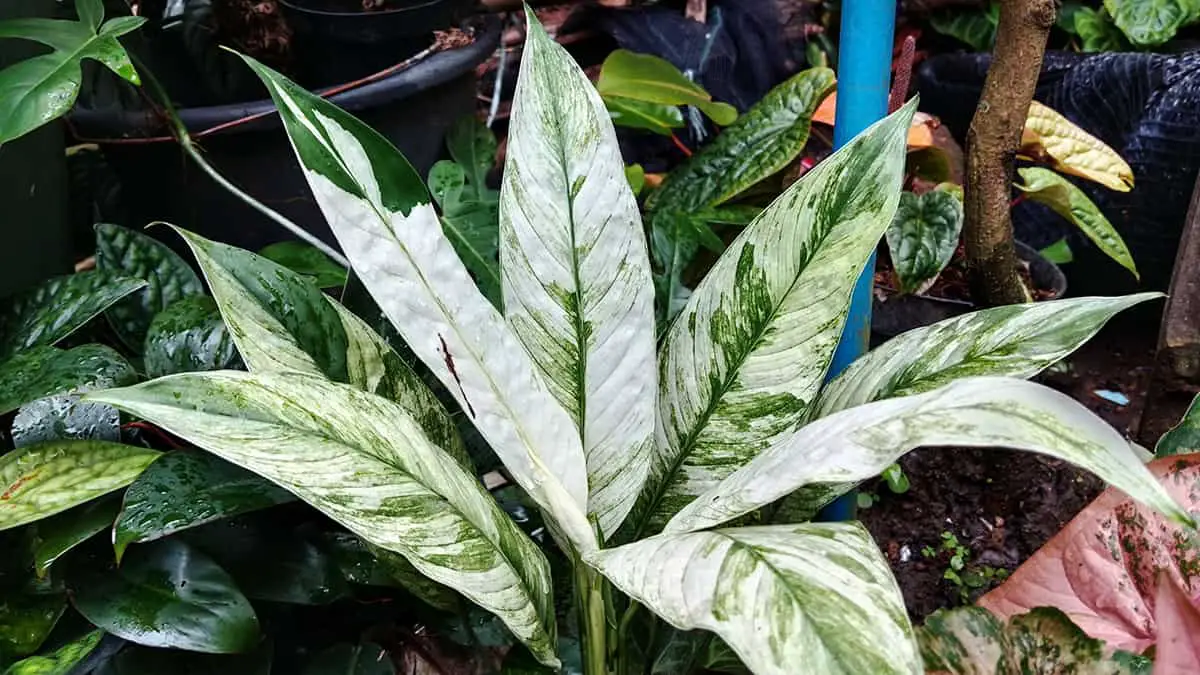
Spathiphyllum ‘Domino’
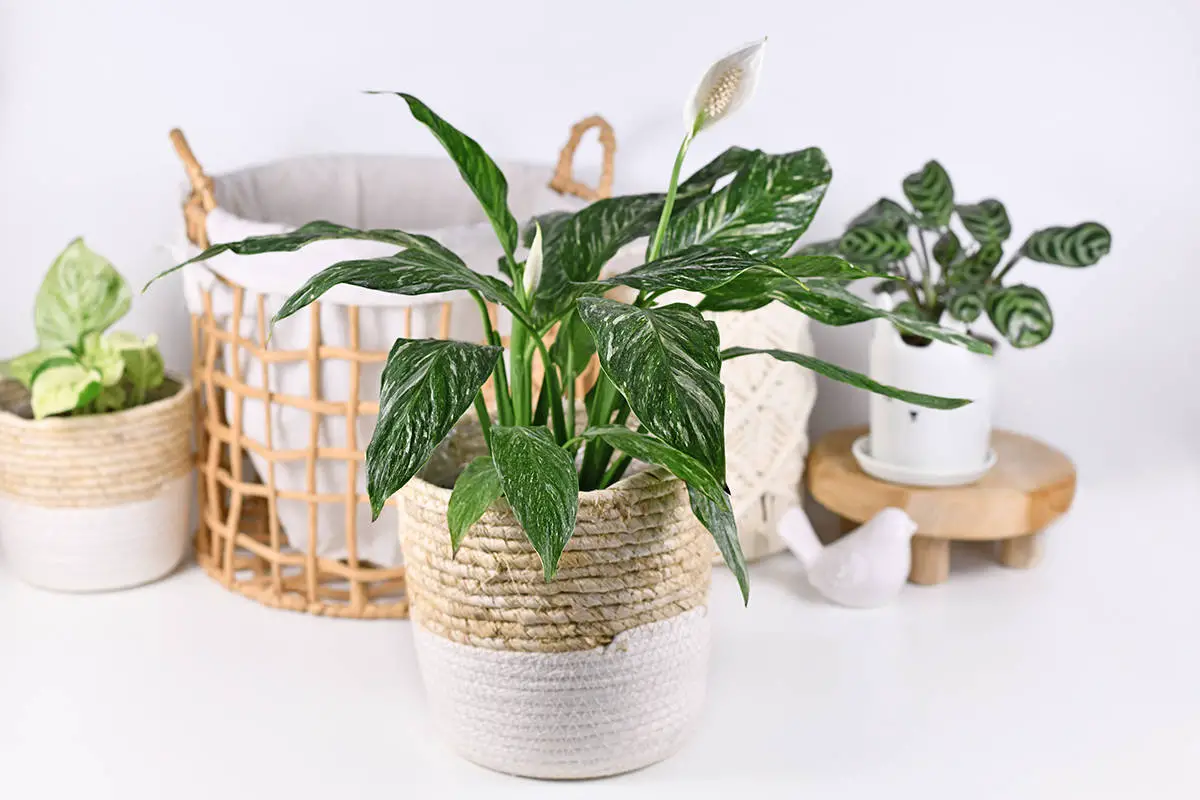
The ‘Domino’ is a unique peace lily, characterized by its variegated leaves. Its white and green foliage makes it a visually appealing option for your indoor garden. Like other peace lilies, the ‘Domino’ prefers bright, indirect light and requires minimal care.
Spathiphyllum ‘Sensation’
The Spathiphyllum ‘Sensation’ is the largest of all peace lily varieties, with the potential to grow up to six feet tall. As with other peace lilies, it’s best to place this plant in bright, indirect sunlight. Its substantial size makes it an excellent focal point for a room or a landscape in warmer regions.
Spathiphyllum ‘Wallisii’
One of the smaller peace lily varieties, the Spathiphyllum ‘Wallisii’ is known for its compact size and glossy green leaves. It makes a perfect addition to your indoor plant collection, especially in limited space areas. Remember to keep it in bright, indirect sunlight for optimal growth.
Spathiphyllum ‘Petite’
Spathiphyllum ‘Petite’ is another small-sized variety of peace lilies, reaching a maximum height of 12 inches. It is ideal for desks or tabletops as it does not require much space. Like most peace lilies, the ‘Petite’ needs bright, indirect light and minimal maintenance.
Spathiphyllum ‘Picasso’
The ‘Picasso’ is a rare peace lily variety that stands out due to its unique white-striped leaves. Its distinctive appearance adds visual interest to your green space. To maintain its beauty, make sure to position the ‘Picasso’ in bright, indirect light, similar to other peace lilies.