
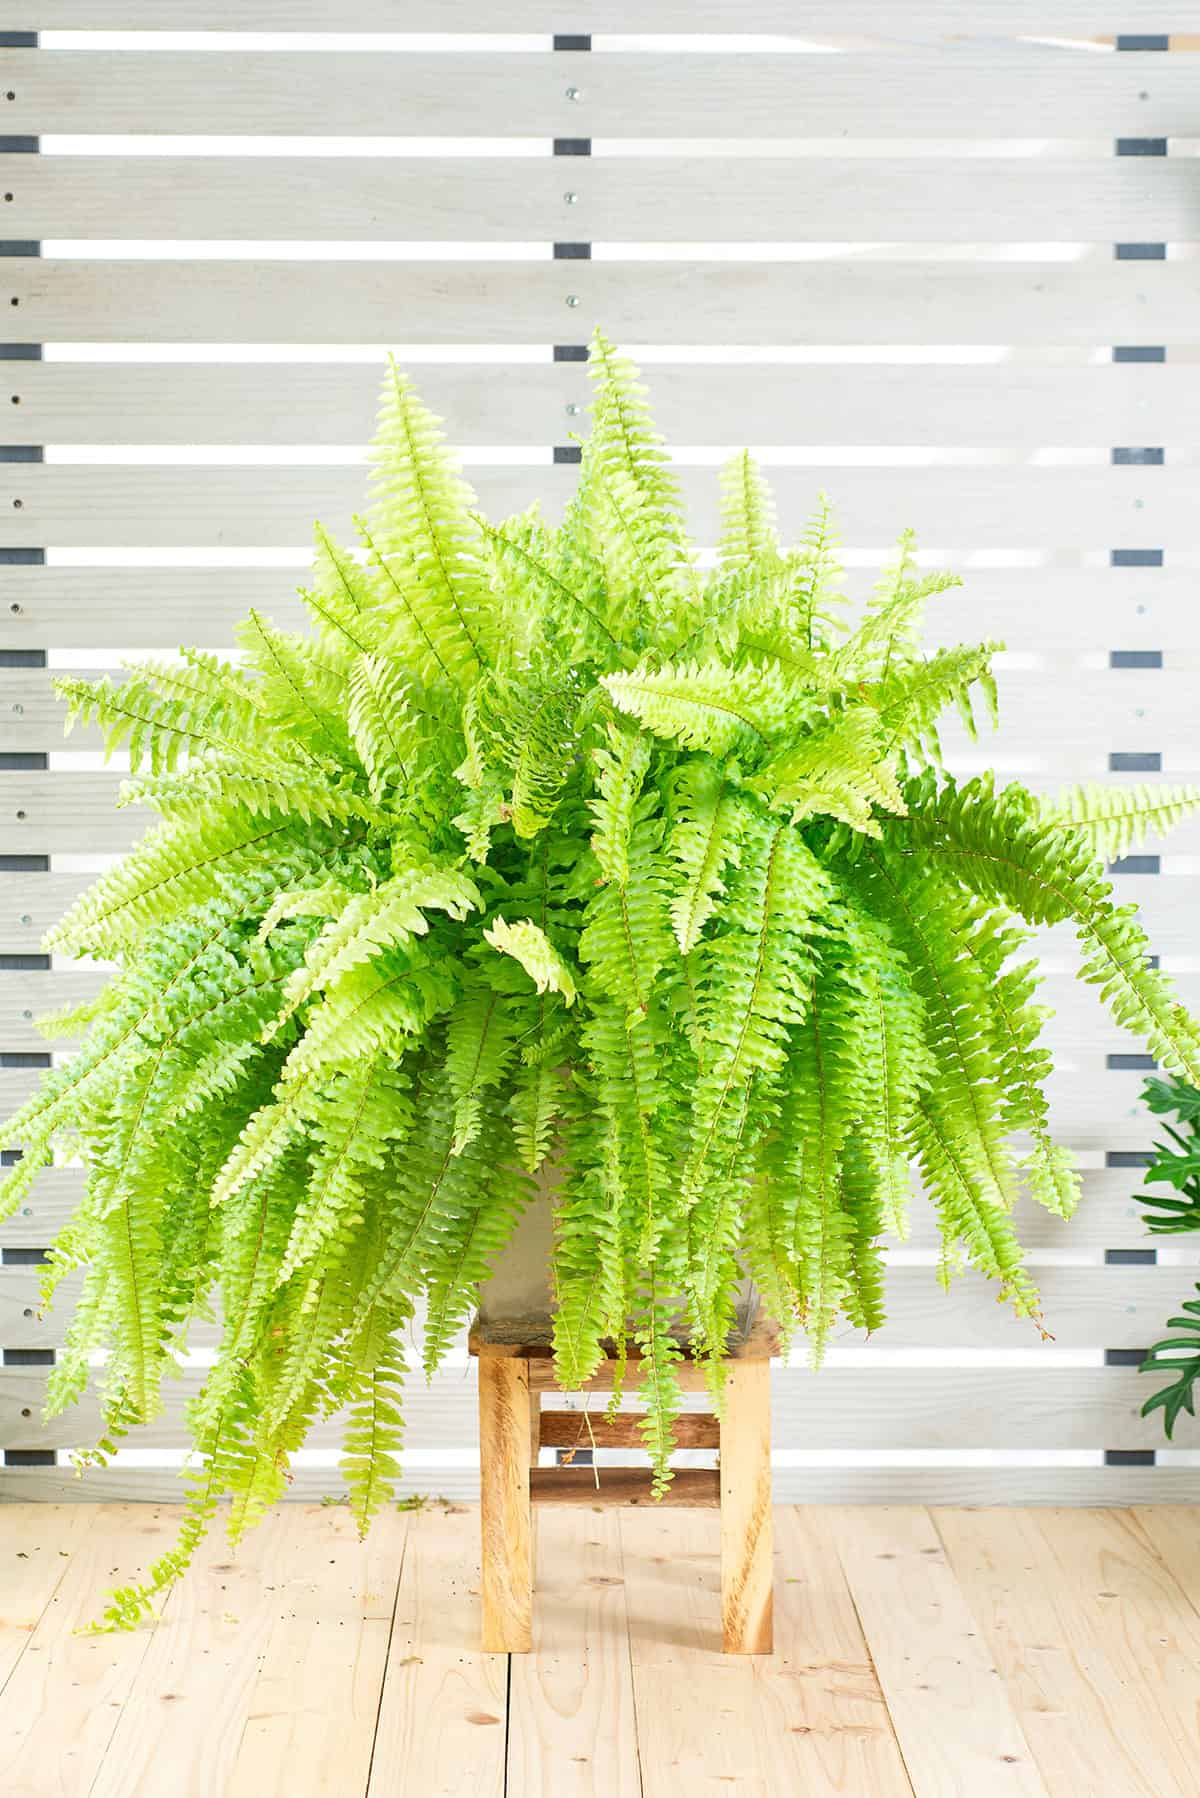
Boston ferns are timeless, elegant, and surprisingly forgiving once you get the hang of their care. They’re the perfect way to add greenery without going overboard. Read on for essential tips to keep your fern thriving.
Table of Contents
- Light
- Soil
- Water
- Temperature And Humidity
- Fertilizer
- Propagation
- Pruning
- Potting And Repotting
- Common Problems & Troubleshooting
- Plant Varieties
- Frequently Asked Questions
- What are the ideal conditions for indoor Boston fern growth?
- How should I care for a Boston fern planted outdoors?
- What are the best practices for potting and repotting Boston ferns?
- How can I troubleshoot common problems with Boston ferns?
- What steps should be taken for effective propagation of Boston ferns?
- How do I properly prune and maintain a healthy Boston fern?
Light
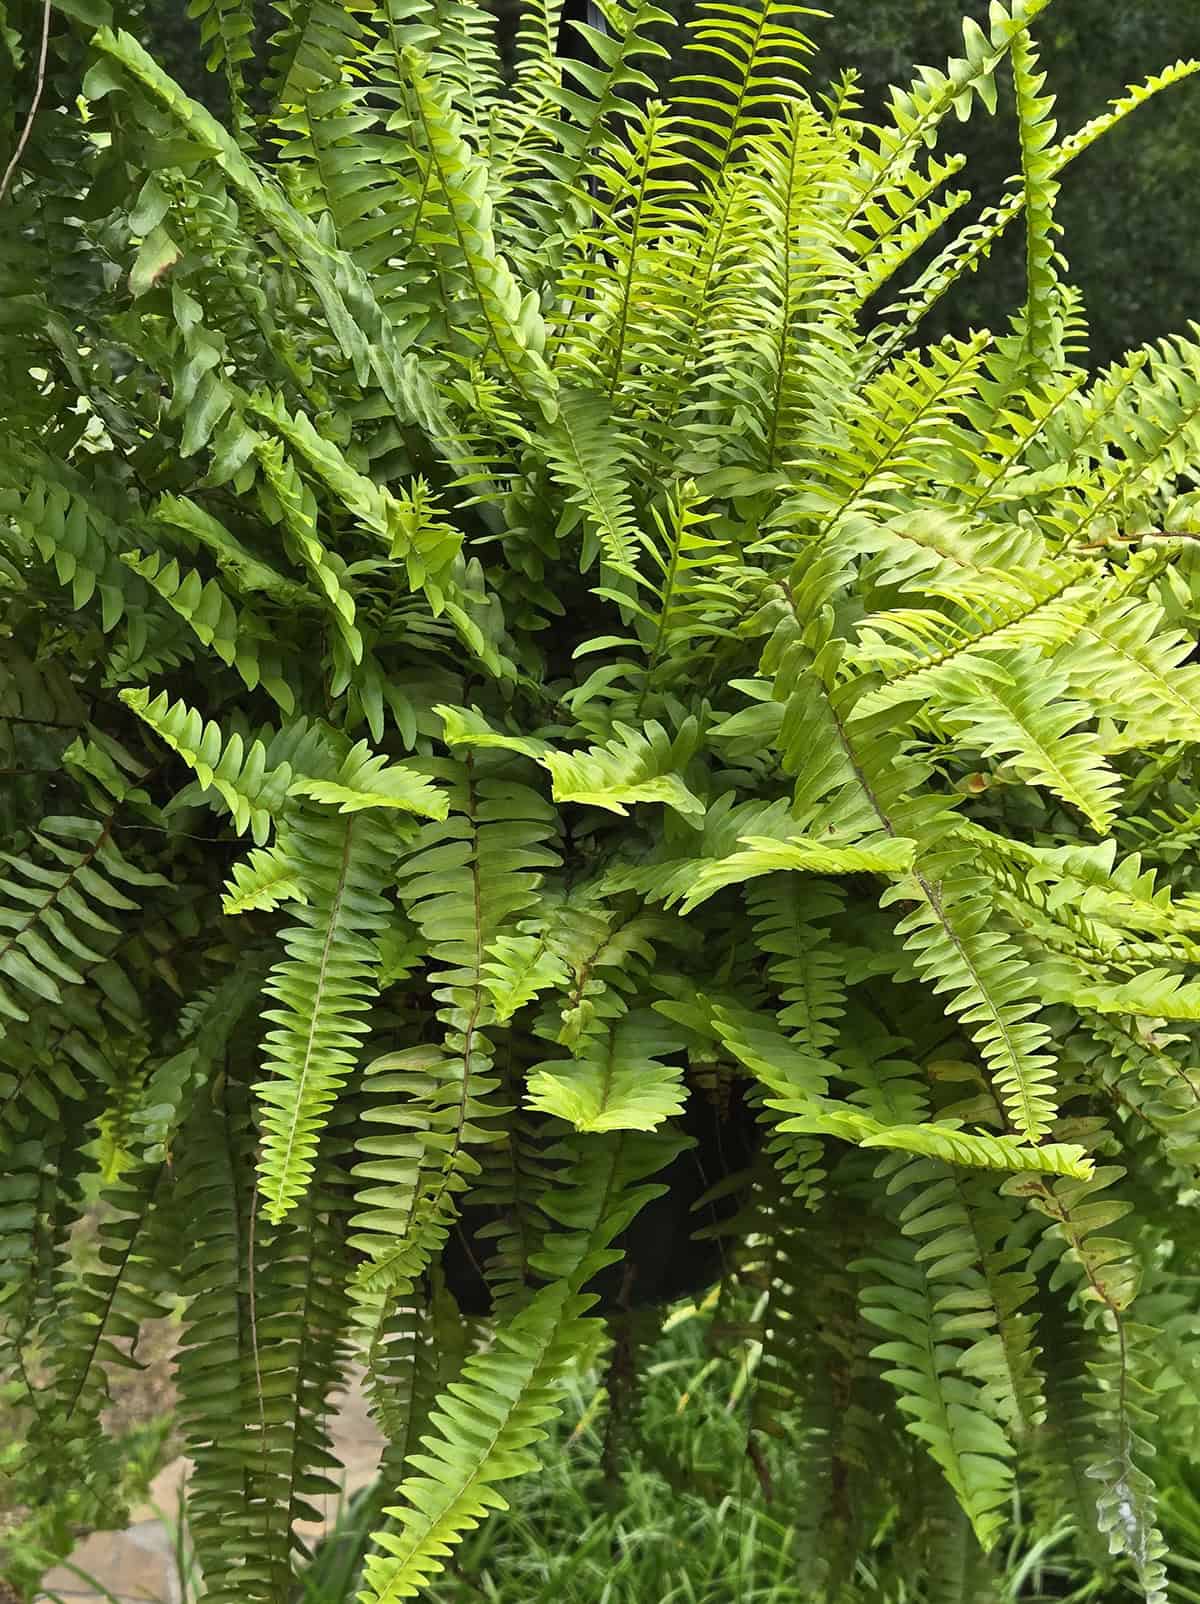
Light’s a big deal for Boston ferns, especially if you’re keeping them inside. They’re not fans of harsh sun—too much and those fronds start looking scorched.
Try tucking your fern near an east-facing window, or in a bright spot a few feet from a sunny south or west window. Just steer clear of blasting midday rays.
If your fern’s fronds start fading or yellowing, it could be craving more light. Move it a bit closer to a window, but don’t stick it right in the glare. Long stretches in low light? That’ll make it drop leaves like crazy. In a dim house, your brightest room is the best bet. Some folks even use fluorescent lights in winter or gloomy corners.
Sure, Boston ferns can handle a range of light, but they really look their best with enough brightness. It’s worth checking their spot now and then—what works in summer might not in winter.
Outside, filtered shade is the way to go. Hanging baskets under a porch or tree canopy are perfect.
Keep an eye on leaf color and growth—your fern will let you know if its spot needs tweaking.
Soil
Boston ferns aren’t picky, but they do have some soil preferences. You want something that drains well—heavy, compact dirt just keeps the roots too wet. Sandy or humus-rich mixes are great.
A lot of organic matter is key. Compost, peat moss, or even well-rotted leaf mold add nutrients and help the soil stay just moist enough.
Aim for a pH between 6.0 and 7.0. That sweet spot helps with nutrient uptake and keeps the plant happy. If things are a bit too acidic, a touch of lime can help.
Wet, soggy soil is a definite no. Only water when that top inch feels dry to the touch, and in winter, let it dry out a bit more.
Steady, moderate moisture is what you’re after. Light, loose soil keeps things balanced—roots need to breathe, after all. Standing water? That’s a recipe for root rot.
Water
Getting the watering right makes all the difference. Boston ferns like their soil moist but not drenched. Letting them dry out stresses them, but soggy roots are even worse.
Room temperature or lukewarm water is best—cold water can shock them. Water until you see a bit draining from the bottom, and make sure your pot isn’t trapping water at the base.
Stick to a regular schedule. Check the top inch of soil—if it’s dry, it’s time to water. Warm months usually mean more frequent watering.
Humidity’s a biggie, too. Boston ferns crave it. Mist the air around the plant, but don’t go overboard spraying the fronds, since tap water salts can build up.
If you’re using tap water, letting it sit overnight helps get rid of chlorine. Brown leaf tips? Try switching to filtered or distilled water.
Consistent watering really does pay off. Skipping around with your routine just leads to stressed, sparse plants. Keep the moisture steady and you’ll get lush growth.
Temperature And Humidity
Boston ferns are a bit sensitive when it comes to temperature. They don’t like it cold—anything below 50°F can cause yellowing or leaf drop. The sweet spot is somewhere between 60°F and 75°F.
Watch out for drafts, especially from doors or air conditioners. Quick temperature swings can freak these ferns out. If it’s above 70°F, you’ll want to pay extra attention to humidity.
Dry air is their enemy. Browning and crispy leaves are a sure sign the air’s too dry. These ferns are happiest in spaces that mimic their native, humid habitats.
A daily misting helps if your air is dry, or set the pot on a tray with damp pebbles. Bathrooms and kitchens? Surprisingly great spots for humidity.
Definitely keep them away from heaters or radiators—they’ll suck all the moisture out of the air and your plant. If your place is really dry, a small humidifier can be a lifesaver.
Fertilizer
Feeding Boston ferns is pretty straightforward, but don’t overdo it. Use a liquid houseplant fertilizer, but dilute it to half the label’s strength.
Small, steady doses work best. During spring and summer, feed with a balanced fertilizer—these are their growing months.
Go easy on the nitrogen; too much can burn the fronds and cause brown spots. A low-ammonium formula is safer.
If your fern keeps growing in winter, keep feeding but less often. Once a month is usually plenty when days are short. If growth stops, you can skip it.
Always water before you fertilize if the soil’s dry—fertilizer on parched roots is a bad combo. Adjust your feeding if you notice pale leaves or slow growth.
Propagation
Making new Boston ferns is pretty simple if you’re up for a little hands-on work. Division is the way to go.
Pick a healthy, mature plant, take it out of the pot, and gently shake off some soil. Use your hands to tease apart the root ball—no need to get fancy.
Each chunk should have roots and a few fronds. Pop each one into its own pot with fresh, moist soil, press it in, and water lightly.
Give the new plants a humid spot with indirect light. Keep the soil moist, but don’t drown them. With a little luck, you’ll see new fronds in a few weeks.
Dividing can also perk up older, crowded plants. It’s a good way to keep things looking fresh. Clean tools are a must, and try to avoid stressing the new divisions.
Spring’s usually the best time for dividing—plants recover faster then. Check for healthy roots and skip any sections that look iffy.
Pruning
You don’t have to go wild with pruning. Just snip off any yellow, dried, or damaged fronds with a sharp, clean pair of scissors, cutting close to the base.
Tidying up helps prevent pests and keeps the plant looking neat. If there are straggly bits or awkwardly sticking-out fronds, feel free to trim those, too.
Late winter or early spring is a good time for a bigger cleanup, before new growth gets going. That way, the plant has space for fresh leaves as days get longer.
If your fern’s crowding its spot, trim it back just enough to fit. Don’t go overboard—these plants need some foliage to bounce back.
After a trim, you can ease up on watering, especially in winter. The plant slows down then and doesn’t need as much moisture. Less water means less risk of rot.
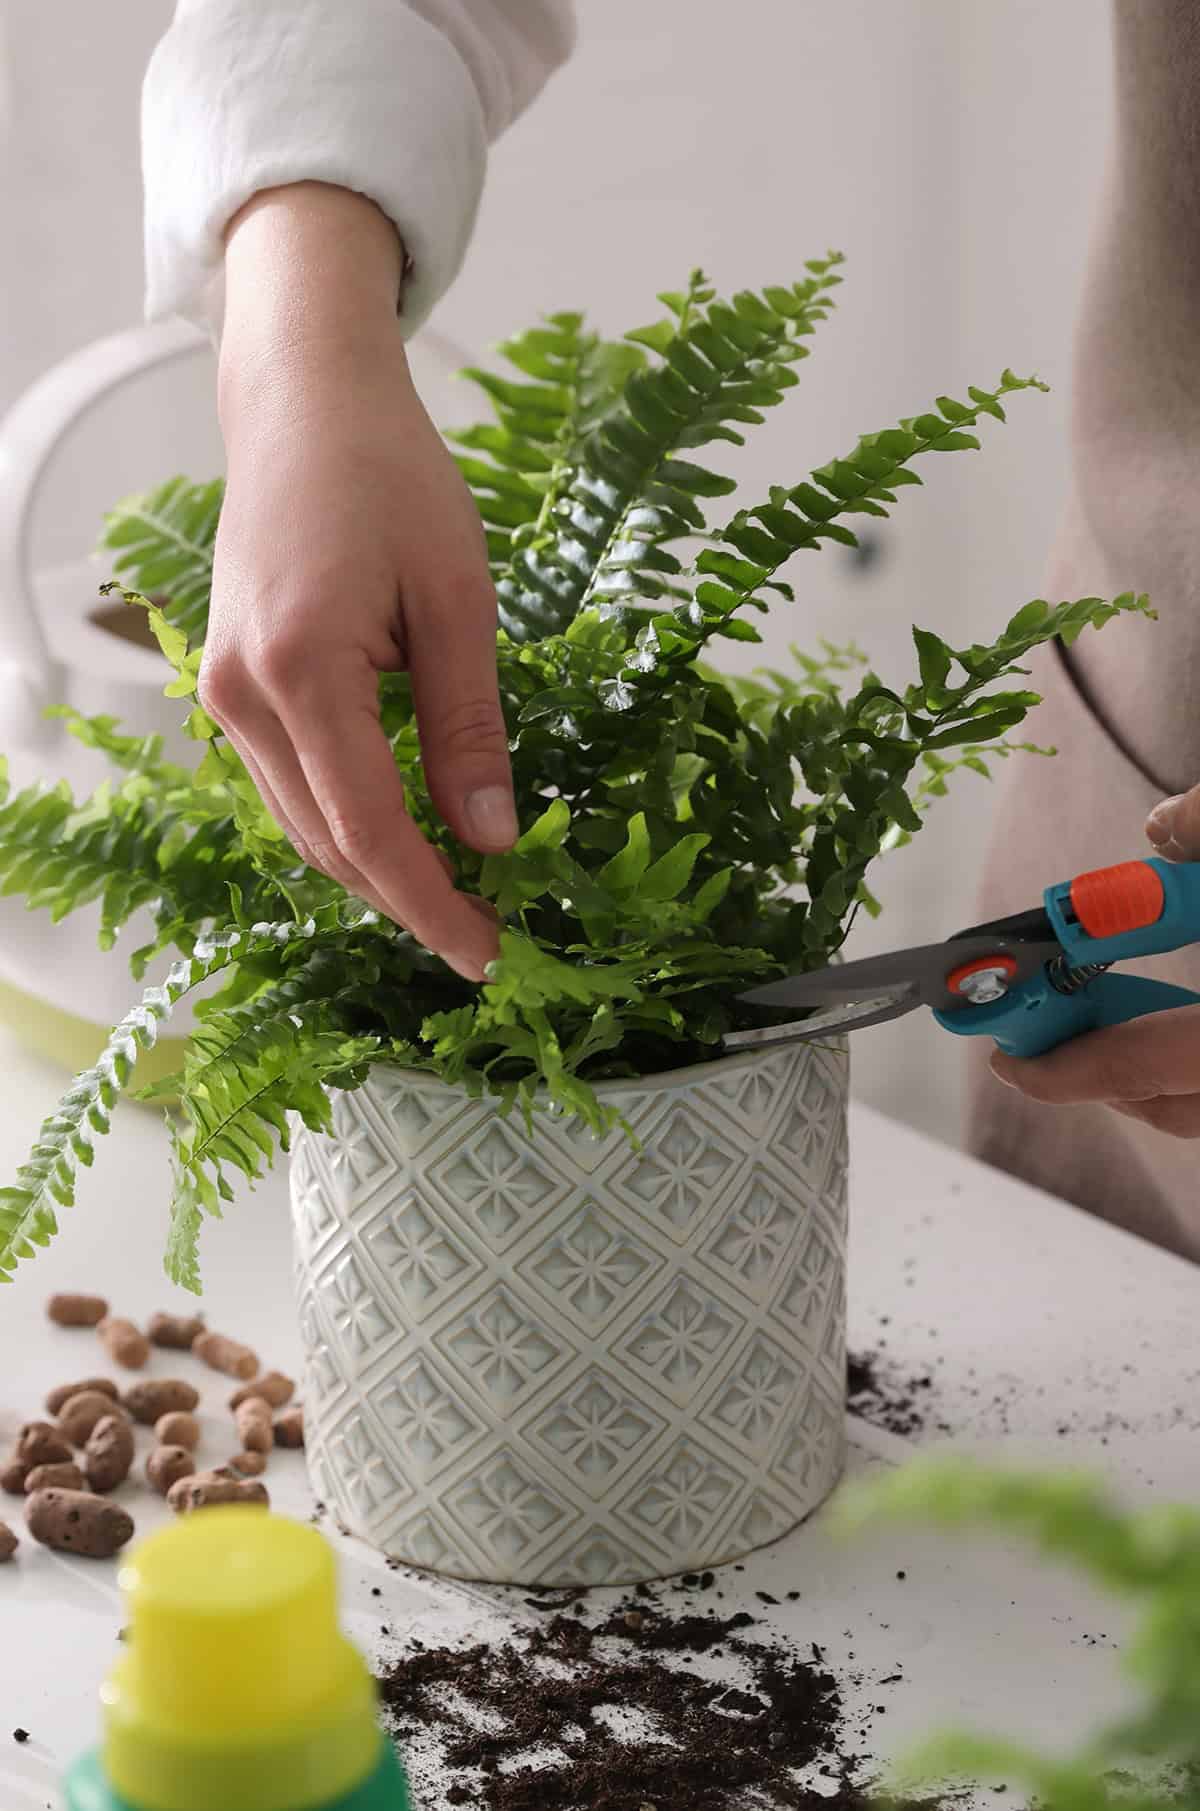
Potting And Repotting
Drainage is non-negotiable for Boston ferns. Grab a pot with holes in the bottom, and don’t size up too much—just a bit bigger than the current root ball is perfect.
Use a light, loose potting mix—something peat-based with perlite or sand works nicely. You want soil that holds moisture but doesn’t stay soggy.
Some folks double-pot their ferns, slipping the main pot into a bigger one lined with moist sphagnum moss. It’s a neat trick for boosting humidity, especially in dry homes.
Roots poking out of the drainage holes? Time to repot. Go up just one pot size—too big, and you risk waterlogged soil.
Spring is the best season for repotting. Loosen the roots gently, settle the plant into its new home, fill in with fresh mix, and water well.
Common Problems & Troubleshooting
Brown tips on Boston fern leaves? Nine times out of ten, it’s dry air or not enough water. Misting or a humidifier can help, and make sure you’re not letting the soil get bone dry.
Yellowing leaves usually mean you’re watering too much or the drainage isn’t great. Make sure the pot drains freely, and wait until the top inch of soil is dry before watering again.
Sparse or dropping fronds often point to not enough light. Move the plant closer to a bright window, but keep it out of harsh sun.
Pests happen. If you spot scale or mealybugs, try neem oil or insecticidal soap, and isolate the plant until it’s better.
A crusty layer on top of the soil? That’s probably fertilizer salts. Flush the soil with water to clear it out, and use diluted fertilizer during the growing season to avoid build-up.
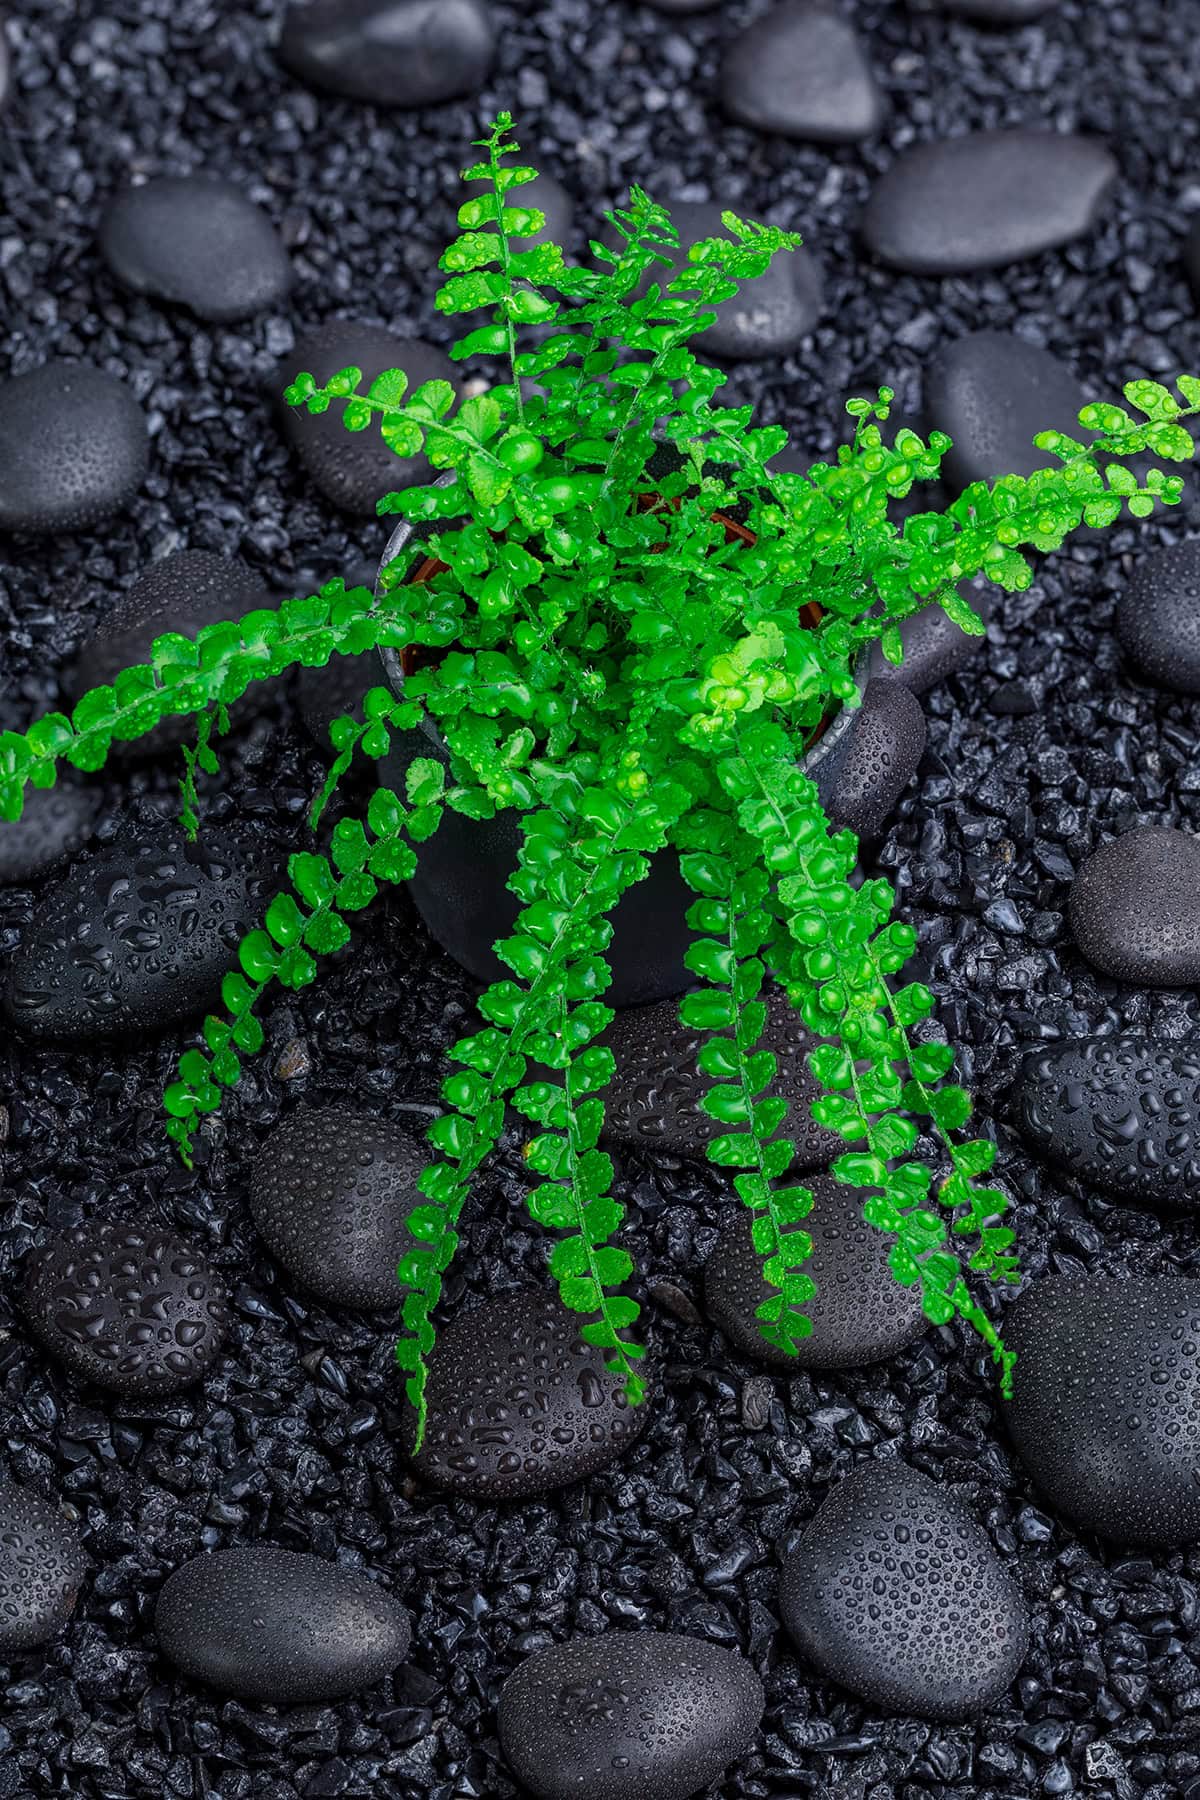
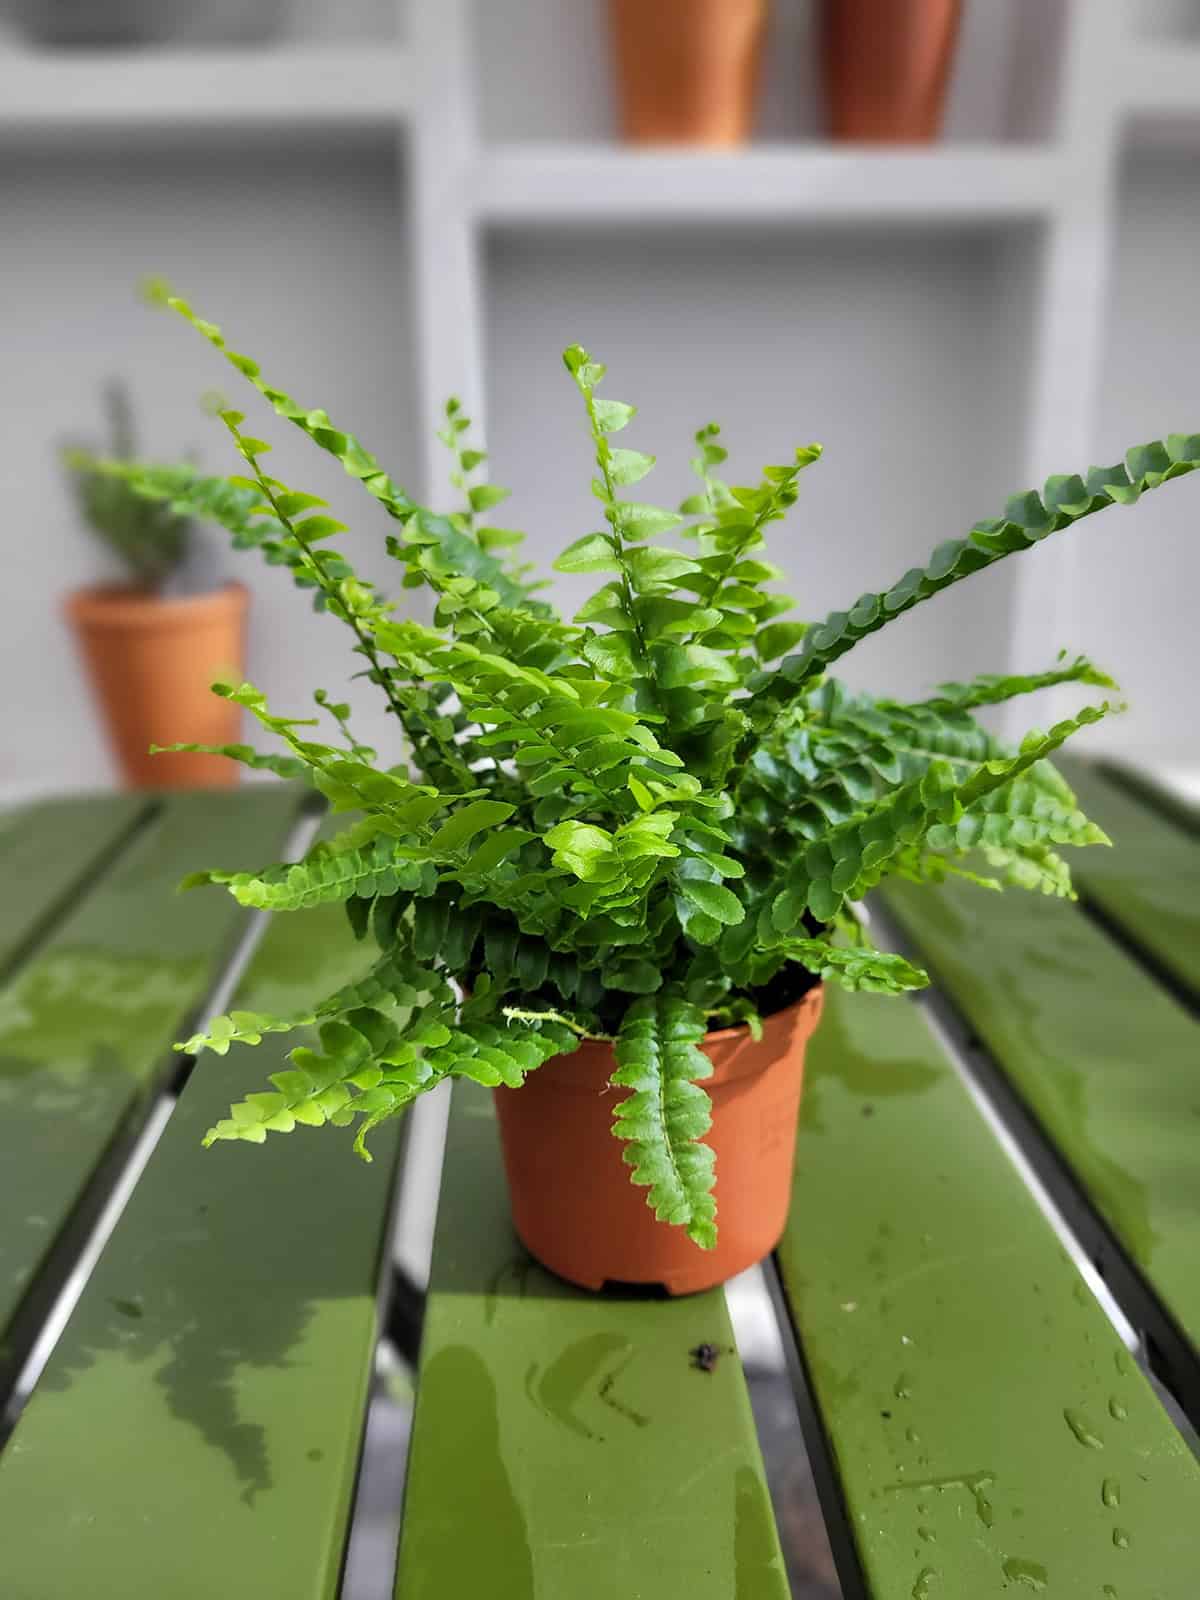
Plant Varieties
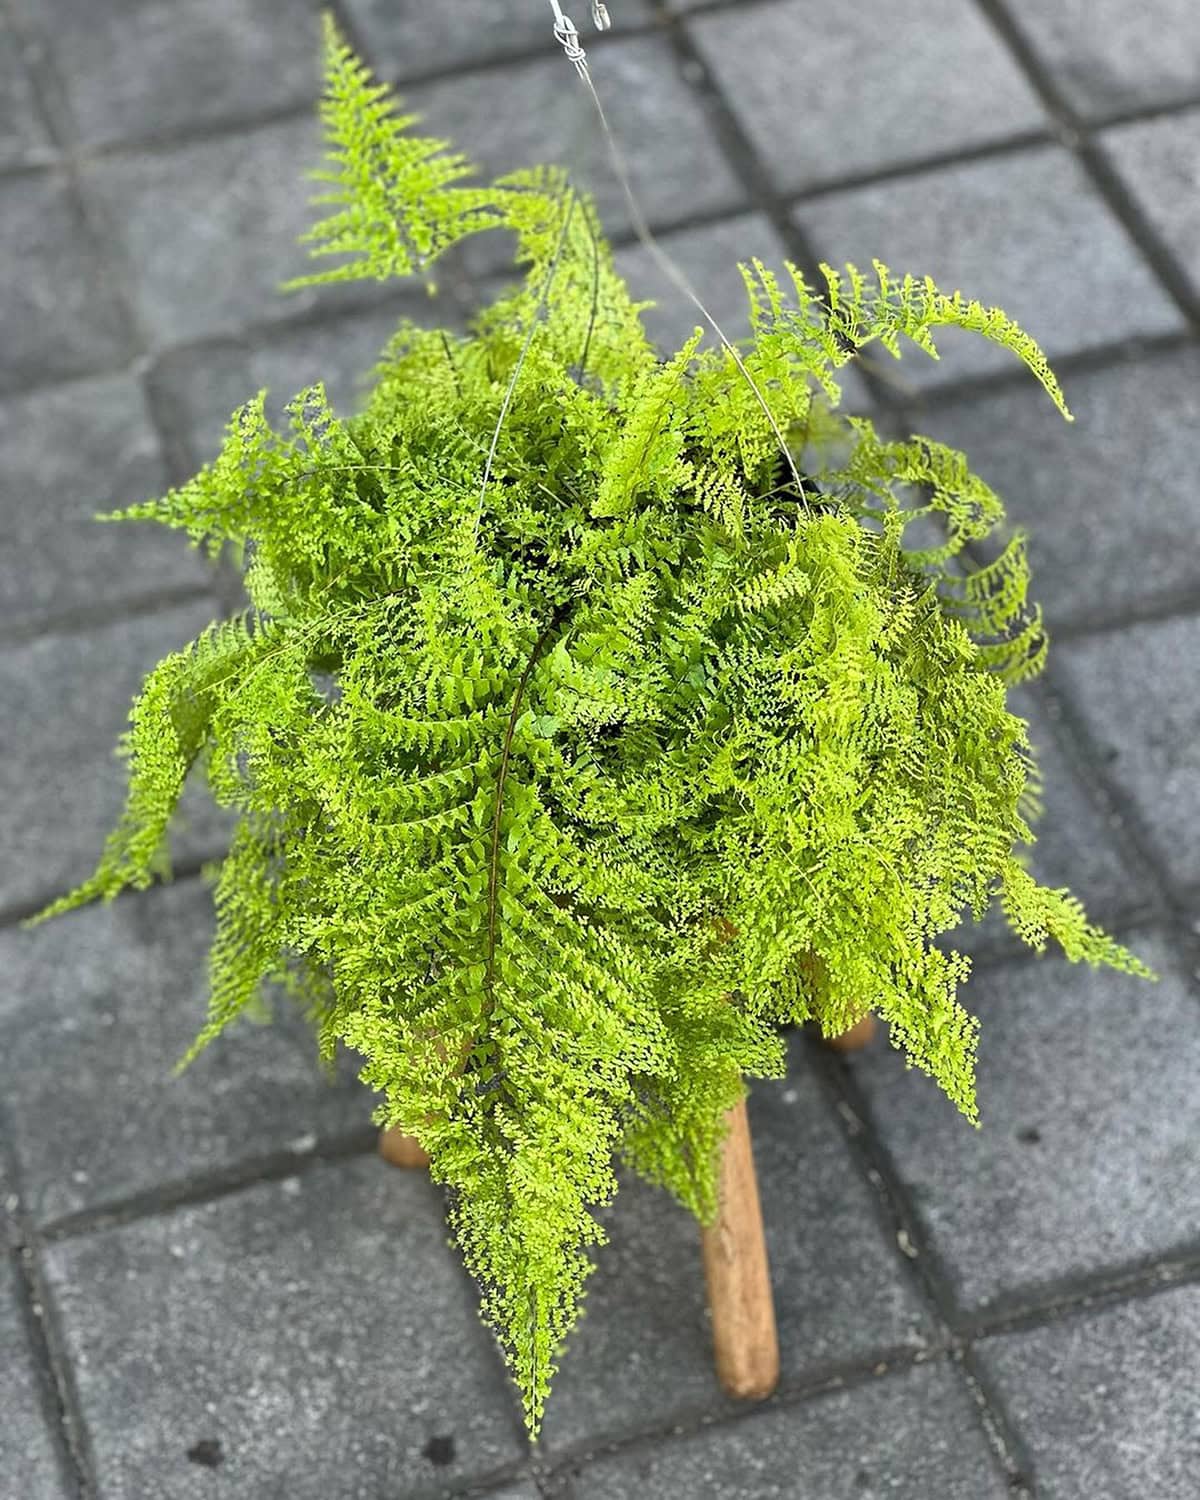
There’s more than one kind of Boston fern out there, believe it or not. The classic is Nephrolepis exaltata ‘Bostoniensis’—those long, arching fronds are pretty unmistakable.
But there are plenty of variations. Some have wavier or lighter-colored fronds, others are more compact and perfect for small spaces.
If you like something a bit different, check out the frilly or curly-leaf types. Compact forms are great for shelves, while the bigger ones really fill out a hanging basket.
Really, it comes down to what fits your space and style. Care is pretty much the same across the board—keep them moist, give them indirect light, and pay attention to their needs.
Frequently Asked Questions
Boston ferns need a bit of attention, whether they’re inside or out. Getting the basics right—soil, watering, pruning—solves most issues before they start.
What are the ideal conditions for indoor Boston fern growth?
You want bright, indirect light—an east or north-facing window usually does the trick.
Keep things between 60°F and 75°F, and boost the humidity with a tray or humidifier if the air’s dry. Water regularly, but make sure the soil drains well so roots don’t get soggy.
How should I care for a Boston fern planted outdoors?
Filtered shade is best outside—direct sun will fry those fronds.
Pick a spot with rich, well-drained soil. Water when the top layer feels dry, and pay extra attention during hot spells so the plant doesn’t wilt.
What are the best practices for potting and repotting Boston ferns?
Always go for a pot with drainage holes. Use a loose, peat-based mix with good airflow.
Repot every year or two, especially if the roots are crowding the pot. Move up just one size and refresh the soil each time.
How can I troubleshoot common problems with Boston ferns?
Brown tips? Usually low humidity or too much fertilizer. Pale leaves might mean too much sun. If leaves drop suddenly, check if the soil’s too dry.
Pests like spider mites can pop up—inspect regularly and treat early if you spot trouble.
What steps should be taken for effective propagation of Boston ferns?
Divide the root ball in spring or early summer for best results. Pull apart small clumps with healthy roots and fronds—don’t worry if it’s a bit messy.
Pot each section in moist, well-drained soil, and keep them humid until they’re established.
How do I properly prune and maintain a healthy Boston fern?
Grab some sharp, clean scissors and snip away any fronds that have turned yellow or look worn out, cutting close to the base. That little bit of tidying up seems to spark fresh growth and keeps things looking lively.
Every so often, it helps to clear out any dead leaves or bits of debris sitting on the soil—honestly, it makes a difference. I’d suggest a bit of gentle pruning here and there all year long if you want your fern to stay full and happy.