
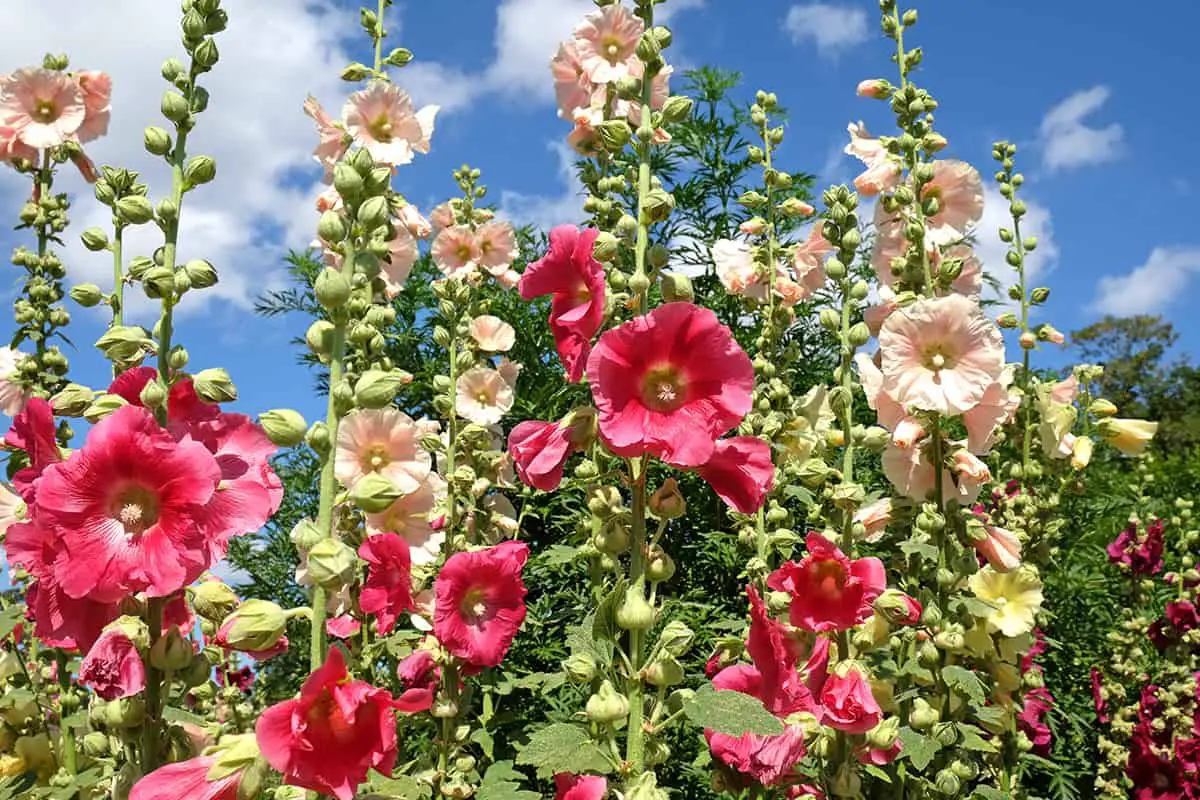
Hollyhocks are a beautiful addition to any garden, with their tall stalks and vibrant flowers. Native to Asia and belonging to the mallow family, these plants can grow up to 3-6 feet tall and sometimes approach 9 feet in height. Their appealing height makes them a popular choice for background plants in flower borders or along fences and walls. Keep reading to learn more about the lovely Hollyhocks.
| Common Name | Hollyhocks |
| Botanical Name | Alcea rosea |
| Family | Malvaceae |
| History & Origin | Native to Asia and Europe, ancient garden plant |
| Plant Type | Perennial, biennial |
| Mature Size | 5-8 ft tall, 2 ft wide |
| Sun Exposure | Full sun |
| Soil Type | Well-drained, fertile |
| Soil pH | Neutral to slightly alkaline |
| Temperature | Prefers warm climates |
| Watering | Keep moist, especially in dry periods |
| Fertilizing | Low; use compost in spring if necessary |
| Bloom Time | Summer |
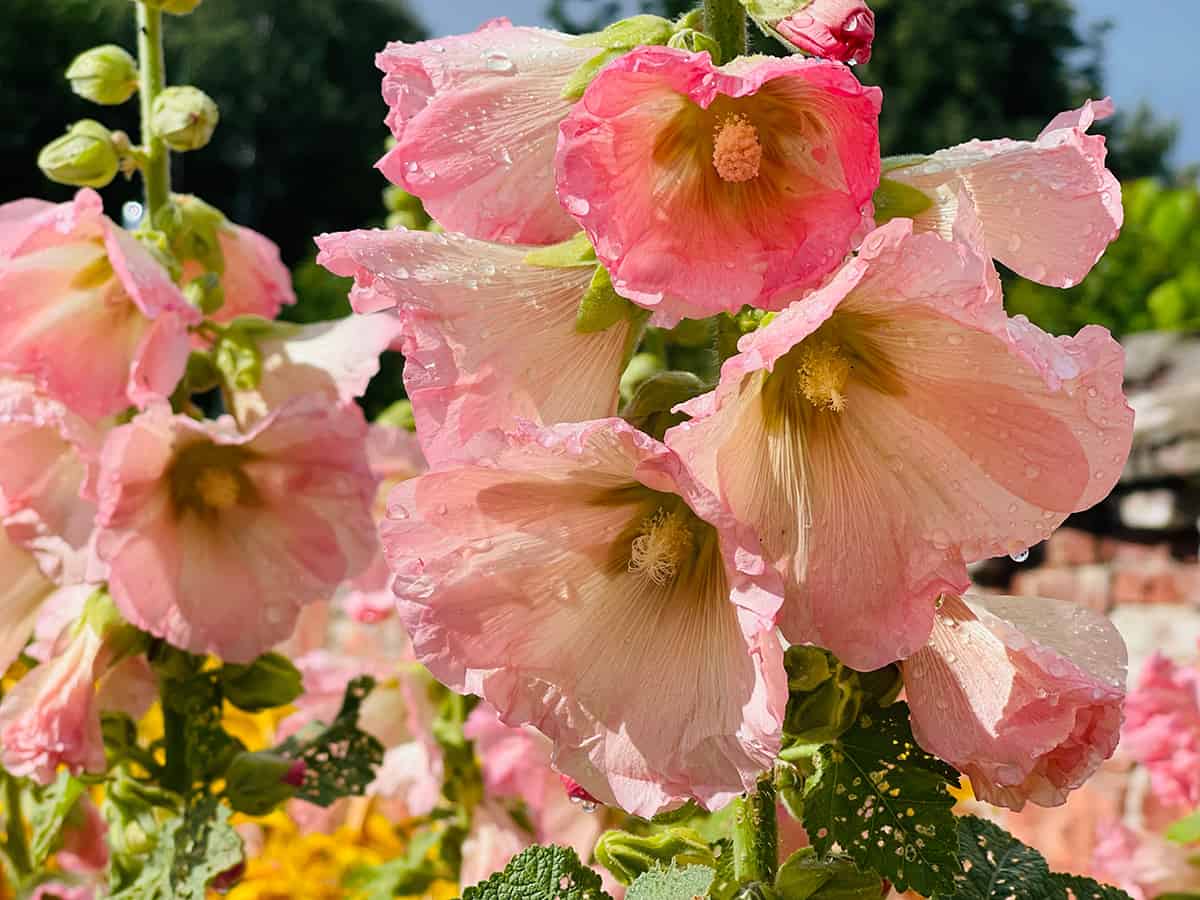
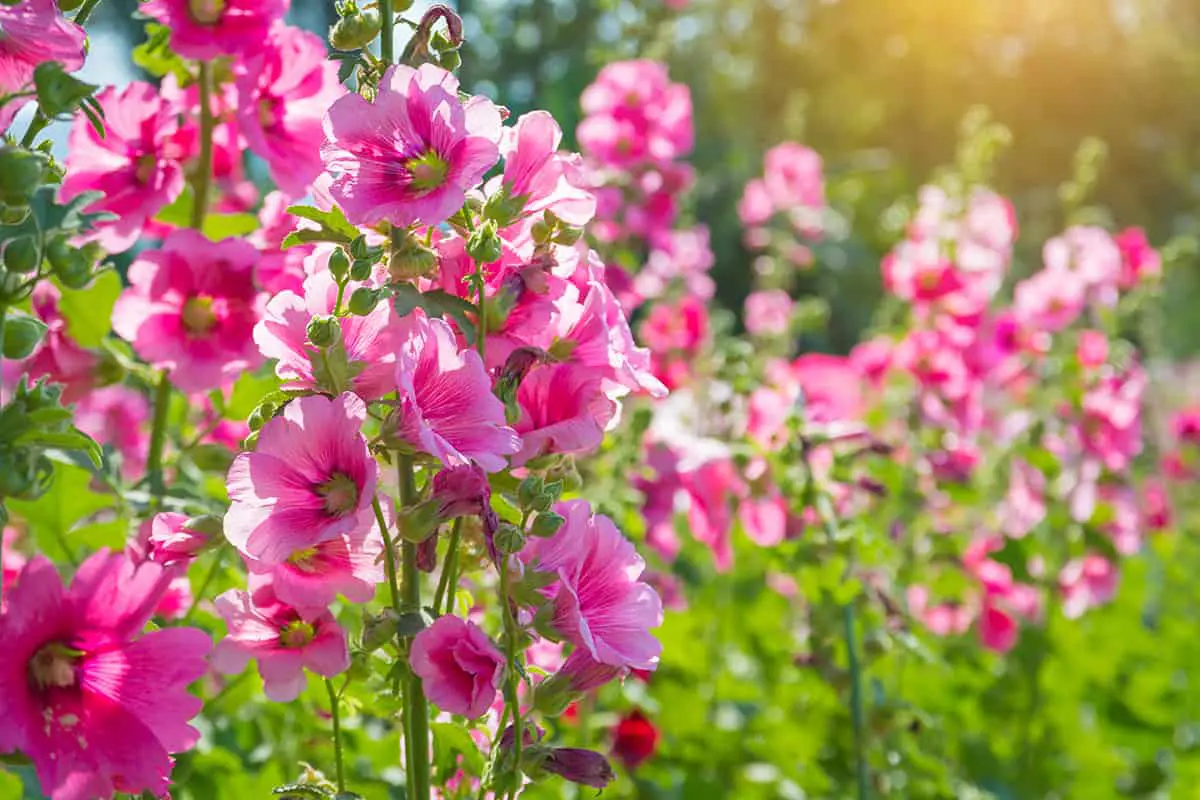
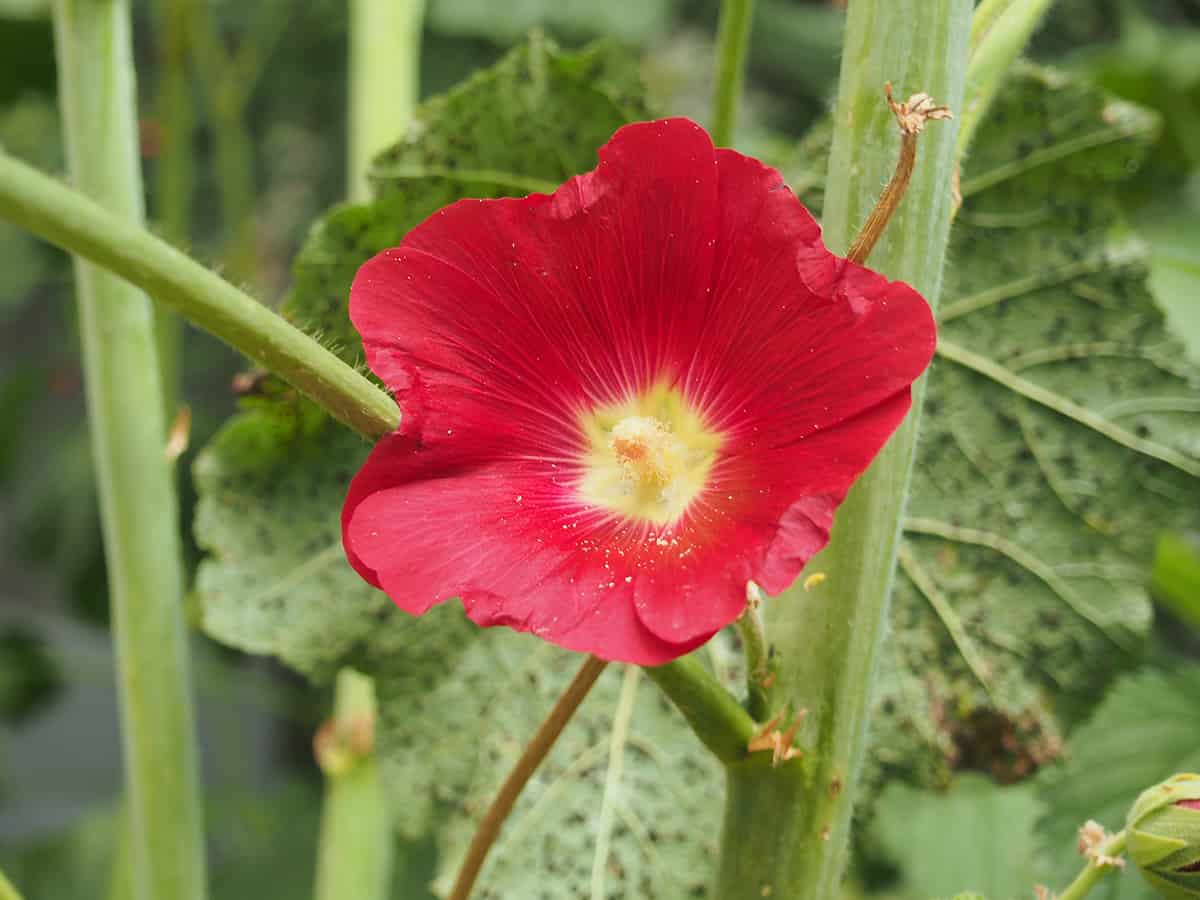
| Flower Color | Red, pink, yellow, white, purple |
| Hardiness Zone | 3-8 |
| Toxicity | Non-toxic to humans and pets |
| Common Problems | Rust, Japanese beetles, slugs |
Table of Contents
Light
Hollyhocks thrive in full sun conditions. To promote healthy growth, ensure your plants receive at least 6 hours of sunlight each day. While they can tolerate some partial shade, insufficient light may cause weaker, less vigorous growth and fewer blooms.
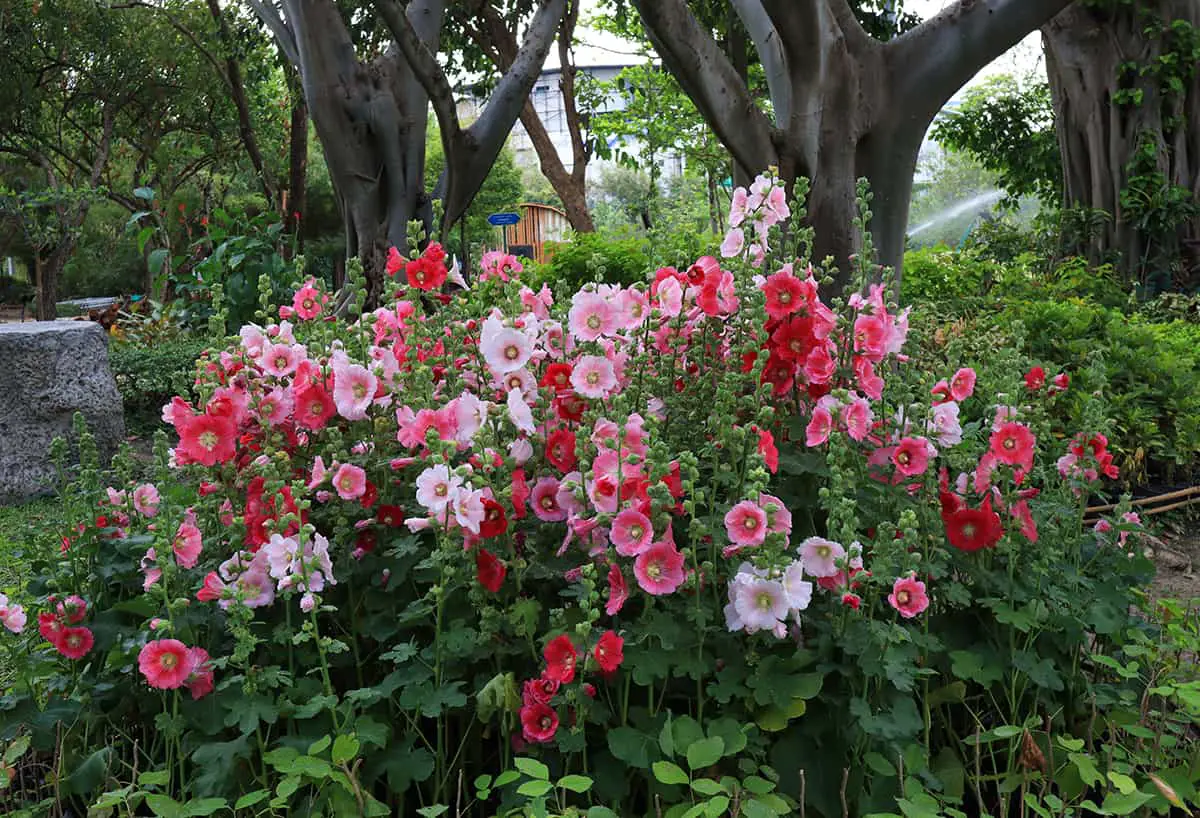
When selecting a planting site, consider the mature height of your hollyhocks. Taller varieties, reaching up to 9 feet, may cast shadows over shorter garden plants. This is why they are commonly placed at the back of flower borders or along fences.
Soil
The first thing to consider when growing hollyhocks is the type of soil they require. Ideally, the soil should be well-draining and rich in organic matter. A pH level between 6.0 and 7.0 is optimal for hollyhocks.
It’s essential to prepare the soil before planting hollyhocks. You should start by turning the soil to a depth of 12 to 15 inches. This will help improve aeration and drainage. Next, mix in aged manure or compost to increase the soil’s fertility.
Finally, applying mulch around the hollyhocks in spring will not only keep the soil moist and cool but also help reduce the spread of rust spores that may be present in the soil. This will lead to healthier plants with fewer issues.
Water
It is important to keep the soil consistently moist, but avoid overwatering, as this can lead to root rot and other problems.
When watering, try to avoid getting the leaves wet, and aim to do it early in the day, so the plants have time to dry.
As your hollyhocks grow, you may need to adjust your watering frequency to accommodate their increasing needs. When planting in containers, ensure the pots have proper drainage to prevent over-saturation. Adding a layer of mulch around the plants can help retain moisture and reduce the frequency of watering.
Make sure to monitor your hollyhocks for signs of stress, such as wilting leaves or brown leaf edges, which might indicate they need more water. On the other hand, yellowing leaves can be a sign of overwatering.
Temperature and Humidity
Hollyhocks thrive in moderate temperatures and can tolerate a wide range of conditions. Ideally, maintain a temperature between 60-80°F during the day and between 50-60°F at night.
Proper air circulation plays a vital role in preventing diseases like rust, which commonly affects hollyhocks. To ensure good airflow, avoid planting hollyhocks too densely. Space them at least 18-24 inches apart, so that they don’t compete for resources and have room to grow.
Water your hollyhocks in the morning, as this allows the leaves to dry out more quickly. Avoid wetting the foliage, as excess moisture on the leaves increases the risk of fungal diseases. If you use a sprinkler, make sure it’s low enough to water the soil and not the leaves. Alternatively, you can use a soaker hose or drip irrigation system to deliver water directly to the plant’s base.
In especially humid environments, you may want to consider using a fungicide to protect your hollyhocks. Both chemical and organic options are available. Apply these according to the manufacturer’s directions and take care not to overuse them, as this may harm beneficial organisms in your garden.
Fertilizer
To help your hollyhocks thrive, it’s important to use the right fertilizer. Begin by applying a general garden fertilizer once a month during periods of growth. This stimulates strong and healthy development for your plants.
One crucial element for hollyhocks is phosphorus. It aids in flower production and contributes to the overall health of the plant. When selecting a fertilizer, look for one with a high phosphorus content — typically indicated by the middle number in the N-P-K ratio on the package.
It’s essential to apply the fertilizer properly by following the manufacturer’s instructions. Over-fertilizing can lead to weak plants and inhibits flower growth. Consider using granular, slow-release fertilizers for extended nourishment of your hollyhocks.
Propagation
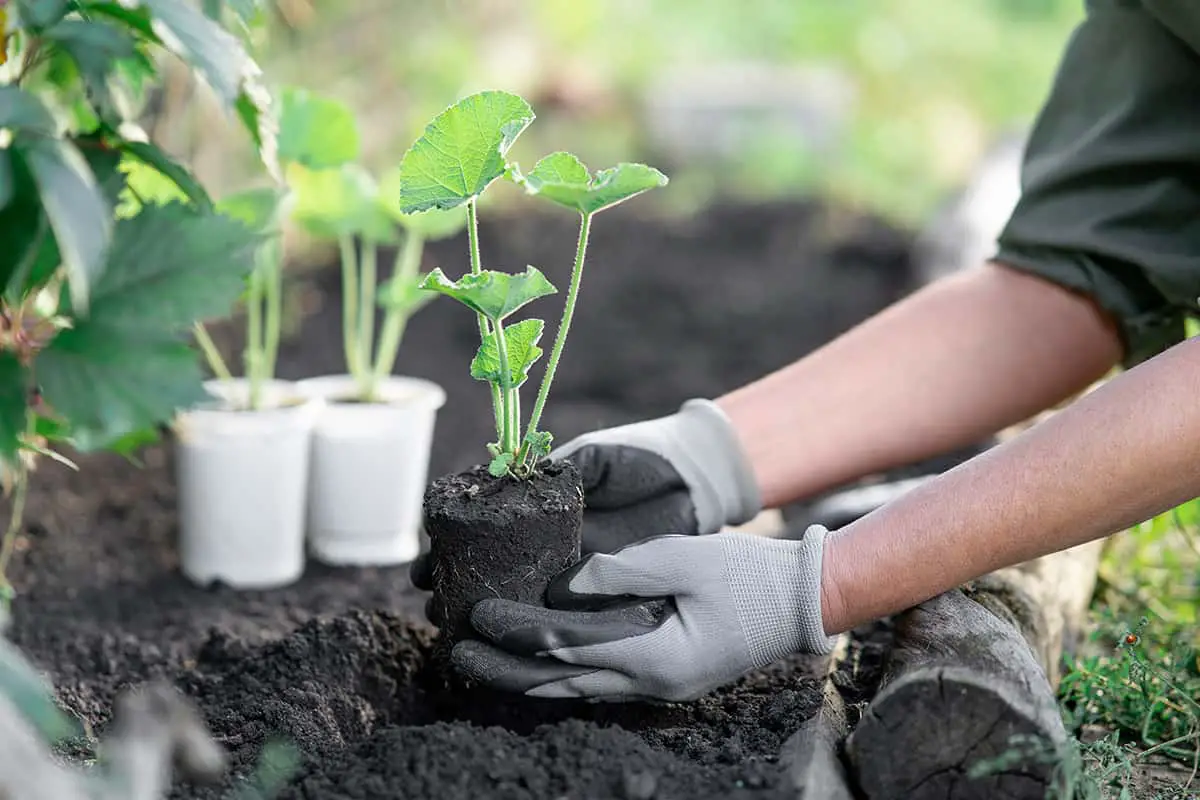
To propagate hollyhocks, first collect seeds from mature plants. Keep in mind that these plants are biennial or short-lived perennials, so harvesting seeds ensures you’ll always have a fresh supply.
Once you have collected the seeds, plant them in well-draining soil in a location with full sun. Hollyhocks can tolerate some wind, but it’s best to provide them with a little protection through strategic placement, such as near a wall.
When planting, space seeds about 18 inches apart. After the seedlings emerge, thin them to a distance of 2 to 3 feet to avoid overcrowding, which can lead to diseases like rust.
Pruning
Your first step in pruning should be to remove any dead or infected leaves and stems. This helps prevent rust from overwintering and keeps the plant looking clean and tidy.
During the blooming season, keep an eye on your hollyhocks for signs of wilted or spent flowers. Deadheading is the process of removing these spent blooms, which encourages the plant to produce new flowers and extend its blooming period. To deadhead, simply cut the flower stem just below the spent bloom, taking care not to damage healthy growth.
It’s also important to thin out your hollyhocks if they’re planted too densely. Overcrowding can lead to increased humidity and reduced airflow, creating an environment that is conducive to diseases such as rust. To thin out your plants, remove some of the weaker stalks, ensuring there’s enough space between the remaining stalks for air circulation.
Finally, at the end of the blooming season, cut back the hollyhock stalks to approximately 6 inches above the ground. This helps the plant conserve energy and focus on root development, which is crucial for its growth and health in the following year. When pruning, remember to use clean, sharp pruning shears to minimize the risk of infection and create clean cuts that heal quickly.
Potting and Repotting
Choose a pot with drainage holes about one inch wider than the root ball. Opt for a well-draining potting mix to ensure healthy growth.
Place your hollyhock in the pot and cover the roots with the potting mix. Leave the top one-third of the root ball exposed to facilitate better growth. Position the pot in a location that receives full sun for optimal results, as these plants are native to Asia and thrive in sunny conditions.
Over time, you may notice your hollyhocks outgrowing their pot, requiring repotting. Look for signs like the plant drying out between waterings or producing small leaves with almost no new growth. To repot, water the plant, let it sit for one hour, and then follow the repotting process.
During the repotting, use a sharp, clean knife or garden shears to divide the root ball into smaller sections. Each section should have at least 3-4 healthy stems and a good amount of roots. Fill new pots with fresh potting soil and reposition the divided sections in their respective containers. Water thoroughly and place in full sun.
Common Problems & Troubleshooting
Hollyhocks can face a number of issues in the garden. One of the most prevalent problems is hollyhock rust. This fungal disease affects the leaves, causing orange or yellow spots on the upper surface. In advanced stages, brown to dark-red bumps form on the undersides of the leaves.
To avoid hollyhock rust, plant your hollyhocks in a location with good airflow. Remove any affected leaves immediately and dispose of them properly. You can also use a fungicide specifically designed for rust control if necessary.
Another common issue for hollyhocks is their vulnerability to wind damage due to their height, which can reach six to eight feet. To combat wind-related issues, plant hollyhocks in a full-sun location that has some protection from the wind, like near a fence or wall. Stake taller plants to offer additional support.
Hollyhocks are also susceptible to pests such as aphids and whiteflies. Keep an eye out for these insects on your plants. If you notice them, treat them with insecticidal soap or neem oil. Regularly checking your plants and taking action as soon as you notice any signs of pests or diseases will help maintain the health and beauty of your hollyhocks.