Ever had a plant that seemed invincible, only to wither away despite your efforts? That was my experience until I discovered Ptilotus. Like many, I struggled with inconsistent care routines, but this hardy plant changed everything. Its resilience and forgiving nature transformed my gardening journey.
Whether you’re a seasoned green thumb or just starting out, Ptilotus offers a lesson in adaptability and growth. Let’s delve into the secrets of nurturing this remarkable plant and watch your confidence as a plant parent flourish alongside it.
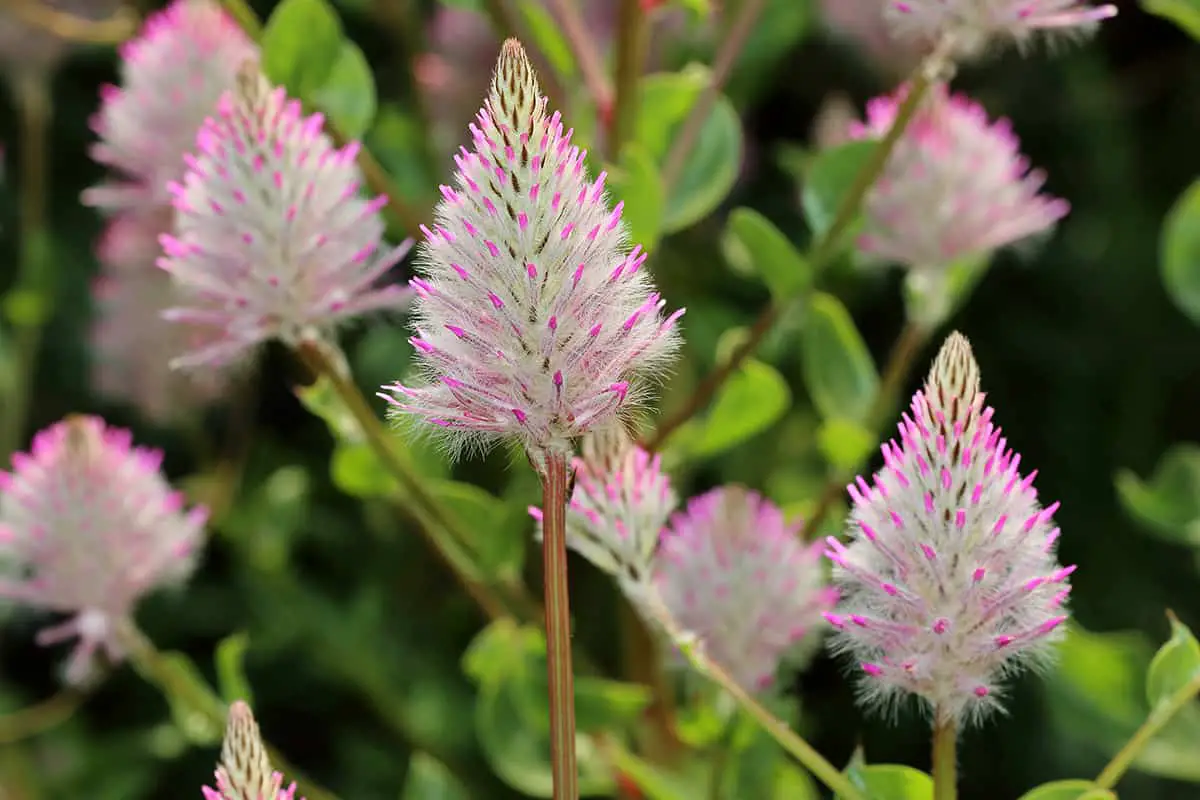
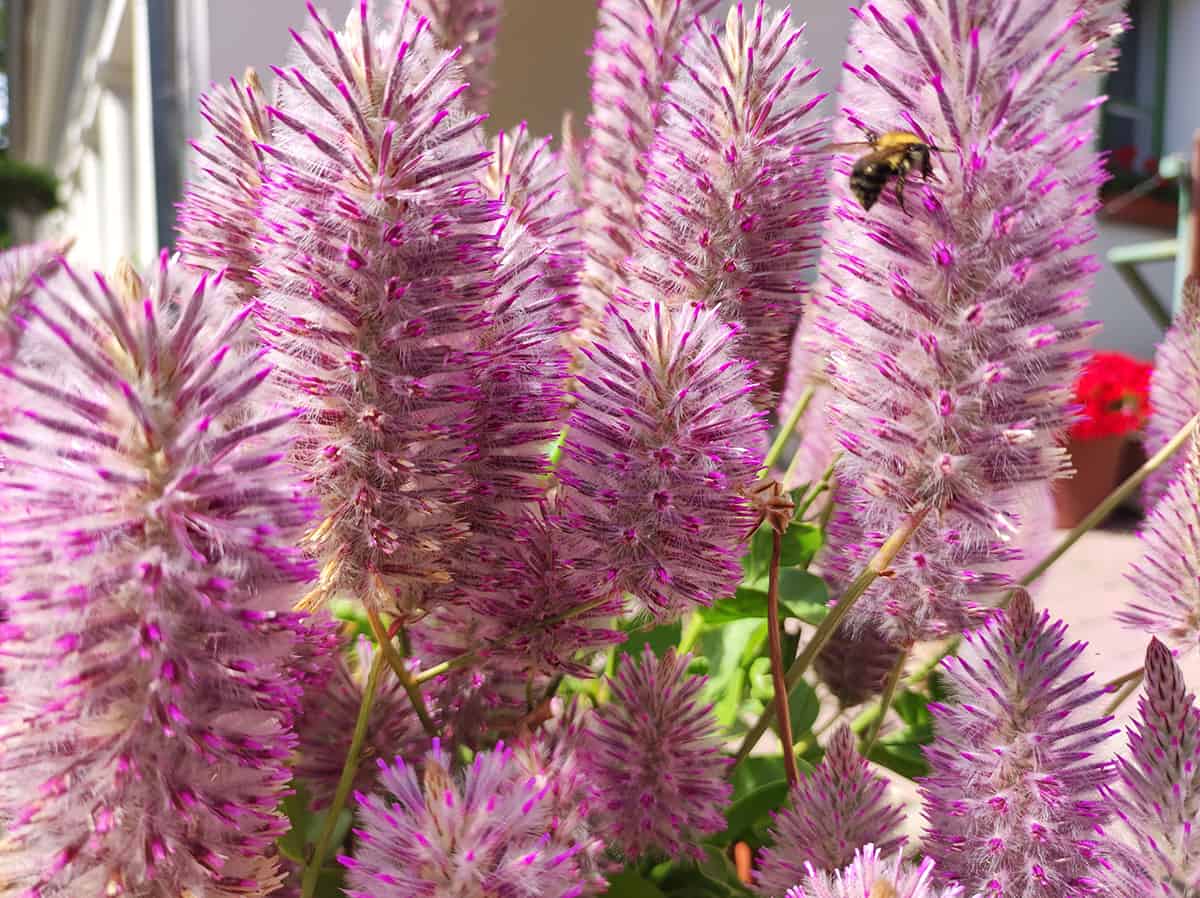
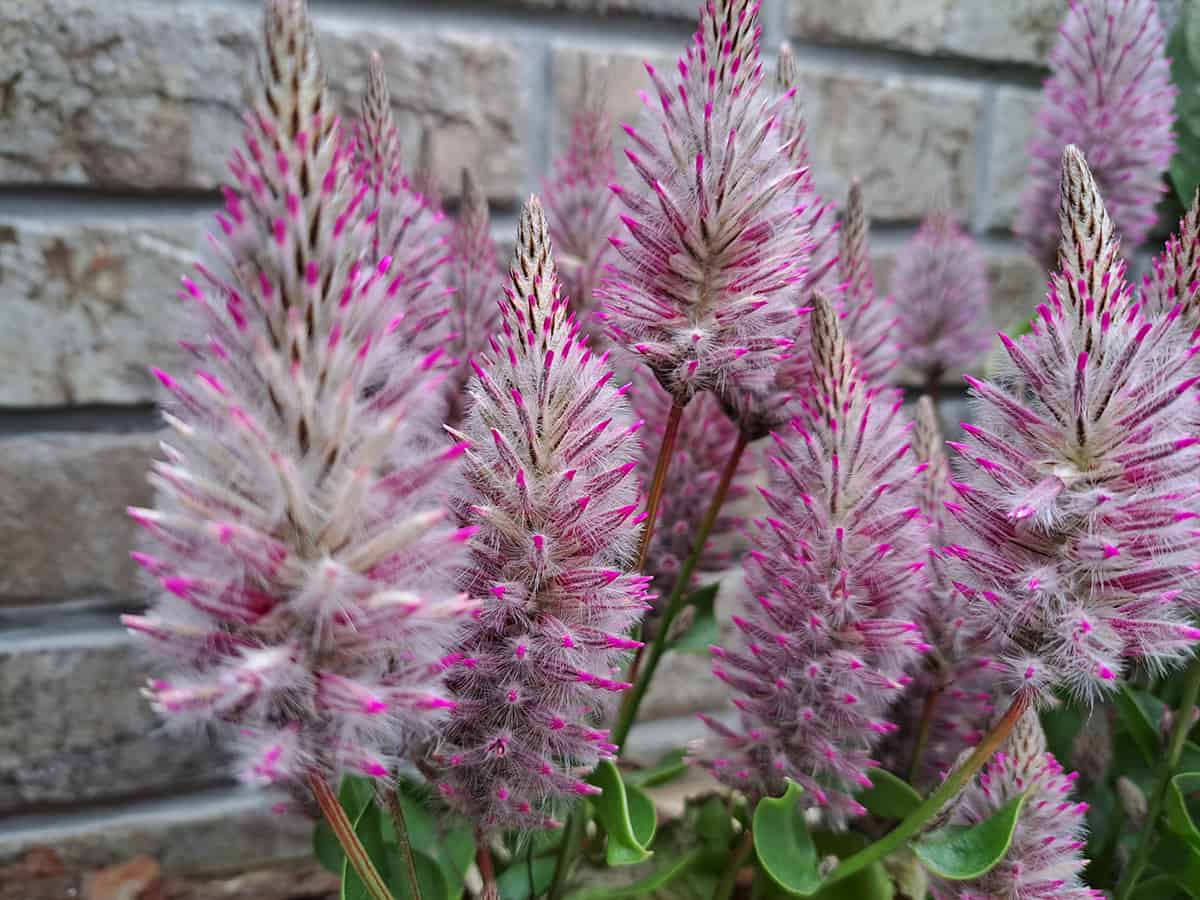
| Common Name | Pink Mulla Mulla |
| Botanical Name | Ptilotus exaltatus |
| Family | Amaranthaceae |
| History & Origin | Native to Australia |
| Plant Type | Perennial |
| Mature Size | 1-3 feet tall |
| Sun Exposure | Full sun to partial shade |
| Soil Type | Well-draining |
| Soil pH | Neutral to slightly acidic |
| Temperature | Warm, frost-free climates |
| Watering | Drought-tolerant, sparingly |
| Fertilizing | Minimal, low-nitrogen |
| Bloom Time | Summer to fall |
| Flower Color | Pink, purple |
| Hardiness Zone | 9-11 |
| Toxicity | Non-toxic |
| Common Problems | Overwatering, root rot |
Table of Contents
Light
Place your Ptilotus in a location where it receives bright, indirect sunlight for at least 4-6 hours a day. Too little light can cause weak and spindly growth, while too much direct sunlight may damage the plant.
To ensure optimal growth, monitor the light intensity and duration throughout the day. If you’re growing Ptilotus indoors, using a combination of natural sunlight and artificial lighting can be beneficial. Adjust the light height above the plant as it grows, keeping it close enough to provide sufficient luminosity but far enough away to prevent overheating.
Rotate your Ptilotus regularly for even exposure and to prevent leaning towards the light source. If the sunlight is not consistent in your area, consider investing in a timer to regulate the lighting schedule. Aim for a consistent daily schedule without overexposing the plant.
Soil
When growing Ptilotus, it’s crucial to select the right soil. Your plants will thrive in well-draining soil with a slightly acidic pH range of 5.5 to 6.7. Incorporate organic matter into the soil before planting to improve its structure and nutrient content. This will provide a healthy environment for the roots to grow and absorb nutrients.
Ptilotus plants are known for their ability to grow well in soils with low labile inorganic phosphorus. This makes them especially suitable for low-input farms in Australia and other regions with similar soils. However, they can still benefit from regular fertilization. For an optimal growth rate, apply 2 to 2.5 pounds of a 5-10-5 or 5-10-10 fertilizer per 100 square feet each year.
To maintain healthy moisture levels for your Ptilotus plants, provide at least 1 to 1½ inches of water per week, either through rainfall or irrigation. Water consistently, but allow the soil to dry between waterings to prevent root rot. Keep an eye on the soil’s moisture, especially during the first few weeks after planting, when the plants are developing their root systems.
Water
During the first few weeks, pay close attention to the moisture levels in the soil as the plants develop their root systems. Most annuals need at least 1 to 1.5 inches of water per week, either from rain or irrigation.
To efficiently manage water usage, monitor the seasonal changes in your garden. In warmer months, your plants may need more frequent watering. As temperatures decrease and days shorten, you should reduce the amount of water you give your Ptilotus.
Adjust your watering schedule based on the weather and soil conditions. Remember that overwatering can lead to root rot, and underwatering can cause the plant to wilt. If you want to save water resources and ensure that your Ptilotus thrives, observe your plants for signs of stress and experiment with different watering times and durations.
Temperature and Humidity
When growing Ptilotus, it’s essential to maintain the right temperature and humidity for the best results. Ideally, you should keep the temperature between 70°F and 80°F during the day and 65°F to 70°F at night.
High relative humidity is not necessary for Ptilotus, as they can tolerate medium levels (40% to 50%). However, avoid extremely low humidity (below 20%), as it may cause stress to the plant. You can monitor the humidity levels with a hygrometer, which helps you ensure optimal conditions for your Ptilotus.
To control the humidity, consider using a humidifier or dehumidifier, depending on the humidity in your growing area. During the watering process, check the soil’s moisture to ensure you’re providing the right amount of water. Over-watering can lead to root rot, while under-watering can cause the plant to wilt.
Fertilizer
It’s in your best interest to apply an all-purpose, slow-release fertilizer. Generally, it’s ideal for Ptilotus plants.
Keep an eye on the three key nutrients: nitrogen (N), phosphorus (P), and potassium (K). The proportions should be as follows: lower nitrogen, higher phosphorus, and moderate potassium. This combination will promote healthy foliage and vibrant flowers. For example, you can use a fertilizer blend like 5-10-5, which contains 5% nitrogen, 10% phosphorus, and 5% potassium.
Don’t forget about the less abundant yet essential nutrients. Micro-nutrients like boron, copper, iron, manganese, and zinc play a crucial role in your Ptilotus plant’s health. These micronutrients are typically included in a standard all-purpose fertilizer, but it’s useful to double-check the label just in case.
When applying fertilizer to your Ptilotus plant, be cautious not to overdo it. Over-fertilizing can cause damage, burn roots, and even stunt growth. Make sure to follow the manufacturer’s directions carefully. Ideally, you should fertilize your Ptilotus plants during their active growth period, which is usually from spring to early fall.
Propagation
When propagating Ptilotus, it’s vital to start with the right method. One common approach is starting plants from cuttings. By taking healthy stem cuttings, you can ensure a higher success rate in developing new plants. Make sure your tools are clean and sharp for optimum results.
As you prepare the cuttings, remove the lower leaves, leaving only a few at the top. It’s crucial to plant your cuttings in a suitable rooting medium, such as a mix of perlite and peat moss. This combination retains moisture while also allowing air to reach the developing roots.
Maintaining humidity levels around your cuttings can be achieved by using a plastic cover or propagator. Be careful not to overwater your cuttings, as this can lead to rot. Ensure that there’s enough ventilation so that humidity does not become excessive.
In a few weeks, the cuttings will start to develop new roots. Once the new roots are well-established, you can transplant your Ptilotus plants to their desired location. Remember to use a well-draining soil mix and provide adequate sunlight for your plants to flourish.
Pruning
In order to maintain a healthy and attractive Ptilotus, it’s essential to properly prune your plant. Pruning helps encourage branching and bushier growth, while removing dead or damaged parts promotes overall health. In this section, we’ll highlight important pruning techniques specific to Ptilotus, ensuring your plant thrives.
First, it’s important to recognize the best time to prune your Ptilotus. Aim to prune during the plant’s dormant season, which is typically late winter or early spring. This will help prevent any unnecessary stress on the plant. Avoid pruning when leaves are dropping or growing, as this can lead to an interruption in the plant’s growth.
When pruning, use clean, sharp tools to ensure clean cuts. Remove any dead, damaged, or diseased branches first. Be selective in trimming back healthy branches, focusing on those that are crossing or rubbing against each other. This will allow for better air circulation and prevent possible damage.
Remember to maintain a proper balance between foliage and branches. Regularly prune for shape, cutting just above a bud facing the desired direction for new growth. This keeps your Ptilotus well-structured and visually appealing. Over-pruning can be detrimental to the plant’s health, so keep an eye on the overall shape and size.
Potting and Repotting
When potting your Ptilotus, choose a well-draining soil mix. A combination of peat moss or ground pine bark, and perlite or vermiculite works well for these plants. Make sure the container has drainage holes to prevent waterlogging.
To pot your Ptilotus, first place a shard over the drainage hole. This prevents soil leakage. Add enough potting mix to the bottom of the pot, raising the root ball one or two inches below the rim. This allows enough room for watering your plant. Now, place your Ptilotus into the pot and gently surround it with the remaining potting mix, ensuring a snug fit.
Repotting typically happens every couple of years, but it varies based on the growth rate of your Ptilotus. Signs that it’s time to repot include roots growing out of drainage holes or the plant outgrowing its container. When repotting, choose a pot slightly larger than the previous one.
Before repotting, water your plant in its original container and wait for an hour. This ensures your plant stays hydrated during the process. Carefully remove the plant from its old pot, ensuring not to damage the root system. If it’s stuck, use a blunt knife to loosen it from the edges of the pot.
Follow the same potting steps as before but place your Ptilotus in the new, larger pot. Remember to use the same well-draining potting mix. Once you repot your Ptilotus, thoroughly water it to help it settle into the new environment.
Common Problems & Troubleshooting
One common problem is root rot, a symptom of overwatering. To prevent this, ensure your Ptilotus has well-draining soil and you don’t give it excess water. Monitor the soil moisture, and only water when it feels dry to the touch.
Pests, such as aphids and spider mites, may attack your Ptilotus plants. Keep an eye out for these tiny insects on the leaves and stems. If you notice an infestation, treat it with insecticidal soap or remove infected parts of the plant to control the spread.
Nutrient deficiencies might also affect your Ptilotus plants. Yellowing leaves are a sign of nitrogen deficiency, while weakened stems indicate a lack of phosphorus. To correct these issues, amend the soil with a balanced fertilizer containing the essential nutrients.
Lastly, pay attention to your plant’s sunlight exposure. Ptilotus thrive in full sun, requiring at least six hours of sunlight per day. If your plants show signs of stunted growth or poor flowering, consider relocating them to a sunnier spot in your garden.