You’ve just enjoyed a refreshing glass of homemade mint lemonade on a hot day. As you savor the taste, you think about how great it would be to have a constant supply of fresh mint at home. In this guide, you’ll discover easy methods to grow mint, so you always have this versatile herb at your fingertips.
Table of Contents
Light
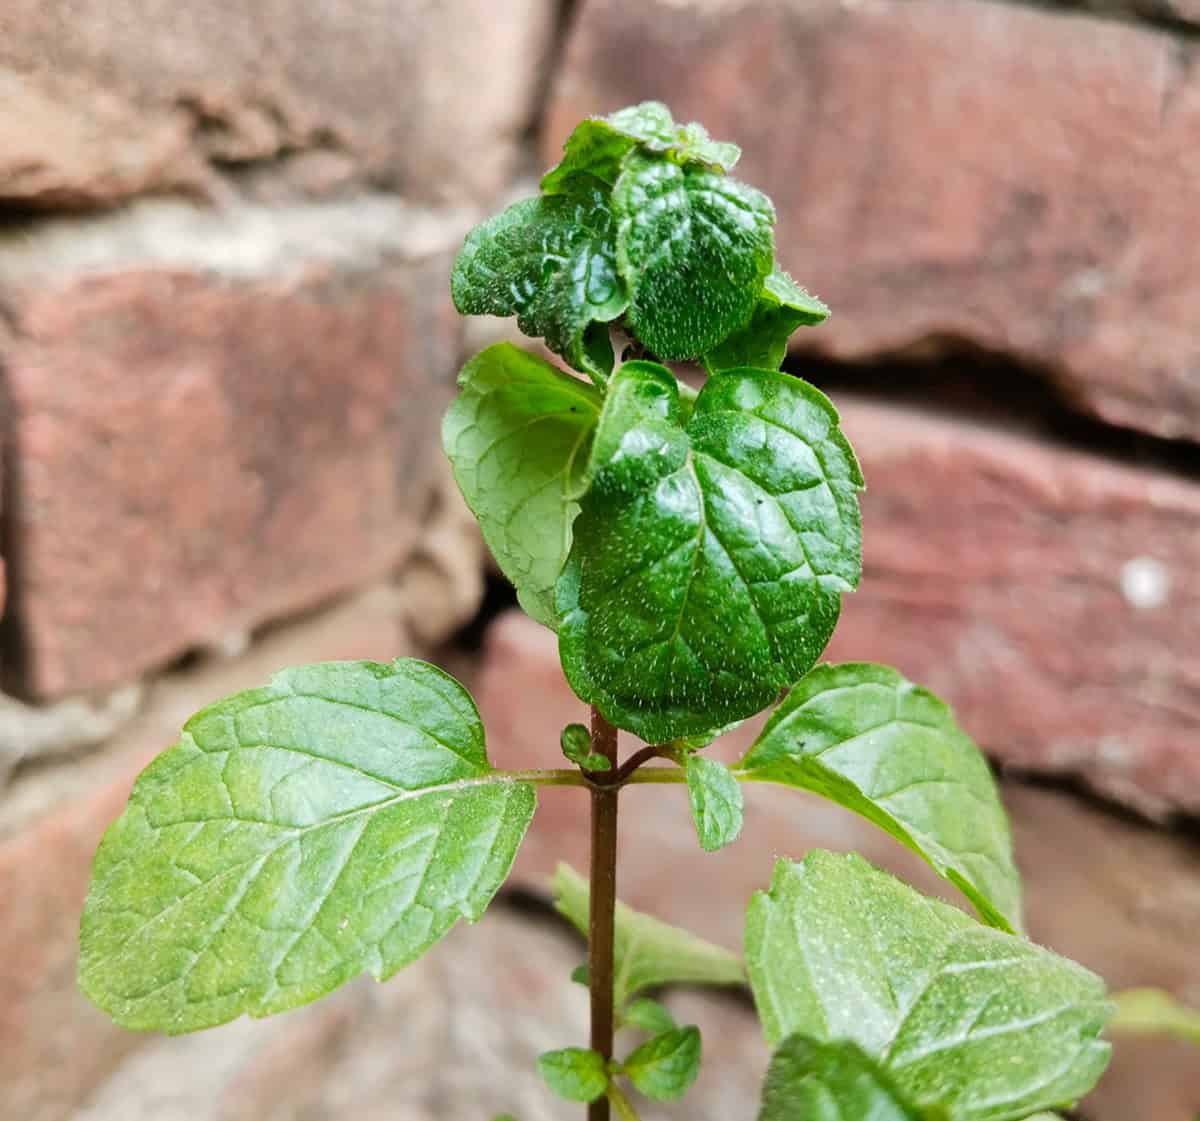
Mint thrives when it receives enough light. Your mint plants do well in full sun, which means they prefer at least six hours of direct sunlight every day. However, they also tolerate partial shade, especially in hot climates.
In areas with intense sun, like Florida, partial shade helps protect mint from scorching. A smart practice is to plant your mint where it can enjoy morning sunlight and then receive shade during the hottest part of the day. This ensures the plant gets sufficient light without heat stress.
The flexibility of mint’s light requirements allows for indoor growing as well. If you place mint near a sunny window, it will grow indoors. Ensure the plant is not in constant direct sunlight, which might dry out the soil too quickly.
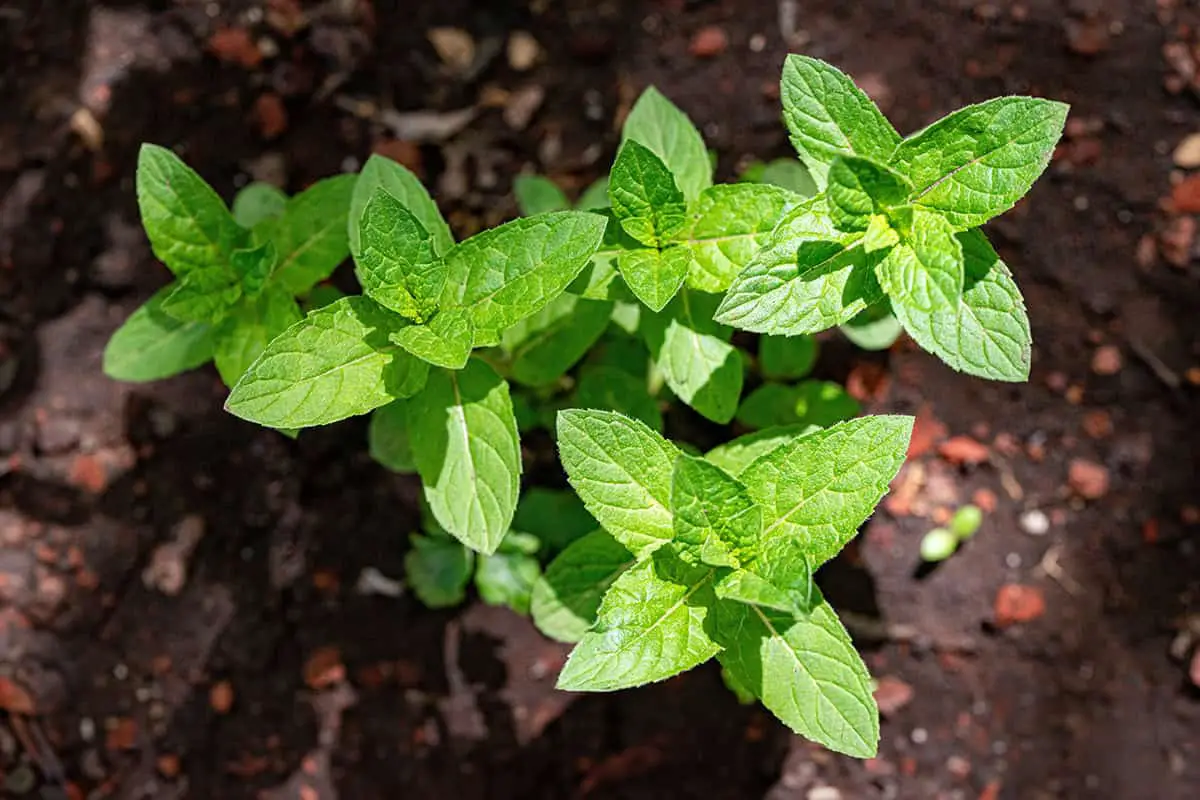
Soil
Mint plants grow well in moist, well-draining soil. Maintain your soil’s pH between 6.0 and 6.5 for optimal growth. If the soil is too acidic, consider adding lime or gypsum to adjust the pH level.
Mint prefers rich soil with adequate organic matter. Before planting, mix compost into your garden soil to improve its texture and fertility. Mint’s robust root system also makes it suitable for growing in containers, which can prevent it from becoming invasive in your garden.
Regular fertilization can help your mint plants flourish. In early spring, apply a slow-release, complete fertilizer. Follow this with just one teaspoon of a 16-16-16 fertilizer per mint plant. It is important to avoid over-fertilizing, as this could reduce the mint’s essential oil content and encourage rust disease.
To prevent disease, avoid overwatering your mint. The plant does like moisture but sitting in waterlogged soil can lead to root and leaf diseases. Ensure that the planting area or container has good drainage.
Watering
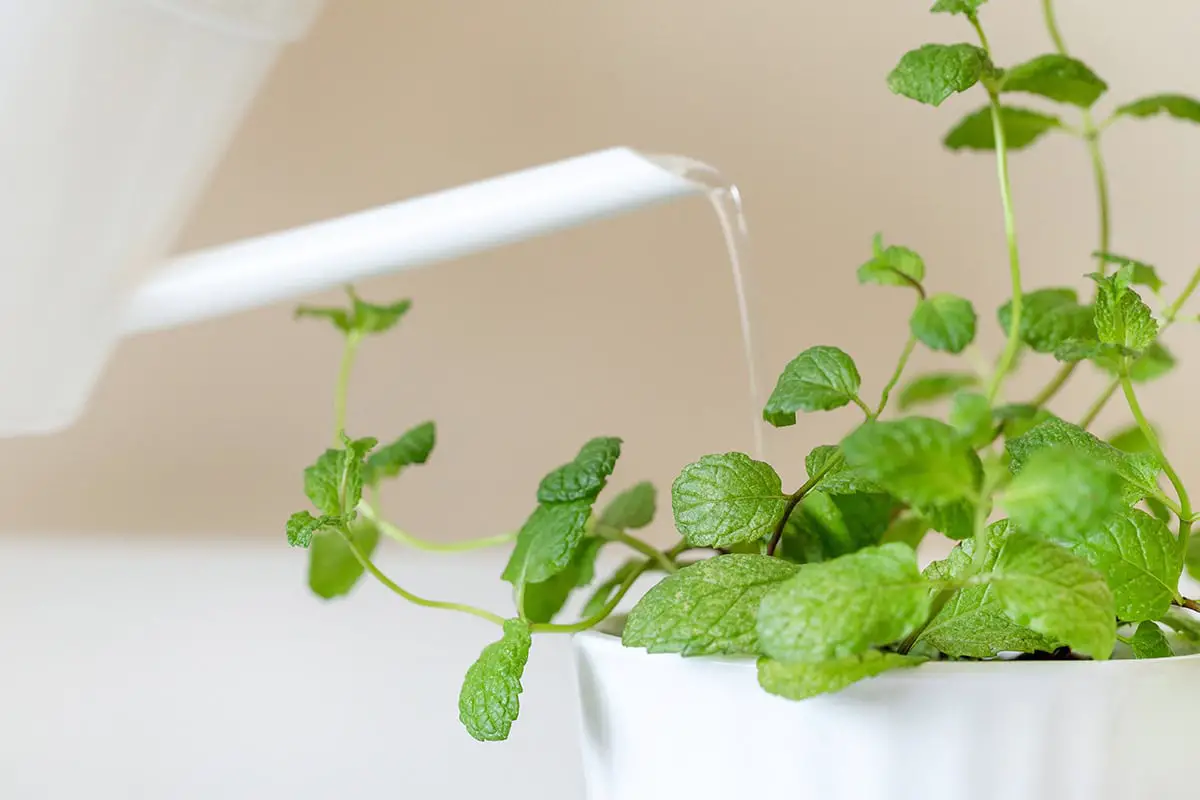
Mint thrives in moist soil conditions; however, it is important to avoid overwatering. Ensure the soil is damp to the touch but not waterlogged.
Mints require consistent moisture. To strike the right balance, check the top inch of soil. If it feels dry, it’s time to water your plants. In most climates, this translates to watering once or twice a week, but in especially hot or dry conditions, your mint may need more frequent watering.
Be mindful of the weather. On overcast or rainy days, mint may need less water. Excess water can lead to root and leaf diseases. Monitor your plants and adjust your watering schedule according to the weather and soil moisture levels.
Temperature and Humidity
Mints thrive in temperatures between 55°F and 70°F. Protect your mint plants from extreme heat or frost, as these can cause damage.
Mint prefers a humid environment, but not wet soil. Ensure you monitor humidity levels in the area where they grow. If your home is dry, consider using a humidifier or regularly misting the plants to maintain moisture.
Fertilizer
Mint favors nutrient-rich soil. A balanced fertilizer aids in healthy growth. Common NPK formulations suitable for mint include 16-16-16 or 5-10-10. Apply these according to the product’s instructions.
If you notice your mint plants displaying yellow leaves, the soil may be too alkaline. You can correct this by applying lime to adjust the pH between 5.0 and 6.5. For cases of iron deficiency, known as chlorosis, chelated iron is an effective supplement. However, take care with quantities; excessive heavy metals from fertilizers can remain in the soil and potentially contaminate water sources.
Learning about commercial fertilizers helps you select the best option for your mint. These come in dry, liquid, or slow-release forms. Choose one that holds moisture well and suits the partial shade mint prefers. Remember to apply small amounts first, watching for the plant’s response before adding more.
For optimal mint growth, apply the chosen fertilizer in the early stages of the growing season.
Common Pest & Diseases
Mint plants can suffer from several pests and diseases. You might encounter spider mites, which cause yellow stippling on leaves. Aphids are also common pests, resulting in sticky leaves and stunted growth. To control these pests, you can use a strong jet of water or apply insecticidal soap.
Rust is a disease that affects mint, showing small, orange spots beneath the leaves. Overwatering and high humidity often lead to this problem. It’s crucial to improve air circulation and reduce watering to manage rust. Pluck off infected leaves to prevent the spread.
Another disease to watch for is powdery mildew, a white, powdery fungus that covers leaves. This occurs in dry, shaded conditions. Fungicides can treat this, but ensuring your mint receives good airflow and sunlight will help prevent it.
Your mints may also suffer from verticillium wilt. This disease causes leaves to wilt and die. Unfortunately, once infected, plants do not recover. You must remove and destroy affected plants to stop their spread.
Lastly, root rot can be fatal for your mint. This disease is due to overly moist soil. Providing well-draining soil and careful watering reduces the risk of root rot. If plants exhibit black, mushy roots, remove them from the garden.
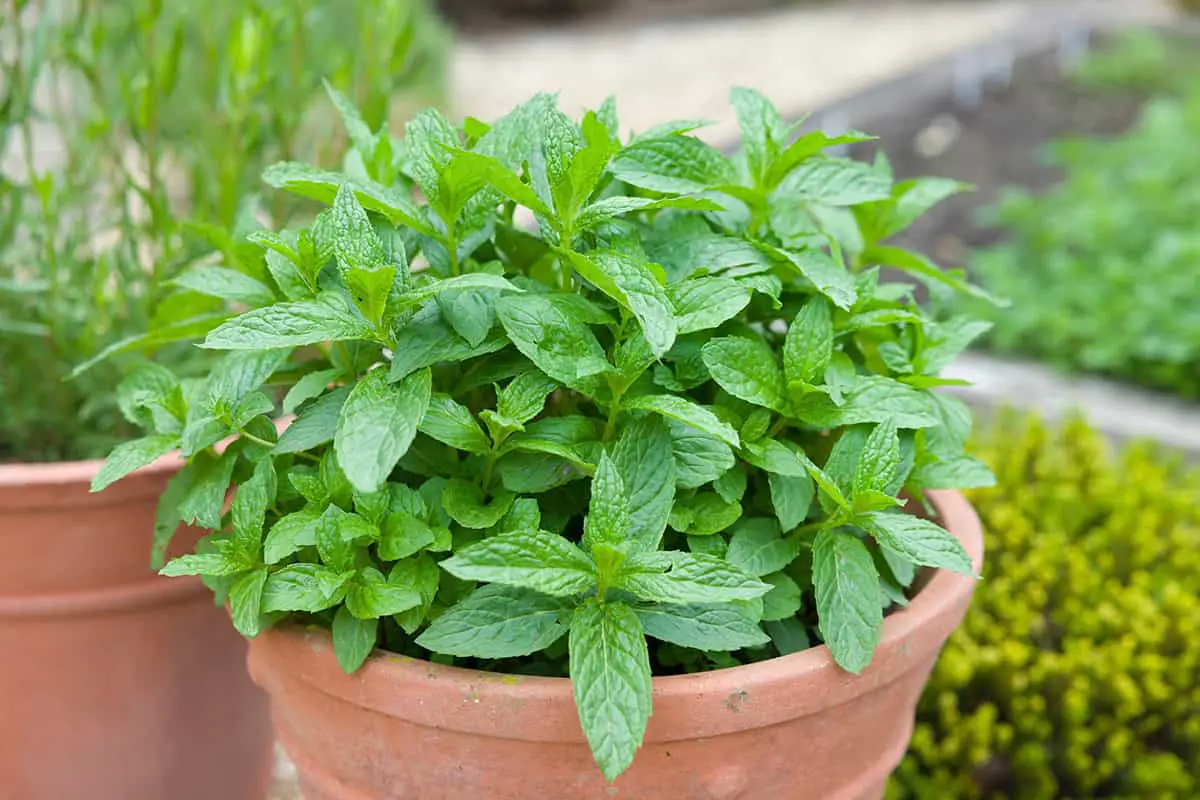
How to Grow Mint in a Pot
Growing mint in a pot is straightforward. First, choose a container with drainage holes. A pot about 12 inches deep ensures ample room for the roots. Fill the pot with potting mix, leaving space at the top.
Plant your mint by placing a small cutting or transplant into the soil. Bury the roots below the surface but keep the stem above. Mint loves moisture, so water the plant until the soil is damp, not soggy.
Place the pot where it gets indirect sunlight. Mint thrives with plenty of light, but harsh sun can damage the leaves. Ensure it receives light for most of the day for healthy growth.
Maintain the mint by trimming regularly. Pruning promotes fuller growth and prevents legginess. When harvesting, cut the stems to encourage new leaves.
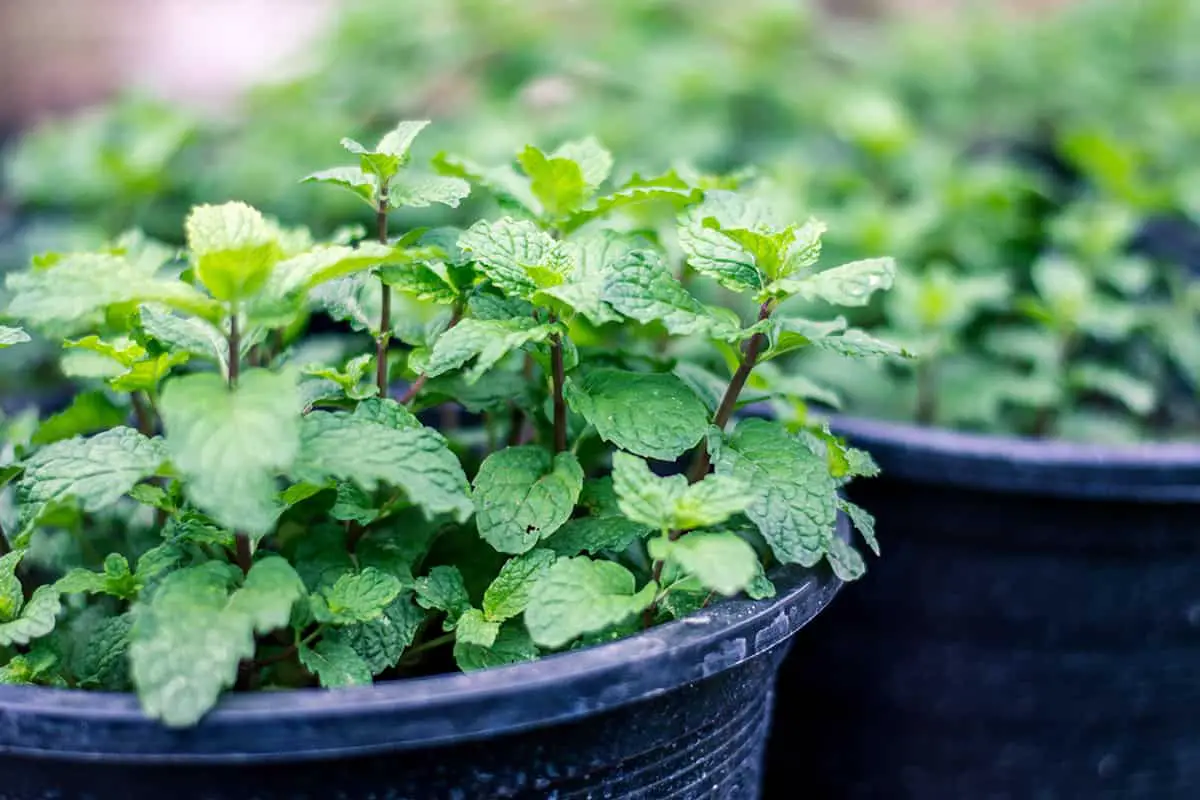
Watch for signs of overcrowding as mint is a vigorous grower. If the roots fill the pot, it’s time to divide the plant. Gently remove the mint, separate it into smaller bunches, and replant in fresh soil.
How to Harvest Mint
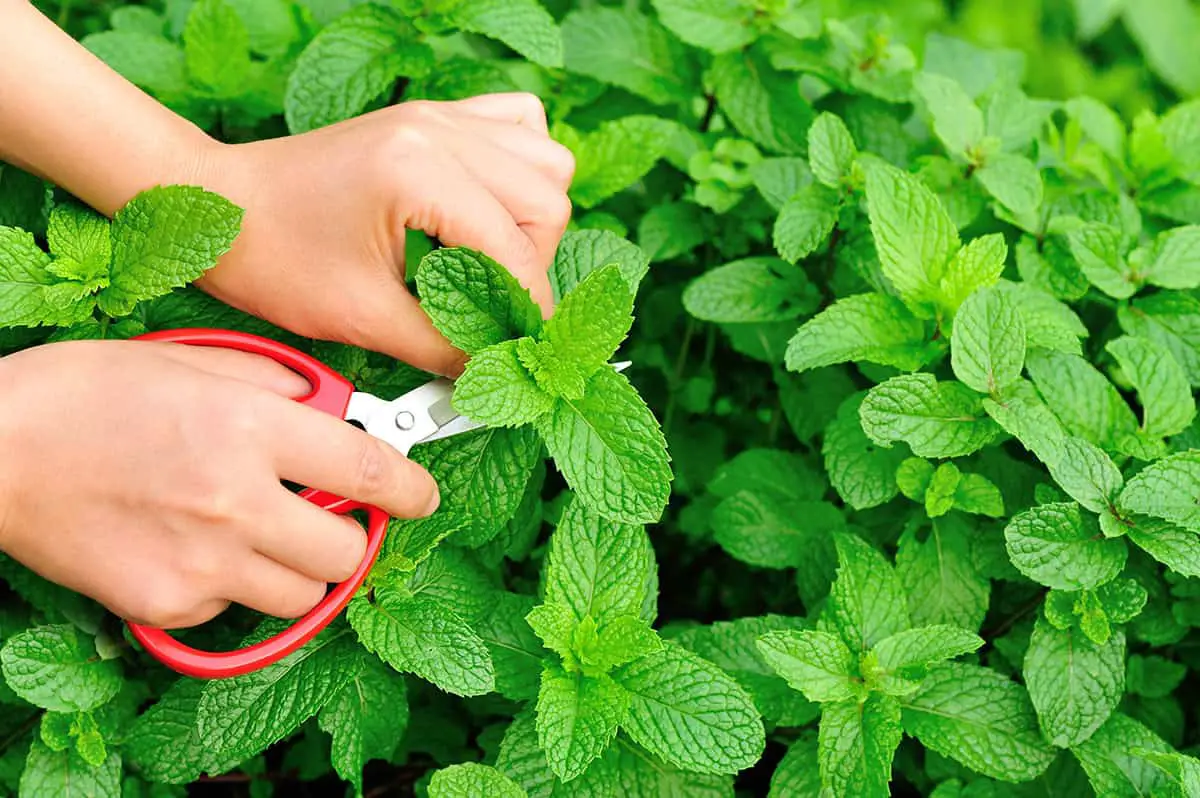
Start by picking leaves before the plant flowers for maximum flavor. Snip stems just above a pair of leaves using scissors or your fingertips. This encourages bushier growth.
To enjoy fresh mint, gather leaves as you need them. For a more abundant harvest, cut full stems. Leave about an inch of growth so the plant can recover.
For a larger yield, trim the mint down a third. Aim to do this in the morning when the oils are strongest. Always keep the plant healthy by not harvesting more than a third at a time.
If you plan to dry or freeze mint, harvesting just before the plant blooms gives you the best results. When your growing season is long, avoid a full harvest in the first year. Instead, give the mint time to establish itself.
How to Store Mint
Storing mint properly extends its freshness and flavor, and as soon as you harvest or purchase mint, you need to keep it cool and moist.
First, dampen a paper towel, wrap the mint leaves gently, and place them in a plastic bag. Ensure the bag is not fully sealed; a little air circulation prevents moisture from building up too much.
Your refrigerator offers the best spot for mint storage. Ideally, place the wrapped mint in the crisper drawer, which provides a consistent environment. Mint remains fresh for a short time, usually up to a week when stored this way.
Mint can be frozen for longer storage.
To freeze mint, wash the leaves and pat them dry.
Next, lay the leaves flat on a baking sheet and freeze until solid. Once they’re frozen, transfer the leaves into a sealed container or bag. This method keeps the mint usable for months. You can directly add these frozen leaves to dishes.
Another option is to dry the leaves.
Hang bunches of mint upside down in a warm, dry, and well-ventilated space. Once fully dried, crumble the leaves and store them in an airtight container away from direct sunlight. Dried mint is great for teas and seasoning and can last several months to a year.