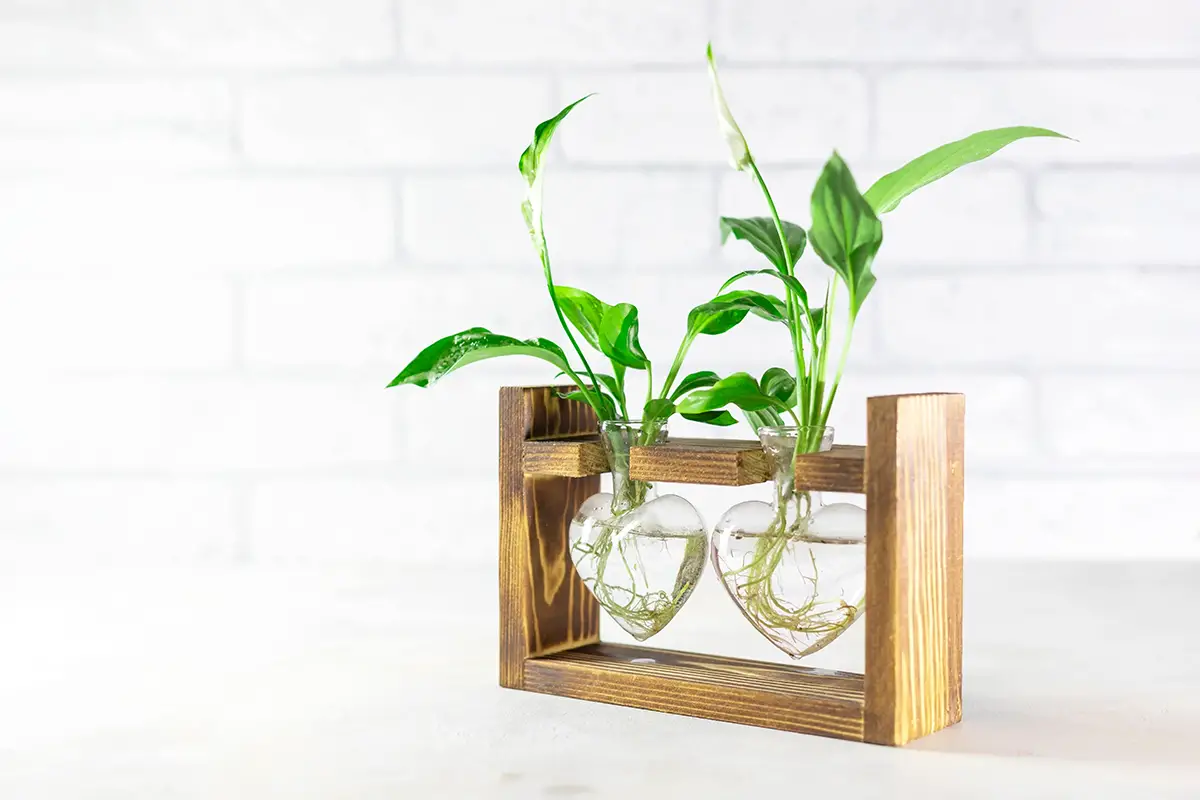
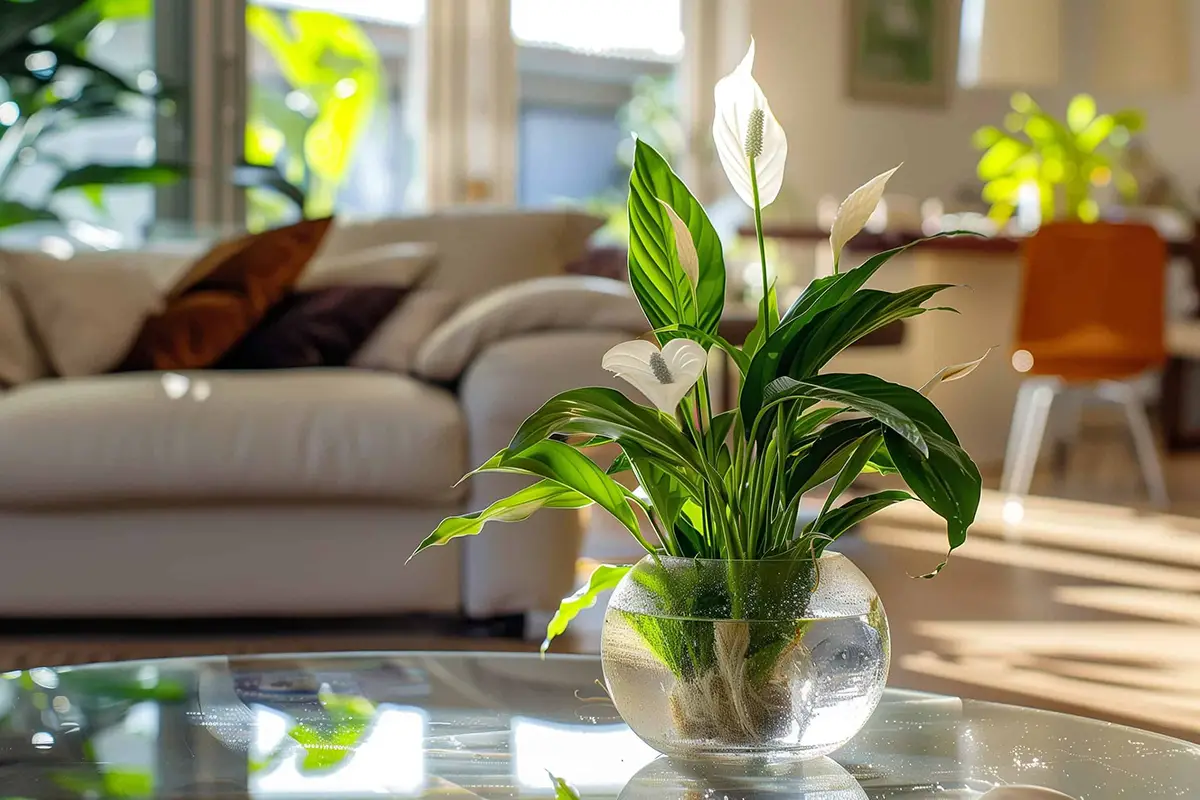
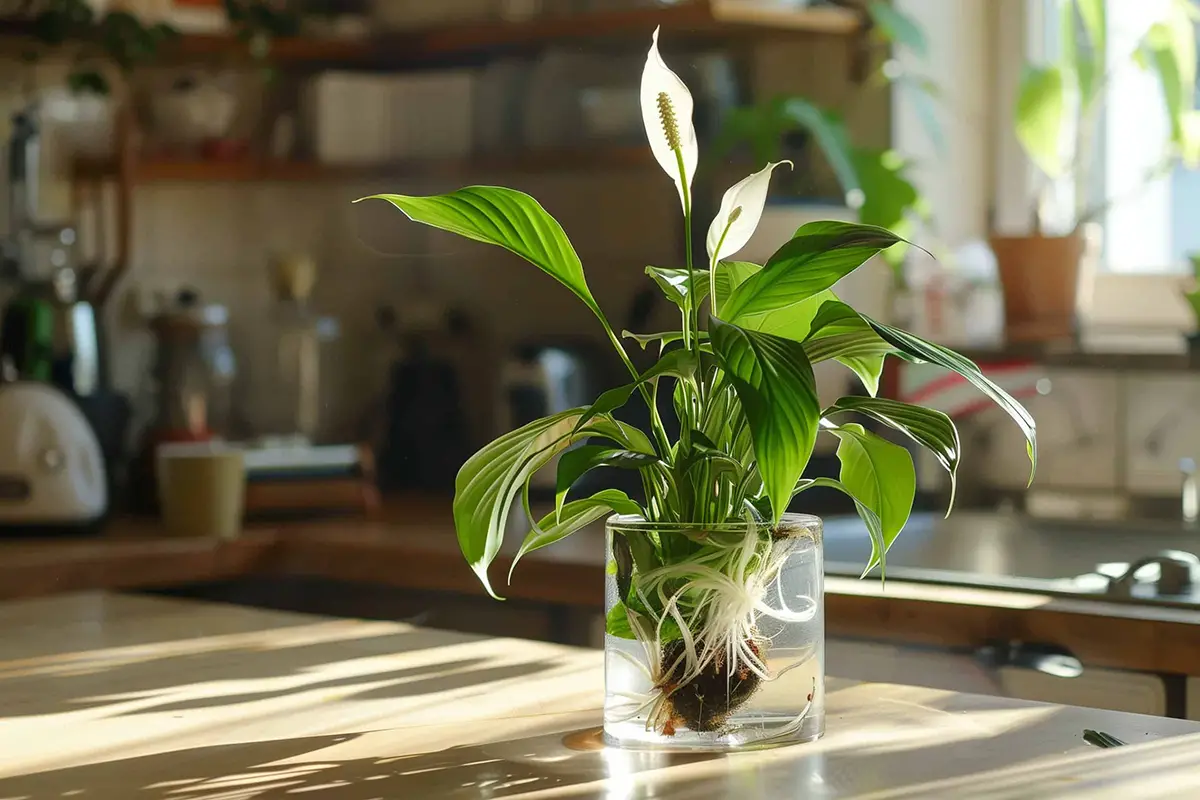
Your peace lily’s roots are starting to crowd its pot, a clear sign it’s time for a change. Growing a peace lily in water not only eases this congestion but also turns it into a striking hydroponic display. This guide will show you the easy steps to transition your peace lily from soil to a water vase, enhancing both its growth and your home’s aesthetic.
Table of Contents
Benefits of Water Culture over Soil For Peace Lilies

Growing a peace lily in water offers some great advantages over traditional soil cultivation. First, water culture is a much cleaner method, as there’s no need to deal with soil or other messy materials. This makes it perfect for indoor gardening and keeping your home tidy.
A major plus of water culture is the reduced risk of pest infestations. Soil can often harbor insects and other pests that can harm your peace lilies. When you grow your peace lily in water, you eliminate this potential issue, providing a healthier environment for your plant.
Another benefit of peace lily water culture is the ease of monitoring your plant’s nutrient intake. You can better control and customize the nutritional profile of the water to suit the specific needs of your peace lily. In the long run, this can lead to healthier and more vibrant plants.
Water culture also means less worry about over- or under-watering, as the plant can self-regulate its water uptake. Peace lilies are more likely to suffer from over-watering in a soil-based setup. Adopting a water culture approach can help maintain the ideal moisture throughout your peace lily life.
Selecting a Suitable Peace Lily
Pick a healthy, well-established plant with glossy, dark green oval leaves when choosing a peace lily for hydroponic growth. Avoid plants with yellow, wilted, or damaged leaves, as these can indicate stress or disease. Your peace lily should have a strong root system so it can easily adapt to the transition from soil to water.
Setting Up Water Environment For Your Peace Lily
Choosing the Right Container
To start growing a Peace Lily in water, you need to select a suitable container. It should be both deep and wide enough to accommodate the plant’s roots and provide stability. Transparent containers, such as glass, are a good choice because they enable you to monitor the water level and observe the root growth. Make sure the container has a wide opening to facilitate proper air circulation, which is essential for the plant’s overall health.
Water Preparation and pH Levels
Now that you have chosen a container, you must prepare the water for your Peace Lily. Tap water often contains chlorine and other chemicals that can harm the plant, so it is recommended to use either distilled water or filtered water. If you have no alternative, let tap water sit for 24 hours before using it to allow the chlorine to evaporate.
The ideal pH level for Peace Lilies should be between 5.5 and 6.5. To maintain this, test and adjust the pH regularly to ensure your Peace Lily thrives. You can use a pH testing kit to check and adjust the pH by adding appropriate substances.
Planting the Peace Lily
Transitioning from Soil to Water
First gently remove it from its soil pot. Rinse the roots thoroughly to remove any remaining soil particles, taking care not to damage the roots. Next, choose a suitable container for the plant, such as a clear glass vase to better observe the water level and root growth. Fill the container with filtered water, ensuring that the water covers only the roots while keeping the base of the plant above water level to prevent rotting.
Root Preparation and Placement
Before placing the peace lily in the container, inspect the roots for any signs of damage or disease. Trim off any unhealthy roots using a clean, sharp tool such as pruning shears. However, leave ample healthy roots to support the plant’s growth in water. Once you have pruned the roots, place the plant carefully in the container, ensuring that all roots are in the water.
Maintaining Water-Grown Peace Lilies

Sunlight and Temperature Requirements
To help your peace lily thrive in water, provide it with indirect sunlight. Avoid placing it in direct sunlight, as it can harm the leaves. Maintain a temperature range between 65 and 85 degrees Fahrenheit for optimal growth.
Changing Water and Nutrients
Change the water in the container every 1-2 weeks to keep it fresh, ensuring your peace lily receives adequate nutrients. You can use a water-soluble fertilizer, but use it sparingly, since too much fertilizer may lead to root damage.
Common Issues and Solutions
- Yellow leaves: If the leaves turn yellow, it could be due to over-fertilization or too much light. Move the plant away from direct sunlight and reduce the frequency of fertilization.
- Brown leaf tips: Insufficient humidity could cause brown leaf tips. Increase the humidity around the plant by placing it near a humidifier or placing the container on a tray filled with moist pebbles.
- Wilting: If your peace lily is wilting, it might not be receiving enough water. Check the water level and adjust accordingly.
- Pests: Pests like aphids or spider mites can attack your peace lily. Wash the plant gently with soapy water, focusing on the undersides of leaves, and remove any dead leaves to prevent pests from nesting.
Propagation Techniques In Water
Division Method
When propagating peace lilies, the division method is a popular choice. First, carefully remove the plant from its pot and gently separate the root ball into smaller sections. Ensure that each section has healthy roots and a few leaves. Next, place the divisions directly into fresh water. It’s important to maintain clean water conditions, replacing the water weekly to prevent bacterial growth.
With proper care, new roots will begin to develop in the water. You’ll observe your peace lily plants thrive in their new aquatic environment. Make sure they receive indirect sunlight, as too much direct light can harm the plant.
Seed Propagation in Water
Less common, but it’s also possible to grow peace lilies from seeds in water. Begin by collecting seeds from mature peace lily blooms. Once you have the seeds, prepare a container filled with clean, fresh water.
Gently release the seeds onto the water’s surface, being careful not to overcrowd them. Position the container in an area with bright, indirect light. Patience is key when propagating peace lilies this way, as germination can take several weeks. Keep an eye on water cleanliness and replace it as needed to maintain a healthy environment for the growing seedlings.
