Eager to expand your indoor jungle without breaking the bank? Spider plants, with their lush, arching leaves and charming offspring, offer a perfect solution. Yet, if the thought of propagation brings more anxiety than anticipation, you’re not alone.
One of the most common techniques for propagating a spider plant is using the plantlets, also known as “spiderettes.” These small offshoots can be rooted in water or soil to create new plants. Another method is dividing the parent plant’s root system, which can be done when repotting. It is important to choose the right method and gather the necessary materials before starting the propagation process.
This article will bring you step-by-step instructions on various propagation techniques for spider plants.
Table of Contents
Propagation Basics
Choosing the Right Time
The best time to propagate spider plants is during their active growing seasons, which usually fall between spring and summer. However, spider plants are very forgiving and can be propagated successfully throughout the year. When propagating during their growing season, they generally establish roots quicker and show more vigorous growth.
Selecting Healthy Plantlets
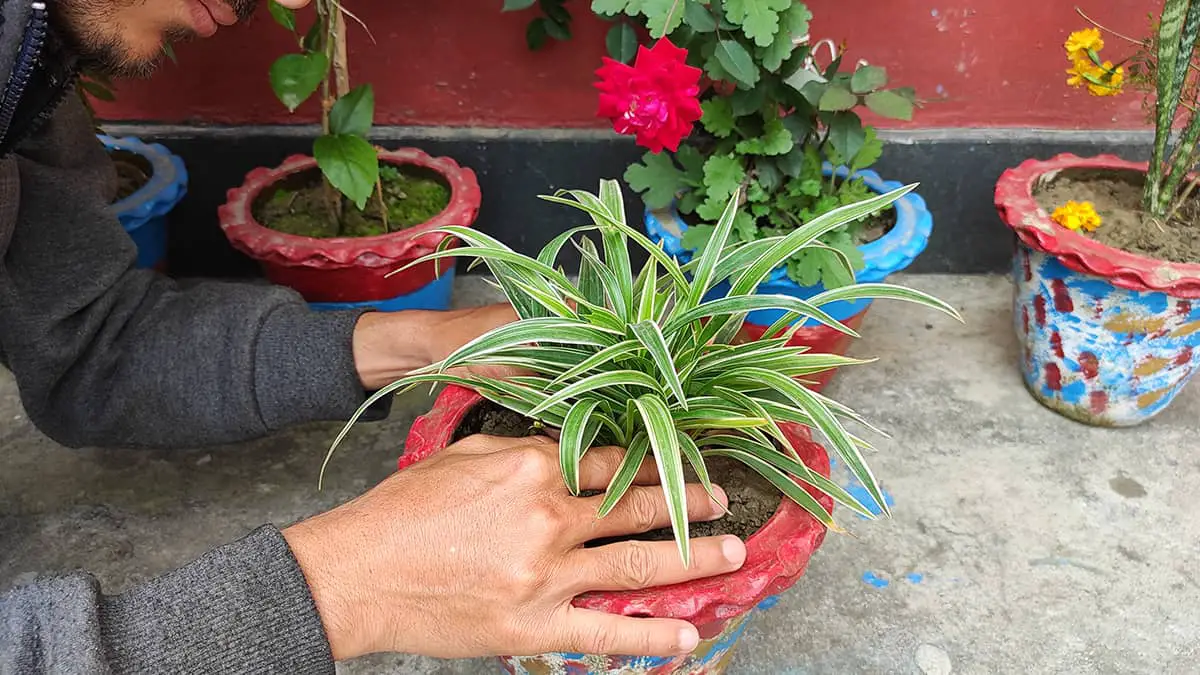
Choose spider plants with robust, green-colored plantlets that have developed several leaves. These offspring, also known as “pups,” indicate a readiness for separate growth. Ensure that the selected plantlets are firmly attached to the mother plant, as this signifies vigorous development, ideal for propagation.
Creating a Suitable Environment
Create an environment for your spider plants that mirrors their natural habitat. They prefer bright, indirect light and well-draining soil. Provide containers with adequate drainage holes to prevent waterlogging, which can be detrimental to root growth. The temperature should be kept consistently warm, avoiding any cold drafts or extreme heat. For optimal conditions, equip yourself with all necessary materials, such as small pots and potting soil, before removing the plantlet from the mother plant.
Gathering Tools and Materials
Before you begin propagating your spider plant, gather the necessary tools and materials to ensure a smooth process. Here’s what you’ll need:
- Sharp scissors or pruning shears: Use these to separate the baby spider plants (spiderettes) from the mother plant.
- Container with water or potting soil: Choose whether you want to root your spiderettes in water or soil and have a suitable container ready.
- Rooting hormone (optional): Although not necessary, using rooting hormone can promote faster root development.
Propagation Methods
Water Propagation
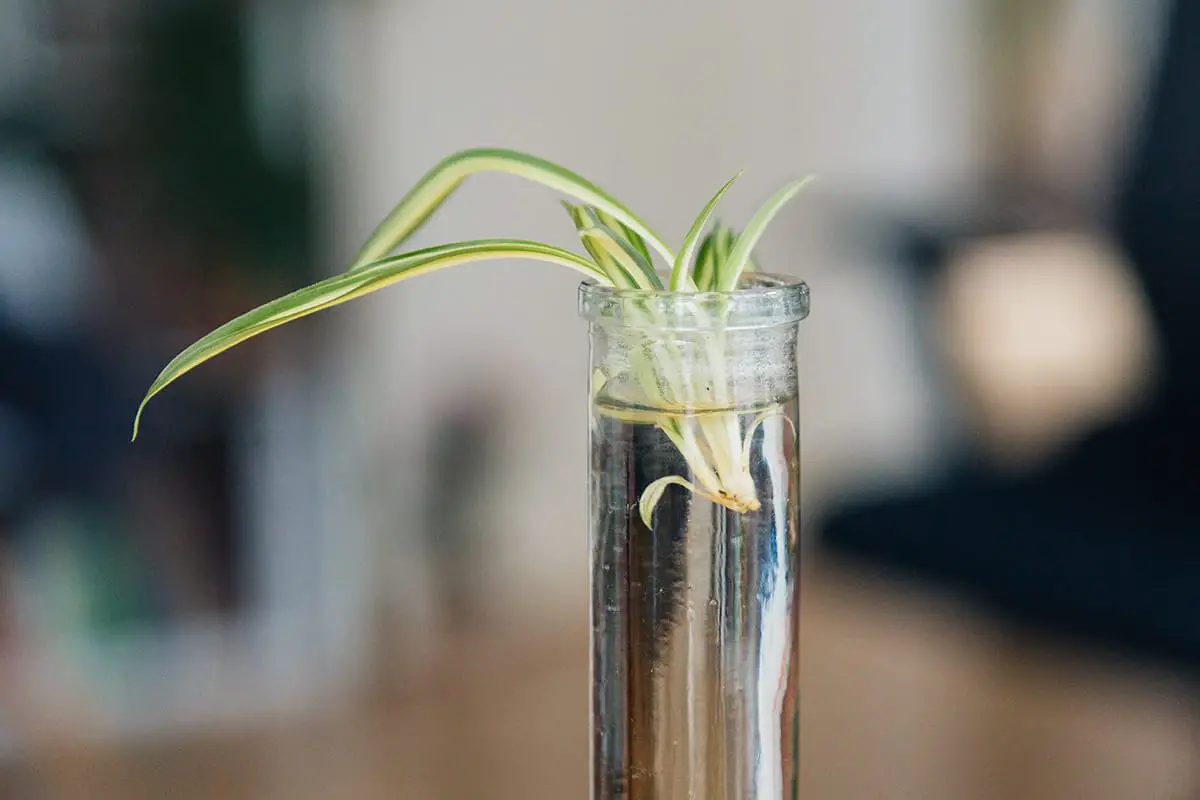
Water propagation is a popular and easy method for spider plant propagation. Simply follow these steps:
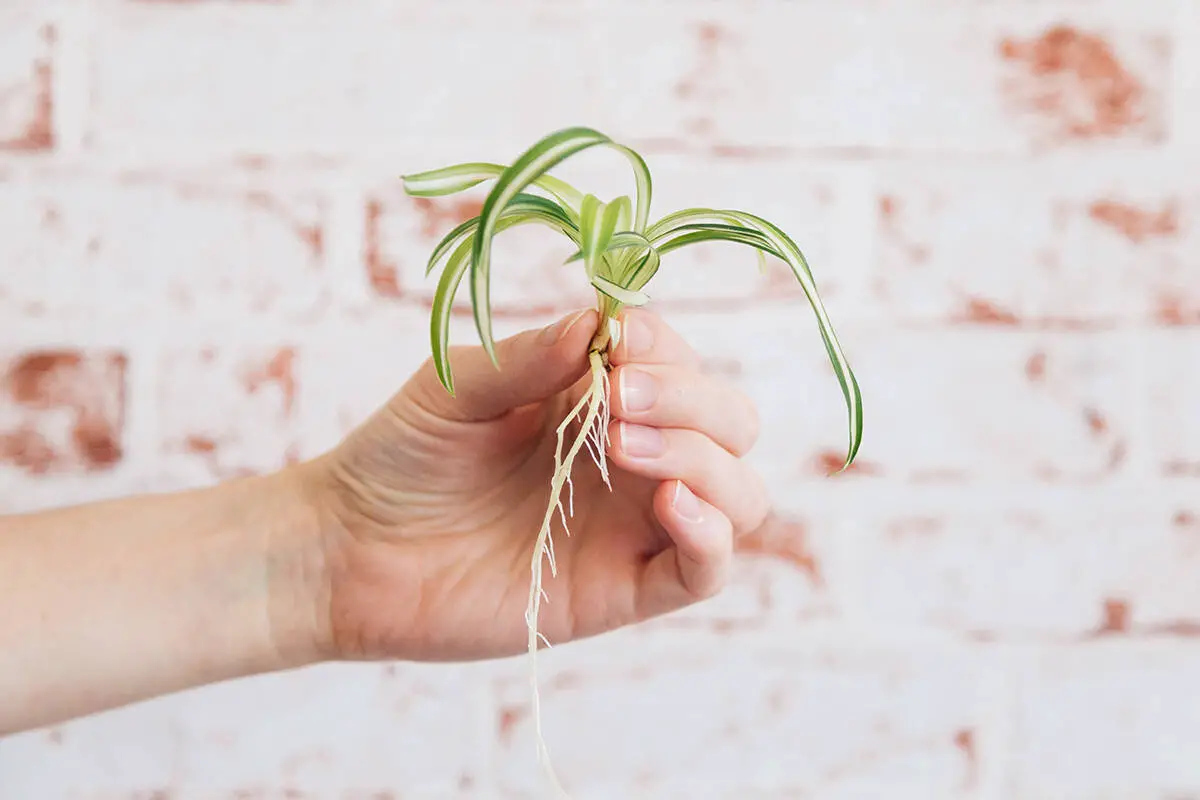
- Remove a healthy spiderette from the mother plant
- Place the spiderette in a glass of water, ensuring that the bottom inch is immersed
- Place the glass in indirect sunlight
- Monitor water levels and change it every few days
Your spiderette will develop roots in a week or two. Once roots have grown, you can transplant the spiderette into soil.
Soil Propagation
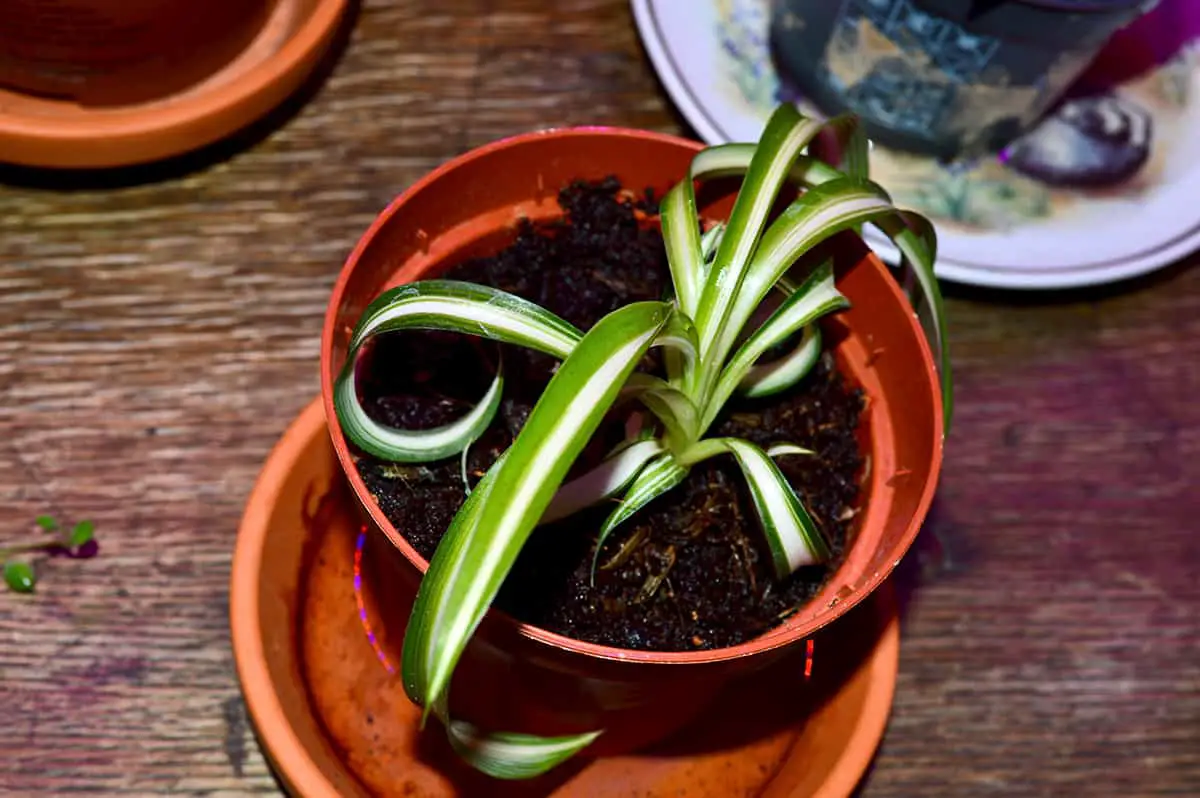
Another effective method is soil propagation. It results in stronger initial roots compared to water propagation. Here’s how to do it:
- Prepare a pot with moist, well-draining soil
- Remove a healthy spiderette from the mother plant
- Make a small hole in the soil and insert the spiderette’s base
- Gently firm the soil around the spiderette to secure it
Keep the soil consistently moist until the spiderette establishes itself.
Division
Division is the simplest method to propagate a spider plant, especially when repotting. Follow these steps:
- Gently remove the spider plant from its current pot
- Separate the root ball into two or more sections, ensuring each section has roots and leaves
- Plant each division into a new container with fresh soil mix
Aftercare and Potting

Proper aftercare ensures your propagated spider plants grow healthy and strong. Attention to watering, fertilizing, and timely re-potting encourages vibrant development.
Watering New Plantlets
You’ve got new spider plantlets. They need consistent moisture to develop roots. Water them when the soil’s top inch feels dry. This typically means weekly watering. Avoid overwatering to prevent root rot.
Fertilizing
Feed your spider plants with a balanced, water-soluble fertilizer monthly during the growing season. Start this routine about a month after propagation. Fertilizing supports growth but over-fertilizing can harm your plants.
Re-Potting Young Plants
Once your plantlets have developed a strong root system, usually within a year, they’ll need more space. Choose a pot that’s slightly larger, with good drainage. Fresh potting mix can give them a nutrient boost. Re-pot in the spring, before the growth season.