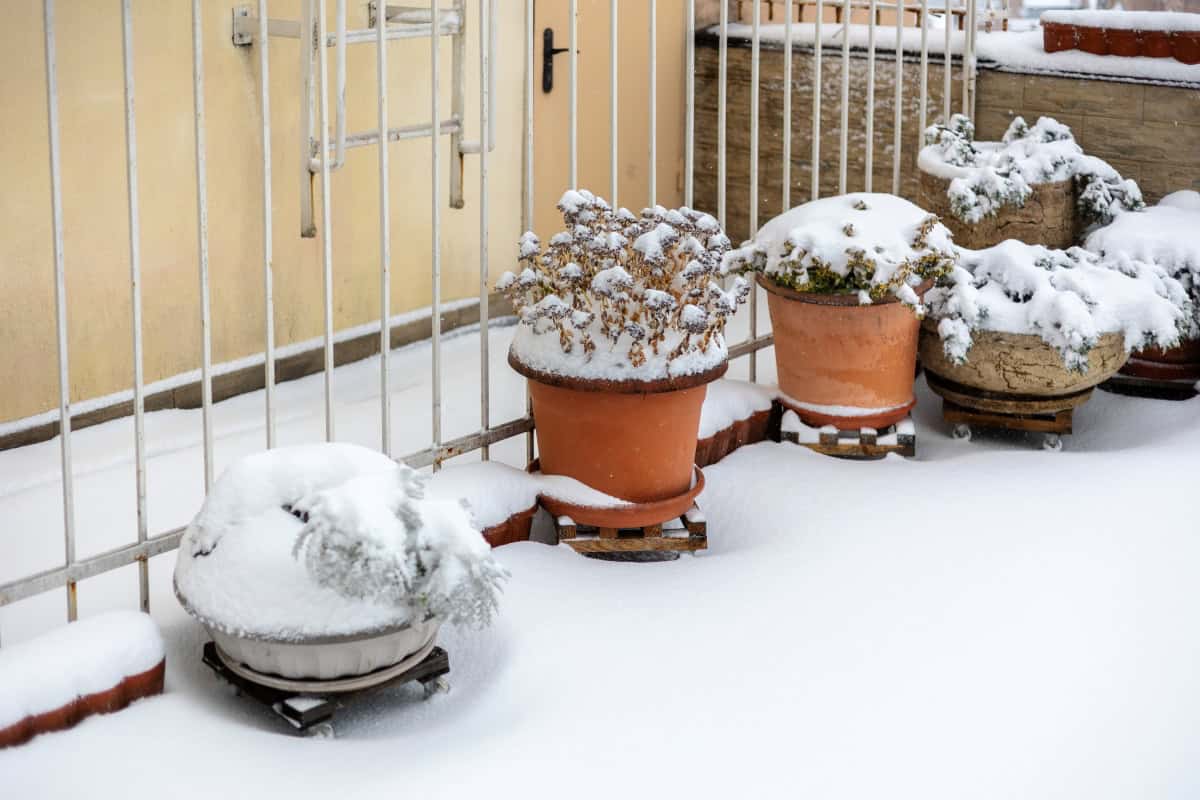
Outdoor pots are less likely to crack in frost when excess water drains away, vulnerable materials stay dry, and planted containers receive shelter during prolonged freezes. Water trapped in soil or porous pot walls expands as it freezes, so drainage deserves attention before insulation.
An empty terracotta pot and a planted fiberglass container need different winter care. Check the guidance below before the first hard freeze.
Table of Contents
- Why Outdoor Pots Crack in Frost
- Which Pot Materials Are Most at Risk?
- Empty and Clean Unused Pots Before Winter
- Raise Pots Off Cold or Wet Ground
- Improve Drainage Before Freezing Weather
- Avoid Letting Water Sit in Saucers
- Insulate Pots with Bubble Wrap or Fleece
- Group Containers in a Sheltered Spot
- Move Vulnerable Pots Against a Wall
- Protect Terracotta Pots from Repeated Freeze-Thaw Cycles
- Use Pot Feet or Bricks to Keep Drainage Holes Clear
- Reduce Watering During Freezing Weather
- Cover Pots During Severe Frost
- Move Small Containers Indoors When Possible
- What to Do with Large Pots You Cannot Move
- Check Pots for Small Cracks Before Winter
- Best Frost-Resistant Pot Materials to Use
- Common Winter Pot Protection Mistakes
- What to Do If a Pot Starts to Crack
Why Outdoor Pots Crack in Frost
Water expanding as it freezes is the main cause of frost damage in outdoor pots. Moisture enters porous clay or concrete, collects in small flaws, and pushes against the material as it turns to ice. Wet potting mix adds pressure from inside, especially when a container is filled to the rim or its drainage hole is blocked.
A single cold night does not affect every pot equally. Rain followed by repeated freezing and thawing gives water fresh opportunities to enter pores and hairline cracks. Damage may begin as a small flake near the rim or base, then spread after the next freeze. Keeping the pot and its contents from staying saturated reduces that pressure.
Which Pot Materials Are Most at Risk?
Unglazed terracotta is particularly vulnerable because its porous walls absorb water. Low-fired earthenware and some decorative concrete pots face similar risks, especially when they remain wet through several freezes. A glaze protects only the surfaces it covers; an unglazed base or a chip still admits moisture.
Material labels need scrutiny. A pot described as ceramic may be porous earthenware or dense, high-fired stoneware, which withstands winter exposure better. Thin plastic grows brittle in severe cold and may split if frozen soil presses outward. Fiberglass, resin, and suitable metal containers avoid the pore-related cracking of clay, though their construction and drainage still affect winter durability.
Empty and Clean Unused Pots Before Winter
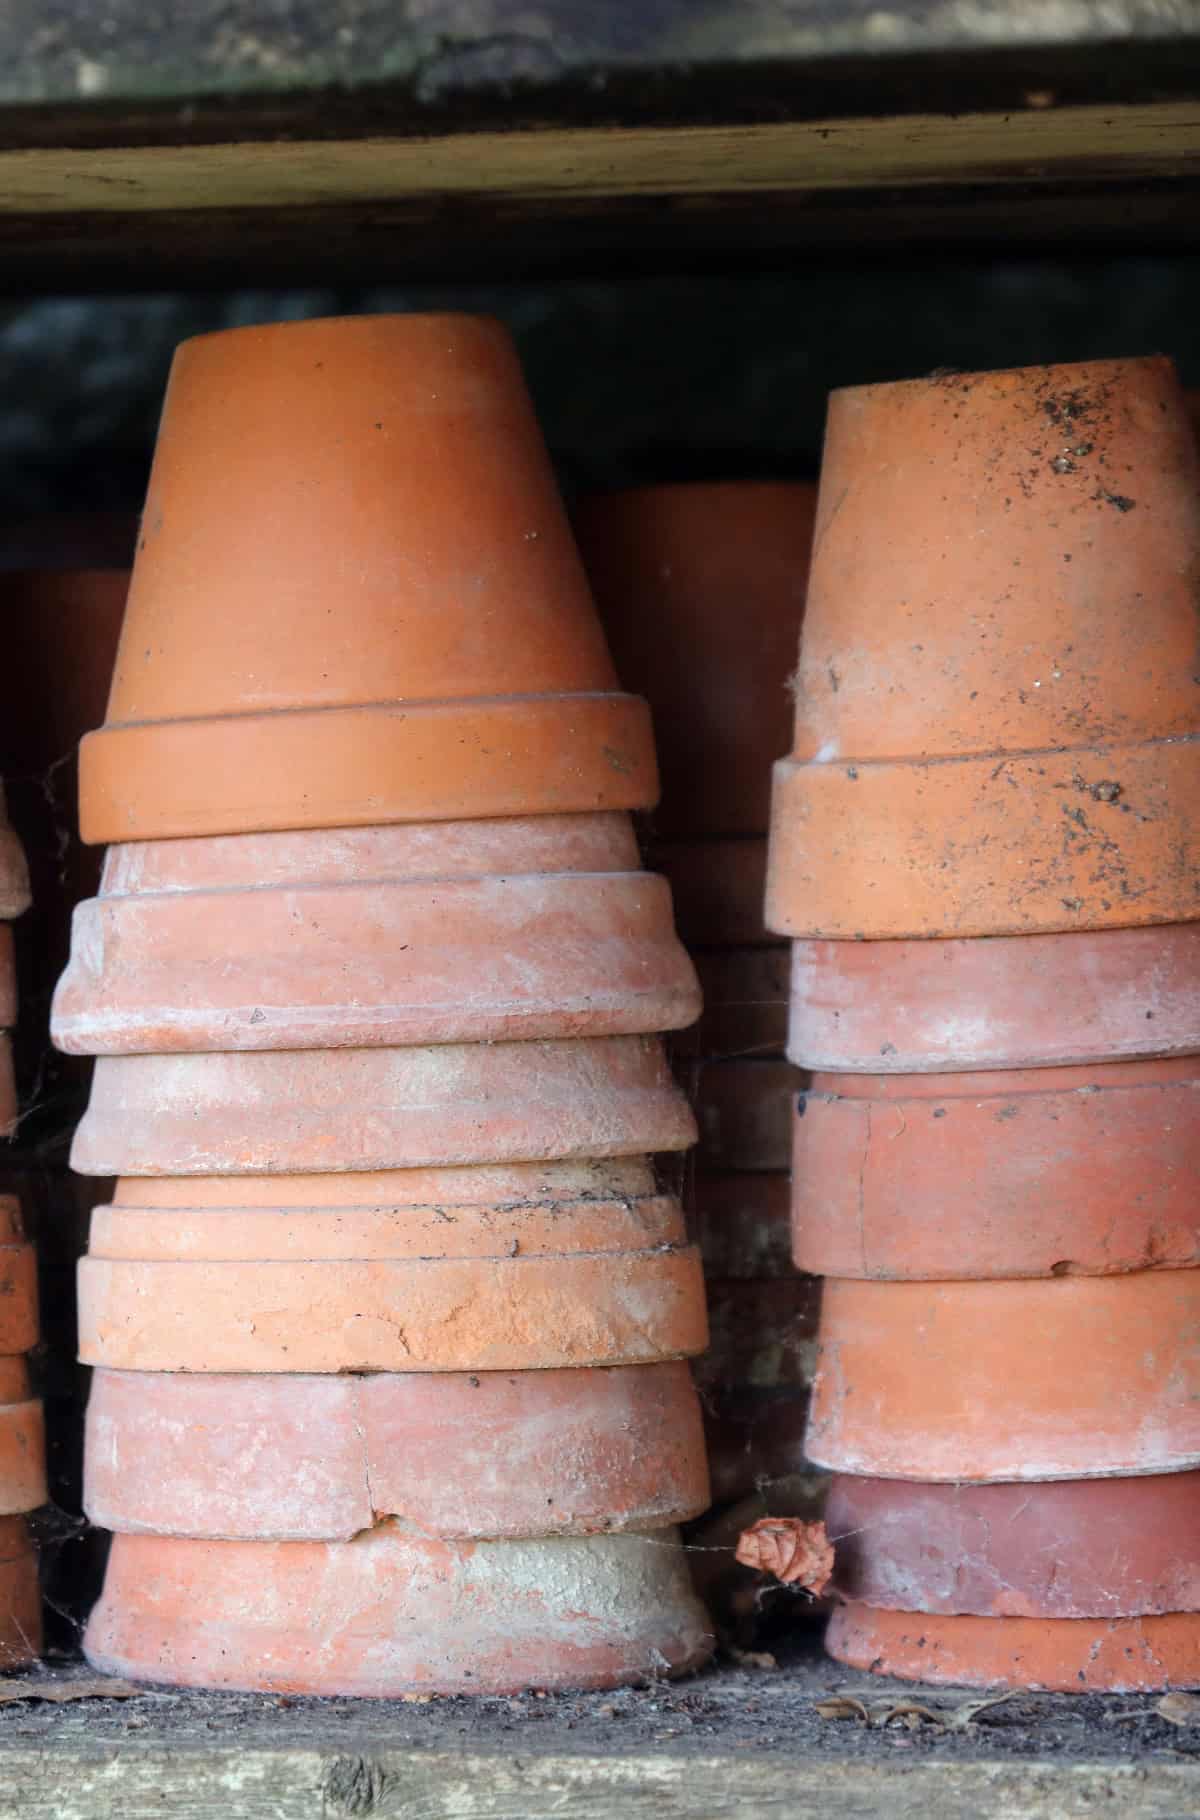
Unused pots are safest when stored empty and dry before freezing weather arrives. Remove old potting mix, roots, and fallen leaves, then brush soil from the rim and drainage hole. A rinse clears remaining debris, provided the pot has time to dry thoroughly before storage.
Place clean pots in a dry shed or garage, or beneath a roof that keeps rain and snow out. Set terracotta pots upright with air space between them; tightly stacked pots may trap moisture or chip when pulled apart. If outdoor storage is the only option, keep the pots raised and shield their openings from precipitation without sealing damp surfaces under plastic.
Raise Pots Off Cold or Wet Ground
Lifting a container off a wet patio reduces prolonged moisture contact around its base. A low stand, sturdy slats, or appropriately sized pot feet provides a gap for air movement and lets water escape beneath the pot. The support must bear the filled container’s weight without rocking.
This step is especially useful on paving where rainwater pools and then freezes around the base. Check the surface beneath the pot after a storm; a shallow puddle signals that the position needs adjustment. Raising a pot does not keep it warm through an extended freeze, so a porous container still needs dry conditions or additional shelter.
Improve Drainage Before Freezing Weather
Free-draining potting mix leaves less standing water inside a container when temperatures fall. Before winter, check that planted pots have drainage holes and that water exits after a thorough watering. If it lingers on the surface, compacted mix, dense garden soil, or a blocked outlet may be responsible.
Clear accessible holes and replace unsuitable mix when the plant’s growing conditions permit. A quality container mix is preferable to heavy soil dug from the yard. A layer of gravel at the bottom does not fix poorly draining mix; water may remain above that layer. For a pot without a drainage hole, move the plant into a draining inner container or keep the decorative outer pot protected from rain.
Avoid Letting Water Sit in Saucers
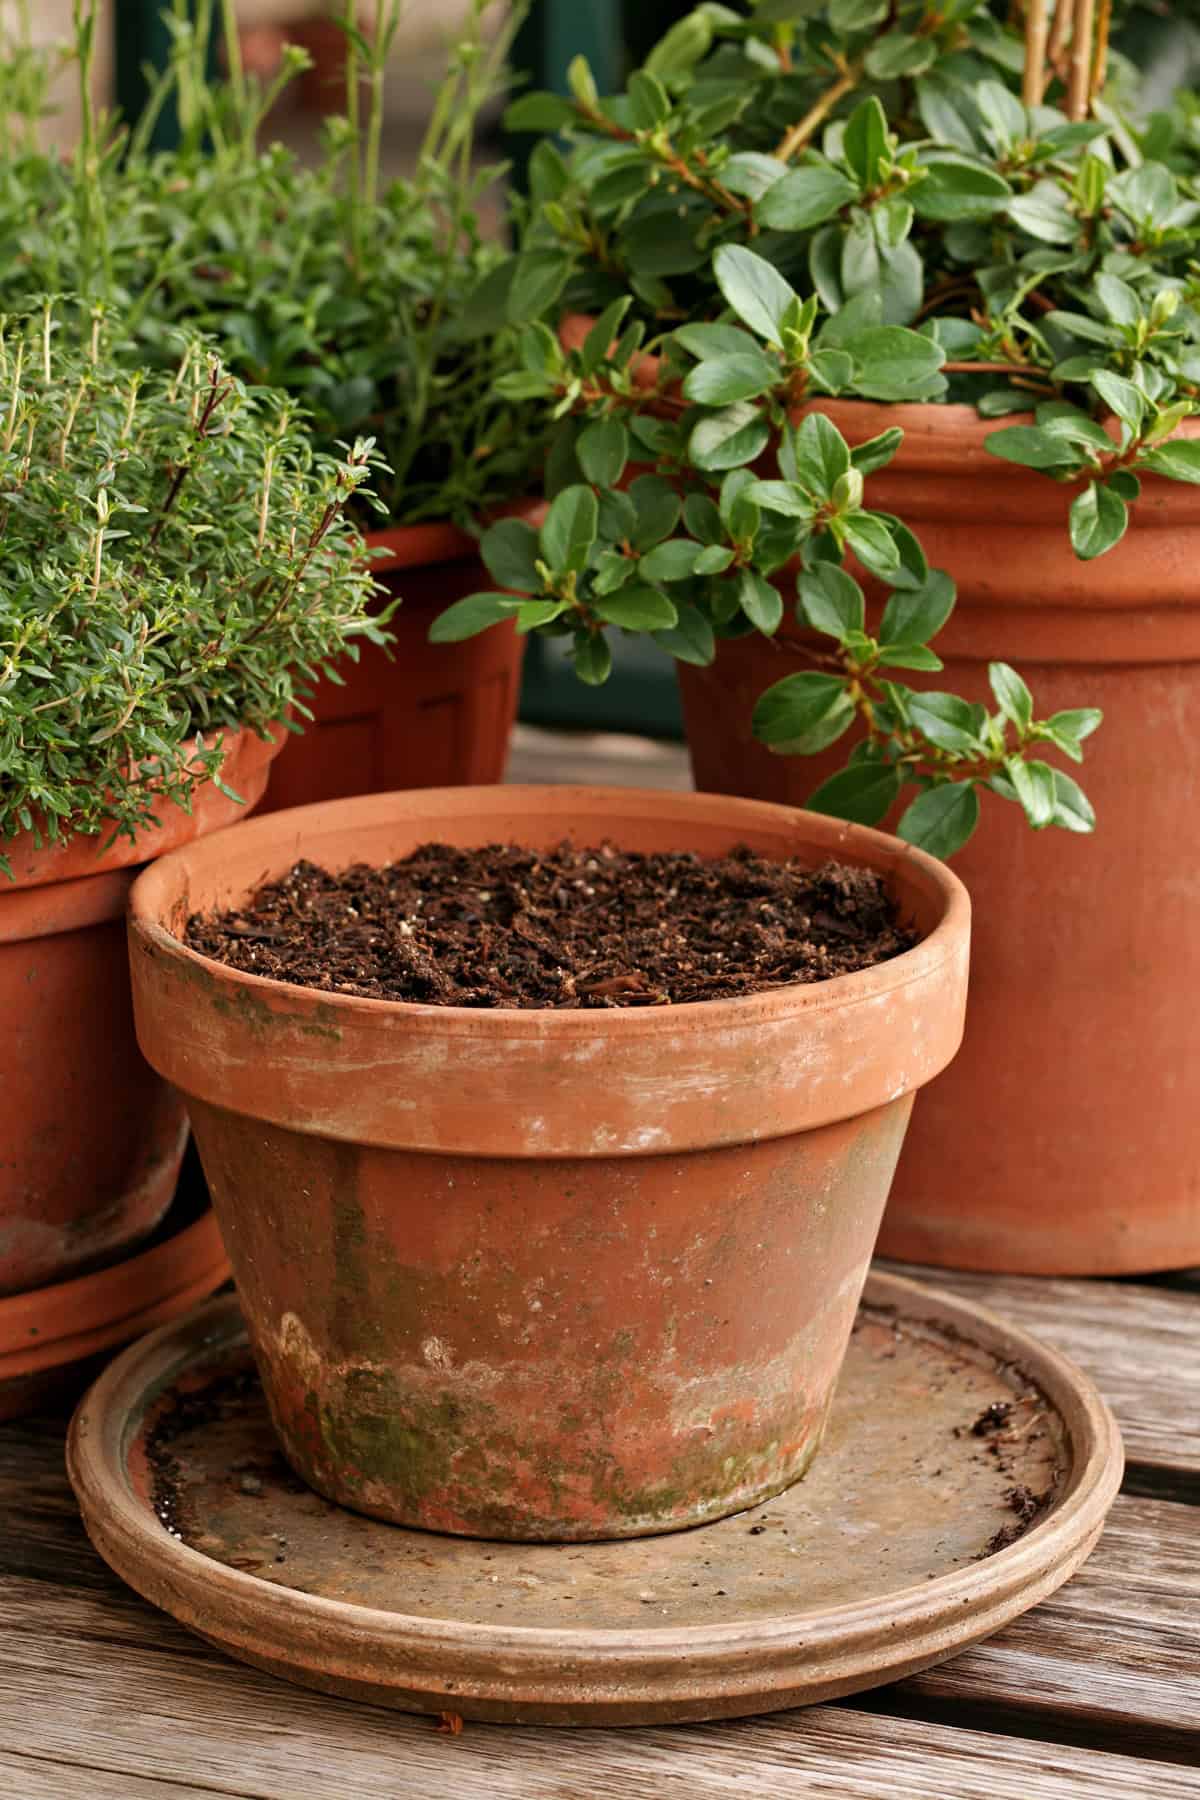
A saucer full of water holds moisture against a pot’s base and may freeze around it. Empty saucers after rain or watering, particularly beneath terracotta and ceramic containers. Where a saucer is unnecessary outdoors, remove it for winter and let runoff reach a surface with a clear path away.
If a saucer protects a porch or balcony, check it after precipitation as well as after watering. Ice may bind the pot to the saucer; forcing them apart risks breaking both. Let the ice thaw naturally, then drain the saucer.
Insulate Pots with Bubble Wrap or Fleece
Wrap a planted pot’s sides to slow rapid temperature changes during a cold spell. Bubble wrap provides an insulating air layer; horticultural fleece is breathable and easier to arrange around an irregular container. Secure either material against wind without pulling it tightly enough to strain a fragile rim.
Keep the drainage hole open and check beneath the wrap for trapped moisture after rain. Bubble wrap belongs around the outside of the pot, with space for runoff to leave the base. Insulation slows heat loss but does not prevent a container from eventually reaching freezing temperatures. For a prized porous pot, moving it under cover offers stronger protection during a prolonged winter storm.
Group Containers in a Sheltered Spot
A close grouping gives small containers some protection from wind and makes winter checks easier. Place sturdy, larger pots at the exposed edge and smaller pots inside the group, leaving enough room to inspect drainage holes and remove fallen leaves. Choose level ground where runoff does not collect.
Grouping does not warm a pot through a long freeze. Its value is a less exposed location and fewer individual containers left in wind-driven rain. Check that neighboring pots do not knock together during gusts, especially if one has a glazed or delicate rim. Plants still need their appropriate winter light, so a permanently dark corner may be unsuitable for evergreen containers.
Move Vulnerable Pots Against a Wall
A sheltered wall reduces wind exposure and, beneath an overhang, helps keep porous pots drier. Position vulnerable containers close enough to benefit from the shelter while preserving a small gap for drainage and air movement. An exterior wall may also release stored daytime warmth after sunset, though that effect varies with the wall and weather.
Check where roof runoff lands before settling on a position. A pot directly beneath a dripping roof edge may get wetter than it did in the open. South-facing walls receive winter sun in much of the United States, which suits some plants but may produce frequent daytime thaws. During extended severe cold, wall placement alone is insufficient protection for fragile terracotta.
Protect Terracotta Pots from Repeated Freeze-Thaw Cycles
Keeping terracotta dry between freezes does more to preserve it than relying on a wrap alone. Its absorbent walls take up water during rain and thawing periods. When that moisture freezes again, small chips and fine cracks may widen.
Store valuable empty terracotta under a roof for the season. For planted pots that must remain outside, combine a draining mix with an elevated base and a position sheltered from direct rain. Inspect the lower wall as well as the rim; dampness near the base may persist after the upper surface looks dry. A “frost-resistant” label offers useful guidance, yet sound drainage remains necessary for a planted terracotta pot.
Use Pot Feet or Bricks to Keep Drainage Holes Clear
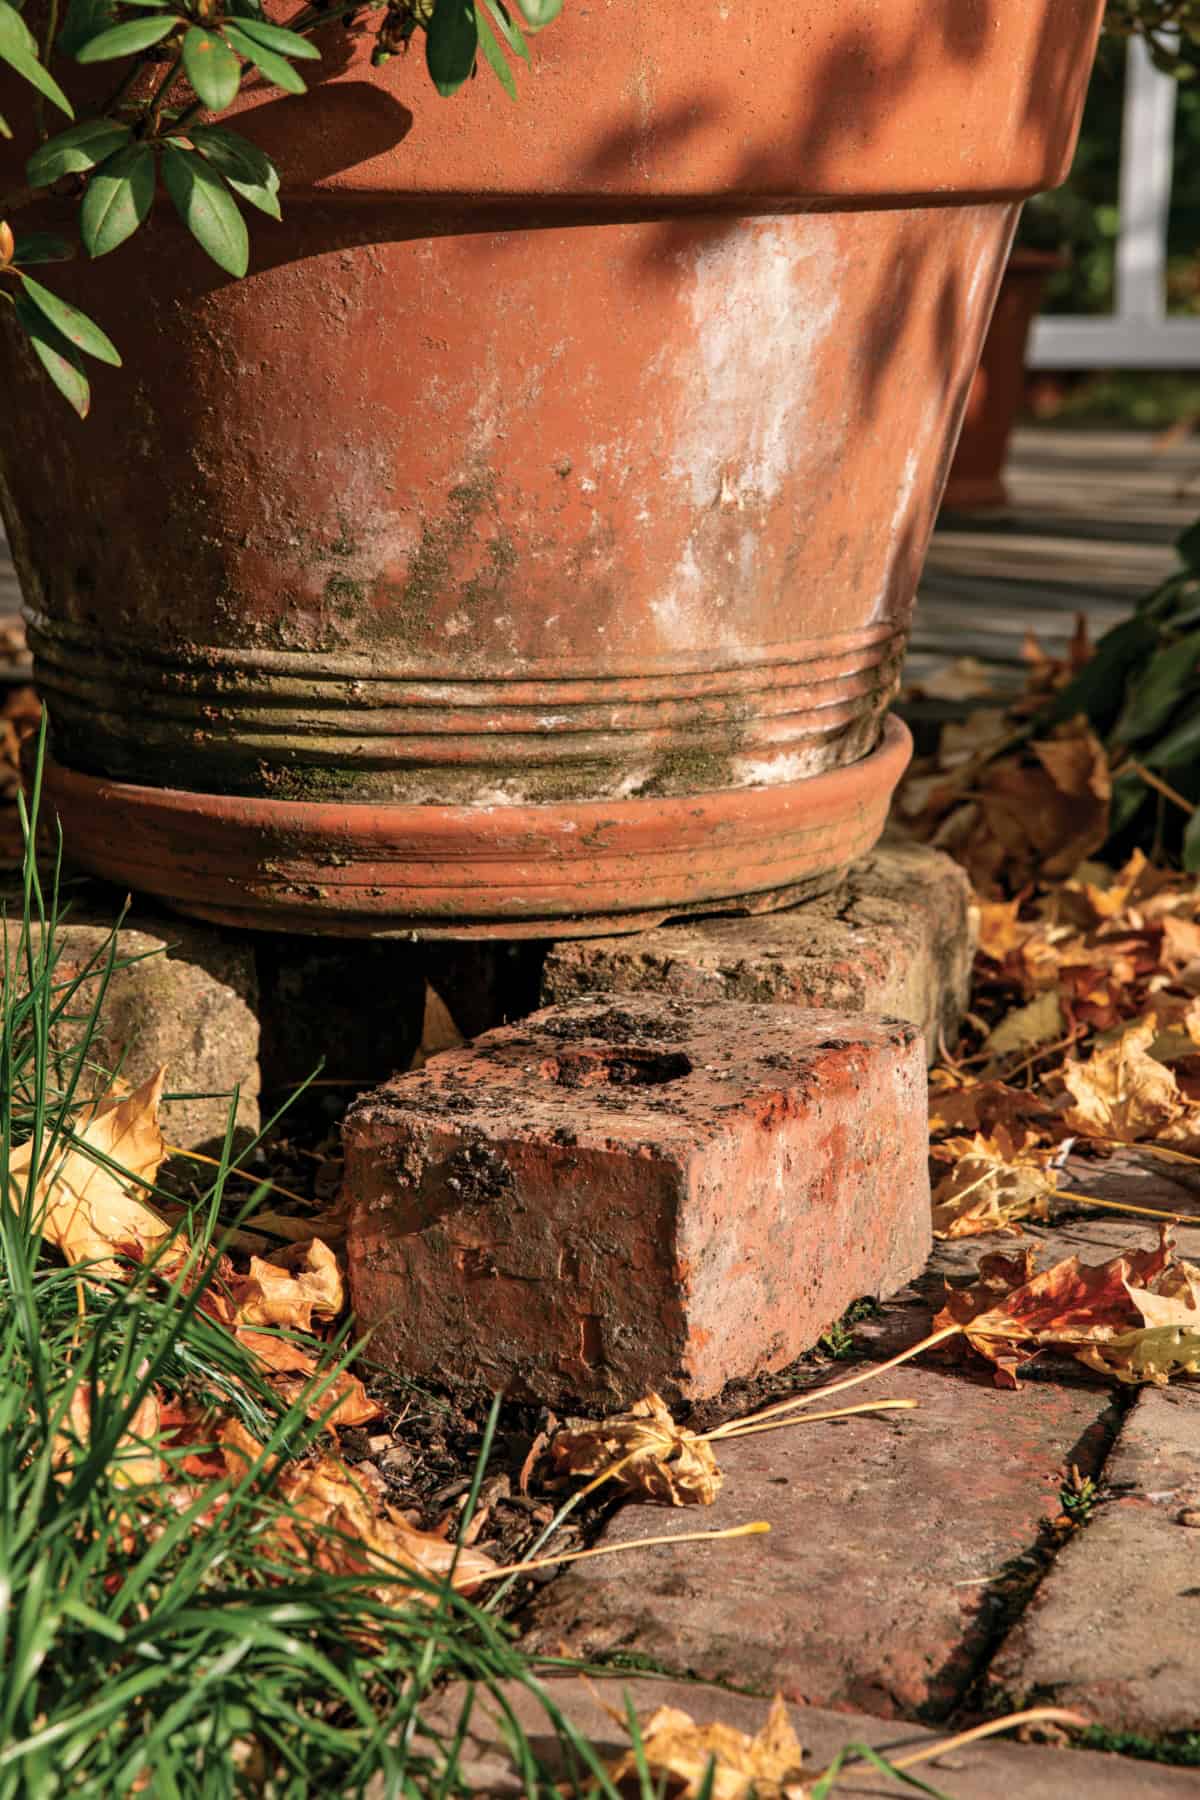
Pot feet or bricks should support the rim of the base without covering its drainage hole. Three evenly spaced feet suit many round pots; a large, heavy container may need additional support beneath its strongest bearing points. Confirm that the pot sits level before filling it or leaving it through winter.
This gap has a specific purpose: runoff needs a clear exit when leaves, soil, snow, or ice collect beneath a container. A brick placed directly under the hole defeats that purpose. After storms, look beneath raised pots and clear debris while it is loose. Use stable supports suited to the pot’s weight, particularly on decks and other surfaces where a tipped container poses a hazard.
Reduce Watering During Freezing Weather
Winter watering should follow the plant’s needs and the condition of the soil, not a summer schedule. Cooler weather and slower growth reduce water use for many container plants. Check beneath the surface before adding water, and account for rain that has already soaked the mix.
When a plant needs water, choose a day when the mix is thawed and temperatures allow excess water to drain before nightfall. Give enough water to moisten the root zone, then empty any saucer. Do not leave evergreen plants completely dry for weeks solely to protect the pot; winter wind still draws moisture from their leaves. Good drainage allows necessary watering without prolonged saturation.
Cover Pots During Severe Frost
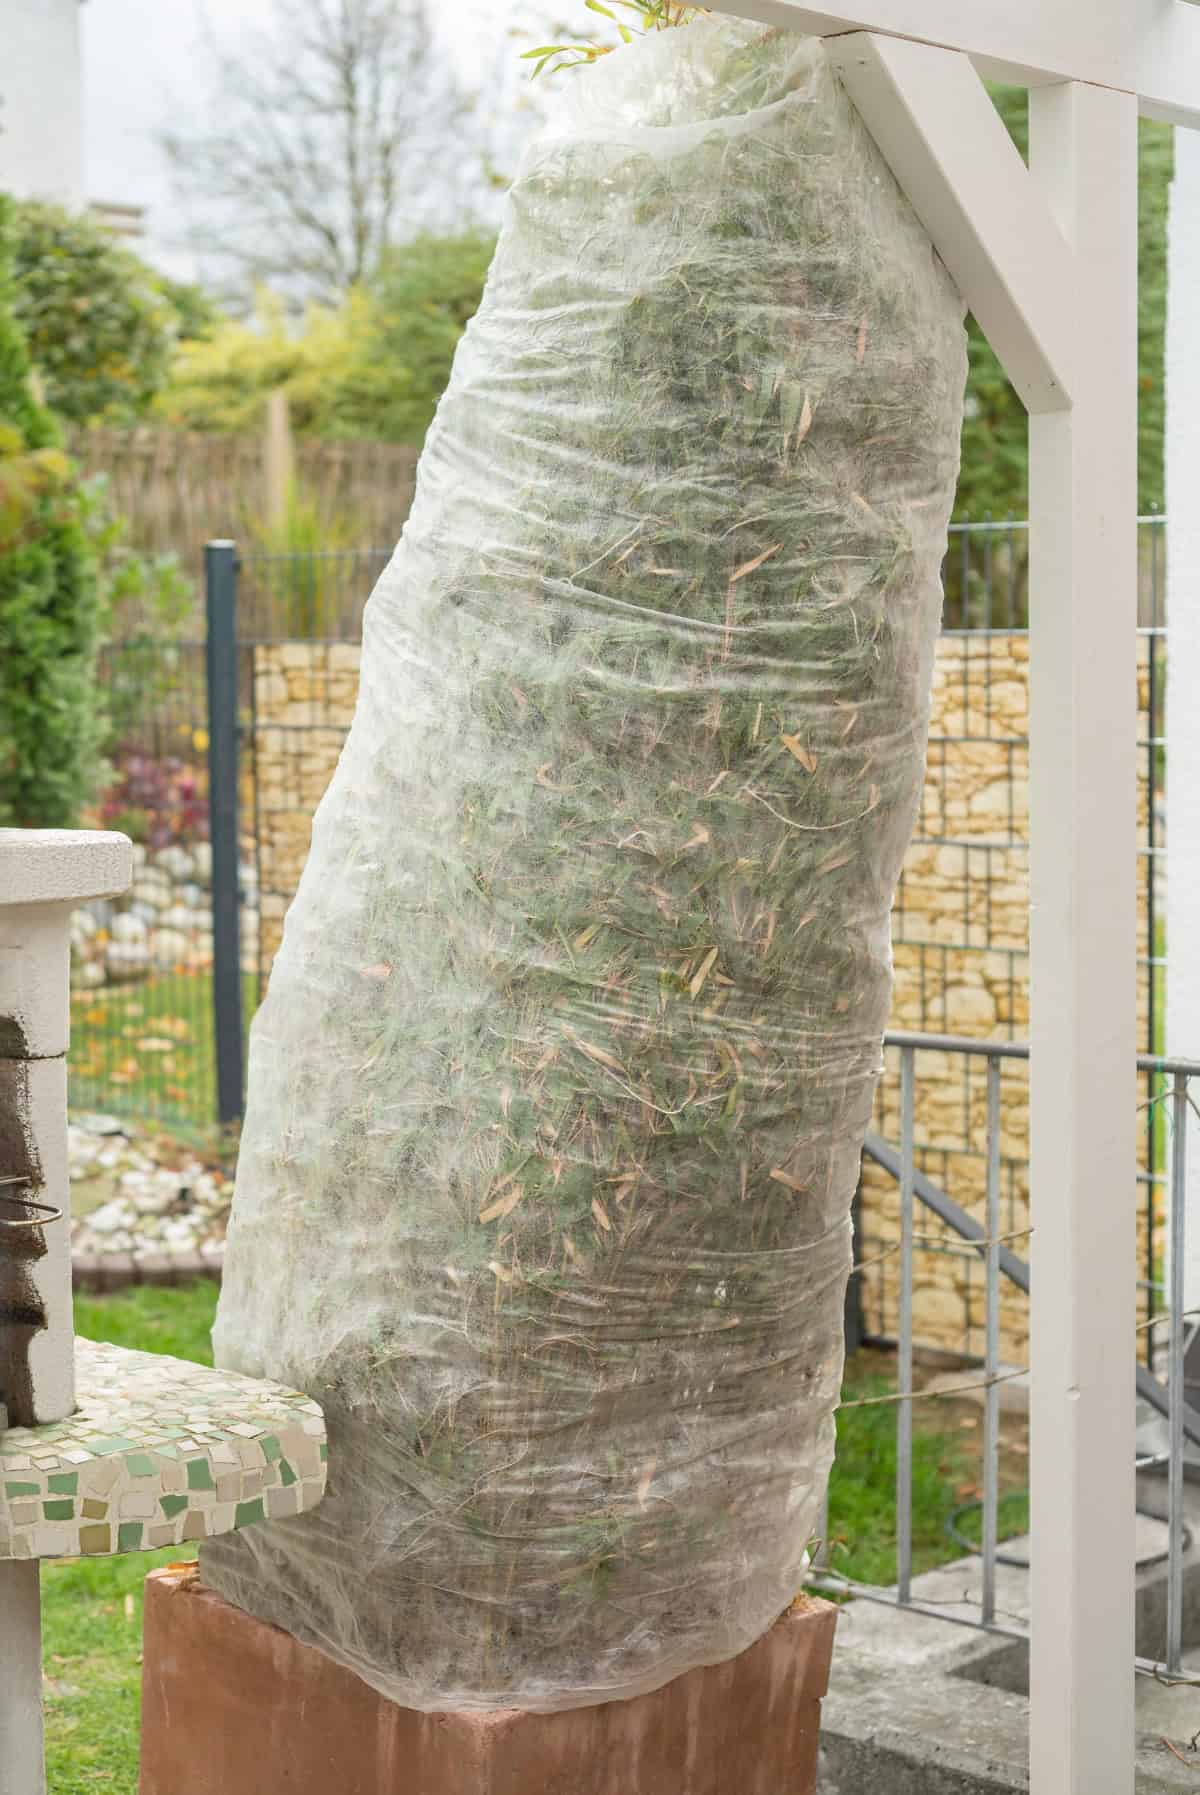
A temporary cover shields a vulnerable pot from freezing rain and limits exposure during a short severe cold spell. Use horticultural fleece or a frost cloth over planted containers, securing it so gusts do not pull it across a brittle rim. For an empty pot, a cover should shed precipitation while allowing existing moisture to dry.
Keep fabric clear of sharp edges and check that drainage remains open. Plastic laid directly over foliage may trap condensation and press against leaves as temperatures drop; a simple frame holds a weatherproof outer cover away from the plant. Remove temporary covers when conditions improve so light and air reach planted containers, and inspect for moisture caught beneath them.
Move Small Containers Indoors When Possible
Small, fragile pots are easiest to protect by moving them into a dry, frost-free space before a hard freeze. A garage or shed suits empty pots and some dormant plants; actively growing plants need conditions appropriate to their light and temperature requirements. Check those needs before placing a planted pot in a dark room for weeks.
Lift a pot from its base, since a damp or cracked rim may break under its weight. Inspect plants for pests before bringing them into living areas, and set containers on a surface that collects any runoff. Once indoors, let frozen soil thaw gradually. Sudden heating and immediate heavy watering add stress to a plant whose roots are still cold.
What to Do with Large Pots You Cannot Move
A large immovable pot needs a clear drainage path and protection from direct precipitation. Inspect its outlet, remove any standing saucer, and clear leaves from the soil surface before winter weather sets in. If the pot is already raised, verify that ice or debris has not closed the gap beneath it.
Wrap the sides with insulating material, leaving the base able to drain, and use a secured cover during the harshest weather. Where a plant remains in the pot, keep its light and watering requirements in view. Avoid trying to lever a heavy, waterlogged container onto bricks at the last minute; shifting its weight may fracture the base or injure the person moving it.
Check Pots for Small Cracks Before Winter
A prewinter inspection identifies pots that need dry storage before frost enlarges existing damage. Look closely around drainage holes, handles, the rim, and the lower wall. Hairline cracks are easier to spot after loose soil and mineral deposits have been brushed away.
Gently tap an empty ceramic pot and inspect any area that sounds noticeably different, without treating sound alone as proof of damage. Set aside pots with loose flakes or cracks that run through the wall; a filled container places additional pressure on those weak points. Minor surface marks deserve monitoring, especially where water collects. Photographing an existing crack gives a clear reference if its length changes over winter.
Best Frost-Resistant Pot Materials to Use
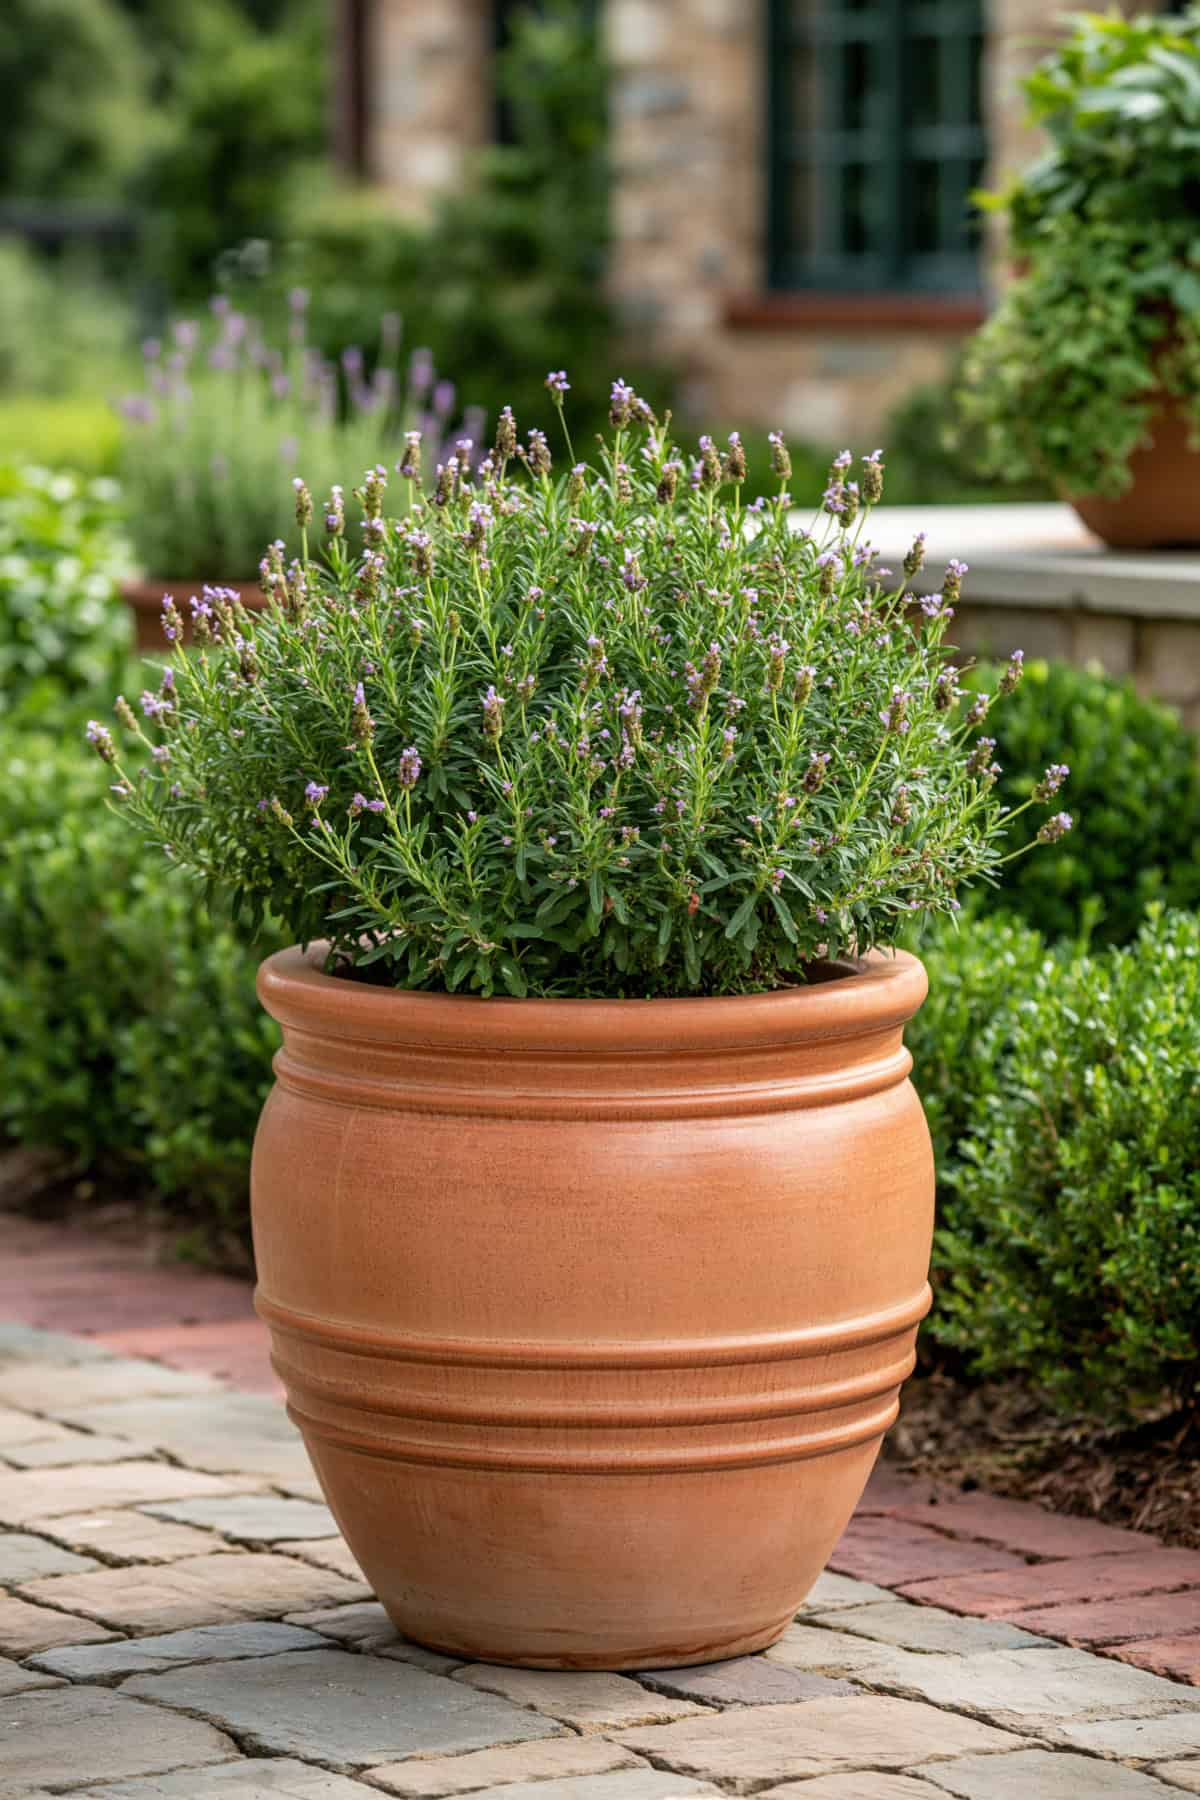
For year-round outdoor planting, dense high-fired stoneware, quality fiberglass, and cold-rated resin are useful choices. Stoneware absorbs less water than porous earthenware when properly fired, while fiberglass and resin avoid moisture entering clay pores. The product’s stated outdoor or freeze rating is worth checking because manufacturing quality varies.
Drainage still governs the choice. A frost-resistant container filled with saturated mix remains vulnerable to pressure from frozen soil, and a metal pot may transfer cold quickly to plant roots. For exposed sites with long winters, a durable container with an open drainage hole and room for suitable potting mix offers a practical combination. Thin, brittle plastic deserves caution where severe cold and repeated handling are expected.
Common Winter Pot Protection Mistakes
Wrapping a wet pot tightly and leaving its drainage hole blocked traps the moisture that frost protection is meant to control. Dry the exterior when possible, keep the outlet open, and check beneath coverings after rain. A second frequent mistake is assuming a sheltered position stays dry without checking roof runoff or pooling on the ground.
Watering by calendar through winter also leaves dormant plants in unnecessarily wet mix. Test the soil first and water when the plant needs it and the mix is thawed. Finally, avoid moving a pot while it is frozen to a patio or saucer. Wait for a thaw and release the ice gently, particularly around terracotta bases.
What to Do If a Pot Starts to Crack
Move a cracking pot out of rain and freezing conditions as soon as it is safe to handle. If the soil or pot is frozen, allow it to thaw gradually before shifting the container.
Support the base with both hands, or use help for a heavy pot; lifting by the rim may pull the crack farther open. Once thawed, assess whether the pot still supports its contents securely.
Transfer a plant and its root ball to a sound container if the crack runs through the wall or the base feels unstable. A small crack in an empty decorative pot may be repairable after thorough drying, using an adhesive specified for its material and outdoor exposure. Keep a repaired pot dry until the product has fully cured.