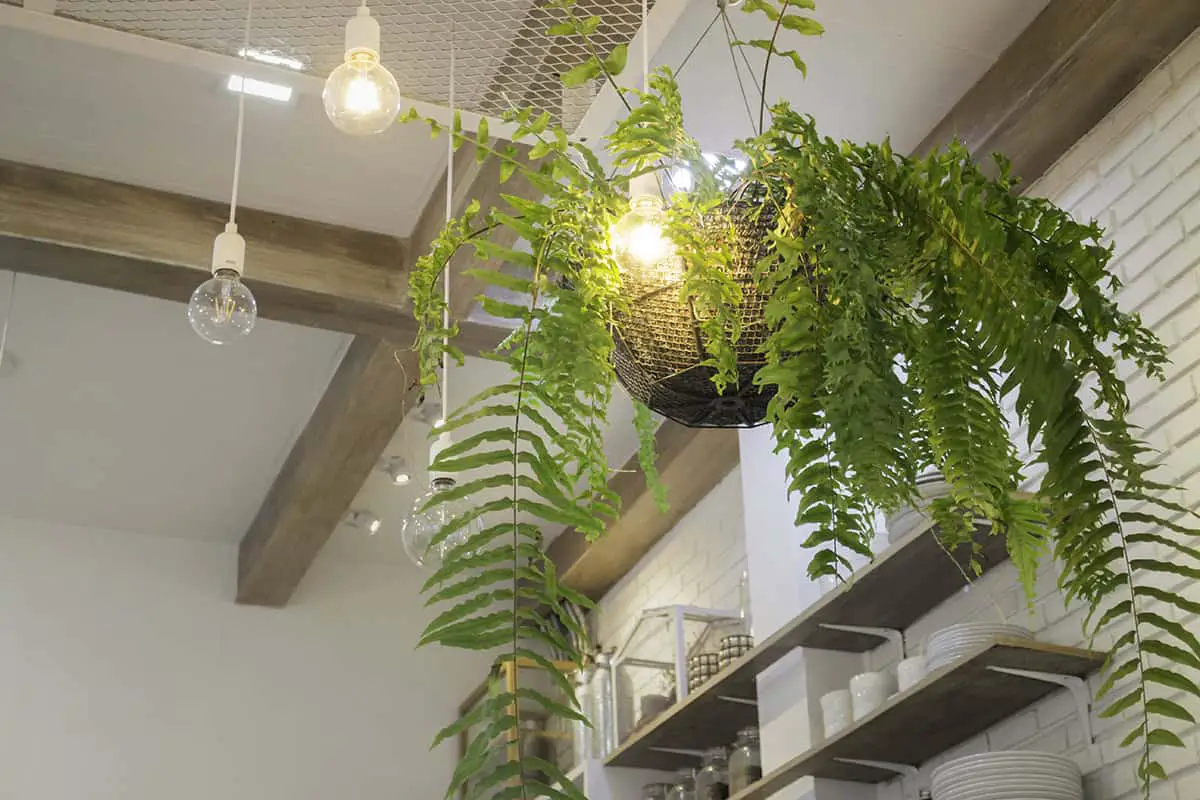
You’ve just moved into a rental apartment and want to bring some greenery into your space, but drilling holes in the ceiling is not an option.
Fortunately, there are several creative and damage-free methods to hang your plants. Here, you’ll discover practical and renter-friendly ways to hang plants from the ceiling without drilling.
Table of Contents
- High Tension Shelves With Hanging Rails
- Clip-On Hooks For Ceiling Grids
- Floor-To-Ceiling Tension Plant Poles
- Preinstalled Ceiling Hooks
- Macramé Hangers On A Window Tension Rod
- Ceiling-Rated Adhesive Hooks For Lightweight Plants
- Decorative A-Frame Ladders As Plant Hangers
- Tension Rods Between Two Walls
- Over-The-Door Plant Hangers
- Freestanding Wire Grid Panels For Hanging Plants
- Clamp-On Plant Hangers For Bookcases
- Rope Or Chain From Existing Wall Brackets
- Freestanding Frames For Hanging Plants
- Magnetic Hooks On Metal Ceilings Or Steel Beams
- Clamps Or Straps On Exposed Ceiling Beams
High Tension Shelves With Hanging Rails
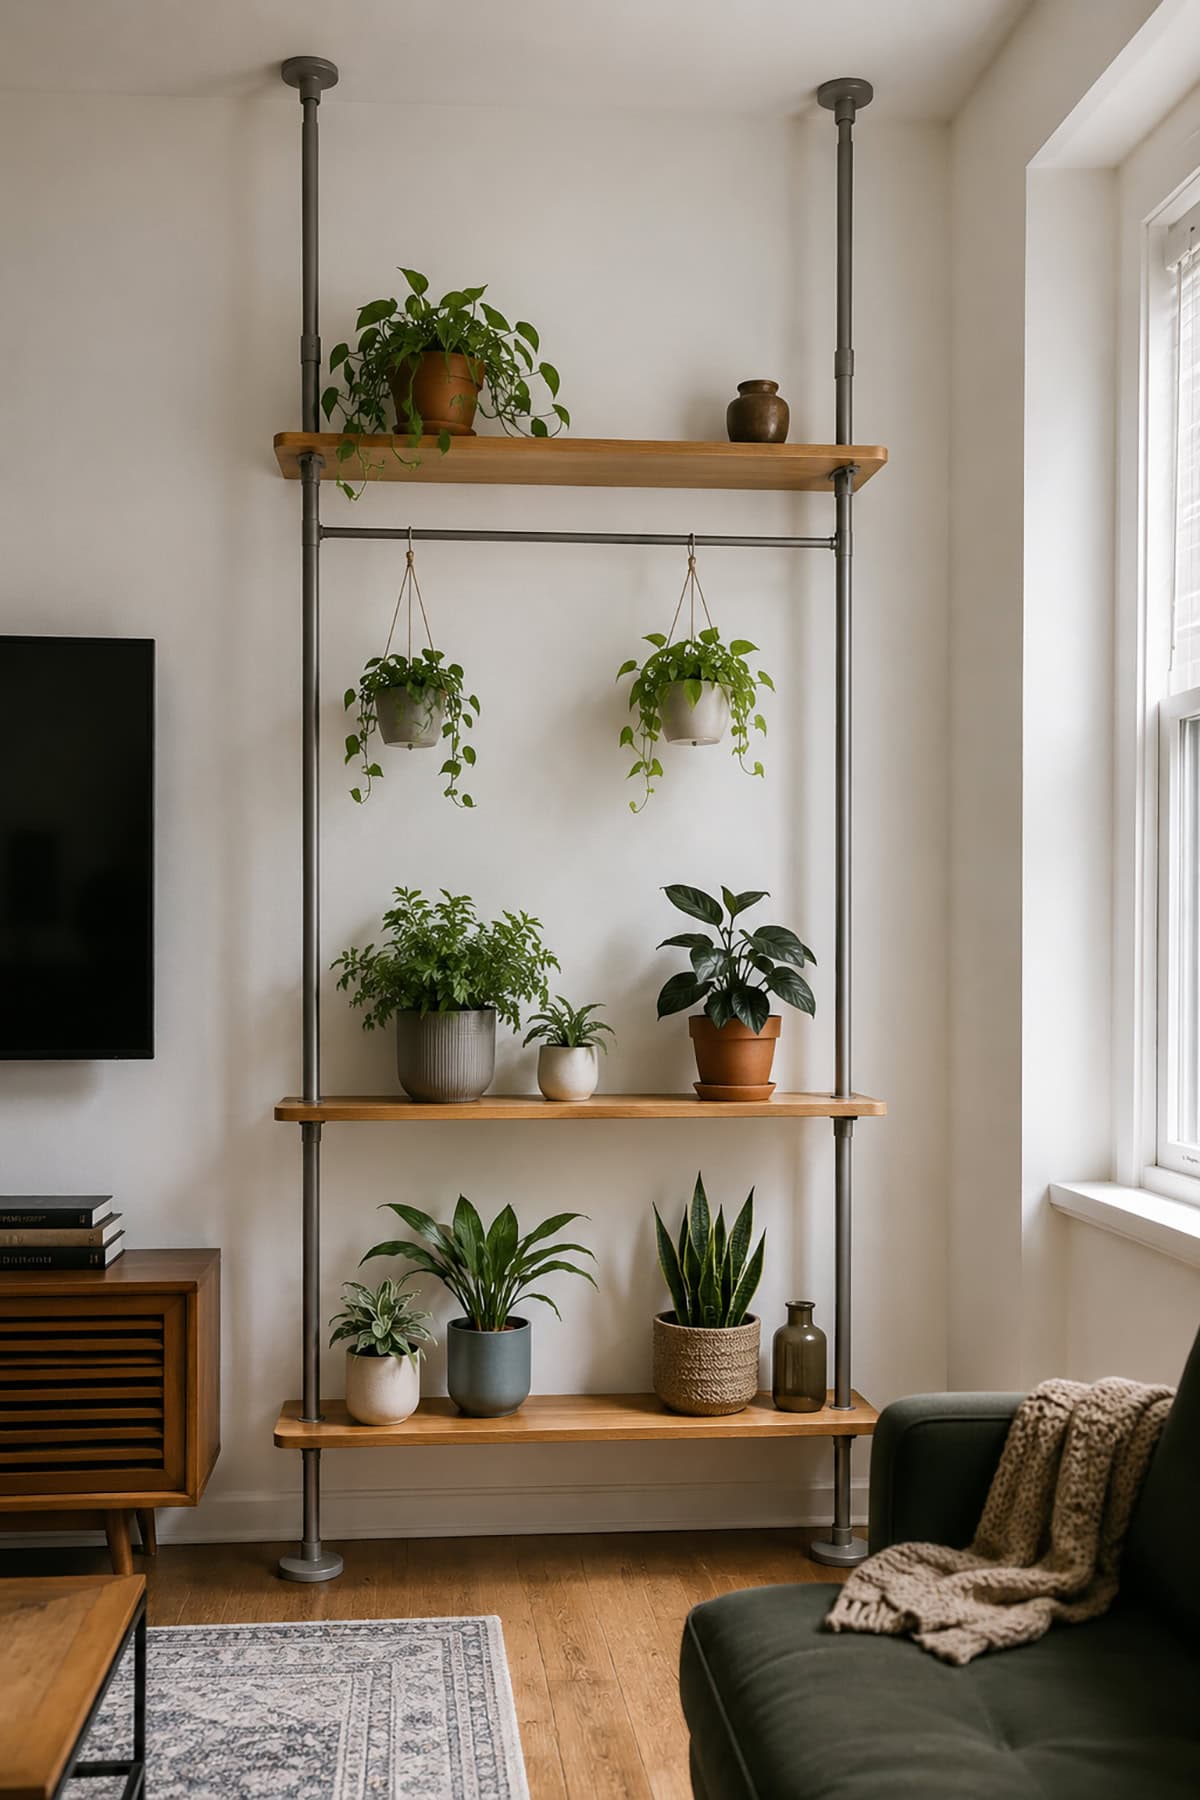
A floor-to-ceiling tension shelf uses pressure to remain upright. Many models include horizontal bars or hooks beneath the shelves. Small planters may hang from these points if the manufacturer permits it.
Place heavier pots on the lower shelves and lighter hanging plants near the top. Spread the weight across the unit rather than loading one side. Check the tension each time you rearrange the plants.
Clip-On Hooks For Ceiling Grids
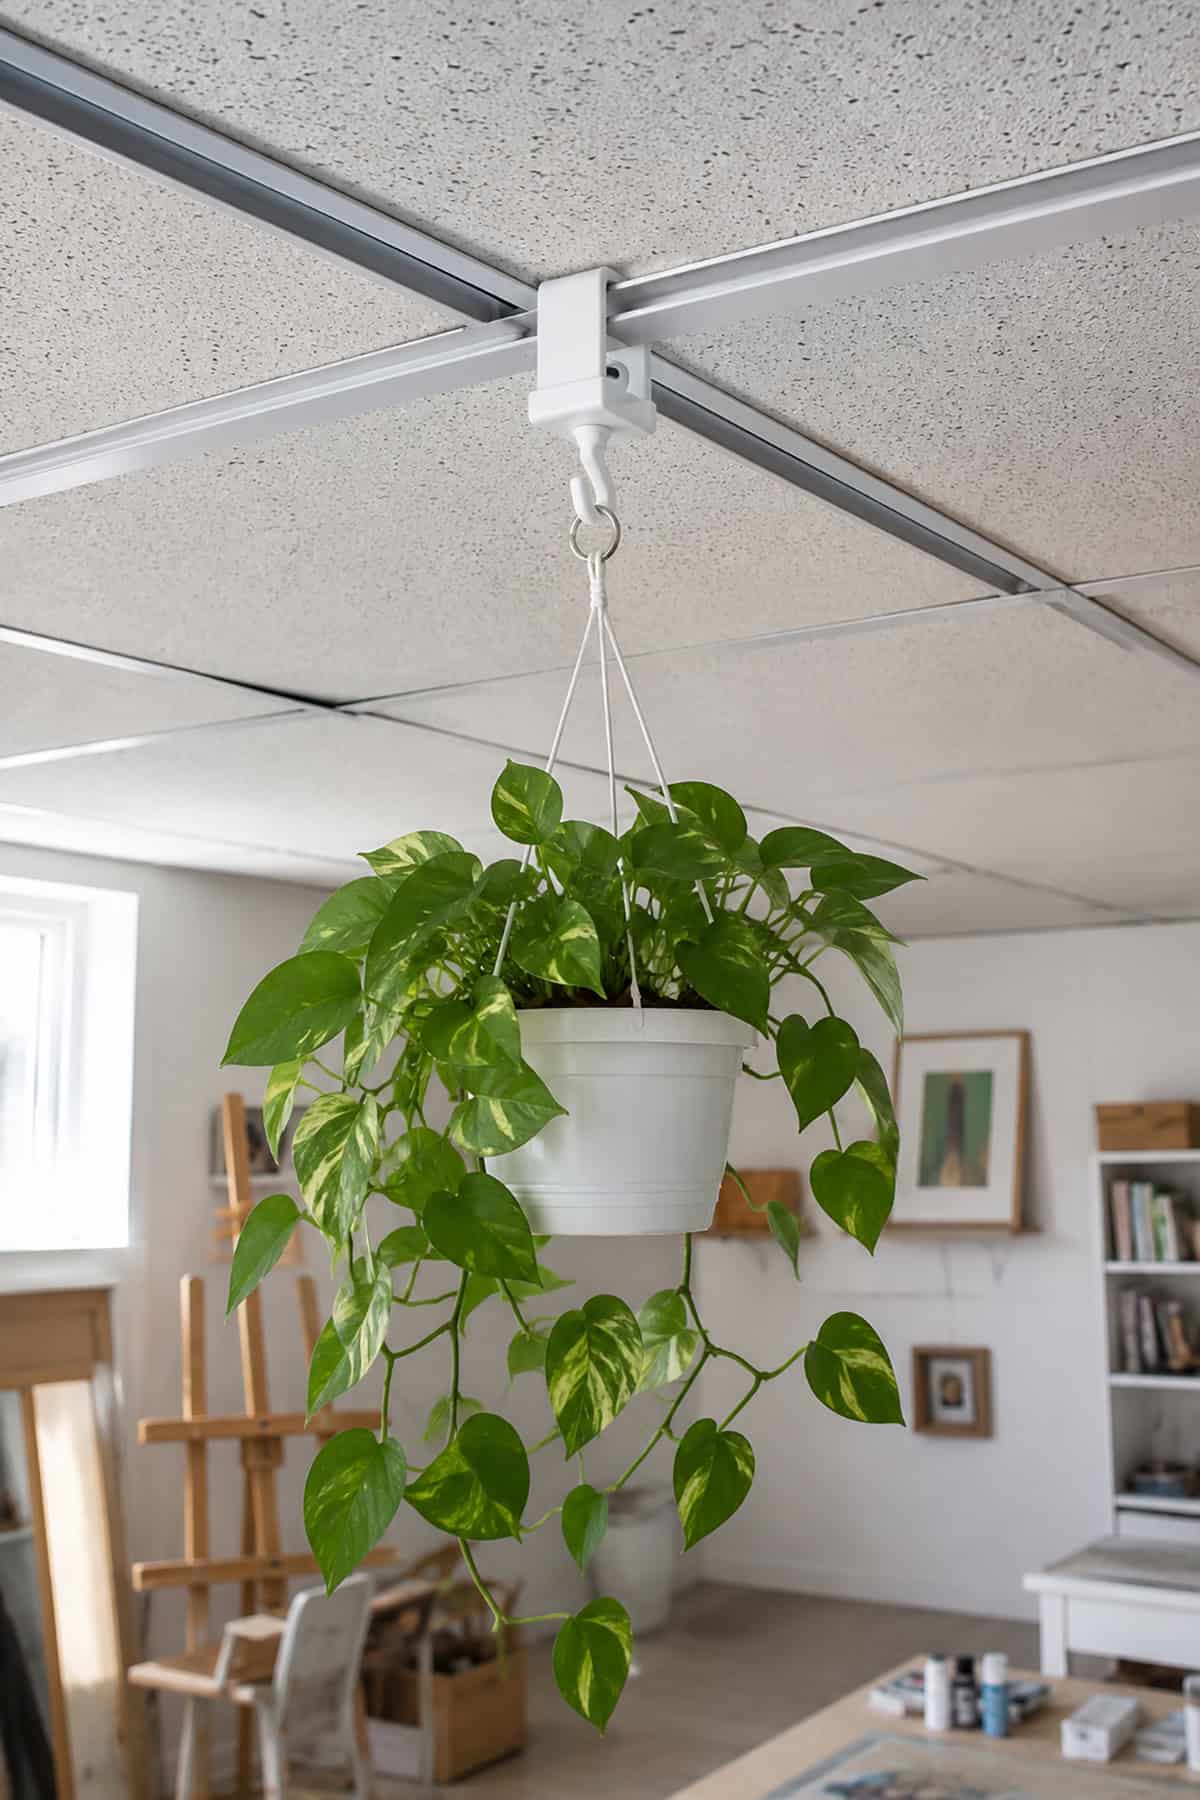
Ceiling-grid clips attach to the metal rails around suspended ceiling tiles. They require no drilling and move easily along the grid. This method mainly works in offices, basements, studios, and apartments with drop ceilings.
Confirm that the grid supports extra weight before hanging a plant. Attach the clip to a metal rail, never to the ceiling tile. Use lightweight plastic pots and keep them away from desks, beds, and seating areas.
Floor-To-Ceiling Tension Plant Poles
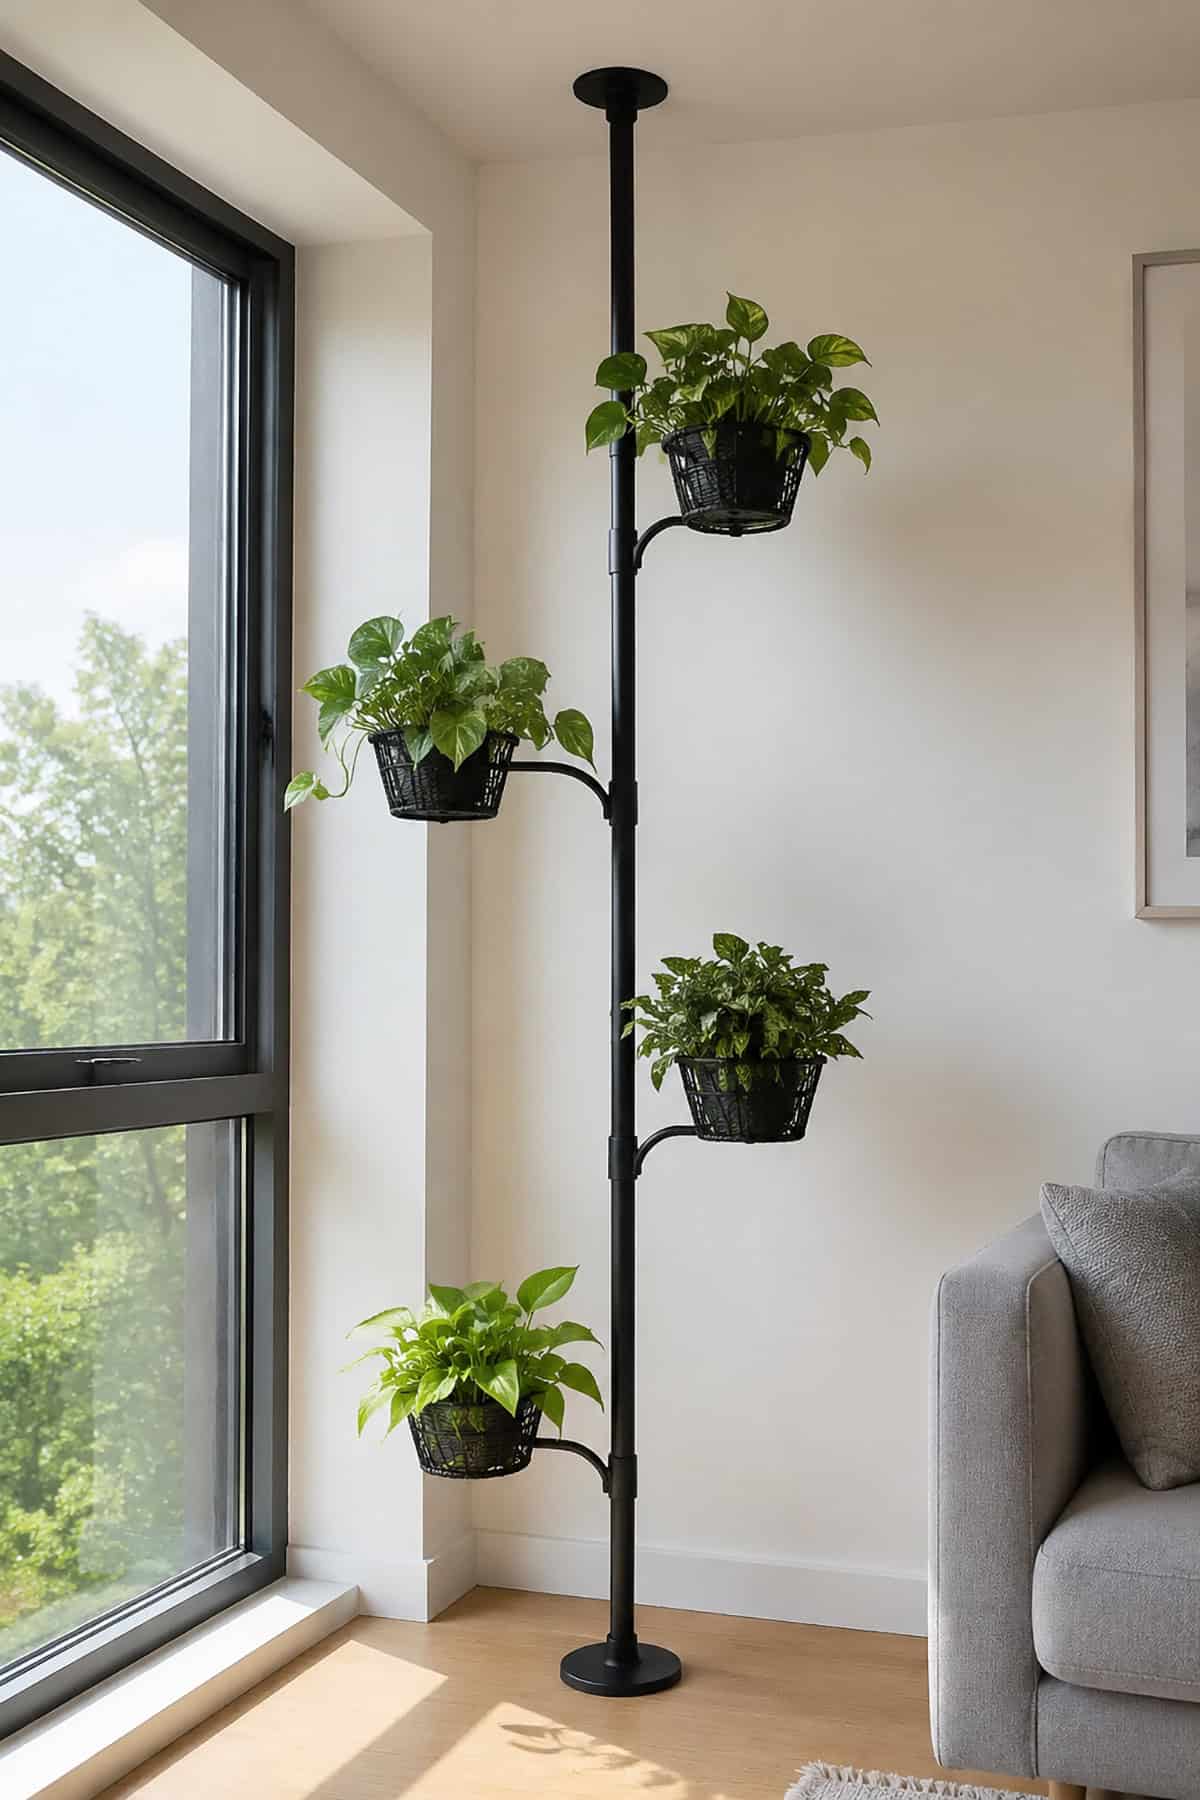
A tension plant pole presses between the floor and ceiling. Most models have several hooks or arms for hanging baskets at different heights.
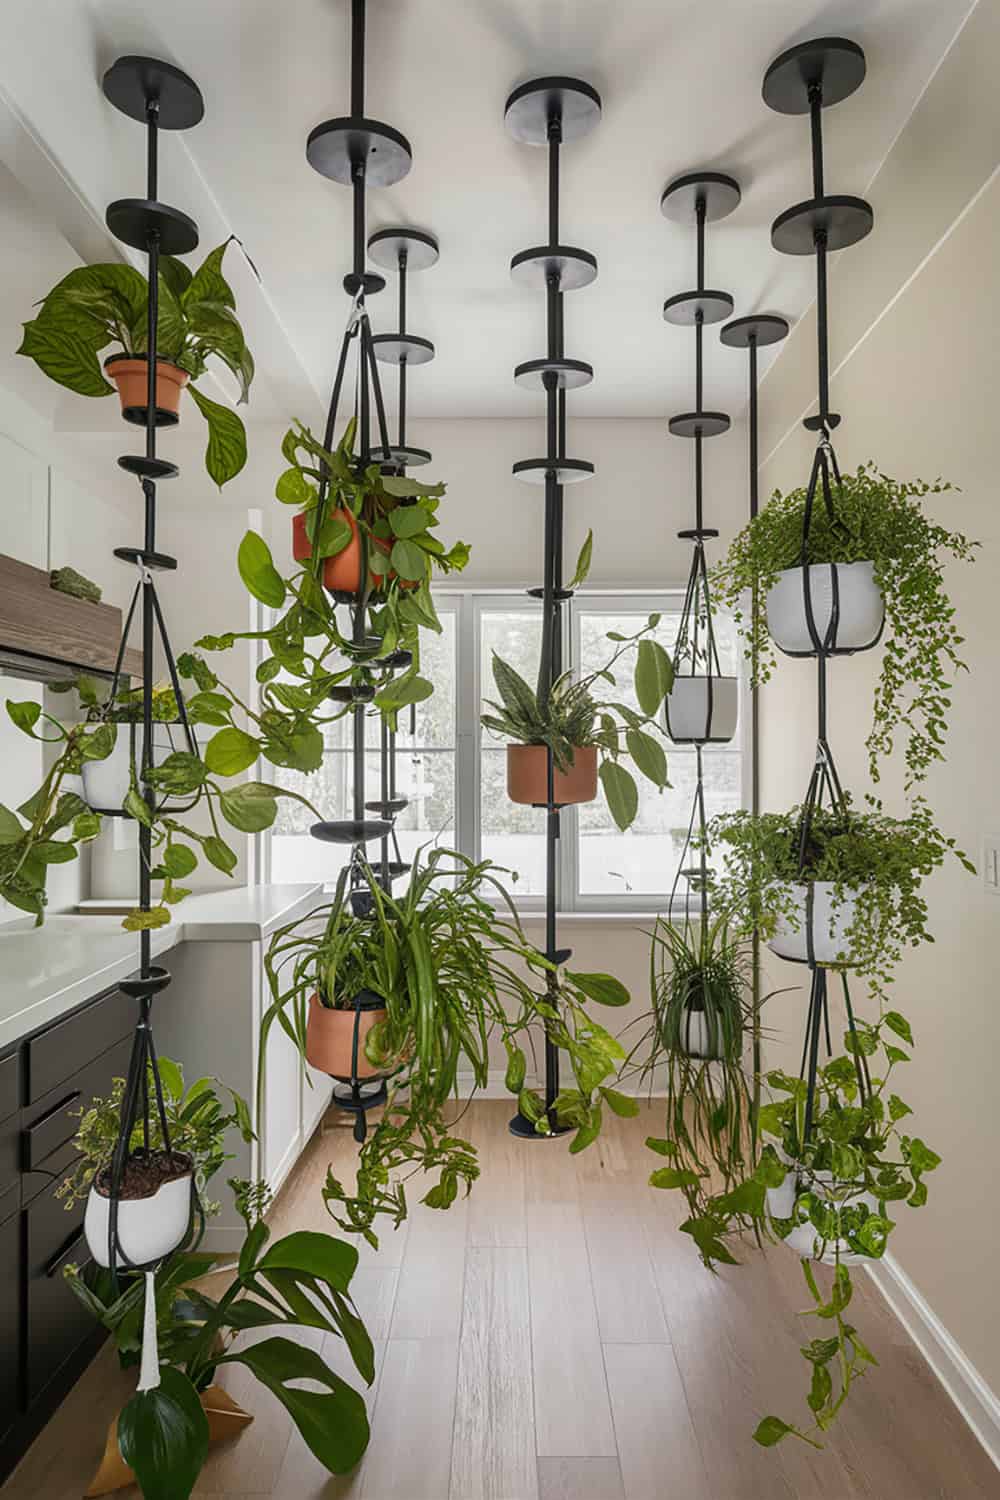
Set the pole on a level floor beneath a flat ceiling. Tighten it according to the instructions and divide the weight evenly around the pole. Check it regularly because movement and temperature changes may loosen the tension.
A purpose-built plant pole is one of the most practical choices for a rental home.
Preinstalled Ceiling Hooks
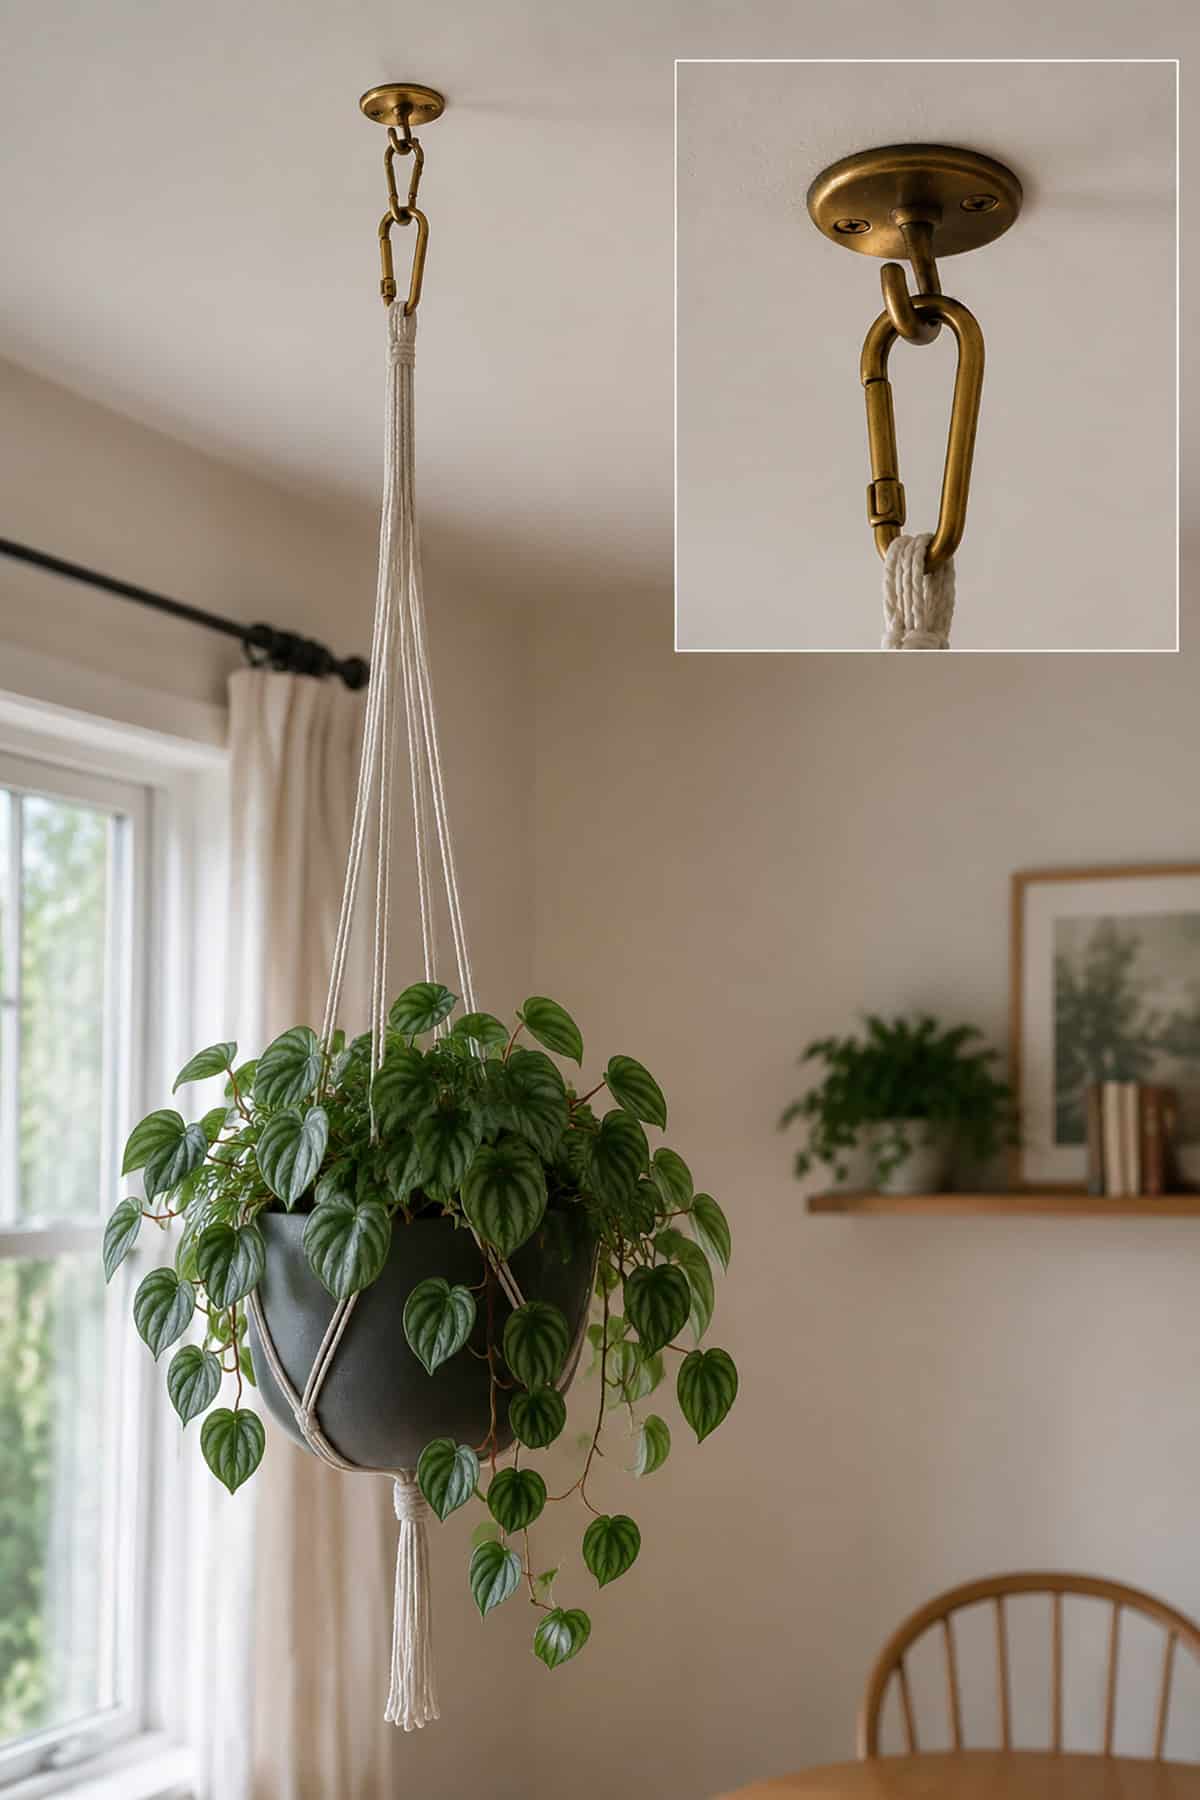
Your home may already have ceiling hooks left by a previous resident. Reusing them avoids making new holes, but each hook needs a careful inspection.
Look for cracks, loose plaster, rust, movement, or a visible gap around the base. Skip the hook if you do not know how it was installed. A lightweight plastic planter is safer than a heavy ceramic pot.
Macramé Hangers On A Window Tension Rod
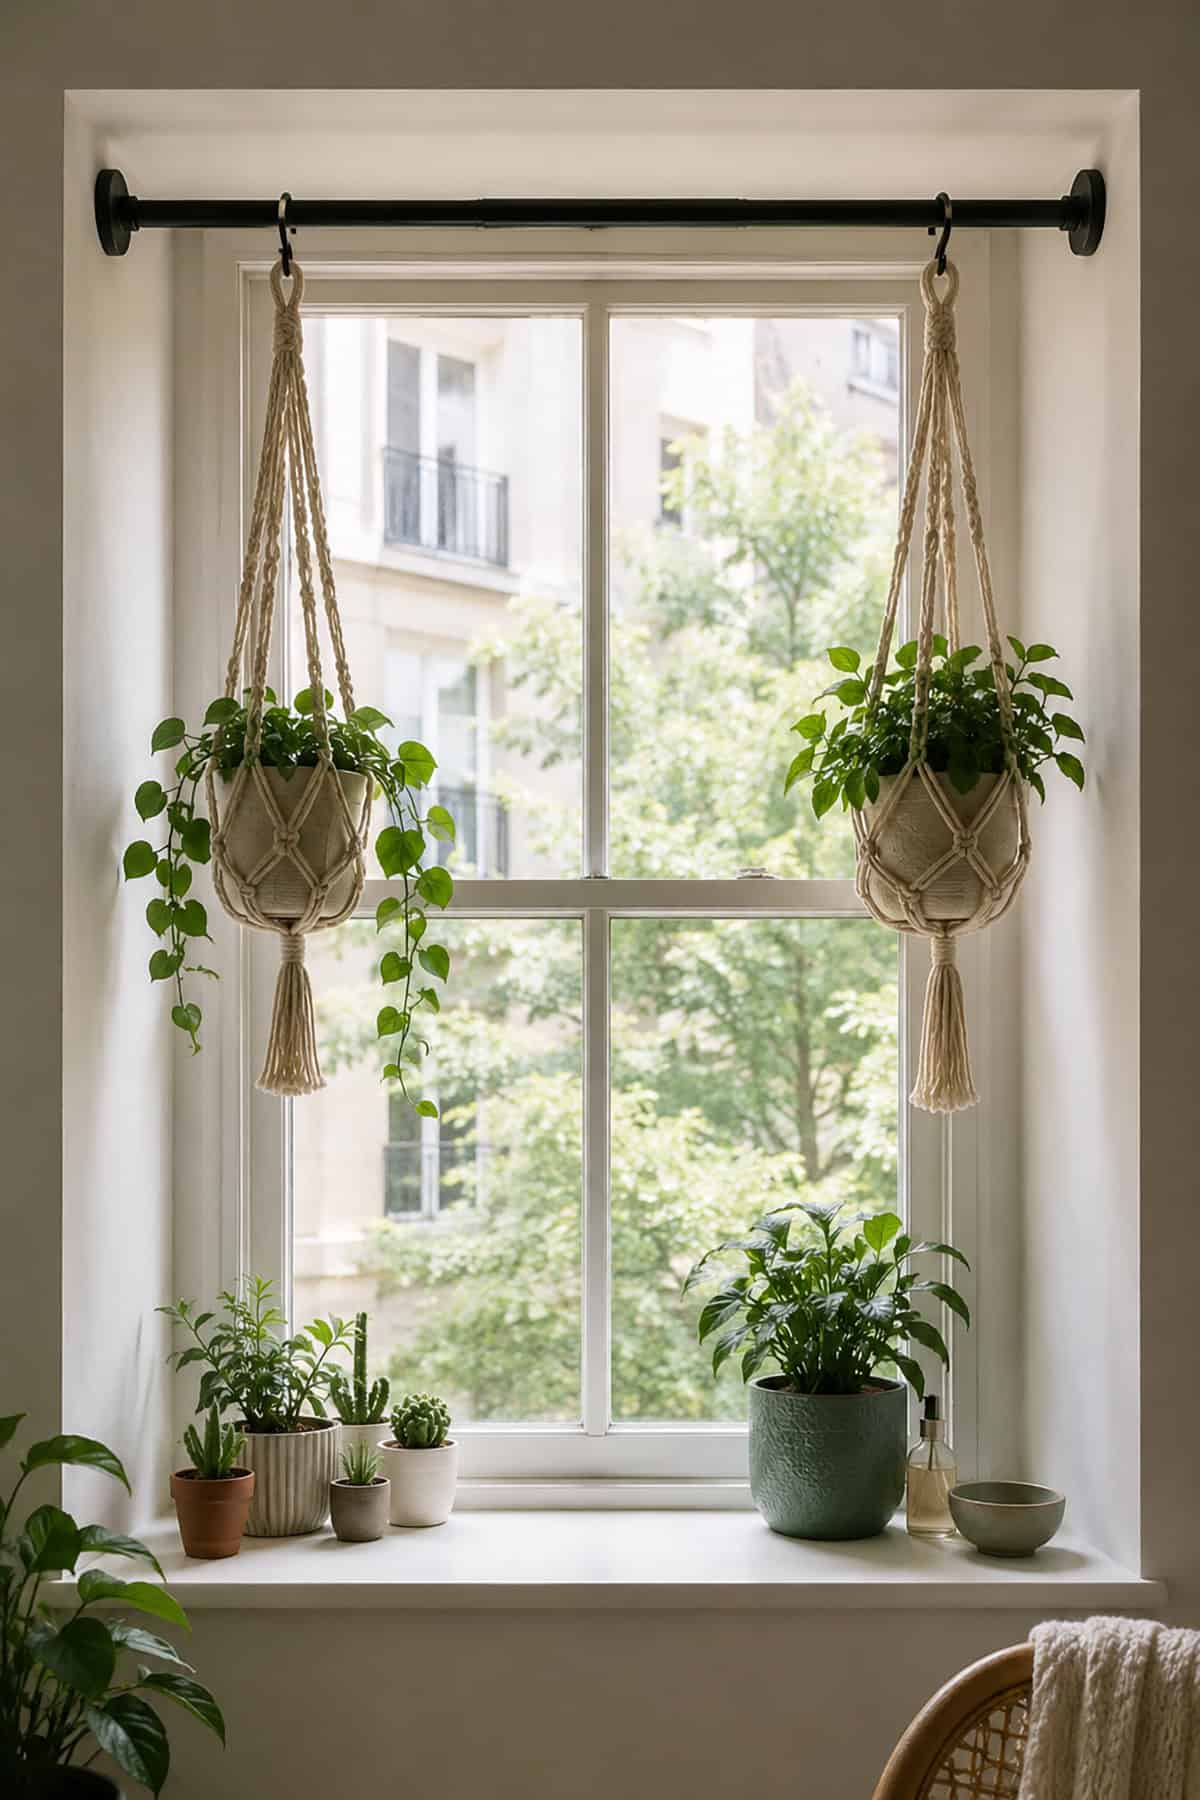
A strong tension rod fitted inside a deep window recess creates a useful support for macramé plant hangers. The plants remain close to natural light, and the rod leaves no holes in the window frame.
Fit the rod between two solid, parallel sides. Do not press it against narrow decorative trim. Wide rubber ends help protect the painted surface and reduce slipping.
Attach each hanger with an S-hook or locking carabiner. Keep the total weight below the rod’s stated limit and place heavier plants closer to the ends.
Ceiling-Rated Adhesive Hooks For Lightweight Plants
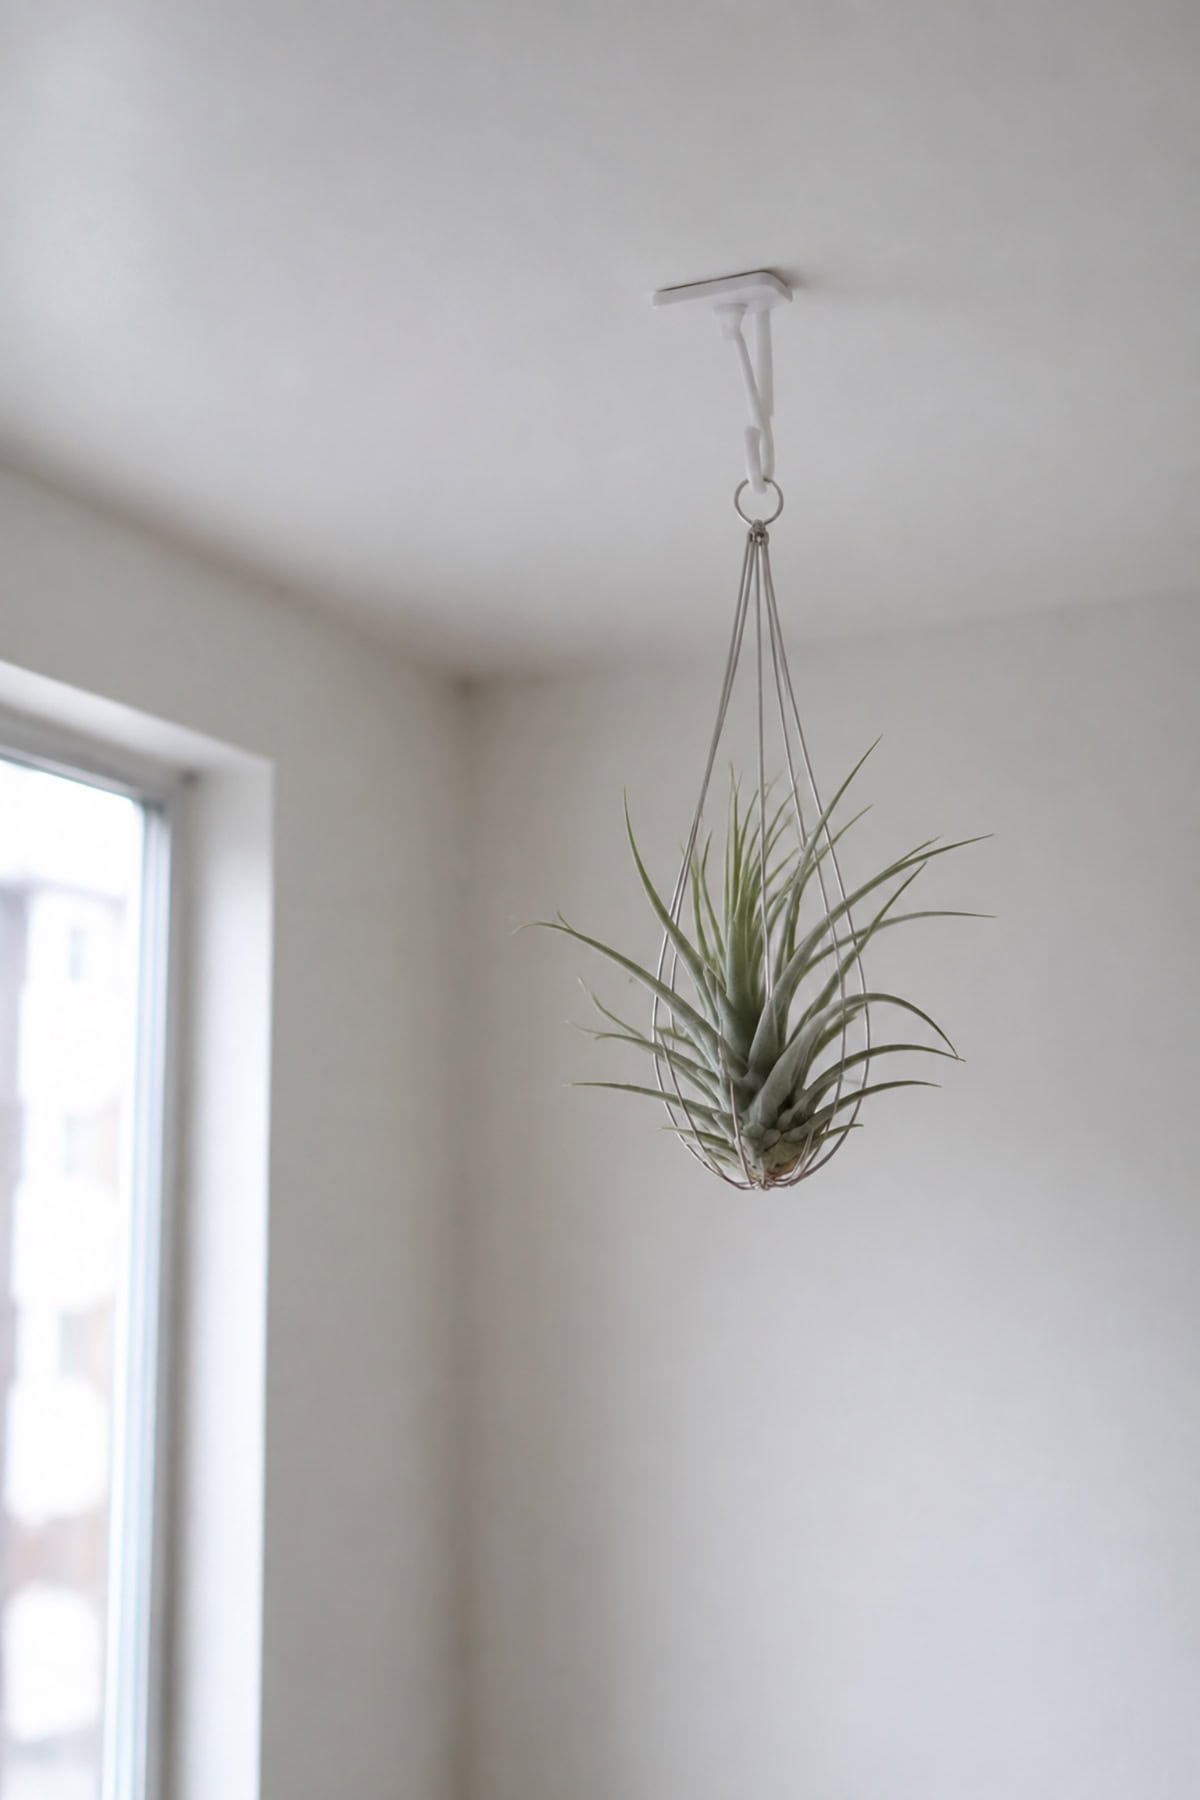
Only use an adhesive hook whose instructions specifically permit ceiling installation. A wall hook’s weight rating may not apply when the hook faces downward.
Clean the ceiling according to the manufacturer’s directions and respect the required waiting time. The surface must be smooth, dry, and free of loose paint. Command’s ceiling-hook instructions state that the product is not recommended for textured ceilings. 3M ceiling-hook instructions
Limit this method to air plants, very small plastic pots, or artificial vines. Do not place a soil-filled ceramic planter above a person, pet, bed, sofa, or desk.
Decorative A-Frame Ladders As Plant Hangers
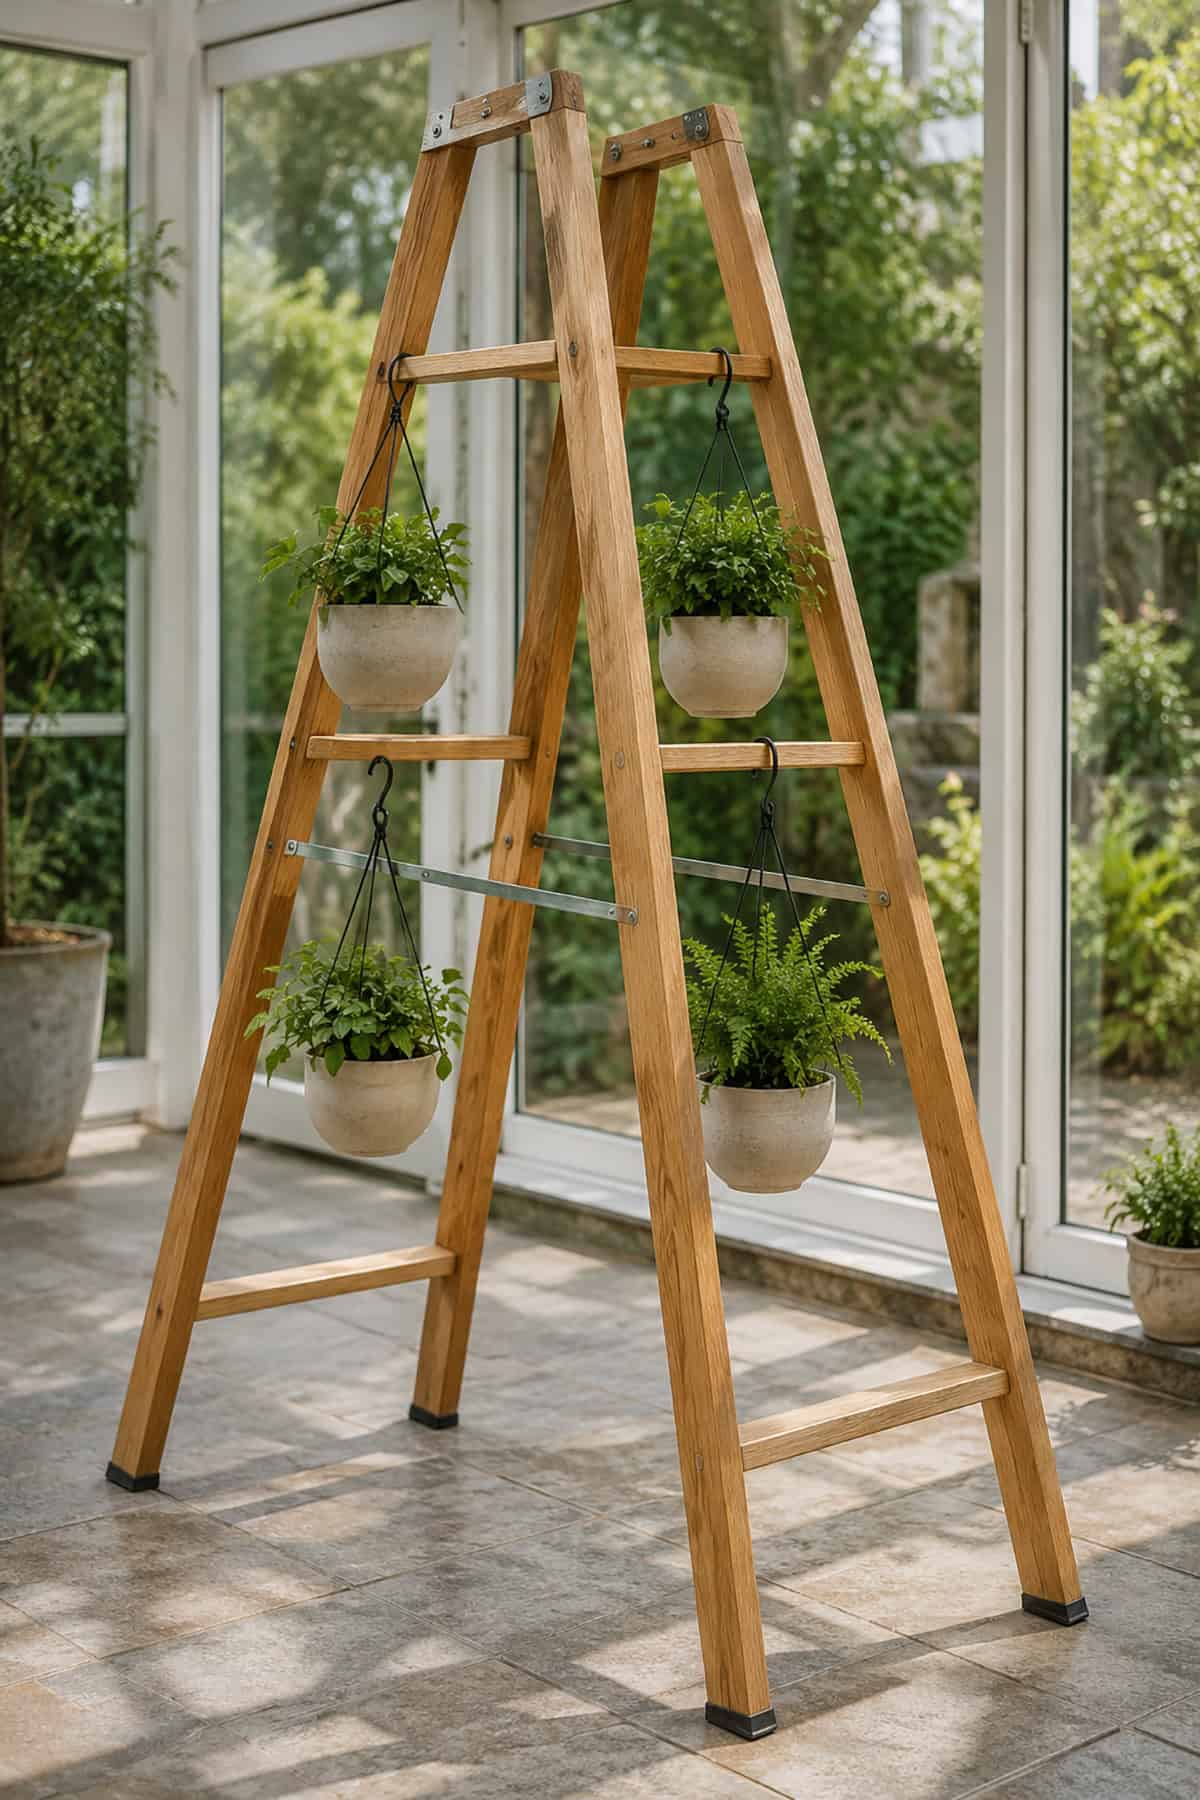
A freestanding A-frame ladder has several rungs for hanging small planters. It creates a tall plant display without touching the ceiling.
Open the ladder completely and lock its braces before adding plants. Attach the planters to both sides to keep the weight balanced. Short hangers reduce movement and keep the pots close to the rungs.
Choose a ladder with rubber feet and a wide base. Avoid a decorative ladder that only leans against the wall, especially in a home with children or pets.
Tension Rods Between Two Walls
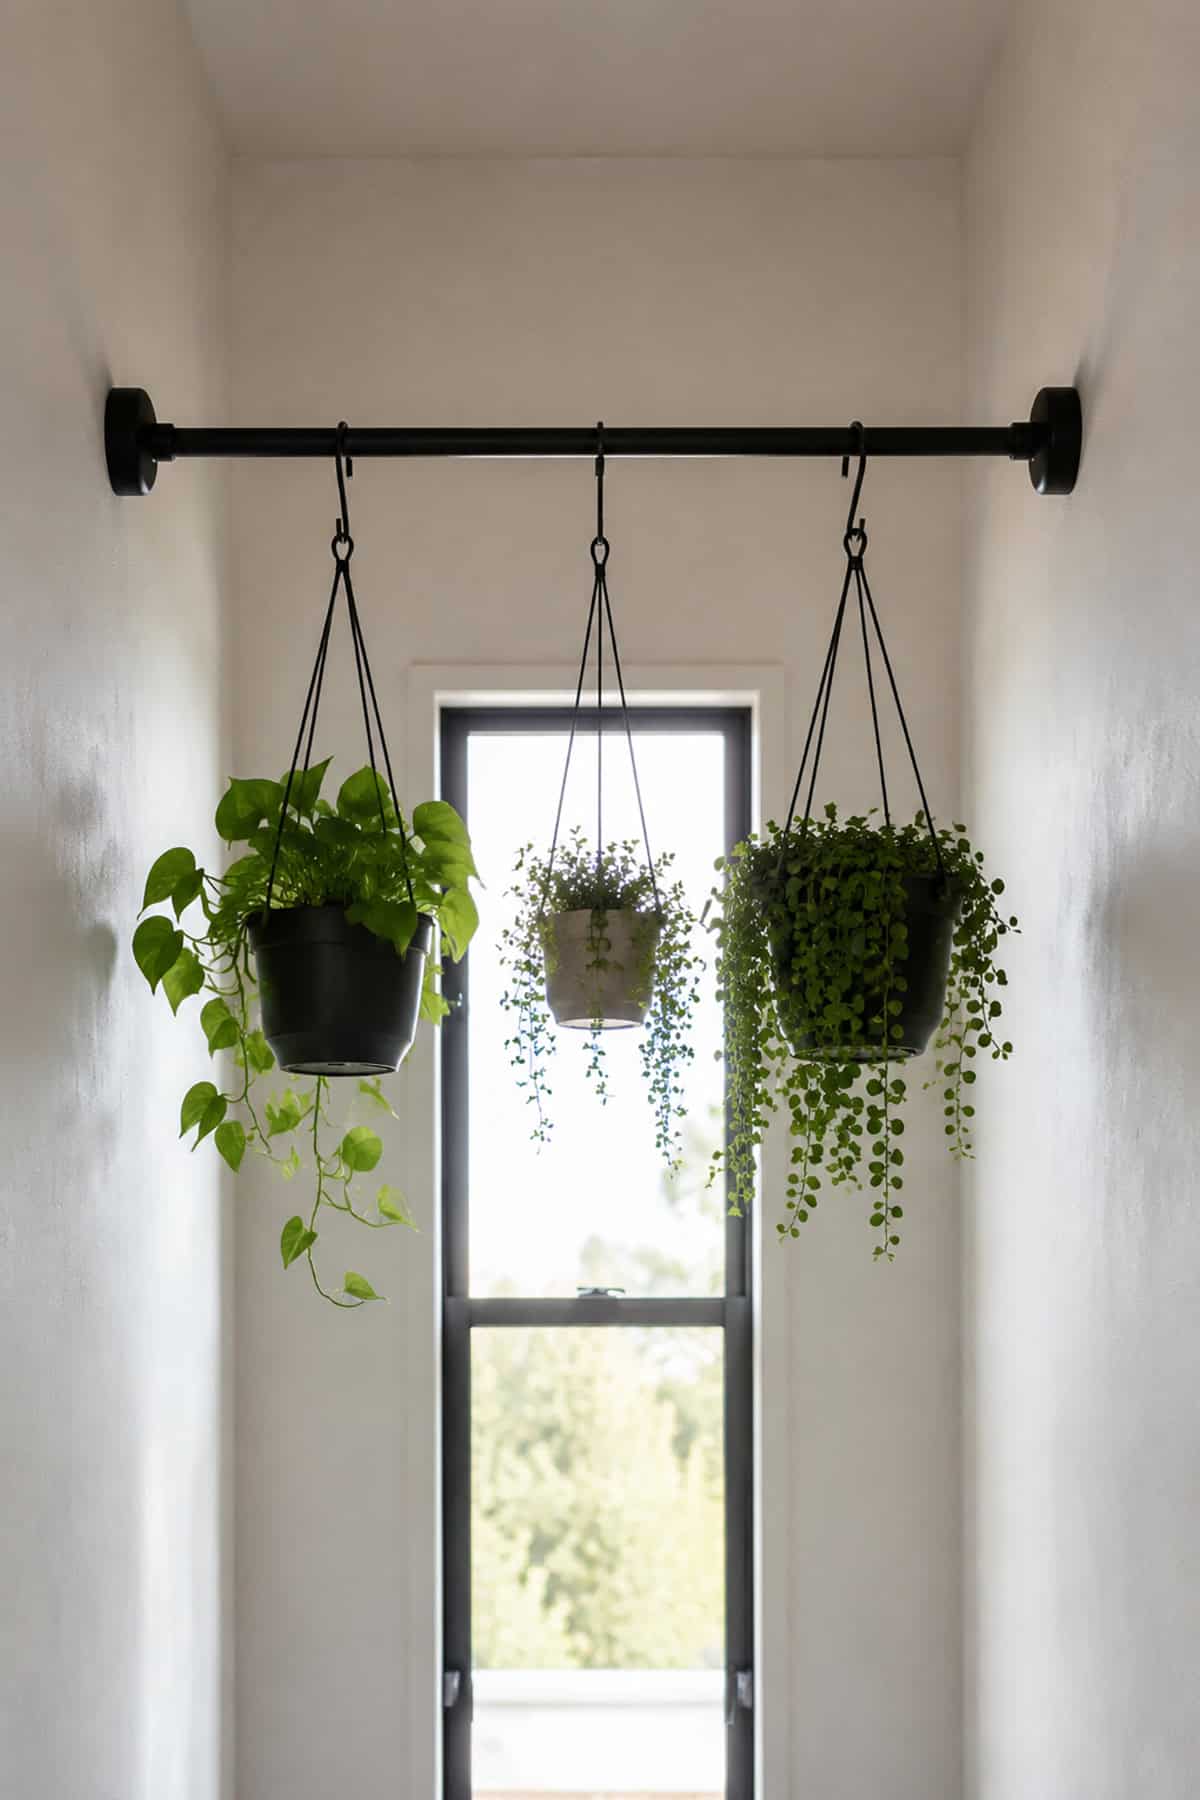
A heavy-duty tension rod may span a narrow alcove, hallway end, laundry nook, or opening between two cabinets. Set it close to the ceiling for a high hanging display.
Both ends need solid, parallel surfaces. Wide rubber pads protect the paint and help the rod resist movement. Test the rod before adding plants.
Use several light planters rather than one large basket. Place the heavier pots closer to the ends, where the rod receives more support.
Over-The-Door Plant Hangers
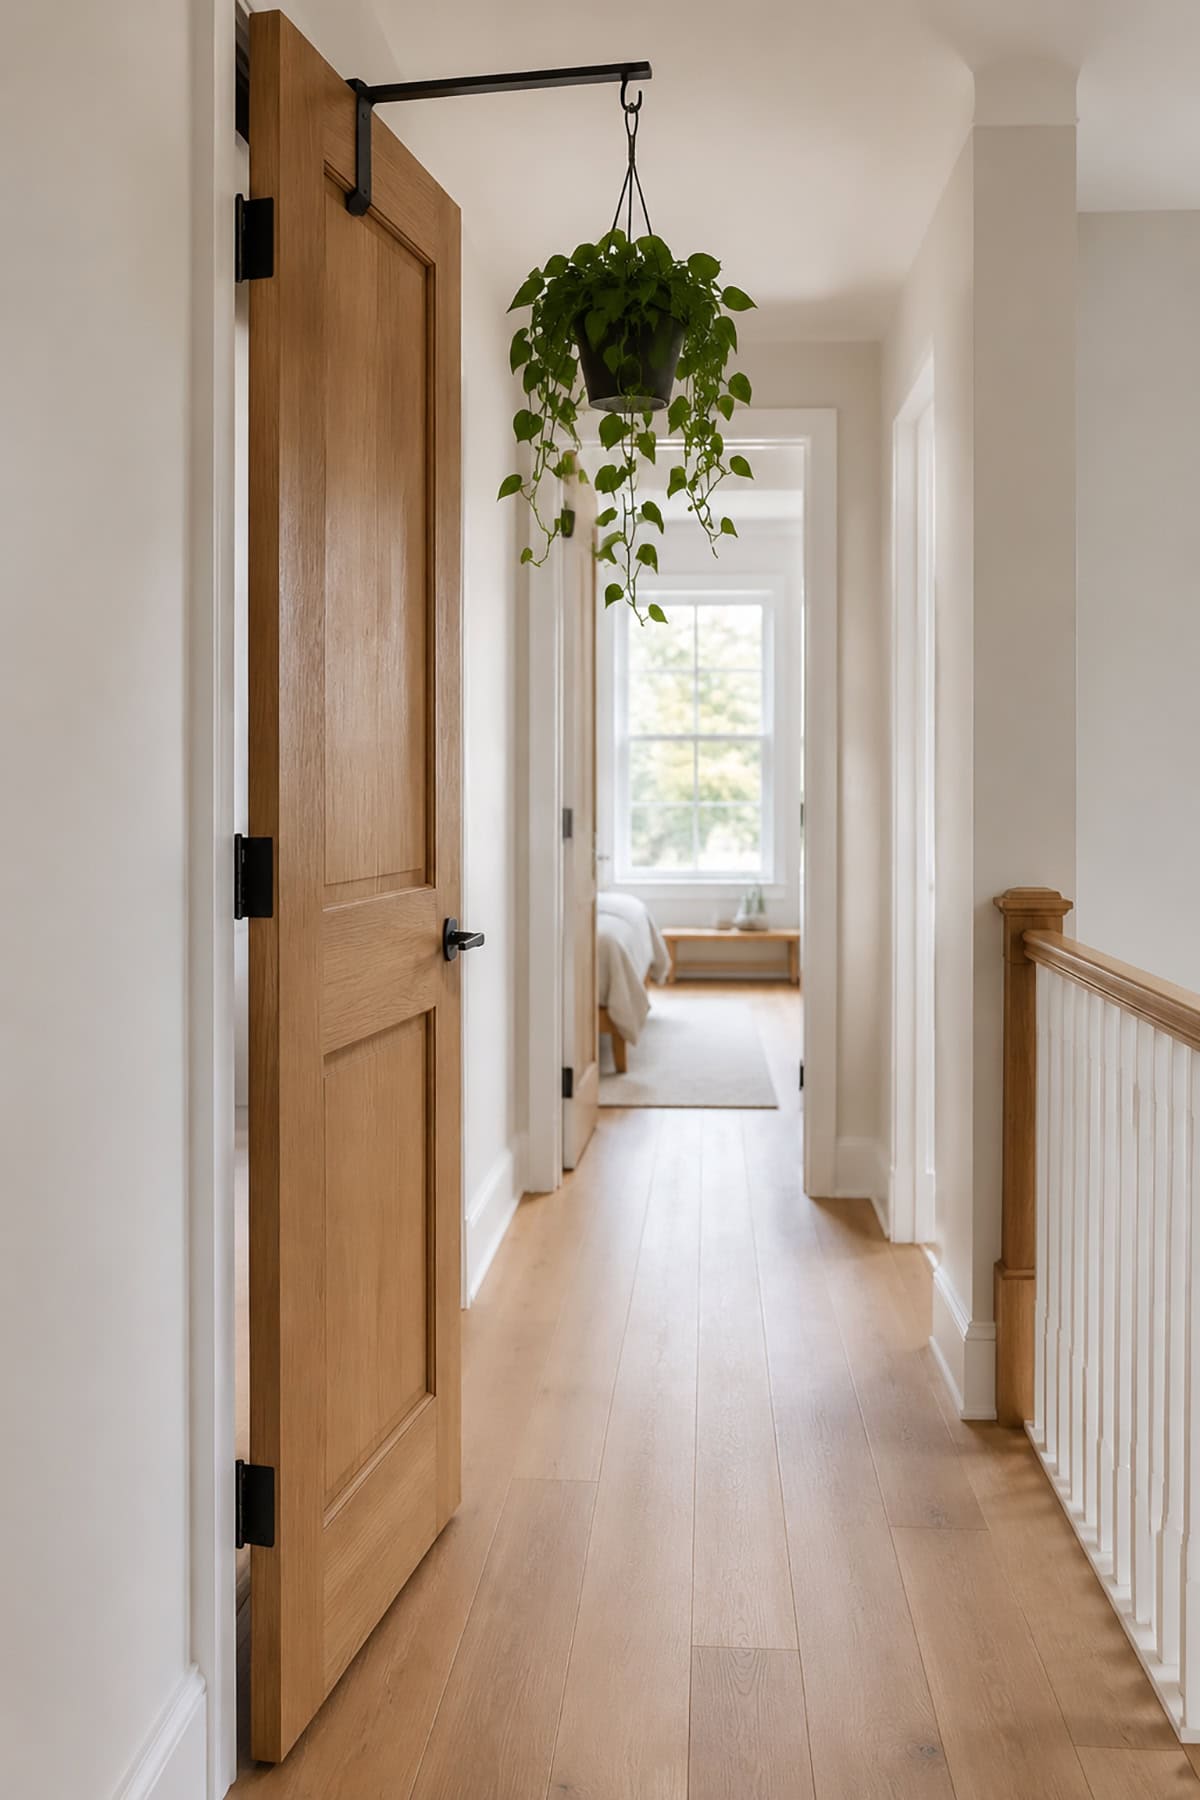
An over-the-door hanger supports a small planter without screws or adhesive. The metal bracket slips over the top edge of the door and removes easily.
Use a door that stays open for most of the day. Regular movement may cause the pot to swing, spill soil, or strike the wall. Felt pads beneath the bracket help protect the door’s finish.
Choose a long hook that keeps the plant above head height. Keep the pot and leaves clear of the doorway opening.
Freestanding Wire Grid Panels For Hanging Plants
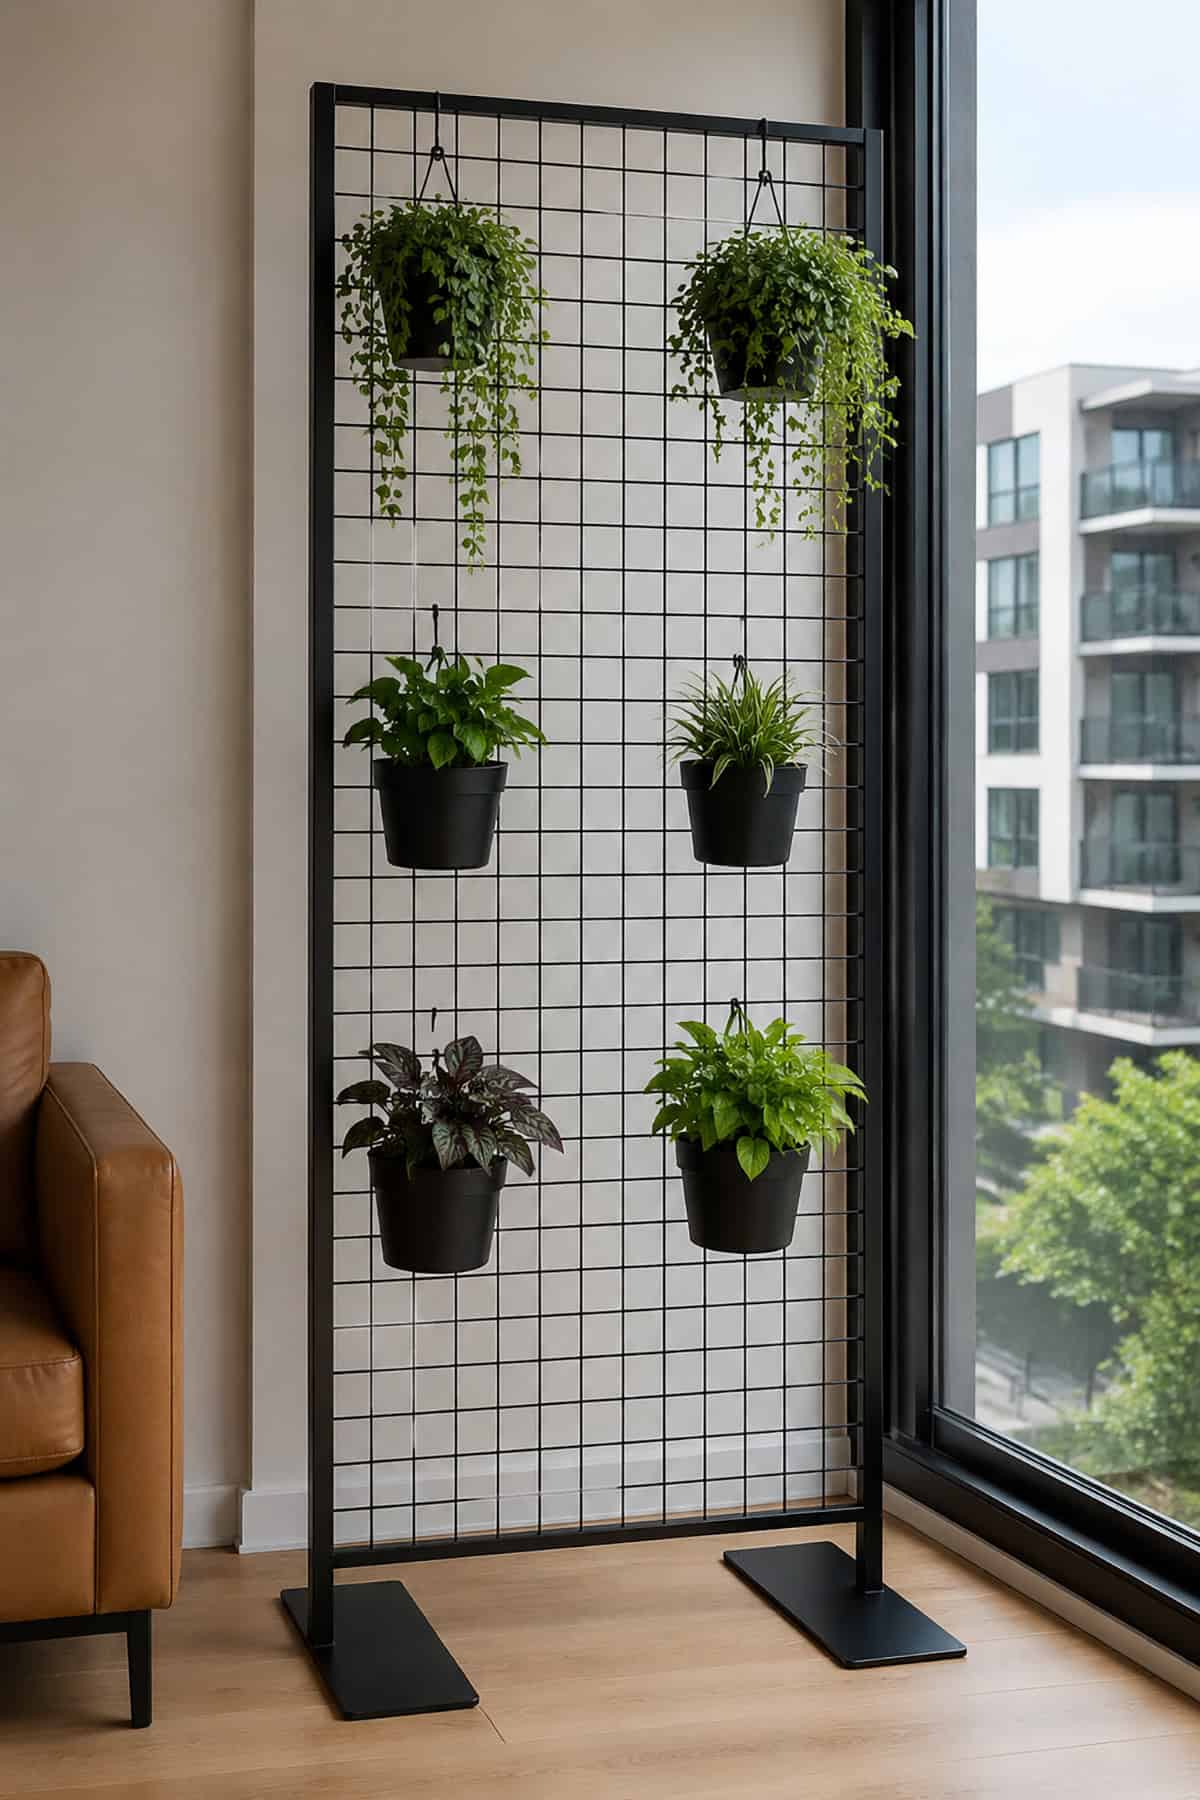
A freestanding wire grid panel holds several small hanging planters without attaching to the ceiling. Choose a panel with stable feet or a floor-supported frame.
Secure the planters with grid hooks or locking clips. Place heavier pots near the bottom and lightweight trailing plants near the top. This arrangement lowers the risk of tipping.
Set the grid beside a bright window or against an empty wall. Do not suspend a loaded wire grid from adhesive ceiling strips.
Clamp-On Plant Hangers For Bookcases
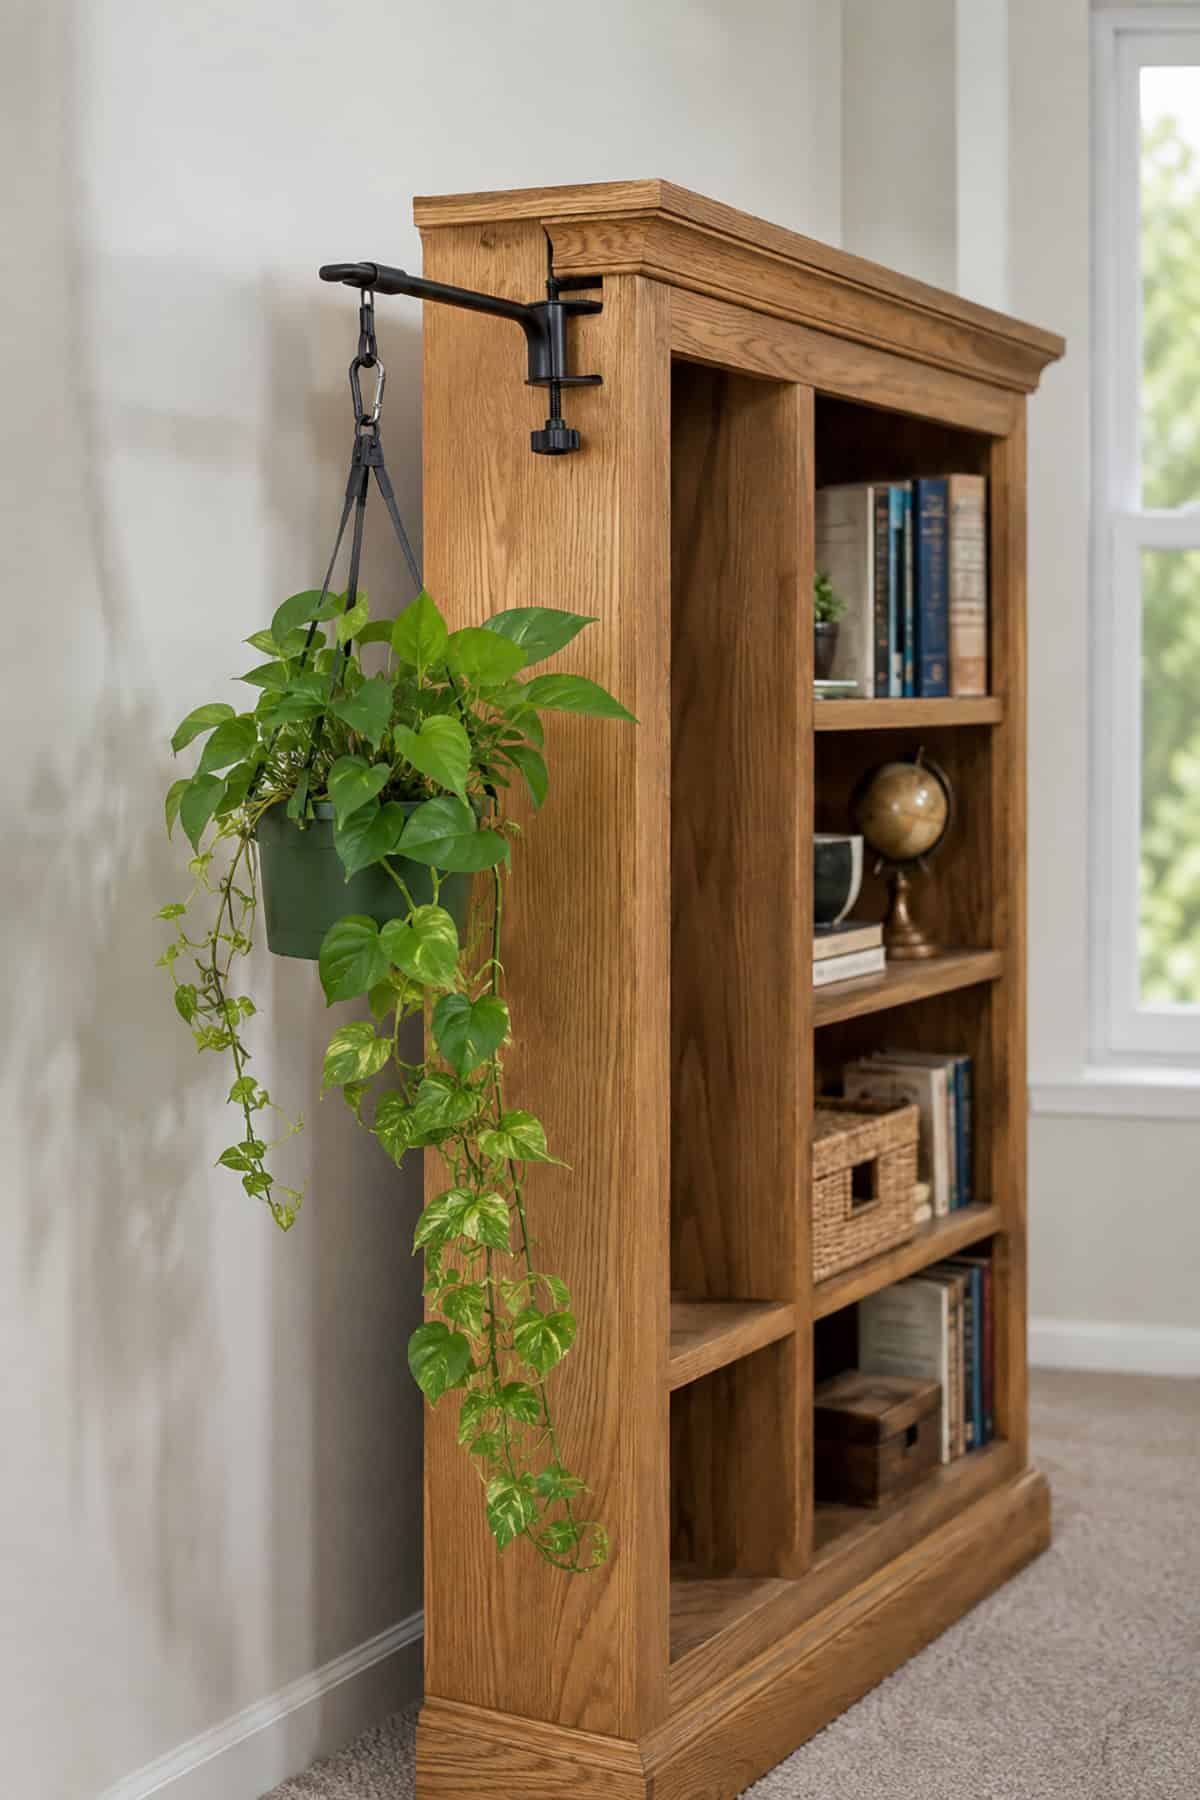
A clamp-on plant hanger attaches to the top or side of a sturdy bookcase. Its raised arm extends beyond the furniture and supports a hanging basket.
Use rubber pads between the clamp and the bookcase to prevent scratches. Keep the planter close to the clamp because a long extension places more force on the furniture.
The bookcase must be stable and secured against tipping. Do not attach a heavy hanging plant to lightweight flat-pack furniture or a thin shelf.
Rope Or Chain From Existing Wall Brackets
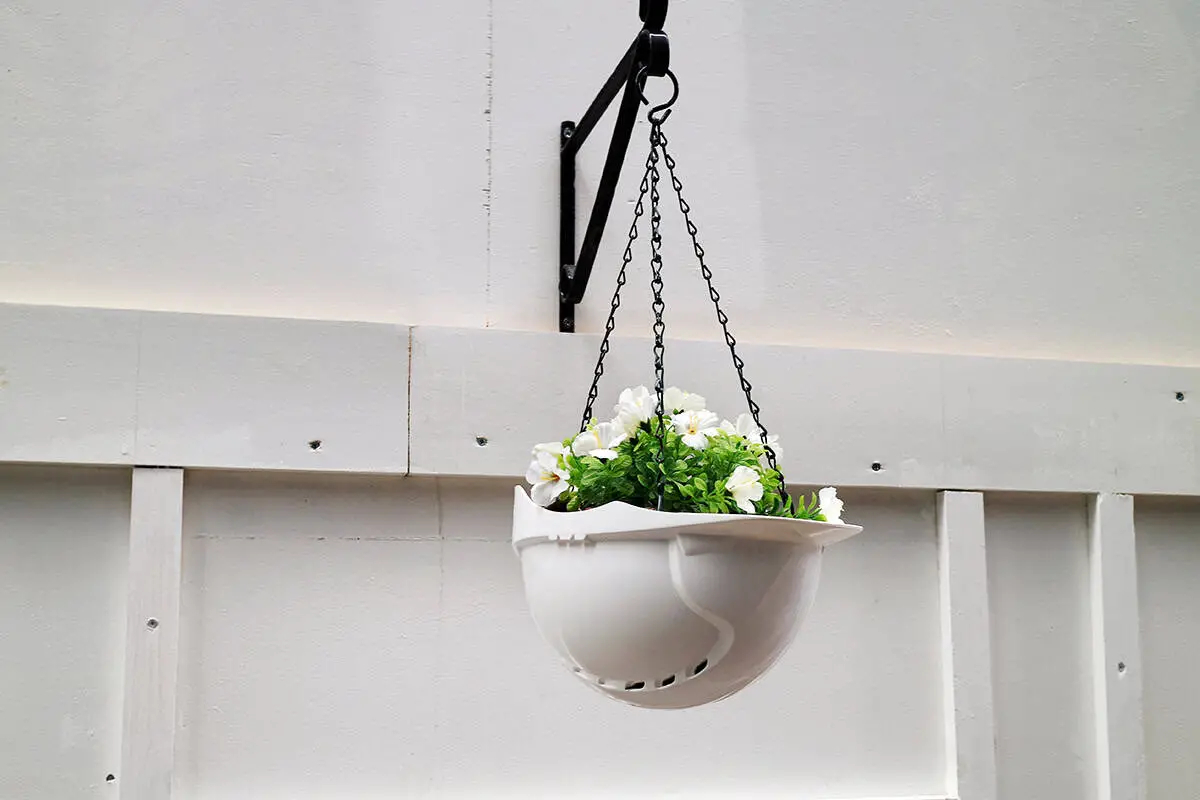
An existing shelf bracket or plant bracket may support a hanging planter without any new holes. Attach the planter with a short chain, strong rope, or locking carabiner.
Inspect the bracket and its screws before adding weight. Keep the pot close to the wall to reduce pressure on the bracket. A long rope may allow the planter to swing into furniture or windows.
Do not attach a plant to an adhesive wall bracket. This method only applies to solid brackets that are already securely mounted.
Freestanding Frames For Hanging Plants
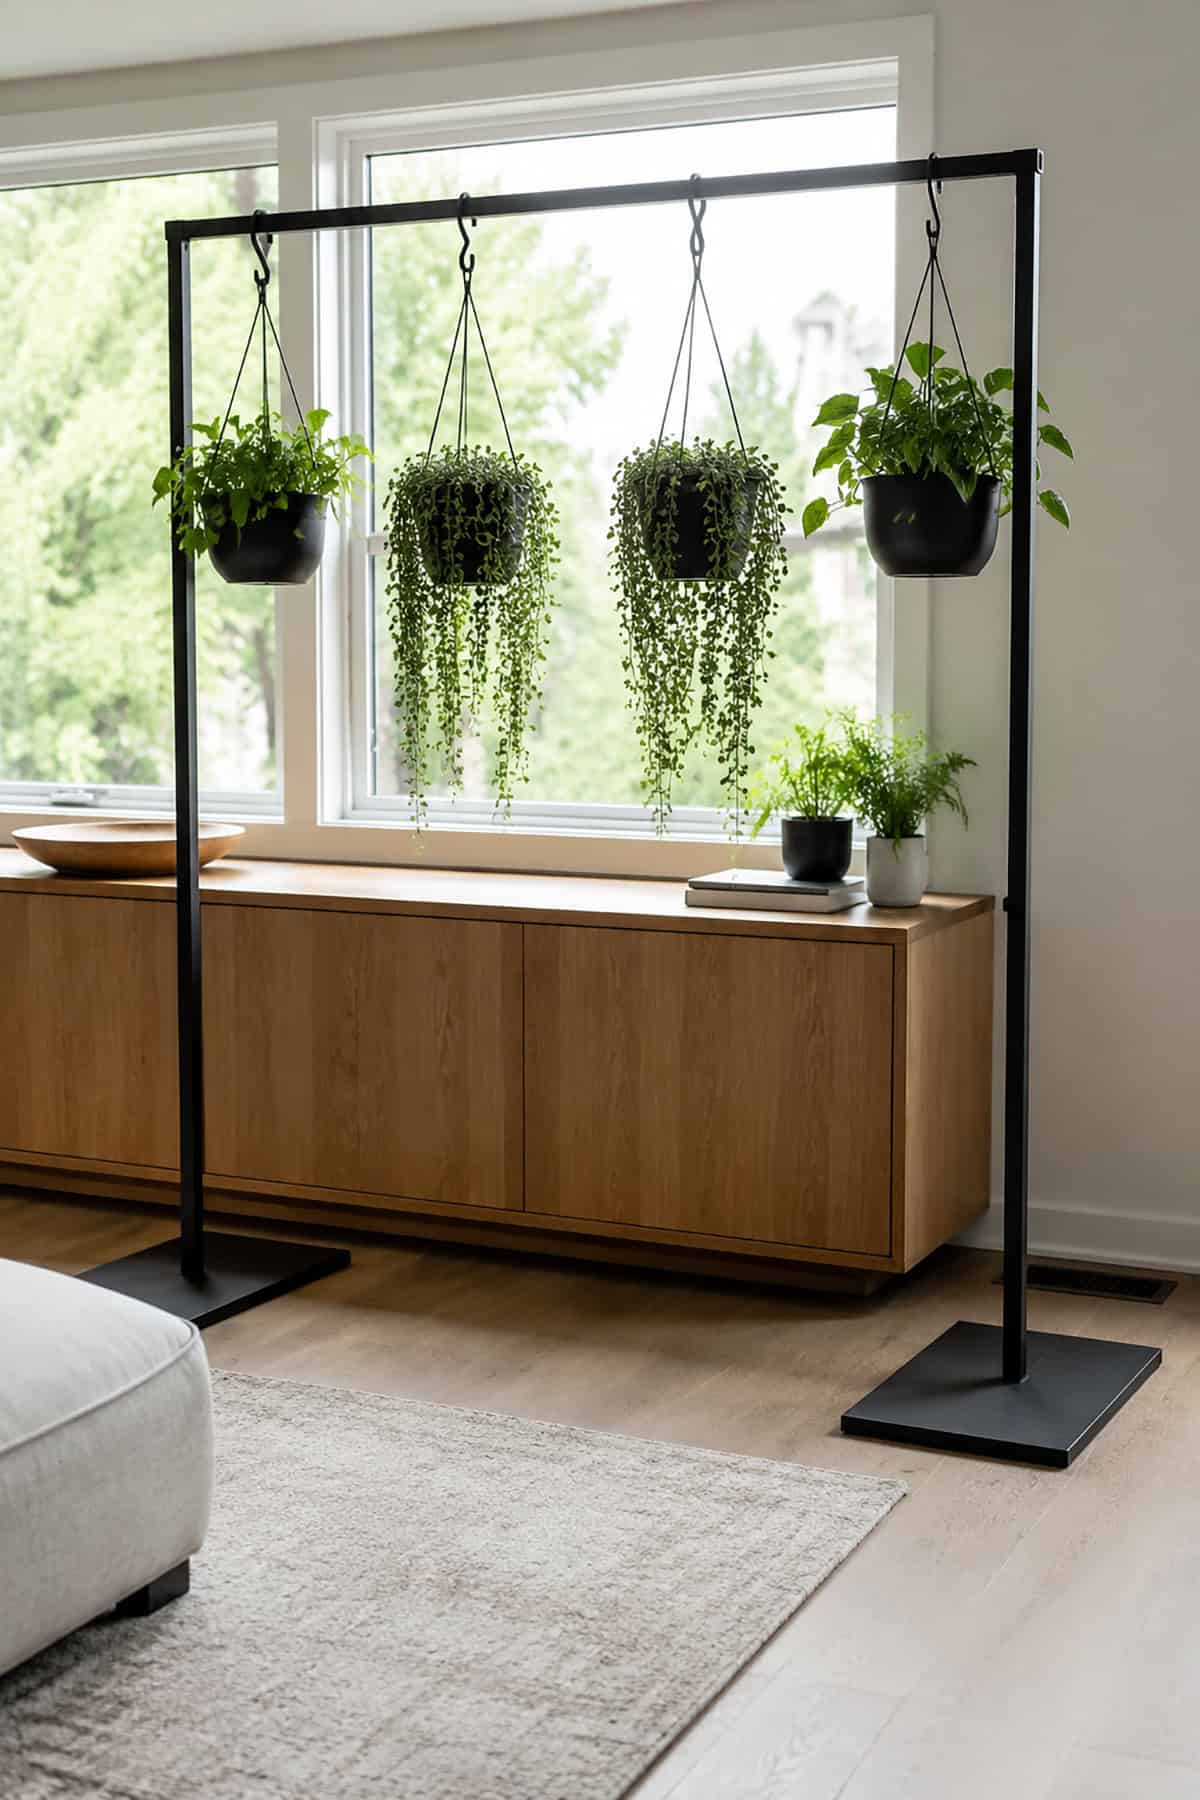
A freestanding display frame has two upright sides and a horizontal rail across the top. Small planters hang from the rail with S-hooks or carabiners.
Choose a frame with a wide, weighted base. Place heavier plants close to the upright sides rather than in the center. Divide the weight evenly across the rail.
Set the frame beside a window, behind a console table, or against an empty wall. It creates a high hanging display without new holes in the ceiling or walls.
Magnetic Hooks On Metal Ceilings Or Steel Beams
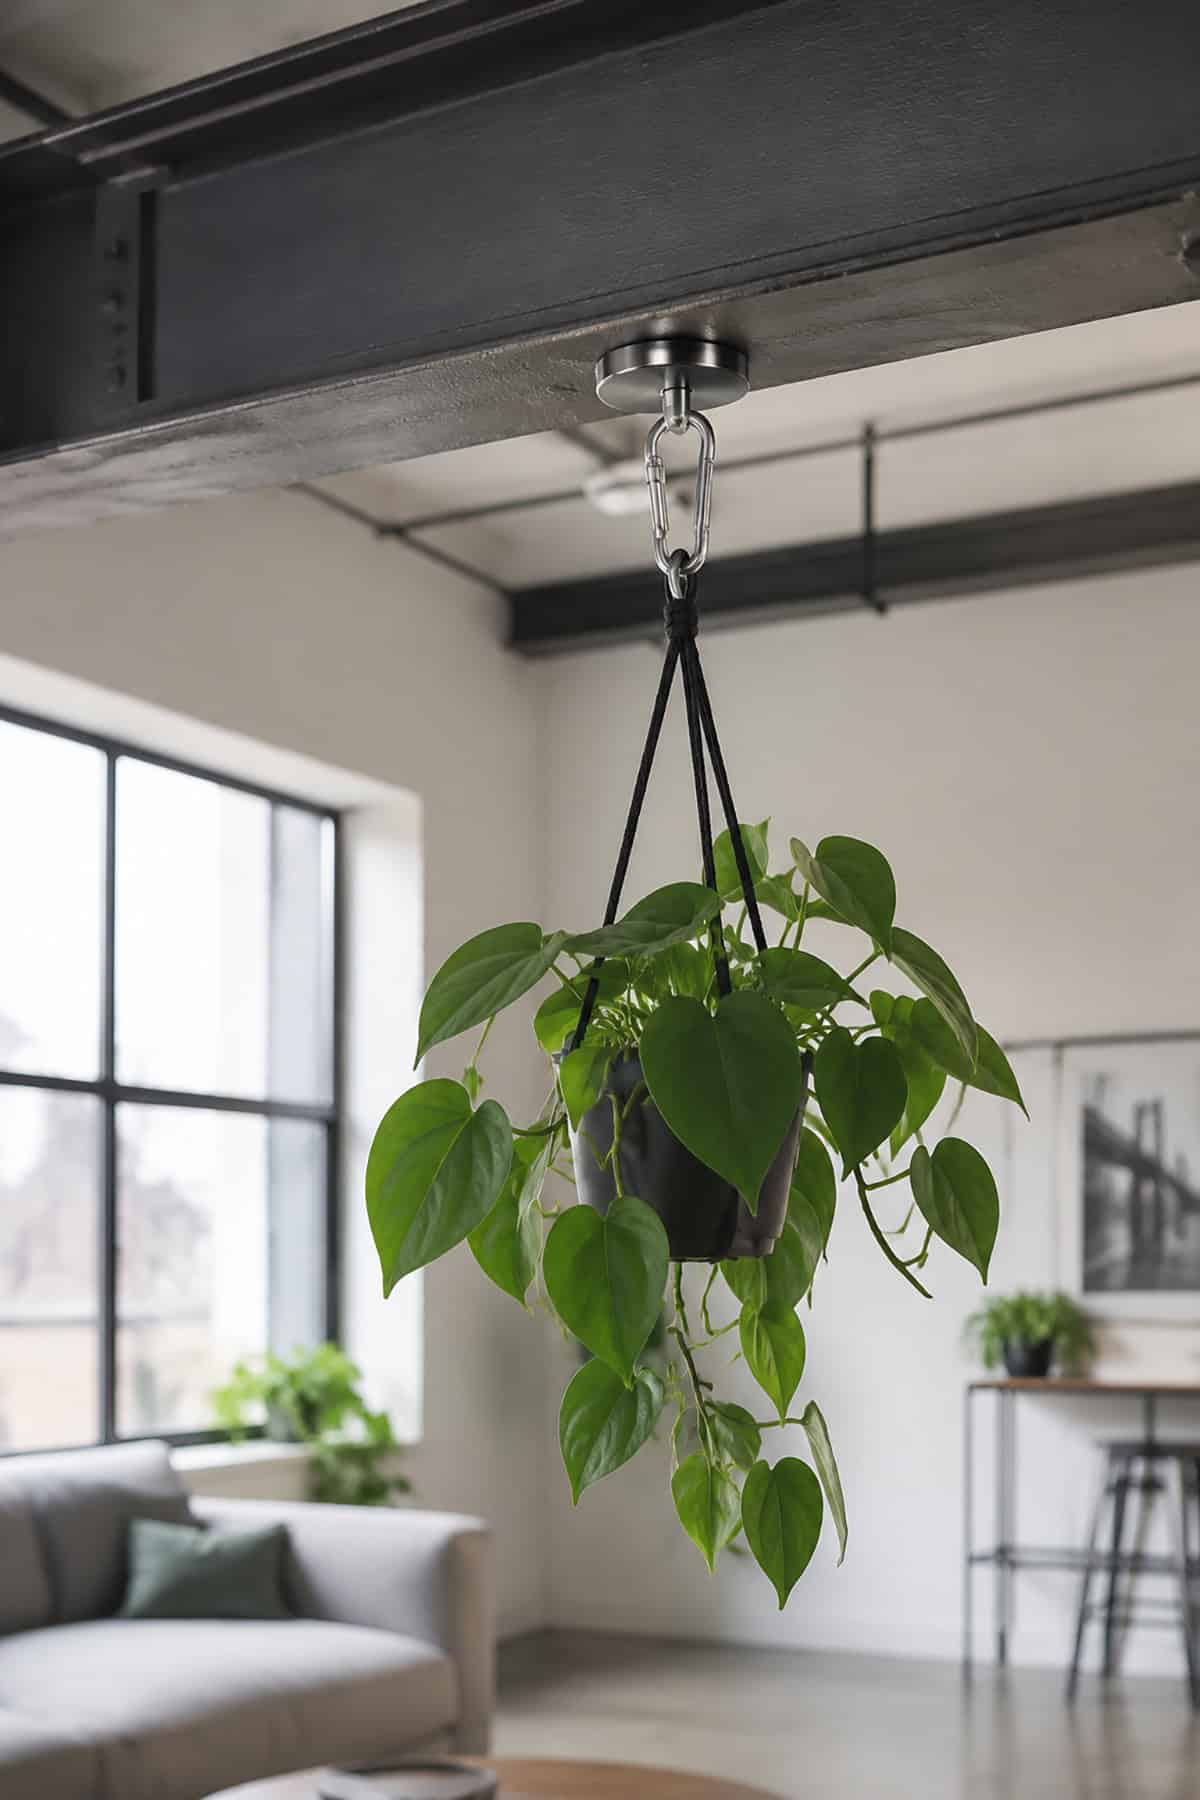
A strong magnetic hook creates a hanging point on a flat steel ceiling or exposed steel beam. Check the surface with a small magnet first because aluminum and many ceiling panels will not hold one.
Attach a lightweight planter beneath the hook with a locking carabiner. Paint, curved metal, and narrow contact areas may reduce the magnet’s holding strength, so test the complete setup before leaving the plant in place.
Clamps Or Straps On Exposed Ceiling Beams
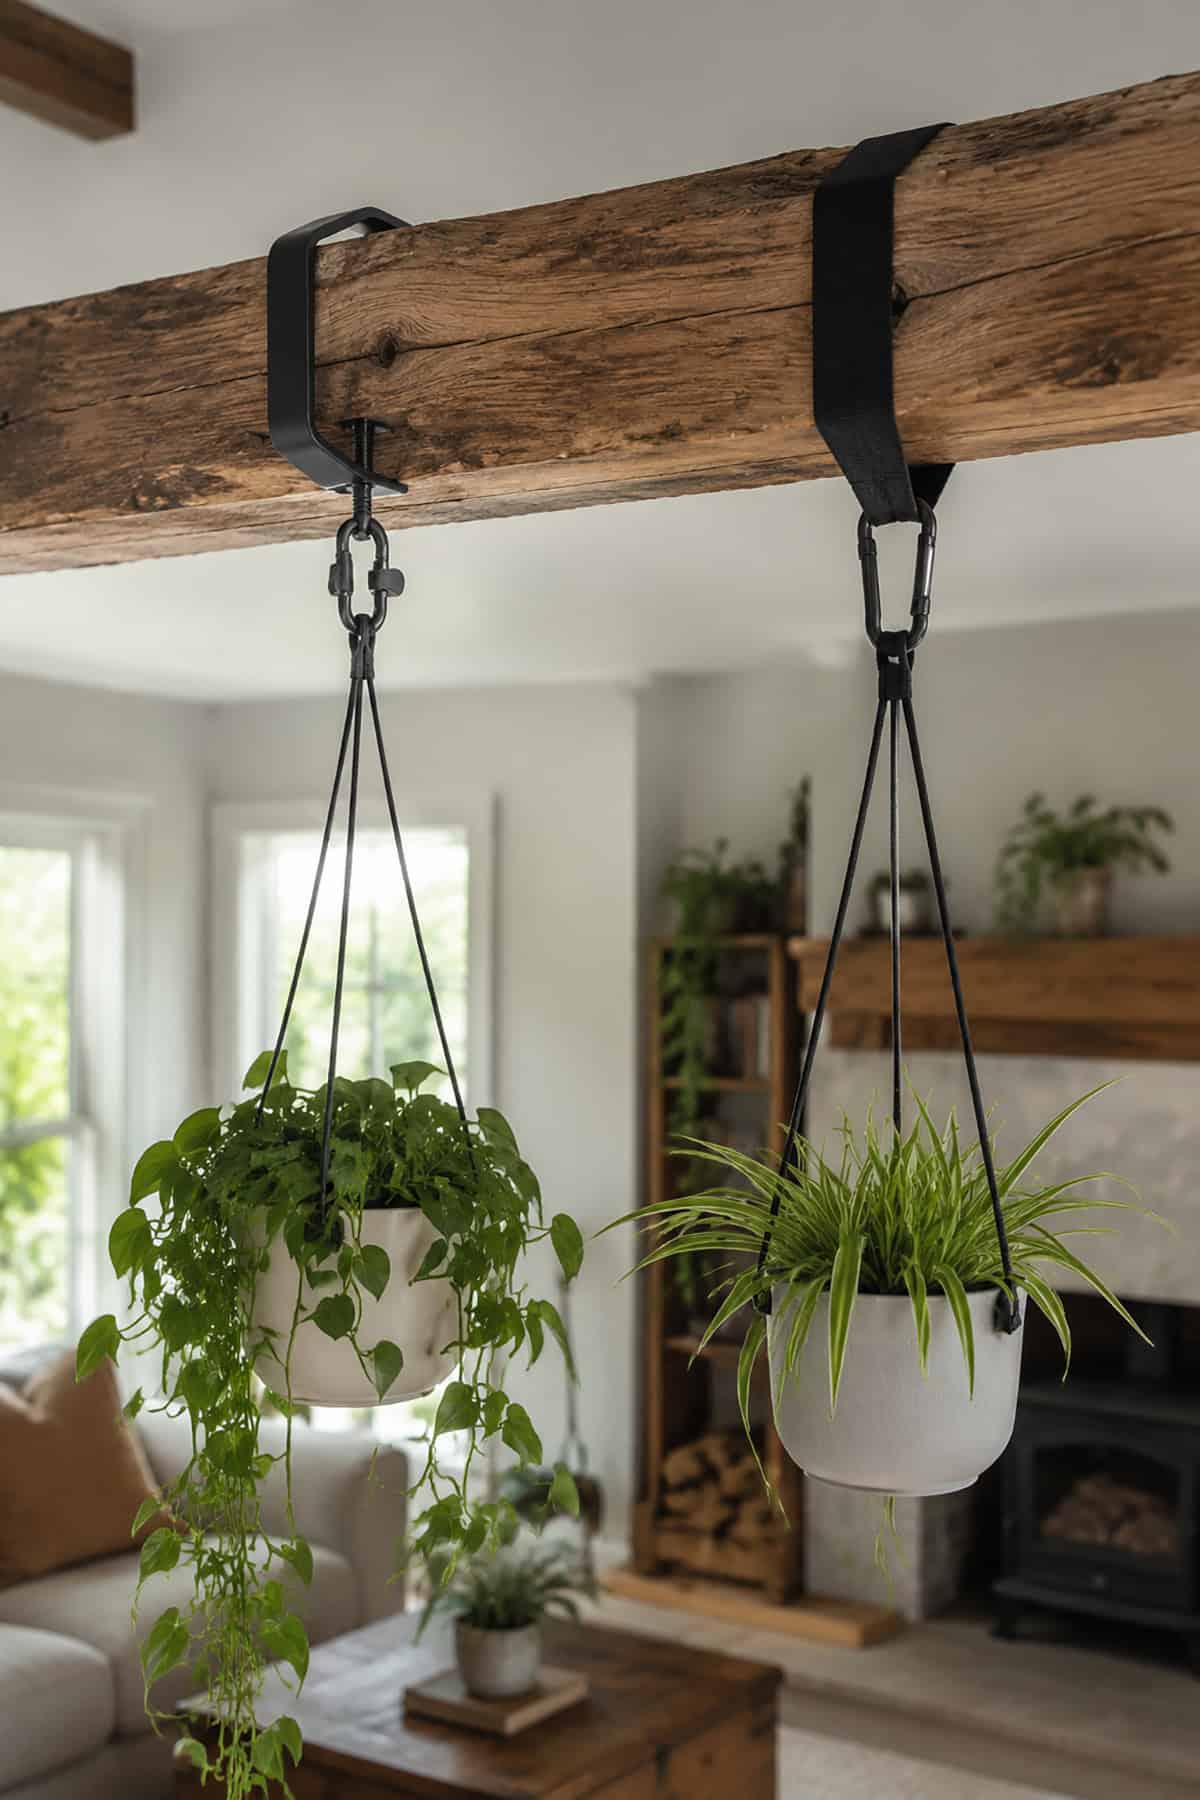
An exposed structural beam may support a plant without any drilled holes. A padded C-clamp grips the beam, while a wide webbing strap wraps around it and connects beneath with a locking carabiner.
Rubber pads protect finished wood against marks. Keep the planter light, position it away from the beam’s edge, and check every connection regularly.