
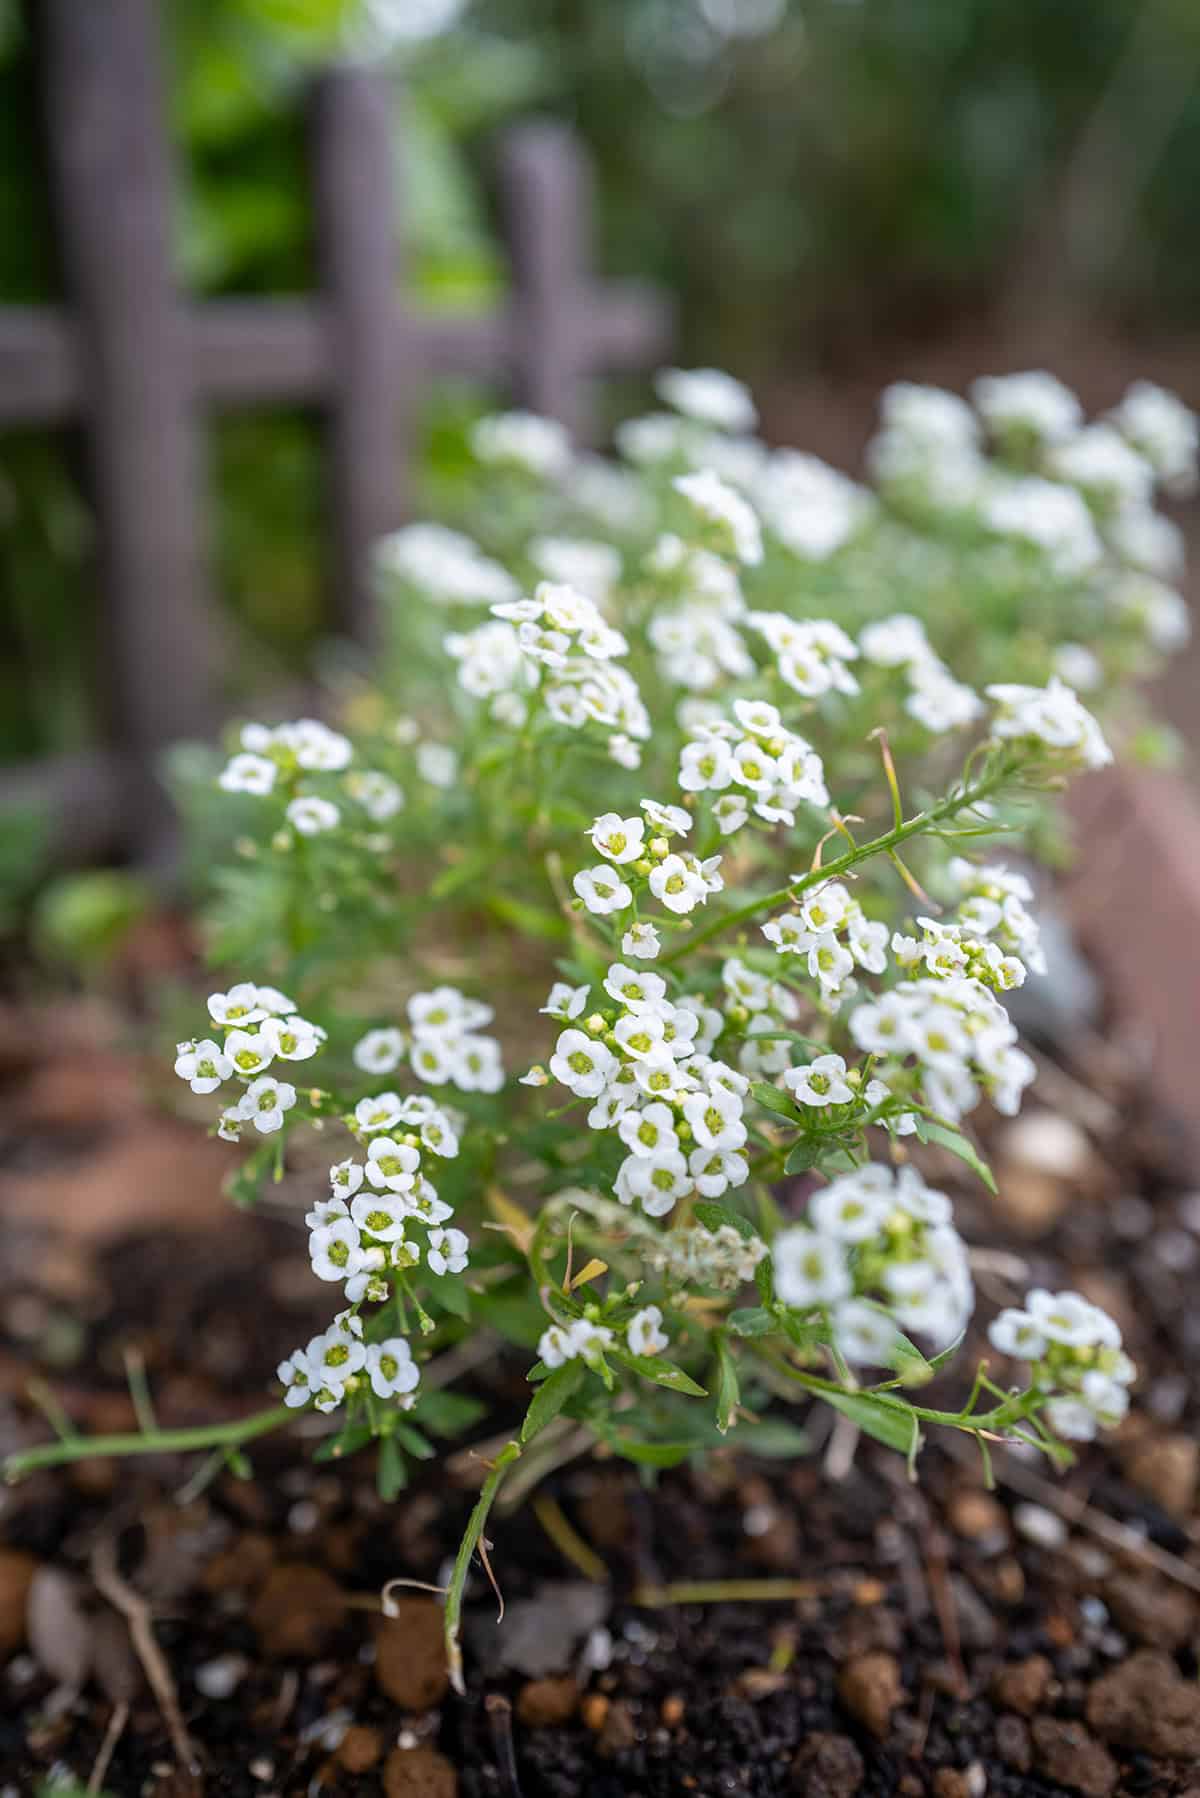
Few plants can match the charm of sweet alyssum. With its carpet of dainty blooms and honey-like scent, it’s a favorite for gardeners everywhere. Stick around to find out how to grow and care for it successfully.
Table of Contents
- Light
- Soil
- Water
- Temperature and Humidity
- Fertilizer
- Propagation
- Pruning
- Potting And Repotting
- Common Problems & Troubleshooting
- Plant Varieties
- Frequently Asked Questions
- What are the optimal conditions for growing sweet alyssum outdoors?
- Can sweet alyssum be successfully grown indoors, and if so, how?
- How often should sweet alyssum be watered?
- What are the best companion plants for sweet alyssum?
- When and how should sweet alyssum seeds be sown?
- What care steps are necessary to encourage alyssum to spread?
Light
For best results, find a spot that gets plenty of sun. Sweet alyssum really shines in full sun, especially if you live somewhere with cooler summers. If your summers are scorching, a bit of afternoon shade goes a long way.
Aim for at least six hours of direct sunlight daily. If you skimp on light, you’ll probably notice fewer flowers and a more straggly look.
A combo of morning sun and some afternoon shade works well in hot areas. While it can handle partial shade, too little light leads to leggy, sparse plants.
Sunlight is key for those dense, fragrant blooms. Growing sweet alyssum in pots? Don’t be afraid to shift them around to chase the sun.
Take a moment to observe how the light moves through your garden before planting. Getting the right balance really makes a difference.
Soil
Sweet alyssum needs soil that drains well—soggy roots just won’t do. If your garden tends to hold water, you may want to rethink the location or amend the soil.
Loose, sandy, or loamy soils are ideal. Heavy clay is a challenge unless you work in some compost or sand to improve drainage.
Nutrient-rich soil helps the plant bloom its best. Poor soil? You’ll probably see fewer flowers and smaller plants. Compost or a balanced fertilizer can give a boost.
A neutral pH, somewhere between 6.0 and 7.5, is just right. A little acidity or alkalinity isn’t a dealbreaker, but extremes can stress sweet alyssum.
Clear away weeds and debris before planting. It’s a small step, but it really helps the seedlings get off to a good start.
Water
Getting the watering right is important—aim for soil that’s moist but never soggy. Let the top inch dry out before watering again.
If you go overboard with watering, root rot can sneak up on you. On hot days, you’ll probably need to water more often, especially if your plants are in containers.
Don’t let the soil dry out completely, or the flowers might quit on you. But puddles? That’s a no-go. Sweet alyssum can handle a short dry spell, but steady moisture keeps it happiest.
Watering in the early morning is usually best. Try to water at the base so the leaves stay dry—less chance for disease that way. Use your finger to check if it’s time to water.
If you get regular rain, you might not need to water much. Watch for droopy leaves or faded blooms—they’re usually a sign your plant is thirsty. Adjust as the weather changes.
Temperature and Humidity
Sweet alyssum likes it cool—daytime temps between 65°F and 70°F are just about perfect. Cooler weather keeps the blooms coming and the leaves looking good.
When it gets hot, expect the flowers to slow down or even pause. If temps climb above 80°F, growth can stall. In cooler climates, sweet alyssum often cruises through the whole summer.
Low humidity is best. There’s really no need for extra moisture in the air. Damp, muggy spots can lead to leaf problems.
Extra humidity can bring on leaf diseases, so good airflow is your friend. Try not to crowd the plants.
If a heatwave hits, a little afternoon shade and extra water can help. Just don’t overdo the watering—that can cause more trouble than it solves.
Fertilizer
A little fertilizer goes a long way. Sweet alyssum appreciates a balanced, all-purpose feed—something like 5-10-5 or 10-10-10 works well.
Once a month is usually enough. Liquid or granular, it’s your call. If you’re using a slow-release type, add it at planting and then again after the first blooms.
Don’t overdo it, though. Too much fertilizer makes for lots of leaves but fewer flowers. Stick to the label instructions.
Gently work the fertilizer into the soil and water afterward to help it reach the roots. Steady feeding means healthier plants and more blooms.
If your soil is already rich, you might not need to fertilize as often. Keep an eye on your plants and adjust if they look like they need a pick-me-up.
Propagation
Seeds are hands-down the easiest way to start sweet alyssum. Sow them indoors about 4–6 weeks before your last frost. The seeds need light—don’t bury them.
Keep the soil moist (but not waterlogged) until the seeds sprout. Temperatures around 50°F to 55°F are just right. You’ll usually see seedlings in under a week.
Once the danger of frost is gone, move your seedlings outside. Give them about 6 inches of space. Sweet alyssum isn’t a fan of heavy, wet soils.
You can also scatter seeds directly in the garden. Press them gently into the surface and water carefully.
Don’t be surprised if you spot volunteer seedlings in spring—sweet alyssum likes to self-sow. Thin them out so they have room to grow.
No need to fuss with dividing plants or taking cuttings. Seeds are quick, reliable, and easy.
Pruning
A little snip here and there keeps sweet alyssum looking good. Pruning encourages bushier growth and helps trigger another round of blooms.
Deadhead spent flowers by pinching or snipping them off. This nudges the plant to keep blooming instead of going to seed.
If your plants look stretched out midseason, chop them back by about a third. Sharp scissors or shears do the trick.
Pruning also improves airflow, which helps prevent disease.
Any yellowed or damaged stems? Just trim them away. Healthier plants stand up better to whatever the weather throws at them.
Frequent, light trims keep sweet alyssum covered in flowers and looking tidy.
Potting And Repotting
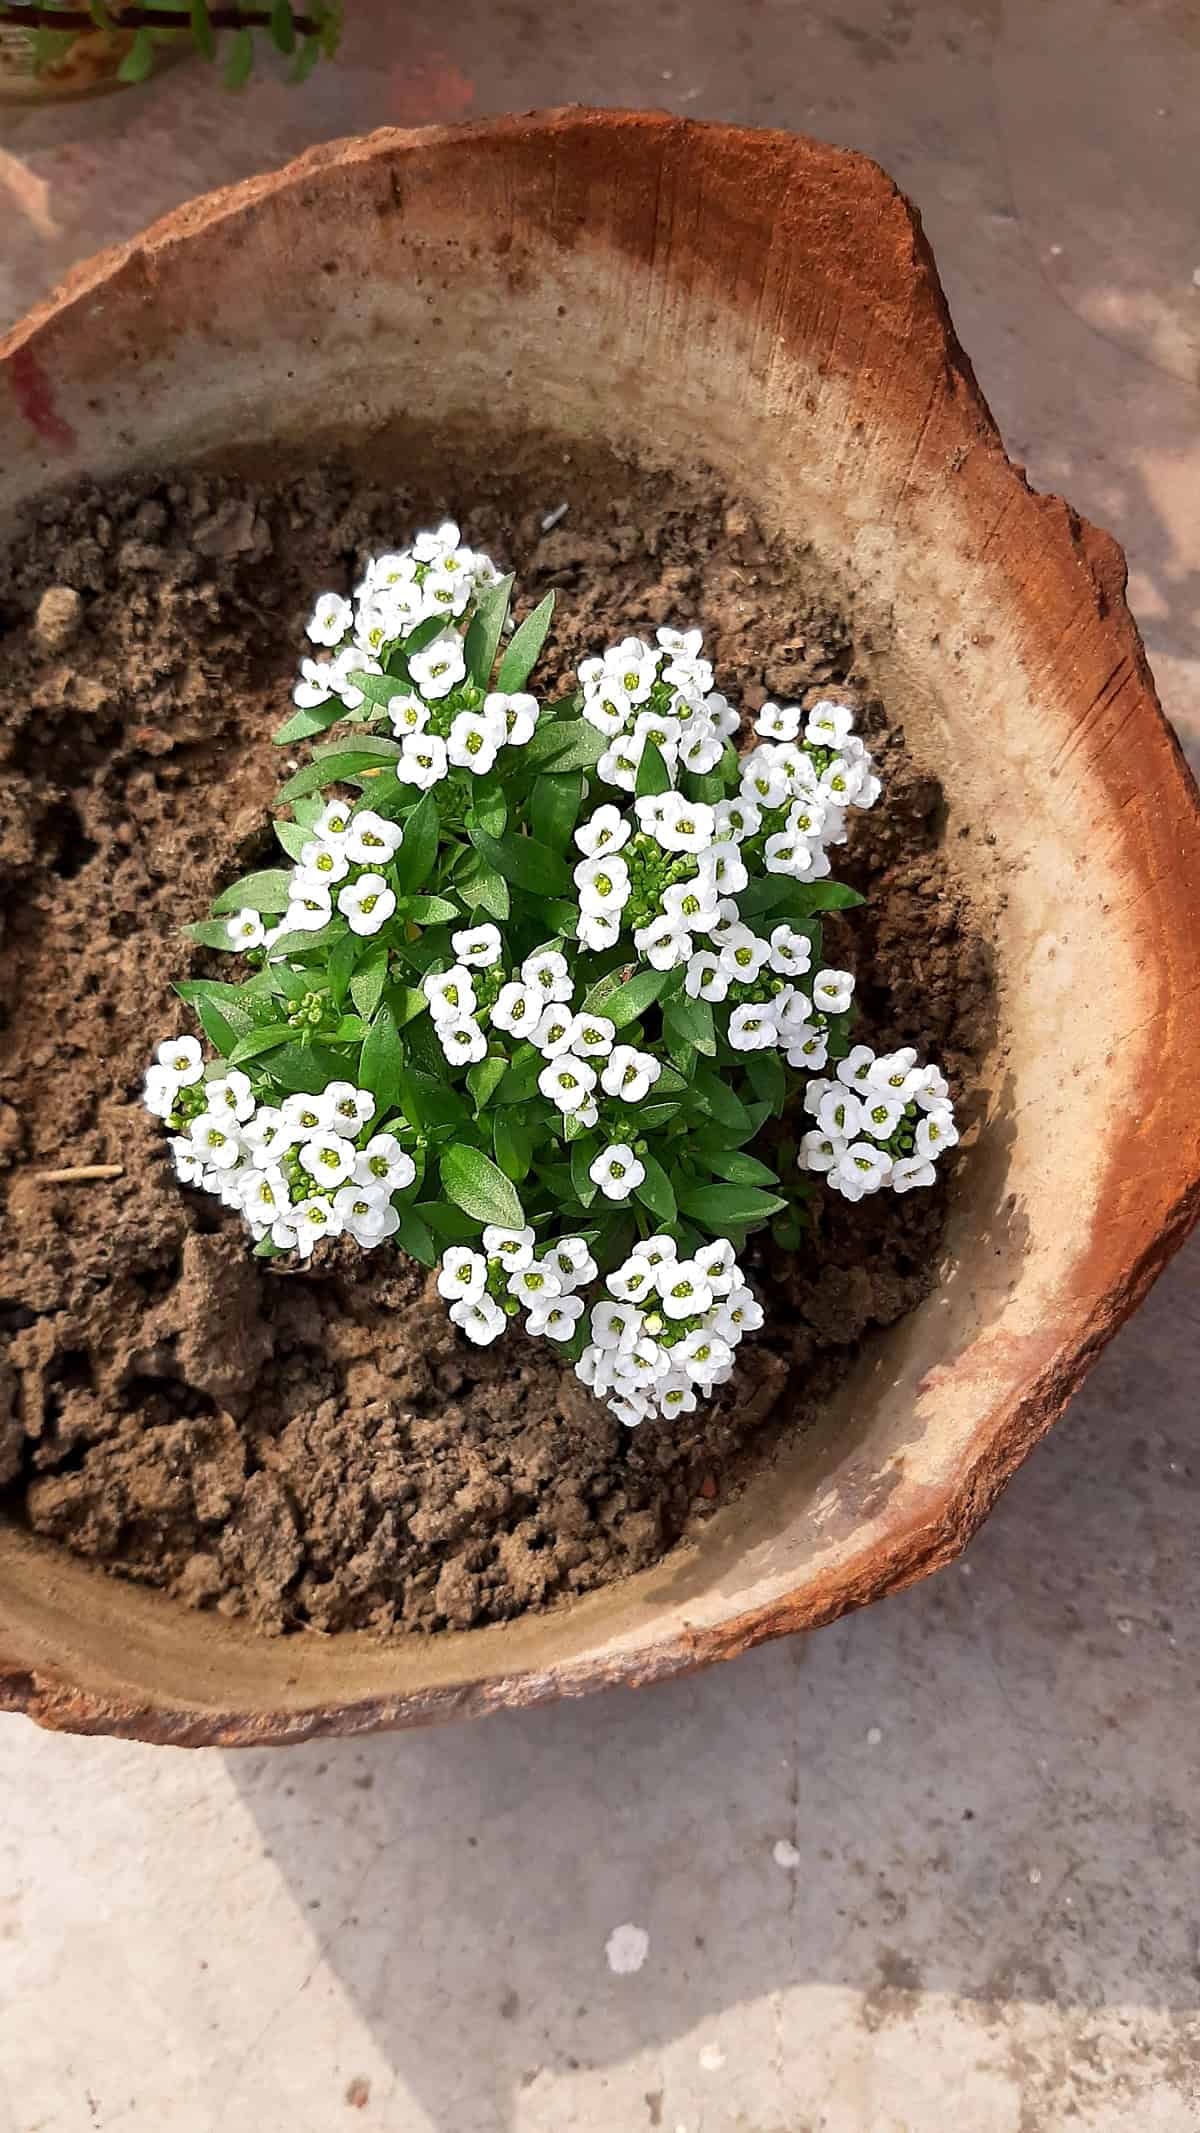
Sweet alyssum is a champ in containers, hanging baskets, or window boxes. It spills over the sides, adding color to small spaces.
Pick pots with drainage holes—soggy roots are a no-go. Use a loose, well-draining potting mix.
When planting, fill the container most of the way, leaving room for watering. Set the plant at the same depth it was growing before. Give it a good drink after potting.
You probably won’t need to repot often. Sweet alyssum stays compact, with roots that don’t go deep. If you see roots crowding the surface or growth slows, refresh the soil or size up the pot.
Deadhead through the season for more blooms. Don’t cram too many plants together; they like a bit of breathing room. Follow these tips and you’ll have happy, healthy sweet alyssum in your pots.
Common Problems & Troubleshooting
If your sweet alyssum turns yellow or wilts, check your watering habits—overwatering is usually the culprit. Good drainage is a must.
Aphids and whiteflies sometimes show up, especially on new growth. Knock them off with a spray of water or use insecticidal soap if they’re stubborn.
Powdery mildew can pop up in humid or crowded spots. Space your plants for better airflow and remove leaves with white patches if needed.
Hot weather can make sweet alyssum take a break from blooming. It prefers cooler temps and usually perks up again when things cool down.
You might notice the occasional nibble from bugs or critters, but it’s rarely a big deal. Checking in on your plants regularly helps you catch any issues early.
Plant Varieties
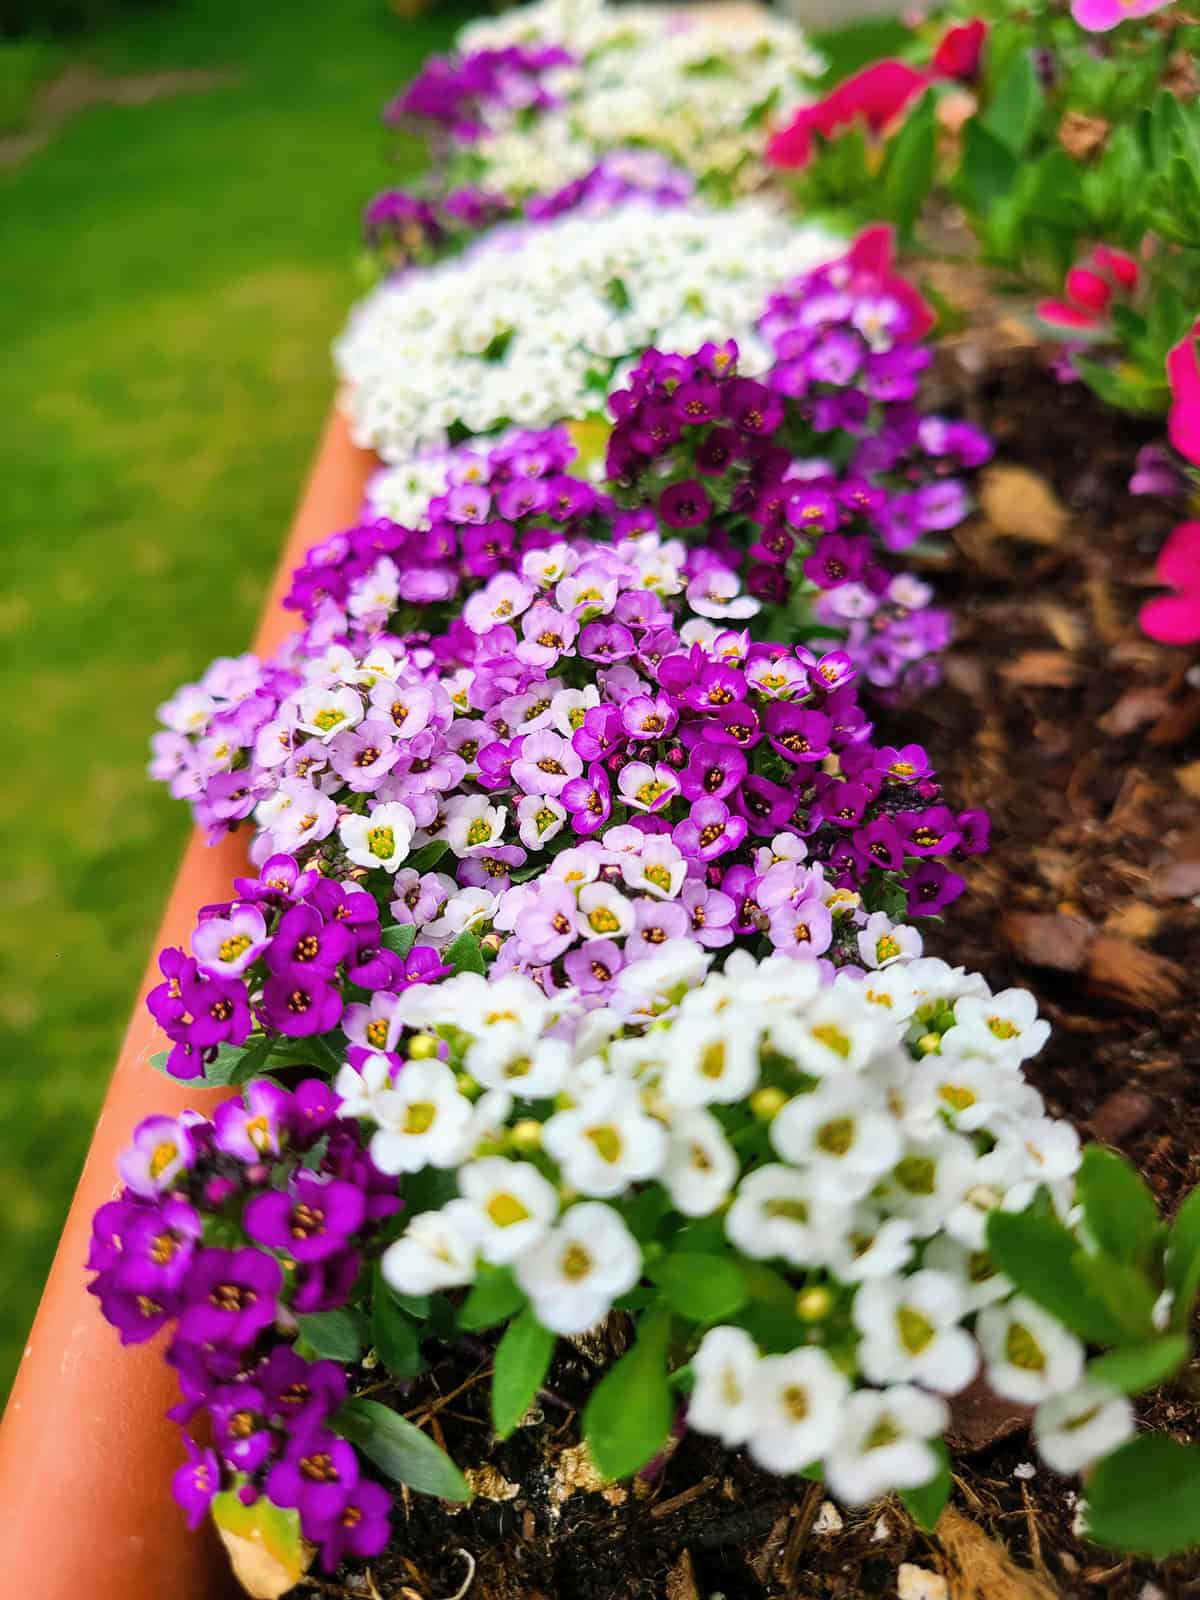
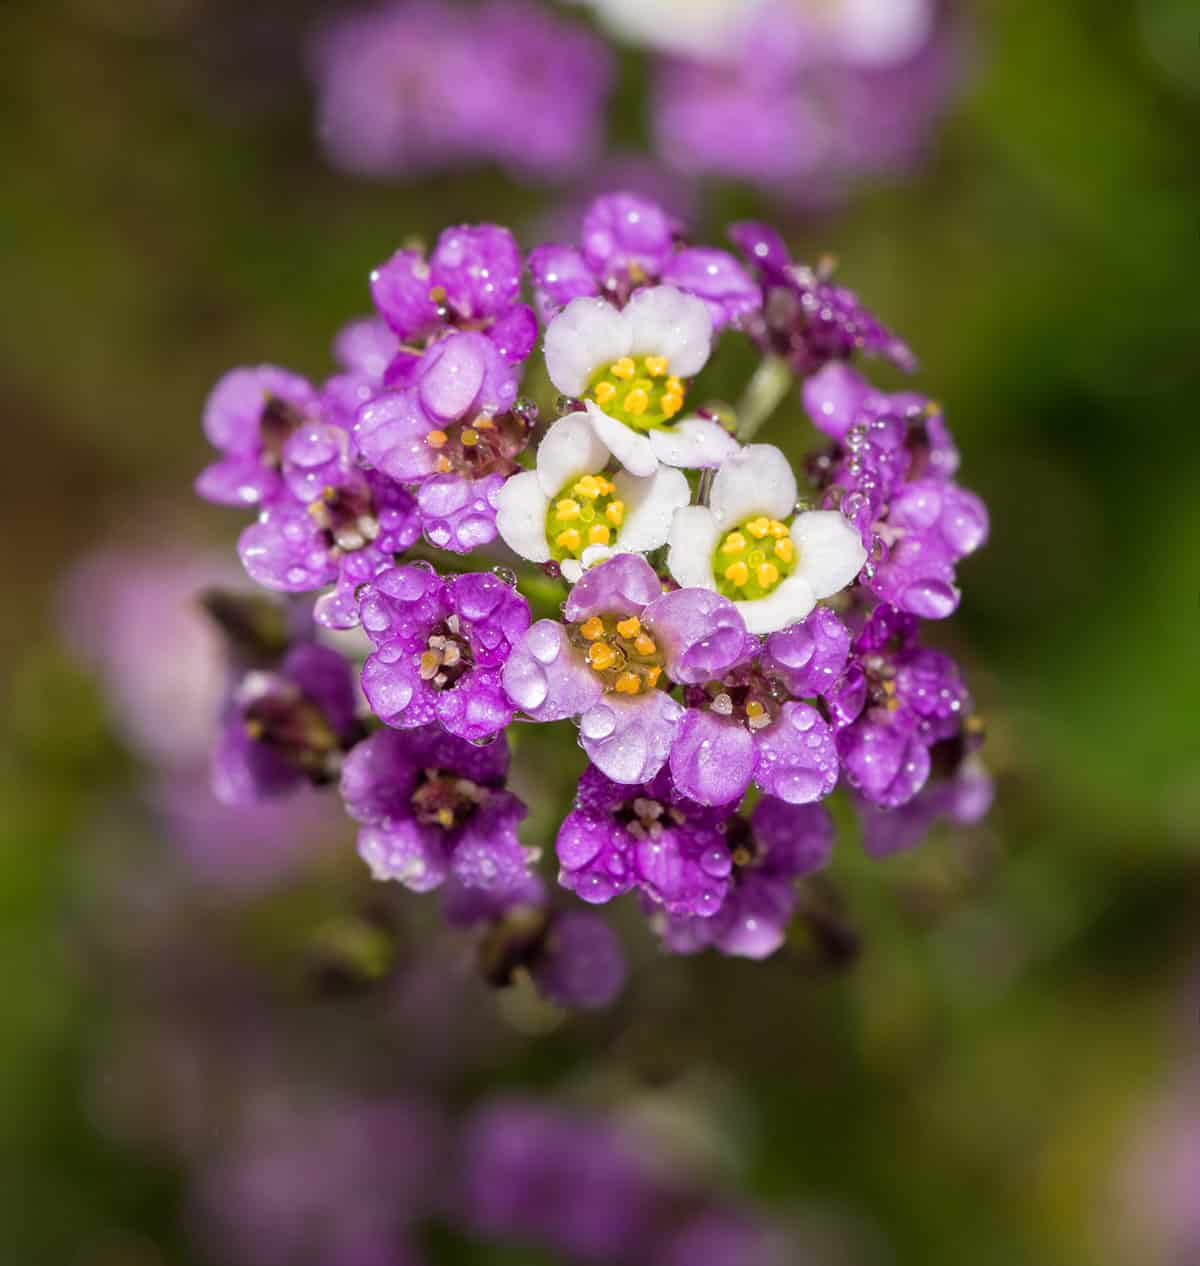
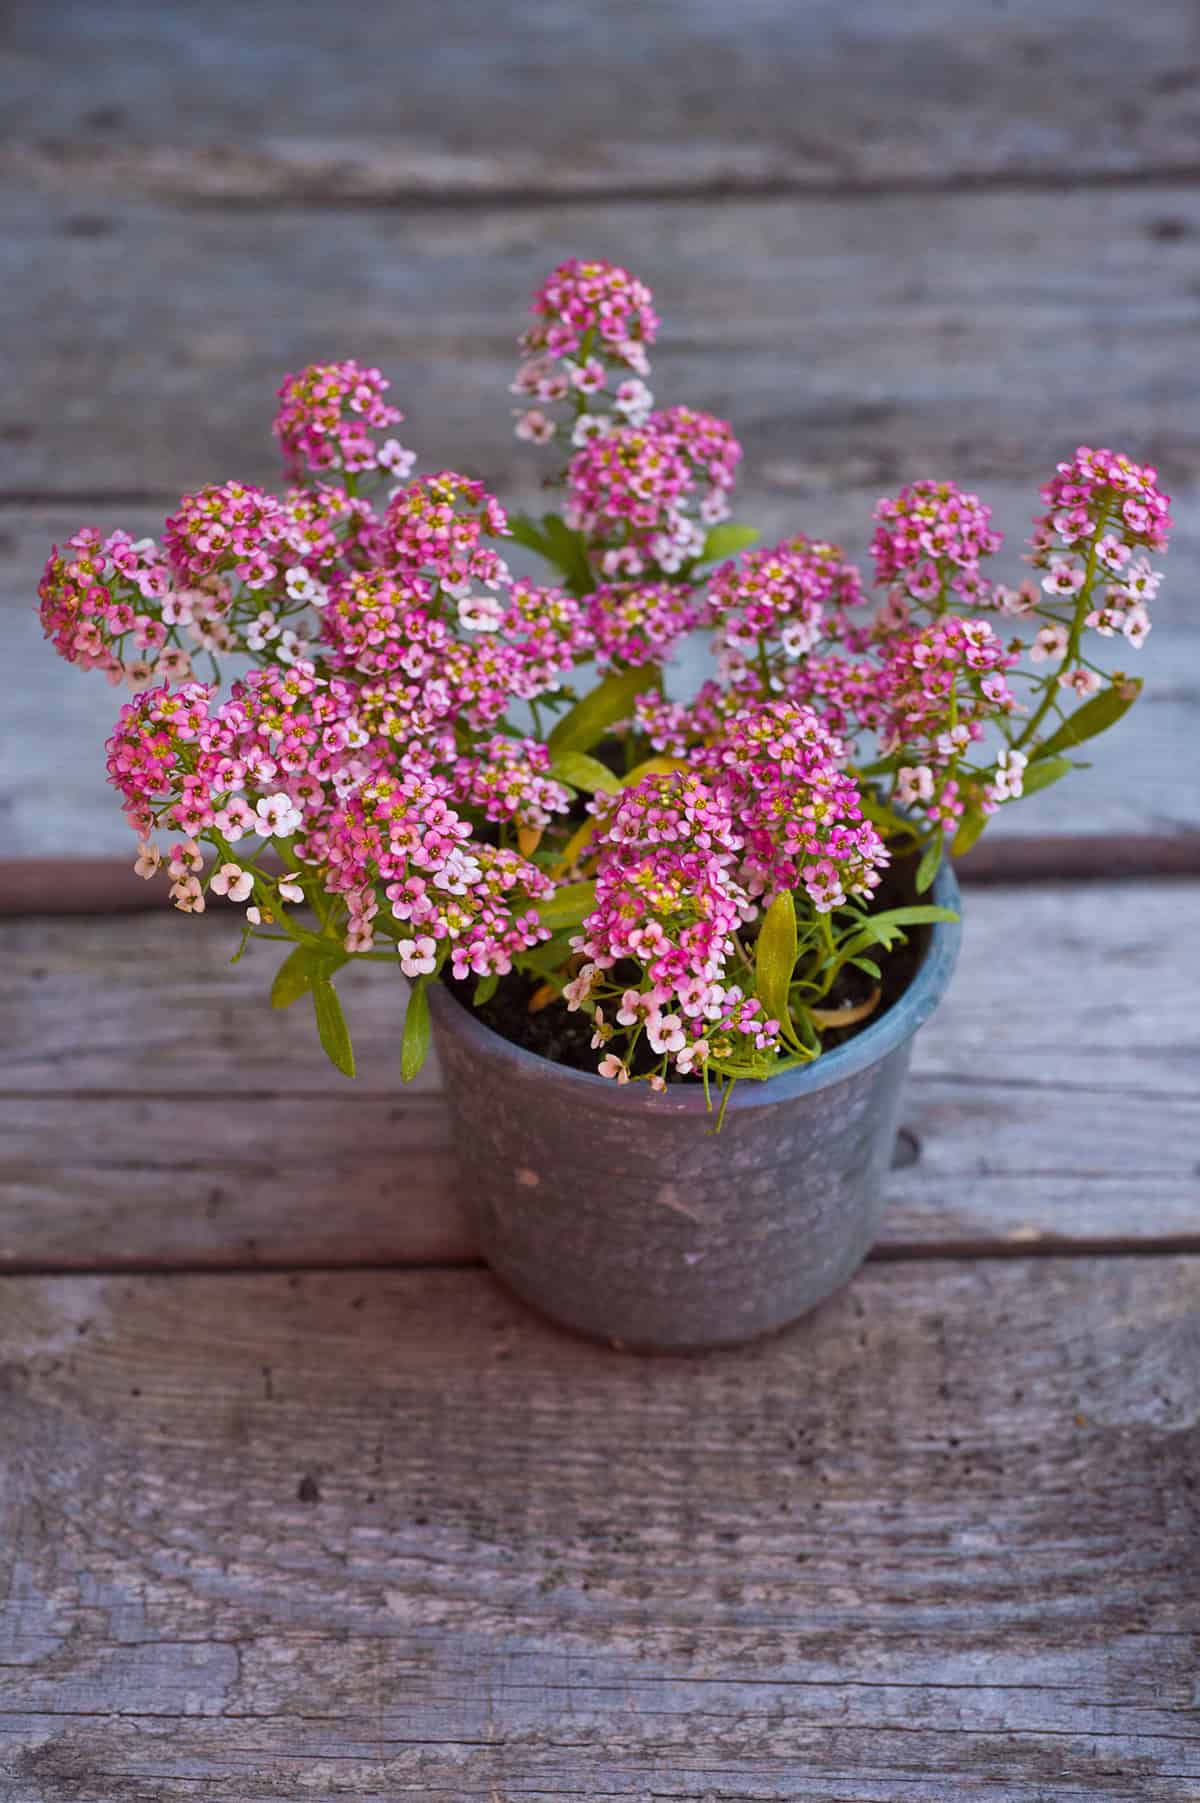
There’s more to sweet alyssum than just white flowers. Sure, the classic white is lovely, but you’ll also find pale pink, violet, and deep purple options.
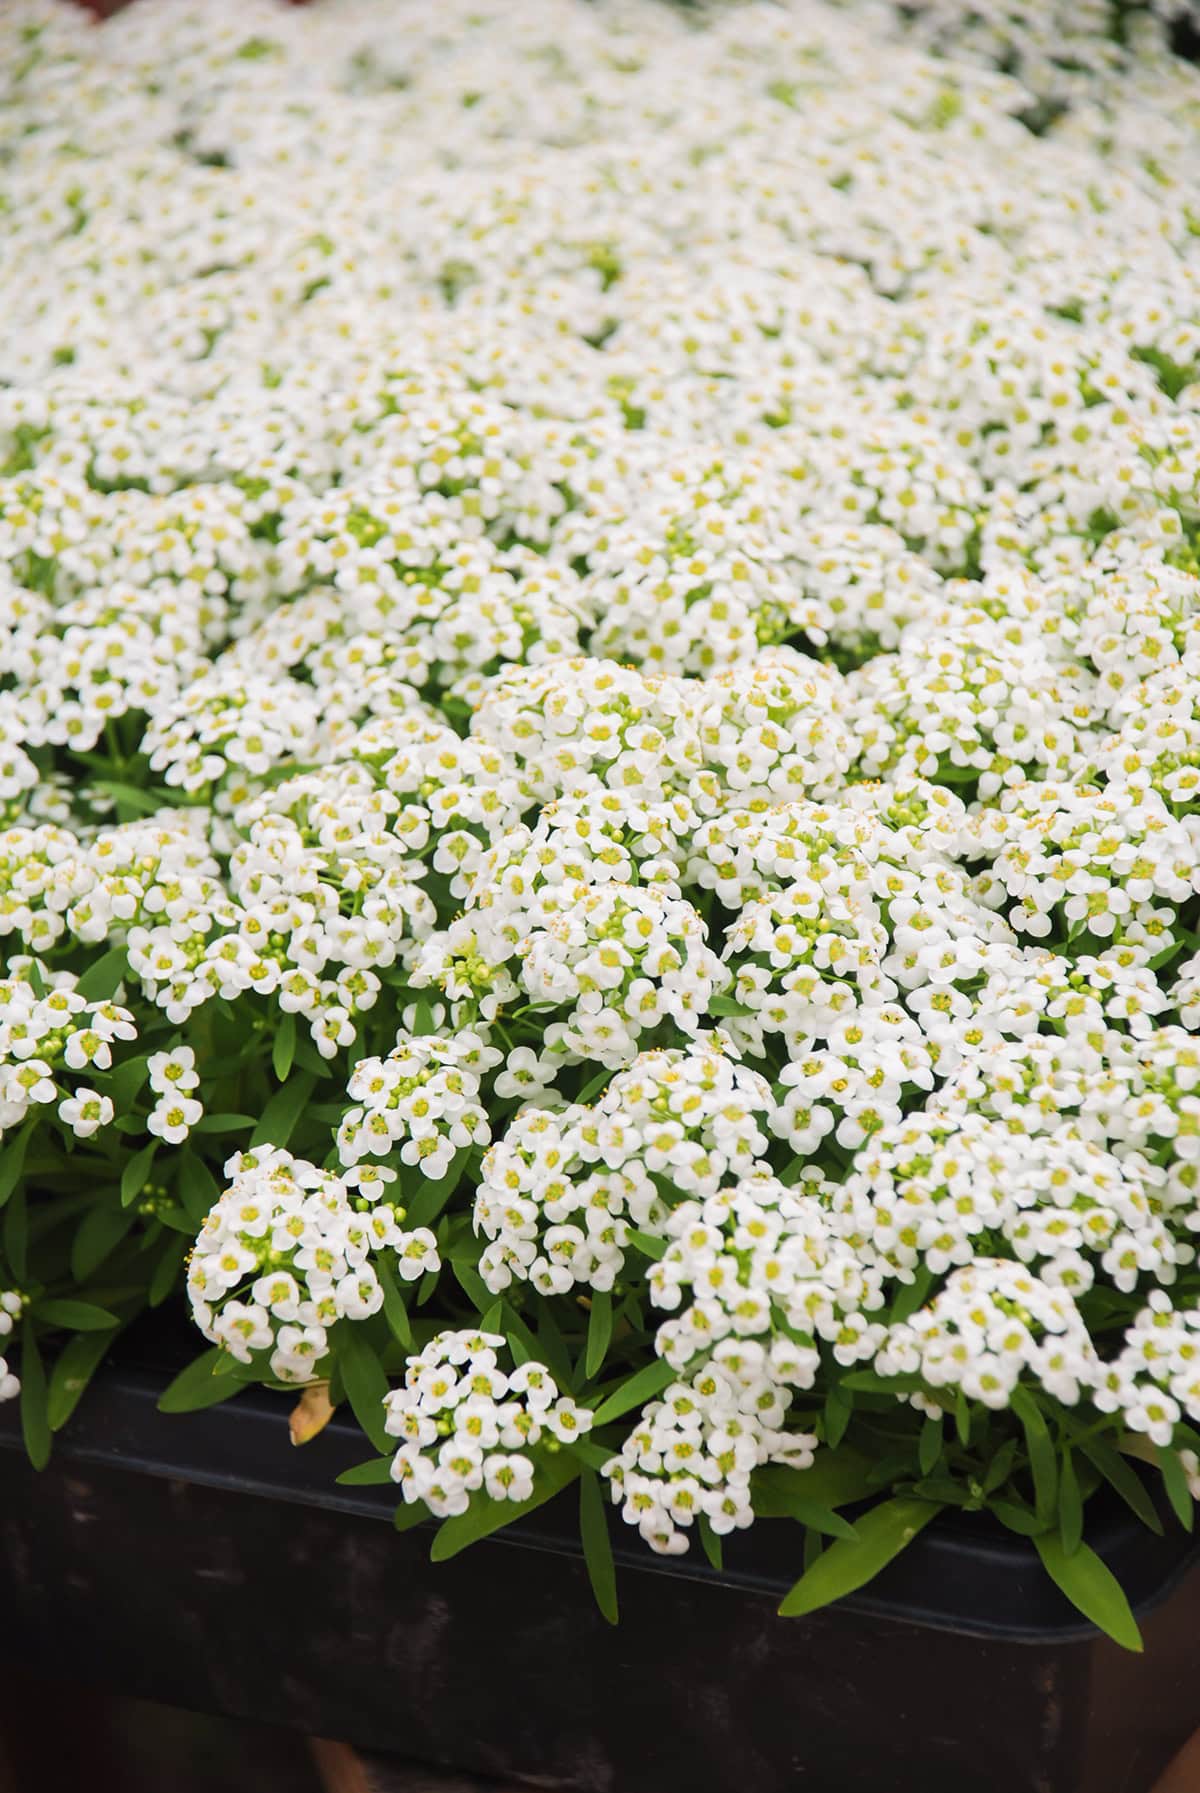
Compact types like ‘Snow Crystals’ or ‘Tiny Tim’ are great for containers or borders. If you want a dense ground cover, go for wider forms like ‘Easter Bonnet’ or ‘Carpet of Snow.’
Some hybrids, such as ‘Wonderland,’ offer unique colors and longer bloom times. Choose varieties that fit your climate and style.
Most stay low to the ground, anywhere from 3 to 9 inches tall, but some can spread as much as 48 inches—perfect for a lush effect.
Mixing a few types can really liven up your beds or pots. It’s fun to experiment and see what works together.
Frequently Asked Questions
Sweet alyssum is happiest with mild temps, well-drained soil, and steady moisture. It’s surprisingly easy to grow both inside and out if you pay attention to timing and a few basics.
What are the optimal conditions for growing sweet alyssum outdoors?
Best blooms come with full sun, though partial shade helps in hot climates. Cool temps and sandy or loamy, well-drained soil are ideal. Keep the soil from getting soggy to avoid root rot.
Can sweet alyssum be successfully grown indoors, and if so, how?
Starting sweet alyssum from seed indoors works well. Place the pots by a bright window for several hours of sun each day. Water to keep the soil moist, not soaked. Move them outside after frost risk passes.
How often should sweet alyssum be watered?
Check the top inch of soil—if it’s dry, it’s time to water. Too much water leads to root issues. During hot spells, you’ll probably water every few days; in cool, damp weather, less is needed.
What are the best companion plants for sweet alyssum?
Pair sweet alyssum with taller flowers or veggies to make the most of your space and attract pollinators. It works well alongside petunias, marigolds, and peppers. Try it between stepping stones or along bed edges.
When and how should sweet alyssum seeds be sown?
Sow seeds outdoors a few weeks before your last frost, or start indoors 6 to 8 weeks ahead of time. Press them lightly into the soil—they need light to sprout.
What care steps are necessary to encourage alyssum to spread?
You’ll want to snip off faded blooms pretty often if you’re hoping for a steady show of flowers. Still, it’s not a bad idea to let a few go to seed—those little guys will pop up as fresh seedlings before you know it. Sunlight is key, and honestly, cramming them together doesn’t do anyone any favors, so make sure there’s some space and air moving around. With a bit of patience and the right touch, you’ll notice alyssum filling out and spreading, almost like it’s doing half the work for you.