Just added an Alocasia to your plant collection? With its dramatic foliage, it’s hard to resist. But as you place it on the windowsill, soaking up the morning sun, you might start to wonder about the best way to care for such an exotic plant.
No worries, though; Alocasia care is more easier than it looks. This guide will walk you through everything you need to keep your new leafy companion thriving, making sure it remains a stunning feature in your home.
Table of Contents
Light
Your Alocasia plant needs ample light, but direct sunlight can harm it. Place it where it will receive bright, indirect light. A spot near a window with a sheer curtain offers an ideal setting, filtering the light to create the perfect intensity.
If light levels are too low, your plant’s growth may slow down. The vibrant colors of the leaves can also fade. On the other hand, too much direct sunlight can burn the delicate leaves. It’s all about balance when it comes to lighting for Alocasia.
In rooms with less natural light, consider an artificial grow light. It should be positioned above your plant, mimicking natural conditions. This way, your Alocasia can maintain its growth and leaf coloration throughout the year.
To ensure your Alocasia gets even light exposure, rotate the pot every week. This action promotes balanced growth and prevents the plant from leaning toward the light source. Your attention to light ensures your Alocasia remains a stunning, healthy feature in your home.
Soil
You’ll need a rich, moist medium that is well-draining and fertile. Alocasia thrives in humus-rich loam. The soil should imitate a tropical habitat, retaining moisture without becoming waterlogged.
Soil pH is equally important for Alocasia. Aim for a slightly acidic to neutral pH, ranging from 5.5 to 7.0. This range supports nutrient absorption and overall plant vigor. Adjust the soil with peat or sulfur to lower pH or with lime to raise it if necessary.
Good soil structure is vital. Incorporate organic matter to enhance nutrient content. Compost or well-rotted manure increases soil fertility. These additions help maintain the necessary soil moisture level and provide a steady supply of nutrients.
Monitor moisture and fertility regularly. Alocasia roots need access to space, moisture, and nutrients.
Water
Alocasia plants need consistent moisture, so you should water them often. Check the soil moisture a few times a week. The top inch should dry out between waterings.
Overwatering leads to root rot, so ensure your Alocasia’s pot drains well. If the pot lacks drainage, water less frequently.
To help your Alocasia thrive, use room-temperature water. Cold water may shock the roots and slow growth.
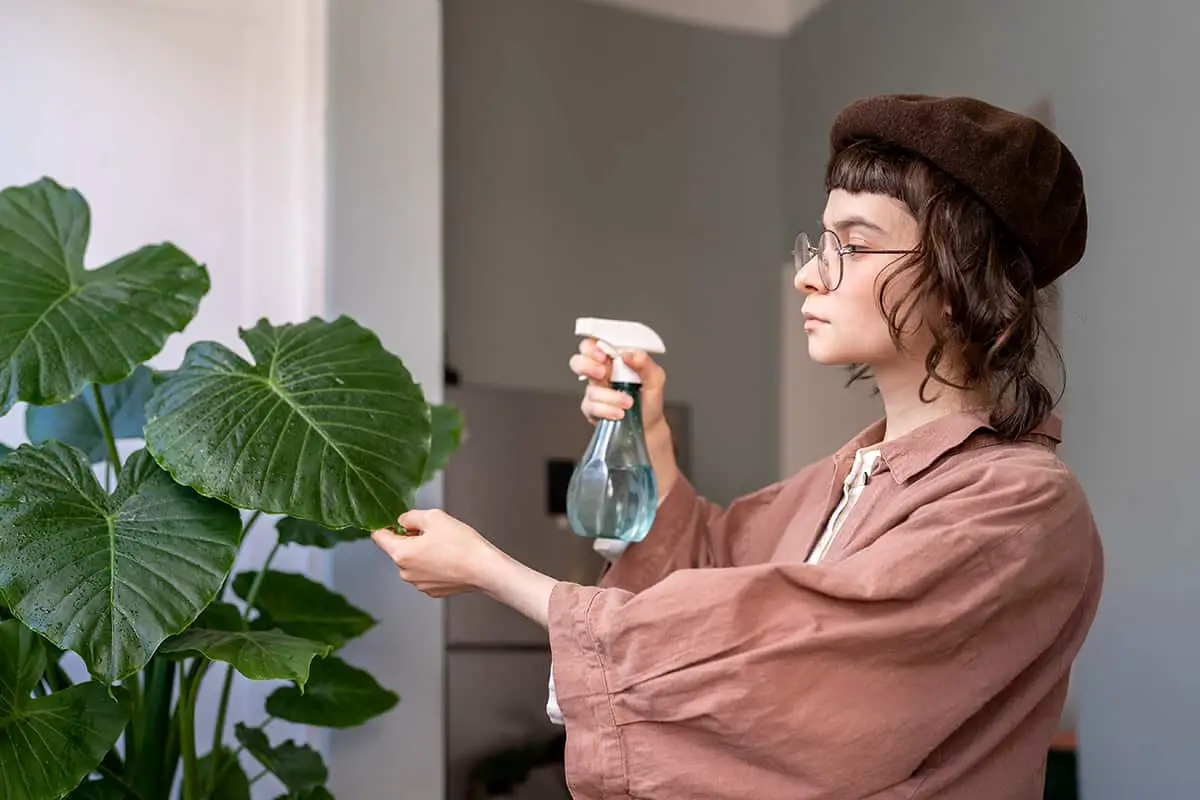
In dry conditions, Alocasia benefits from increased humidity. You can mist the leaves or use a humidifier. Keep the water even to avoid leaf drop.
Temperature and Humidity
Alocasia plants thrive in warm temperatures and high humidity. It is essential to provide an environment close to their native tropical habitat. You should aim to keep the Alocasia in temperatures between 65 and 75 degrees Fahrenheit. Avoid exposure to temperatures below 50 degrees Fahrenheit, as cold weather can harm your Alocasia.
These plants require a humid atmosphere. If your home’s air is dry, consider using a humidifier or placing a water tray near the plant to maintain a moist environment. Locate your Alocasia away from air conditioning vents, heaters, and drafts. These can cause sudden temperature fluctuations which are not suitable for the plant’s health.
Fertilizer
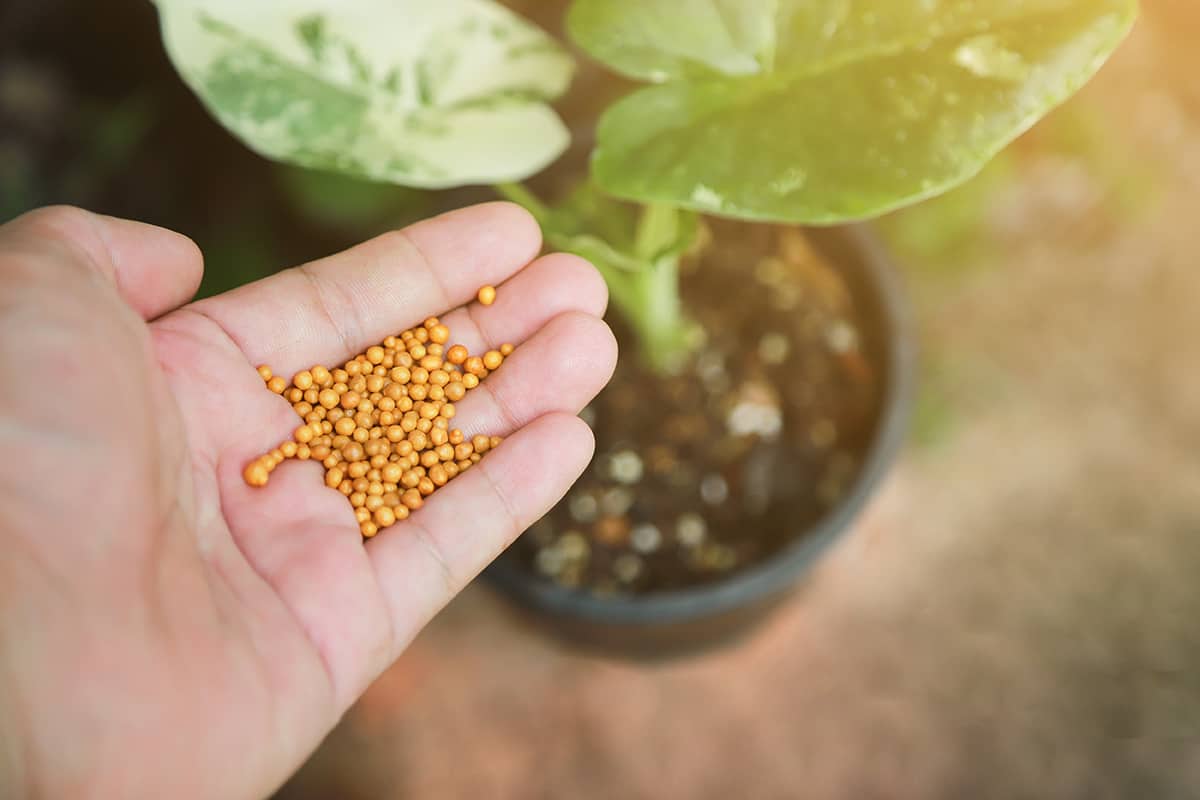
During the growing season, which spans from spring to early fall, fertilize your Alocasia every two to four weeks. Use a balanced, water-soluble fertilizer diluted to half the recommended strength. This helps prevent root burn, a common issue with over-fertilization.
In winter, reduce fertilizing frequency. Alocasia enters a dormant period and requires less feeding. Apply fertilizer once every two months or skip it until spring. Remember that too much fertilizer can harm your Alocasia. Signs of over-fertilization include brown leaf tips and wilted leaves.
To enhance growth, ensure the fertilizer includes nitrogen, phosphorus, and potassium. These nutrients support leaf development, root growth, and overall plant health.
Propagation
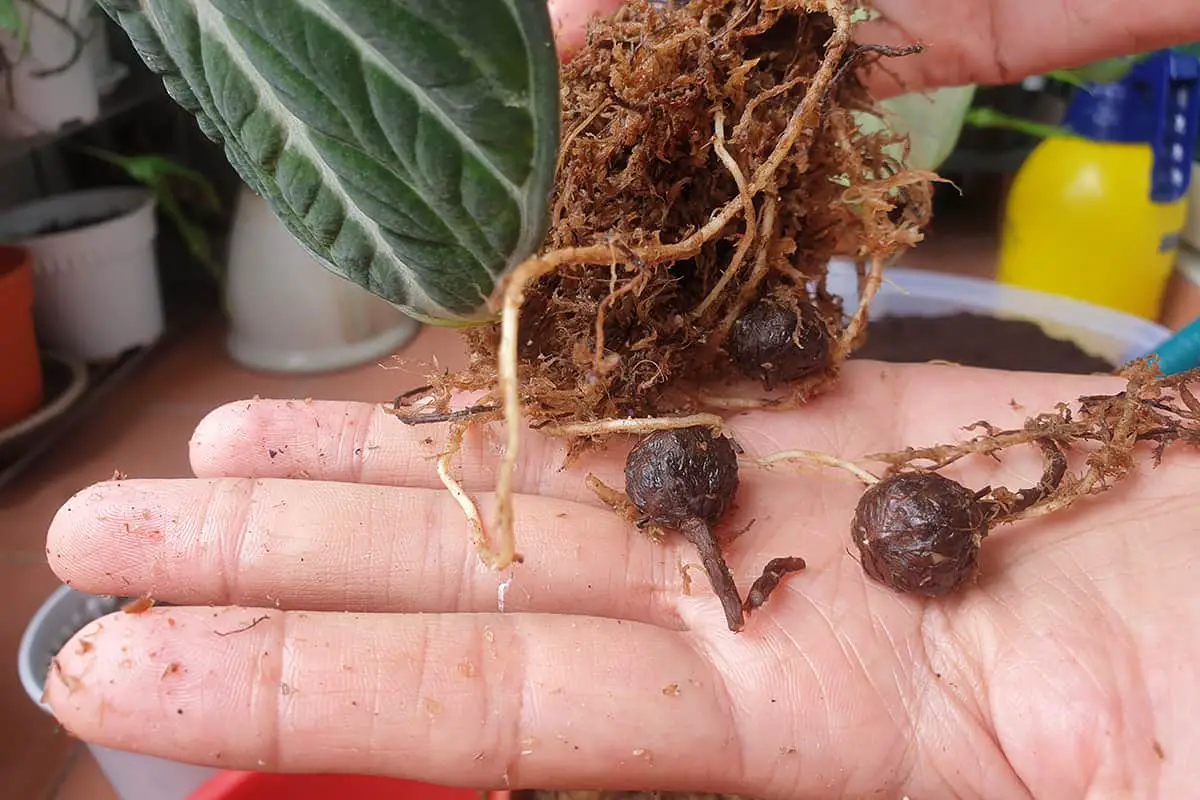
Propagating Alocasia involves division or seeds. To propagate by division, you must wait until your Alocasia is mature enough. Look for offsets, which are small shoots with their own roots. Gently separate these shoots from the mother plant using a clean, sharp knife. You can plant them separately in well-drained soil.
Seed propagation is less common but possible. Sow Alocasia seeds thinly on a moist, well-drained substrate. Cover them lightly with soil. They need warmth and humidity to germinate, so maintain a temperature around 70 to 75 degrees Fahrenheit. Transparent covers can help retain moisture but remove them regularly to prevent mold growth.
After planting, keep your Alocasia in a warm spot with indirect sunlight. Water regularly to keep the soil moist but not soggy. The new plants will need the same care routine as established Alocasia plants.
Pruning
Pruning Alocasia is vital for its health and growth. Start by removing any yellow or dead leaves. This keeps your plant looking tidy. Use clean, sharp scissors or pruning shears for a clean cut. Cut as close to the main stem as possible without damaging it.
Check for any leaves that overcrowd others. Trimming these allows light to reach the inner parts of the plant. It promotes better air circulation too. This process reduces the risk of fungal infections.
Inspect the plant during its growing season in spring and summer. This is when it needs pruning the most. Pruning also encourages new growth. Remove just a few leaves at a time, as too much pruning at once can stress the plant.
Potting and Repotting
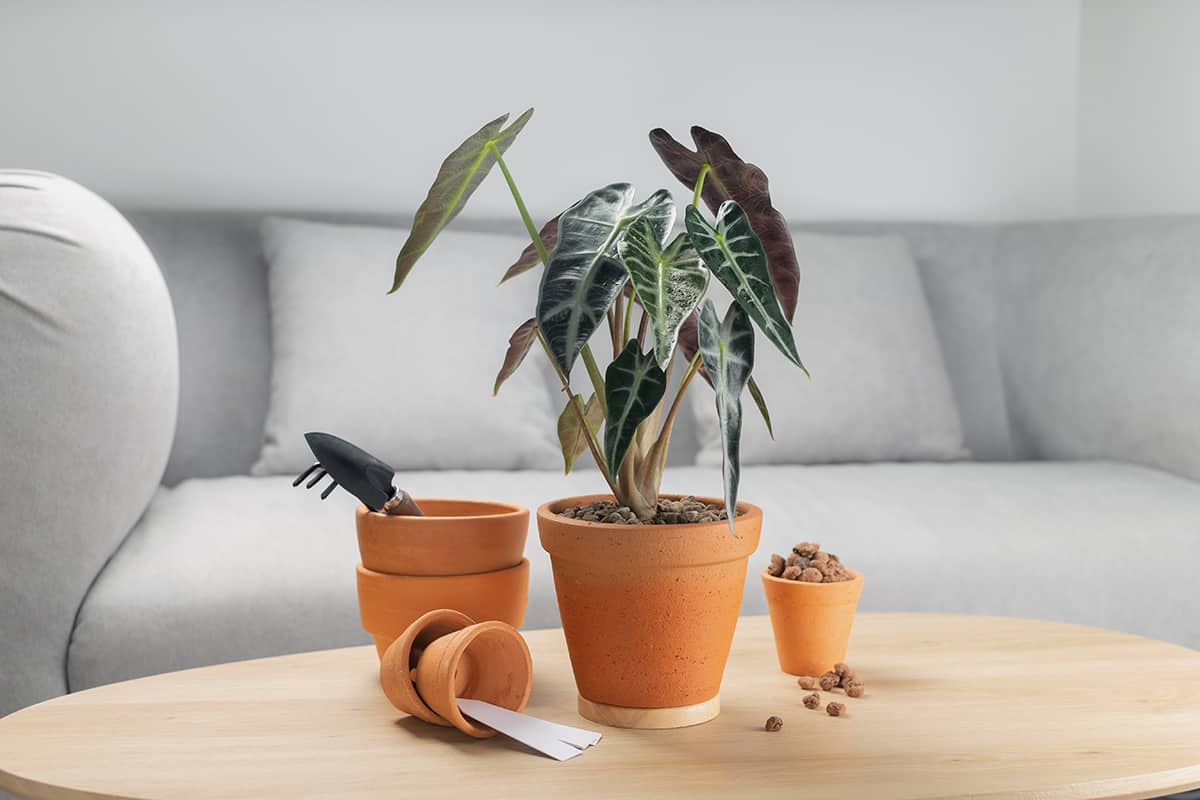
When you grow Alocasia, repotting is essential for its health. Begin by selecting a pot one size larger than the current one. This provides room for growth. Ensure the new pot has drainage holes. Proper drainage is vital for preventing root rot.
In the pot, place a layer of fresh potting soil. Use a soil mix rich in organic matter. This ensures your Alocasia receives the necessary nutrients and has good soil aeration. Carefully remove your plant from the old pot. Check the roots and trim any that are dead or damaged.
Place your Alocasia in the center of the new pot. Fill around the roots with more potting soil, tamping it down lightly. Leave about an inch of space from the soil surface to the pot’s rim. This space allows for easy watering. Water your plant well after repotting to help settle the soil.
Common Problems & Troubleshooting
Growing Alocasia provides a tropical flair to your space, yet you may encounter some issues. Here’s how to address them confidently.
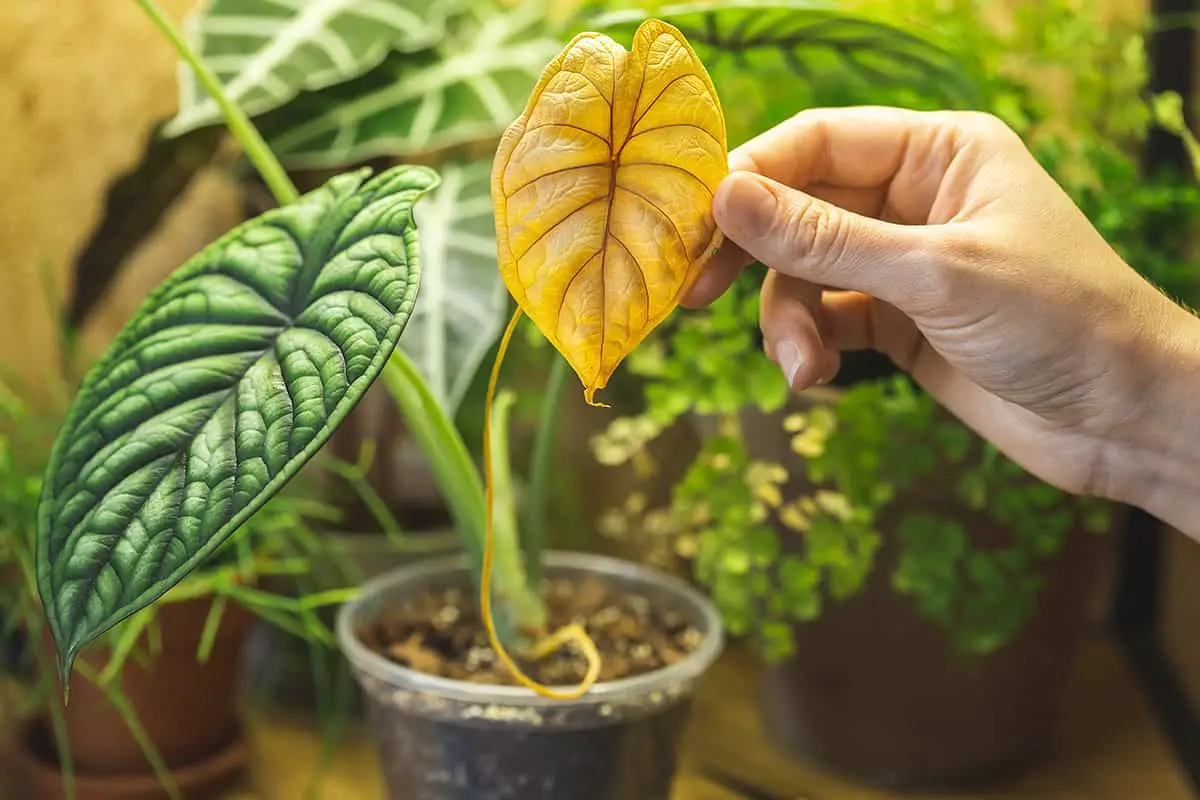
Yellow Leaves: This is a sign of overwatering. Reduce your watering schedule and ensure proper drainage. The plant likes moisture but not soggy soil.
Drooping: When Alocasia leaves droop, it’s often due to a lack of water. Check the soil moisture and water the plant thoroughly if it feels dry.
Brown Leaf Tips: This can occur from low humidity. Alocasia thrives in a high-humidity environment. Consider a humidifier or pebble tray to increase the humidity around your plant.
Pests like spider mites and aphids can attack Alocasia. Neem oil or insecticidal soap can treat these pests effectively. Be sure to apply as directed and keep the environment clean.
For a plant that’s not growing, consider light and nutrition. Alocasia prefers bright, indirect light and may need fertilization during the growing season with a balanced, water-soluble fertilizer.
Alocasia Varieties
Alocasia plants display striking foliage that can become the centerpiece of your garden. Explore some popular Alocasia varieties that cater to various tastes in aesthetics and sizes.
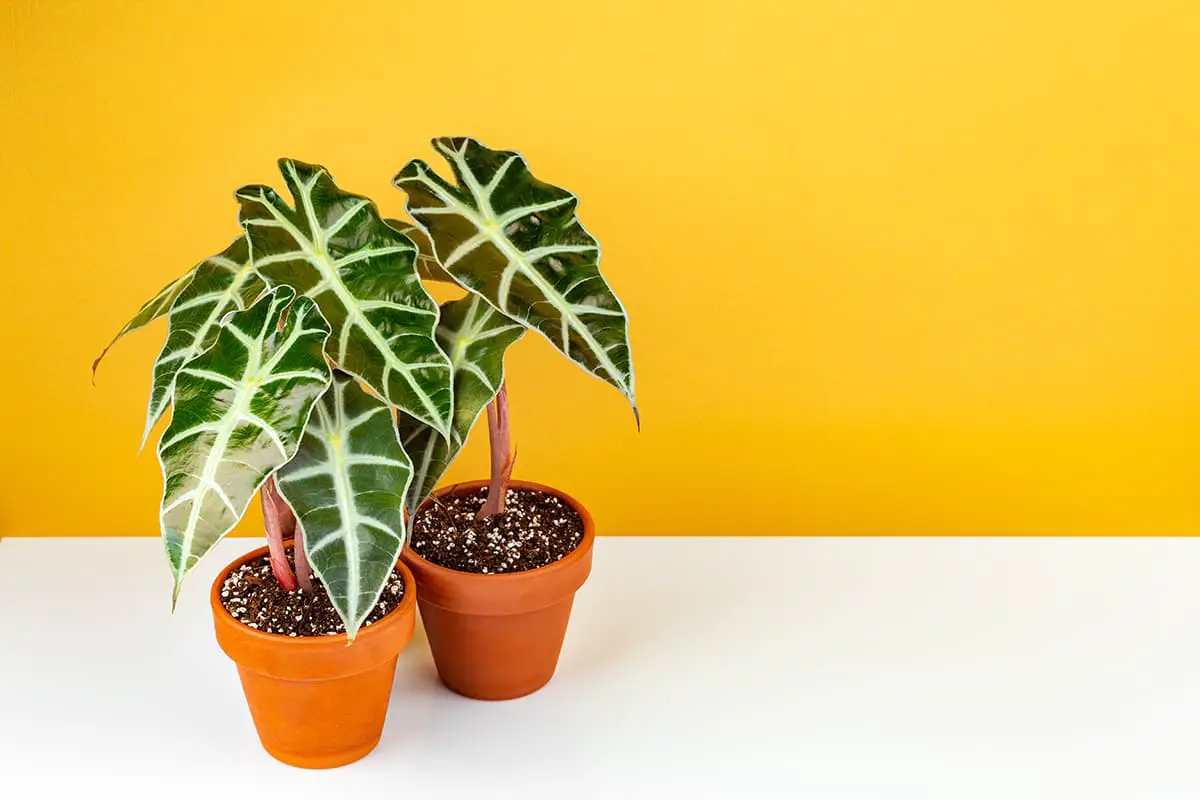
Alocasia ‘Polly’ (Alocasia Amazonica ‘Polly’)
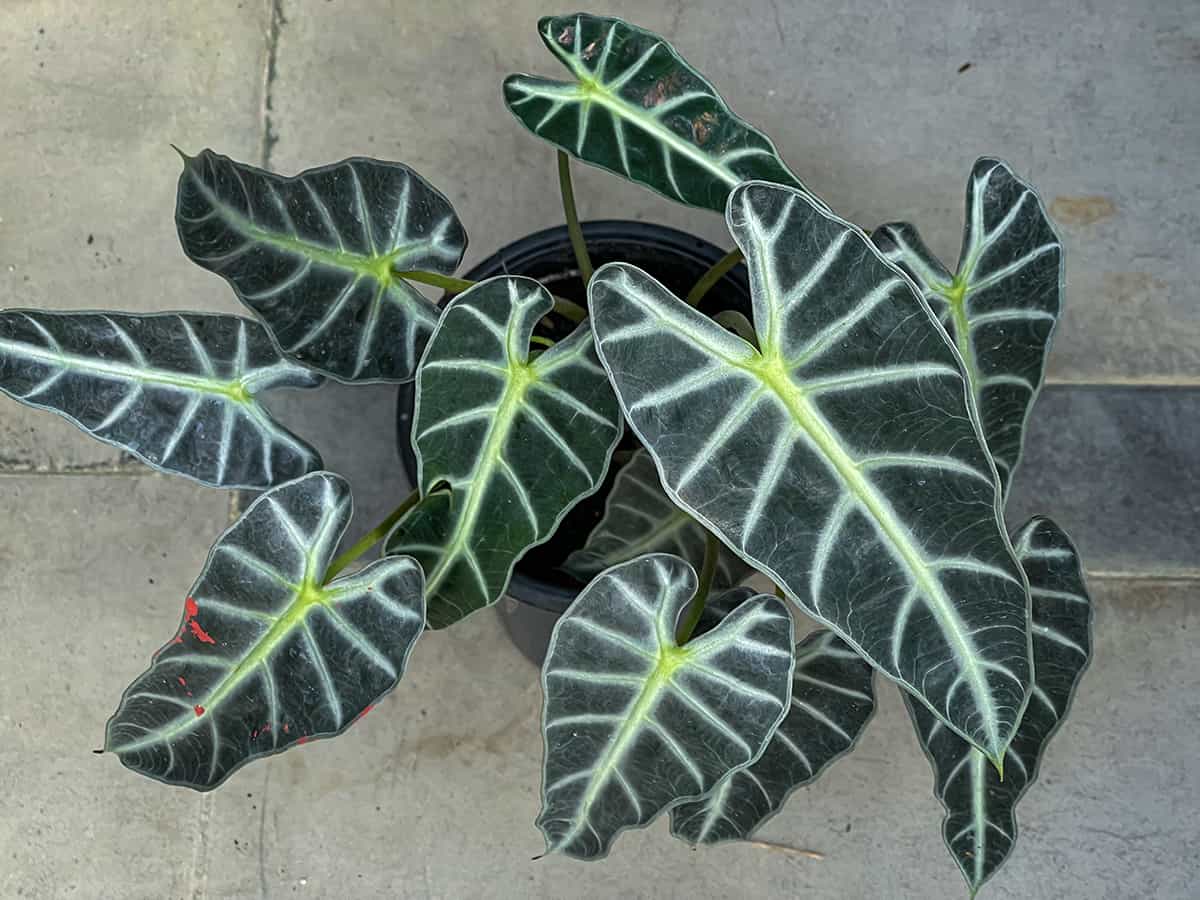
Alocasia ‘Polly’ is known for its glossy, arrowhead-shaped leaves with pronounced veins. This compact hybrid typically reaches up to 2 feet tall, fitting well in small spaces.
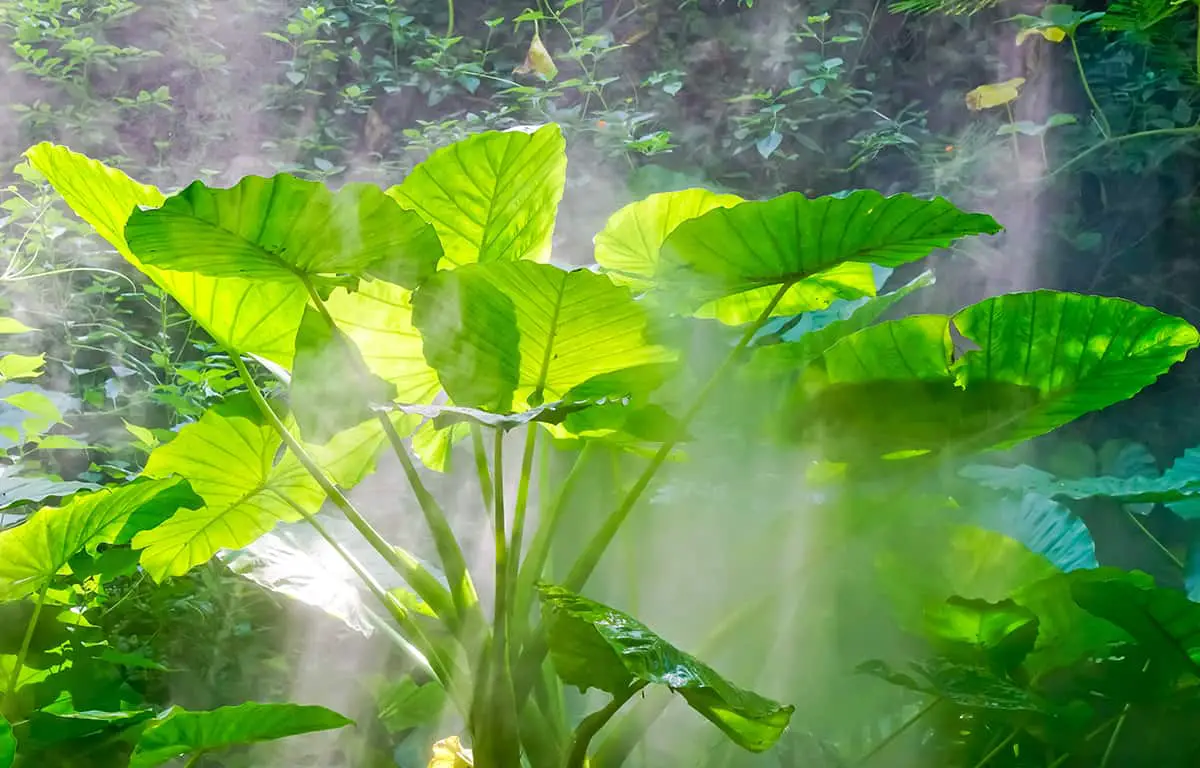
Alocasia Macrorrhiza (Giant Taro)
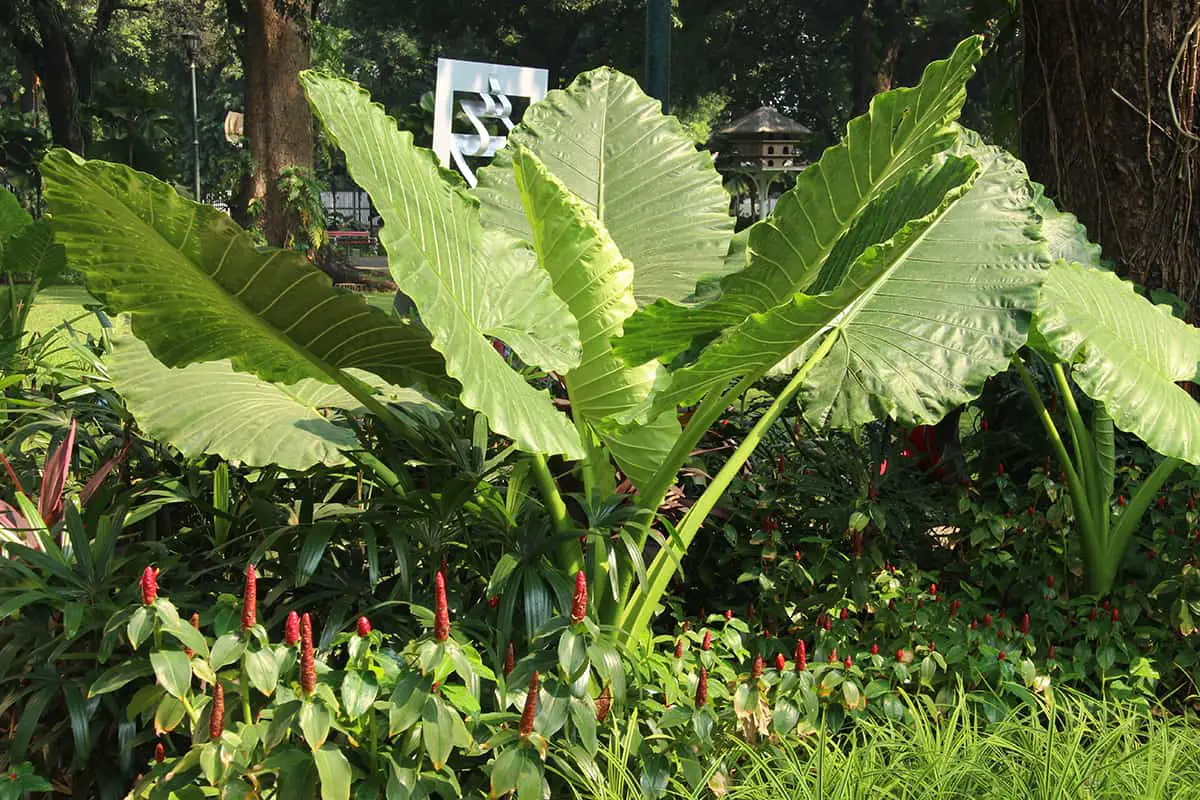
The Alocasia Macrorrhiza, known as Giant Taro, stands out with its large, elephant ear-like leaves. It can tower above many plants, reaching heights of 15 feet in ideal conditions.
Alocasia ‘Silver Dragon’
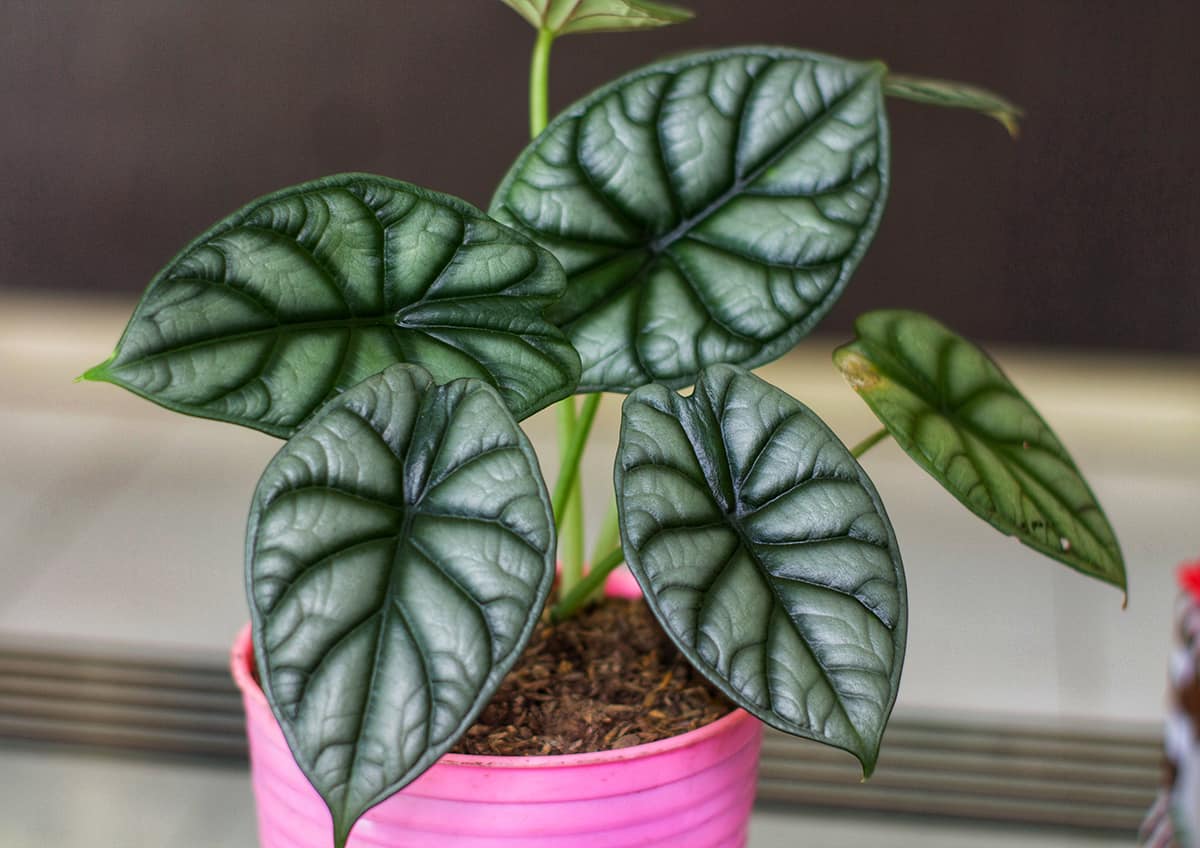
The leaves of Alocasia ‘Silver Dragon’ are adorned with silvery-green hues and dark veining. This Alocasia variety’s compact size makes it suitable for indoor growth.
Alocasia Cuprea (Red Secret)
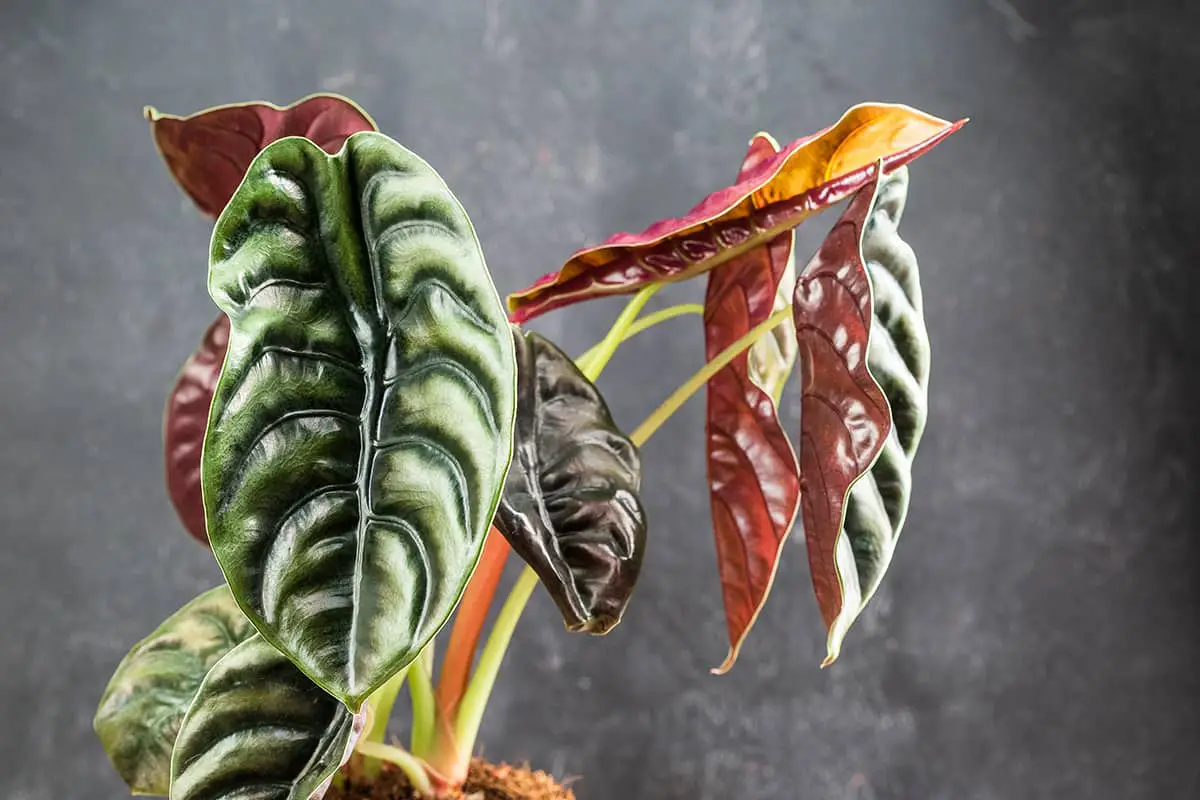
The unique Alocasia Cuprea, or Red Secret, is prized for its metallic-looking foliage. Its coppery leaves reflect light, giving your garden a unique, shimmering quality.
Alocasia Odora
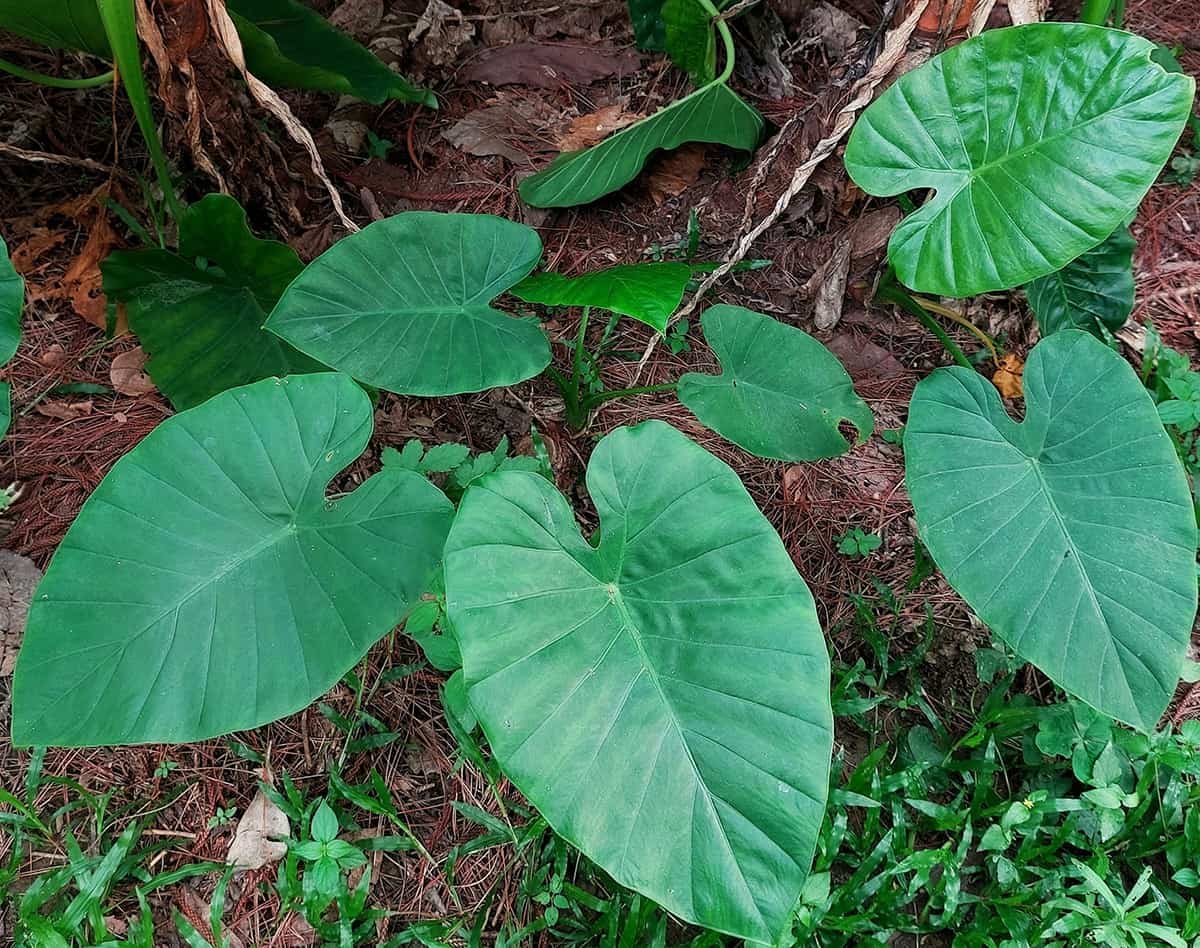
Appreciated for its pleasant aroma, Alocasia Odora can grow to a considerable size. You’ll enjoy its lush, green foliage throughout the warm seasons.
Alocasia ‘Black Velvet’
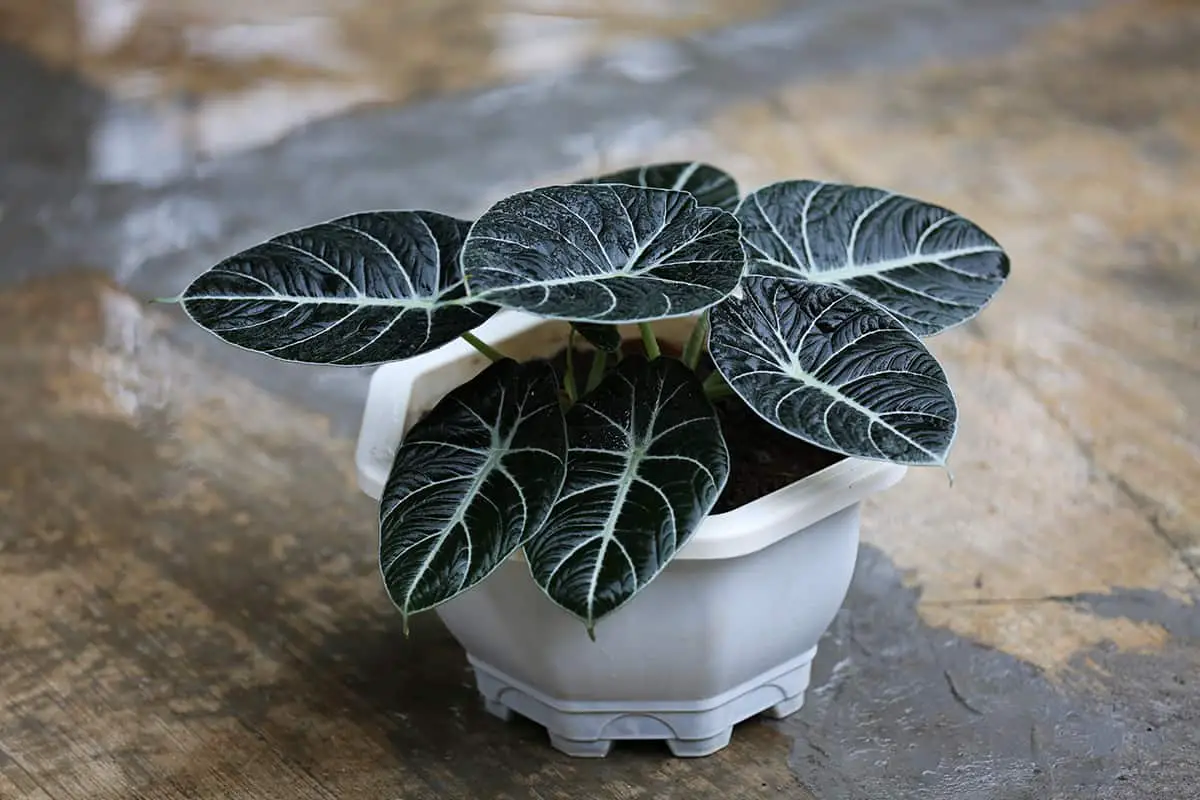
Alocasia ‘Black Velvet’ has a luxurious look with its velvety, dark leaves and contrasting white veins. It’s a smaller variety, ideal for adding a touch of drama indoors.