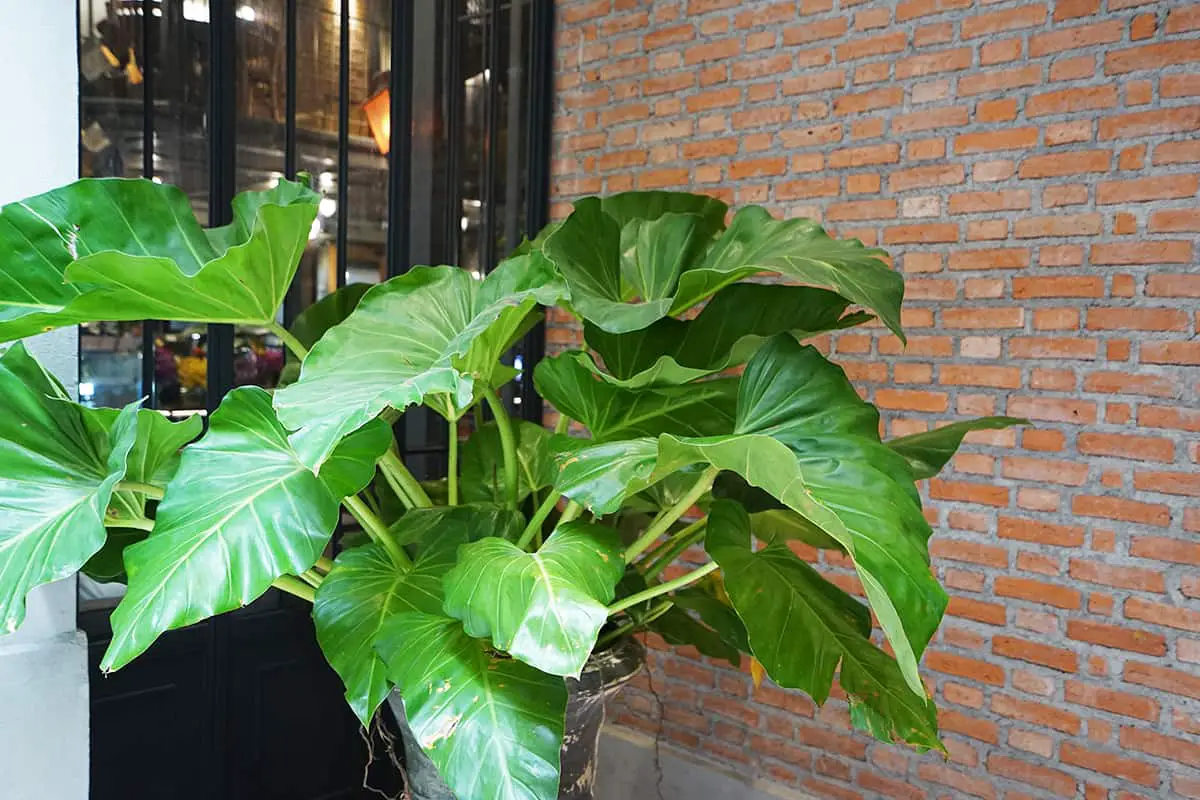
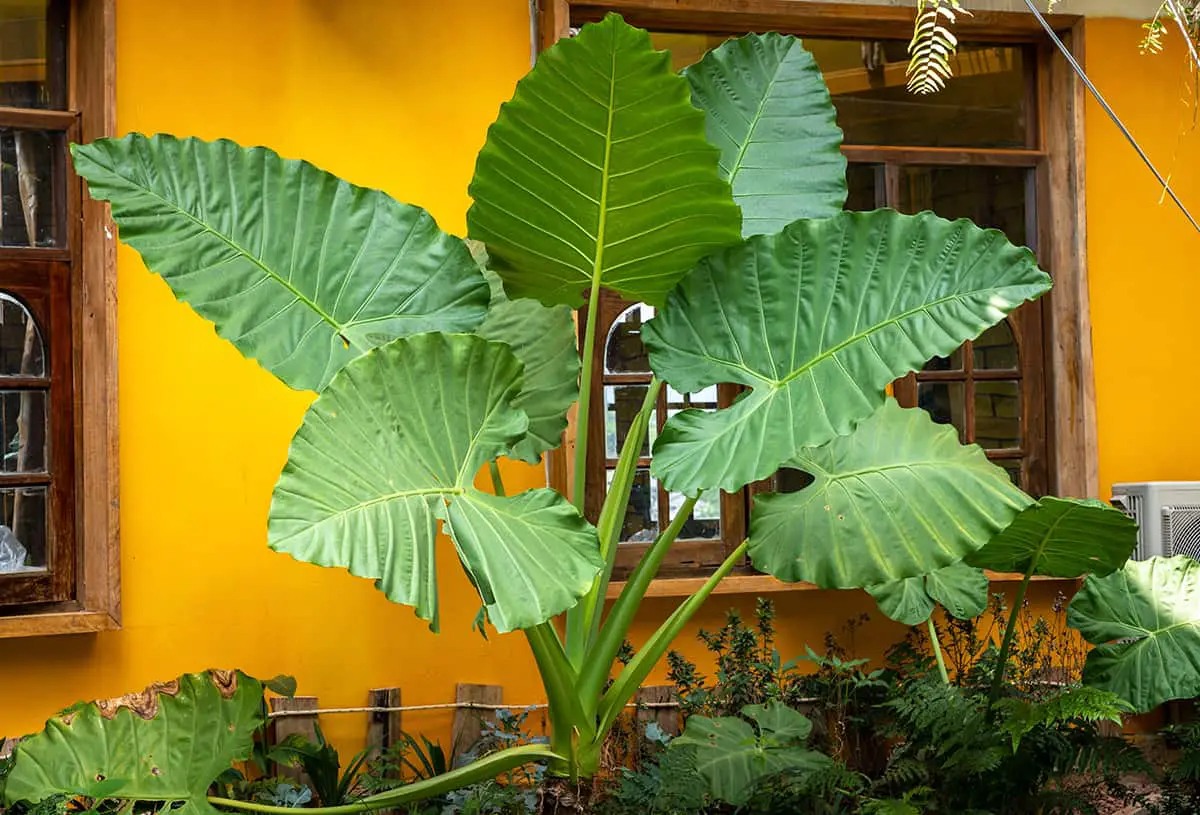
You just brought home an Elephant Ear plant, its large, heart-shaped leaves already adding a touch of the tropics to your living room. Now, you’re eager to see it thrive and grow even more impressive. Understanding how to care for your new plant is the key to keeping those vibrant leaves healthy and lush. This guide will help you grow and care for your Elephant Ear plant, ensuring it becomes a stunning focal point in your home or garden.

Table of Contents
Light
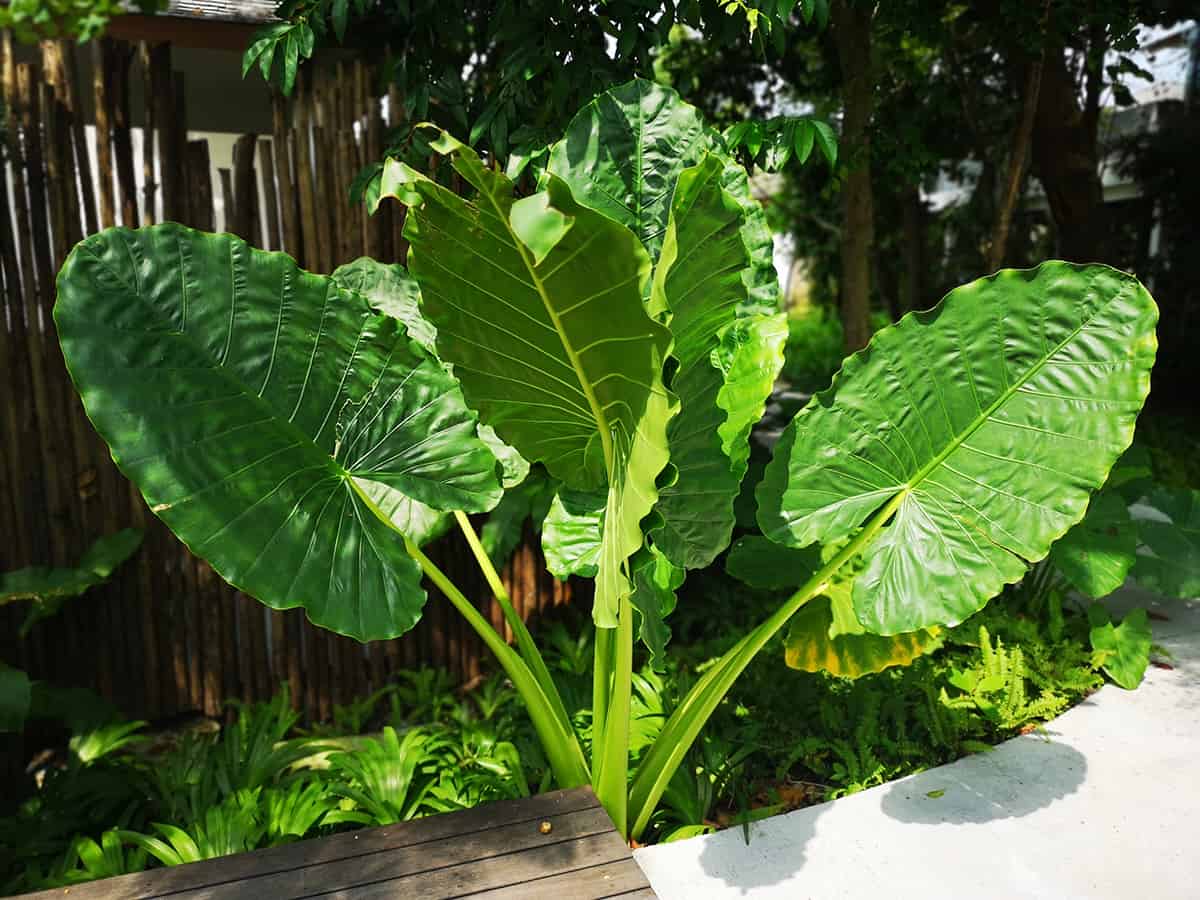
Generally, these plants prefer full sun exposure. However, some species might tolerate partial shade. Understanding your plant’s specific needs will contribute to its overall health and growth.
In the case of outdoor growth, be mindful that long hours of direct sunlight might cause the leaves to scorch. To prevent this, you can move the plant to a location with dappled sunlight or place a shade cloth over the area. Adequate sunlight is essential for proper growth and development, so ensure your plant receives at least a few hours of direct light daily.
For indoor Elephant Ear plants, make sure to position them near a window with bright, indirect light. Avoid placing the plant too close to the glass, as intense sunlight may still cause leaf burn. If needed, you can supplement natural light with a grow light to maintain the plant’s vibrancy and encourage growth.
Soil
Choose a well-draining soil that retains moisture, as these plants thrive in damp conditions. You can create the ideal mix by combining equal parts of garden soil, peat moss, and perlite or coarse sand.
In areas with heavy clay soil, consider amending the soil with organic matter, such as compost or aged manure, to improve drainage. This will ensure the plant does not become waterlogged and promote the development of a healthy root system.
Elephant ear plants prefer a slightly acidic to neutral soil pH, ideally between 5.5 and 7.0. If necessary, test the soil’s pH level and adjust it accordingly. Adding sulfur or peat moss can lower the pH level, while limestone or wood ashes can raise it.
Water
Elephant ear plants require consistent moisture to thrive. Start by checking your plant’s soil. Make sure it is consistently moist but not waterlogged. Achieving the right balance is vital for the plant’s growth and health.
Water your elephant ear plant regularly, ensuring the soil remains damp. In warmer months, you might need to increase watering frequency, but avoid over-watering to prevent root rot. A useful method is the “finger test”: insert your finger about an inch into the soil, and if it feels dry, it’s time to water.
As elephant ear plants are native to tropical regions, they also appreciate higher humidity levels. To maintain proper humidity, place a tray filled with pebbles and water under the plant. The water will evaporate, generating humidity around the plant. Keep an eye on the water level, and refill the tray when necessary.
When propagating elephant ear plants in water, place cuttings in a jar or glass with clean, room temperature water. The stem or basal part should be submerged without touching the container’s bottom. Change the water every few days, ensuring it’s clean to prevent bacterial growth.
Temperature and Humidity
These tropical plants thrive in warm temperatures and high humidity. Ideally, the temperature should not drop below 50°F for prolonged periods.
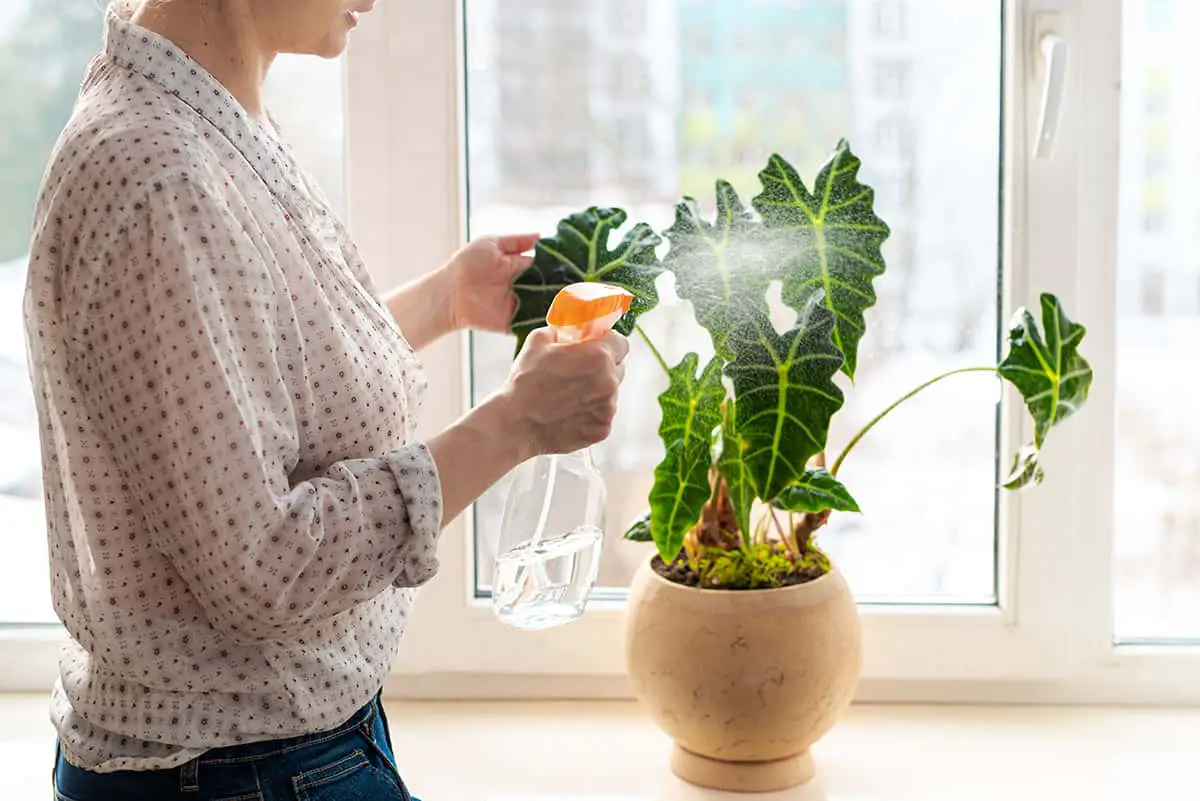
To maintain proper humidity around your elephant ear plant, mist the leaves regularly. Alternatively, you can place a tray of water with pebbles beneath the pot to maintain humidity. The evaporation of the water will increase moisture near the plant. Remember not to let the bottom of the pot touch the water, as this could lead to root rot.
Keep your elephant ear plant in a location with consistent warmth and humidity. Avoid exposing it to sudden temperature fluctuations. Watch out for drafts from air conditioning or heating vents, as they might harm your plant.
Fertilizer
Select a high-quality, well-balanced fertilizer to ensure your plant receives essential nutrients. A common choice is a granular, slow-release formula containing equal amounts of nitrogen, phosphorus, and potassium (N-P-K).
Making sure your elephant ear plant gets the right nutrients starts with proper fertilization. Apply the fertilizer according to the manufacturer’s instructions, typically twice a month during the growing season. It’s crucial not to over-fertilize, as this could damage your plant.
Aside from using commercial fertilizers, you can also opt for organic alternatives such as compost or well-rotted manure. These options provide nutrients while improving the soil structure. Mix them into the soil around your plant, taking care not to disturb the roots too much.
To achieve the best results, monitor your plant’s growth and foliage color. Vibrant green leaves indicate your fertilization efforts are successful. If the leaves appear yellow or pale, adjust your fertilizer application accordingly. By providing the right nutrients, you’ll ensure your elephant ear plant thrives and delivers the lush, tropical look you desire.
Propagation
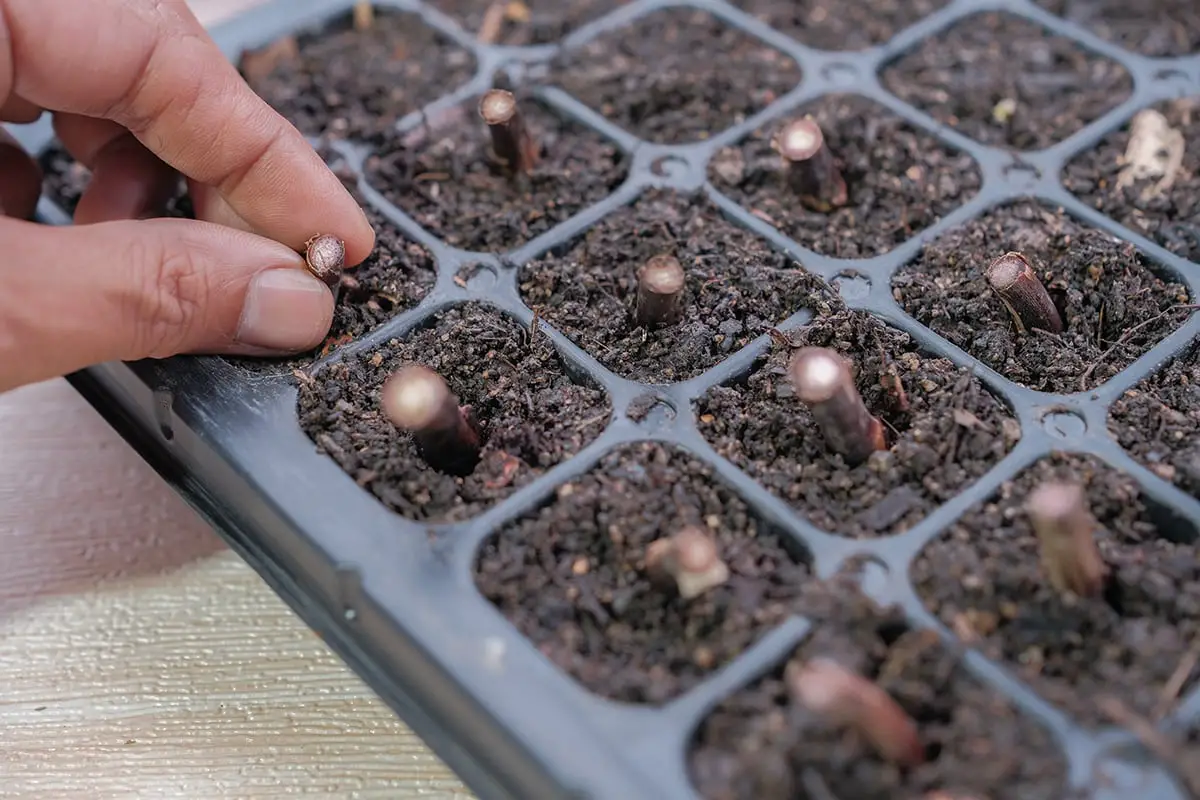
When propagating elephant ear plants, it’s essential to start with healthy plant material. Select a strong leaf or bulb division from a parent plant that is free of diseases or pests.
To propagate in water, place your leaf or bulb division in a jar or glass filled with clean, room temperature water. Submerge the stem or basal part of the leaf, but avoid letting the cutting touch the bottom of the container. Change the water every few days to prevent bacteria growth, and monitor the plant’s progress.
Once roots appear, which can take several weeks, transplant the cutting into a pot with well-draining soil. Choose a pot that is appropriate for the size of your mature elephant ear plant, and provide it with plenty of water and fertilizer.
Pruning
Pruning your elephant ear plant helps maintain its shape and promotes healthy growth. Begin by removing any yellow or brown leaves that appear on the plant. Doing so prevents the spread of diseases and allows for better airflow.
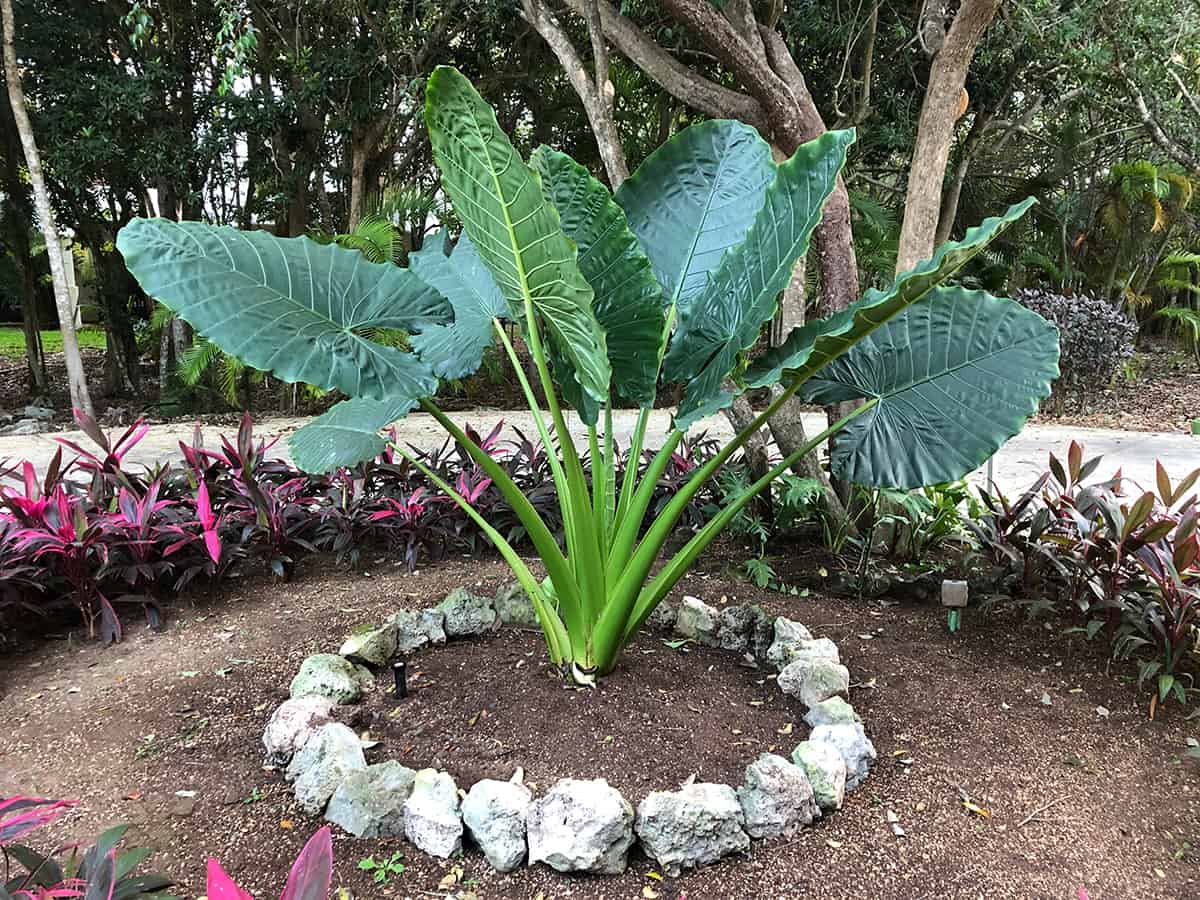
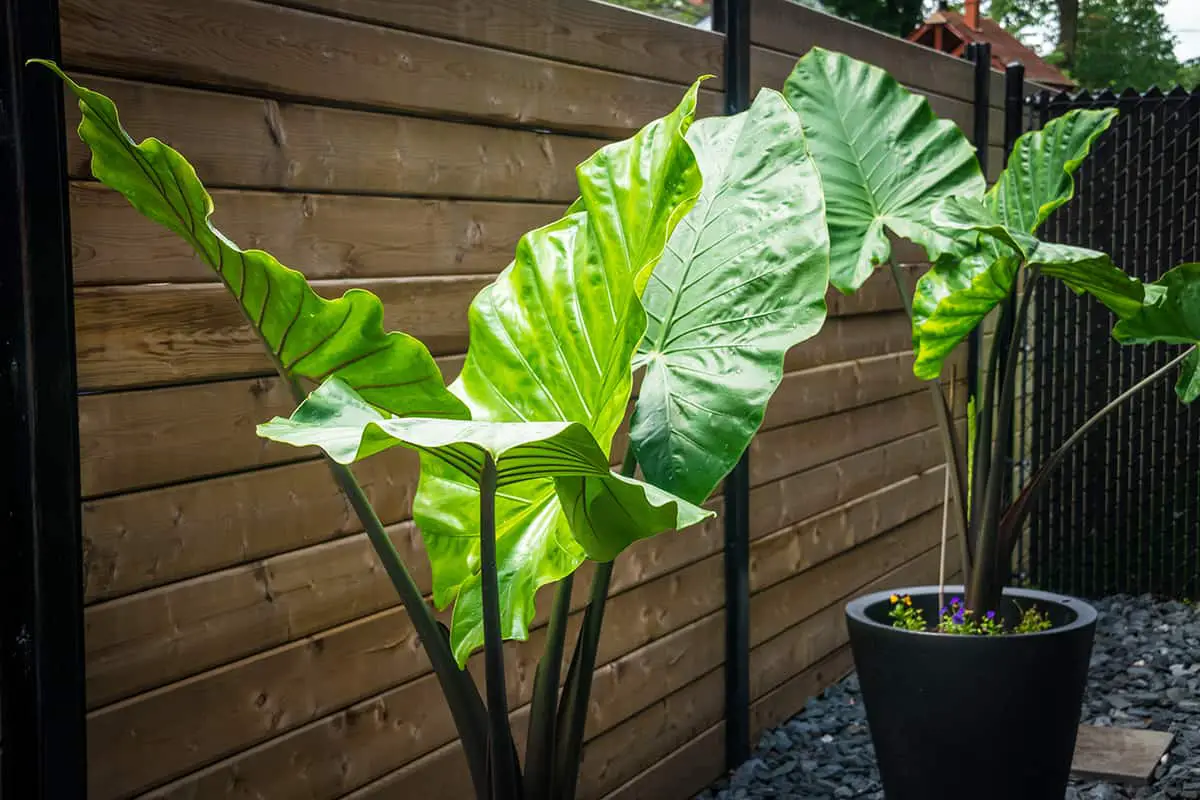
Next, focus on cutting back any overgrown or crowded stems. Ensure you use clean, sharp pruning shears to avoid damaging the plant. It’s essential to keep your elephant ear plant in a manageable size since they can grow up to 10 feet tall and wide.
Regularly inspect your elephant ear plant for pests such as spider mites or mealybugs, which can cause damage. If you find any, apply a suitable pesticide following the manufacturer’s instructions. Don’t forget to wear protective gear when using chemicals.
Finally, it’s important to perform pruning during the dormant season. This ensures the plant can focus on new growth once the warmer weather arrives.
Potting and Repotting
When potting your elephant ear plant, it’s crucial to choose a container that can accommodate its size. Elephant ears grow large, so opt for a pot that’s at least 12 inches in diameter. Make sure it has drainage holes to prevent waterlogged soil.
Select a high-quality potting mix that offers good drainage and aeration. It’s wise to blend the potting mix with perlite or coarse sand to aid drainage. Remember to fill the container about one-third full with the potting mix and place the plant in the center. Gently fill the pot with the remaining mix, allowing 1-2 inches between the rim and the surface.
When it comes to repotting, bear in mind that elephant ear plants enjoy a cozy environment. You need to repot when the plant outgrows its current container, which is usually every 2-3 years. To identify the right time, observe the roots coming out of the drainage holes or the soil surface.
During repotting, cautiously remove the plant from its old pot. Follow the same procedure as potting, but this time select a container that is 2-4 inches larger in diameter. Gently untangle any root-bound roots before placing the plant in the new container.
Common Problems & Troubleshooting
When growing elephant ear plants, you may encounter some issues. In this section, we’ll guide you through common problems and how to fix them.
Overwatering or Poor Drainage: Elephant ear plants love moisture but can’t tolerate waterlogged soil. If your plant’s leaves turn yellow, it could be due to overwatering or poor drainage. Check the soil moisture and ensure it’s well-draining, then adjust your watering schedule accordingly.
Underwatering: On the other hand, underwatering can cause wilting or drooping leaves. If your plant shows these signs, increase the frequency of watering to maintain consistently moist soil. Proper water management keeps your plant healthy and happy.
Pests: Elephant ear plants can attract pests like spider mites, aphids, and mealybugs. A telltale sign of infestation is the presence of tiny insects on the leaves or a sticky residue called honeydew. Treat the problem by washing the leaves with soapy water or using appropriate pesticides.
Fungal Diseases: If your elephant ear plant develops black or brown spots on its leaves, it may have a fungal disease. You should remove the affected leaves and apply a fungicide to prevent further spreading. Additionally, ensure your plant has proper air circulation to reduce the risk of diseases.