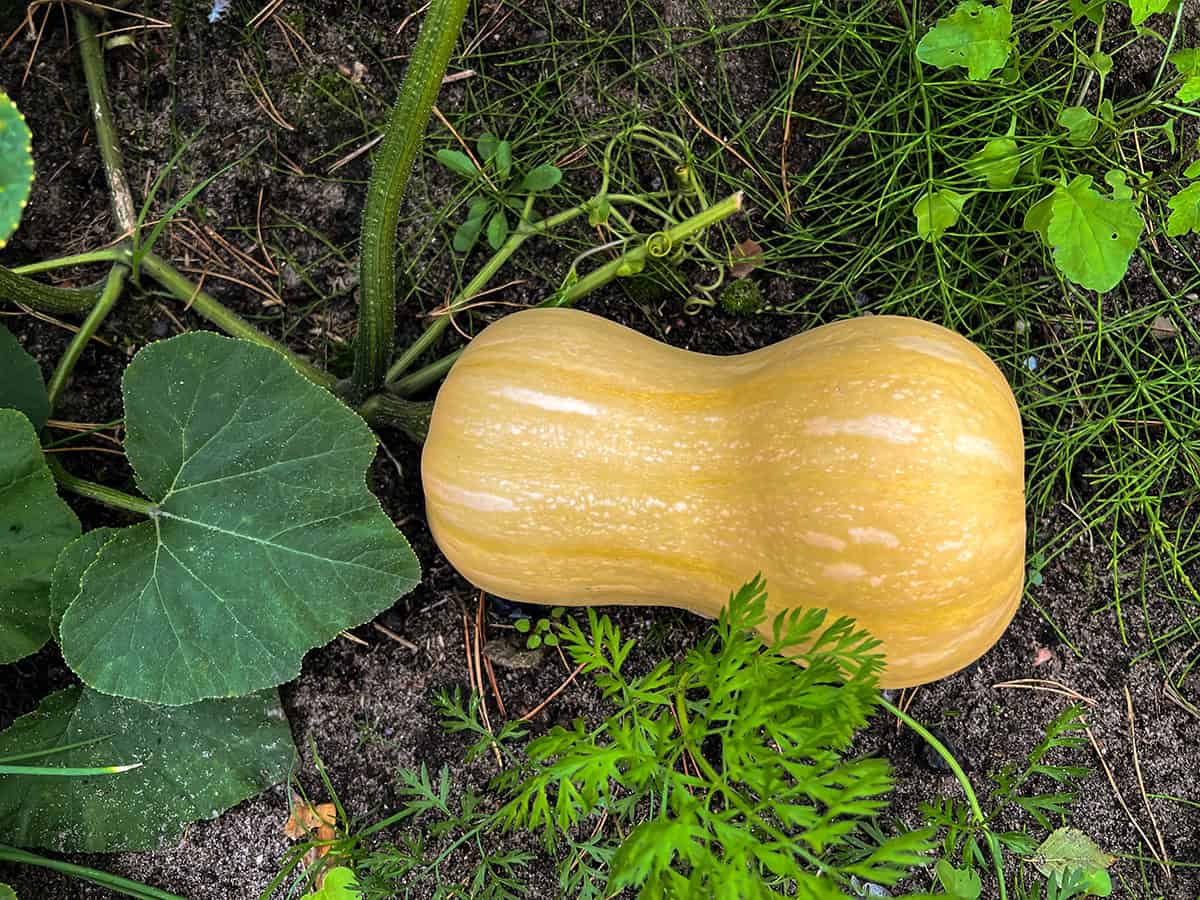
Growing butternut squash at home is easier than many people expect. A sunny location, regular watering, and healthy soil give the vines everything they need to flourish. This guide will show you how to grow a successful crop from start to finish.
Table of Contents
Quick Growing & Care Summary
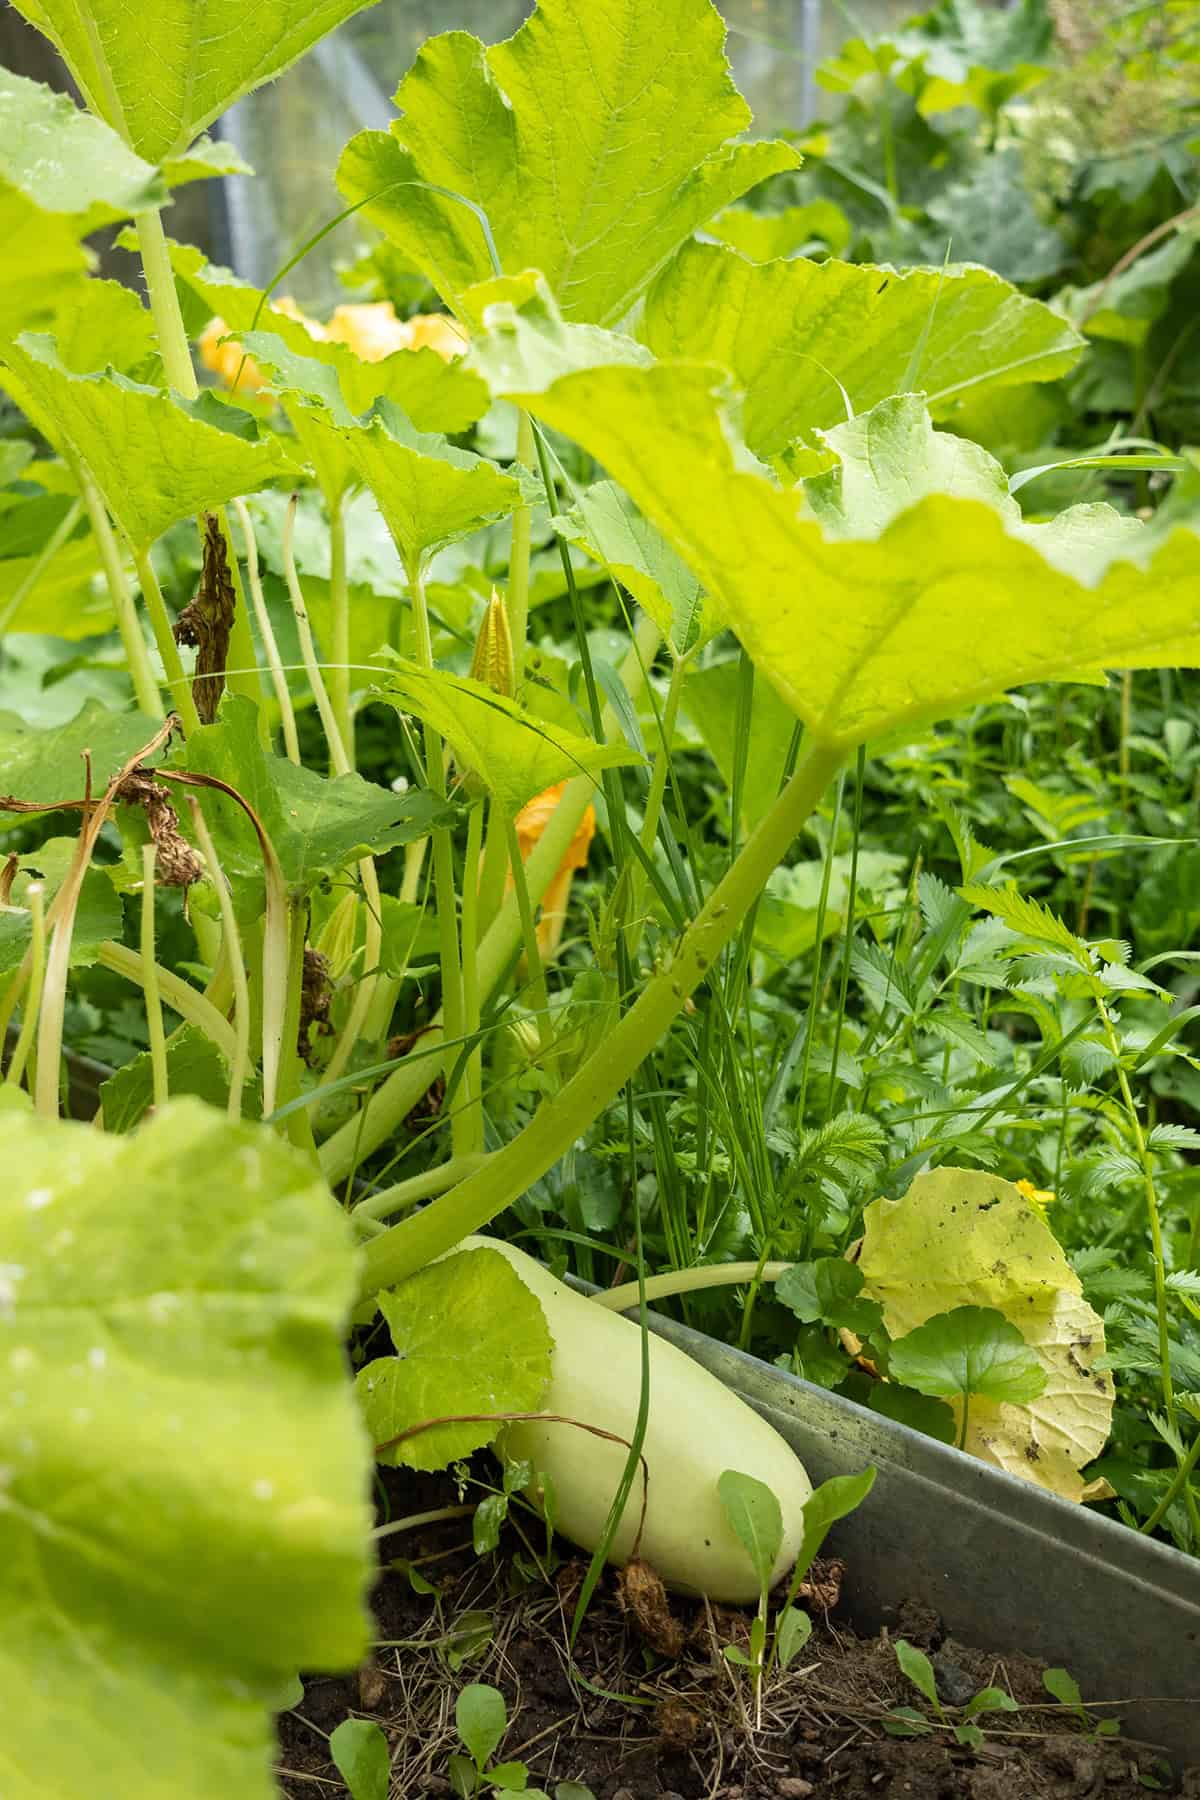
Light: Full sun, at least 6 hours
Soil: Rich, loose, sandy loam loaded with organic matter; pH 6.0–6.8
Watering: 1–1.5 inches weekly; don’t soak the leaves
Temperature: Needs warmth; soil 60°F+ to plant; frost is a killer
Humidity: Handles average levels; space helps keep disease down
Fertilizer: Balanced at planting; hit with nitrogen when vines sprawl
Growth Time: 75–110 days from seed, variety dependent
Propagation: Direct seed or start indoors 3–4 weeks before last frost
Variety Selection
Supermarket butternuts are fine, but why settle? Home gardeners can get their hands on types with richer flavor, tidier growth, or less trouble from disease.
Waltham Butternut, the old standby, gives you big, classic tan squash with deep orange flesh. It stores for months if you keep it cool and dry. No surprises here, and it does well almost anywhere in the States.
If you’re tight on space, Butterscotch (a bush type) keeps things manageable. Fruits are smaller—think 1 to 2 pounds—but the vines won’t take over your whole yard.
Honeynut, on the other hand, is a real treat for anyone who likes their squash on the sweet side. These mini squash (6–8 inches) have a depth of flavor that’s hard to beat and have gotten pretty trendy among home gardeners lately.
Dealing with powdery mildew every season? Betternut 900 and other disease-resistant options are worth a look. If you’ve battled fungus before, picking a resistant variety is just smart planning.
Soil
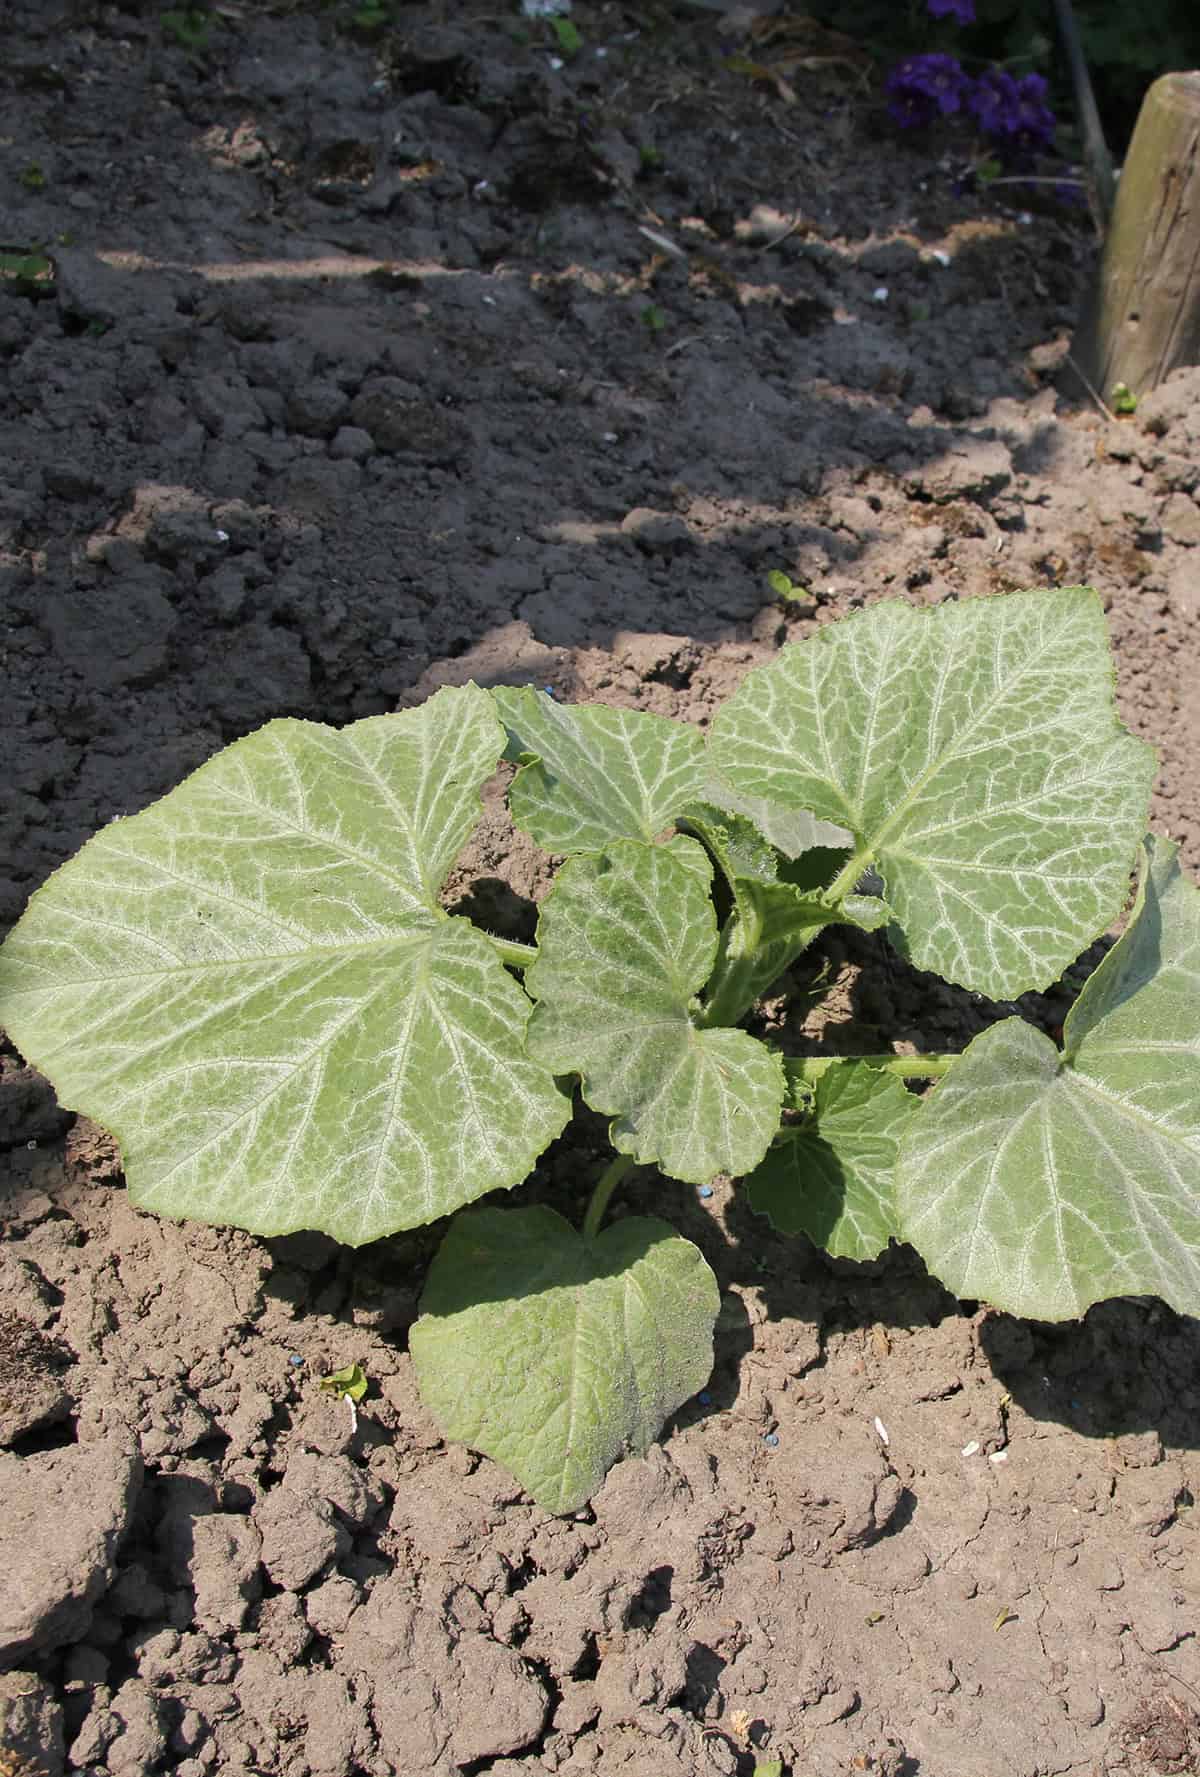
Loose, fertile soil stacked with compost—squash thrives on it. Sandy loam is the gold standard, warming up quickly in spring and letting water drain off so roots don’t rot.
Keep your pH in the 6.0–6.8 range. If you’re not sure, a cheap soil test kit will tell you what’s up before you start tossing around amendments.
Mix in 2–4 inches of compost or well-rotted manure before planting. Heavy clay? Compost opens it up. Sandy soil? Compost helps it hang onto moisture. If your ground is stubbornly dense, raised beds with a decent garden mix are a game changer.
Skip those soggy low spots where water lingers after a rain. Squash roots want steady moisture but will protest if left waterlogged for long.
Planting
Patience pays off here. Cold dirt will just sulk and rot your seeds. Wait until it’s at least 60°F a couple inches down before sowing outside—somewhere between late April and early June for most folks.
Short growing season? Start seeds indoors in biodegradable pots about a month before your last frost. Squash roots hate being jostled, so the less transplant shock, the better.
Direct seeding? Drop seeds an inch down. The old “hill” method works: mound up soil about a foot across, space hills 4–6 feet apart, and plant 3–4 seeds per hill. When they’re up, thin to the 2 strongest.
Going with rows? Leave 2–3 feet between plants and 6–8 feet between rows. These vines are not shy about taking over, and cramped quarters just breed disease.
Once seedlings are up and running, mulch helps keep moisture steady, cools the soil, and makes life tough for weeds.
Light
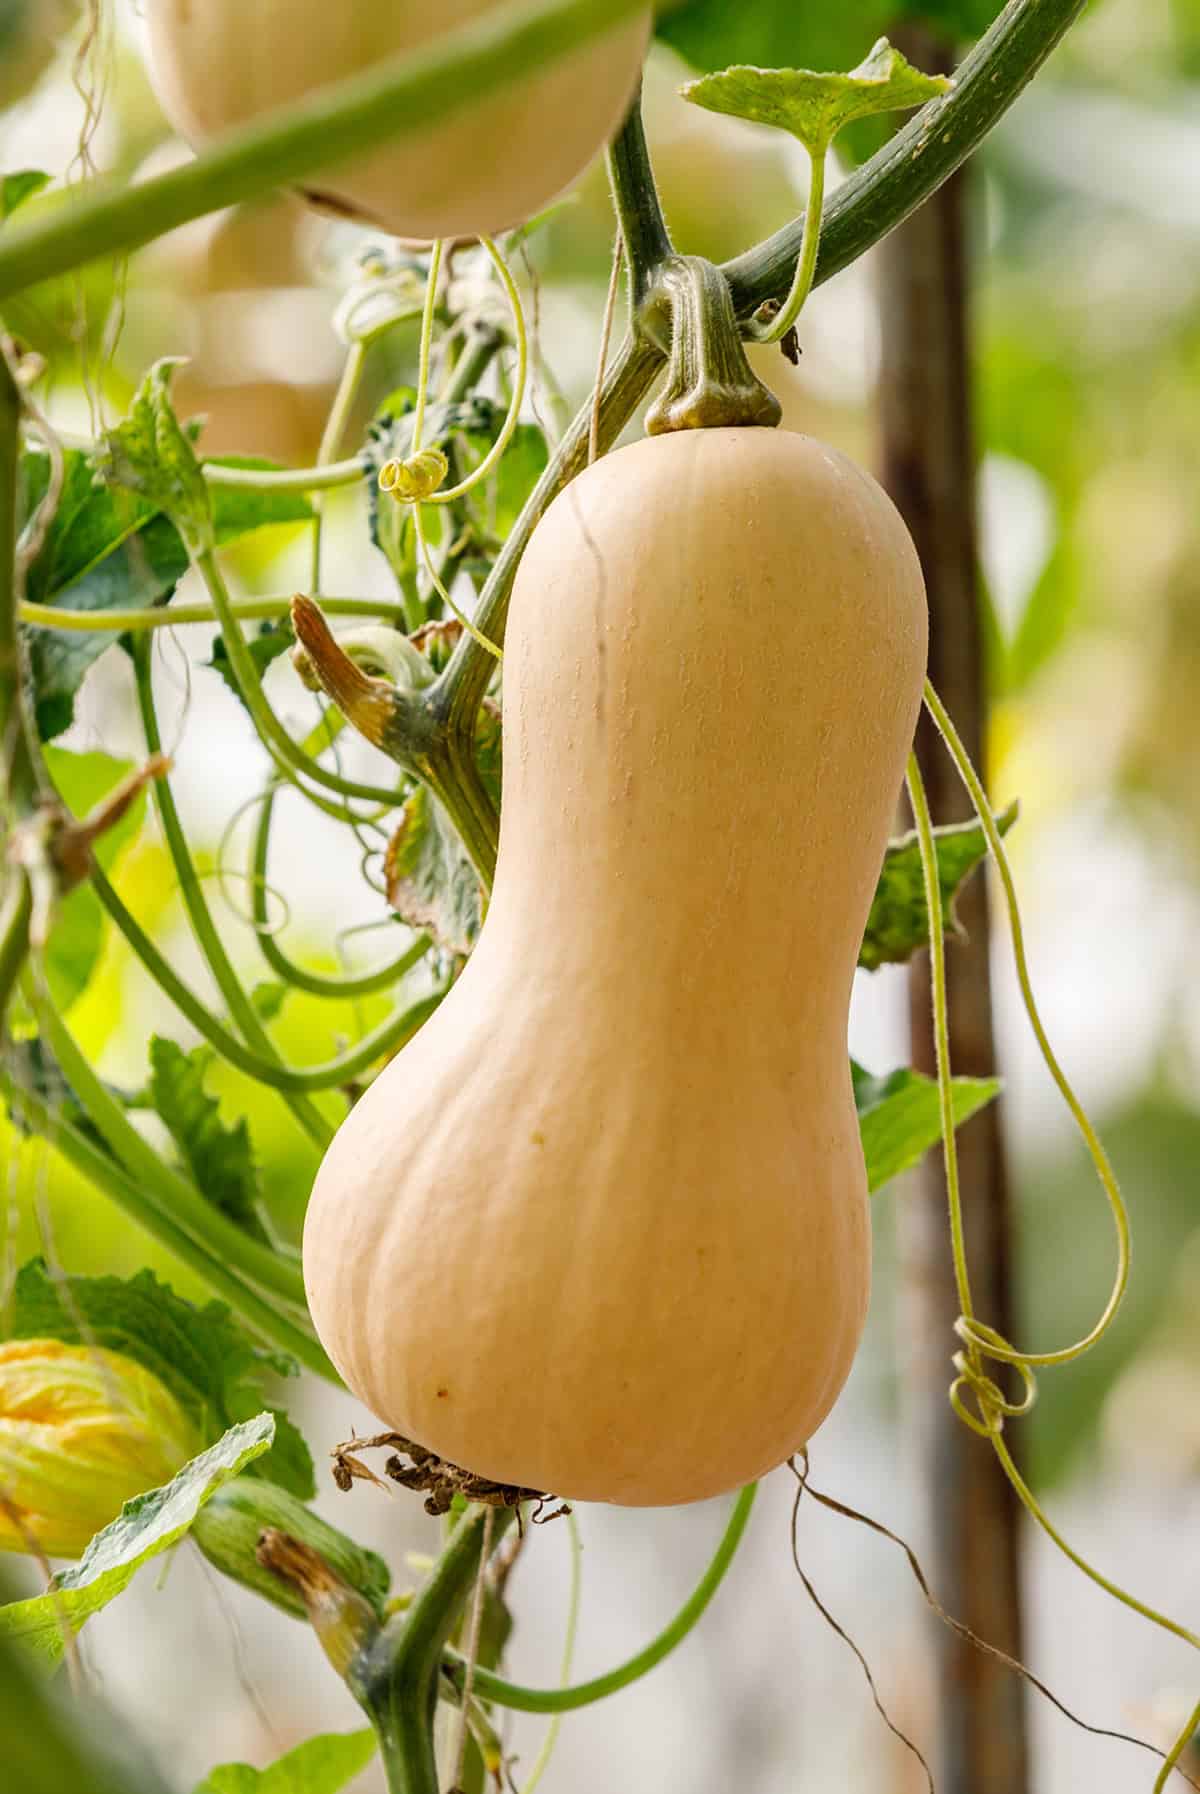
Sunlight is non-negotiable. Less than six hours, and you’re asking for puny yields. More is better—eight hours or more, and you’ll see bigger fruit and faster growth.
Pick the brightest patch you’ve got. Even a bit of afternoon shade can slow things down. If you’re in the deep South or Southwest, a touch of late-day shade might help with extreme heat, but really, most gardeners will lose more from too little light than too much.
Plan your garden so taller plants won’t cast a shadow over your squash as summer rolls on. These vines stretch far and wide, so think about where the sun hits when you’re laying things out.
Water
Forget about daily sprinkles—deep, thorough watering is the way to go. Aim for 1 to 1.5 inches a week, letting the soil soak up moisture down to the roots.
Keep the leaves dry if you can. Wet foliage and summer heat invite powdery mildew and other headaches. Drip lines or soaker hoses work way better than overhead sprinklers.
When fruit starts forming, don’t slack off. Uneven watering at this point leads to blossom end rot or bland, stunted squash. If rain is scarce, check soil moisture with your finger—if the top couple inches are dry, it’s time to water.
Feeding
Butternut squash is hungry stuff. Rich soil helps, but you’ll get better results with a little extra nutrition along the way.
At planting, toss in a balanced granular fertilizer (8-8-8 or 10-10-10 works). This sets the roots and young vines up for a strong start.
When vines start stretching, side-dress with a nitrogen-heavy fertilizer a few inches from the stems. That jump-starts vigorous vine and leaf growth.
Once flowers and fruit start showing up, ease back on the nitrogen and bump up the phosphorus and potassium. Too much nitrogen now just means a jungle of leaves and not much squash.
Don’t get carried away with fertilizer. Moderate, steady feeding beats heavy-handed applications every time.
Growth Time
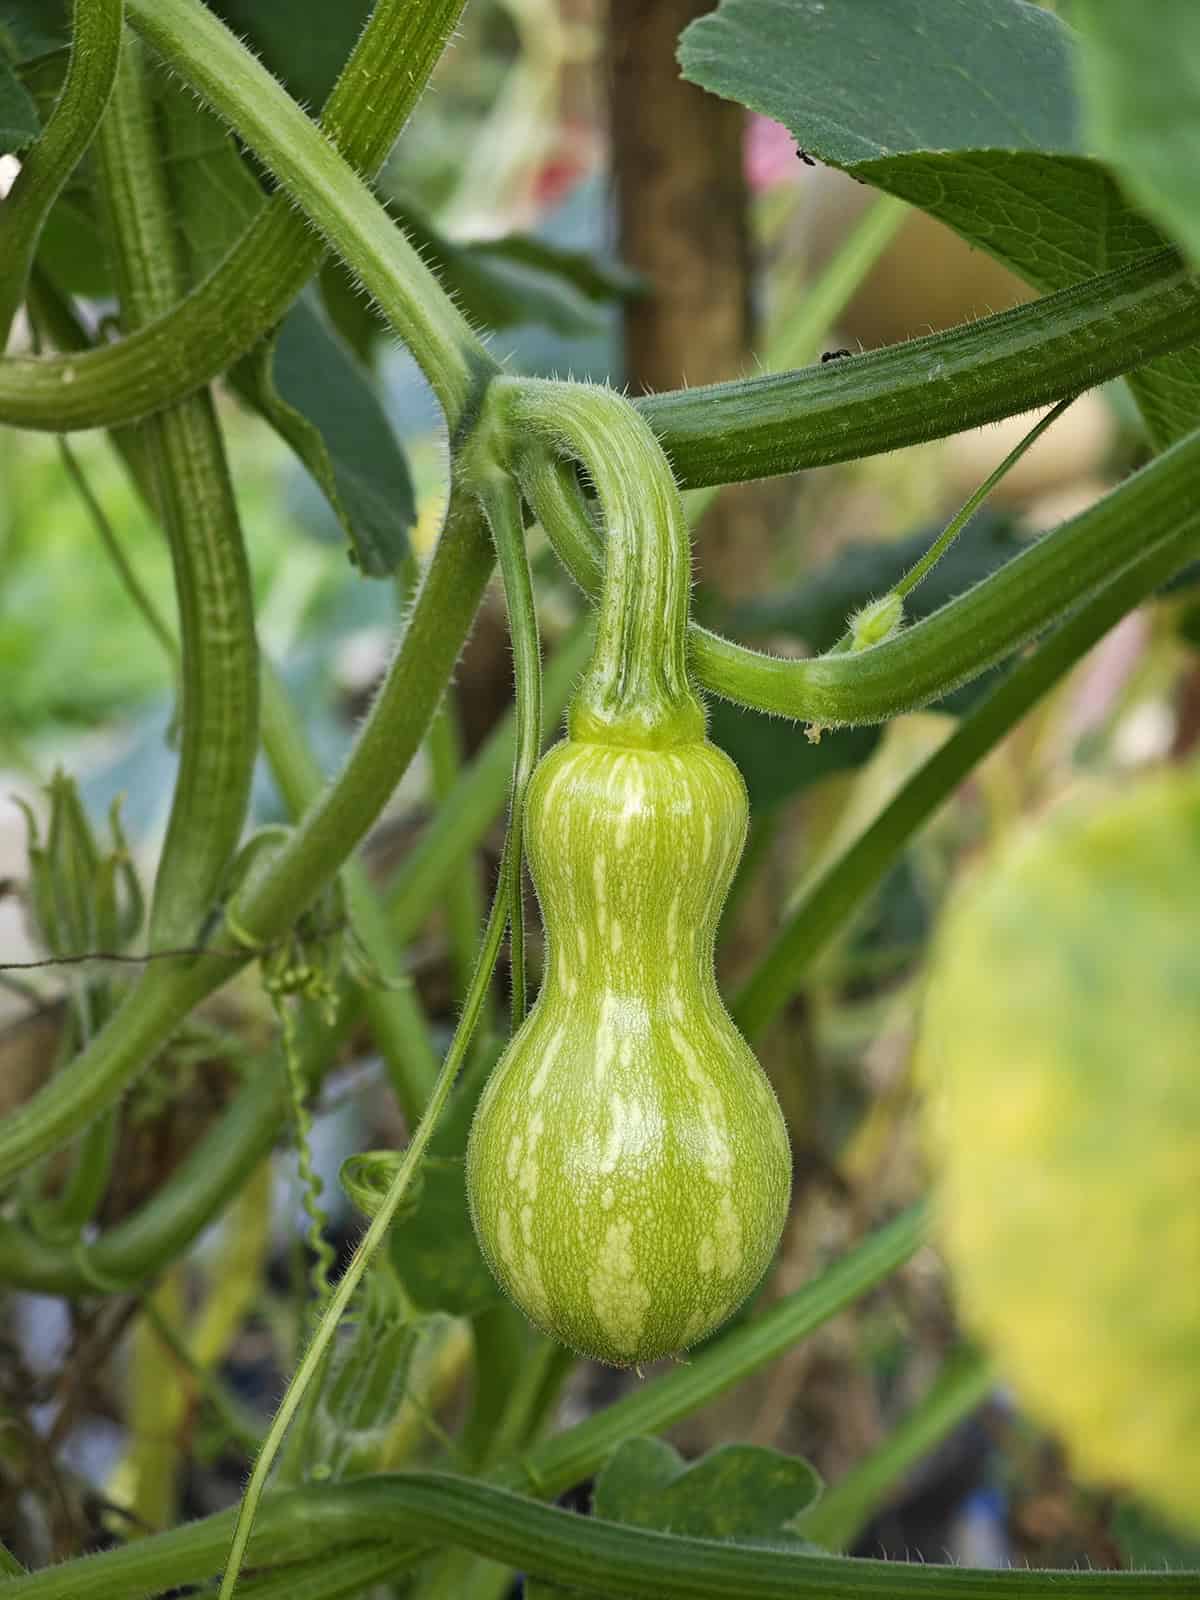
Depending on the type and your climate, you’re looking at 75 to 110 days from seed to ripe squash. Most land in the 80–100 day window.
With such a long haul, timing is everything. Check your area’s first fall frost date and count backward to make sure your plants have time to finish. If your summers are short, starting seeds indoors is pretty much essential.
Early on, expect a burst of leafy growth and sprawling vines. Male flowers show up first, usually five to seven weeks in, and the females—distinguished by a tiny bulb at the base—follow soon after. Bees do most of the pollinating, so a pollinator-friendly garden pays off here.
Once pollinated, fruits slowly fatten up and shift from green to a solid tan as they ripen.
Growing In Containers
Container growing isn’t impossible, but you’ll need a big pot and steady attention. Vining types can get wild, so bushy varieties like Butterscotch or Patio are way easier to handle in a container.
Choose a pot holding at least 15–20 gallons—bigger is better. Drainage holes are a must. Go for a high-quality potting mix; garden soil just compacts and drains poorly in pots.
Set your container where it’ll get full sun, preferably facing south. Pots dry out fast, especially in heat, so you might be watering every other day or more. Check the top inch of soil with a finger: if it’s dry, water.
Feed every 3–4 weeks with a balanced fertilizer. Nutrients wash out of pots quickly. Training vines up a trellis helps keep things tidy and saves space if you’re growing on a patio or balcony.
Harvest
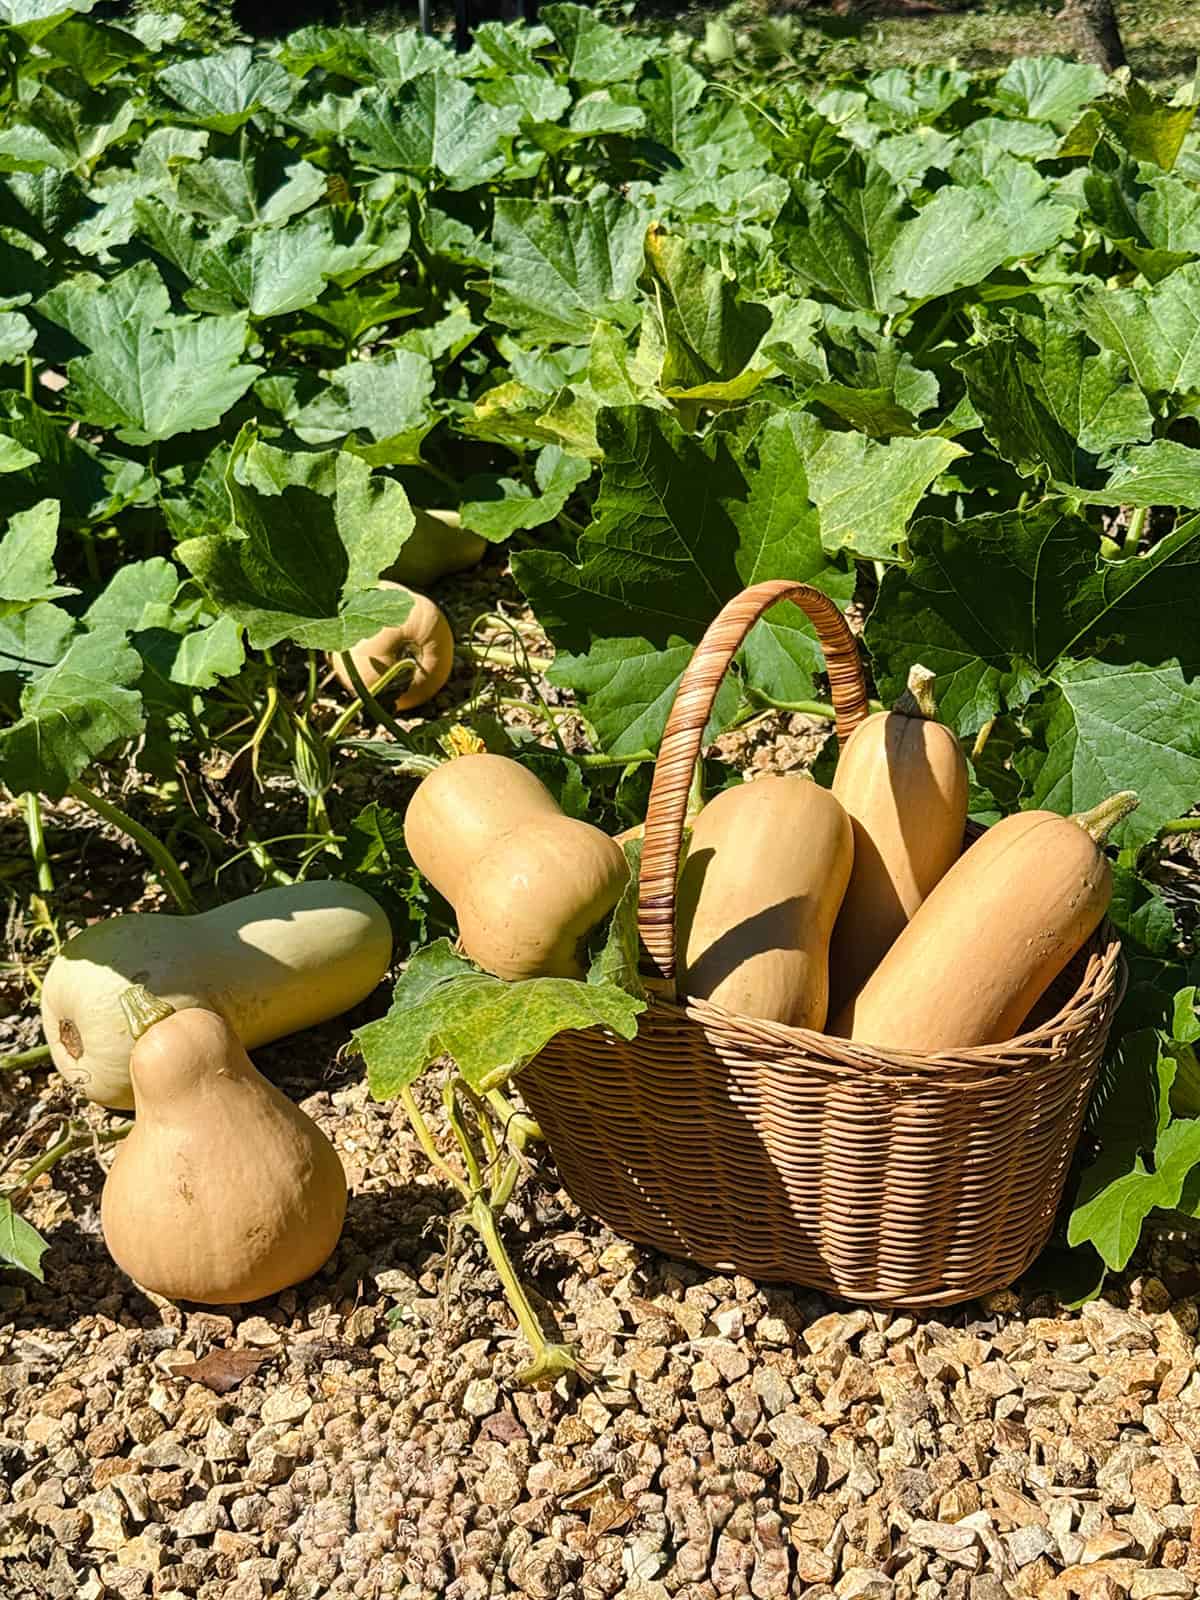
Ripeness makes all the difference—pick too soon and you’ll get bland, starchy flesh. Wait until the skin turns a solid tan, no green patches, and it’s tough enough that your thumbnail can’t pierce it. The stem should look dry and corky, not fresh and green.
Use sharp pruners or a knife to cut fruit, leaving at least an inch of stem. Yanking them off risks damaging the skin, which shortens storage life.
After picking, cure the squash at 80–85°F with high humidity (80–85%) for about two weeks. This hardens the skin and brings out the sweetness. Once cured, stash them somewhere cool and dry—50–55°F is ideal. Done right, they’ll keep for months, ready whenever you want a taste of summer in the dead of winter.
Common Problems And Troubleshooting
Annoyances pop up every season—sometimes it’s bugs, sometimes it’s weird leaf spots, sometimes both. Spotting trouble before it takes over usually saves a lot of grief down the line.
Late in the season, those ghostly white splotches creeping across leaves? That’s powdery mildew, and it tends to show up just when you think you’re in the clear. Letting air move freely between plants and skipping the overhead watering routine slows it down. Picking out varieties bred to shrug off mildew can save you headaches, honestly.
Squash bugs—if you’ve grown any kind of squash, you know the drill. Look for clusters of tiny bronze eggs glued to the underside of leaves, and crush them before they hatch. Once adults are everywhere, well, you’re in for a slog. Early, obsessive scouting is about the only thing that works.
Vine borers don’t usually go after butternut as aggressively as they do other squashes, thanks to the plant’s natural defenses. Still, in some areas, they’ll give it a shot—so don’t get complacent.
Those striped cucumber beetles? They love seedlings and can make a mess fast, sometimes dragging bacterial wilt along for the ride. Floating row covers work wonders at the start, but you’ll need to pull them off when flowers open, or you’ll block the bees.
Flowers dropping off with no fruit behind them? That’s probably a pollination hiccup, not a disease. If bees seem scarce, grab a small brush and play matchmaker between male and female flowers. It’s a simple fix, even if it feels a little silly.