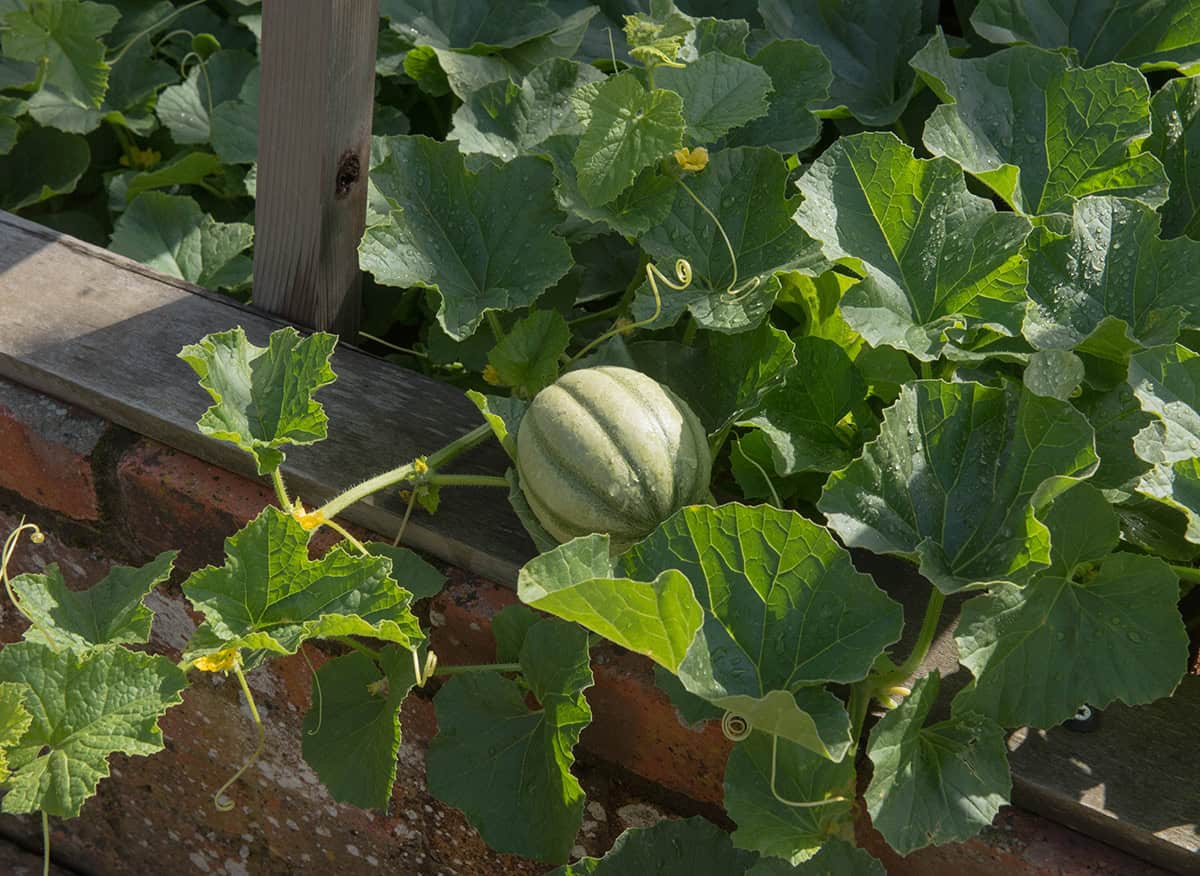
Honeydew plants grow quickly once the weather warms up. With enough space and proper care, the vines reward gardeners with smooth, sweet melons at harvest time. Keep reading to learn the best ways to care for them throughout the season.
Table of Contents
Quick Growing & Care Summary
- Light: Full sun, at least 8 hours daily
- Soil: Fertile, drains well, sandy or sandy loam; pH 6.0–6.8
- Watering: Deep, not frequent; 1–2 inches per week; less as fruit ripens
- Temperature: Soil must be 65°F+ at planting; hot days, warm nights ideal; under 70°F, fruit quality drops
- Humidity: Low to moderate preferred; high humidity means more disease risk
- Fertilizer: Balanced fertilizer before planting; side-dress with nitrogen after vines start running
- USDA Zones: Warm-season annual in Zones 4–11; best in 7–11
- Days to Harvest: 80–100 from transplant; at least 45 days from flowering to ripe fruit
- Mature Size: Vines 6–8 feet; fruit 4–8 pounds, variety depending
- Propagation: Direct seed or transplants started 6 weeks pre-frost
Soil
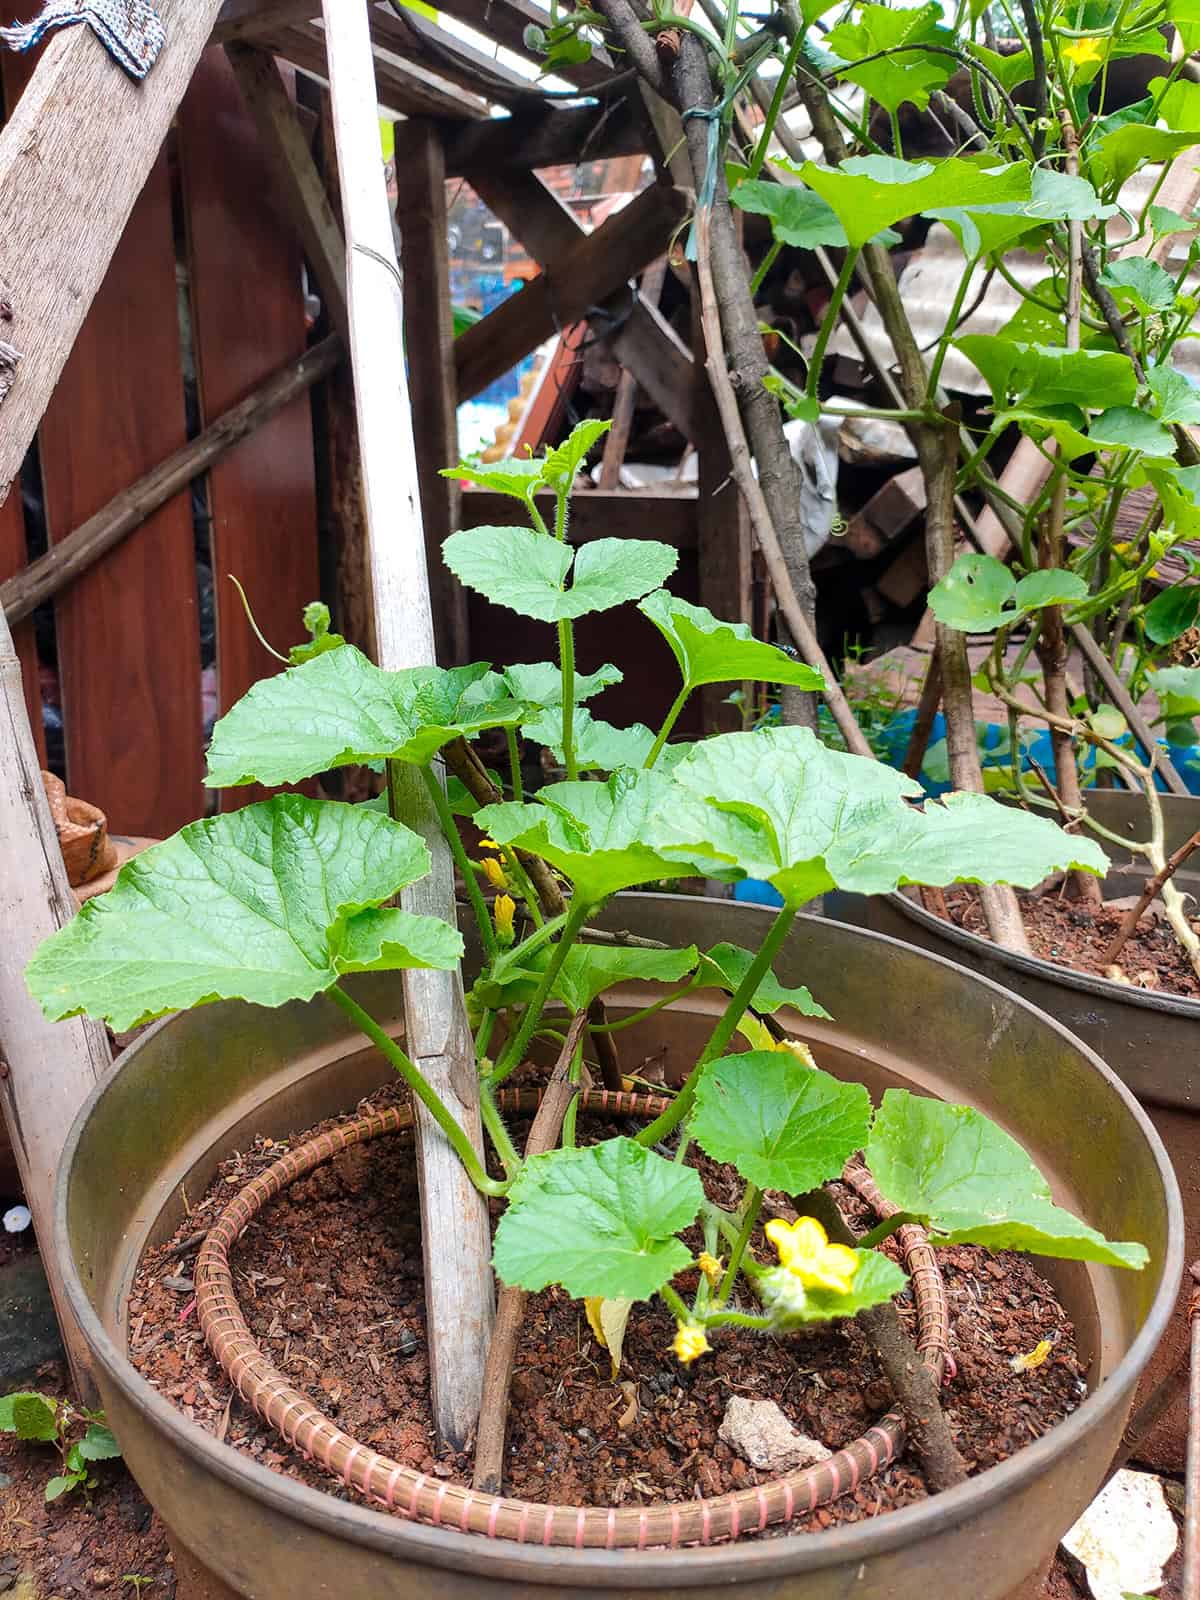
Start with loose, fertile soil—sandy or silt loam works best. Heavy clay just holds too much water, and honeydew roots can’t stand being wet for long. If your dirt leans clay-heavy, mixing in compost or coarse sand helps open things up.
Standing water? That’s a dealbreaker. Even a couple soggy days can set plants back or worse. Raised beds are a solid workaround if drainage is a struggle.
If you can, run a soil test before you start tossing in amendments. It takes the guesswork out. Compost is great, but don’t go overboard—about an inch per 100 square feet is plenty. Any fertilizer or soil tweaks should get mixed into the top half-foot of soil before you plant.
Aim for a pH between 6.0 and 6.8. Go much outside that, and your plants will struggle to take up nutrients, even if the soil’s loaded.
Planting
Warmth is everything here. Wait until the soil has settled at 65°F or warmer and there’s no chance of frost sneaking in.
Starting indoors? Kick things off about six weeks ahead of your last frost. Small pots or peat cells are best—these seedlings hate having their roots messed with. Don’t rush them outside; give them a week or so to adjust before transplanting.
For direct sowing, drop 4 to 6 seeds in a mound, about an inch or so deep. Leave 4 feet between mounds—these vines like elbow room. Once you see a couple true leaves, thin to the two strongest.
Transplants get a different setup: 2 feet between plants in rows, with rows 4–6 feet apart. Be gentle with the roots—rough handling slows everything down.
Black plastic mulch can be a game-changer for early fruit. It warms the soil, locks in moisture, and keeps weeds at bay. With mulch and row covers, you can sneak planting in up to two weeks before the last frost. Just remember to pull row covers once flowers show up or if days start hitting 90°F+.
Variety Selection
It’s easy to assume all honeydews are the same, but the details matter—skin color, flesh color, how long they take, and whether they can shrug off disease.
Green-fleshed types are classics, with smooth skin that shifts from pale green to a slightly waxy, warmer shade as they ripen. Short season? Go for varieties labeled “early”—they’ll save you some waiting.
Orange-fleshed honeydews are popping up more in home gardens lately. They tend to be sweeter and a bit more complex, almost as if they’re showing off compared to the usual green.
If powdery mildew or similar headaches are common where you garden, check for varieties bred to resist those problems. Seed packets and catalogs usually spell out disease resistance, and it’s worth a glance before you order.
Light
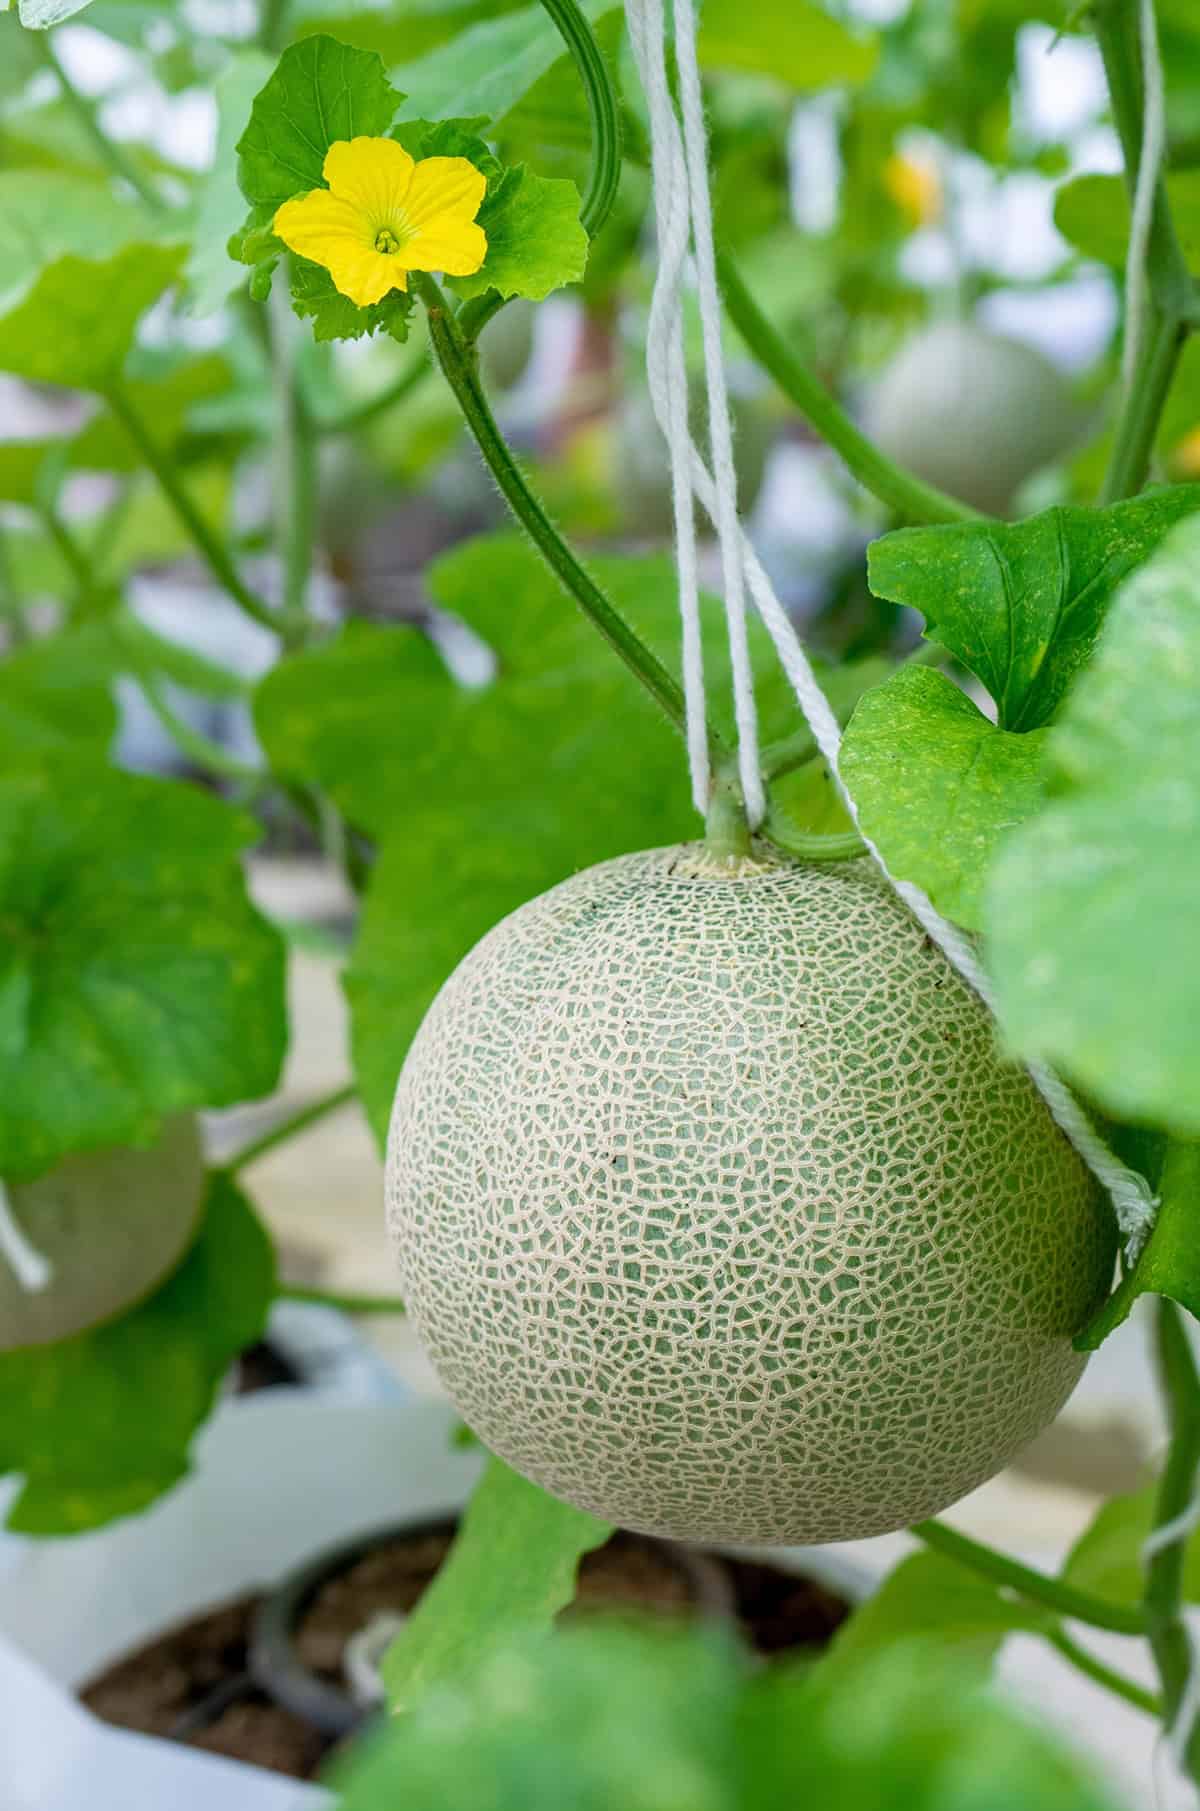
Bright, unfiltered sunlight is non-negotiable for these melons. Less than eight hours and you’re asking for disappointment—fewer fruits, less sugar, just not worth the effort.
Scout your garden for a spot that soaks up sun all day, especially in the afternoon. Once vines get going, moving them isn’t really an option. Beds facing south or west usually work well across the US.
Container growers on patios or decks can cheat a bit by rotating pots as the sun shifts, squeezing out every bit of daylight.
Water
Letting the soil dry a bit between deep soakings is the trick. Frequent, shallow watering just encourages lazy, shallow roots and plants that wilt at the first dry spell. Shoot for 1–2 inches per week, and make sure it really gets down to the roots.
Drip irrigation is hard to beat. It delivers water right where it’s needed and keeps the leaves dry, which helps keep disease at bay. If you’re stuck with overhead watering, do it early so leaves dry off before nightfall.
As the fruit starts to ripen, back off the water. This concentrates the sugars and makes a noticeable difference in flavor—one of those little secrets that separates great homegrown melons from the rest.
Mulching with straw or something similar helps keep the soil moist between waterings, especially once things heat up.
Feeding
Mixing a balanced fertilizer into the top six inches of soil before planting gives your melons a solid start.
Once those vines start running wild, side-dress with a bit of nitrogen—about 3–4 tablespoons of something like 21-0-0 per plant, sprinkled around the base and watered in. This boost helps the vines grow strong during their most active stretch.
Ease up on the nitrogen after fruit sets. Too much at that point just means leafy growth instead of sweet, juicy melons.
Growth Time
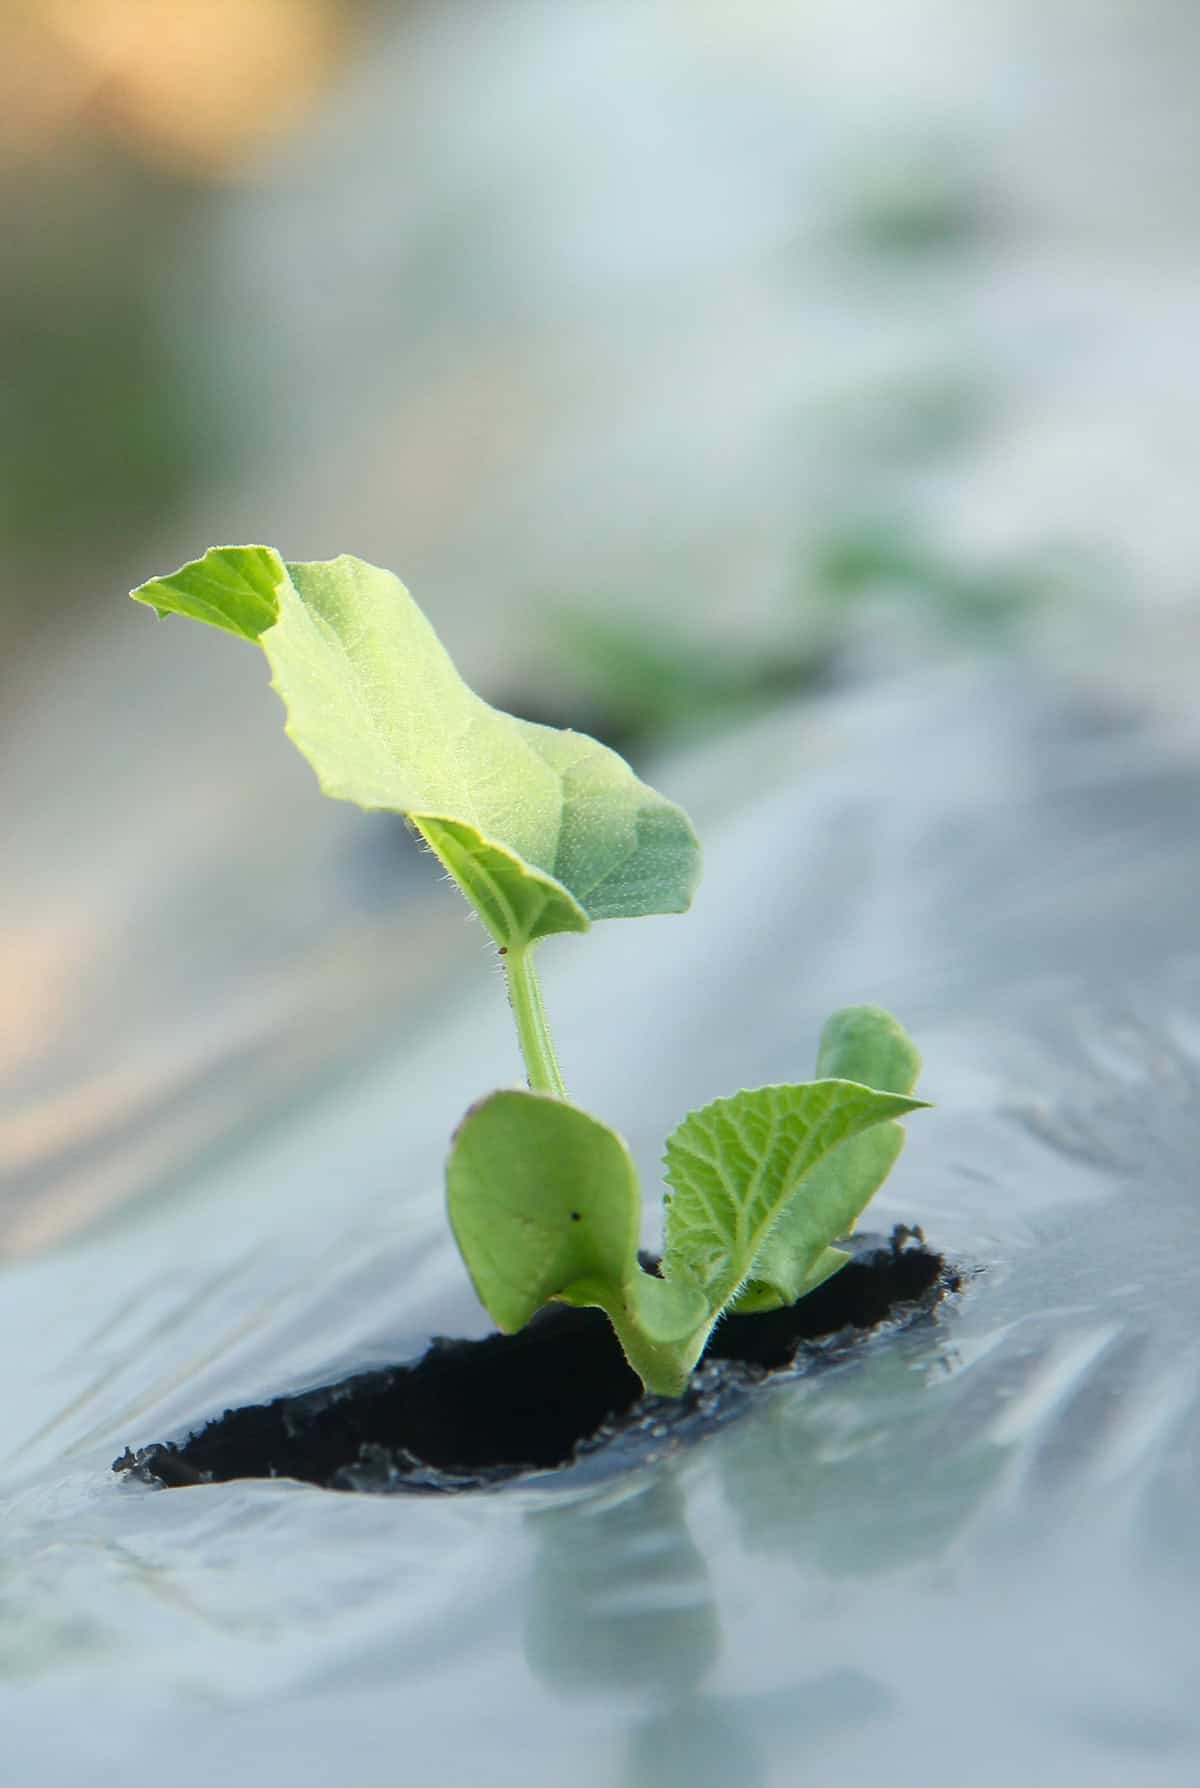
Patience is part of the deal. Plan on 80 to 100 days from transplant to harvest, and at least 45 days from when the fruit sets after flowering.
That long window is why starting with transplants pays off, especially if your summers are on the shorter side. Transplants can give you a two-week head start, which can make all the difference as fall creeps in.
Consistently hot days and warm nights set you up for the best-tasting fruit. If autumn chills show up early in your area, plant on time—waiting too long just means you’ll be racing the first frost.
Growing In Containers
Container-grown honeydews demand a bit more from you, mostly in the form of space and attention. Go for a pot that’s at least 5 gallons—10 is even better if you’ve got the room. Drainage holes are a must.
Skip garden soil; it compacts and chokes roots in containers. A good-quality potting mix made for veggies holds moisture but still drains well.
A trellis or some kind of vertical support helps keep things tidy and gets the vines off the ground. When fruit starts to swell, sling each melon with fabric or mesh tied to the trellis to keep it from weighing down the vine.
Container plants dry out faster than those in the ground, so check moisture often and water before the top inch dries out. Feed with a balanced liquid fertilizer every couple of weeks during the growing season.
Harvest
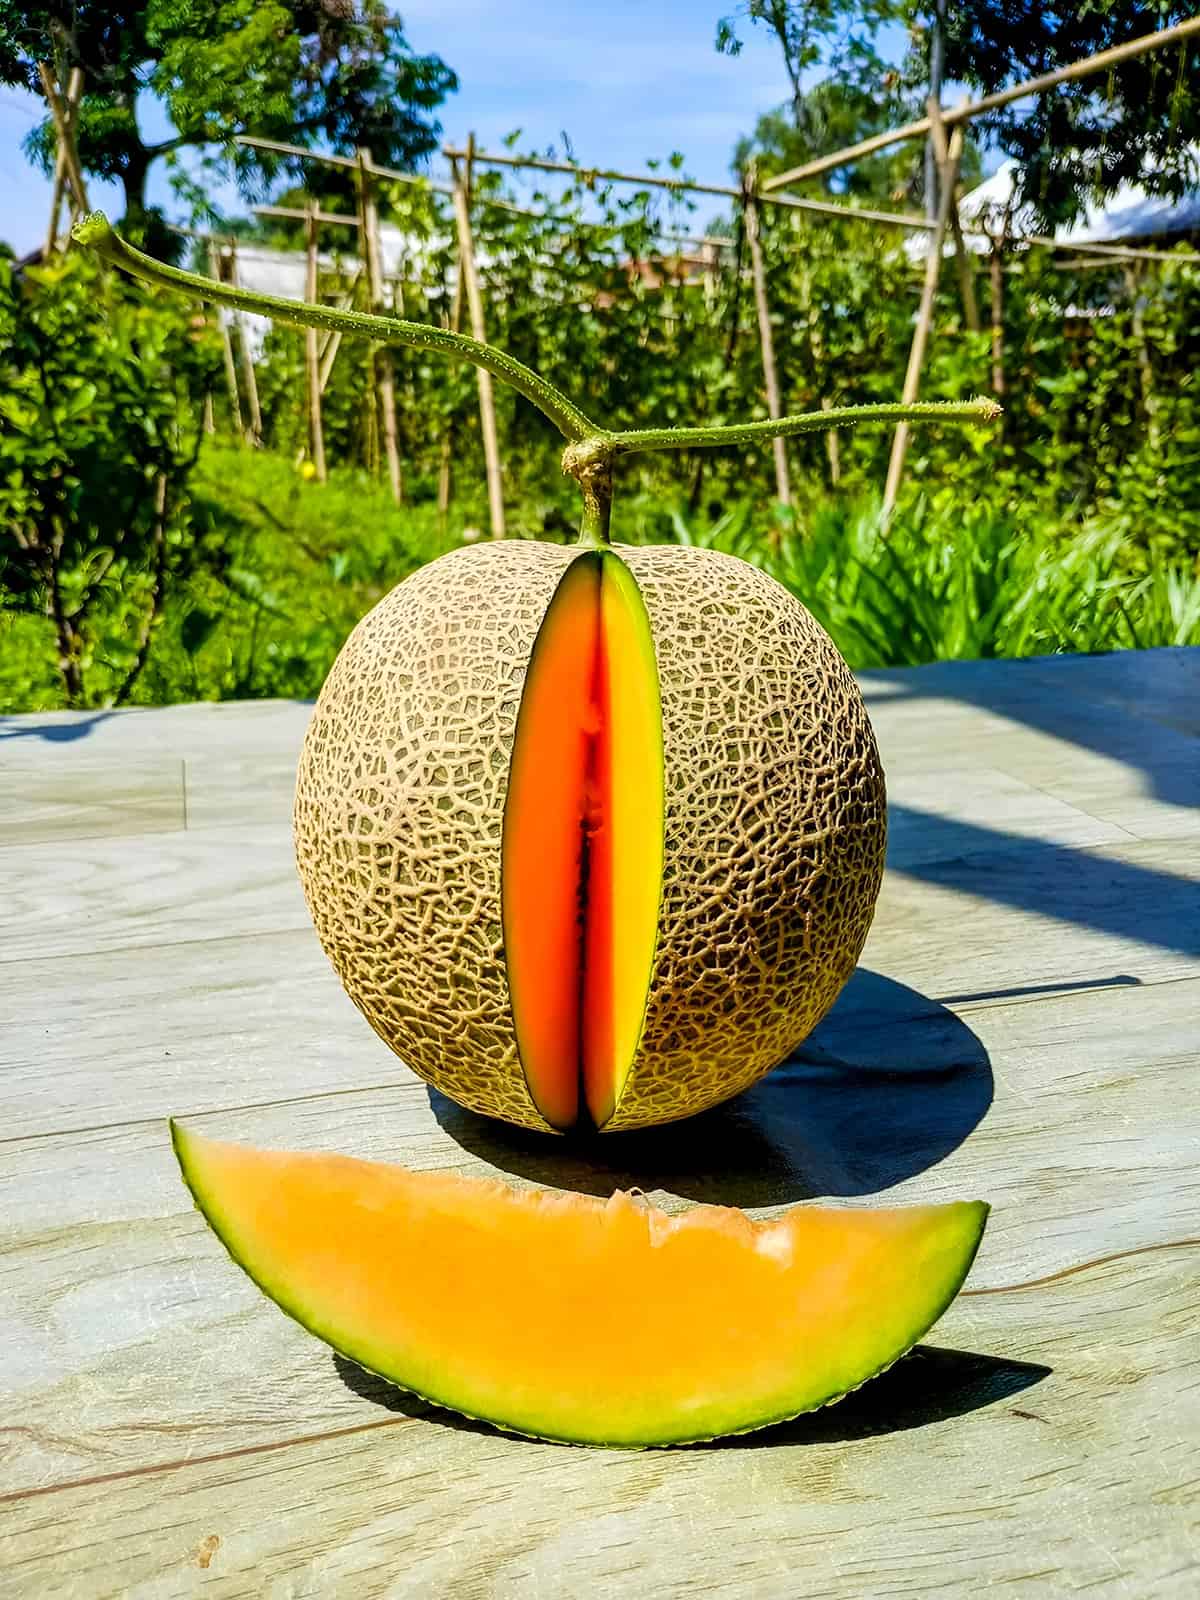
Ripe honeydew can be tricky to spot, especially if you’re used to cantaloupe, which basically falls off the vine when ready. Honeydews don’t give you that luxury.
Instead, look for a shift in the rind color—from greenish to a warmer, creamy or yellowish tone. The skin should feel a bit waxy or even sticky, not just smooth. Sometimes you’ll notice tiny cracks near the blossom end as ripeness approaches.
Use clean, sharp pruners or a knife to cut the fruit from the vine, leaving a short stem attached. Don’t yank—it won’t end well.
Whole honeydews keep surprisingly well. Store them at 45 to 50°F and they’ll last 3 to 6 weeks. Once you cut one open, stash it in the fridge and eat within a few days.
Common Problems And Troubleshooting
Growing honeydew isn’t without its headaches—some issues seem to pop up every season, but most can be wrangled with a bit of attention.
Those striped or spotted cucumber beetles? They’re a real menace. Not only do they chew through leaves and vines, sapping the plant’s strength, but they’re also notorious for spreading bacterial wilt. If you spot even a few, it’s smart to act fast with insecticides rather than gambling on the problem just going away.
Aphids tend to hide out on the undersides of leaves, leaving them curled and puckered. These tiny pests are more than just an eyesore; they’re little disease couriers. Sometimes a good, hard spray from the hose knocks them off, but when they really take hold, insecticidal soap is usually the go-to.
Older leaves dusted with that telltale white, powdery coating? That’s powdery mildew making itself at home. Humid evenings and wet foliage only encourage it. Some folks swear by resistant varieties, and honestly, skipping late-day overhead watering seems to make a difference.
Sudden vine collapse can be downright demoralizing. Bacterial wilt, courtesy of those cucumber beetles, is often the culprit. Getting ahead of beetle populations early on is about the only reliable way to dodge this disaster.
Blossoms with no fruit set can be frustrating. It’s usually a pollination hiccup. Early flowers are male and will drop off anyway, while female blooms—those with a tiny swelling at the base—come a bit later. Bees and other pollinators are essential here, so holding off on pesticide use during blooming hours really does help.