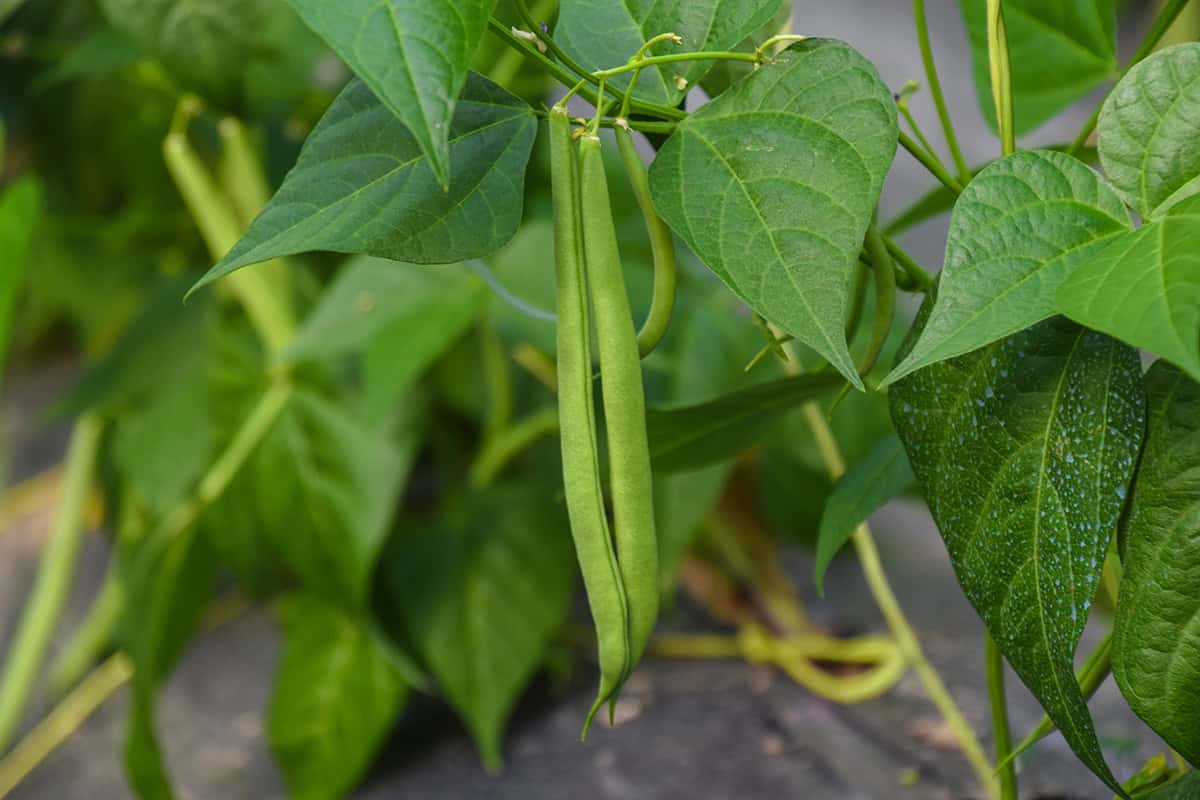
Every thriving green bean plant starts with healthy soil and plenty of sunlight. Consistent watering and regular harvesting encourage vigorous growth and even more pods. Read this guide to give your plants the best possible start.
Table of Contents
Quick Growing & Care Summary
Here’s a quick rundown to keep handy before you dive in:
- Light: Full sun, at least 6–8 hours daily
- Soil: Loose, well-drained, loamy; pH 6.0–6.8
- Water: About an inch per week, more when pods develop
- Temperature: Soil needs to be at least 60–70°F; air temps between 60–75°F work best
- Humidity: Average is fine; avoid leaves staying wet for long
- Fertilizer: Not a heavy feeder; balanced fertilizer at planting, not much after
- USDA Zones: Annual in 3–10
- Days to Harvest: 50–80, depends on variety
- Mature Size: Bush types reach 1–2 ft; pole types, 6–10 ft (with support)
- Propagation: Sow seeds directly after last frost; don’t bother with transplanting
Jumping the gun and planting beans too early is a classic mistake. Seeds rot in cold, soggy soil. Patience really pays off here. When you nail the timing, beans are some of the most productive plants you’ll ever grow per square foot.
Soil
The feel underfoot says a lot—beans sulk in heavy, soggy ground. They want loose, well-drained earth with a touch of organic matter mixed in. If you can dig down eight inches and the soil crumbles in your hand, you’re on the right track. Compost or aged manure worked into the bed helps with both drainage and moisture retention, odd as that sounds.
Watering can trip people up. Those first few weeks, let the soil dry slightly between waterings. Young seedlings drown easily or fall to fungal problems if things stay too wet. If your garden soil is sticky or puddles after rain, raised beds save a lot of headaches.
Beans have a neat trick: they fix their own nitrogen, so piling on fertilizer is unnecessary. Skip the high-nitrogen stuff—too much and you’ll get a jungle of leaves but hardly any beans. Moderation is the sweet spot.
Planting
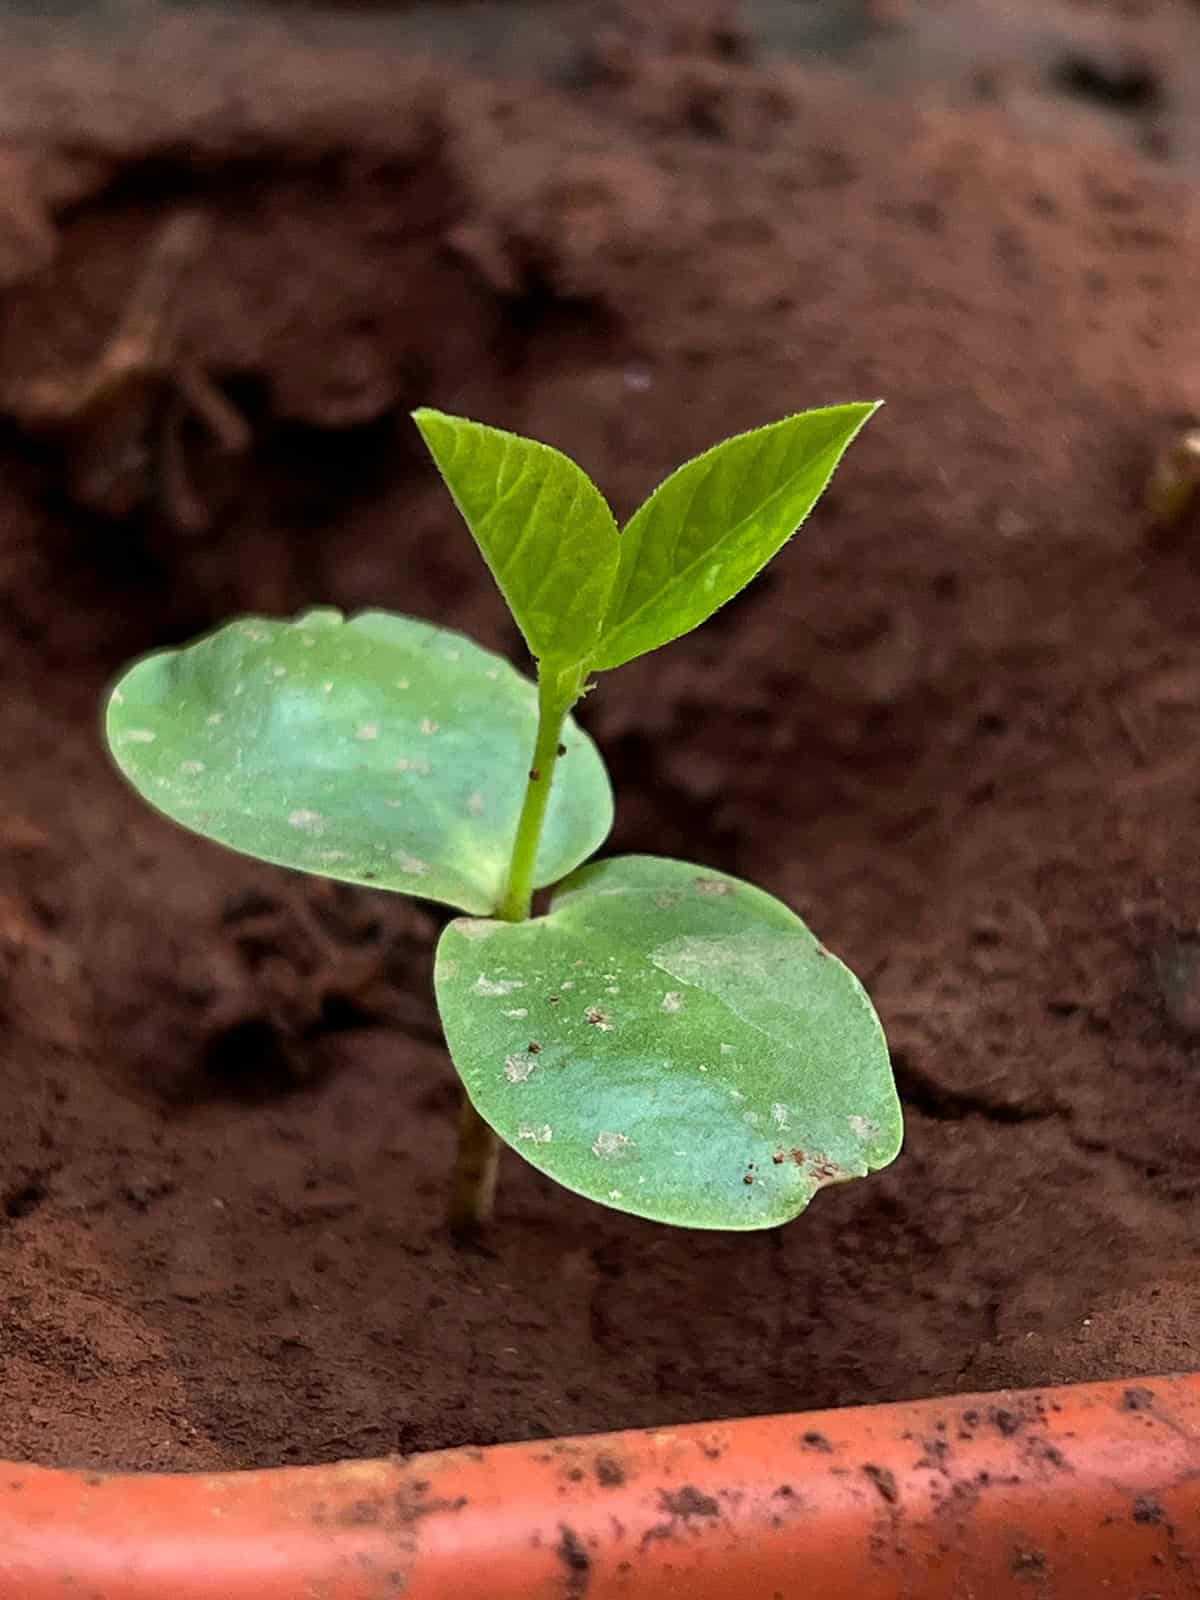
A warm, settled stretch of weather sets the stage. Beans won’t budge until the soil is at least 60°F (70°F is better). Frost is a dealbreaker, so check your dates and trust your soil thermometer.
Seeds go in about an inch deep. For bush types, plant them close—about 1–2 inches apart in rows two feet apart, thinning to 3–4 inches later. Soaking seeds overnight in warm water gives them a head start, especially if you’re impatient.
Staggering your sowings every two or three weeks keeps the harvest coming, instead of a single overwhelming glut. This way, your summer is full of fresh beans instead of one mad week of picking.
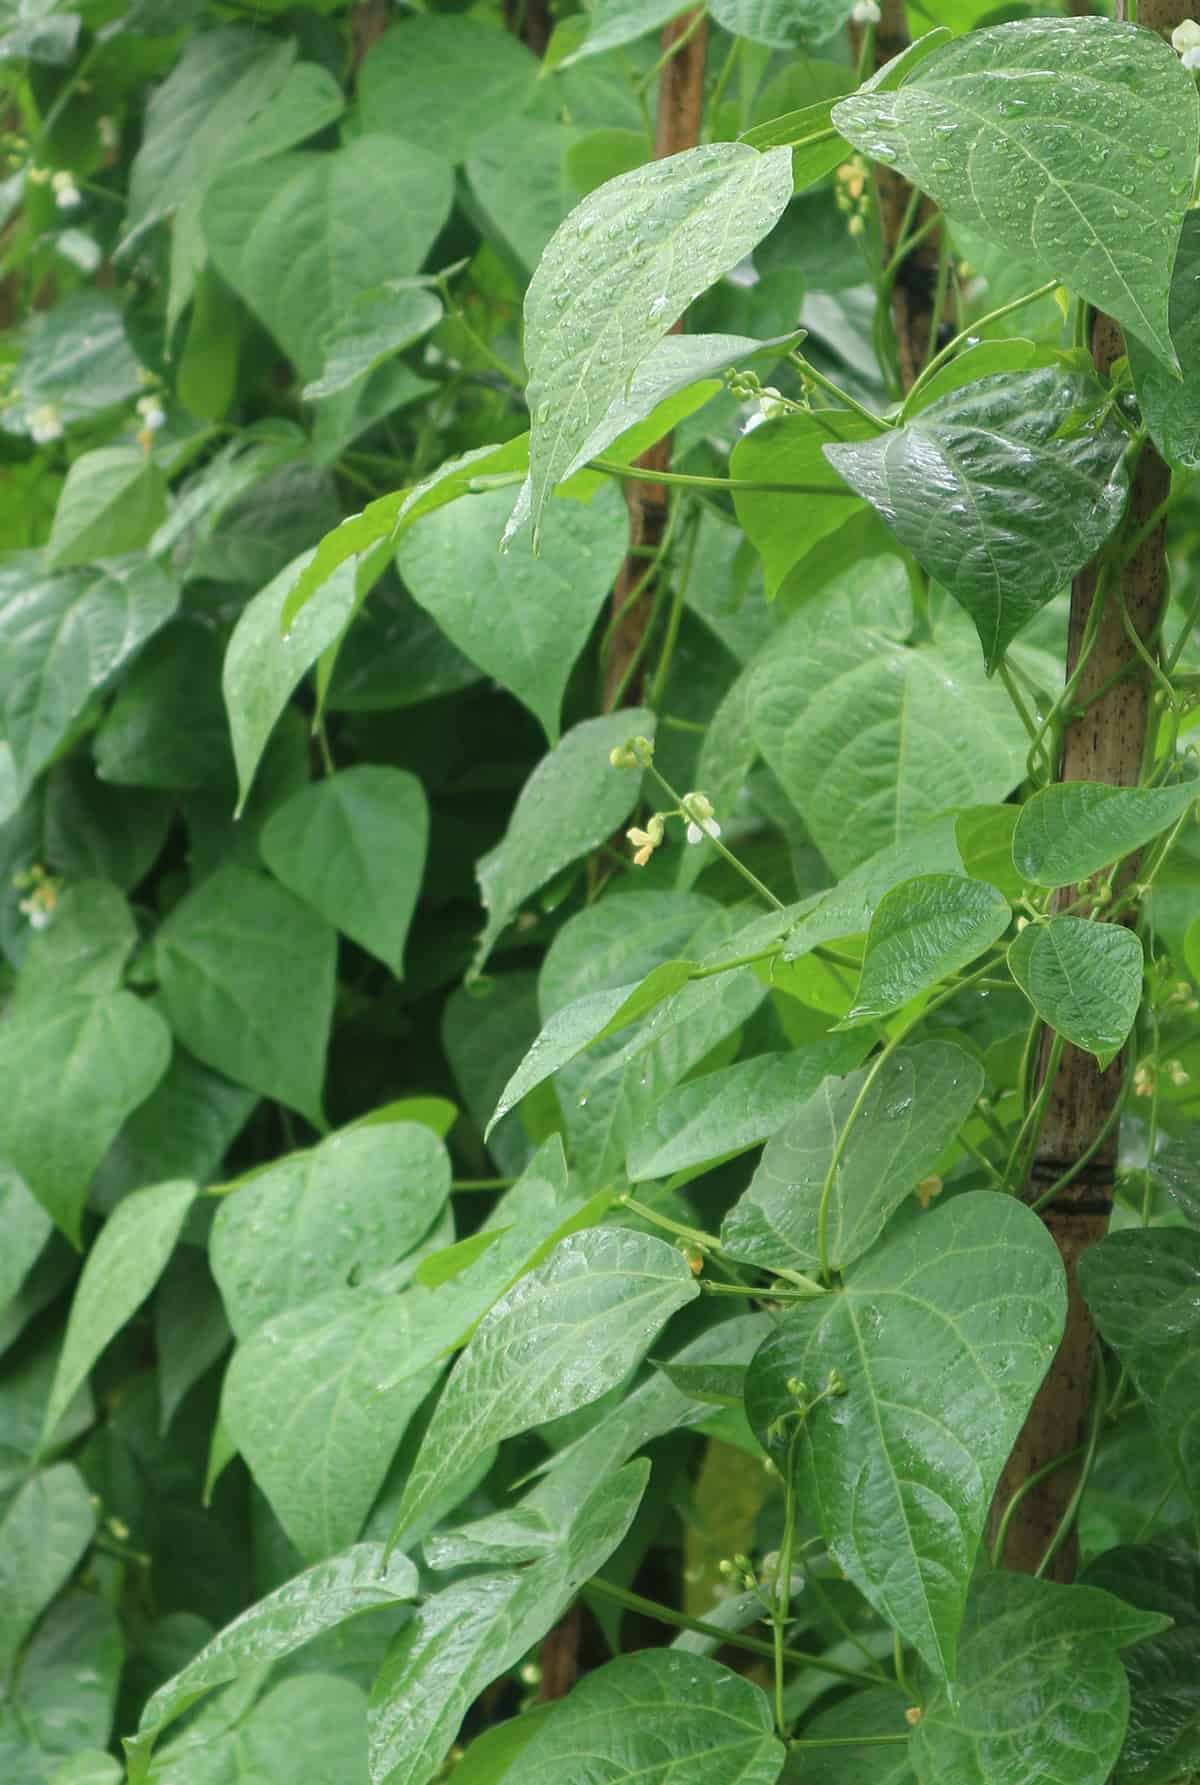
Pole beans are a different beast—vertical ambitions mean they need trellises. Stakes, bamboo teepees, even a sturdy fence will do. Drop seeds 3 inches apart at the base, thinning to 4–6 inches once they’re up. Give rows a couple feet of breathing room for airflow and easy picking.
Variety Selection
Space, patience, and your willingness to build a trellis shape your options. Bush beans keep things tidy, growing just a foot or two high with no need for support. Their harvest comes in a rush—perfect for canning or freezing. Pole beans, on the other hand, keep climbing and producing for weeks, but you’ll need to give them something to grab onto.
Bush Blue Lake 274 and Blue Lake Bush are favorites for a reason—reliable, tender, and stringless. Most home gardens have grown them at some point. If you’re leaning pole, Kentucky Wonder is a classic, producing hefty pods even in the heat, though it does get strings if you let them mature. Blue Lake Pole offers that same flavor without the strings.
For a little flash, Scarlet Runner beans bring fiery red flowers along with edible pods, so you get a show and a harvest. Wax beans (the yellow ones) mix things up with a milder taste and a splash of color.
If you want dry beans—think pinto or kidney—let the pods mature and dry out right on the plant. They take longer but are worth it if you want something for winter soups.
Light
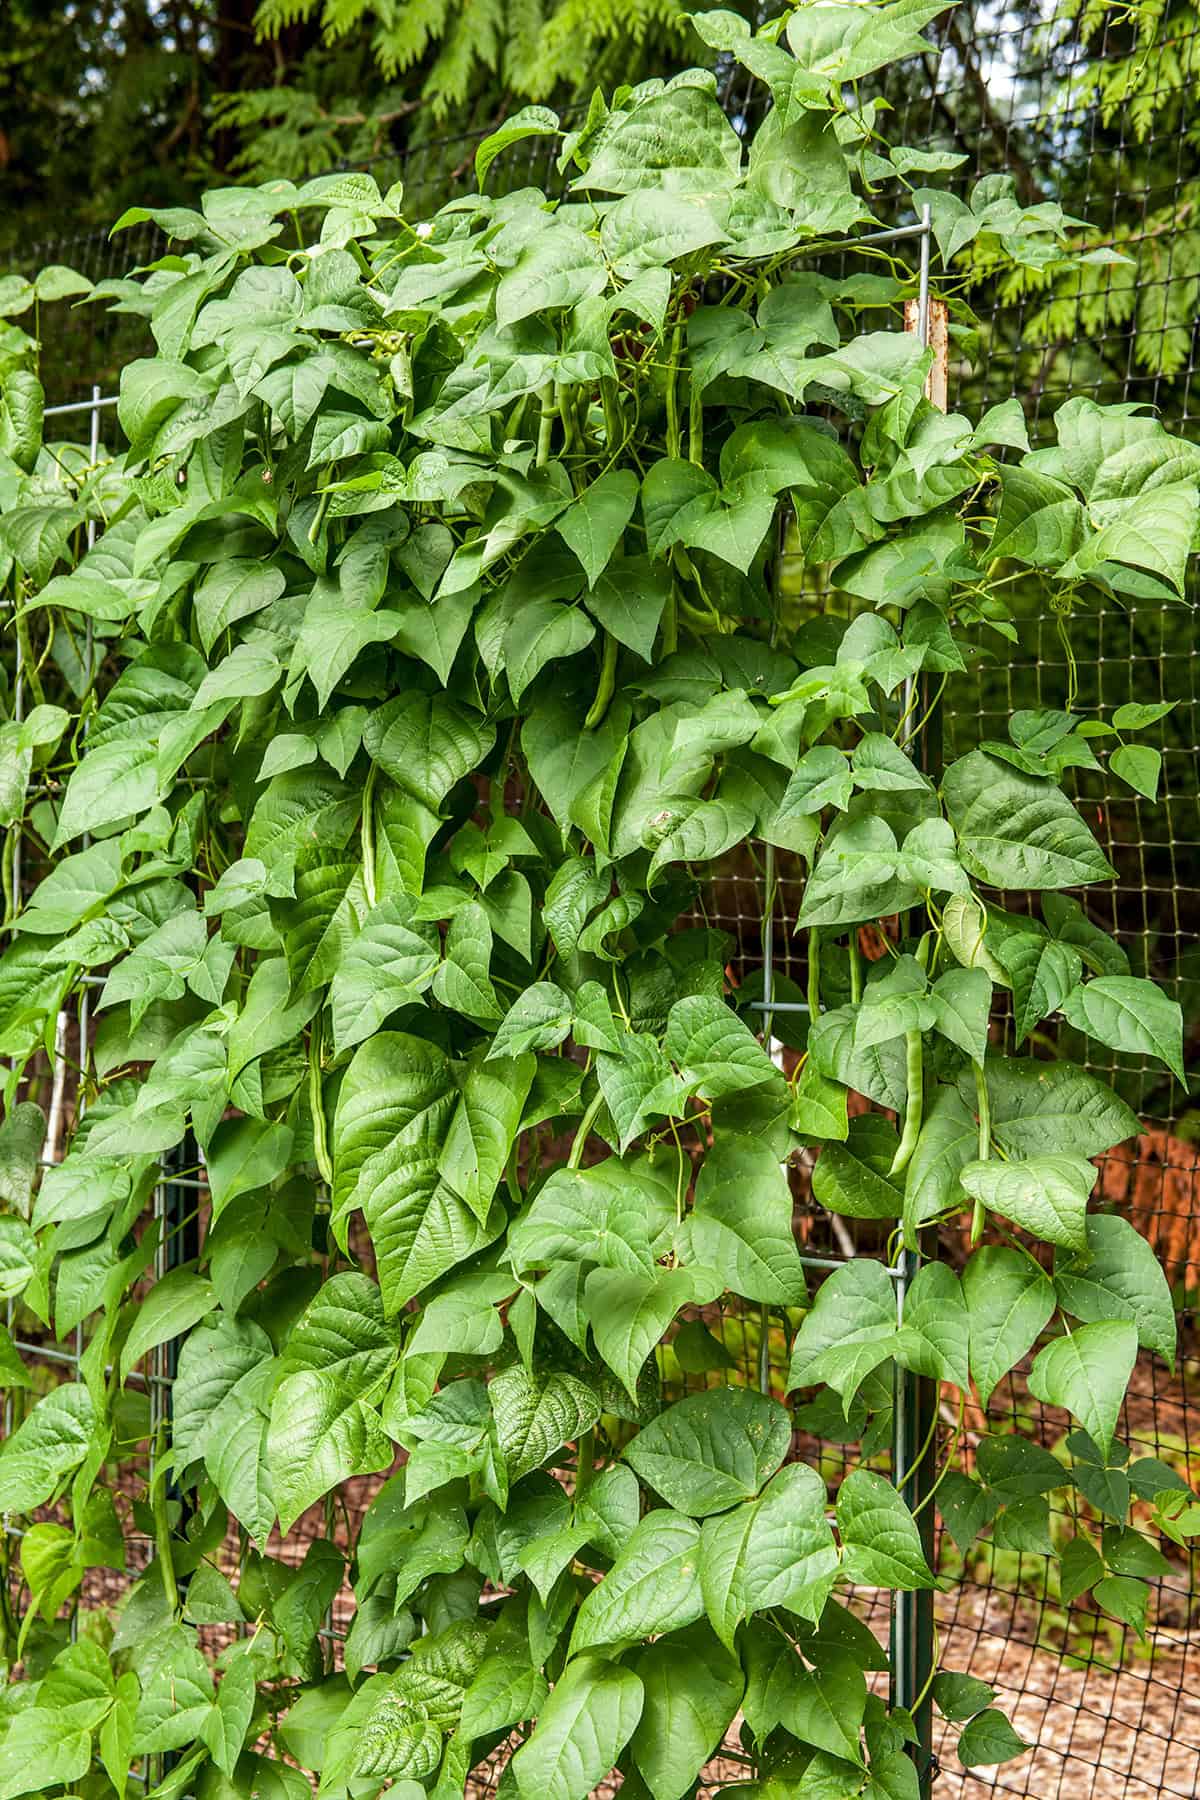
A sun-baked patch brings out the best in beans. Six to eight hours of direct sunlight is the baseline, but honestly, more is better if you can swing it.
Plants grown in dimmer spots get floppy, flower less, and barely set pods. If you’re stuck with partial shade, you might get a handful, but don’t expect a bumper crop. Beans crave sunlight, so give them your brightest real estate.
Early morning rays help dry dew from the leaves, cutting down on fungal headaches. In blistering-hot climates, a bit of afternoon shade won’t hurt, but full sun is still the goal.
Water
Beans are fussy about water, but not in the way you might think. They want even moisture—about an inch a week. Letting the soil swing from bone dry to soggy stresses the plants and messes with pod development.
Flowering and pod set are the big moments. If the soil dries out then, flowers drop and your harvest shrinks. Keep things evenly moist, especially during these stretches.
Overhead watering is a gamble. Wet leaves invite disease, especially during humid spells. A soaker hose or drip line is worth the trouble if you plant beans every year.
Feeding
Beans don’t ask for much. Their roots host bacteria that pull nitrogen from the air, so overfeeding—especially with nitrogen—just means more leaves and fewer pods.
Before you plant, work in a balanced fertilizer (10-2-6 or similar) at about 1–2 pounds per 100 square feet. That’s usually plenty to get seedlings going.
Once pods start setting, a light side-dressing (maybe half a cup of 15-5-10 per 10 feet of row) can help, but skip it if your soil is already rich. Too much fertilizer at this stage can actually slow down pod production.
Growth Time
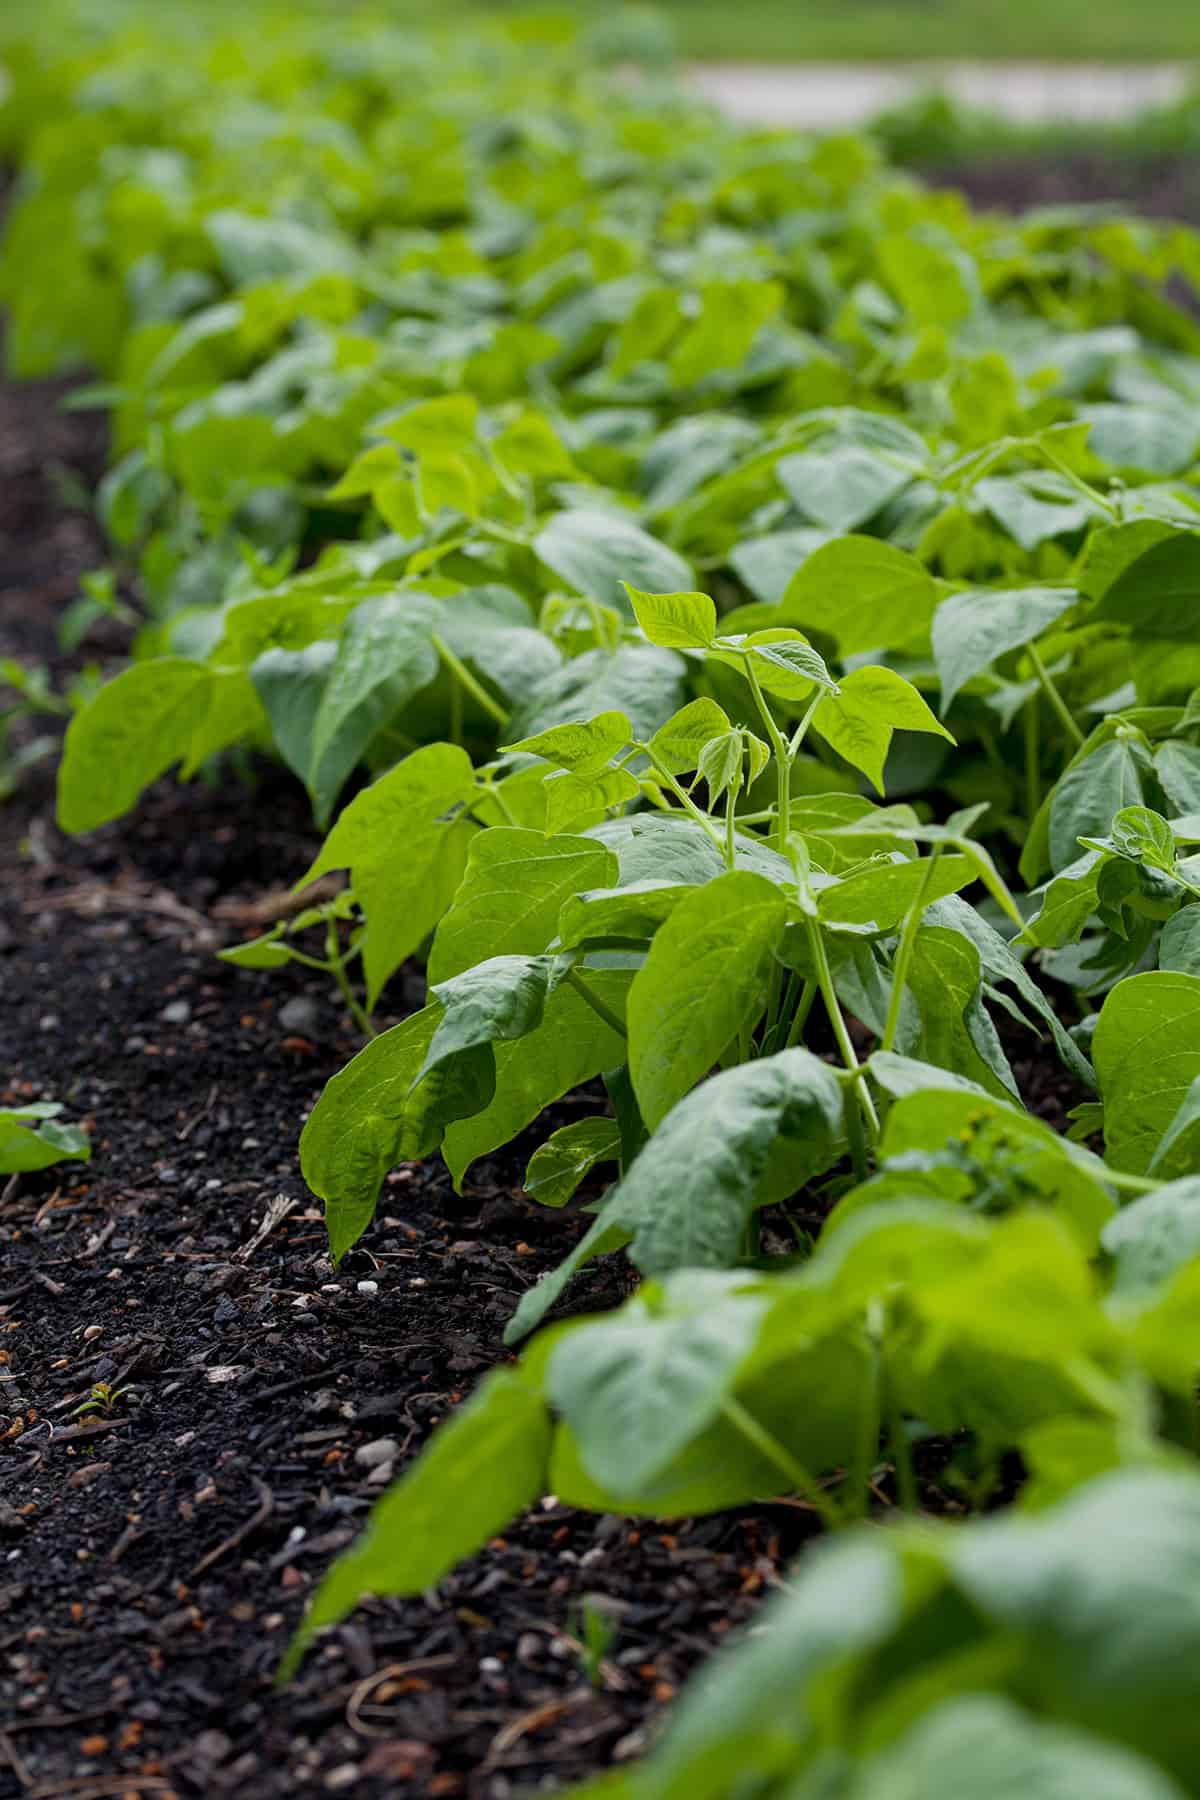
Green beans don’t dawdle. Bush types are usually ready in 50–60 days, while pole beans stretch it out a bit, but keep producing longer.
Soil warmth at planting makes a huge difference. Seeds in 70°F soil pop up in a week or so. Cooler soil means slow germination and a higher risk of rot.
Short growing season? Pick varieties with the lowest days-to-maturity you can find—50 to 55 days is ideal if your summers are on the brief side.
Growing In Containers
Container gardening suits bush beans perfectly. Compact plants don’t need a trellis and fit nicely in pots, planters, or grow bags.
Go for something at least a foot deep, with drainage holes. Pots dry out faster than garden beds, so check moisture often—sometimes daily in the heat. A good potting mix with some compost mixed in is perfect. Skip garden soil; it compacts and stifles roots.
Pole beans aren’t off-limits in containers, but you’ll need a sturdy support. A large, stable pot up against a fence or with a teepee trellis can work, but don’t skimp on size or it’ll tip.
Harvest
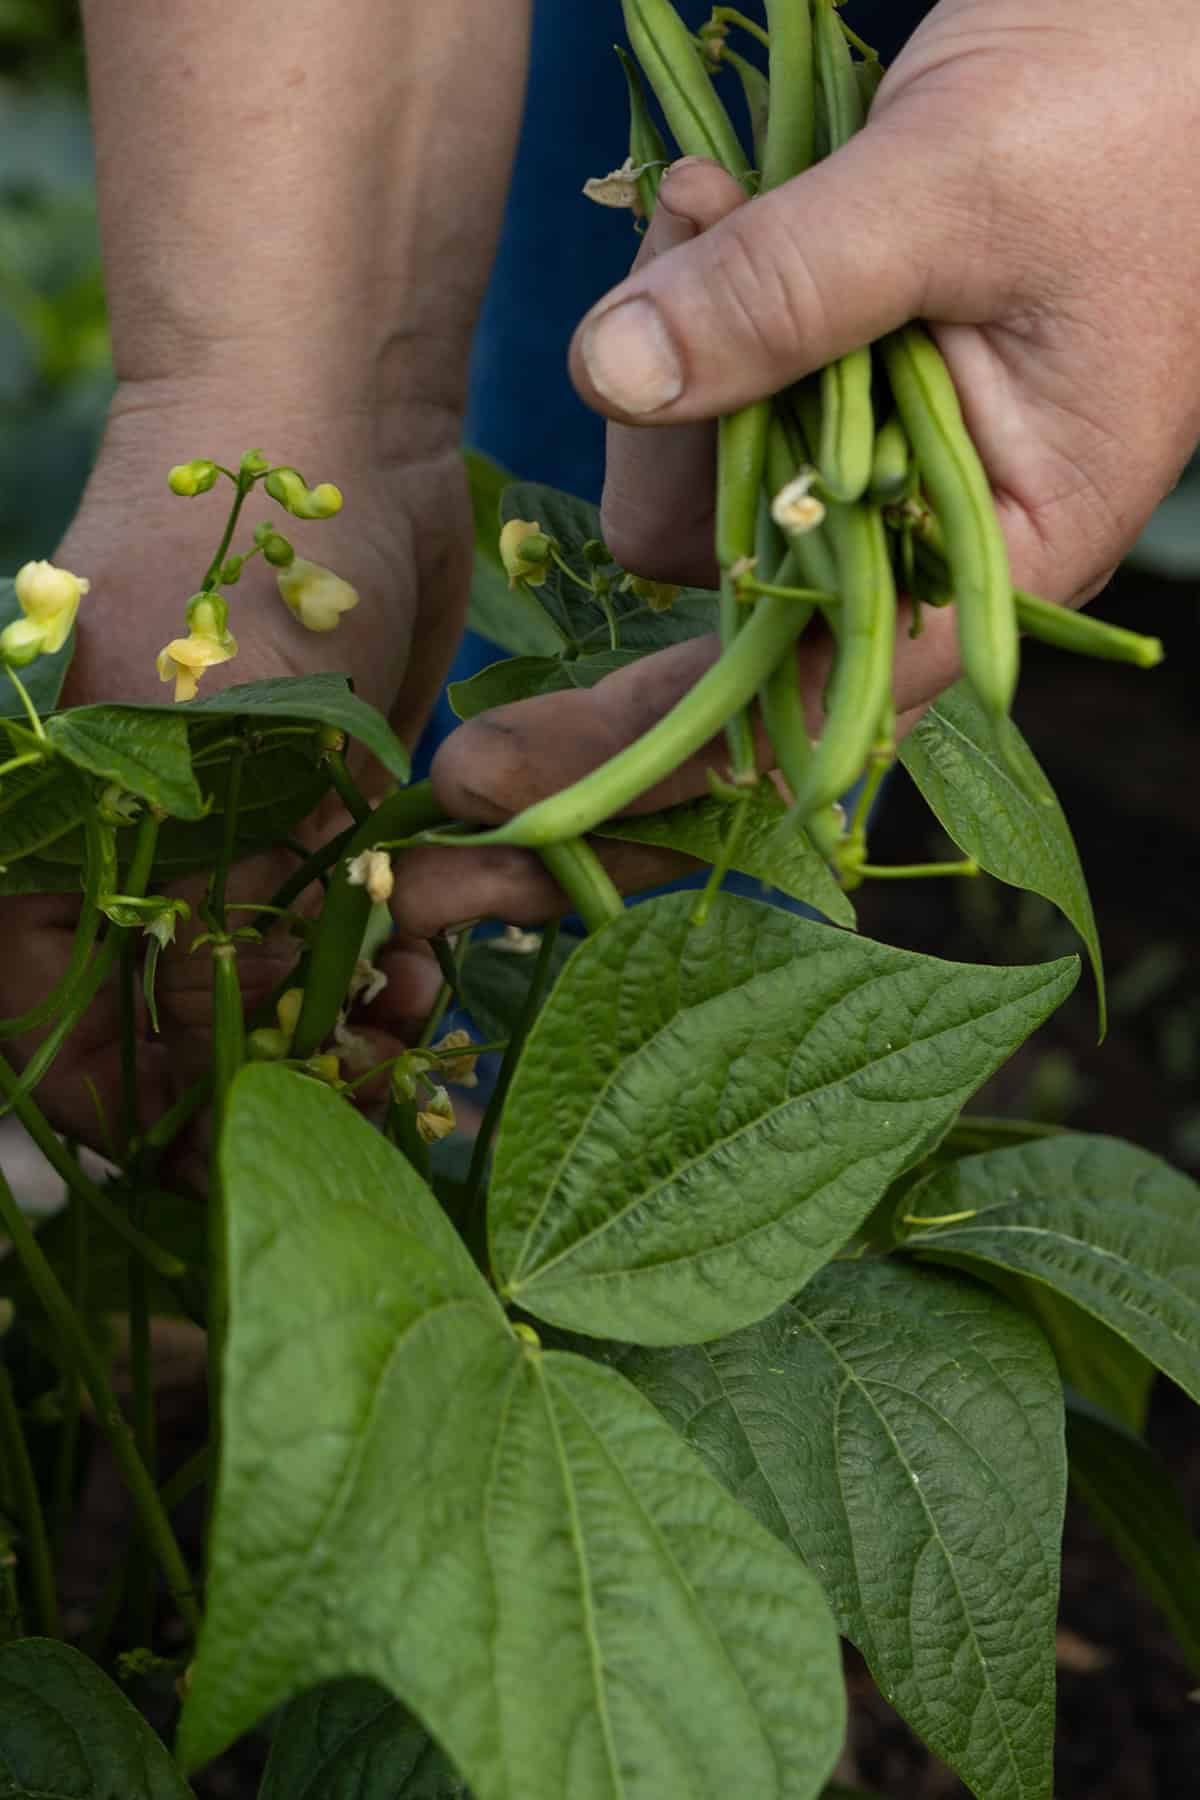
The moment of truth comes when pods are slim, crisp, and about the width of a pencil—usually 4–6 inches long, seeds inside still small.
Pick often, every couple days at peak. Letting pods swell and mature signals the plant to slow down, so regular harvesting keeps new beans coming and the plant churning out fresh pods.
Big, bumpy pods left too long get tough and stringy. Missed a few? Let them dry fully on the plant and stash them for soup beans or next year’s seed.
Cool mornings are the best time to harvest—pods are firm, and the plants are less likely to snap. Use both hands to avoid tearing branches, especially as the plants get older.
Common Problems And Troubleshooting
Let’s be honest, green beans can take a fair bit of abuse, but sooner or later, pests and the occasional disease will show up. Knowing what’s normal and what’s not can save you a lot of frustration down the line.
When it comes to pests, bean beetles top the list for sheer annoyance. That yellow, spotted Mexican bean beetle—looks like a ladybug’s rowdy cousin—can really shred leaves if you’re not paying attention. Their larvae and adults both chew through foliage, sometimes faster than you’d expect. If you spot clusters of eggs or the bugs themselves hiding under leaves, picking them off by hand actually works surprisingly well for small gardens. Bigger outbreaks sometimes call for neem spray or a blast with insecticidal soap, but don’t expect miracles overnight.
Mid-summer tends to bring a sudden wave of Japanese beetles, those metallic green and copper nuisances that leave leaves looking like lacework. They’re easiest to catch early in the morning, when they’re barely moving—just shake them into a bucket of soapy water and move on. Beetle traps? Honestly, they’re more trouble than they’re worth, usually pulling in more beetles than they trap.
Tiny culprits like leafhoppers and thrips can be a real pain to diagnose. You might notice leaves turning yellow or looking strangely twisted, and sometimes it’s a sign of something viral hitching a ride. Row covers help keep these insects at bay when plants are young, and some folks swear by reflective mulches to throw them off.
Ever come out in the morning to find seedlings sliced right at the soil? Classic cutworm calling card. A simple collar made from cardboard or plastic around each stem at planting goes a long way to keep those sneaky night feeders from ruining your day.
Humidity and warmth can trigger bean rust, which shows up as rusty spots on the backs of leaves. If you see those telltale pustules, act fast—pull and trash any affected leaves, skip overhead watering, and space plants so air can move through. In areas where rust keeps coming back, going with resistant varieties is just plain practical.