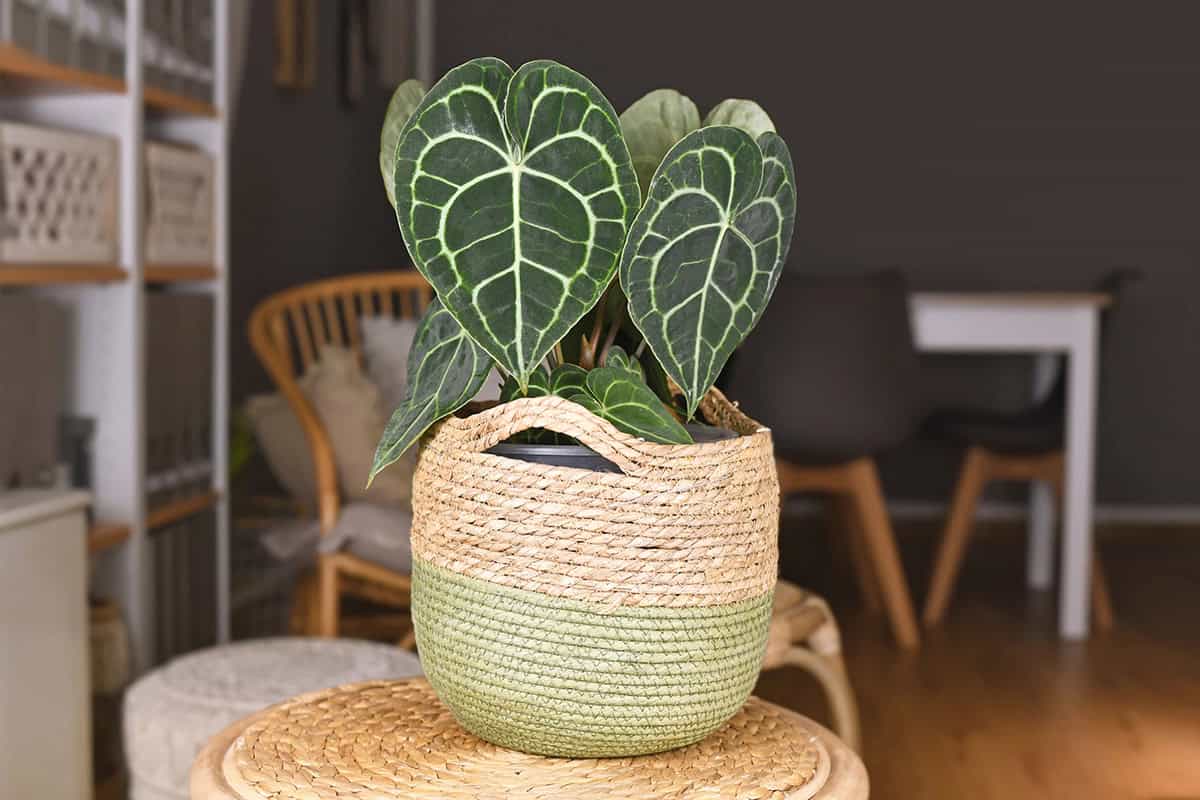
Anthurium Clarinervium has become a favorite for one simple reason: the leaves are stunning. Dark green surfaces and bright white veins give it a look that few houseplants can match. The article below covers what helps this plant stay healthy and produce beautiful foliage.
Table of Contents
Quick Care Summary
A spot with plenty of filtered light makes all the difference—direct sun will scorch, but too little and the leaves shrink and lose their drama.
For soil, skip anything heavy or dense. A blend of orchid bark, perlite, and peat or coco coir keeps things airy and lets excess water run off. Letting the top inch of soil dry out before watering helps avoid root rot. Less is more in winter.
Warmth matters—keep things between 65°F and 80°F, and don’t let it dip below 60°F if you can help it. Chilly drafts are a no-go.
Humidity is a big deal. Anything above 60% is ideal. Dry air leads to crispy, brown edges. Pebble trays or a humidifier can help if your air’s on the dry side.
A diluted, balanced fertilizer every month or so during active growth is plenty. Too much, and you’ll see salt buildup or root damage. No need to feed in winter.
Division is the go-to propagation method. Just split off healthy sections with roots and pot them up fresh.
Light: Bright, indirect
Soil: Chunky, airy, drains fast
Watering: Top inch dry before watering
Temperature: 65–80°F
Humidity: 60%+
Fertilizer: Diluted, balanced, monthly when growing
Propagation: Division
Plant Overview
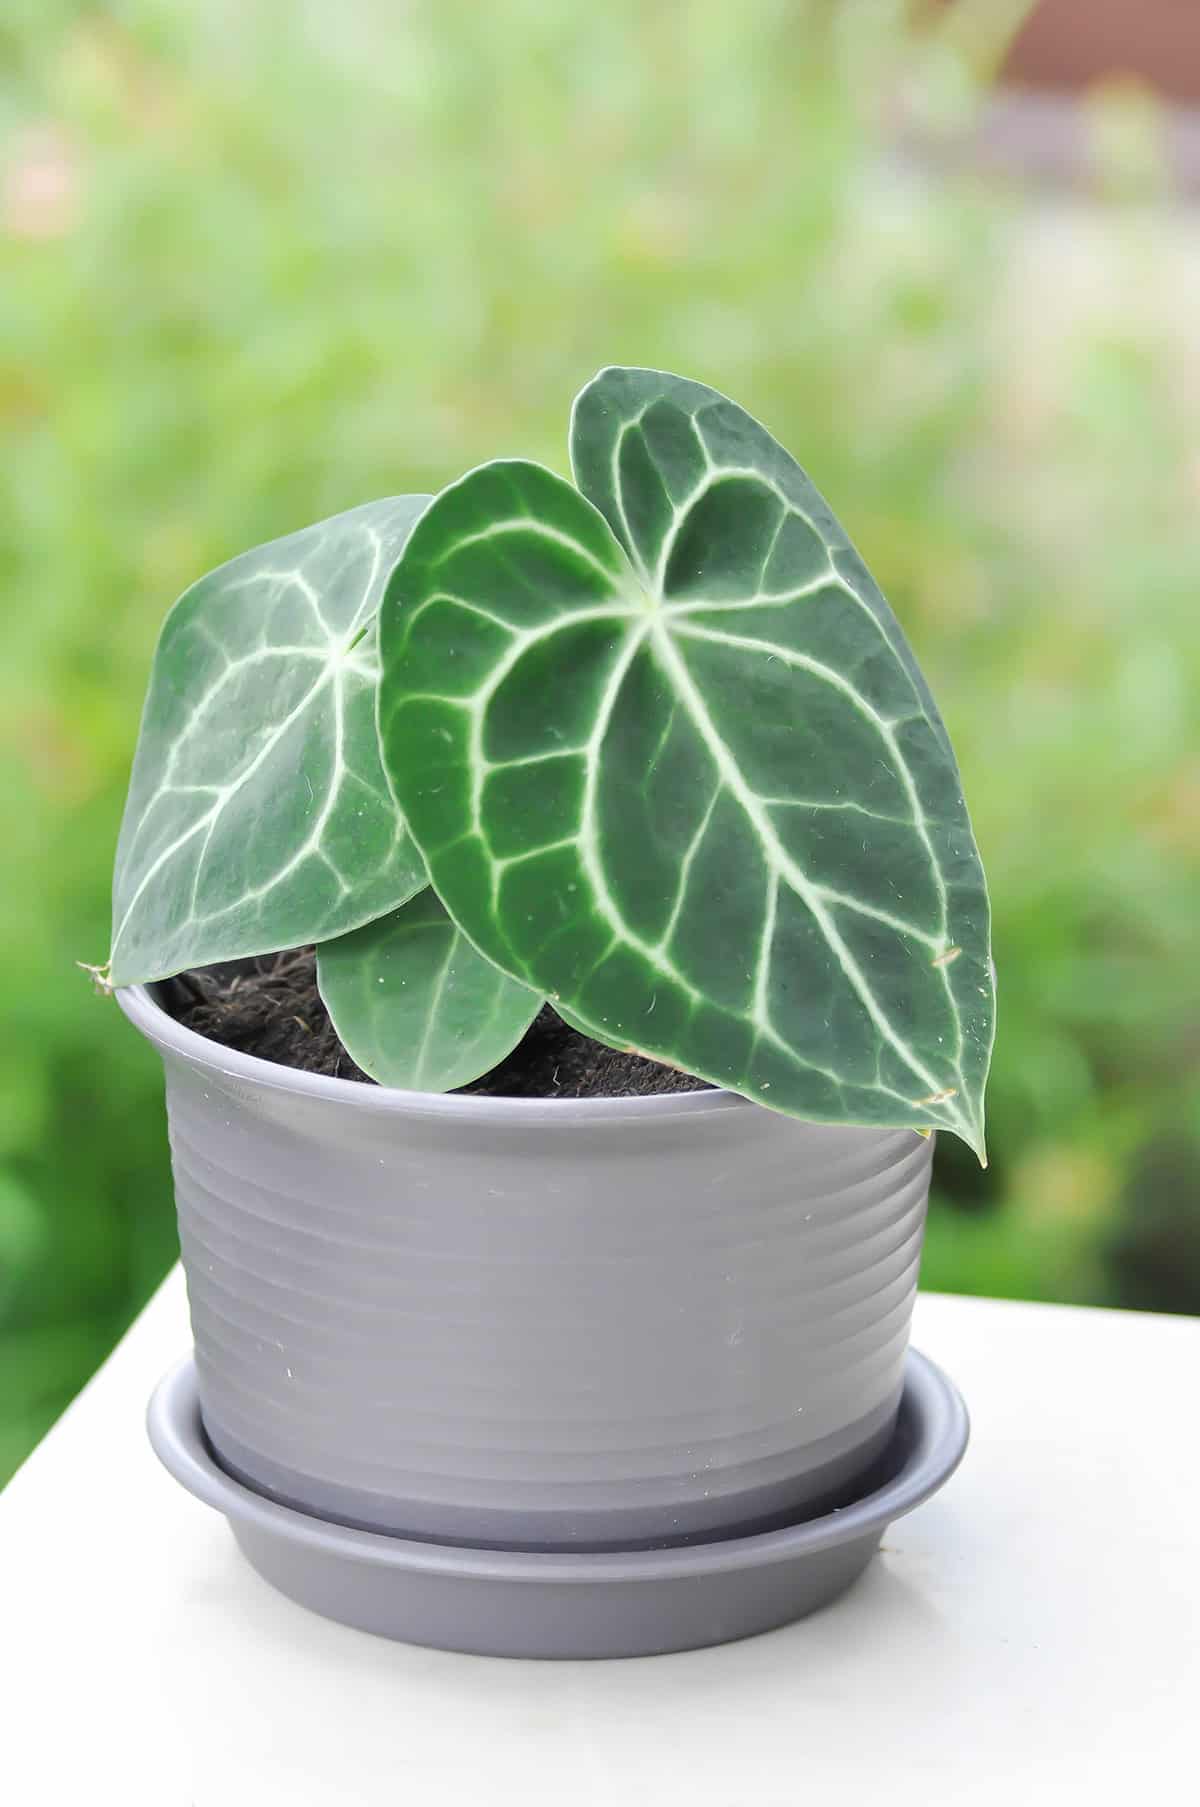
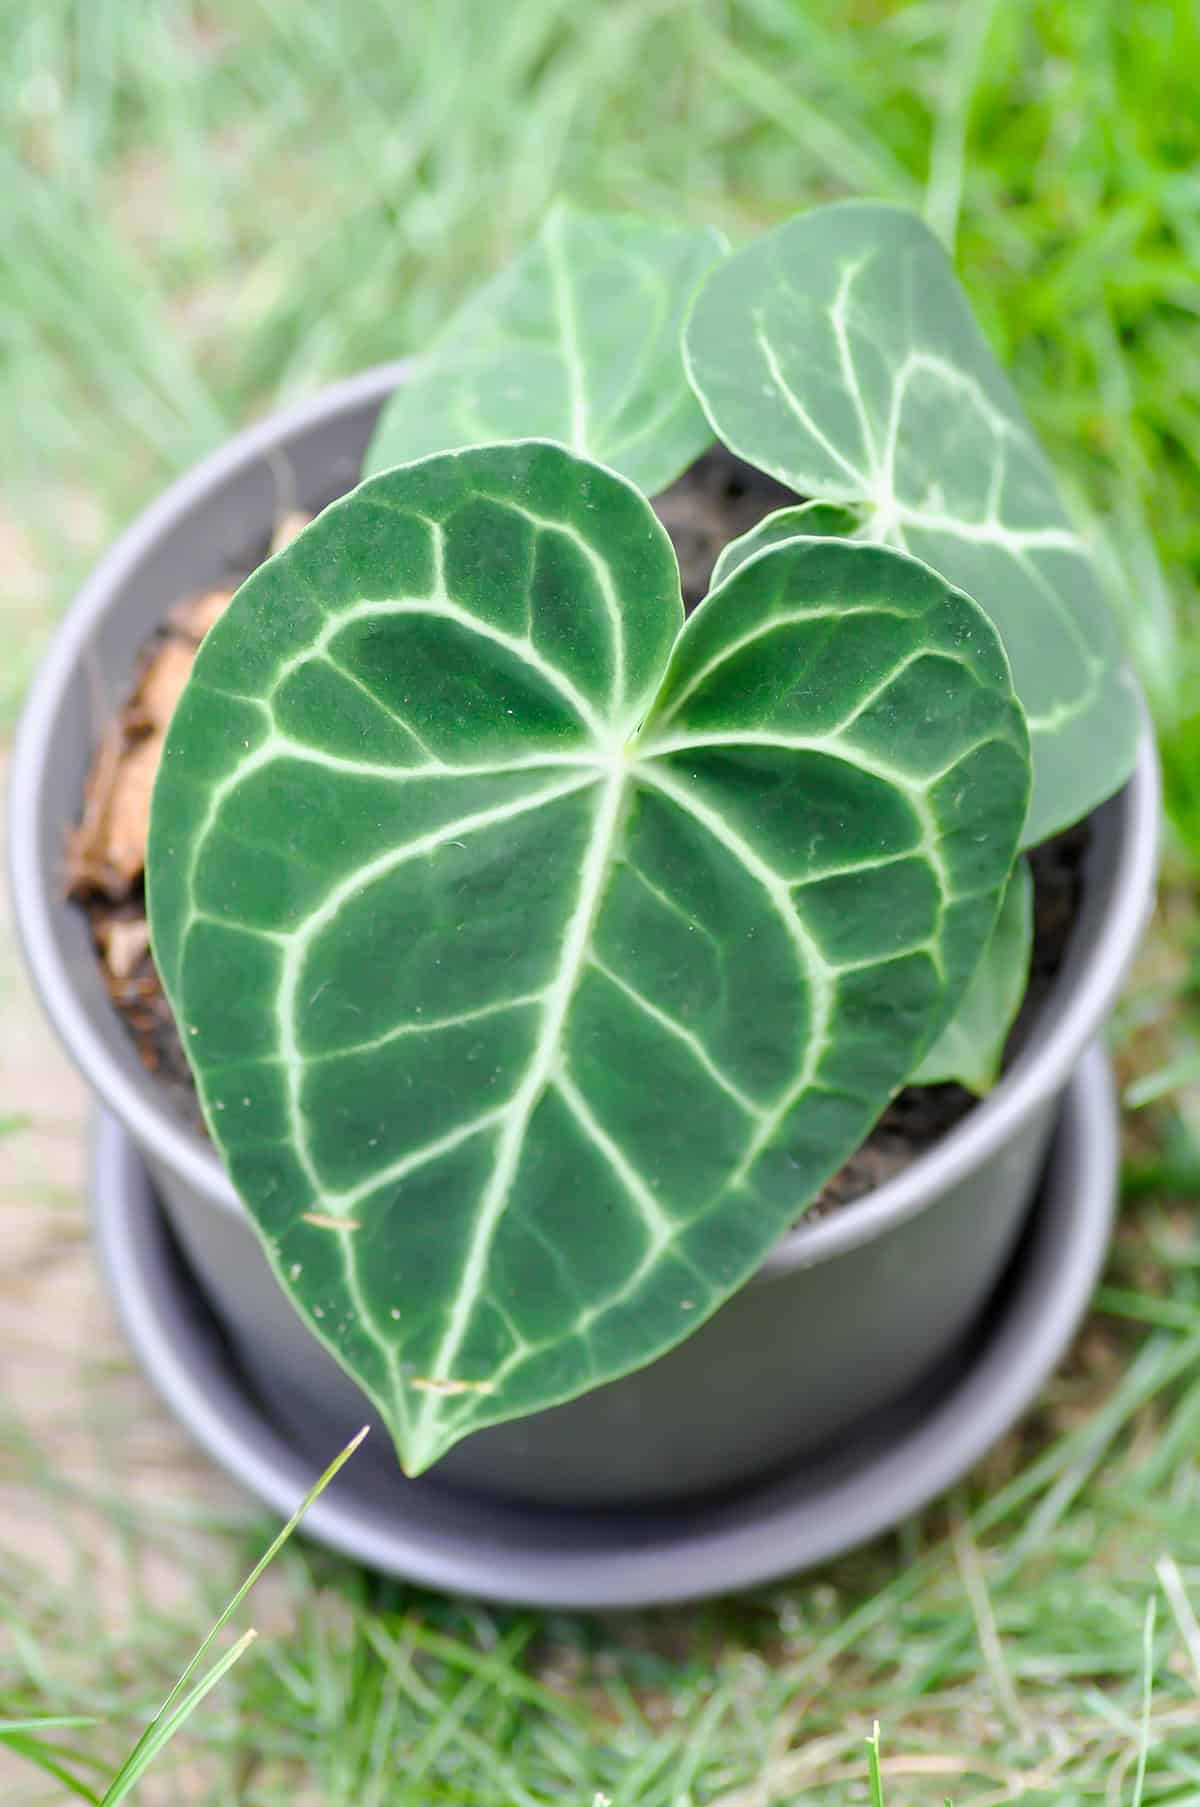
That heart-shaped, velvety foliage is the main event here—flowers barely register. Thick leaves with crisp white veins feel almost plush to the touch. The compact size makes it easy to fit on a desk or shelf, and it rarely outgrows its welcome.
Native to southern Mexico, these aroids thrive on rocky limestone in warm, humid spots. Indoors, you get to play weather god, dialing in the right mix of light and water to suit your space. Growth tends to be slow but steady if you keep things consistent.
Botanical name: Anthurium clarinervium
Common names: Velvet Cardboard Anthurium
Plant type: Tropical perennial
Mature size: 1–2 feet, both tall and wide
Growth rate: Slow to moderate
Toxicity: Toxic if eaten—keep away from pets and kids
Native region: Southern Mexico
People love this plant for the contrast it brings—those bold veins and firm leaves really pop. No need for constant pruning, either. With decent care, it’ll look lush all year.
Light
Filtered sunlight, like what you’d get under a forest canopy, is where this plant feels at home. An east-facing window delivers gentle morning rays, which works well. North-facing spots can do the trick too, as long as the room’s bright. If you’ve only got south or west windows, back the pot away from the glass.
Too much sun? You’ll spot pale patches or crispy leaf tips before long. The veins lose their punch, and the whole plant starts looking washed out.
Dim corners aren’t much better—growth slows, and leaves shrink. The plant can hang on, but it won’t impress.
Grow lights can bridge the gap if your place is gloomy. A full-spectrum LED, set about a foot above, running 10–12 hours a day, usually does the job.
Give the pot a spin every couple weeks so it doesn’t lean toward the light.
Water
Finding the sweet spot between damp and soggy is key. Wait until the top inch or two of soil dries out before watering. Forget strict schedules—stick your finger in the mix and let that be your guide.
When you do water, give it a thorough soak so excess drains out. Don’t let the pot sit in a puddle; roots hate being waterlogged.
How often you water depends on temperature, light, and pot size. Warm, bright rooms mean thirstier plants. Cooler, dimmer spots slow things down. Always check the soil instead of guessing.
Watch the leaves—they’ll tell you what’s up. Droopy or dull? Probably thirsty. Yellowing or leaf drop? Back off the water and check your drainage.
Room-temperature water works best. Super cold water can shock the roots. If your tap water is hard, flush the soil now and then with distilled or filtered water to clear out salts.
Soil
Dense, soggy mixes spell disaster for these roots. Airy, fast-draining blends let them breathe and fend off rot.
Mix up something chunky: equal parts orchid bark, perlite, and peat moss or coco coir give roots plenty of room. That loose texture keeps water moving and prevents compaction.
Standard potting soil is too heavy on its own. If you must use it, throw in a good dose of bark and perlite to lighten things up.
Aim for a pH between 5.5 and 7.0. Rich organic content is good, but avoid mixes that break down into mush. Swapping out the soil every couple of years keeps things fresh.
Don’t forget the pot—drainage holes are non-negotiable. Roots need air as much as water. Never, ever let the plant sit in a swamp.
Temperature & Humidity
Warmth is non-negotiable. Daytime temps in the 70–85°F range are ideal. Nights can cool off to about 65°F, but any lower and you risk stalling growth or damaging those leaves.
Drafts are troublemakers. Keep the plant away from open windows, doors, or blasting vents. Sudden cold snaps will stress it out fast.
Humidity is just as important. Shoot for 60–80%. Dry air leads to brown, crispy edges and sluggish new growth. Grouping plants, running a humidifier, or setting the pot on a pebble tray all help boost local moisture.
Bright bathrooms can be a surprisingly good home for this one, thanks to the naturally higher humidity.
Fertilizer
During spring and summer, a little food goes a long way. Use a balanced, water-soluble fertilizer at half the recommended strength, once a month. Skip feeding in fall and winter.
Early in the season, something close to a 3‑1‑2 ratio encourages big, bold leaves. Later, a shift to 1‑2‑2 can help roots and overall health. Always dilute more than the label suggests—this plant is sensitive to salt buildup.
Flush the soil with plain water every so often to clear out any leftover fertilizer. Look for a product with micronutrients like magnesium and iron to keep those veins and leaves vivid. If growth stalls or leaves pale, double-check your light and feeding routine before adding more fertilizer.
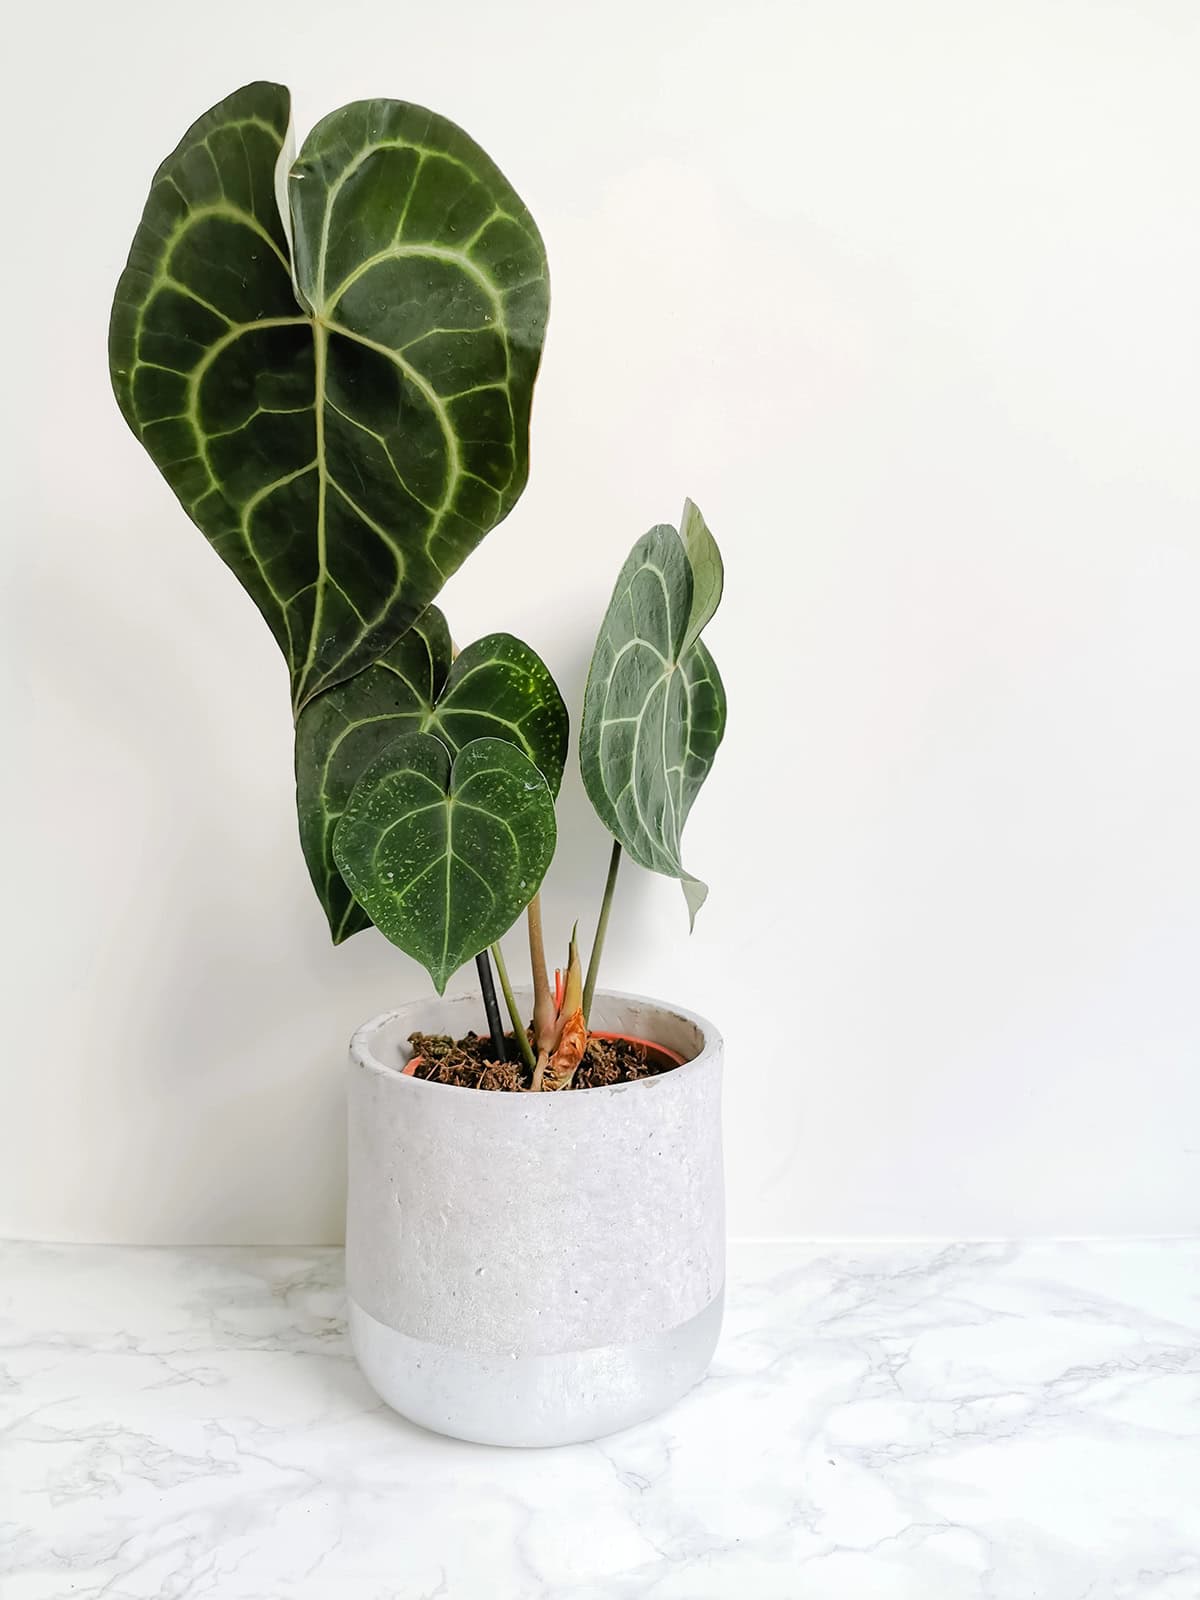
Potting & Repotting
A snug pot with a drainage hole is best—don’t size up unless roots are circling or bursting out. When it’s time, go just an inch or two larger.
Stick with a coarse, airy mix (peat or coco coir, pine bark, perlite). Since this plant naturally grows on trees and rocks, heavy soil suffocates roots.
Moisten your new mix before moving the plant. Ease it out gently, tease apart any packed roots, and replant at the same depth. Fill in around the root ball without packing too tight.
Leave some space at the top for easy watering. After repotting, give it a drink and let any excess drain away. Spring or early summer is the safest window for this job—these plants don’t love being disturbed.
Pruning
Minimal fuss here. Growth stays pretty tidy, so you’ll mostly just snip off any yellow, brown, or battered leaves.
Use sharp, clean scissors or pruners. Cut close to the base for a cleaner look and less risk of disease.
Check in every few weeks for spent flowers or worn-out leaves. If things get crowded, trimming a few outer leaves can help with airflow and light.
Skip any heavy-handed shaping—this isn’t a plant that needs sculpting. Always disinfect your tools before and after.
Propagation
Dividing a healthy, mature plant is the simplest way to get more Anthurium clarinervium. Early spring works best.
Gently unpot and loosen the root ball. Split off natural clusters, making sure each has roots and at least one leaf. Use a sterile knife if things are tangled, and dust any big cuts with charcoal to keep rot at bay.
Pot up each section in a small container with a chunky aroid mix. Keep things slightly moist and humid, but avoid soggy conditions. Bright, indirect light and warmth (around 70°F) help new roots get established.
Common Problems
Yellowing leaves? Usually too much water or poor drainage. Check for mushy roots and a funky smell—root rot is a common culprit. If needed, trim away damaged roots and repot in a fresh, airy mix.
Crispy brown edges tend to show up when humidity drops or the soil gets too dry. A humidifier or pebble tray can make a big difference, and be sure not to let the soil dry out completely.
Faded leaves or bleached veins often mean the light is too harsh. Pull the plant back from direct sun and stick to filtered light.
Dark, mushy spots on leaves signal possible disease, often from poor airflow or wet foliage. Prune affected leaves with clean tools and avoid misting directly onto leaves.
Pests like spider mites and mealybugs occasionally show up—look for fine webbing, cottony patches, or sticky residue. Treat with insecticidal soap or neem oil, and check leaf undersides regularly to catch problems early.
Varieties
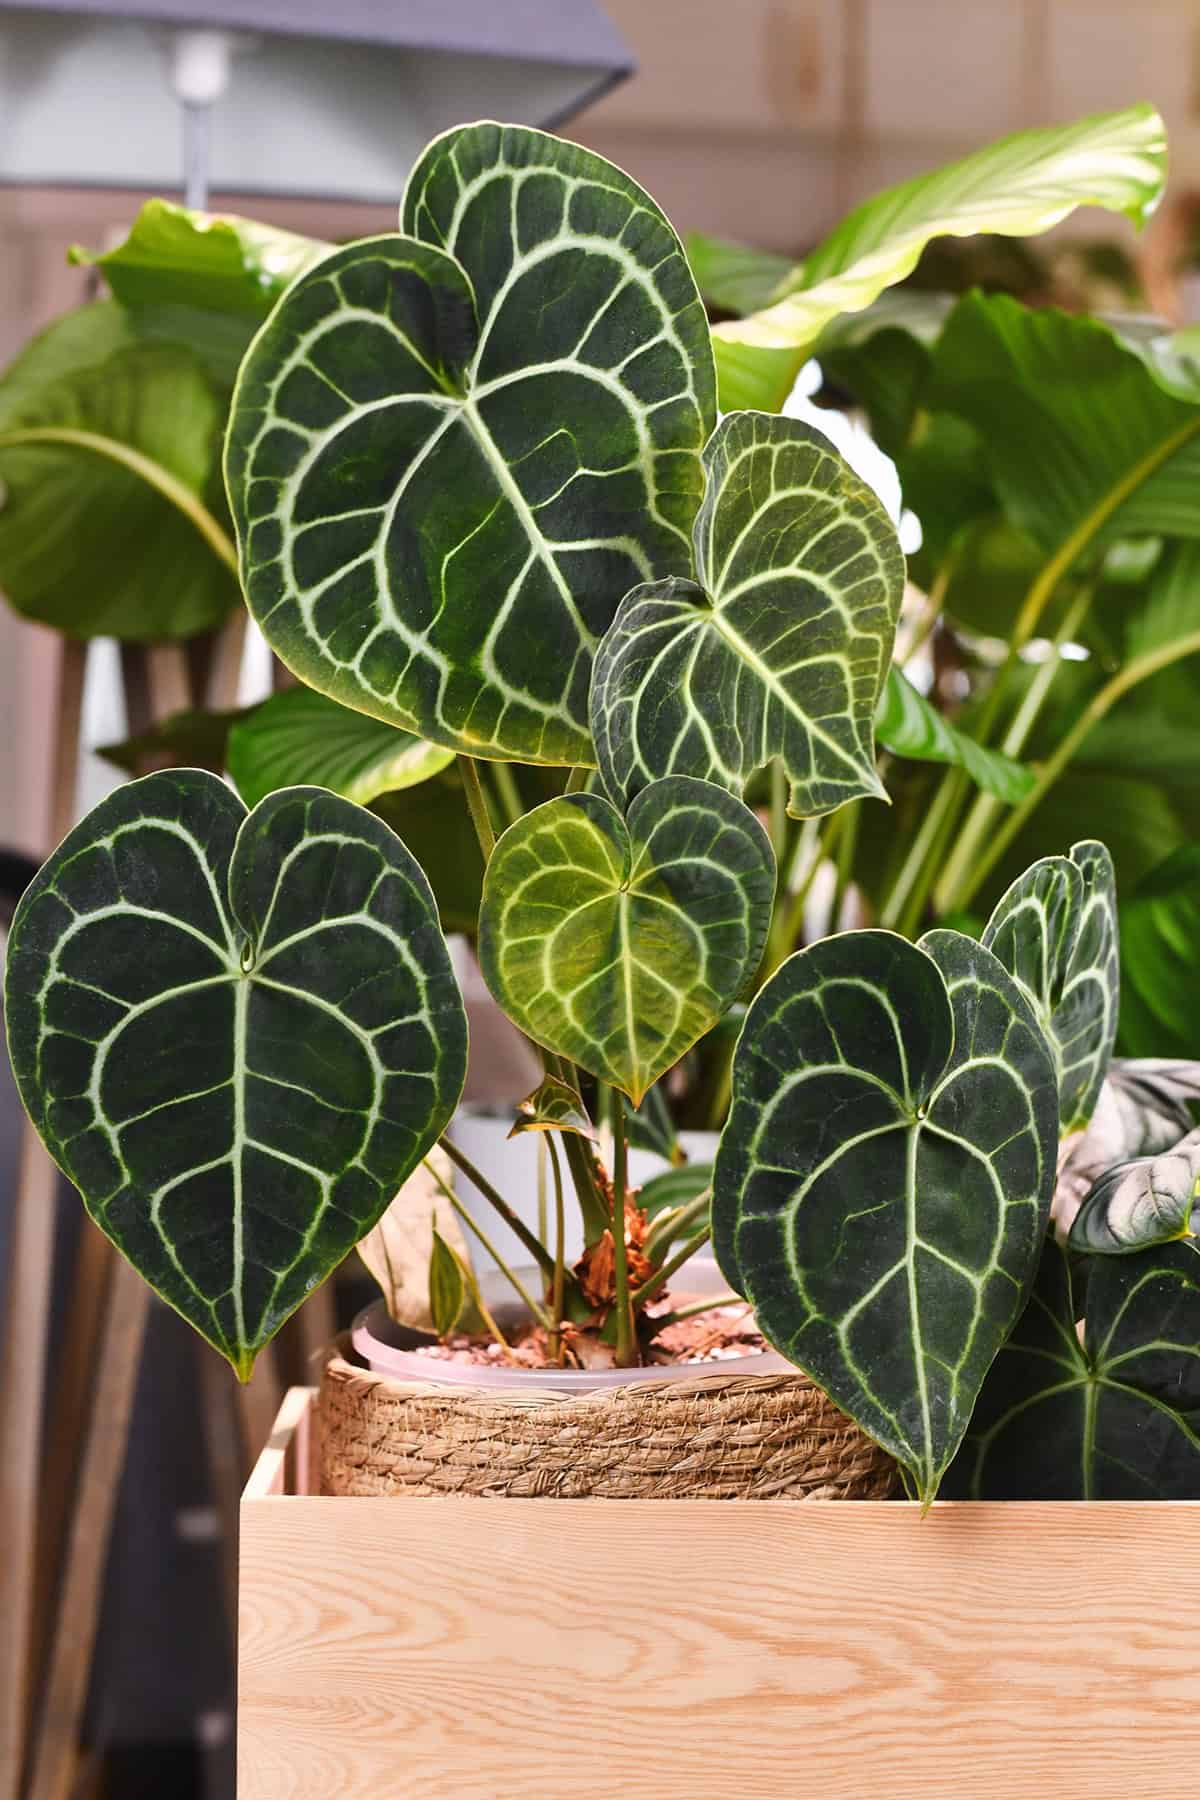
Step into any collection of Anthurium clarinervium and you’ll notice subtle quirks from plant to plant—no two seem quite the same. Some leaves stretch out long and slender, while others curl into plumper, broad hearts. Veins can run thick and bold or appear a bit more delicate, and leaf size shifts with age and care.
That deep green, almost plush texture catches the light, interrupted by those striking white veins—sometimes so crisp they look almost painted on. If you’re lucky enough to have a mature specimen, you might spot a handful of small orange berries tucked among the foliage after a round of blooms.
Labels like “round form” or “narrow form” pop up at nurseries and online shops, but honestly, these are more about describing the vibe of the leaf shape than any official cultivar status. Growth patterns don’t really change, though the proportions can totally shift the plant’s character.
It’s easy to get tripped up when comparing this species with other velvet-leaf anthuriums. Anthurium crystallinum leans into a longer, softer leaf with finer, almost silvery veins, while Anthurium andraeanum heads in a completely different direction—glossy leaves and those flashy, colorful spathes.
If you’re picking one out, it’s worth paying attention to the overall symmetry and the punchy contrast of the veins. Healthy, sturdy foliage says a lot more about a plant’s future than obsessing over whether the leaves are a bit rounder or a touch more pointed.