A healthy lavender plant can provide far more than fragrance and flowers. One established plant has the potential to become several new plants with just a few careful cuts. The guide below explains how to turn simple cuttings into thriving lavender plants.
Table of Contents
Propagating Lavender from Cuttings – What You Need to Know
Cuttings are the way to go if you want new lavender plants that match your favorite bush exactly. You skip the unpredictability of seeds and get plants that behave just like their parent.
Why Grow Lavender From Cuttings
With cuttings, what you see is what you get. The scent, the shape, the color—they all stay true to the original. Seeds? Well, they’re a gamble, especially with named varieties.
Plus, cuttings root and mature faster. You’ll have bigger, better plants sooner, and they tend to be tougher than seed-grown ones. If you’re into consistency, honestly, this is the method that just makes sense.
Best Time To Take Cuttings
The sweet spot for taking cuttings is right after your lavender’s finished blooming. At this point, stems are semi-ripe—sturdy, but not yet woody.
Skip stems with flower buds; those are too focused on blooming to bother with roots. Look for healthy, pest-free shoots from this season’s growth.
Most places, late spring or early summer works best. If you live somewhere mild, you might get away with early autumn—just don’t wait for frost.
Tools And Materials Needed
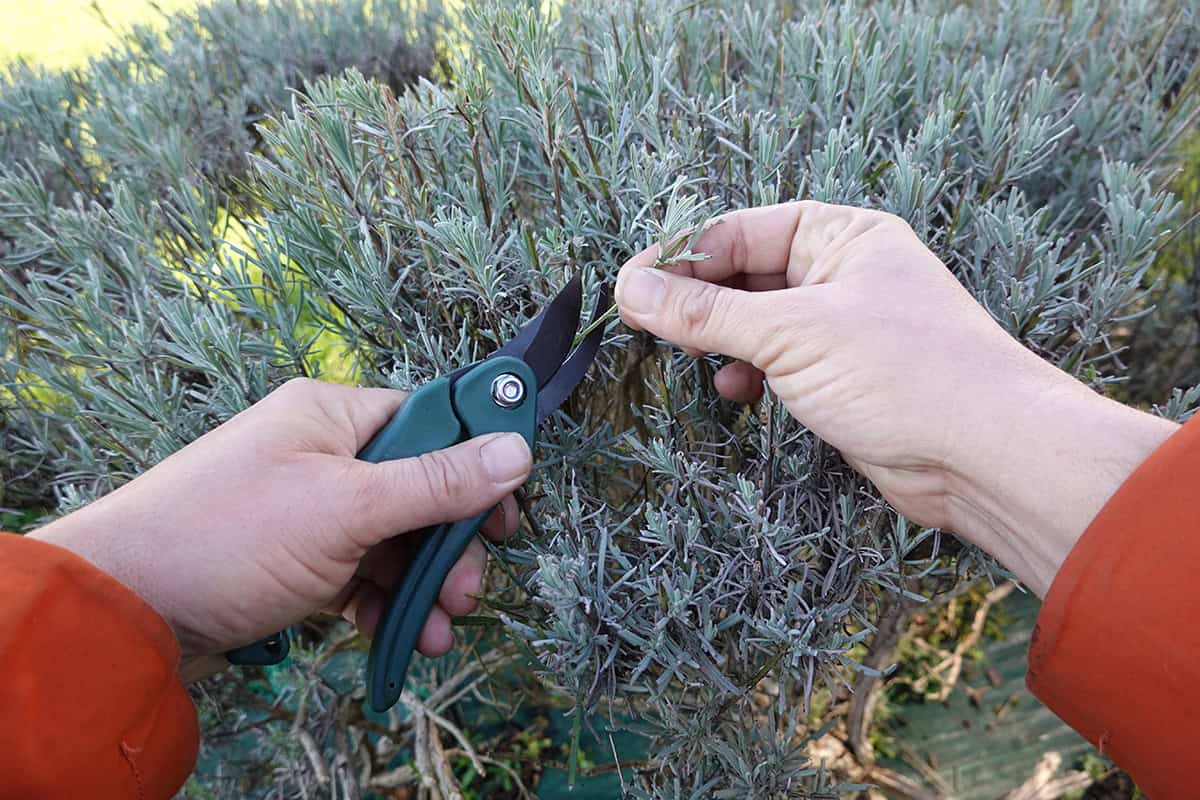
Grab a sharp, clean pair of pruning shears or scissors for neat cuts. Dull blades can crush the stems and make rooting harder.
Set out some small pots or trays filled with a well-draining, sterile mix—perlite and coarse sand do the trick for airflow.
Rooting hormone helps, especially with semi-ripe stems. You’ll also want a clear plastic cover or humidity dome to keep things moist.
Keep everything as clean as possible to avoid fungus. Disinfect your tools and don’t reuse dirty pots or soil.
Step-By-Step Guide
Ready to multiply your lavender? It’s all about picking the right stems, prepping them properly, and giving them what they need to root.
Select Healthy Stems
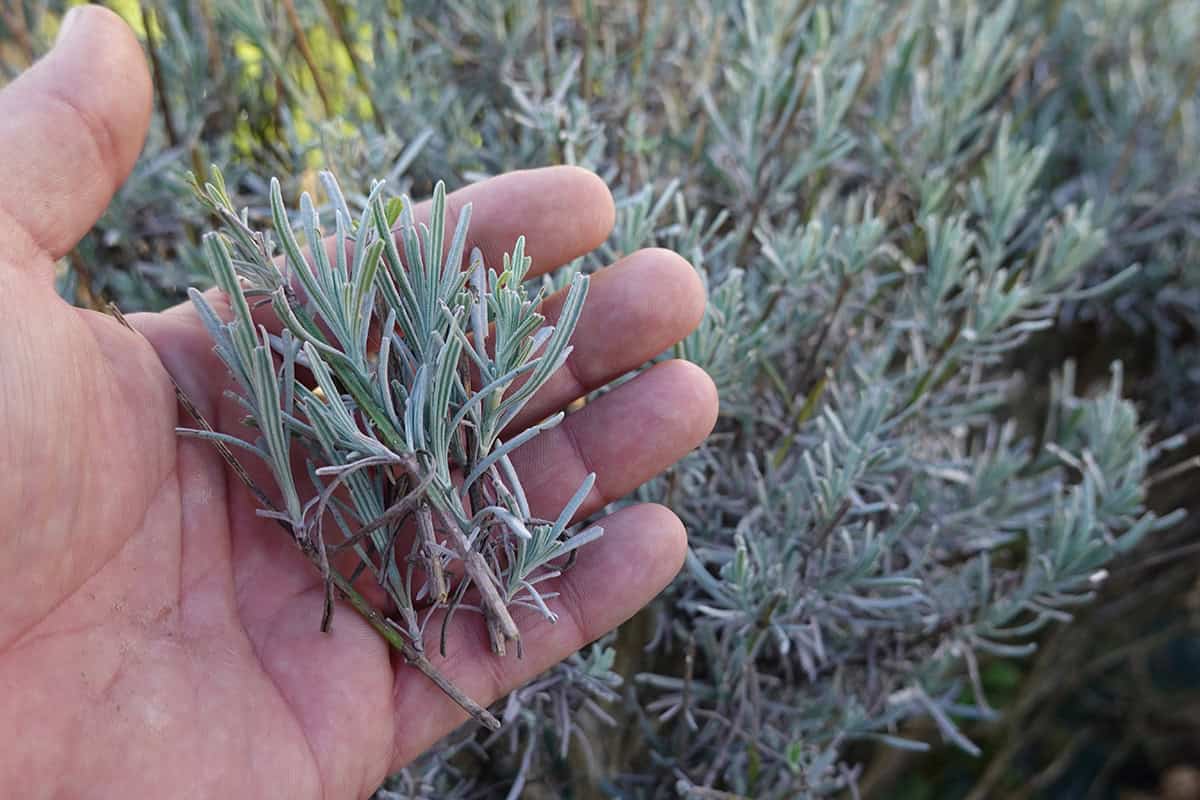
Go for stems that look healthy—no pests, no disease, no damage. Non-flowering shoots are best since they put all their energy into growing roots.
Pick stems from this year’s growth that feel firm but aren’t woody yet. These are your softwood or semi-hardwood options.
Snip them in the morning when the plant’s hydrated. Aim for 3 to 6-inch pieces with a few sets of leaves. Steer clear of older, woody stems—they’re just stubborn about rooting.
Prepare The Cuttings
Use your clean, sharp scissors to trim just below a leaf node. That’s the spot where roots like to pop out.
Strip off the lowest two to four sets of leaves, leaving the top ones so the cutting can still photosynthesize.
Dip the cut end in rooting hormone, then tap off any extra. Get your potting mix ready before you start so your cuttings don’t dry out.
Rooting The Cuttings
Stick the prepared stems into a pot filled with moist, well-draining mix—a combo of perlite and peat or coarse sand works well.
Push each cutting in deep enough so at least one bare node is under the surface. Give them a bit of space so the leaves aren’t touching.
Keep the soil moist but not soggy. Place the container somewhere bright but out of direct sun, around 70°F. A clear plastic dome or bag helps keep humidity up.
Caring For New Plants
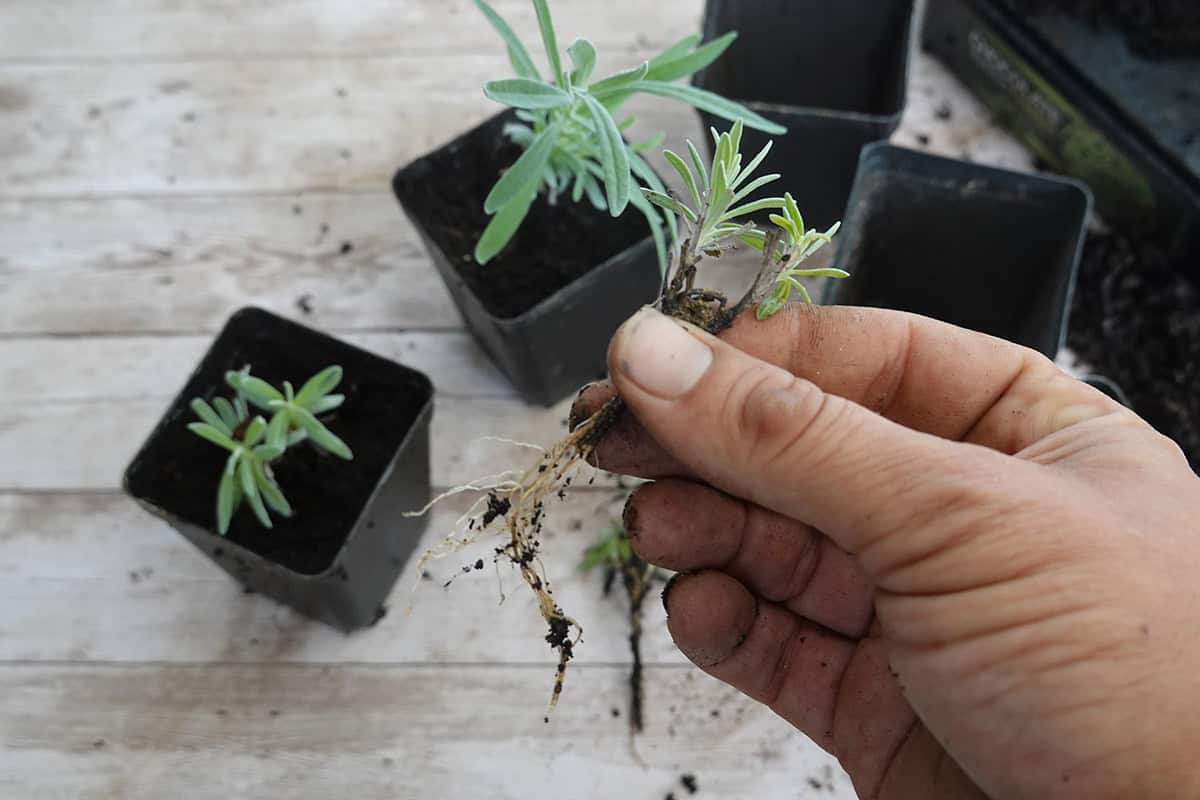
After about four to six weeks, give the stems a gentle tug—if there’s resistance, you’ve got roots.
Once they’re rooted, start removing the cover to lower humidity a bit at a time. Keep them in bright light and water sparingly.
When roots fill the pot, move each plant to its own container with well-draining soil. Let them adjust outdoors for a week before planting them in your garden.
Common Mistakes To Avoid
It’s tempting to grab any stem, but if you pick one with flower buds, you’re setting yourself up for disappointment—buds just sap all the energy from root growth. Always go for shoots that aren’t flowering if you want a better shot at success.
Letting cuttings dry out before planting? That’s a fast track to failure. Keep them cool and just a bit moist until you’re ready to stick them in soil or whatever rooting mix you’re using.
Heavy, soggy soil? Not a good idea. Lavender’s way happier in well-drained, sandy, or gritty mixes. Too much moisture around the stem and you’ll probably end up with rot.
Packing cuttings too tightly together just leads to a fight for light and air. Give them a bit of space so each one gets enough light and airflow—helps keep fungal issues at bay.
It’s easy to go overboard with watering, but honestly, that’s one of the quickest ways to kill roots. Water only when things start to dry out, especially after those first few days.
Cuttings from older, woody stems just take their sweet time to root, if they ever do. Young, flexible shoots are much more cooperative and tend to make sturdier plants.
And don’t even think about using a dull knife or scissors—crushed stems heal slowly, if at all. Grab a clean, sharp blade for a nice, smooth cut.