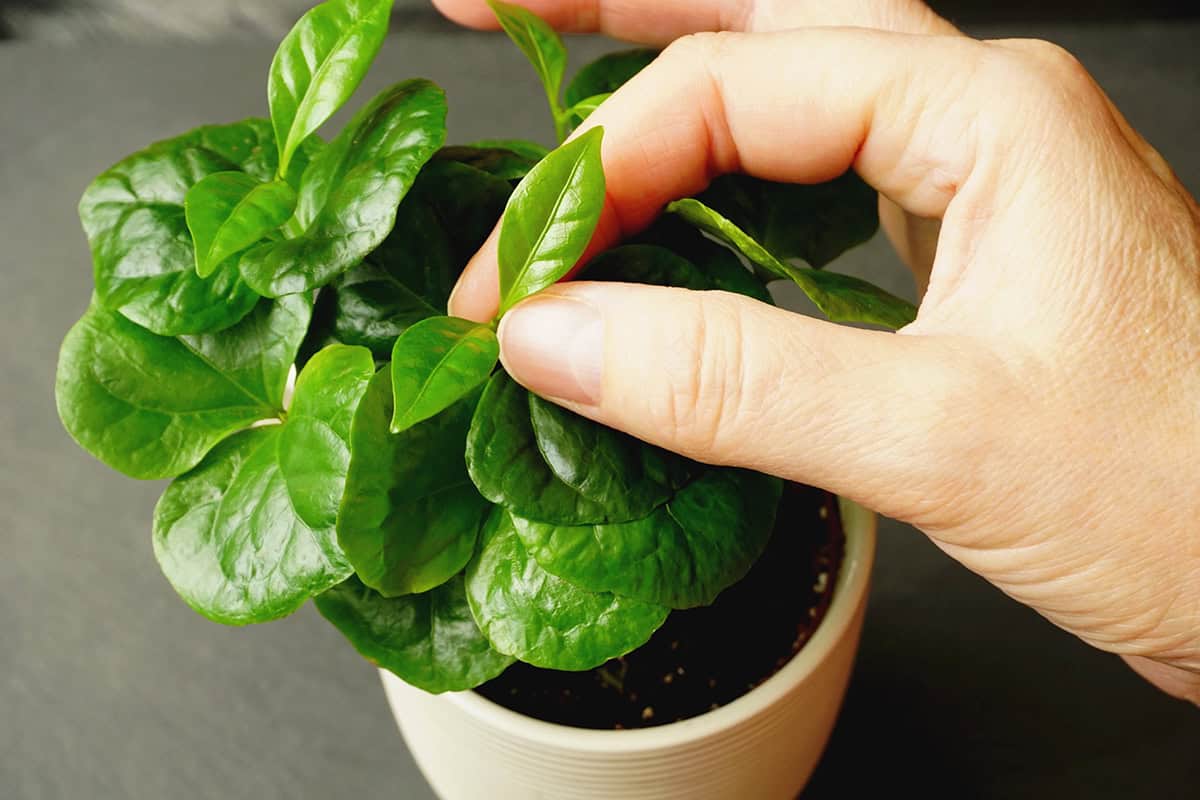
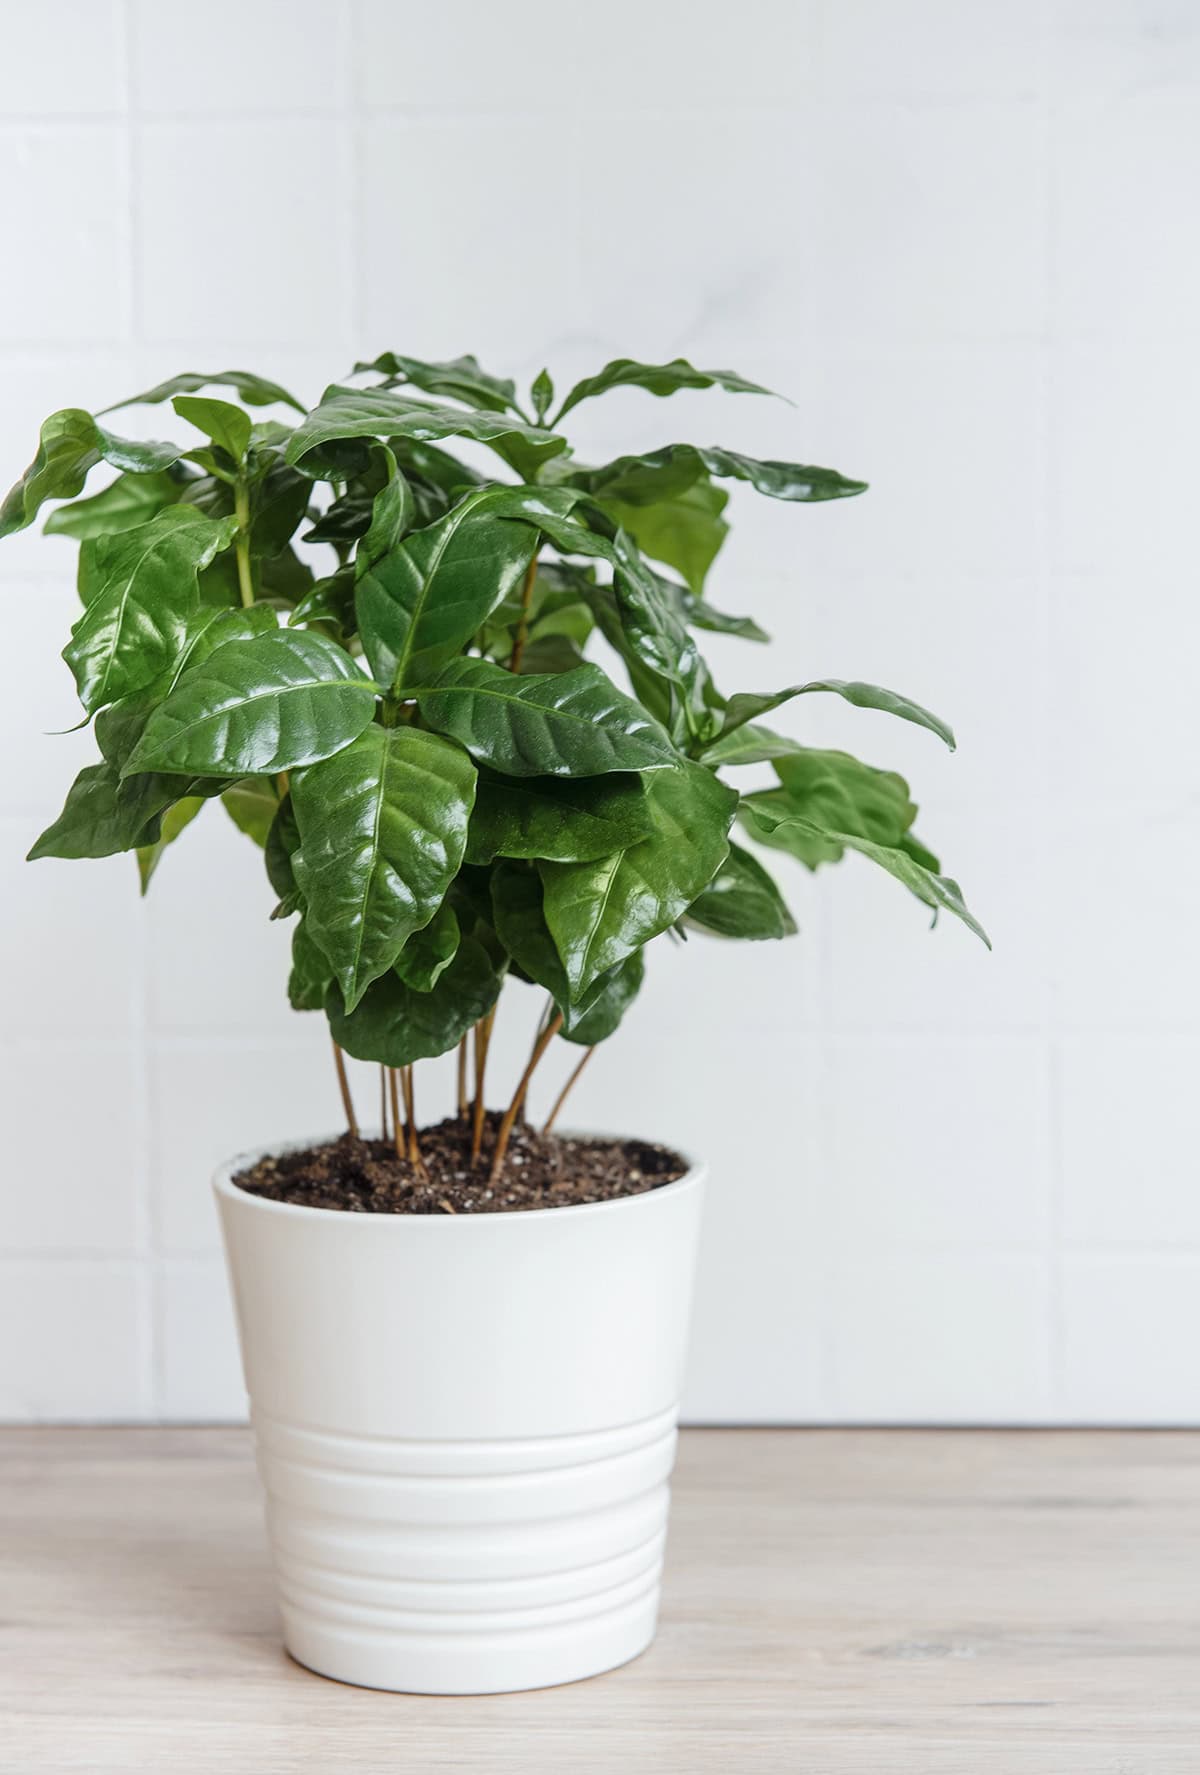
Deep green leaves, elegant branching, and a neat shape give coffee plants plenty of ornamental value. They adapt well to containers and can thrive indoors for years with proper care. Take a look at the tips in this guide before bringing one home.
Table of Contents
What is a Coffee Plant?
Coffee plants are evergreen shrubs that love warm, humid spots and steady care. The “beans” are actually seeds tucked inside red or purple cherries.
How well they do indoors or out (especially outside the tropics) depends a lot on their growth habits and what kind of care you can give them.
Why Grow Coffee At Home
Growing coffee at home means you get to control the environment and, if all goes well, enjoy your own fresh beans. Plus, it’s just a beautiful plant—those glossy green leaves bring a tropical touch.
It can adapt to indoor life if the light’s good. A sunny east, south, or west window is ideal. Grow lights help if your place is a bit gloomy.
Choosing Arabica Or Robusta Variety?
Arabica prefers mild temps—think 60°F to 75°F—and higher elevations, with steady moisture but no soggy roots. The beans are smoother and less bitter.
Robusta is tougher, thriving in warmer spots and lower elevations. It shrugs off pests and usually produces more beans, but they’re stronger and more bitter, with a bigger caffeine punch.
If you want a gentler cup and can keep things cool, Arabica’s your pick. For hotter climates or a plant that’s hard to kill, Robusta is a safe bet.
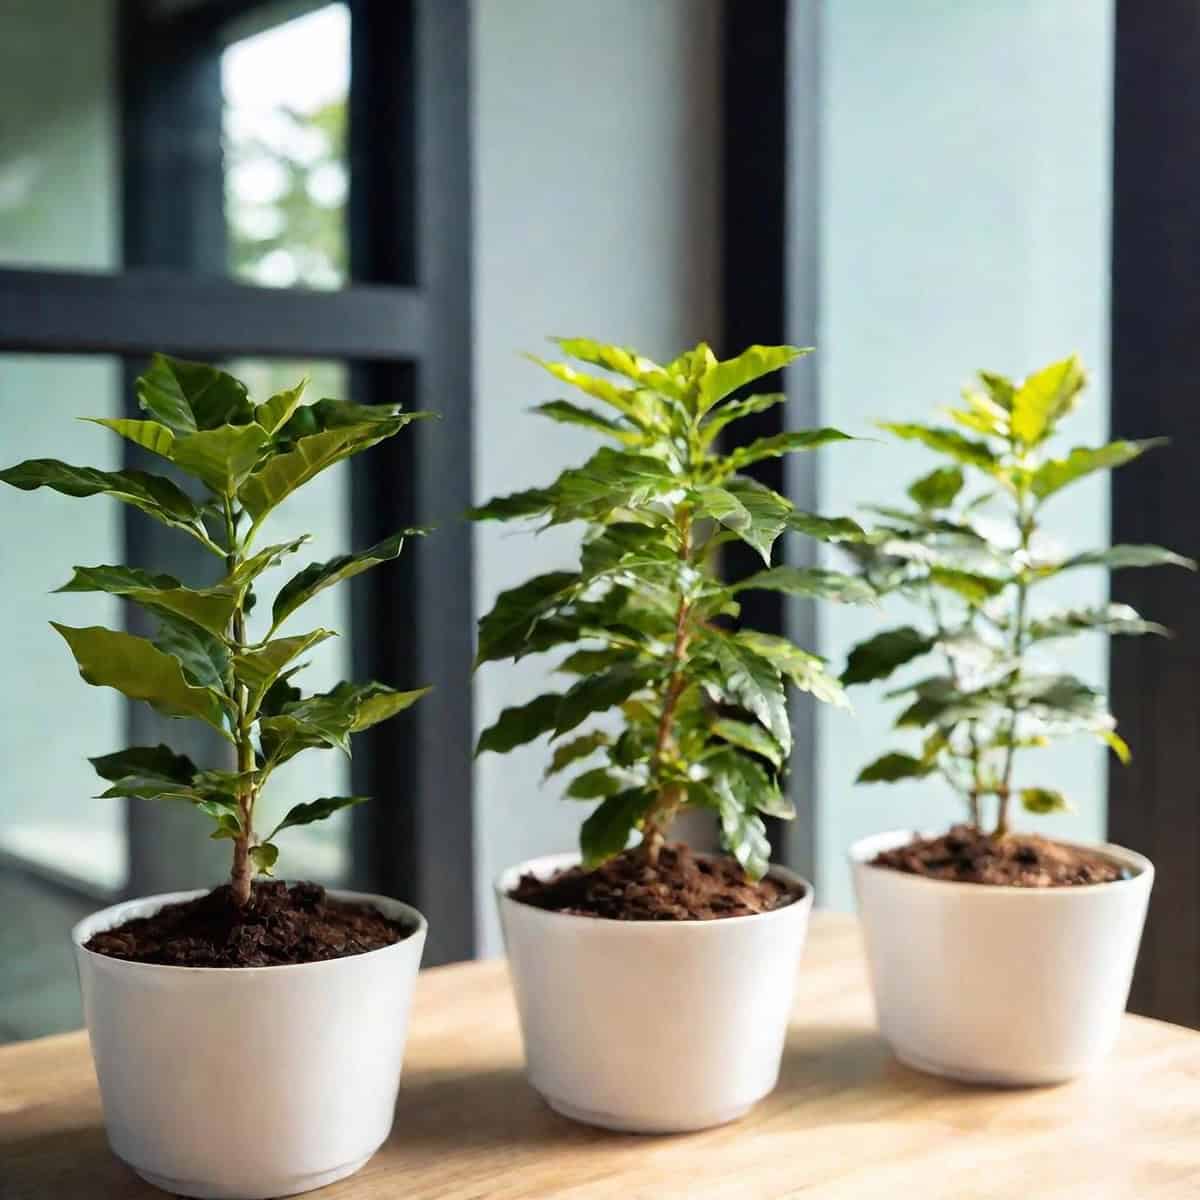
If space is tight, look for compact varieties. Dwarf Arabica types top out around 3 to 4 feet, so they’re much easier to wrangle indoors.
Some indoor-friendly types handle low light better than others, but warmth and humidity still matter. These are perfect if you want a coffee plant that fits on a windowsill or in a small greenhouse.
Preparing For Planting
Coffee plants really need the right light, temperature, and soil from the jump. The container matters too—roots need space, but not so much soil that water hangs around too long.
Best Growing Conditions Indoors
Set your coffee plant where it’ll get bright, indirect sun most of the day. North windows are usually too dim; a grow light can fill in the gaps.
Keep it between 65°F and 75°F indoors. Avoid cold drafts, hot vents, and sudden temp swings.
Humidity should stay above 50%. A small humidifier or a tray with water and pebbles nearby can help. Dry air? You’ll see brown leaf edges.
Water when the top inch of soil is dry. Room-temp water is best, and don’t drown the roots. Consistent moisture is good—just not soggy.
Choosing Soil And Pot Size
Pick a potting mix that drains well but doesn’t dry out instantly. Peat, perlite, and compost is a good combo. Skip heavy garden soil.
Always use a pot with drainage holes. For young plants, a 6–8 inch pot is a solid start.
Repot when roots fill up the container—just go up one size at a time to avoid waterlogged soil.
Clay pots dry out faster, plastic ones hold moisture longer. Choose based on how you tend to water.
Propagating Coffee Plants
You can start with seeds or just buy a young plant. Each method has its quirks, but both can give you a healthy coffee plant if you get the basics right.
Starting From Seeds
Use fresh, ripe cherries or seeds less than three months old. Old seeds rarely sprout.
Remove pulp from fresh cherries, wash the seeds, and dry them for a day. Plant in a shallow tray with well-draining mix—equal parts sand and compost works.
Keep the soil moist (not soggy) and warm—70°F to 80°F is ideal. Seeds can take 6 to 8 weeks to pop up.
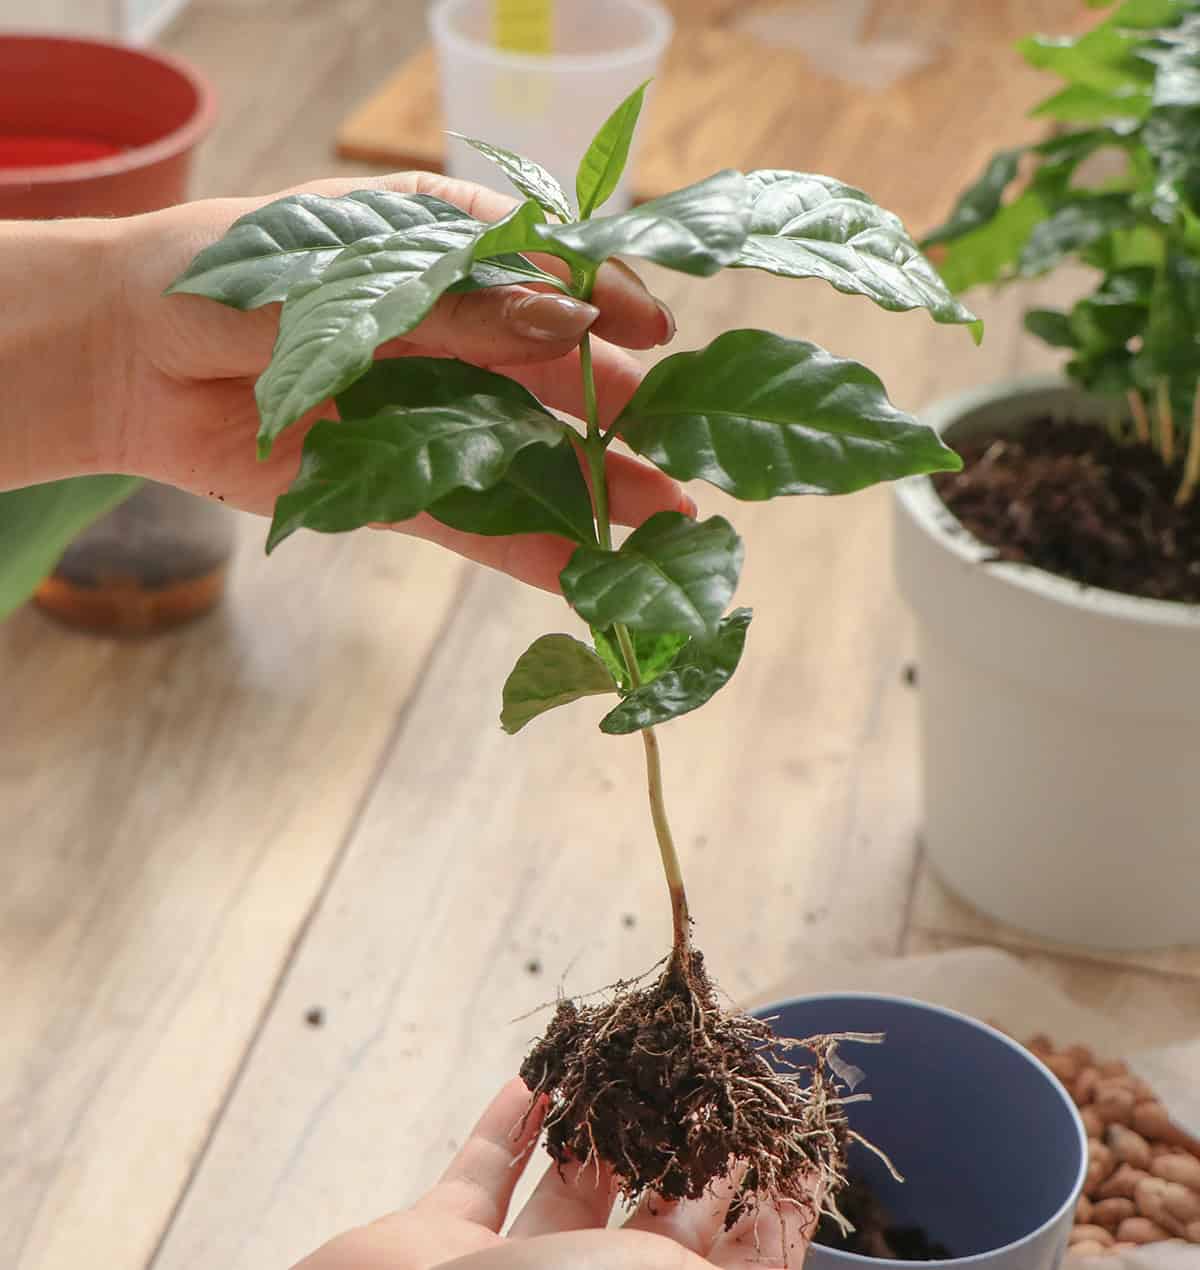
Once seedlings have two sets of true leaves, move them to their own pots with rich, slightly acidic soil. Give them bright, indirect light.
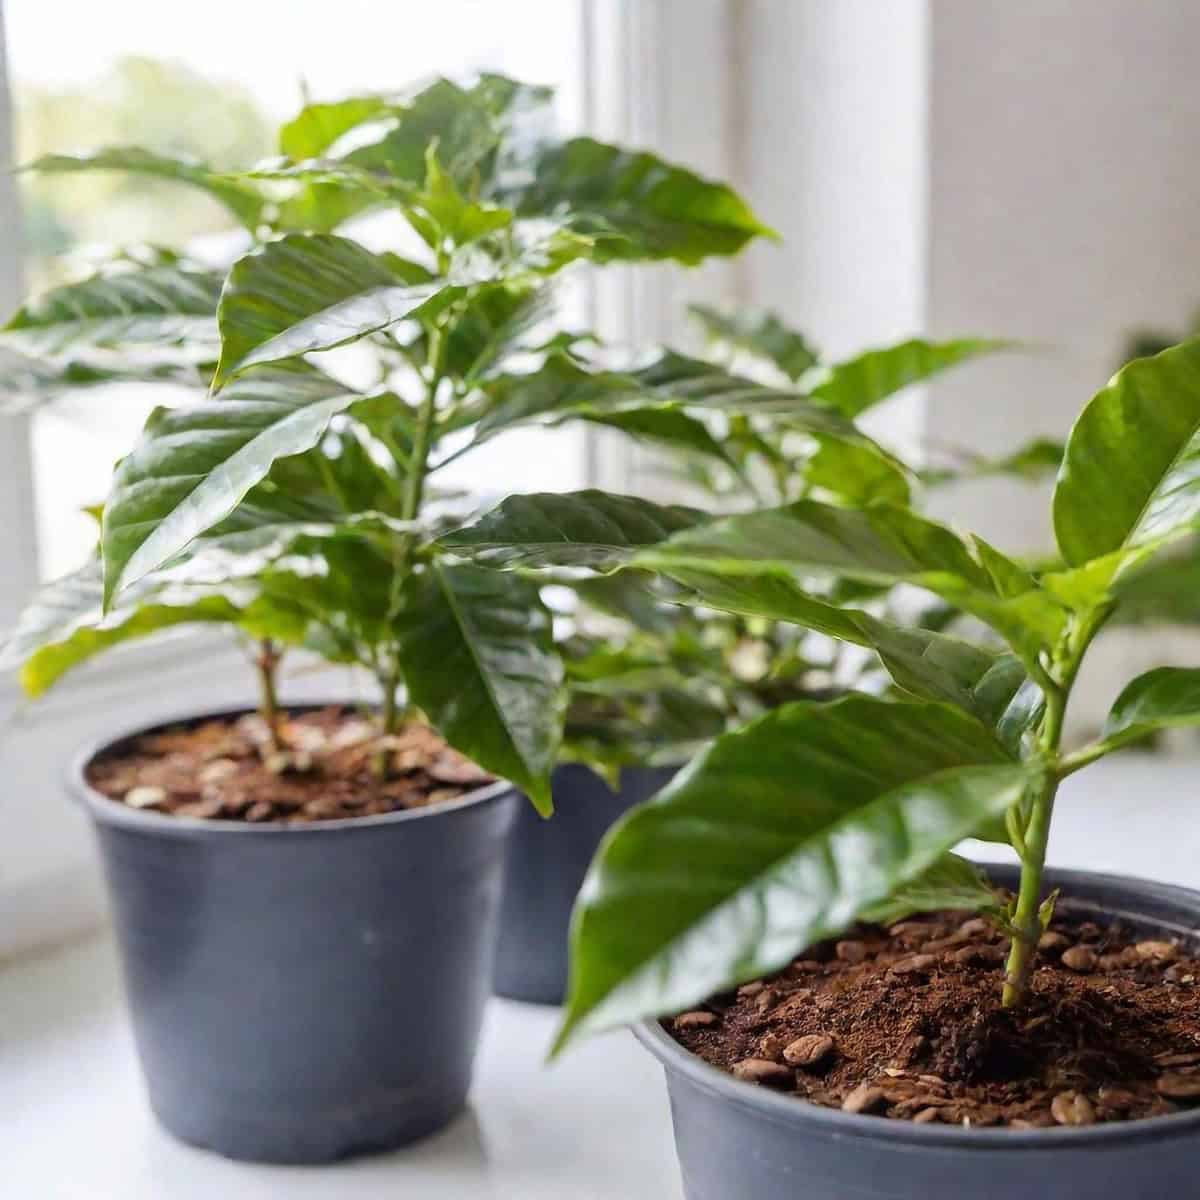
Starting From Young Plants
Buying a young plant from a nursery saves a lot of time. Look for healthy leaves and firm stems—no bugs or weird spots.
Transplant into a pot with drainage and a mix of loamy soil and organic matter.
Caring For Coffee Plants
Consistent light, proper watering, balanced feeding, and a bit of pruning—these are the basics. Keep these in check, and your coffee plant will reward you.
Light And Temperature Needs
Set your plant near a bright window with indirect light. East or south windows work for most homes. Direct midday sun can scorch the leaves, so watch out.
Stick to 65°F to 75°F indoors. Keep it away from cold drafts, heaters, or AC units. Sudden changes can mess with growth.
If sunlight’s lacking, a full-spectrum fluorescent or LED grow light for 12 to 14 hours a day does the trick. Place it about a foot above the plant.
Watering And Humidity
Water when the top inch of soil is dry. Use room-temp water and let extra drain out. Never leave the pot in standing water.
Coffee likes soil that’s evenly moist—not soggy, not bone dry. Overwatering leads to root rot; underwatering, leaf drop. Check soil often.
Humidity above 50% helps. A water tray, humidifier, or an occasional leaf misting all boost humidity if your home is dry.
Fertilizing
Feed with a balanced, water-soluble fertilizer every two to four weeks in spring and summer. Look for equal parts nitrogen, phosphorus, and potassium.
Cut back to every six to eight weeks in fall and winter—growth slows down, so less food is needed.
Always fertilize after watering. Follow the dilution instructions; too much can burn roots and leaves.
Pruning And Shaping The Plant
Prune to keep it the size you want and to encourage bushier growth. Trim long stems just above a leaf node to spark new side shoots.
Remove dead or damaged branches. Better airflow and light means fewer pests and healthier plants.
For a bushier look, you can plant a few seedlings together and prune them evenly. Regular shaping keeps things tidy indoors.
Common Problems And Solutions
Coffee plants can hit rough patches—slow growth, sad leaves, pests. Usually, it’s a light, nutrient, or pest problem. Quick action keeps things on track.
Pest Control
Watch for aphids, spider mites, or scale—tiny bugs that suck sap and slow growth. Check under leaves weekly for webbing, sticky stuff, or little moving dots.
If you spot pests, move the plant away from others. Wipe leaves with a damp cloth, and use insecticidal soap or neem oil as directed. Repeat until you don’t see any more pests.
Don’t over-fertilize—tender new growth attracts bugs. Good airflow helps, too. Always check for hitchhikers if you bring plants in from outside.
Leaf Yellowing And Dropping
Yellowing or dropping leaves often means too little light or water. North windows usually aren’t bright enough—try a grow light if you need to.
Too much water can rot roots, causing leaf loss. Let the top inch dry before watering again, and make sure the pot drains well.
Lack of nutrients, especially nitrogen, can cause yellow leaves. Use a balanced fertilizer (like 10-10-10) twice a year, and go easy—overdoing it can burn roots.
Flowering And Berry Production
When things go right, coffee plants put out small, white, jasmine-scented flowers. Each flower can turn into a coffee cherry with one or two seeds inside.
Encouraging Blooms Indoors
Stable conditions are key for indoor blooms. Enough light, warmth, and steady care help. A bright spot with indirect sun usually works.
Keep the temperature between 65°F and 75°F. Avoid big swings. Water when the top inch is dry, but don’t let roots sit in water.
Fertilize every two to four weeks during the growing season. Cut back in cooler months.
Flowers usually show up in spring if the plant’s happy. They don’t last long, so keep an eye out.
From Flowers To Coffee Cherries
After pollination, small green cherries start to form. Indoor plants can self-pollinate, but gently shaking the branches helps set fruit.
Cherries take their sweet time—six to eight months to ripen. They’ll turn from green to yellow, then bright red when ready.
Pick cherries when they’re fully red and firm. Too early, and the beans won’t be developed.
Each cherry usually has two seeds (the beans). After picking, you’ll need to remove the pulp, dry, and roast the beans before brewing.
Harvesting And Processing At Home
Gather coffee fruit when it’s perfectly ripe, then prep the beans for storage or roasting. Timing and gentle handling make all the difference.
Picking Ripe Cherries
Go for cherries that look bright red and feel firm—they’re the ones that taste best. If they’re pale or too soft, just leave them be for now. Picking too early or too late? Well, that never really works out for flavor.
It’s a good idea to check your cherry trees every few days while they’re in season. They don’t all ripen at once, which, honestly, keeps things interesting. Plus, grabbing them as they ripen helps dodge any bug problems or fruit going bad on the branch.
When you’re ready to pick, use clean hands or scissors and be gentle so you don’t mess up the plant. Toss your harvest into a clean container—no one wants dirt or leaves mixed in.
Try not to wait too long before processing. Cherries can start to ferment or mold if you let them sit around. Keep them cool and out of the sun until you’re ready to use them. It makes a difference, trust me.
Drying And Removing The Beans
There’s more than one way to prep beans, but most folks stick with either the dry or wet method. If you’re going the dry route, just spread the cherries out in a single layer somewhere sunny—think patio or driveway, wherever you can keep an eye on them.
Give them a turn every day, so they don’t get funky or uneven. You’ll want to keep them out of the rain and away from any muggy weather. Sometimes it drags on for two weeks, especially if the sun’s playing hard to get.
The wet method? That’s a bit more hands-on. You’ll need to remove the pulp first, then soak and wash the beans until that sticky layer is gone.
After they’re bone dry, crack open the parchment layer to get to those green coffee beans. Toss them in a cool, dry spot until you’re ready to roast. Seriously, keep them away from moisture or you’ll regret it later.