
It’s easy to think aloe vera will just take care of itself, but a few tweaks can really kick things into gear. If yours seems sluggish, you can usually pinpoint the problem and get those leaves plumping up in a matter of months. Much of it comes down to the basics—light, soil, water, and warmth.
For faster aloe vera growth, you want bright, direct sunlight, sharply draining soil, deep but infrequent watering, steady warmth, and a light touch with fertilizer during the growing season.
Getting the right pot, swapping out tired soil, and trimming off old leaves can all help channel energy where it counts. Details on containers, propagation, pest control, and picking the right variety can make a real difference if you’re aiming for a robust, speedy plant.
Table of Contents
Light
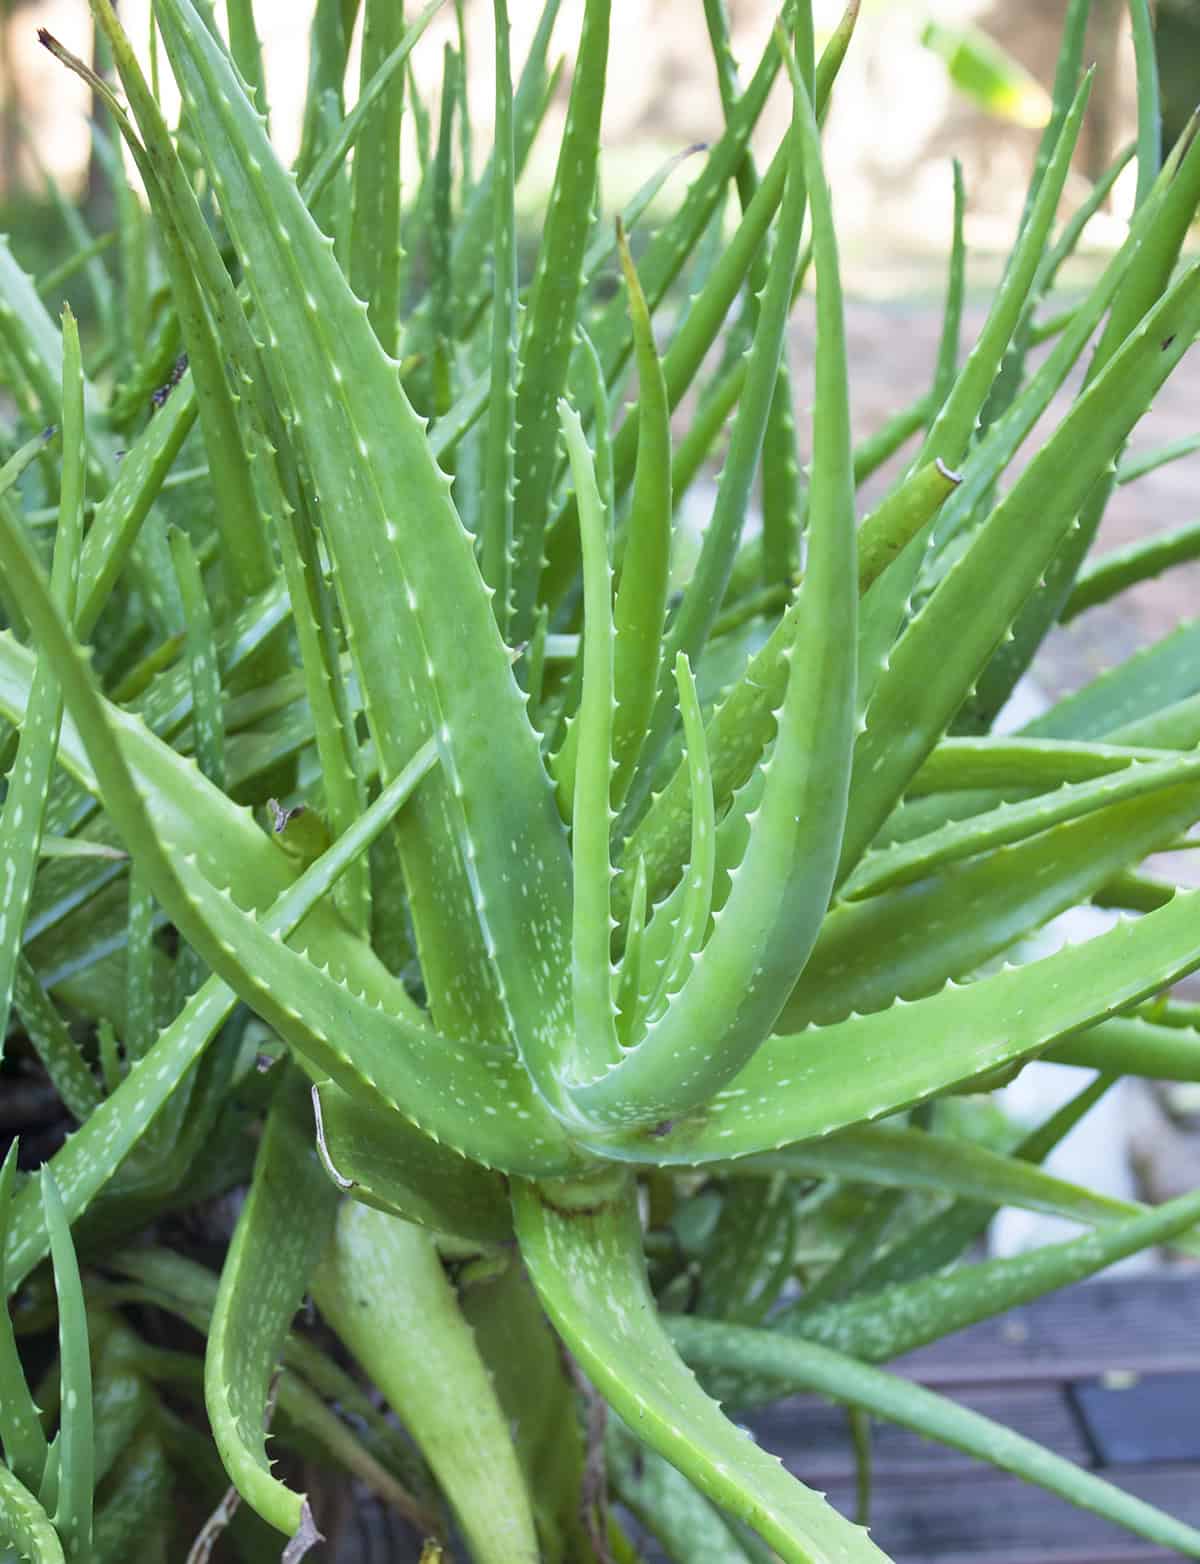
Sunlight makes all the difference. Near a south or west window, you’ll get those thick, upright leaves. Aim for at least six hours of direct sun—more if you can swing it. The color stays richer, and growth definitely picks up.
In dim rooms, leaves go floppy and pale. Growth just drags. If windows aren’t cutting it, a full spectrum grow light 6–12 inches overhead can fill the gap—keep it running 12–14 hours daily.
Summer’s a good excuse to haul your plant outside if you’re somewhere warm. But don’t just plop it into full sun—ease it in over a week or two, or you’ll get crispy brown spots. Where winters are mild (zones 8–11), aloe can live outdoors year-round with plenty of sun.
Soil
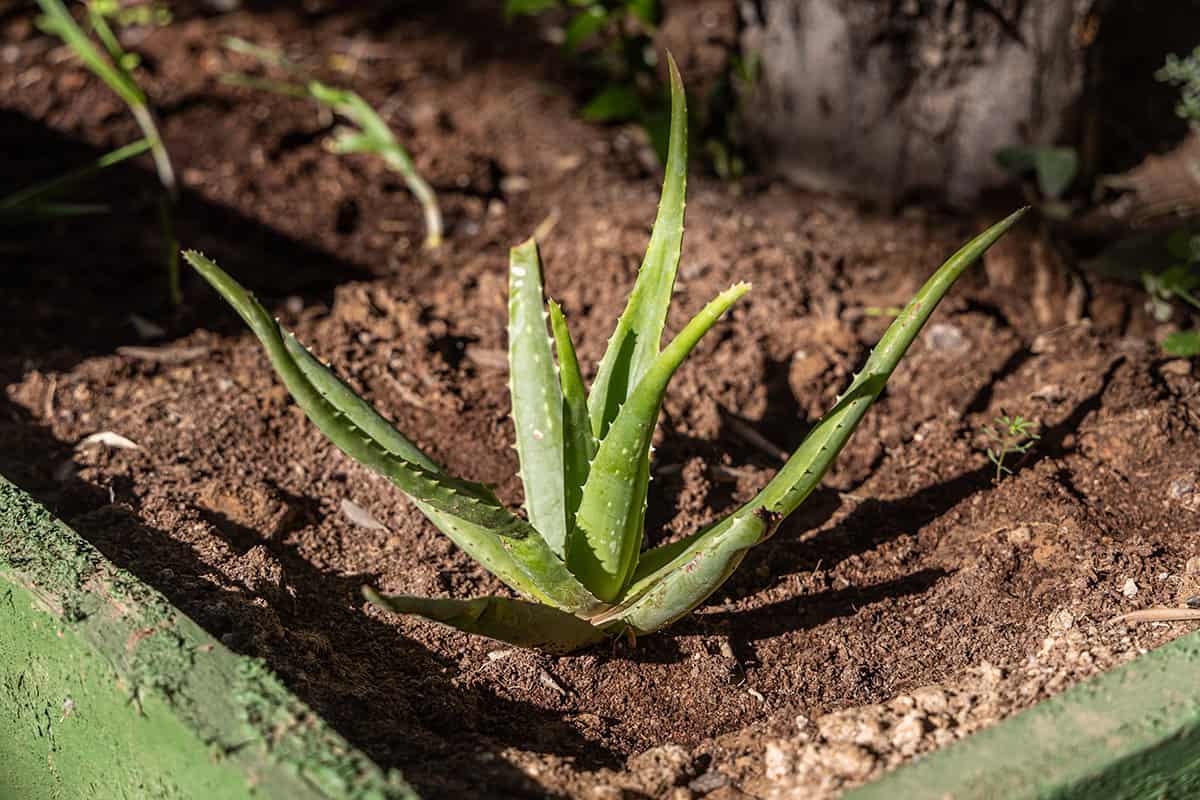
Drainage is king—aloe hates soggy feet. Skip the regular potting mix; it’s just too heavy. Cactus or succulent blends are way better, especially those with sand, perlite, or small gravel. The mix should feel gritty and dry, not dense or spongy.
Water needs to run through the pot in seconds, not pool at the bottom. Wide drainage holes help, and clay pots let extra moisture escape through the sides. Let the soil dry out completely before you water again. If it stays damp, roots rot and new leaves stall out.
Water
Thick, juicy leaves mean aloe stores water, so frequent watering is a recipe for disaster. Growth crawls and roots suffer if you overdo it. Letting the soil dry out between soakings is key for speedier results.
When you do water, drench the soil so it drains right through. Always dump out any water left in the saucer.
In warm weather, every 2–3 weeks is usually enough. Winter? Maybe once a month. Always check by poking a finger in—if it’s dry a couple inches down, go ahead and water.
Room temperature water is best; cold shocks the roots. Misting isn’t necessary—aloe likes dry air.
Yellow, soft leaves? That’s almost always too much water. Sturdy, upright leaves mean you’re on track. Getting watering right matters more than you’d think.
Temperature And Humidity
Warmth is a game-changer for aloe. Daytime temps between 70°F and 80°F and nights in the 60s°F are perfect. Brief cold snaps aren’t the end of the world, but frost is a killer—don’t risk it.
Outdoors in summer? Pick a spot that stays warm and move the pot gradually to avoid shocking the plant. Bring it inside before nights get chilly (below 50°F). Consistency keeps roots humming and new leaves coming.
Dry air is just fine. Even in winter, extra humidity isn’t needed. In fact, too much moisture in the air can make rot more likely.
Somewhere with steady warmth and good airflow works best. Avoid blasting heaters, drafty windows, or doors that swing open to the cold. When conditions stay steady, aloe puts energy into growing, not just surviving.
Fertilizer
It’s tempting to dump on the fertilizer, but aloe really doesn’t need much. Overfeeding just softens the leaves and can fry the roots. Light, occasional feeding is plenty.
Spring’s the time to start. Use a balanced, water-soluble houseplant fertilizer at half strength. Once a month through spring and summer, then stop when cooler weather hits and growth slows.
Salt buildup from fertilizer can sneak up on you—flush the pot with distilled or filtered water every so often to keep things clean.
If you’d rather go the organic route, a sprinkle of compost on top of the soil can work too. Just don’t overdo it; aloe likes lean soil best.
Honestly, dialing in light, water, and soil will get you further than any fancy feeding schedule.
Potting And Repotting
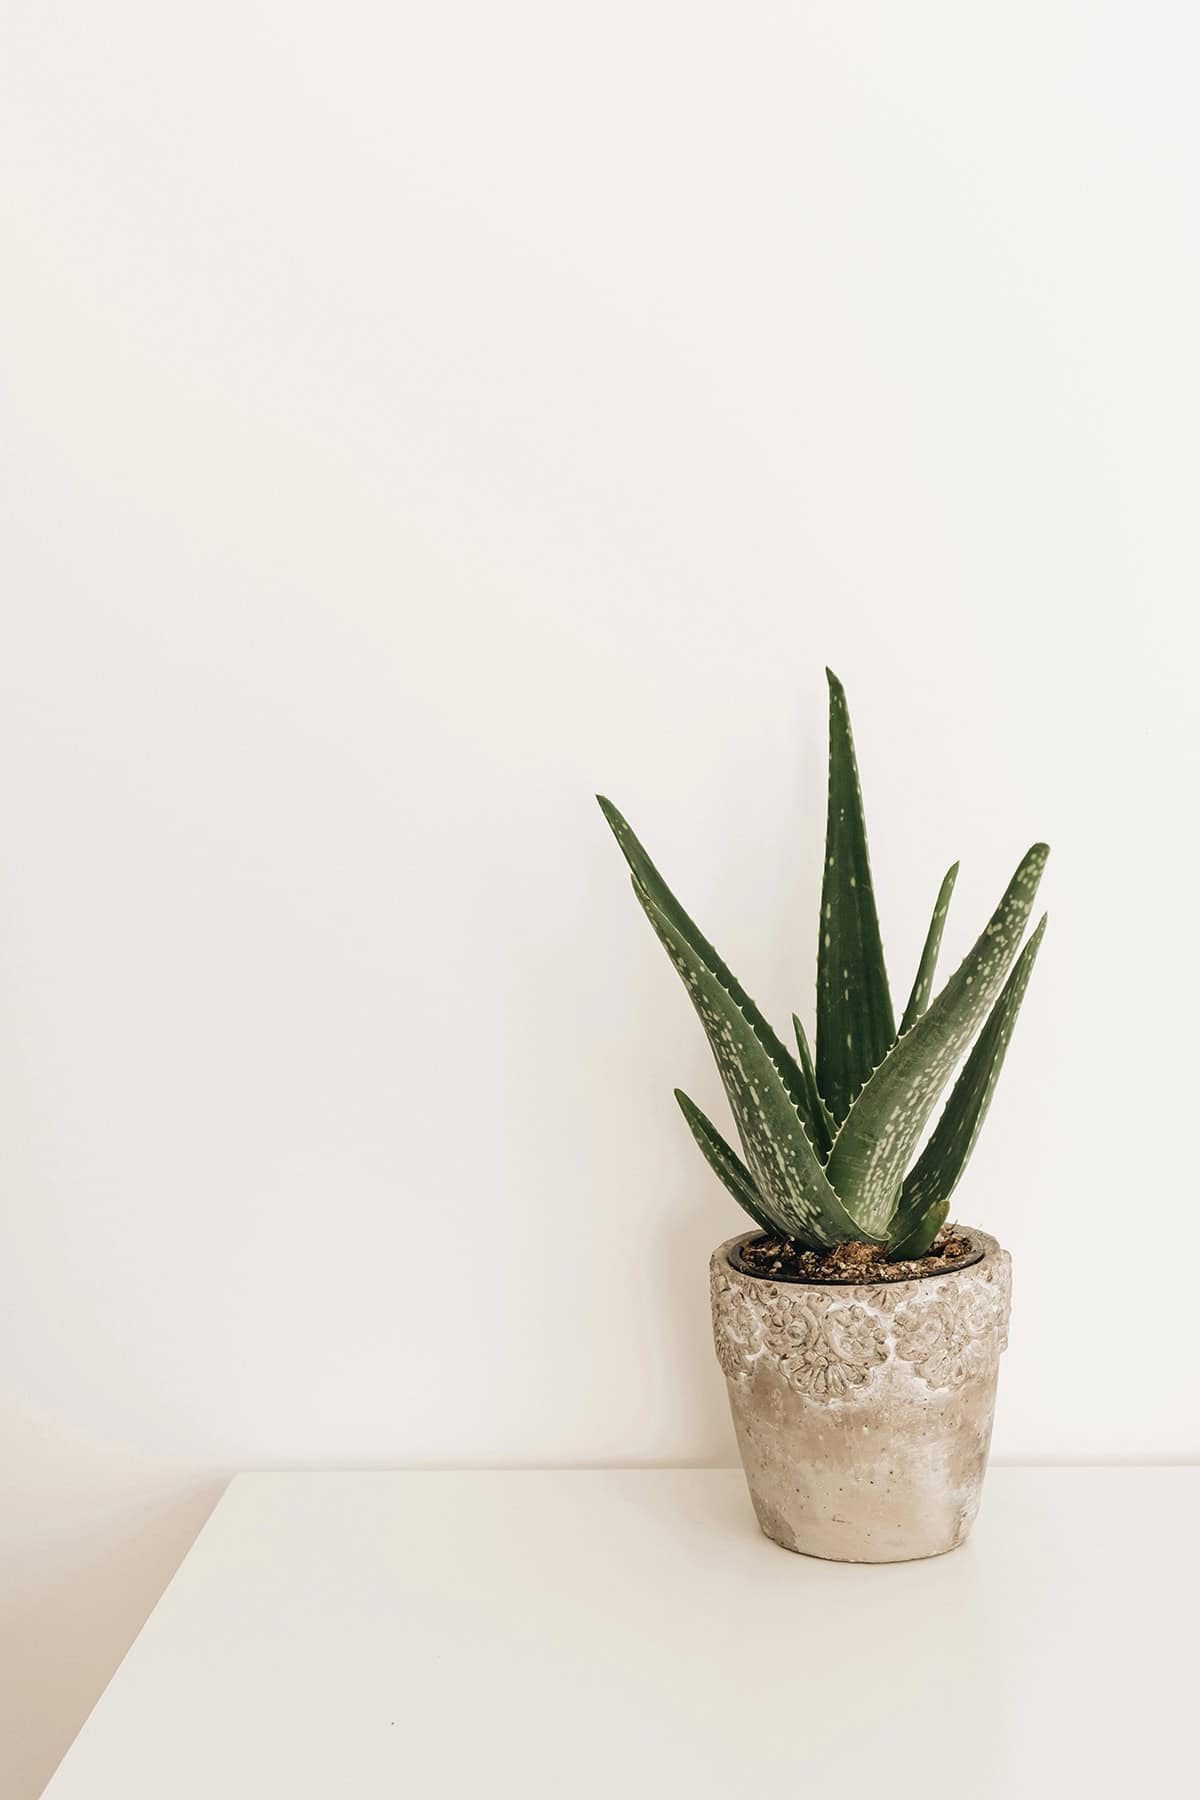
Drainage holes aren’t optional here. Clay pots are great—they let the soil dry out faster, which aloe loves. Go for a container just a bit bigger than the root ball; oversized pots hold too much water and slow everything down.
Stick with gritty, well-draining mixes (cactus or succulent blends). If it feels heavy, add more sand or perlite. Roots need room to breathe and spread.
Set the root ball so the leaves sit above the soil. Leave a little space at the top for watering. Skip the gravel layer at the bottom—it doesn’t help with drainage.
Repot when roots get cramped or start pushing the plant up. Usually every two or three years is enough. Only size up a little—too much space can stall root growth.
After repotting, hold off watering for a few days so any root nicks can heal. Bright, indirect light helps the plant bounce back without extra stress.
Pruning
No need to go wild with the shears, but removing damaged or dead leaves keeps things tidy and healthy. Brown, mushy, or shriveled leaves should go as soon as you spot them. This way, the plant channels energy into new, strong growth.
Use something sharp and clean—cut close to the base, but don’t hack at the stem. Smooth cuts lower the risk of infection.
If you want to harvest leaves, always pick from the outside. Take only a few at a time, leaving the center untouched for ongoing growth.
Pups (offsets) at the base can be separated if you want the main plant to bulk up faster. Fewer pups means roots have more space to expand.
Leave the inner leaves alone. That’s where new growth happens. Occasional, careful pruning keeps aloe compact and focused on healthy leaves.
Propagation
Dividing offsets is by far the quickest way to multiply your aloe collection. Mature plants send up little pups at the base—wait until they’re about 3 inches tall and have a couple of leaves.
Gently tip the parent plant out and slice off the pup with a clean knife, keeping as many roots as possible. Let the cut end dry for a day to avoid rot. Plant each pup in its own small pot with gritty soil.
Water lightly at first, then let the soil dry before watering again. Keep new plants in bright, indirect light for the first week. Warmth (65–80°F) helps roots get established quickly, and new leaves usually follow soon after.
Step-By-Step Guide To Grow Aloe Vera In A Container/Pot
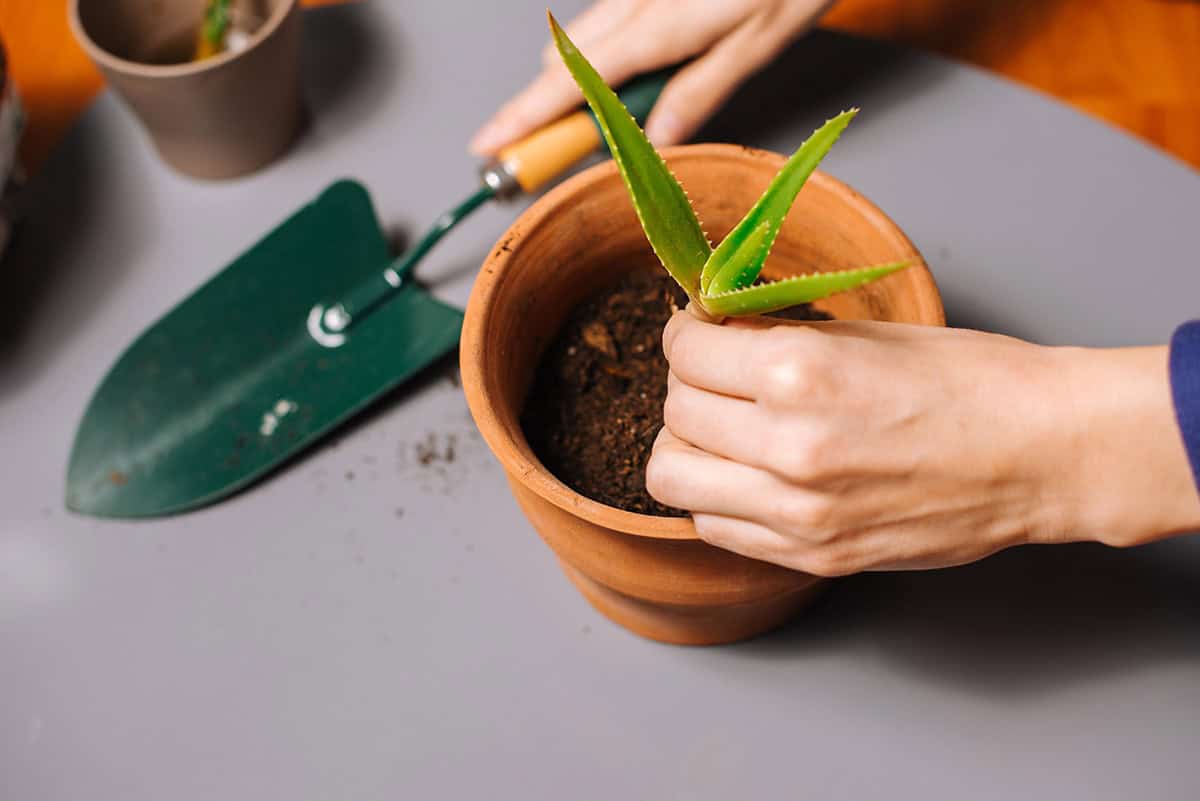
Start with a pot that drains well—one hole is enough. Don’t go too big; just a bit wider than the root ball works. Clay pots are ideal for faster drying.
Use a gritty, cactus-friendly mix. Toss in extra sand or perlite if needed. Fill halfway, set the plant so the leaf base is above the soil, then pack soil gently around the roots.
Place the pot where it’ll get lots of sun—south or west windows are best. Outdoors for the summer? Ease into direct sun over several days to avoid burns.
When watering, soak thoroughly and let the soil dry out completely before the next round. Don’t stick to a schedule—check with your finger. In warm months, every 2–3 weeks is usually enough; cut back in winter.
Fertilize lightly just once in spring and again in summer with a diluted succulent feed. Too much fertilizer does more harm than good. Repot every year or two if roots fill the pot.
Common Problems And Troubleshooting
Overwatering is probably the biggest culprit when things go wrong. Yellow, mushy leaves or a soggy base are classic signs. Dense or wet soil just makes it worse. Always let the soil dry out completely, and use gritty mixes in pots with drainage holes.
Not enough light? Leaves stretch, fade, and lean desperately toward the nearest window. Make sure your aloe gets several hours of direct sun each day. If you move it outside, do it gradually to dodge sunburn.
Pests like mealybugs and aphids can sneak in, hiding at leaf bases. Dabbing them with alcohol on a cotton swab usually does the trick. Stay on top of it—catching them early is way easier than fighting an infestation.
Temperature swings can sap a plant’s strength. Aloe likes 19–27°C, tolerates 10–35°C, but frost will wreck it. Keep it away from drafts and heaters. Brown or crispy leaf tips? Check your light, water, and temperature routine—something’s off.
Variety Selection
For most folks, it just makes sense to stick with Aloe vera (Aloe barbadensis). It’s forgiving indoors, doesn’t fuss over pot size, and you get those juicy, plump leaves loaded with gel. That’s what you want if you’re after something practical and not a giant project.
Step outside the typical, though, and you’ll find some wild giants—Tree aloe can shoot up into the sky if you let it, but that’s a whole different commitment. Smaller hybrids and species keep things tidy, especially if you’re short on space or want your collection to stay contained. Looking to multiply your stash? Some types churn out pups like nobody’s business, so you’re never short on new plants.
Bigger, chunkier leaves hold more water—handy if you’ve got strong sunlight streaming in. Tight rosettes squeeze onto a crowded windowsill or under a grow light without hogging all the real estate. Honestly, half the battle is just picking up a healthy nursery plant instead of chasing after something rare and temperamental.
At the shop, don’t rush. Get your hands dirty and check those roots, poke at the leaves. You want sturdy, perky growth, not mushy or floppy bits. Any sign of rot at the base? Walk away. A tough, lively starter is going to make your life a whole lot easier.