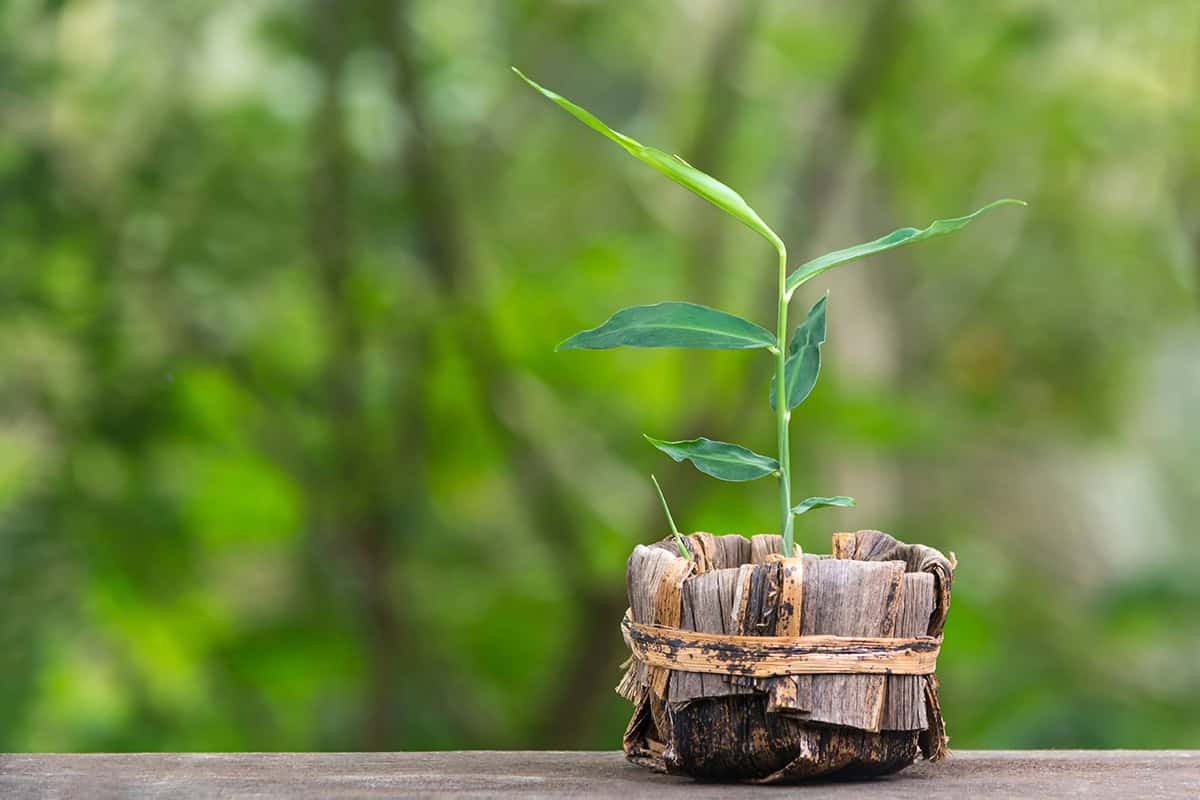
Fresh ginger squeezes into small spaces and rewards patience with real flavor. You control the light, heat, and moisture, so growing ginger indoors is totally doable. You can grow ginger indoors in a container with warmth, bright indirect light, moist soil, and patience.
A healthy rhizome matters more than any fancy tool. You’ll want to pick firm pieces with clear buds and prep them for pot life. The right container and soil keep roots happy and help dodge rot.
Once your plant gets going, care is pretty straightforward. You’ll be handling light, temperature, water, and feeding—nothing mysterious. If something goes sideways, most fixes are quick, and you can keep harvesting year-round if you want.
Table of Contents
Indoor Ginger: Quick Start
Warmth, steady moisture, and a little patience—that’s what ginger wants indoors. Even in chilly climates, a simple setup can get you fresh rhizomes.
What You Need
Pick a firm ginger rhizome with visible eyes. Nurseries are great, or just soak store-bought roots overnight to wash off growth inhibitors. Each piece should have at least one eye for shoots.
Grab a wide pot with drainage and a loose, quick-draining potting mix. Ginger likes soil that’s moist but not soggy. Keep the pot where it stays above 68°F—never let it drop below 50°F.
Direct sun can stress it out, so aim for bright, indirect light by a window or under a grow light. Mist the air or set a tray of water nearby to keep things humid, and try not to let the soil get swampy.
What To Expect (Time + Yield)
It’s slow at first—don’t panic. Shoots might not show for three to six weeks, then leaves pick up speed. Roots are busy below the surface long before you see much happening up top.
Young ginger is ready in about five to eight months. It’ll have thin skin and a milder taste. If you want those big, classic roots, you’re looking at nine to twelve months from planting.
Indoor harvests won’t be massive, but the flavor is solid. One container usually gives you several good pieces over time. With enough warmth, you can even keep the plant going through winter.
Choose The Right Ginger To Plant
How well your ginger grows indoors really comes down to the rhizome you start with. Healthy ones sprout faster, fight off rot, and fill out containers better.
Best Ginger “Seed” Pieces To Buy
Look for fresh, heavy rhizomes—smooth skin, tight flesh, and a few visible eyes. Each eye is a shot at a new shoot, so more’s usually better.
Organic ginger from the grocery store is a safe bet since it’s not treated to prevent sprouting. Nurseries or seed suppliers sometimes offer smaller, certified disease-free sections, which are handy for pots.
Before planting, rinse the rhizome and soak it in water for 12–24 hours. That helps clean it up and wakes up the buds. If you’ve got a big piece, cut it so each chunk has at least one strong eye, then let the cuts dry out before planting.
What To Avoid At The Store
Skip anything shriveled, mushy, or light. That means it’s old or dried out and will drag its feet sprouting. Mold, black spots, or weird smells? Hard pass.
Watch out for shiny, waxy coatings—they’re often treated to keep them from sprouting, which is the opposite of what you want. Non-organic roots are more likely to have this issue, even if they look okay.
Thin, stringy pieces with barely any eyes won’t do much. You want nice plump bits with obvious buds for a strong start indoors.
Prep The Rhizome Before Planting
Getting ginger going starts with a bit of prep. Warmth and moisture speed things up, and clean cuts with a short drying time help keep rot away.
How To Sprout Ginger Faster
Pick a fresh, firm rhizome with clear eyes—those little bumps. Organic is best since some store roots are treated to delay sprouting. Soak the whole thing overnight in fresh water to wash off any lingering chemicals.
After soaking, set it in a shallow tray with just a touch of moisture. Keep it warm (75–85°F), out of direct sun, and loosely covered for humidity. Check on it daily—keep it just barely damp. Buds should start swelling in a week or three, which gets you to planting faster.
Cutting And Drying Pieces (Simple Rule)
Once you see buds, cut the rhizome into pieces—each about one to three inches and with at least one strong eye. Use a clean knife and wipe it off if you run into any soft or dark spots.
Let the cut pieces sit in a dry, airy spot for a day or two. That seals the cuts and lowers the risk of rot. Don’t rush—wait until the surface feels dry and firm. It’s a small step that really pays off.
Pot + Soil Setup

Ginger does best with stable roots and some air pockets. The right size pot and a quick-draining mix are your best defense against rot and sluggish growth.
Pot Size And Drainage
Go wide, not tall. Ginger likes to spread out, so a pot at least 16 inches wide and 12 inches deep is ideal. Shallow pots just don’t cut it.
Drainage holes are a must. Water needs to get out fast after watering, or your roots will suffocate. Use a saucer if you want, but don’t let water pool under the pot.
Plastic or glazed ceramic pots are both fine. Heavier pots help keep the plant upright when it gets big. As the rhizome grows, add a bit more soil to cover any exposed parts.
Potting Mix That Won’t Rot Ginger
Roots need air as much as water. A loose, chunky mix keeps things moving and avoids soggy disasters. Don’t use garden soil—it’s too dense and holds water too long for indoor pots.
Try a blend of potting mix, compost, coarse perlite, and some fine bark. It drains fast but holds enough moisture. Coconut coir is a nice swap for peat if you want steadier moisture.
Hold off on slow-release fertilizers at the start. Ginger likes a light touch with feeding after sprouting, not at planting. Always use fresh, clean soil to cut down disease risks inside.
Planting Ginger Indoors
How deep and how spaced you plant makes a real difference. Get the rhizome oriented right and give it room to spread out for best results.
How Deep To Plant And Which Side Up
Plant ginger pieces about 2 to 4 inches deep in loose potting soil. Too shallow and they dry out; too deep and shoots struggle. Gently firm the soil over the top so nothing shifts around.
Look for the growth buds—those need to face up. If you’re not sure, just lay the rhizome flat with several buds pointing upward.
As shoots show up, the soil might settle. Toss on a thin layer of soil if you see any rhizome poking out. Keeps everything covered and growing strong.
Spacing In One Pot
Give each rhizome 6 to 8 inches of space. Cramming them together stunts growth and shrinks your harvest. Open soil lets each plant store up energy.
Pick a pot at least 12 inches deep and wide enough for your spacing. Shallow pots dry out too fast and just don’t give roots room. Wider pots help keep things steady and moist.
If the pot feels crowded, plant fewer pieces. One healthy plant can outproduce a bunch of stressed ones, and it’s way easier to care for.
Light + Temperature
Strong light and steady warmth are what ginger wants inside. Since you’re in charge, consistency matters more than the season.
### Best Indoor Light Level
Bright, indirect light is the sweet spot. Shoot for 10–12 hours a day from a south or east window. Direct sun through glass can burn leaves, so a sheer curtain is handy.
If sunlight’s weak, a full-spectrum grow light does the trick. Keep it 12–18 inches above the plant and on a regular daily timer. Uneven light leads to floppy stems and slow roots.
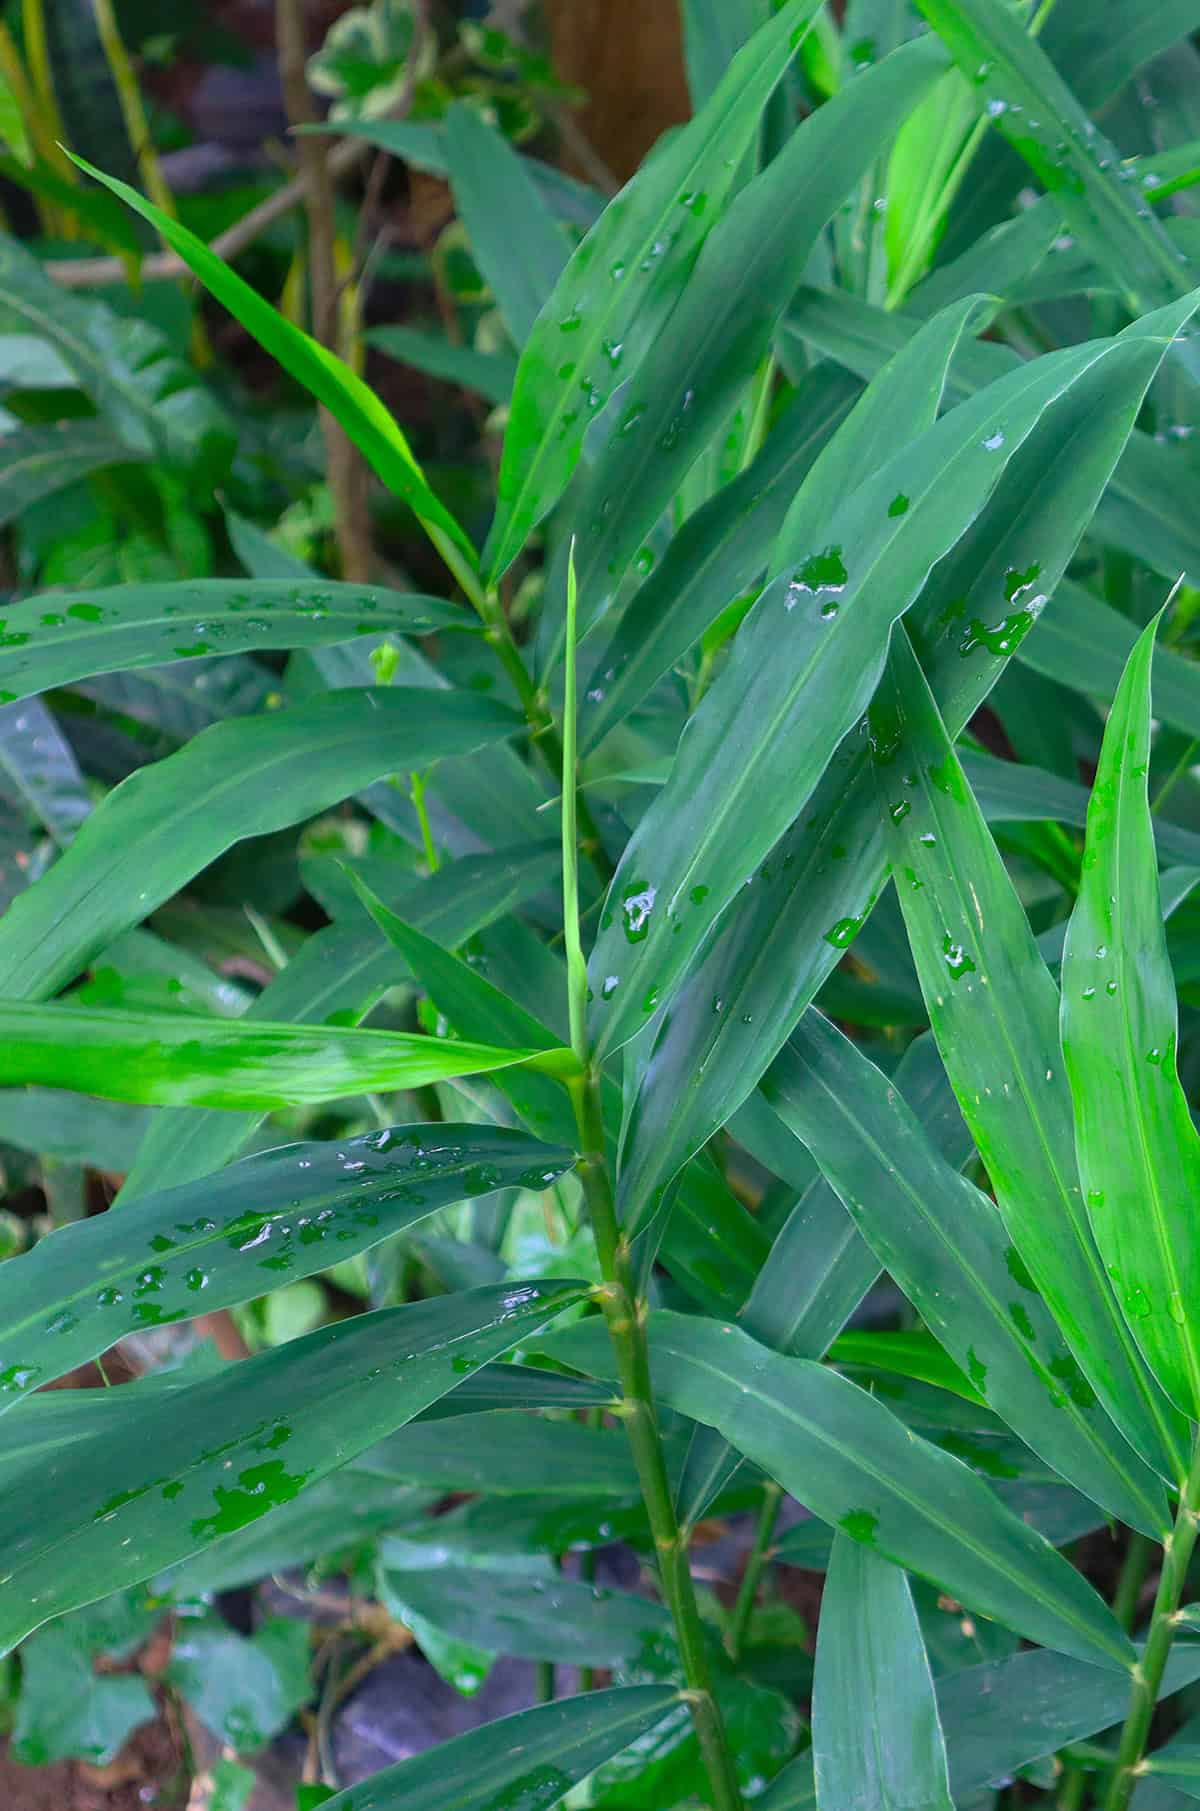
Give the pot a quarter turn every week or so. Leaves should look deep green and stand up straight. If they’re pale or leaning, they’re begging for more light.
### Warmth And Humidity Basics
Keep it warm—68°F to 85°F is the target range. Don’t let it drop below 50°F, even at night.
Soil warmth is just as important as air. Avoid cold floors or drafty windows. Pick a stable spot and stick with it.
Humidity should stay above 50 percent. Dry air slows things down and can crisp up the leaves. A humidifier or a tray of water nearby helps. Brown leaf edges usually mean the air’s too dry, not that you’re watering wrong.
Watering (Don’t Rot It)
Ginger inside likes steady moisture but hates soggy feet. The trick is to keep the rhizome from rotting while supporting new growth.
When To Water
Right after planting, water lightly and then wait until you see shoots. Too much water early on is a recipe for rot.
Once stems are up and a few inches tall, water more often—but let the top inch of soil dry out first. You want the soil to feel cool and loose, not sticky or heavy.
Room temp changes how often you need to water. Warm, bright rooms dry out faster; cool rooms slow things down. If it gets close to 50°F in your house, cut back on watering and don’t let the pot sit wet.
Always use a pot with drainage holes and dump out any water that collects underneath.
Signs Of Too Much Vs. Too Little
Too much water is pretty obvious: yellow leaves, floppy stems, or a funky smell from the soil. If you check the rhizome and it’s mushy, you’ve overdone it.
Too little water looks different—leaves curl, get dull, or develop crispy tips. Growth slows, but stems stay upright.
Feel the soil. Wet and sticky? Stop watering. Dry and crumbly? Time to water. Trust your fingers over a calendar, since indoor conditions change all the time.
Feeding Ginger
For plump roots and healthy leaves, ginger needs steady nutrients. Feeding right keeps growth balanced and helps avoid salt buildup in the soil.
Simple Fertilizer Option
A balanced liquid fertilizer at half strength works well. Look for something like 10-10-10 or 5-5-5—ginger likes even nutrition. Apply to moist soil so you don’t shock the roots.
Organic options are solid, too. Worm castings mixed into the top layer give gentle nutrients and trace minerals. Skip high-nitrogen stuff; it’ll just make lots of leaves and not much root.
How Often To Feed
Start feeding when new shoots are a few inches tall. During the growing season, every three to four weeks is about right. Ginger’s pretty steady in what it wants.
Slow down or skip feedings if light drops or growth stalls. In winter, maybe once every six to eight weeks, or not at all if the plant’s resting. Every couple months, flush the pot with plain water to clear out salts that can mess with root health.
Ongoing Care
Sticking with it keeps your ginger happy for months. Soil depth, a bit of surface cover, and where you set the pot all play into how well your plant does and how much ginger you’ll get.
Mulch, Topping Up Soil, And Cleanup
As the shoots pop up, the rhizome sometimes creeps above the surface. Just sprinkle on some fresh potting mix—an inch or two over the exposed bits does the trick. You’ll probably need to do this a couple of times during the growing season to cover up any more that show and to keep new growth happy.
Throwing on a thin layer of mulch helps keep things damp and slows down surface drying. Clean straw, shredded leaves, or even coco coir works. Don’t pack it down—let air get through so the stems don’t get soggy and flop over.
Trim off any yellow or rough-looking leaves right at the base with scissors that aren’t gross. It’s mostly about keeping rot and bugs away. Wipe off loose soil from the rim and top to make life harder for fungus gnats. No need to fuss much once the stems look solid and green.
Moving It Outdoors Seasonally (Optional)
If the weather warms up, you might want to give your ginger some outside time. Wait until nights stay above 50°F—ginger hates the cold. Find a spot that’s shady but still gets bright, indirect light, and try to avoid windy corners.
Start slow: put the pot out for just an hour the first day. Bump up outdoor time bit by bit over a week or so. This way, the leaves don’t freak out and burn.
Check the soil every day; outdoor air dries pots out way faster. Bring it back in before chilly nights hit again. Give the leaves a once-over for bugs before you let it back inside—maybe rinse them if you spot anything.
Problems And Quick Fixes
Ginger indoors can go downhill quick if you miss the mark on water, warmth, or light. Most issues? Usually too much water, not enough heat, or dim conditions. Each one’s got a pretty direct fix, though.
Mold, Rot, And Fungus Gnats
If the rhizomes feel mushy or the dirt smells sour, you’re probably overwatering. Ginger likes its soil warm and fast-draining, never swampy. Make sure your pot drains, and don’t water again until the top inch dries out. Keep it warm—above 68°F if you can, and never let it dip below 50°F. Cold roots sulk.
Spotting white mold on the soil or stems? That’s usually poor airflow. Try spacing stems out more and don’t let the pot get crowded. Swap out the top layer of soil if the mold keeps coming back, and maybe dial down the humidity.
See tiny black flies? Yep, fungus gnats. They love soggy potting mix. Let things dry out a bit between waterings, and covering the soil with coarse sand can help break their cycle.
Yellow Leaves And Slow Growth
Pale leaves? Usually not enough light or it’s a bit too chilly. Move the pot to a brighter window that gets a few hours of indirect sun. Keep things warm—ginger slows down if it gets cold, even inside.
Nutrients can be a factor too. Feed a diluted, balanced fertilizer once new shoots pop up, but don’t go overboard. Too much can stress the roots and set things back.
Honestly, ginger just takes its sweet time. Rhizomes need months to mature indoors. Keep topping up the soil as stems grow up, since the rhizomes like to push higher and need to stay covered if you want them to keep going.
Harvesting Indoors
Ginger grown inside can be picked at different points, and when you harvest changes the taste, texture, and how much you get. You can just take a chunk and let the rest keep growing, or pull the whole thing when it’s ready.
“Baby” Ginger Vs. Mature Ginger
If you’re after young ginger, it’s best for fresh eating and milder recipes. Pull it around 5 to 8 months in, once the plant’s got some strong leafy growth. The skin stays thin and pale, so it’s easy to peel. The flavor’s mellow, not too hot, and barely any fibers.
For mature ginger, you need more patience. Wait 9 to 12 months, until the leaves start turning yellow and drying out. The rhizome gets firm, tan, and spicy—pretty much like what you’d find in stores. This stuff stores well, too.
Indoor plants usually take longer to mature since the light’s never quite as strong. Keeping the room warm (above 68°F) and watering just enough helps speed things up a bit, but ginger’s never really in a rush.
How To Harvest Without Killing The Plant
If you’re growing ginger indoors, you can just peel back some soil at the edge and slice off an outer chunk of rhizome with a sharp, clean knife. Try not to disturb the main part of the plant—leave the central section and the shoots alone. Afterward, just tuck some fresh potting mix over the spot you cut.
As long as you only take what you need and each piece you cut has those knobby buds and feels solid, you’re good. Give the plant a little water after, just enough to help it bounce back.
This approach is especially handy if you’ve got ginger in a pot, since it tends to grow upward and likes a bit of extra soil as it goes.