Parlor palm just fits into daily life and indoor spaces, doesn’t it? If you’re after a plant that stays compact, shrugs off low light, and forgives the occasional slip-up, this one’s a winner. It’s classic, tidy, and pretty much at home in any living room or office corner.
This guide skips fluff and gets you set up quickly. You’ll see where it thrives, how to water without drama, and when to intervene. Troubleshoot the usual issues and keep propagation and maintenance realistic.
Table of Contents
Quick Start
It’s a compact palm that’s happy in tight spaces, handles the typical indoor light, and doesn’t get unruly. Once you find its spot, it’s mostly hands-off, with slow growth and minimal fuss.
Why It’s a Good Indoor Palm
Most houseplants seem to sulk in low light or dry air, but this palm just keeps going. It likes bright, indirect light but won’t throw a fit in moderate conditions. Direct sun? Not its thing—fronds scorch quickly, so pull it back from sunny windows.
It’s forgiving if you forget a watering or two. Let the top soil dry a bit, then water—roots like it moist but not soggy. Average humidity and room temps are just fine.
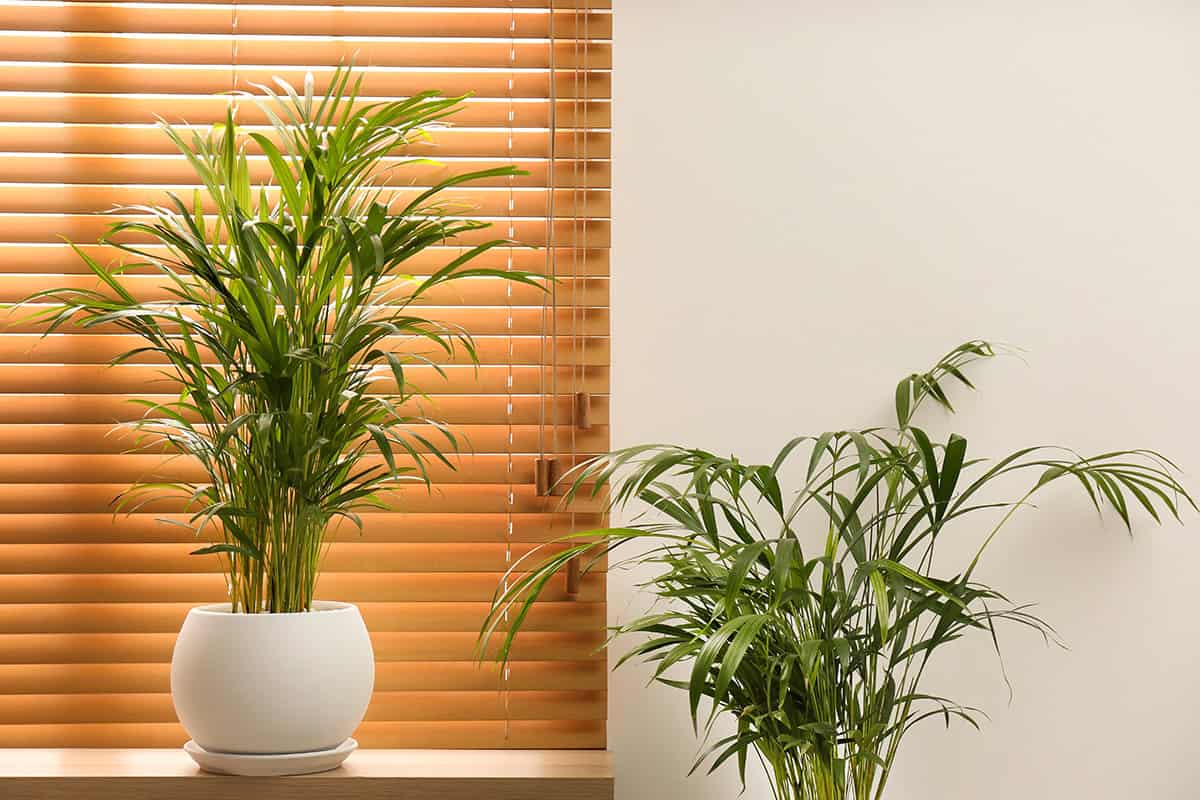
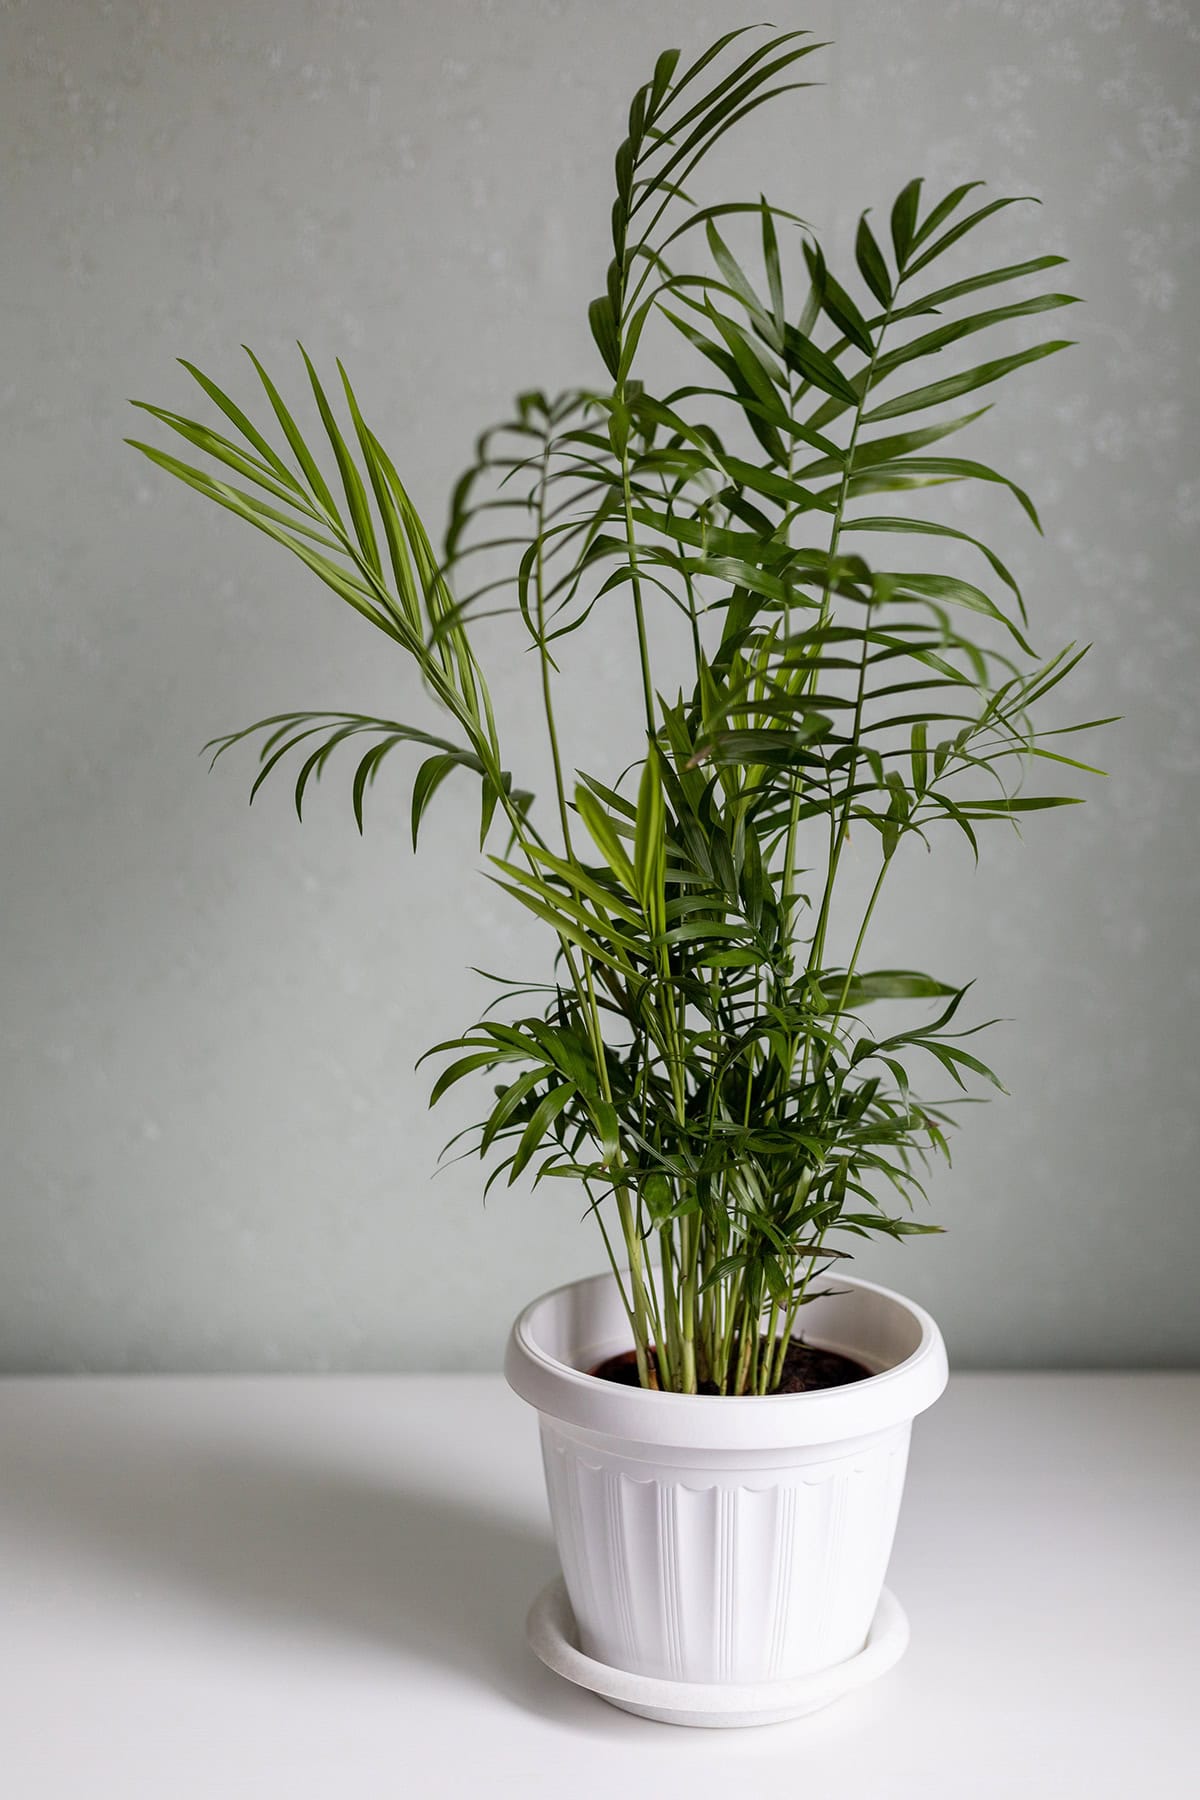
Usually, you’ll notice a bunch of slender stems in one pot. That’s not the palm spreading—it’s growers packing a few together for that lush look. Each stem grows upright and tidy.
What to Expect (Growth Speed + Size)
Growth is slow and steady, honestly. You’ll maybe see a couple of new leaves each year if it’s happy. Don’t expect it to shoot up overnight.
Most indoor plants top out at 2 to 3 feet after several years. Rarely, with lots of patience and great conditions, you might get one to 6 feet, but don’t count on it. The trunk stays slim, always.
It doesn’t branch or clump naturally. If you ever see flowers, know that male and female plants are separate. Fruit is rare indoors, and honestly, best left alone—can irritate skin.
Best Spot in the House
Find a spot with gentle, steady light and stable temps. That’s half the battle—less stress, greener leaves, and you won’t be fussing over it all the time.
Light Levels It Tolerates
Soft, indirect light is its sweet spot. An east window works, or set it back a few feet from a south or west window. Direct sun scorches, so don’t risk it.
It’ll survive in lower light, which is why it’s everywhere. Growth slows, but it won’t lose color or shape. Give the pot a turn every couple weeks for even growth.
Artificial light can do the trick if your place is gloomy. Just don’t stick it in a dark corner and expect miracles.
Temperature and Drafts to Avoid
Average indoor temps—65°F to 80°F—are perfect. If it dips below, you’ll see leaf damage.
Cold drafts are a no-go. Keep it away from doors, drafty windows, or radiators. Hot air dries it out, too.
What matters most is stable air. Pick a room where temps don’t swing wildly. That’s what keeps roots and leaves happy for the long haul.
Pot + Soil Setup
Roots need a steady pot and loose soil to breathe and avoid soggy messes. Repotting at the right time keeps things moving along indoors.
Pot Size and Drainage
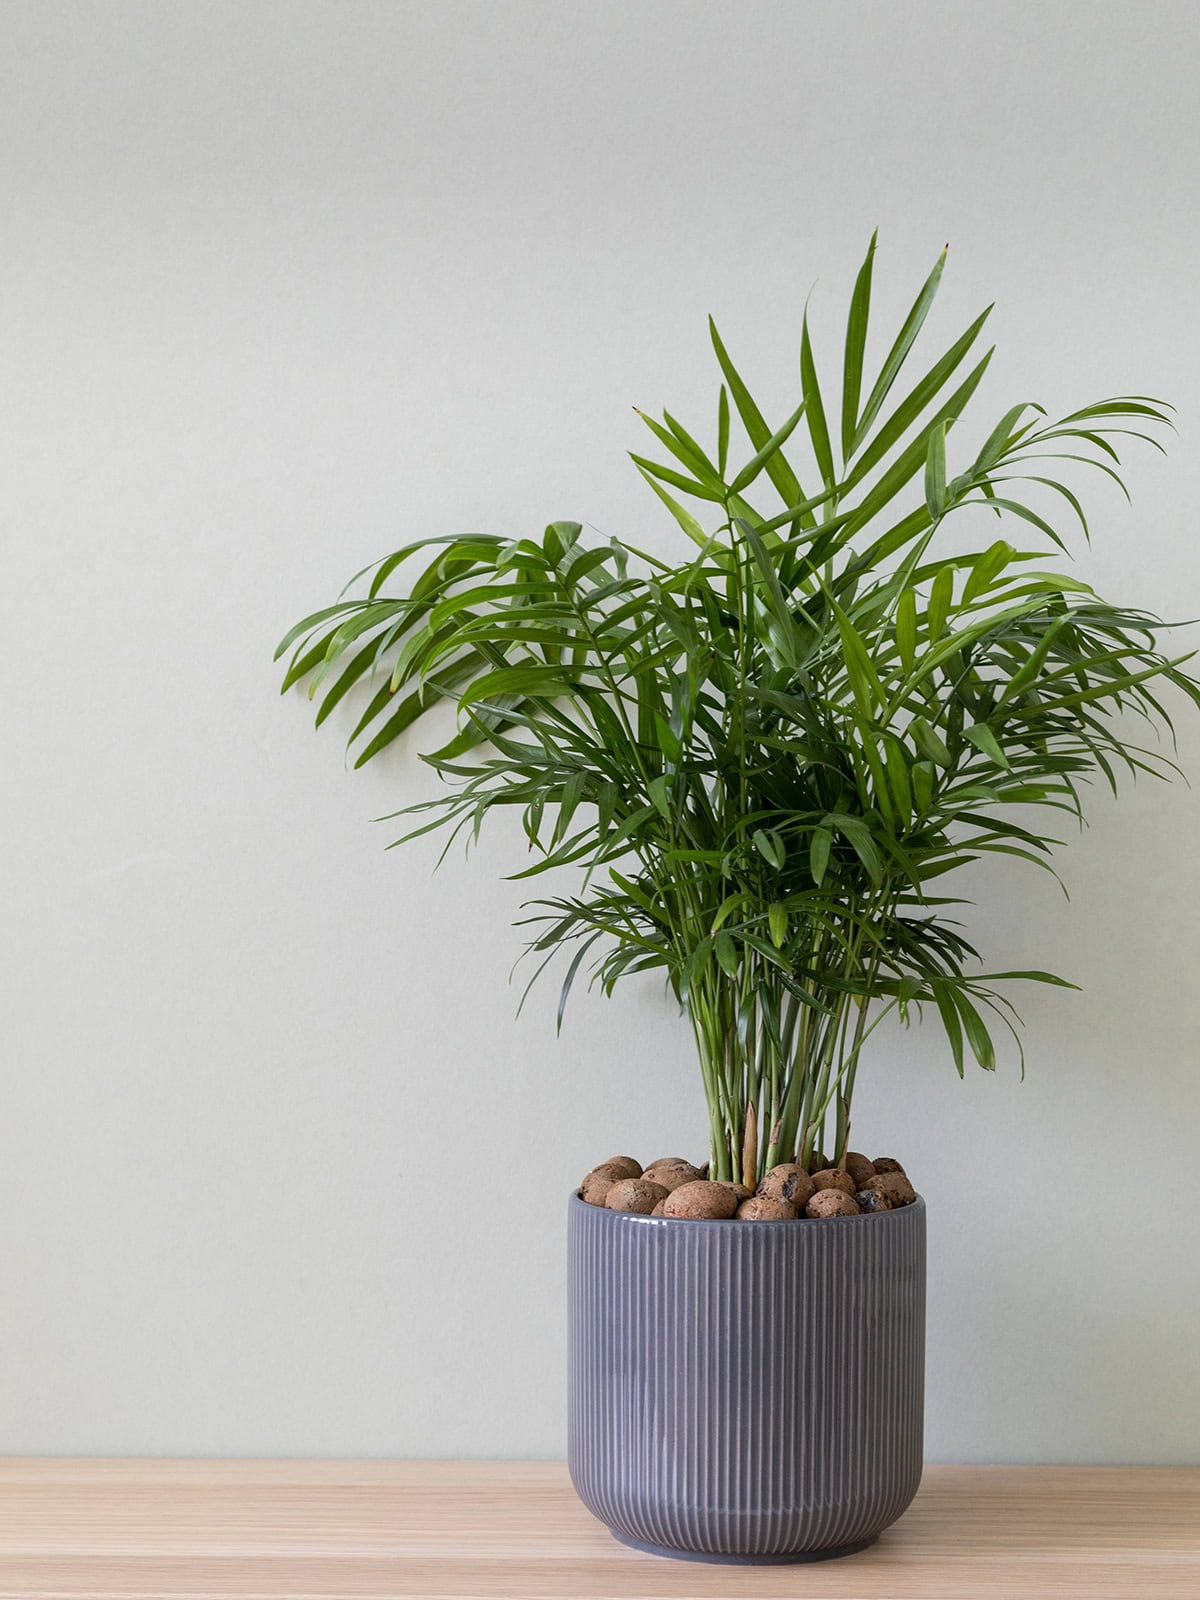
Choose a pot that fits the roots, not just the leaves. One or two inches wider than the root ball is enough. Big pots hold too much water and slow things down.
Drainage holes are non-negotiable. Water should run right through. Decorative pots are fine, but only if the inner pot drains well.
Heavier pots add stability for taller plants. Clay and ceramic dry soil faster; plastic keeps it moist longer, so tweak your watering accordingly.
Soil Mix That Stays Airy
Roots need air as much as water. Go for a loose mix—peat or coco fiber, decent potting soil, and something chunky like perlite or sand. It should feel light and fluffy, not dense.
Skip cactus or succulent mixes; they drain too fast. If the soil came with fertilizer, remember it’ll run out in a few months.
When to Repot
Slow growth means you’re not repotting often. Every two or three years is plenty. If roots circle the pot or poke out, it’s time.
Spring is best—brighter days help roots bounce back. Winter repotting? Not ideal.
Only go up one pot size. Keep the crown at the same level. After moving, water once, then go back to your usual routine.
Watering Rules
Consistent moisture and good drainage—those are the keys. You want the soil moist but not soggy. Light, temp, and pot size all play a role in how often you reach for the watering can.
When to Water
Check the top inch or two of soil. If it feels dry, water. In decent light, that’s usually once every week or so.
Cooler rooms and low light slow things down. Small pots dry out quicker than big ones, so adjust as needed.
Water until you see it run out the bottom, then dump the saucer. That keeps roots happy and breathing.
Overwatering vs. Underwatering Signs
Too much water? You’ll get soft stems, yellow leaves, maybe even a sour smell. Root rot is lurking if the soil’s always wet.
Not enough? Brown, crispy tips, curled edges, maybe a little droopiness but the leaves still feel firm. If the soil’s pulling away from the pot, it’s been dry too long.
Check both soil and leaves before you react. Fix the cause, not just the symptom. Don’t just dump more water on a problem.
Humidity + Airflow
These palms like steady humidity and gentle airflow. It keeps the leaf tips from crisping up and cuts down on pest headaches.
Easy Humidity Upgrades
Indoor air, especially with winter heating, gets dry. Shoot for moderate, steady humidity.
A pebble tray with water under the pot (not touching roots) bumps up moisture around the leaves.
Humidifiers are great if you’re in a dry climate. Place it near—not right on—the plant and keep it running at a low, steady level.
Grouping plants helps everyone out with shared humidity. Skip the misting; it doesn’t do much, can leave spots, and isn’t worth the trouble.
If leaf tips brown or curl, dry air is usually the culprit, not low light or bad soil.
Ventilation Without Stressing the Plant
Fresh air is good, but strong drafts are a problem. Sudden temp changes can make leaves drop or stall growth.
Keep away from vents, doors, and drafty windows. Heating and AC dry things out and mess with humidity.
Gentle air flow is fine. A ceiling fan on low, as long as it’s not blasting the plant, helps prevent mites and keeps things fresh.
Nighttime temps around 60°F are fine. Avoid cold shocks—palms don’t like it one bit.
If you open windows, pull the plant back out of the draft. Warmth and soft air movement keep the foliage dense and healthy.
Fertilizing
Palms aren’t heavy feeders. Light, steady nutrition works better than overdoing it. Keep it simple and watch how the plant reacts.
Simple Feeding Schedule
They grow slowly and don’t need much. Use a balanced houseplant fertilizer at half strength in spring and summer. Something close to 3-1-2 is good. Feed every four to six weeks after watering.
Come winter, stop feeding. Growth slows, and extra fertilizer just builds up and stresses the roots. Stick to plain water until the days get longer again.
Signs You’re Overfeeding
Too much fertilizer? You’ll see brown tips, yellow edges, maybe a white crust on the soil. Roots can get wrecked even if the leaves look okay.
If that happens, flush the pot with distilled or rainwater to wash out salts. Let it drain, skip feeding for a while, and only start again when new growth looks healthy.
Pruning and Cleaning
Trimming Brown Tips and Old Fronds
This palm grows from a single crown. If that gets hurt, new leaves stop. Only cut off fully brown or yellow fronds—leave as much green as possible.
Use sharp, clean scissors. Disinfect between plants just to be safe. Cut close to the stem without shredding fibers.
Brown tips usually mean dry air, salt, or uneven watering. Just trim the brown, not the green.
Don’t go overboard. These palms replace leaves slowly, so heavy pruning sets them back.
Dust Removal and Leaf Care
Dust builds up indoors and blocks light. Wipe leaves with a soft, damp cloth, supporting them from underneath. Stick to water—skip the leaf shine stuff.
If your pot drains well, you can rinse the plant off in the shower. Let it dry before putting it back in its spot. Dry leaves help avoid spots and fungus.
Check for sticky residue or webbing when cleaning—that’s your early pest warning.
Common Problems and Fixes
Parlor palms show stress in their leaves—color, texture, posture. Most issues come down to light, water, humidity, or pests. A quick tweak usually puts things right in a week or two.
Yellow Leaves and Brown Tips
Yellow leaves? Usually too much water or not enough nutrients like nitrogen or magnesium. Let the top inch of soil dry before watering again. Always use a draining pot and don’t let water sit in the saucer.
Brown tips are often from dry air or mineral buildup. Parlor palms don’t like fluoride or salts in tap water. Try distilled or rainwater if tips keep browning. Keep humidity around 40–60%. Trim brown tips with clean scissors, but leave the green.
Drooping or Crispy Fronds
Droopy, soft fronds point to root stress from overwatering. Check soil—if it’s damp, cut back on water. Only repot if roots are crowded, and keep the crown at the same depth.
Crispy fronds? That’s underwatering or too much sun. Move it out of harsh light and water thoroughly, letting excess drain. Stick with consistent care to avoid repeat problems.
Pests (Spider Mites, Mealybugs)
If your indoor palm’s been hanging out in a dry, dusty spot, don’t be surprised if pests show up. Spider mites usually leave behind tiny webs and little pale dots on the leaves. Mealybugs? They look like fuzzy white bits stuck on stems and where the leaves meet. Flip those fronds over every couple of weeks and have a look.
As soon as you spot trouble, move the plant away from the rest. A damp cloth works wonders for wiping off bugs and their mess. Give insecticidal soap or neem oil a shot—once a week’s the usual drill until you stop seeing pests. Crank up the humidity if you can; mites hate it. Clean leaves are less inviting for bugs to come back, so don’t slack on that.
Propagation
If you’re hoping to make more parlor palms, division’s really the only way that works. Cuttings and tossing seeds in soil just don’t cut it. Timing, the plant’s setup, and not wrecking the roots all matter here.
Why Division Is the Only Practical Method
Parlor palms usually show up as a bunch of individual plants crammed into one pot. Nurseries do this to make the plant look lush, which, honestly, makes dividing them later a breeze. Each stem’s got its own roots, so you can split them up without much drama.
Growing from seed? Technically possible, but it’s a pain. Germination drags on, and half the time the seeds don’t even sprout. If you’re growing indoors, division’s just way less hassle and you won’t be waiting around forever.
How to Divide Safely
If you notice your plant’s roots crowding the pot and things seem to have stalled, it’s probably time. Spring’s a good bet—plants just bounce back quicker when the days get longer. Gently tip out the root ball, shake off what dirt you can, and honestly, hands do the job better than tools most of the time.
Look for clumps with decent roots and more than one stem before splitting anything up. Try not to mangle the roots too much, just enough to separate. Pop each chunk into a pot that actually fits, top up with new soil, and give it a drink. Bright but not blazing light is ideal. Hold off on fertilizer for a bit; let them settle before you push them to grow.