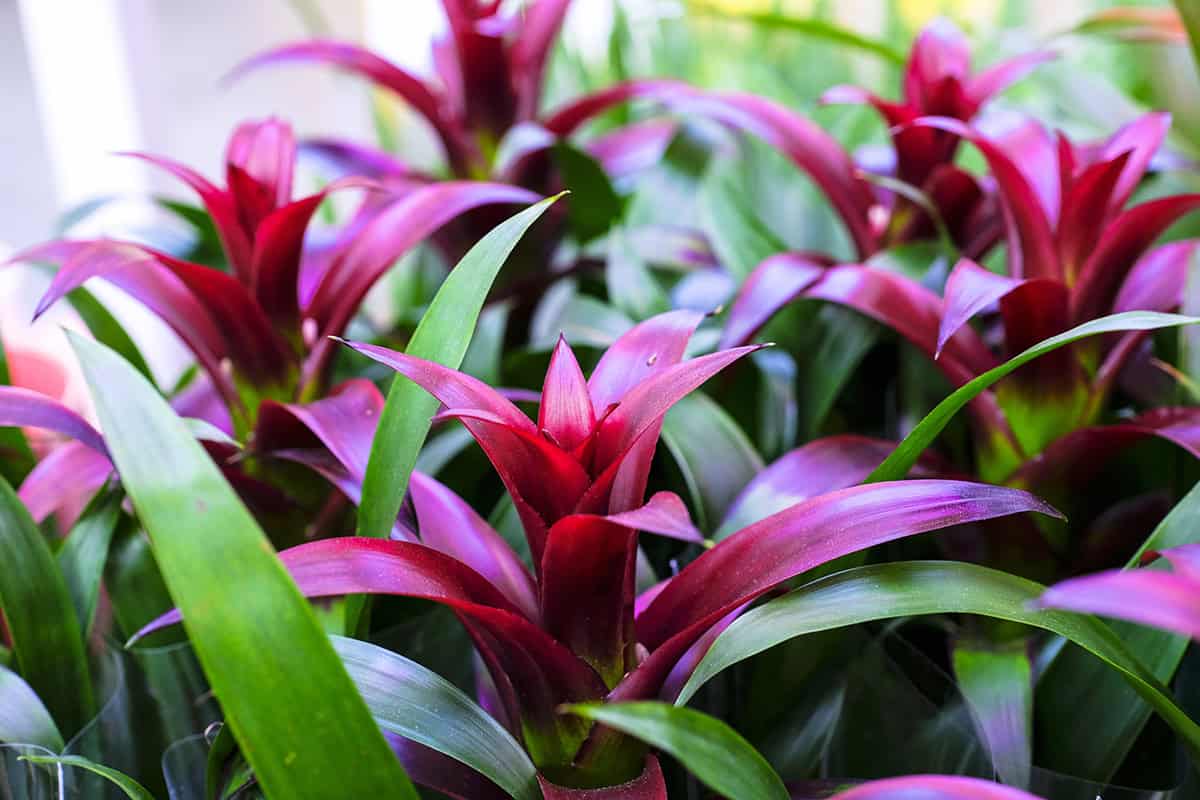
Bromeliads bring bold color and a crisp look to indoor spaces, and honestly, they’re not fussy. They’re part of the pineapple family—some look like spiky rosettes, others dangle as air plants. They’re pretty content in a bright room and don’t demand much.
You’ll have good luck with bromeliads if you give them bright, filtered light, a well-draining potting mix, just enough water in the central cup, warmth, and steady humidity. These guys really hate extremes. Even small tweaks to their environment can make a big difference.
This walkthrough covers picking a healthy plant, sorting out the lighting, potting, watering, feeding, and what to do after blooming. It’s all about practical steps that keep your plant alive and looking sharp.
Table of Contents
Bromeliad Care Basics
If you get how bromeliads grow, you’ll skip a lot of headaches. The way you handle the central cup and what you do after a bloom both matter more than you’d think.
Why Bromeliads Are Different (Tank + Rosette)
Most indoor bromeliads grow as a tight rosette, forming a central cup or “tank.” That’s where you add fresh water—don’t just water the soil. Dump out old water and refill it weekly so it doesn’t get gross.
Roots are mostly for holding the plant up, not feeding it. Use a light, chunky mix so air gets to the roots. Skip deep pots and heavy soils; soggy roots are a death sentence.
Bright, indirect light keeps leaves colorful and the cup healthy. Direct sun indoors? That’ll burn the leaves. Warm, draft-free rooms with a bit of air movement are ideal; cold air just wrecks the foliage.
What to Expect (Bloom Cycle + Pups)
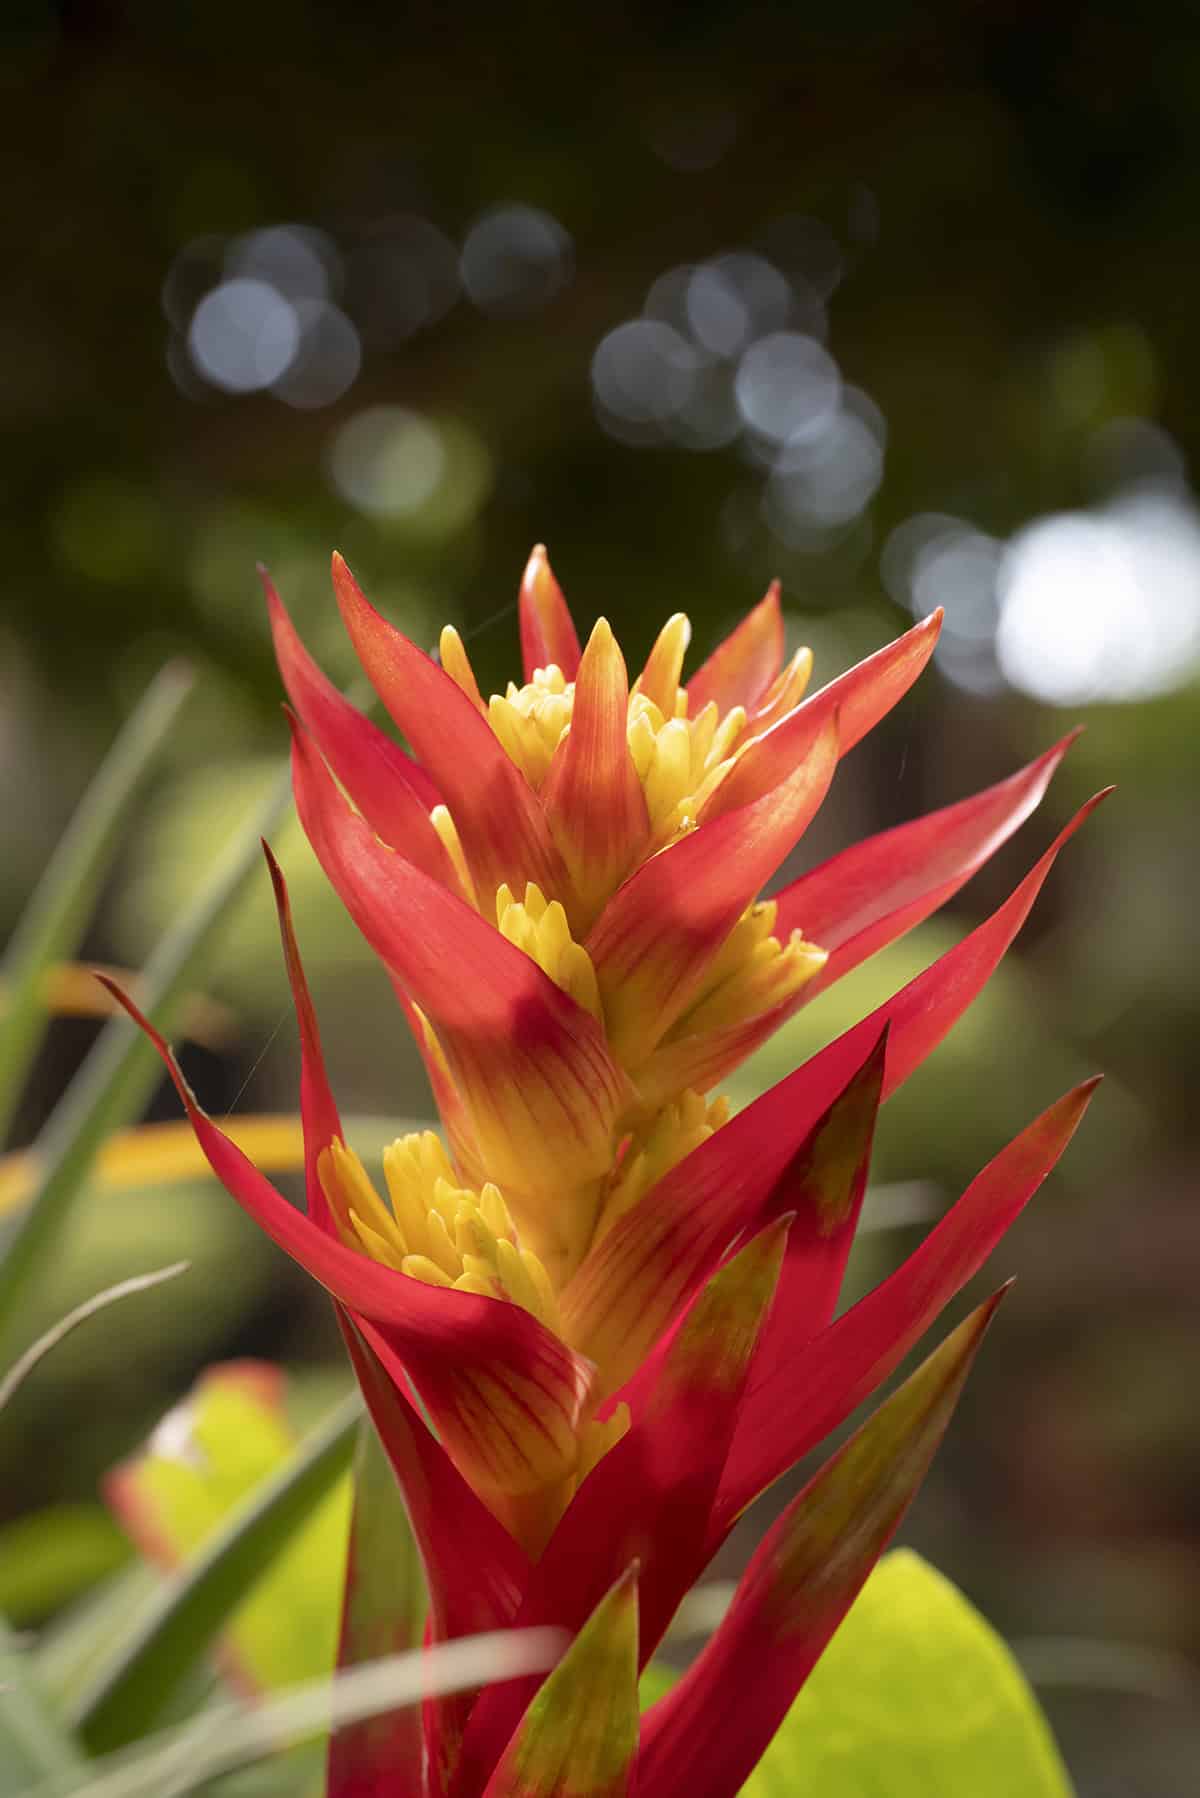
Each bromeliad blooms once, and the showy bracts can stick around for a few months. After that, the main plant starts to fade.
As the parent plant declines, you’ll see pups—little offsets—popping up at the base. Let them grow until they’re about a third the size of the parent before separating. That way, they’ll root well and keep growing.
Once you split them off, the old plant will die back. That’s just part of the deal. The pups take over, and the cycle rolls on.
Choosing a Bromeliad for Indoors
Your best bet is matching the plant to your space and habits. Some types just handle indoor life better, and a healthy plant to start with makes all the difference.
Easy Types for Beginners
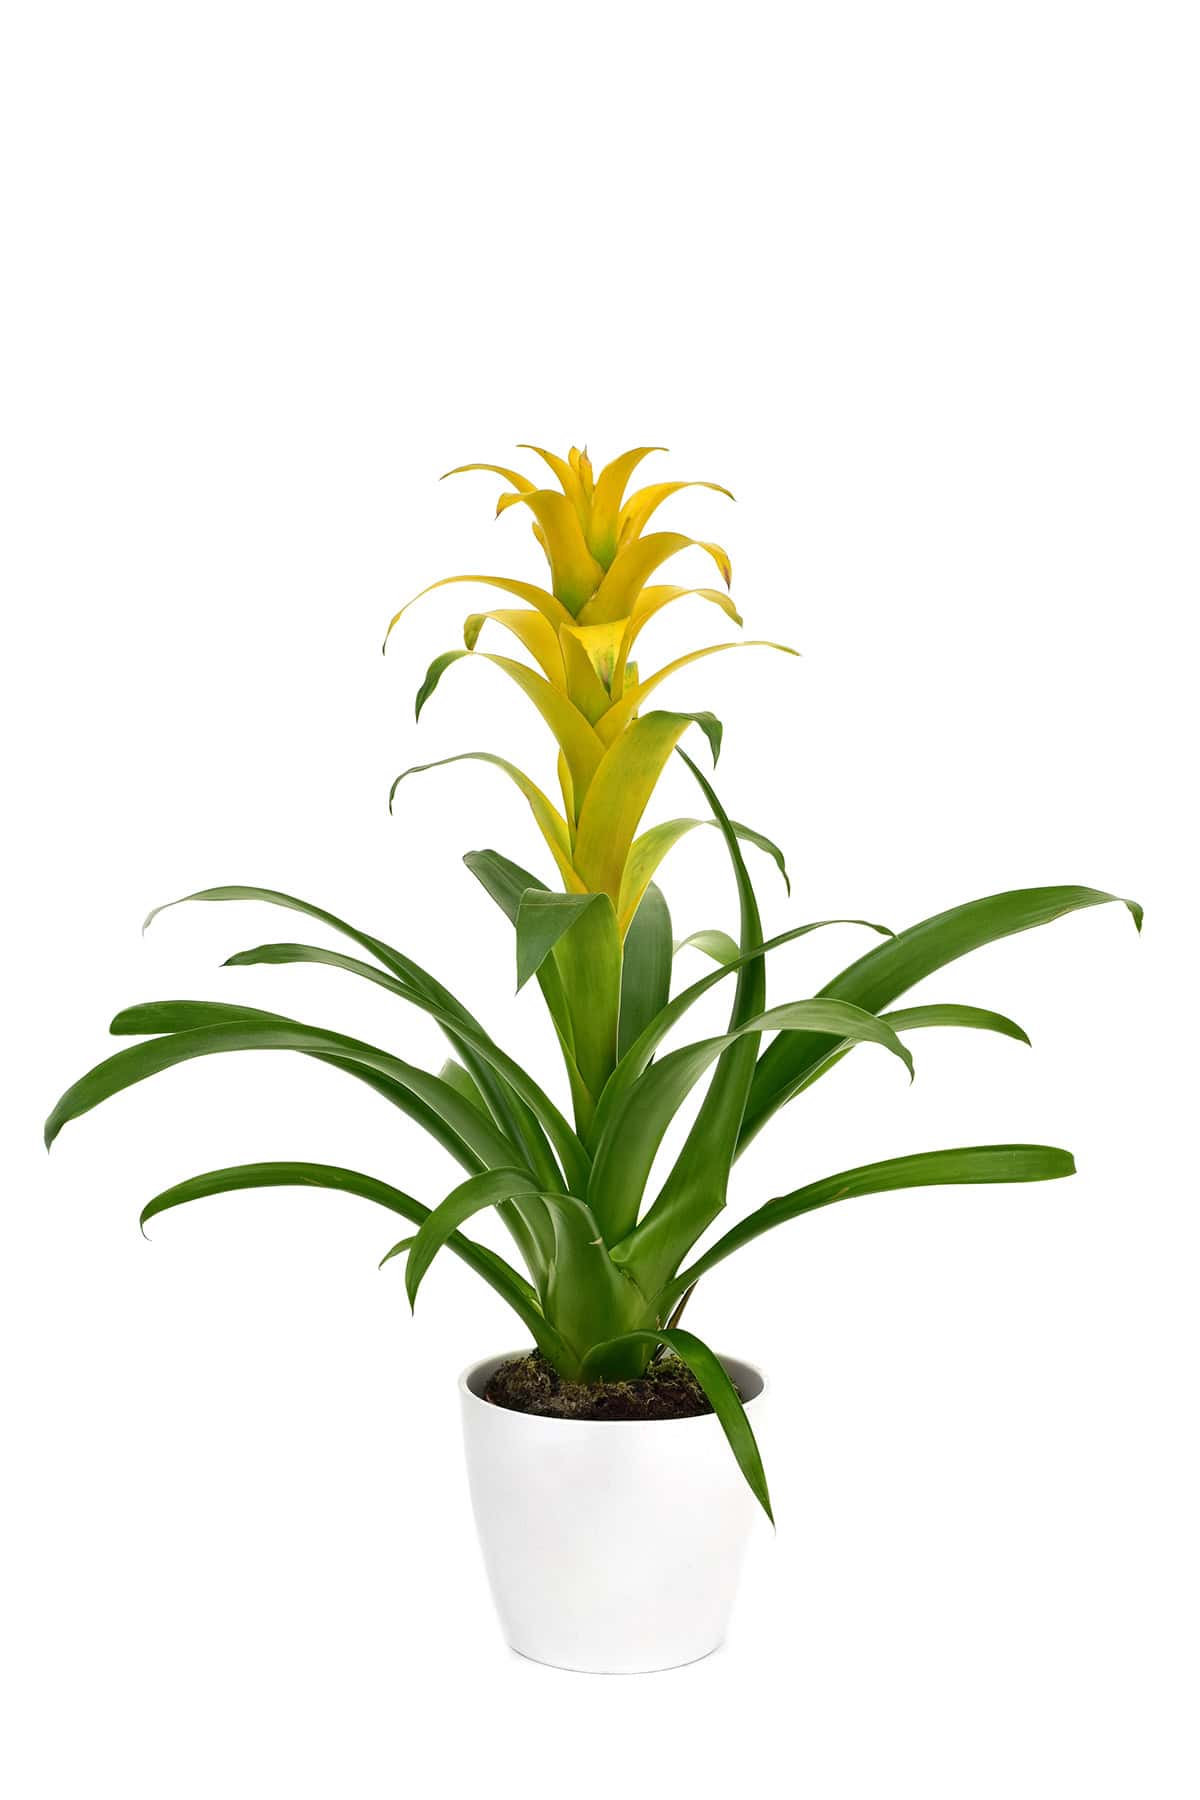
Guzmania, Vriesea, and Aechmea are the usual go-tos—they tolerate bright, filtered light and aren’t picky. Their leaves are tough enough to handle the occasional slip-up.
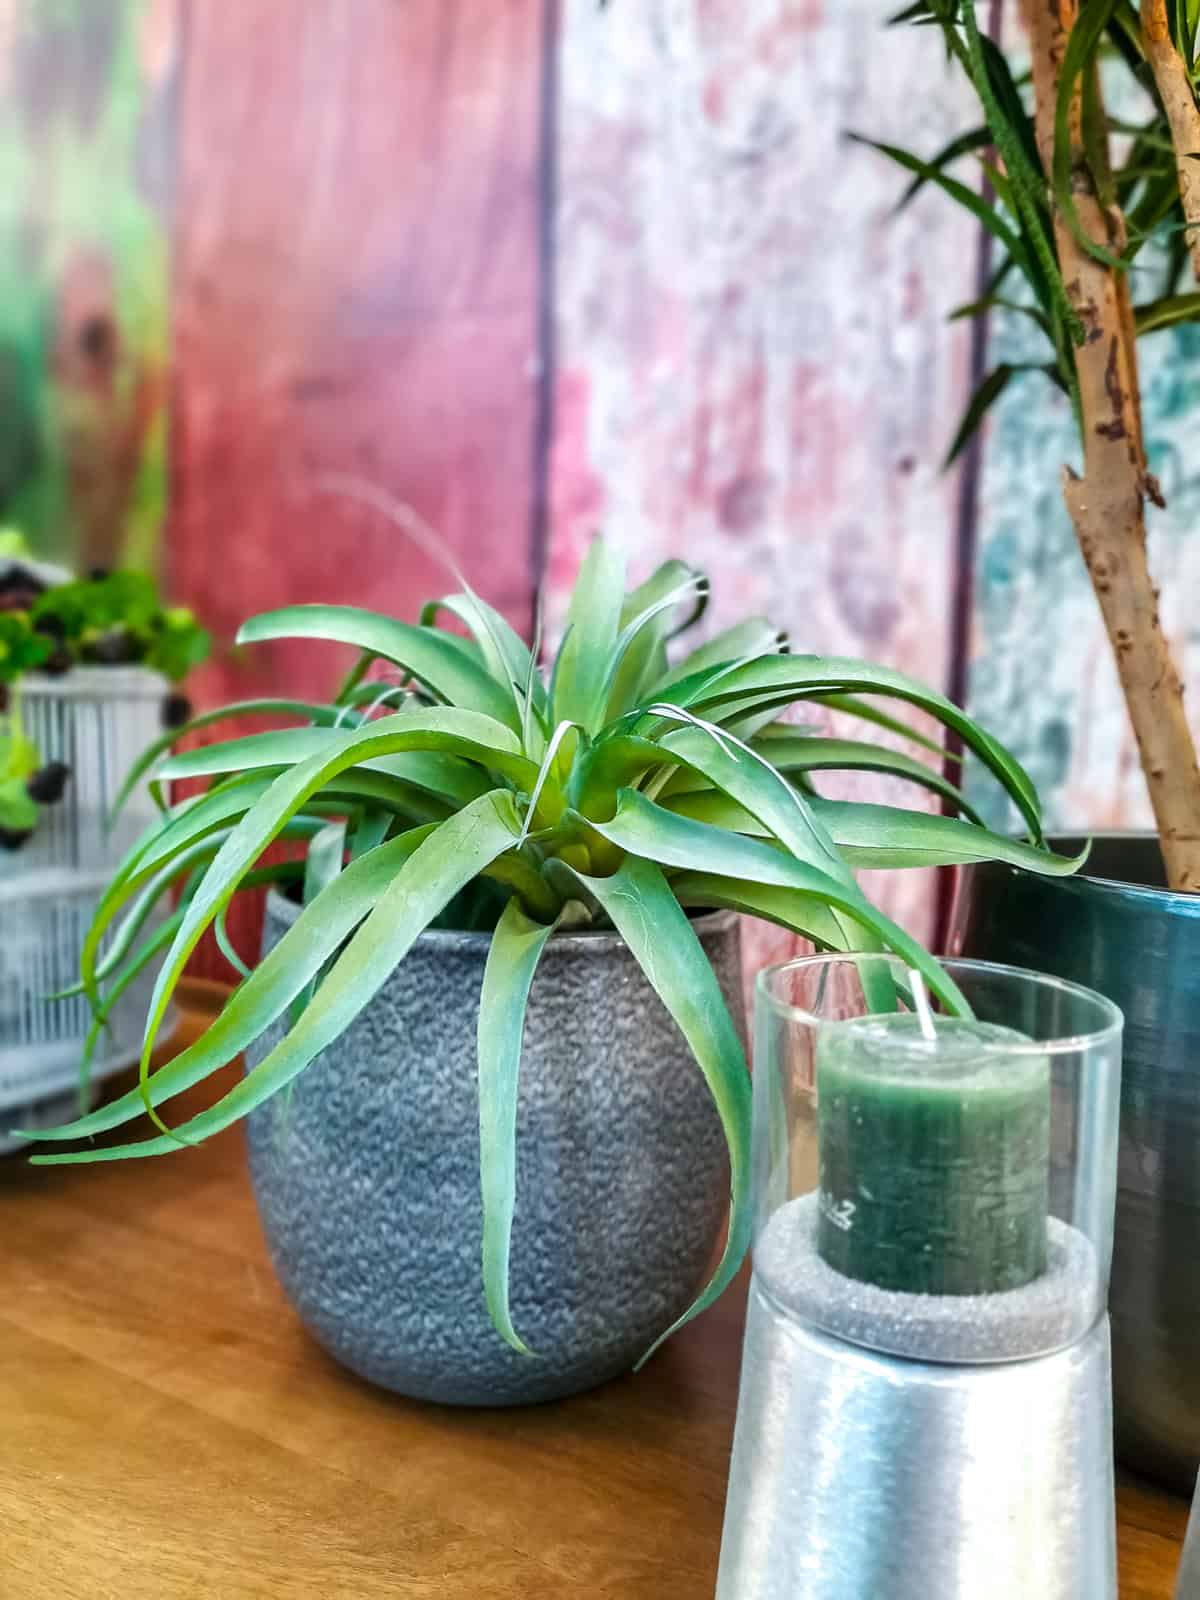
Tillandsia (air plants) are fun if you want to skip soil. They just need good light, air, and a regular misting. Handy for shelves or small spots.
Skip the sun-lovers. Most homes can’t give full sun, even with a good window. Stick to types that like moderate light; they’ll keep their color and won’t stress out.
What to Look for When Buying
Look for firm, upright leaves with even color—don’t get distracted by a flashy flower if the foliage looks sad. Soft spots, brown tips, or a wobbly center are red flags.
Check the base: it should be dry and clean, with water only in the cup, not pooling around the roots. A solid plant at the base means less risk of rot.
Think about where you’ll put it. Big bromeliads need space and steady light. Smaller ones fit on desks or shelves. Pick one that actually fits your spot.
Light Setup
Bromeliads are picky about light. Get it right and they’ll reward you with color and growth; get it wrong and they sulk.
Best Window Directions
East or south windows are usually best. East-facing gives gentle morning sun—no stress, just enough energy. South is fine too, but don’t park the plant right against the glass.
West windows can be harsh in the afternoon, so throw up a sheer curtain if you have to use one. North windows generally aren’t going to cut it for the long haul.
Go for bright, indirect light as much as possible. If your daylight is weak, a grow light can fill in—just keep it close and don’t overdo it. Ten to twelve hours is plenty.
Signs of Too Much vs. Too Little Light
Leaf color tells you a lot. Too much light? You’ll see yellowing, bleached spots, or crispy brown patches, usually on the side facing the window.
Not enough light? Leaves go dark green and growth slows. Sometimes the plant leans toward the light or refuses to bloom.
Give it a couple weeks after moving the plant. If you see gradual improvement, you’re on the right track. Sudden damage means you need to rethink the setup.
Pot + Medium
The pot and mix are more important than you’d think. Bromeliads like air at the roots, fast drainage, and not much extra space. A stable pot with a coarse mix keeps them happy indoors.
Best Pot Type and Drainage
Roots are small, so don’t use a giant pot. Too much space just makes things wet for too long. Shallow pots are usually better than deep ones.
Drainage holes are non-negotiable. Water needs to run right through. Plastic pots hold moisture longer, which is good if your air is dry. Clay dries out faster and adds heft for taller plants. Pick based on your room and plant, not just looks.
Bark/Orchid Mix Options (Simple Rule)
Bromeliads want air around their roots. Dense soils suffocate them. Use a chunky orchid bark mix—should feel rough and drain fast.
If you mess with the mix, do it sparingly. A pinch of peat or coco fiber holds a bit more moisture, but don’t go overboard. Avoid garden soil, compost, or sand. Seriously, just don’t.
When to Repot (And When Not to)
Repot only when the roots fill the pot or the plant’s tipping over. Most bromeliads can sit in the same pot for years. Repotting just to change the soil? Not needed.
After blooming, pups will show up at the base. Wait until a pup is about a third the size of the parent before cutting it loose and potting it up.
The mix breaks down slowly, so only replace it if drainage gets sluggish or roots look rough.
Watering the Right Way
Watering bromeliads is more about routine than quantity. You’re dealing with two zones: the central cup and the potting mix. Both need slightly different handling. Clean water and a regular refresh are key to avoiding rot and salt buildup.
How to Water the “Cup” (Tank)
That central cup? Fill it with rainwater or distilled water—tap water can leave mineral spots or damage. Don’t overfill; keep the water just below the leaf edges.
If stuff builds up inside, rinse the cup before topping up. Pour gently to avoid splashing the base. Some types, like pineapples, don’t have a cup, so skip this step for those.
How to Water the Potting Mix
Bromeliad roots don’t take in much water, so keep the mix loose and only water when the top inch is dry. Let water run through until it drains out the bottom.
Don’t let pots sit in water—ever. That’s a fast track to rot. In cooler months, water less often and use less each time.
How Often to Refresh the Cup Water
Letting water sit in the cup too long gets nasty. Empty and refill every week or so. In warmer, drier rooms, you might need to do it sooner.
Give the cup a full flush to clear out dust or leftover fertilizer. Tip the plant gently to drain, then refill. It’s a small thing that really helps keep the plant healthy.
Humidity + Airflow
Bromeliads indoors react fast to dry air and stillness. The trick is boosting humidity without letting air get stale and damp.
Easy Humidity Upgrades
Most of these plants like humidity between 40% and 60%. Dry air browns the leaf tips and slows everything down. Once you get the air a bit moister, the color and texture usually perk up.
A small humidifier does the job—just don’t aim it right at the plant. Water sitting on leaves is asking for trouble.
Bathrooms with good light are basically bromeliad heaven. Showers bump up humidity naturally. Kitchens can work too if the light’s decent.
Grouping plants together helps a bit, since they release moisture into the air. It won’t fix desert-dry rooms, but it’s better than nothing.
Airflow Rules to Prevent Rot
Stale air is a problem. Water lingers in the cups and at the base, which can rot the crown. Gentle movement—like a ceiling fan on low—helps dry things out.
Don’t put plants in the path of cold drafts, though. That just stresses them. Make sure leaves aren’t crammed against walls or each other so air can move around the rosette.
After watering, check that any excess drains out of the cup in a few hours. A little fresh air speeds it up and keeps the center healthy.
Temperature
Bromeliads want steady warmth. Sudden chills or heat waves mess with their rhythm and can damage roots. Where you keep them and paying attention to the seasons goes a long way.
Ideal Indoor Range
Daytime temps between 65°F and 80°F are just right. Nights can be cooler, but don’t let it drop below 55°F. Most houseplant bromeliads are tropical, so they expect it warm and steady.
Keep them away from drafty doors, cold windows, and heat vents. Those spots flip temperatures fast and the leaves will show it. A sunny room with a stable climate is usually perfect.
Short spells above 80°F aren’t a big deal if humidity’s good. Dry heat is worse than just warmth. Honestly, most homes are fine without special gadgets.
Cold and Heat Stress Signs
Cold damage shows up as dull color, limp leaves, or black tips. Even a few hours below 50°F can leave marks. Growth slows, then leaves get floppy.
Too much heat? Leaves curl, fade, or dry out along the edges. Long periods above 85°F speed up water loss and stress the cup.
If you spot these issues, move the plant somewhere stable and let it recover. Don’t expect instant results—just get the basics right and give it time.
Feeding
Bromeliads don’t need much fertilizer. If you feed, do it lightly and at the right time—roots are sensitive, and overfeeding does more harm than good.
Simple Fertilizer Plan
A balanced, water-soluble fertilizer at quarter strength is enough. Once every four to six weeks in spring and summer is plenty. Pour it onto the potting mix—not the cup—unless the label says it’s safe for leaves.
Pick a formula without urea nitrogen. Slow-release options are fine if you use them sparingly. Skip feeding altogether in fall and winter unless the plant is clearly struggling.
What Not to Do (Easy Burn Mistakes)
Full-strength fertilizer? Just don’t. Even if your plant’s looking good, dumping on the salts fries roots fast and you’ll spot those ugly brown leaf tips. More isn’t better—extra fertilizer tends to delay blooms, not help them along.
Fertilizing a thirsty plant is a recipe for disaster. Always water first, then come back to feed later that day. Skip dumping anything in the central cup unless the label is crystal clear it’s safe for bromeliads—otherwise, you risk rot and leaf burn.
After Bloom Care
When the bloom’s over, your priorities change—it’s less about the show and more about keeping the plant healthy and prepping for new growth. Maintenance gets a bit more routine, and you’ll want to think ahead for when it’s time to split pups.
What Happens After Flowering
Post-bloom, the center rosette stops making new leaves. Growth slows, and you might see the plant decline over months. It’s not you—it’s just how bromeliads do their thing.
The mother plant puts its energy into growing offsets at the base. Leaves can fade or soften, but roots usually keep going. Stick with your regular care to help those pups along.
Keep light bright but indirect, and keep temps steady. For tank types, keep water in the central cup, but swap it out regularly. No fertilizer in the cup, and cut back feeding to an occasional light dose on the soil.
Caring for Pups (Offsets)
Offsets pop up near the base as the main plant fades. They lean on the mother at first, so patience pays off. Good light helps them toughen up for future blooms.
Water only when the top of the mix is dry. If your space is dry from heating, bump up the humidity a bit. Decent airflow goes a long way to keep rot at bay, but don’t chill the plant.
Don’t yank pups off too early or overfeed. Let them get a few sturdy leaves and some roots of their own. The healthy ones stand tall and show good color, even if the mother plant’s looking rough.
When to Separate Pups
Wait until offsets are around a third to half the size of the mother before splitting them off. Any smaller and they’re likely to struggle.
Use something sharp and clean, cut right at the base, and try not to damage roots. Pop each one into a loose, barky mix—no need to pack it down hard.
Keep new offsets in bright, indirect light. Hold off on fertilizer for a few weeks. With some luck and steady care, most will mature and bloom in a year or two indoors, maybe three tops.
Common Problems and Fixes
When bromeliads get cranky indoors, you’ll see it in the leaves—color, texture, or weird growth. Usually, it’s a light issue, water quality, too much or too little moisture, or pests that love dry air.
Brown Tips, Pale Leaves, and Dull Color
Brown tips? Usually low humidity or mineral buildup. Tap water with salts or fluoride slowly wrecks the plant. If you can, use rainwater or distilled to dodge tip burn and faded color.
Pale leaves are almost always about weak light. Move the plant closer to a bright spot with filtered sun. East or north windows are usually safe bets indoors.
Dull color can mean a nutrient issue. Use a diluted, balanced fertilizer—no more than once a month. Only put it on the soil, not in the cup, or you’ll risk leaf damage.
Rot in the Cup or Base
Rot’s a real headache if water sits too long, especially if it’s cool or dark. The central cup should have fresh water, not swamp water. Empty and refill every week or two—don’t get lazy about it.
If the base gets mushy, that’s too much moisture. Soggy soil suffocates roots. Switch to a fast-draining mix and double-check that water can actually get out of the pot.
Temperature’s a factor too. Keep your bromeliad above 60°F. Cold slows evaporation and lets rot sneak in at the crown.
Pests (Scale, Mealybugs, Mites)
Dry indoor air seems to give pests an open invitation. Scale and mealybugs show up as little bumps or cottony patches on the leaves, while spider mites leave behind delicate webs and tiny speckles.
As soon as you spot trouble, move the plant away from others. Wiping the leaves with a cloth and some isopropyl alcohol usually knocks back the bugs. Honestly, you’ll probably need to do this every week for a bit—pests rarely give up after round one.
Bumping up the humidity can help keep them from coming back. A quick rinse with water now and then does wonders too. Just skip the oil sprays if your plant’s sunbathing; burned leaves aren’t a good look.