
A thriving taro plant adds bold greenery to the garden long before harvest time arrives. With the right care, you’ll enjoy vigorous growth and healthy corms at the end of the season. Explore this guide for simple advice that helps your taro plant flourish.
Table of Contents
Quick Care Summary
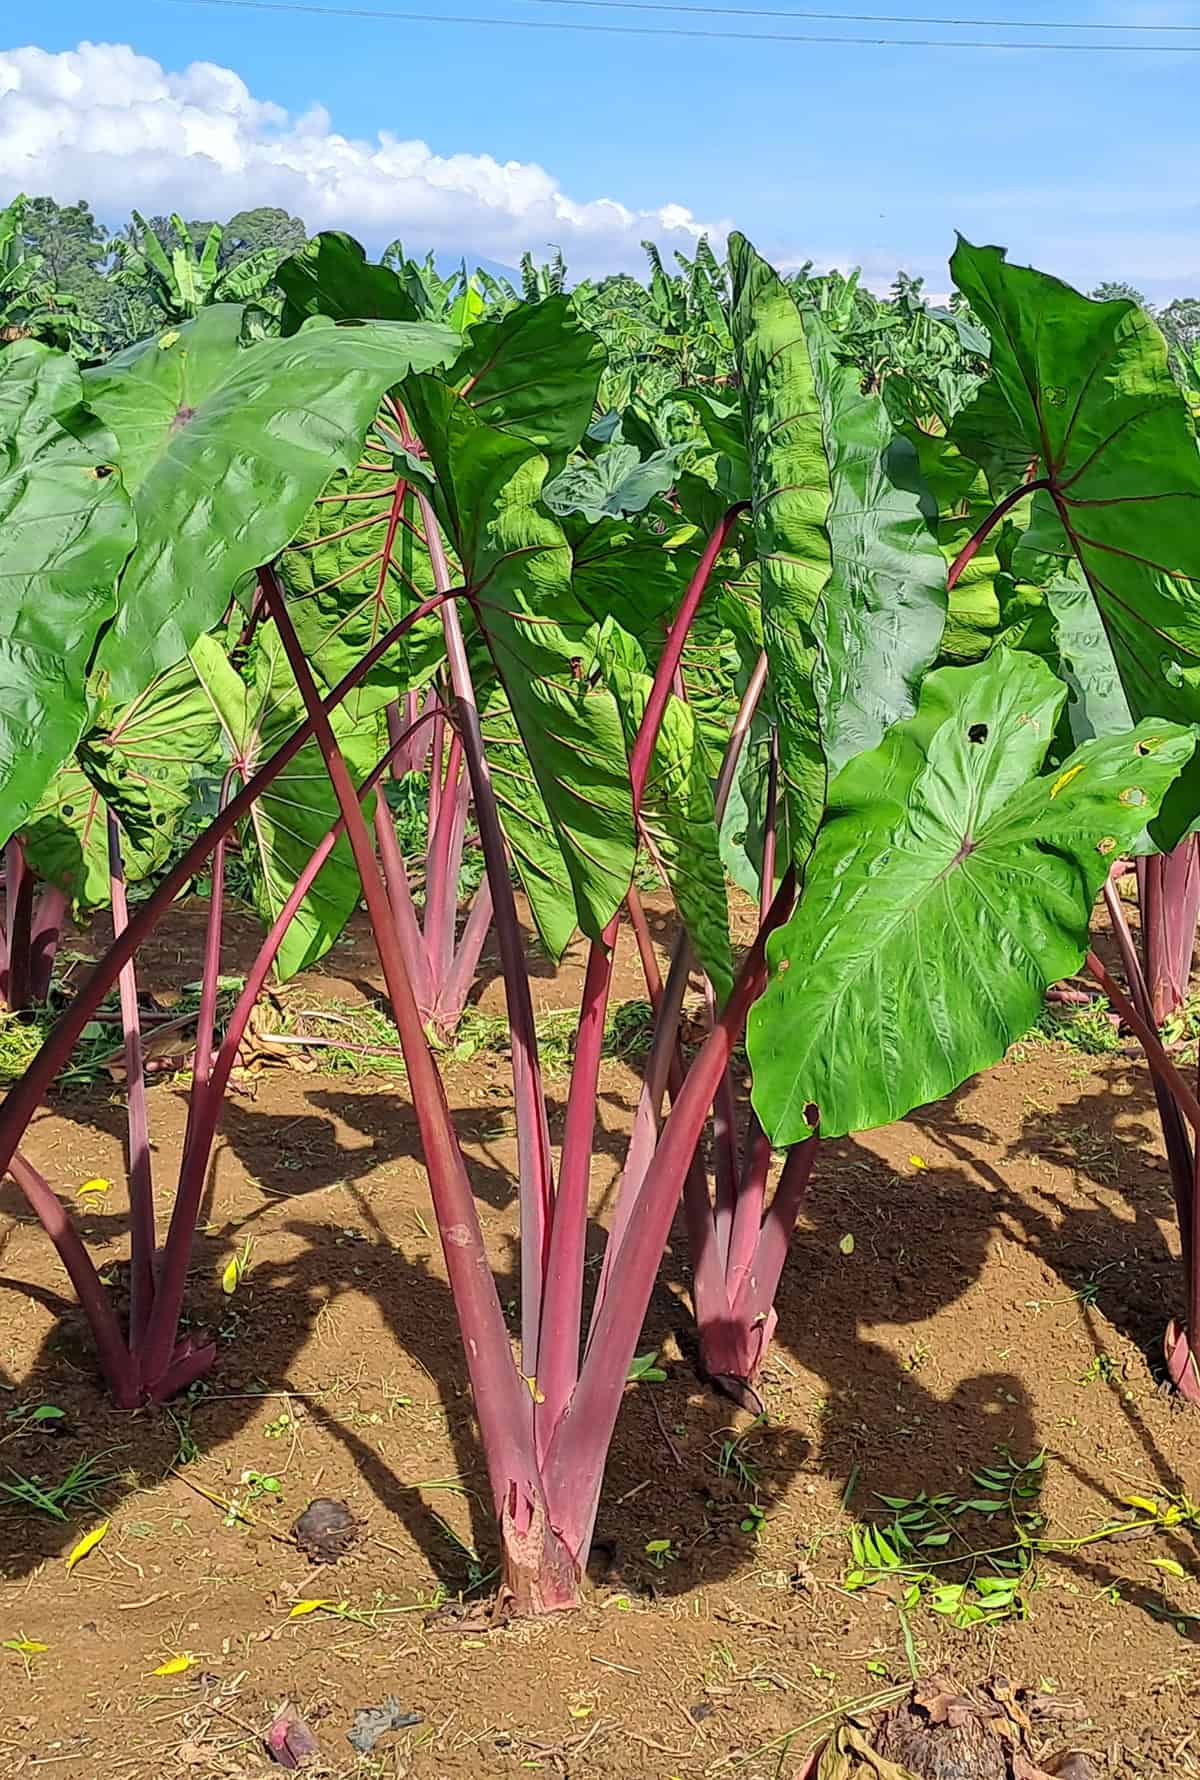
- Light: Full sun to partial shade; at least 6 hours of direct light daily
- Soil: Rich, moist, slightly acidic loam with a pH of 5.5 to 6.5; high organic matter
- Watering: Consistently moist to wet; taro tolerates standing water up to 12 inches deep
- Temperature: Thrives between 70 and 95 degrees Fahrenheit; sensitive to frost
- Humidity: Prefers high humidity; performs best in warm, humid climates
- Fertilizer: Heavy feeder; apply balanced or nitrogen-rich fertilizer regularly throughout the growing season
- Growth Time: Corms are ready for harvest 8 to 10 months after planting
- Propagation: Corms, cormels, or huli (the stem and attached corm piece with roots)
Soil
Deep, rich, and constantly moist earth gives taro its best shot. Loamy ground packed with organic matter lets the corms bulk up and keeps water close, which is crucial for this plant’s long haul.
A slightly acidic pH—think 5.5 to 6.5—makes nutrients available and roots happy. If your soil’s sandy or tough as clay, you’ll want to work in compost or old manure to help it hold water and breathe a bit.
Oddly enough, places where most veggies would drown—boggy corners, mucky patches—are where taro can really take off. It doesn’t mind waterlogged spots, though upland types still need oxygen down there. Water’s great, but a swamp isn’t always better.
Before you plant, dig down at least a foot. That loosened ground lets roots and corms spread out. Plenty of compost in the zone will feed the plant for months.
Planting
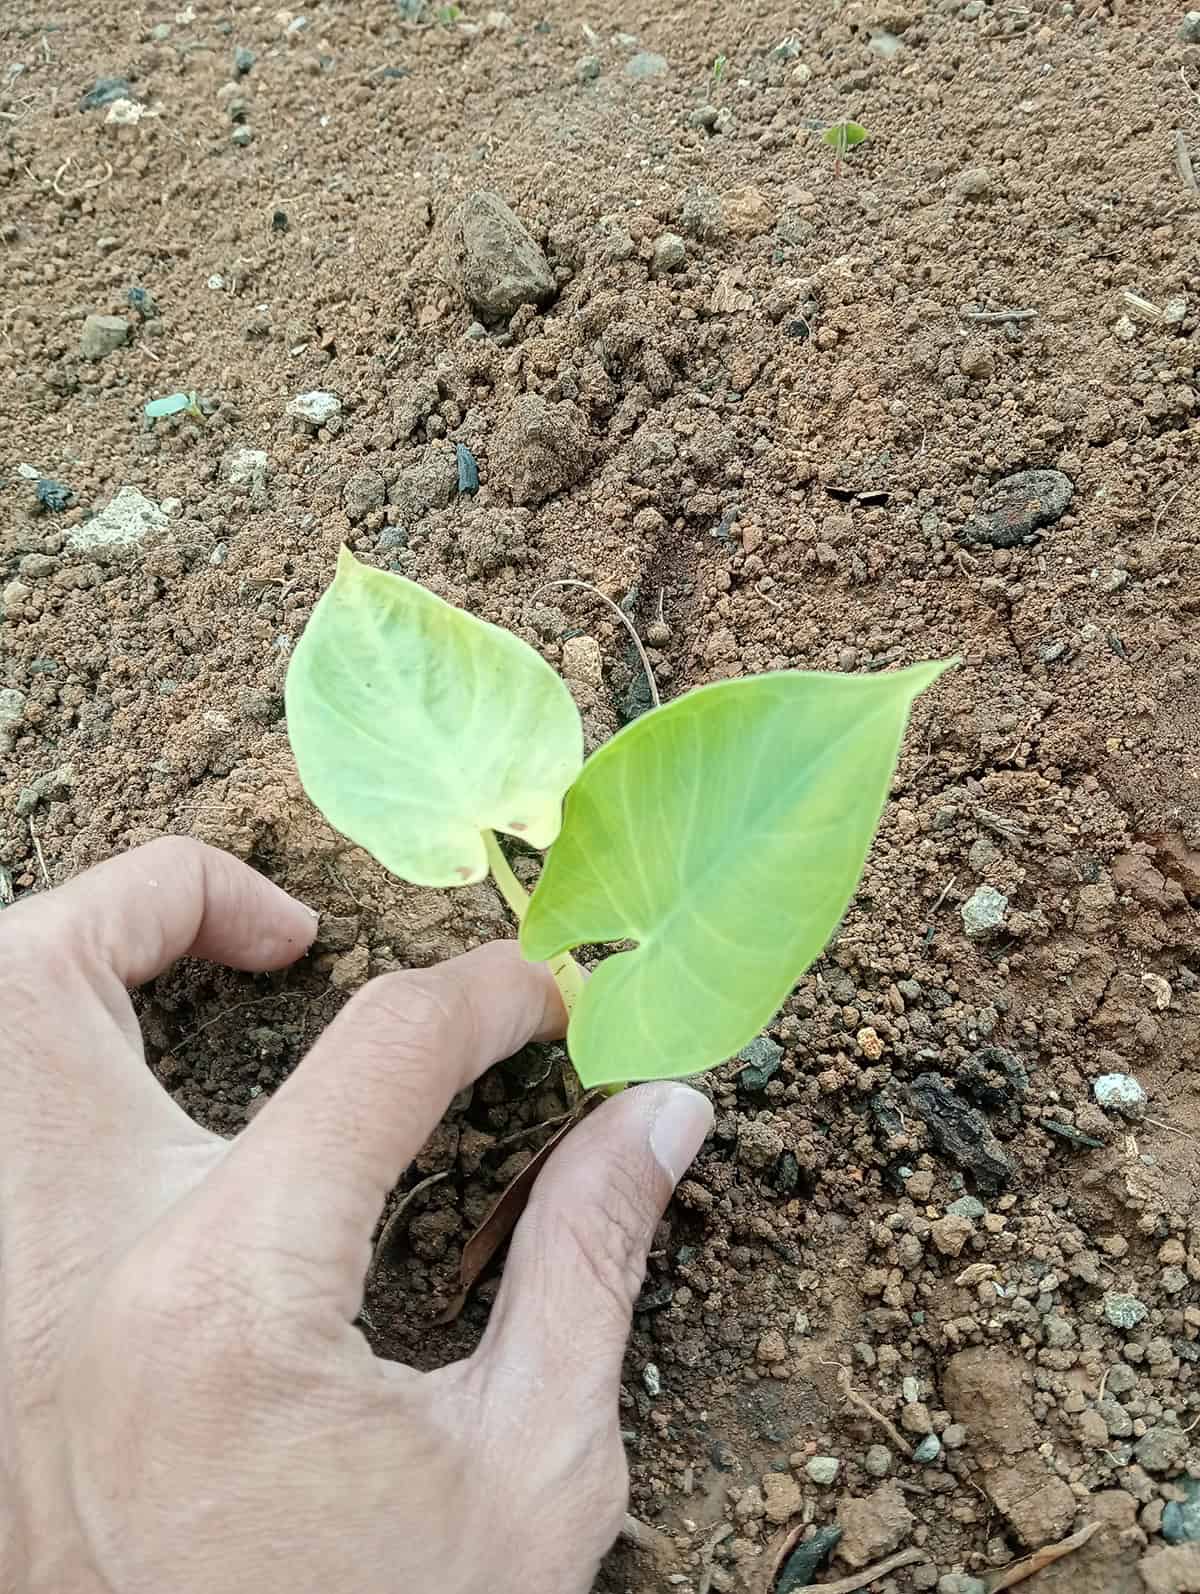
Seeds? Skip them. Taro gets going from small corms, cormels, or huli—the stem chunk with a bit of corm and roots attached. Huli with a healthy bud at the tip usually take off fastest.
Wait to plant until after the last frost and when the soil’s warmed up past 60°F. That’s usually late spring for most U.S. gardens. Taro is not a fan of the cold and won’t get established in chilly ground.
Set each piece 2–3 inches deep, bud facing up. Space them 18–24 inches apart, or go wider if you want big, single corms instead of a bunch of small ones. Crowding them tends to shrink the harvest per plant.
Water in well and keep the soil moist from day one. Letting it dry out early on is a recipe for trouble. A thin mulch layer helps lock in moisture and keeps you from dragging out the hose every day.
Variety Selection
The sheer range of taro types is wild. Picking the right one depends on whether you’re after food, garden drama, or both. Most folks in the U.S. grow Colocasia esculenta, but Alocasia and Xanthosoma sometimes sneak into nurseries under similar names.
For eating, dasheen types give you one big central corm plus a few cormels—these are favorites in the Caribbean and the South, and they handle regular garden soil. Eddoe types, on the other hand, produce more cormels, smaller main corms, and tend to finish a bit earlier.
If you want the garden to look wild, there are showy options with nearly black leaves like “Black Magic,” or those with striking variegation. They’re still edible, but honestly, they’re just as valuable for their looks.
Water taro varieties can handle being submerged up to a foot deep, perfect for boggy gardens or water features. But in places like Florida, taro can get invasive around waterways—so check local guidelines before planting near streams or ponds.
Light
Sunlight brings out the best in taro, but it doesn’t have to be relentless. Six hours of direct sun is a solid minimum for big leaves and fat corms. In regions where the afternoon sun scorches, a bit of shade later in the day helps keep leaf edges from crisping up.
In muggy southern states, partial shade works out fine. Too much shade, though, and growth just stalls. If you’re tucking taro under trees or next to tall fences, watch for pale or slow-growing leaves—they’re usually begging for more light, not fertilizer.
Water
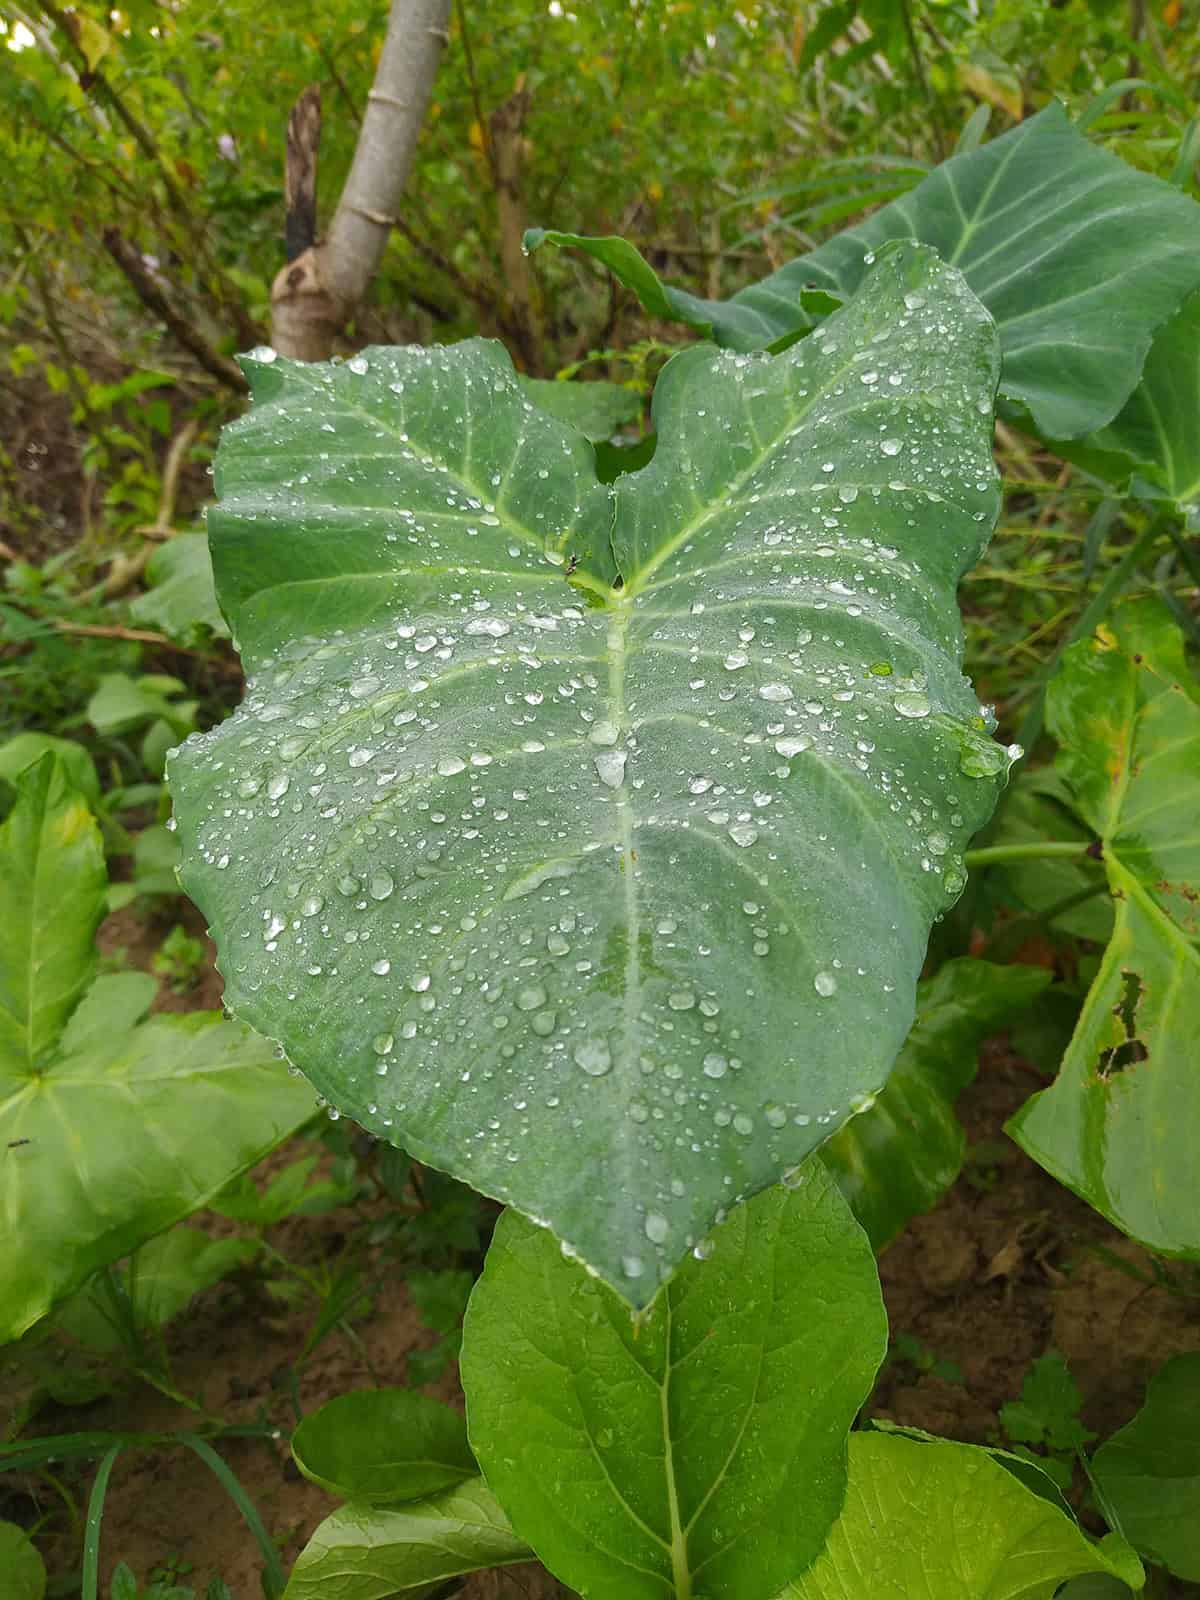
Moisture is the lifeblood here. Taro’s roots crave wet feet, and a dry spell can throw the whole season off. Aim for steady, even moisture all the way through. Letting the soil dry out even once can set growth back.
In beds, deep soaks every day or two (depending on heat and soil) are often needed. Drip lines work well, targeting roots and not splashing leaves unnecessarily.
Rain gardens, pond edges, boggy corners—these are all fair game for water taro. Some can sit happily in up to a foot of water. If you’re growing in regular soil, a thick mulch helps slow evaporation and cuts down on watering chores.
Wilting or leaves rolling up during the day? That’s your early warning—time to water, or risk stunted corms and a disappointing harvest.
Feeding
Taro doesn’t coast on poor soil. With its long season, it eats up nutrients fast. Regular feeding matters far more than a single dose at planting. During its leafy phase, a fertilizer with a bit more nitrogen keeps growth lush and green.
Start with a balanced fertilizer at planting, then refresh every month or so. Compost and aged manure work well, especially if your soil is still young or sandy. These organic boosts help keep nutrients flowing steadily.
Once the plant starts bulking up corms—about three months in—shift to a fertilizer with more phosphorus and potassium. If older leaves yellow or brown at the edges, it might be time to check for deficiencies or do a soil test.
Don’t get carried away with nitrogen late in the year, or you’ll end up with more leaves and fewer corms worth eating.
Growth Time
Patience is part of the deal. Taro needs eight to ten months from planting to digging up corms in most garden settings. Cooler climates or less-than-ideal conditions can stretch that timeline even longer.
About three months in, corms start to form, and they really take off between weeks 12 and 20. Consistent water and food during this stretch make the biggest difference in how big your harvest gets.
Leaf count gives you a clue about timing—when you see four to six leaves and new ones slow down while older leaves yellow, you’re getting close. Petioles (those long leaf stalks) shrink as harvest approaches.
If you garden where frost comes early, starting taro indoors a month or so ahead of your last frost buys you enough time to get worthwhile corms by fall.
Growing In Containers
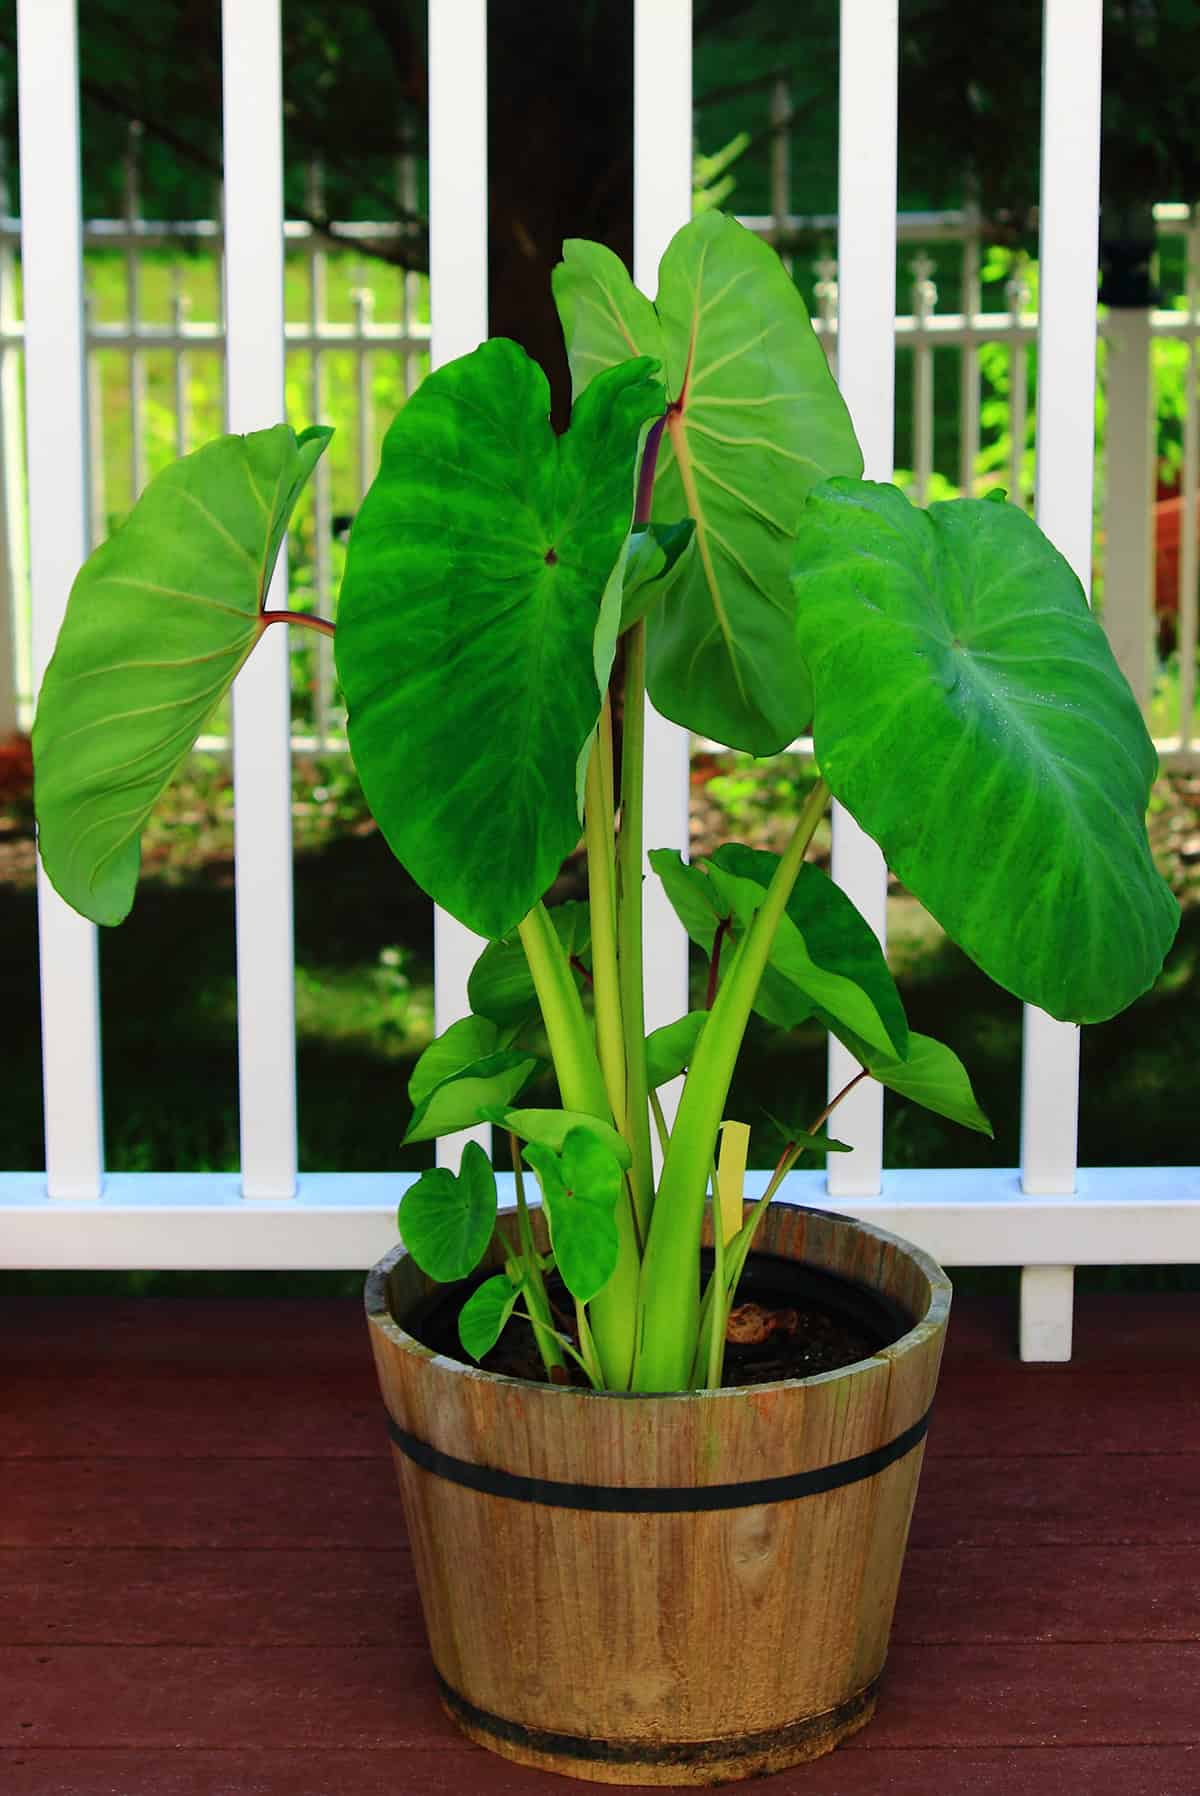
Not everyone has the right ground or climate, but containers open up possibilities—especially if you need to dodge frost or are short on space. Taro can thrive in pots as long as you pay attention to size and moisture.
Go big: 15 to 20 gallons is the sweet spot. The plant’s roots and corm need room, and cramped pots mean smaller yields. Wide and deep trumps tall and skinny every time.
Potting mix should be rich and moisture-holding, with plenty of compost. Containers dry out faster than beds, so expect to water often—sometimes daily when it’s hot. A water-filled saucer under the pot helps keep things evenly damp.
Feed every few weeks with a balanced liquid fertilizer, since nutrients flush out of pots quickly. Move containers outside after frost danger passes, and bring them in before cold hits. Stored somewhere cool but not freezing, corms can survive winter and be ready to replant come spring.
Harvest
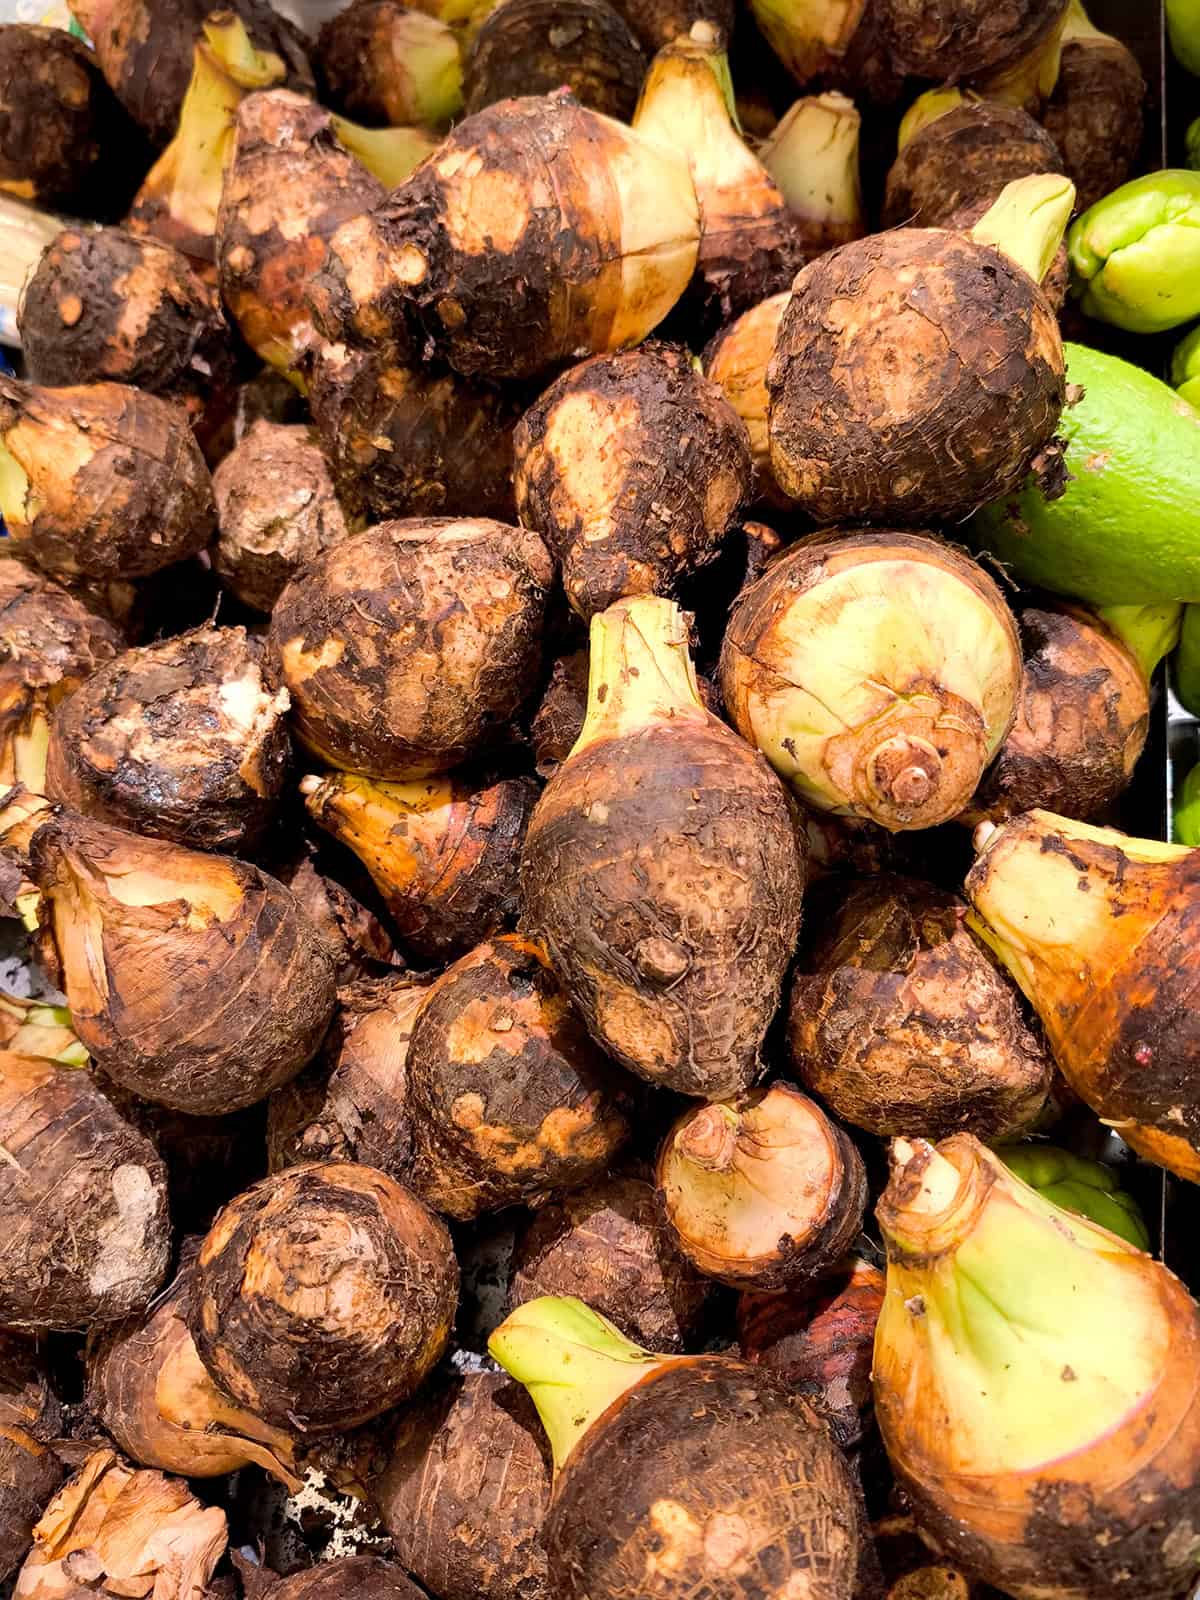
Eight to ten months in, upland taro’s ready for harvest. Lower leaves turning yellow and petioles shrinking to under two feet signal it’s time. Don’t wait for the whole plant to fall over—corms are better quality if you act before then.
Loosen soil around the base with a fork or spade, working outward to avoid slicing into the corm. Lift the root mass gently and separate the main corm from the cluster of cormels. The big corm is your main crop; cormels are perfect for next season’s planting.
Knock off dirt and let corms cure in a warm, dry spot for a few days before storing or cooking. Handle raw taro with care—oxalic acid crystals in the plant can irritate skin and mouth, so always cook it thoroughly and consider gloves if you’re processing a lot at once.
Set aside healthy huli or cormels in a cool, dry spot for replanting next year.
Common Problems And Troubleshooting
It’s not unusual for home gardeners to run into a few headaches with taro, even though the plant usually puts up a good fight. Spotting trouble early can keep things from spiraling out of control.
Water-soaked patches edged in yellow—those are the telltale signs of taro leaf blight, and they can get out of hand fast, especially when the weather turns muggy. The best move? Get rid of those infected leaves right away, skip the overhead watering, and clear out crowded spots to let air circulate. If you’re in a humid area, you might want to look into newer taro varieties bred to stand up to blight; it’s worth a shot.
Sometimes, taro roots start to rot if water hangs around too long—heavy clay or soggy pots are usual suspects. Wilting leaves, even though the soil feels wet, should set off alarm bells. Dig down and check the corms for mushy or odd-colored spots. Fixing drainage issues and easing up on the watering can make a difference here.
Leaves turning yellow? It could be too much water, not enough nutrients, or a lack of sun. Take a step back and think about what’s changed in your setup. If you’re stumped, a soil test can help pinpoint missing nutrients.
Dry spells seem to invite aphids and spider mites to the party, nibbling on taro leaves. A hard blast of water or a little insecticidal soap usually knocks them back. Meanwhile, slugs and caterpillars sneak in after dusk, chewing holes—especially in shady, damp corners. Catching them by hand at night is about as old-school as it gets, but it works.
In places like Florida and Hawaii, where wild taro has gotten out of hand, it’s crucial to dispose of plant scraps properly and steer clear of planting anywhere near streams or ponds.