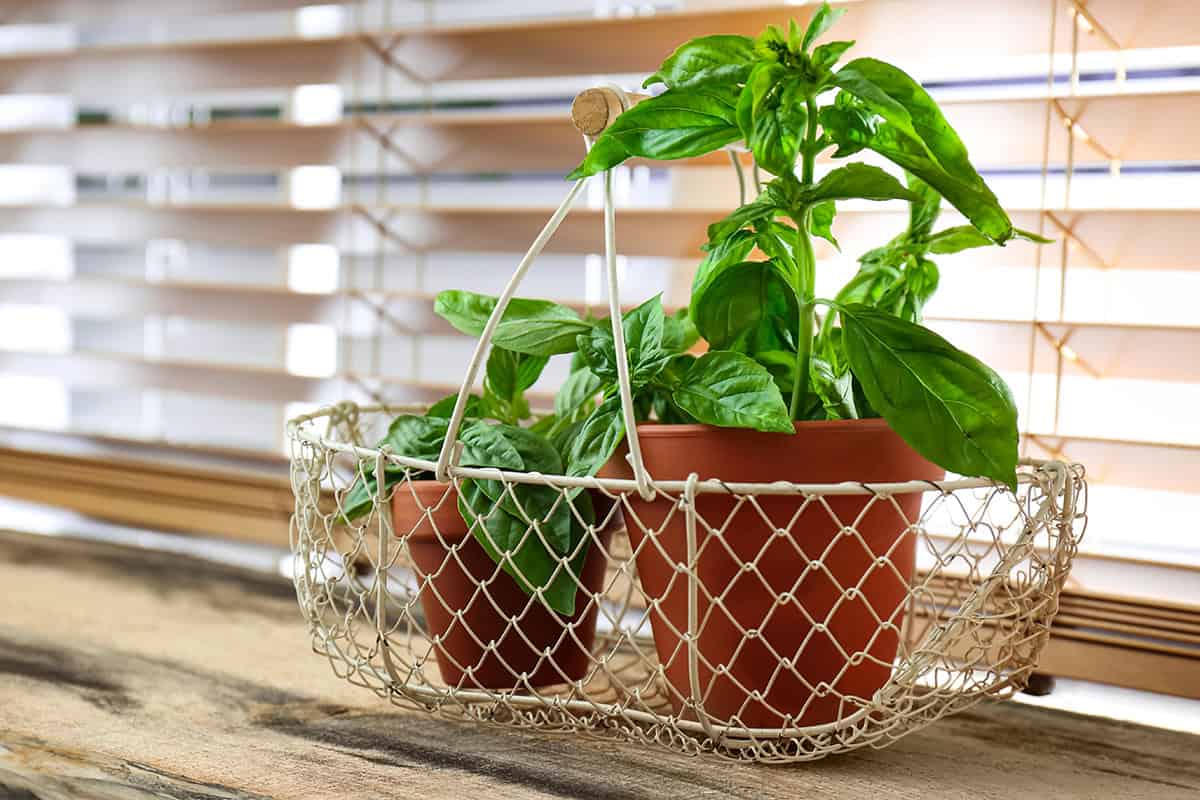
Supermarket basil tends to collapse within a week on the windowsill, and the reason is almost always the pot. Growers cram a dozen seedlings into a few inches of mix, and indoors that crowd starves itself of water and light.
A single plant in its own pot, a south window or an inexpensive LED and a weekly pinch make a different story, with fragrant leaves for six months or longer.
Table of Contents
First Things First
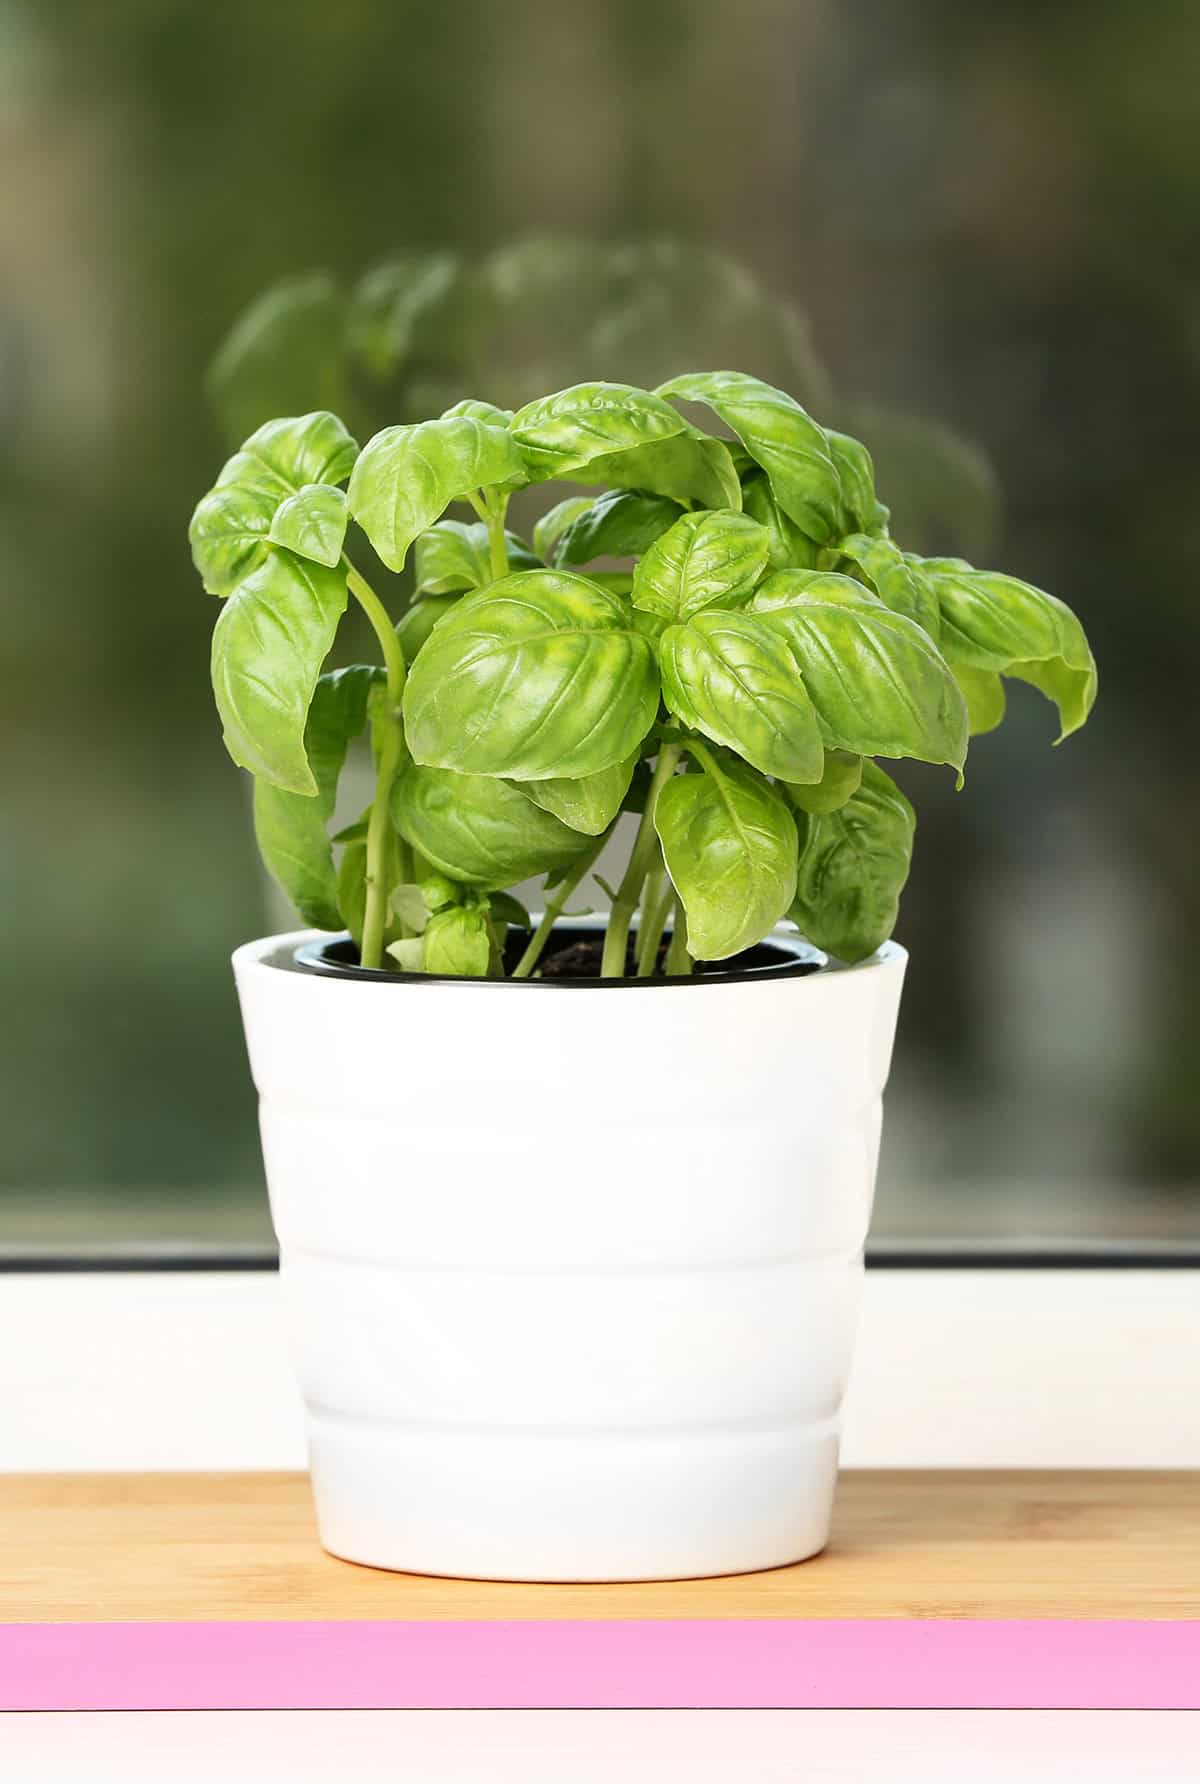
Indoor basil thrives with enough light, warmth and careful watering, along with realistic expectations. Meet those needs and the plant produces good leaves for many months.
What Basil Needs Indoors
Light is the most important factor. A south- or west-facing window with at least six hours of direct sun is the best choice. In weaker light, stems grow stringy, leaves shrink and flavor fades.
Warmth matters too. Daytime temperatures in the 70s °F are ideal, and cold drafts at night cause damage. Water to hold the mix moist but never soggy, in a pot that drains well.
Choose a pot with drainage holes filled with loose, rich potting mix. Feed lightly every few weeks with a diluted liquid fertilizer, and pinch the tips regularly for bushy growth instead of tall stems and flowers.
How Long Basil Lasts Inside
Indoor basil has a limited life span. With good care, a plant produces leaves for about six months, and at times longer, before the stems grow woody and the leaves shrink.
Frequent cutting extends its life. Remove flower buds and cut above a pair of leaves, and fresh shoots continue for months.
Once the plant looks tired and slow, starting fresh from seed or cuttings is easier than reviving it.
Best Basil to Grow Indoors
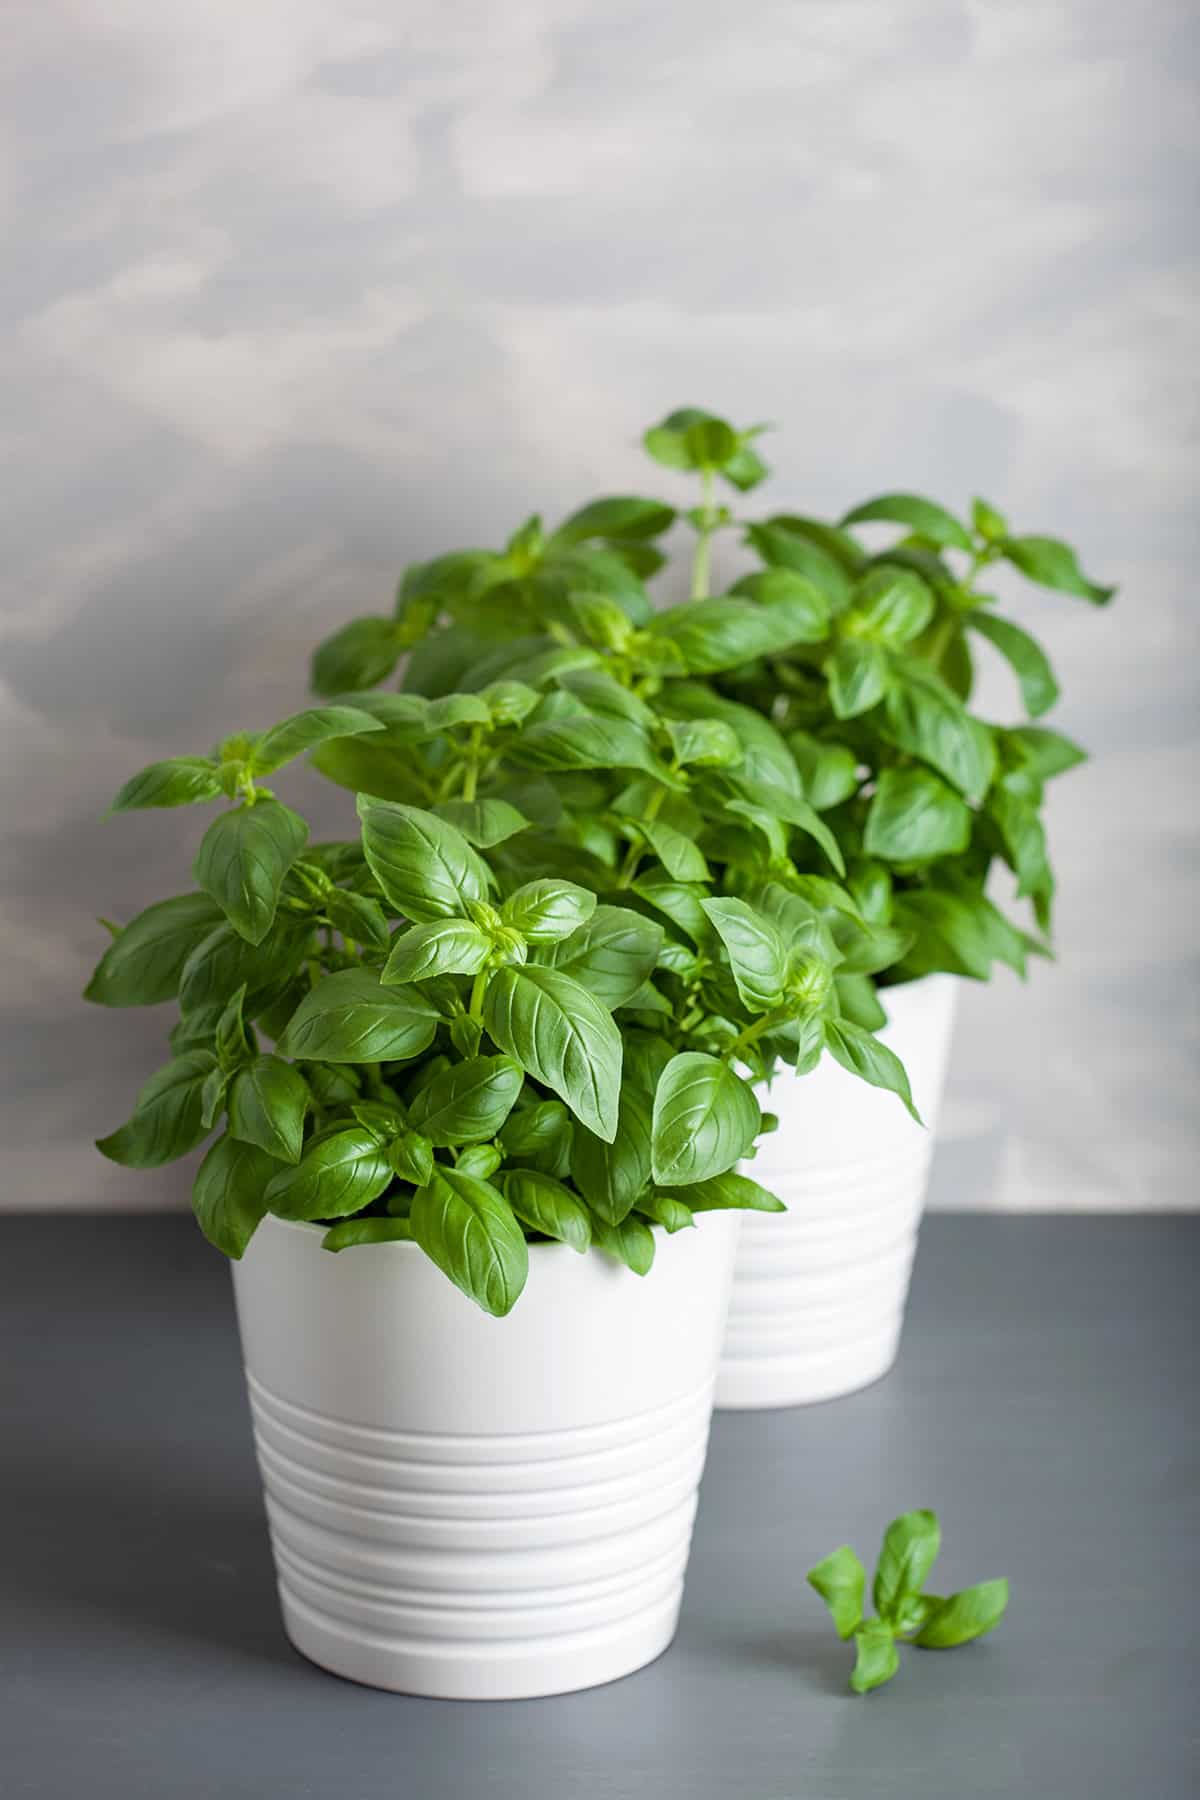
Several basil varieties adapt especially well to indoor life. Compact, bushy types handle pots best, and the right choice affects both flavor and life span.
Reliable Varieties for Pots
Small, tidy basils are the best choice. Greek basil and ‘Spicy Globe’ form short, branching mounds, handle window light well and recover quickly after harvesting.
For classic flavor, Genovese basil grows well with more frequent trimming. It grows tall when pruning lapses, though the large leaves are excellent.
Thai basil and lemon basil grow well in pots with enough light, and both are a little sturdier with stronger scents. Purple basil adds color, though it needs more light and is slower from seed.
Seeds vs. Grocery Store Basil
Starting from seed allows full control over variety, spacing and pot. Seed-grown plants are sturdier and adjust better to indoor conditions.
Grocery store basil is packed tightly into one pot with tangled roots, and the plants are stressed. Dividing them into small clumps of two or three plants, each in its own pot, helps, though several will likely fail.
Store basil is fine for a quick harvest, while seed produces a steadier long-term supply with less risk of disease.
Light
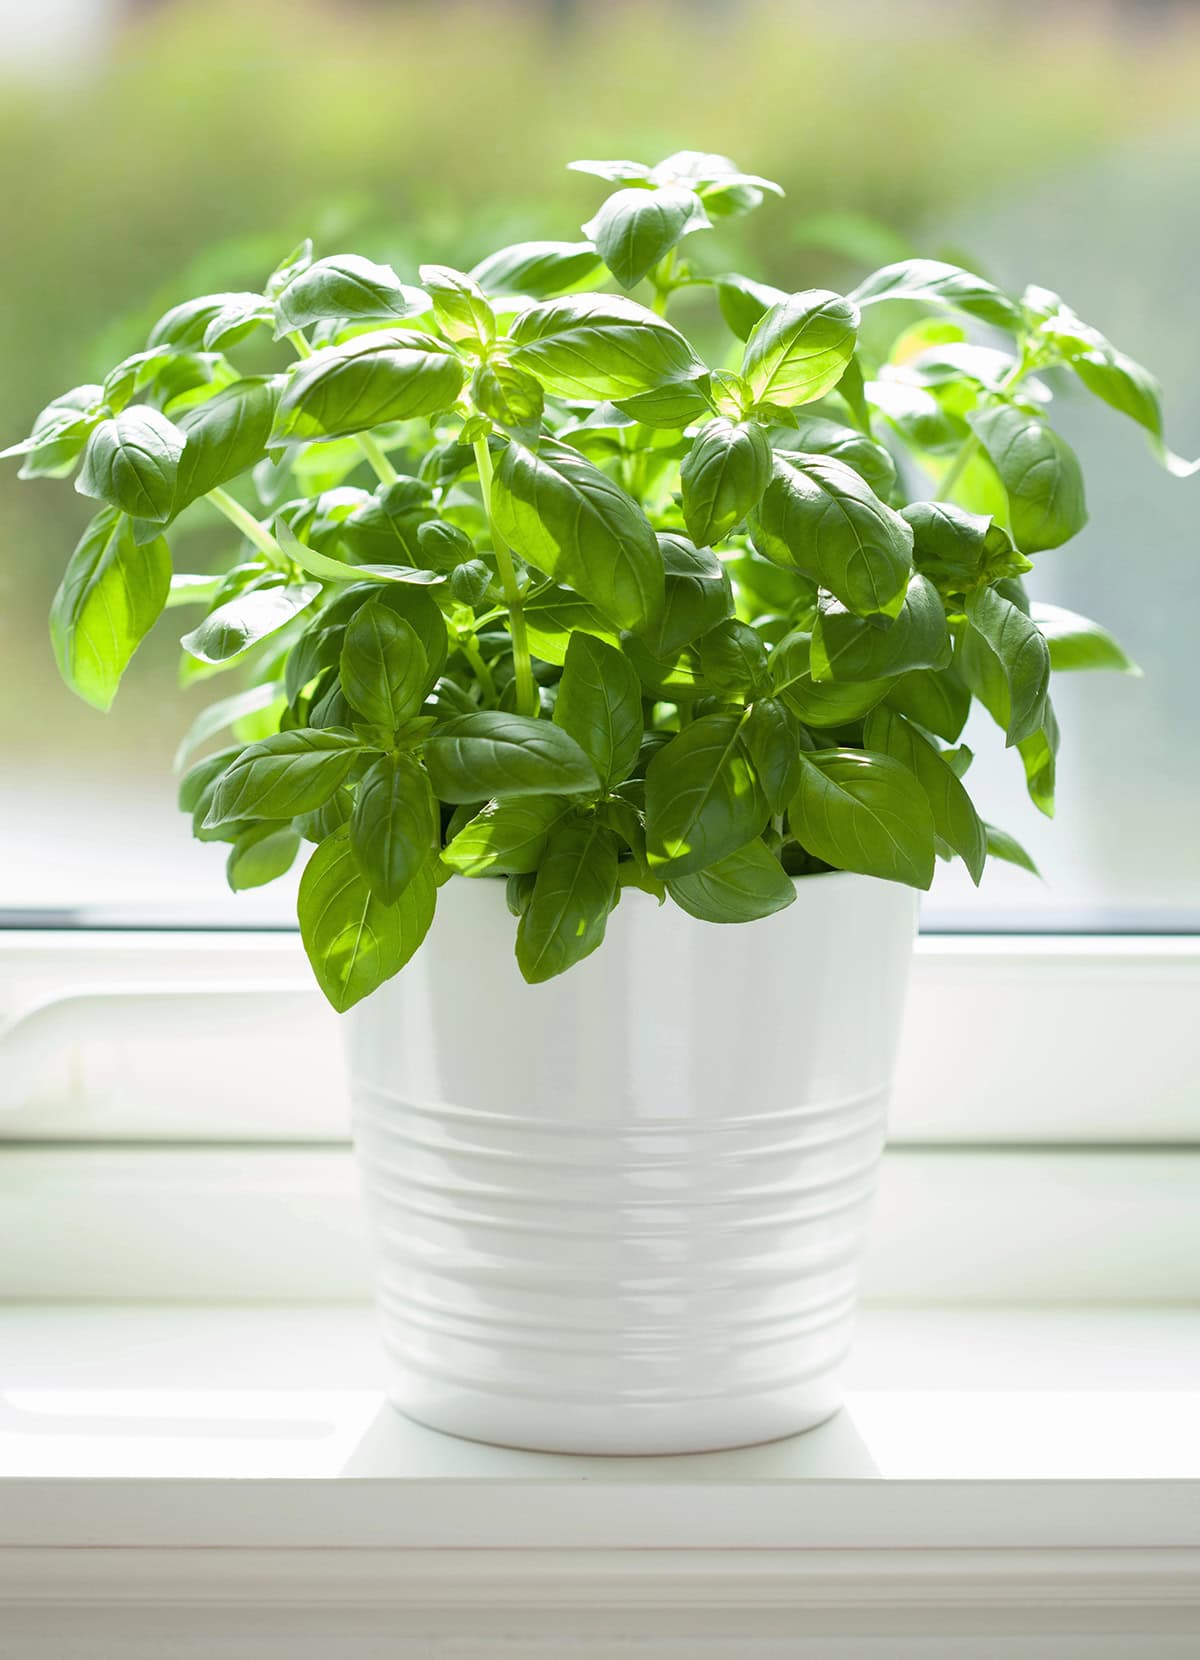
Light decides the success of indoor basil. Window choice, supplemental lighting and early attention to problems matter more than fertilizer or pruning tricks.
Best Window Directions
South-facing windows are the best choice. Aim for at least five or six hours of direct sun, plus bright light for the rest of the day. East-facing windows are fine for smaller plants.
West-facing windows receive strong afternoon sun, which scorches leaves in summer, so move the pot back if edges crisp. North windows rarely provide enough light for good basil.
Glass reduces sunlight, so clean the window regularly and rotate the pot every few days for even growth.
Simple Grow Light Setup
Where sun is limited, a basic LED shop light or grow light solves the problem. Hang it 6 to 12 inches above the leaves, and closer is better as long as the leaves are unharmed.
Set a timer for 12 to 14 hours a day, since basil likes long, steady light. Raise the light as the plant grows.
One fixture covers several small pots, though crowding causes floppy growth. Switch the light off each night, since plants need a dark period.
Signs Basil Needs More Light
Stretched stems with wide gaps between leaves signal too little light, and the stems lean toward the window or lamp.
Leaves grow small and pale, and flavor fades even with correct watering. Slow growth in a warm room is another sign.
Move the plant closer to the window or add a grow light right away, since a plant left too long in dim light rarely recovers fully.
Pot and Soil
The pot and mix decide how healthy the roots are, and roots are the foundation of the plant. Indoors, steady conditions, quick drainage and room to spread are the goals.
Right Pot Size and Drainage
One basil plant needs a pot at least 8 inches wide and deep, which leaves the roots room and helps even out moisture.
Drainage holes are essential, since water must escape quickly to prevent rot. Use a saucer to protect surfaces, and empty it after watering.
Pot material matters. Plastic holds moisture longer and helps in dry homes, while clay dries faster and is better in warm, sunny spots.
Avoid crowding several plants into one pot, which stresses them and slows growth. Each basil plant thrives best in its own container.
Potting Mix That Drains Well
Choose a loose, quick-draining potting mix that still holds some moisture. Heavy garden soil compacts into a hard block indoors after a few waterings.
A mix made for containers is light and springy, which lets air reach the roots and resists compaction.
Compost or fine bark are good additions, while very sandy or fine mixes clog the drainage. A mild all-purpose mix is a good start, with fertilizer added once the plant is growing well.
Planting and Thinning
Starting basil indoors means sowing at the right depth, providing warmth and thinning early so the seedlings have room. That produces strong roots and bigger leaves.
How to Sow Seeds
Fill a shallow container with drainage holes with light potting mix, and smooth the surface lightly so the mix is loose and airy. Basil seeds germinate best in warm soil, around 70°F to 80°F.
Scatter seeds on the surface about 2 inches apart and cover with about an eighth to a quarter inch of mix. Press gently to settle them.
Mist the surface until damp but never soaked. Sprouts appear in 5 to 10 days in steady warmth.
How to Thin for Fuller Plants
Thin seedlings once they are a couple of inches tall, since crowded plants produce tiny leaves and spindly stems.
Snip out the weaker seedlings so each remaining plant has 3 to 4 inches of space. Cut them at the soil line instead of pulling, which protects the roots of the survivors.
After thinning, provide strong light. More space produces stronger, bushier plants and bigger harvests.
Watering
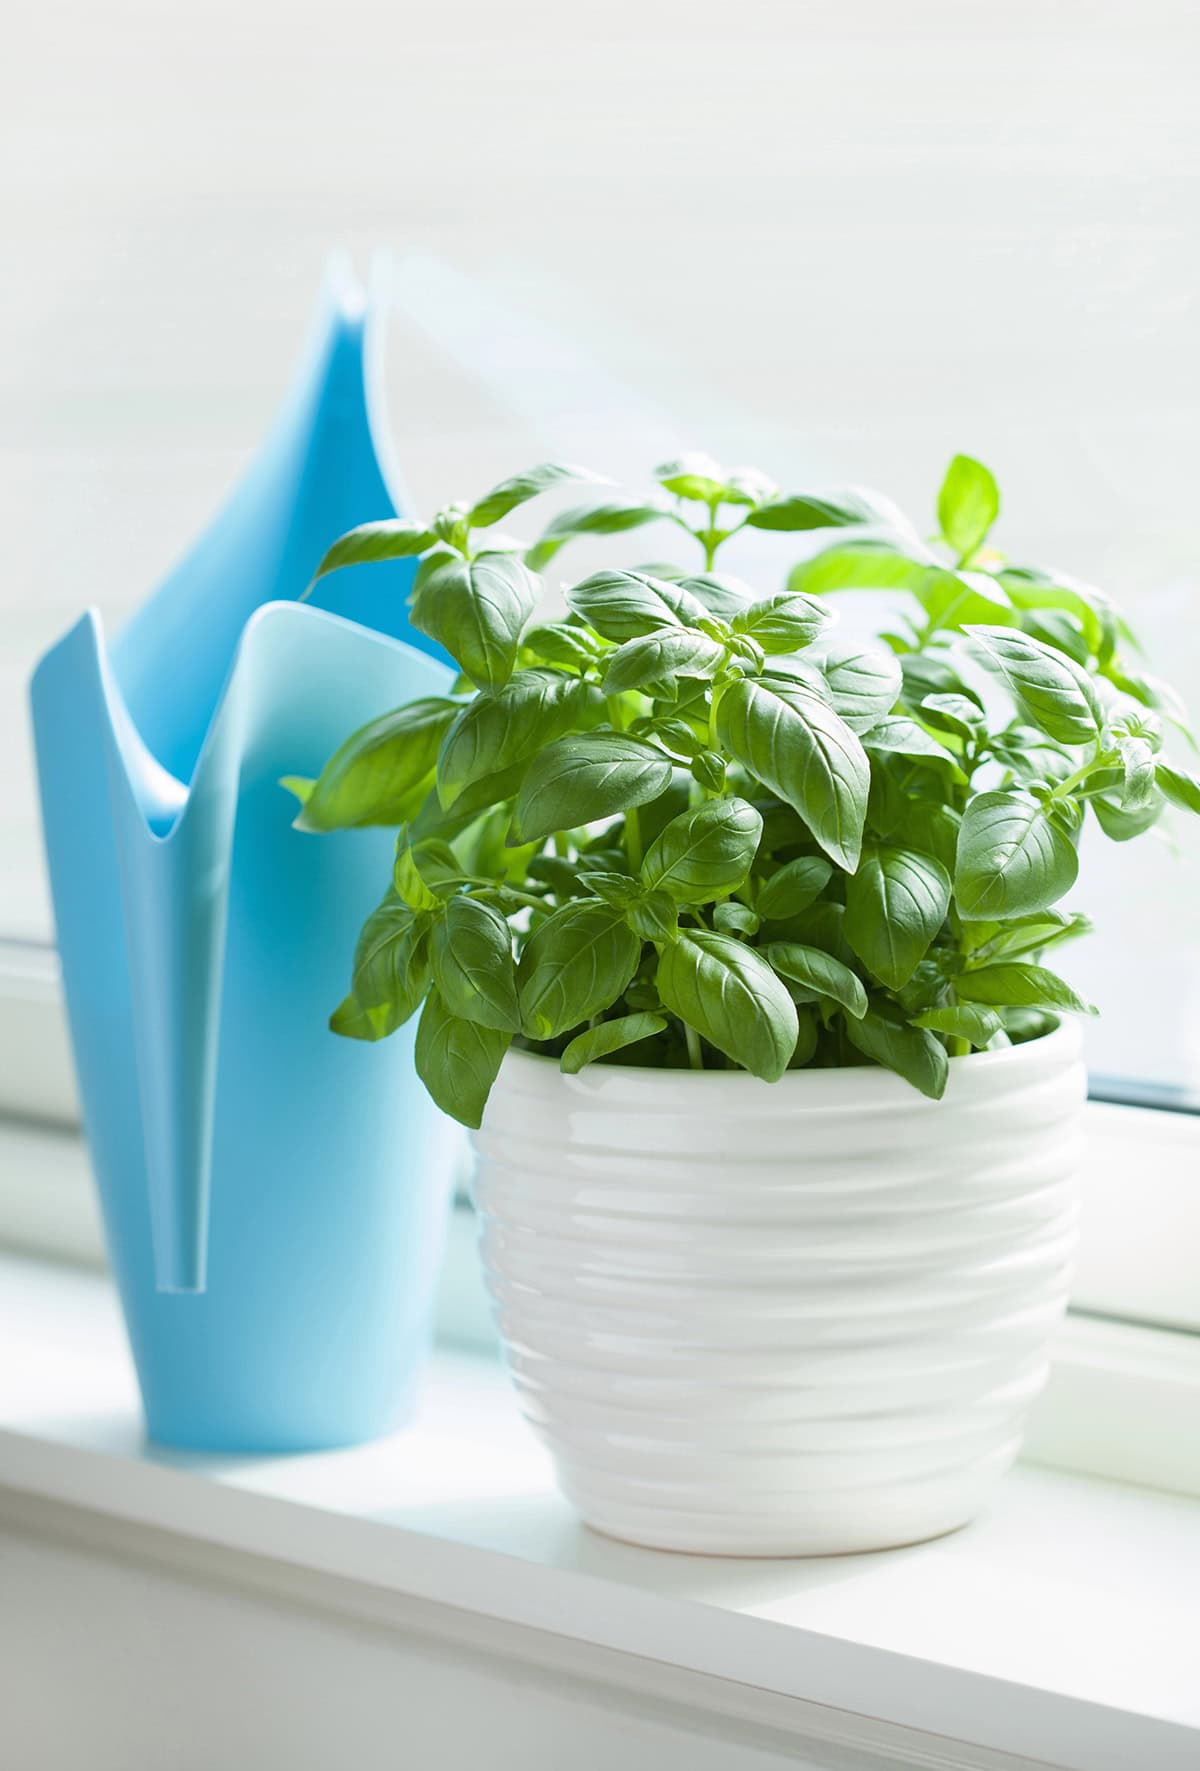
Indoor basil likes steady moisture but dislikes soggy roots. Attention to timing and technique makes all the difference.
When to Water
Check the mix with a finger before watering, and water when the top inch is dry while the layer below is still slightly cool and damp.
Expect to water every few days, depending on light, pot size and room temperature. More sun and heat dry the mix faster.
Use room-temperature water, and water until it drains from the bottom, then empty the saucer. This prevents salt buildup and evens out moisture.
Morning is the best time to water, since the plant uses the moisture during the brightest hours. Late watering leaves the mix soggy overnight.
Avoiding Root Rot and Droop
Too much water causes more harm than too little. Roots need air as well as moisture, and constantly soggy mix leads to rot.
Always use pots with drainage holes and a loose mix, since heavy soil holds water too long.
When leaves droop, check the mix. Dry mix produces limp leaves that recover quickly after watering, while wet mix produces soft stems and dull, floppy leaves.
Judge by the plant and the weight of the pot instead of a fixed schedule. A heavy pot still holds plenty of water.
Feeding
Indoor basil needs regular light feeding instead of occasional heavy doses. A simple routine produces tender leaves and steady growth.
Simple Fertilizer Schedule
Basil uses up nutrients quickly in a pot, so feed with a diluted liquid fertilizer every couple of weeks. A balanced formula such as 10-10-10 at half the label rate is ideal.
Water first, then apply the fertilizer solution, which protects the roots from burn.
Under strong light, follow the schedule closely. In lower light, space feedings further apart, since excess fertilizer produces weak stems and bland leaves.
When to Stop Feeding
Reduce feeding when growth slows, especially in winter, since unused nutrients build up as salts.
Skip feeding right after a heavy pruning, and resume once healthy new leaves appear.
Every few months, flush the mix with plain water and let it drain completely to clear salt buildup.
Pruning and Harvesting
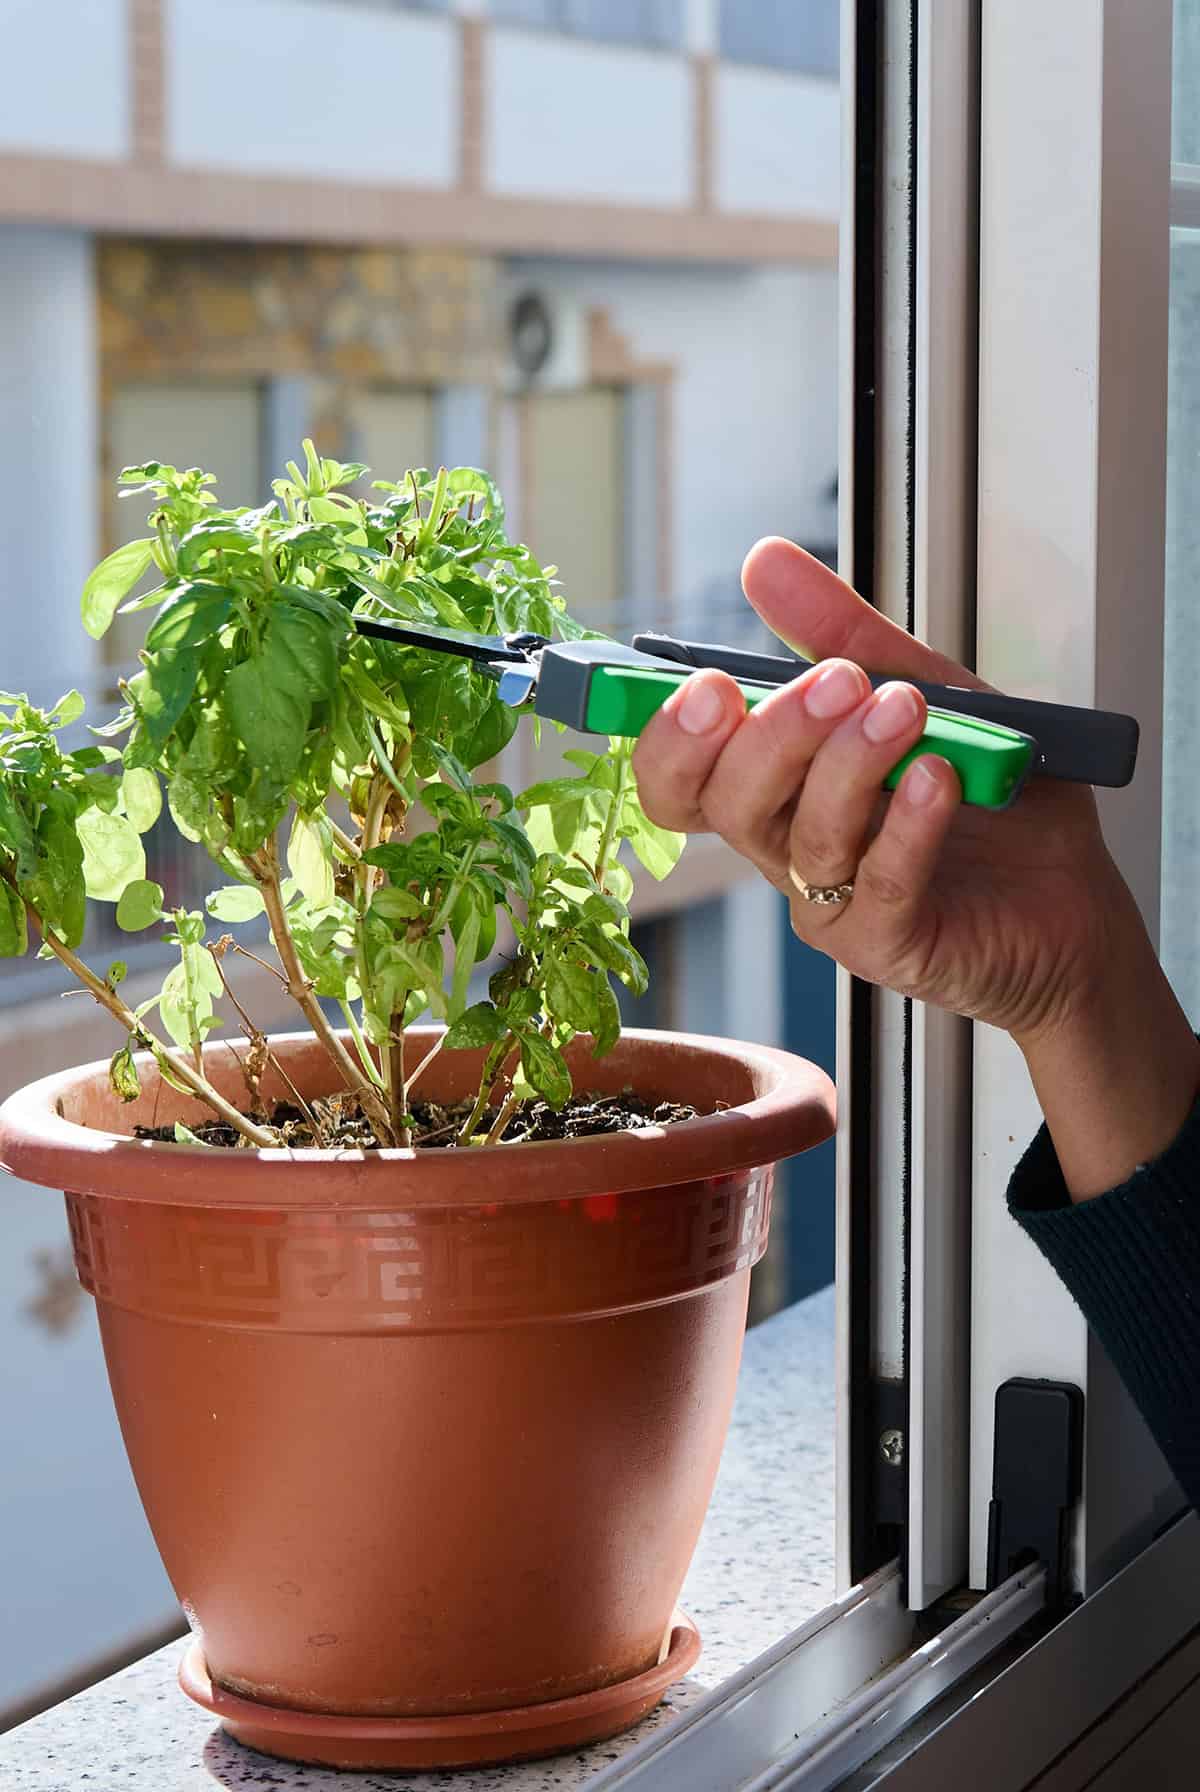
Indoor basil grows best with regular, strategic cutting. Smart pruning shapes the plant and extends the harvest.
Pinching for Bushy Growth
Begin pinching once the plant reaches 6 to 8 inches. Cut the top just above a pair of leaves, and two new stems grow from that point.
Repeat every week or two. More pinching produces more side branches and more leaves, and prevents floppy, light-starved stems.
Use clean scissors or snips for each cut, which causes less damage and reduces disease. Cut close to the node with a clean, untorn edge.
How to Harvest So It Keeps Growing
Wait until the plant has several sets of healthy leaves before harvesting. Cut whole stem sections instead of picking single leaves, always just above a node with a couple of healthy leaves left below.
Remove no more than a third of the plant at a time, which maintains balance between roots and leaves. With good light, the plant recovers within days.
Harvest from different areas each time for an even shape. Frequent small harvests are better than removing half the plant at once.
Preventing Flowering
Flowering reduces the size and flavor of the leaves. Indoors, stress from dim light or missed trims triggers flower buds, so remove them as soon as they appear.
Cut the stem a little below the forming flower cluster, deeper than the tip alone, which redirects energy into leaves and preserves the flavor.
Steady light and regular trimming delay flowering. Check the plant every week, and consistent care extends its productive life considerably.
Common Problems and Fixes
Most indoor basil problems come from weak light, watering mistakes or occasional pests. Identifying the cause, whether sun, soil or temperature, leads to a quick recovery.
Leggy Basil and Small Leaves
Tall, stretched stems with few leaves almost always mean too little light. Basil needs more brightness than most homes provide, and even south windows fall short in winter.
Move the plant right up to the window, nearly touching the glass. Where daylight is lacking, a grow light running 12 to 14 hours a day helps a great deal, positioned directly above the leaves.
Prune just above a pair of leaves every week or two for bushier plants and bigger leaves. Warm rooms also help, since cool spots slow growth and produce floppy stems.
Yellow Leaves and Drooping
Yellow leaves most commonly result from overwatering or poor drainage. Basil likes damp mix, never soggy, since the roots need air.
Check that the pot has drainage holes and that water drains quickly. Let the top inch dry before watering again, and use a light, well-draining mix instead of garden soil.
Cold air causes drooping even with correct watering, so place basil away from cold windows and vents in winter. Warmth and removal of yellowed leaves help the healthy growth recover.
Indoor Pests (Aphids, Mites)
Small pests settle in quickly indoors. Aphids cluster on new shoots, and spider mites leave pale speckles and fine webs under the leaves.
Inspect plants every few days, especially new growth. A strong spray of water knocks off most pests early on, and a few repeat sprays clear them completely.
For persistent pests, use insecticidal soap or neem oil on both sides of the leaves, and rinse the leaves well before eating. Isolate the plant during treatment, and wipe down the surrounding area.