
Buying new rose plants every season can get expensive quickly. Cuttings offer a practical way to grow more roses using plants you already have. Success depends largely on timing and technique. Read through the article below before making your first cut.
Table of Contents
Best Time to Take Rose Cuttings
Getting rose cuttings to root is all about catching the right stage of growth. The season, the health of the plant, and the type of wood you pick all play a part.
Softwood Cuttings
These come from fresh, green stems in late spring or early summer. You want flexible but not floppy growth. They tend to root a bit faster than older wood.
Snip shoots that have just finished blooming. Steer clear of any with flower buds—roots need all the plant’s energy. Softwood cuttings can dry out fast, so keeping them moist is key.
Go for 6-inch stems with healthy leaves. Strip off the lower leaves and give them bright, indirect light while they get settled.
Semi-Hardwood Cuttings
Mid to late summer is the window for these. The stems are firmer, not quite woody, and have a bit more staying power than softwood.
Pick stems that have finished blooming and are starting to ripen. Look for bark just turning brown. They’re less likely to wilt than the softer stuff.
Cut sections 6 to 8 inches long. Remove the lower leaves and keep things humid until roots start to show.
Hardwood Cuttings
Late autumn or winter is when you’ll want to take these from fully matured, dormant stems. They’re slow to root but tough once they get going.
Look for straight, healthy, pencil-thick stems from the current year’s growth, no signs of disease. Skip any that feel brittle.
Cut lengths of 8 to 10 inches. Strip all leaves and any leftover flowers. You can stick these right in the ground or in a sheltered spot to root slowly.
Tools and Materials Needed
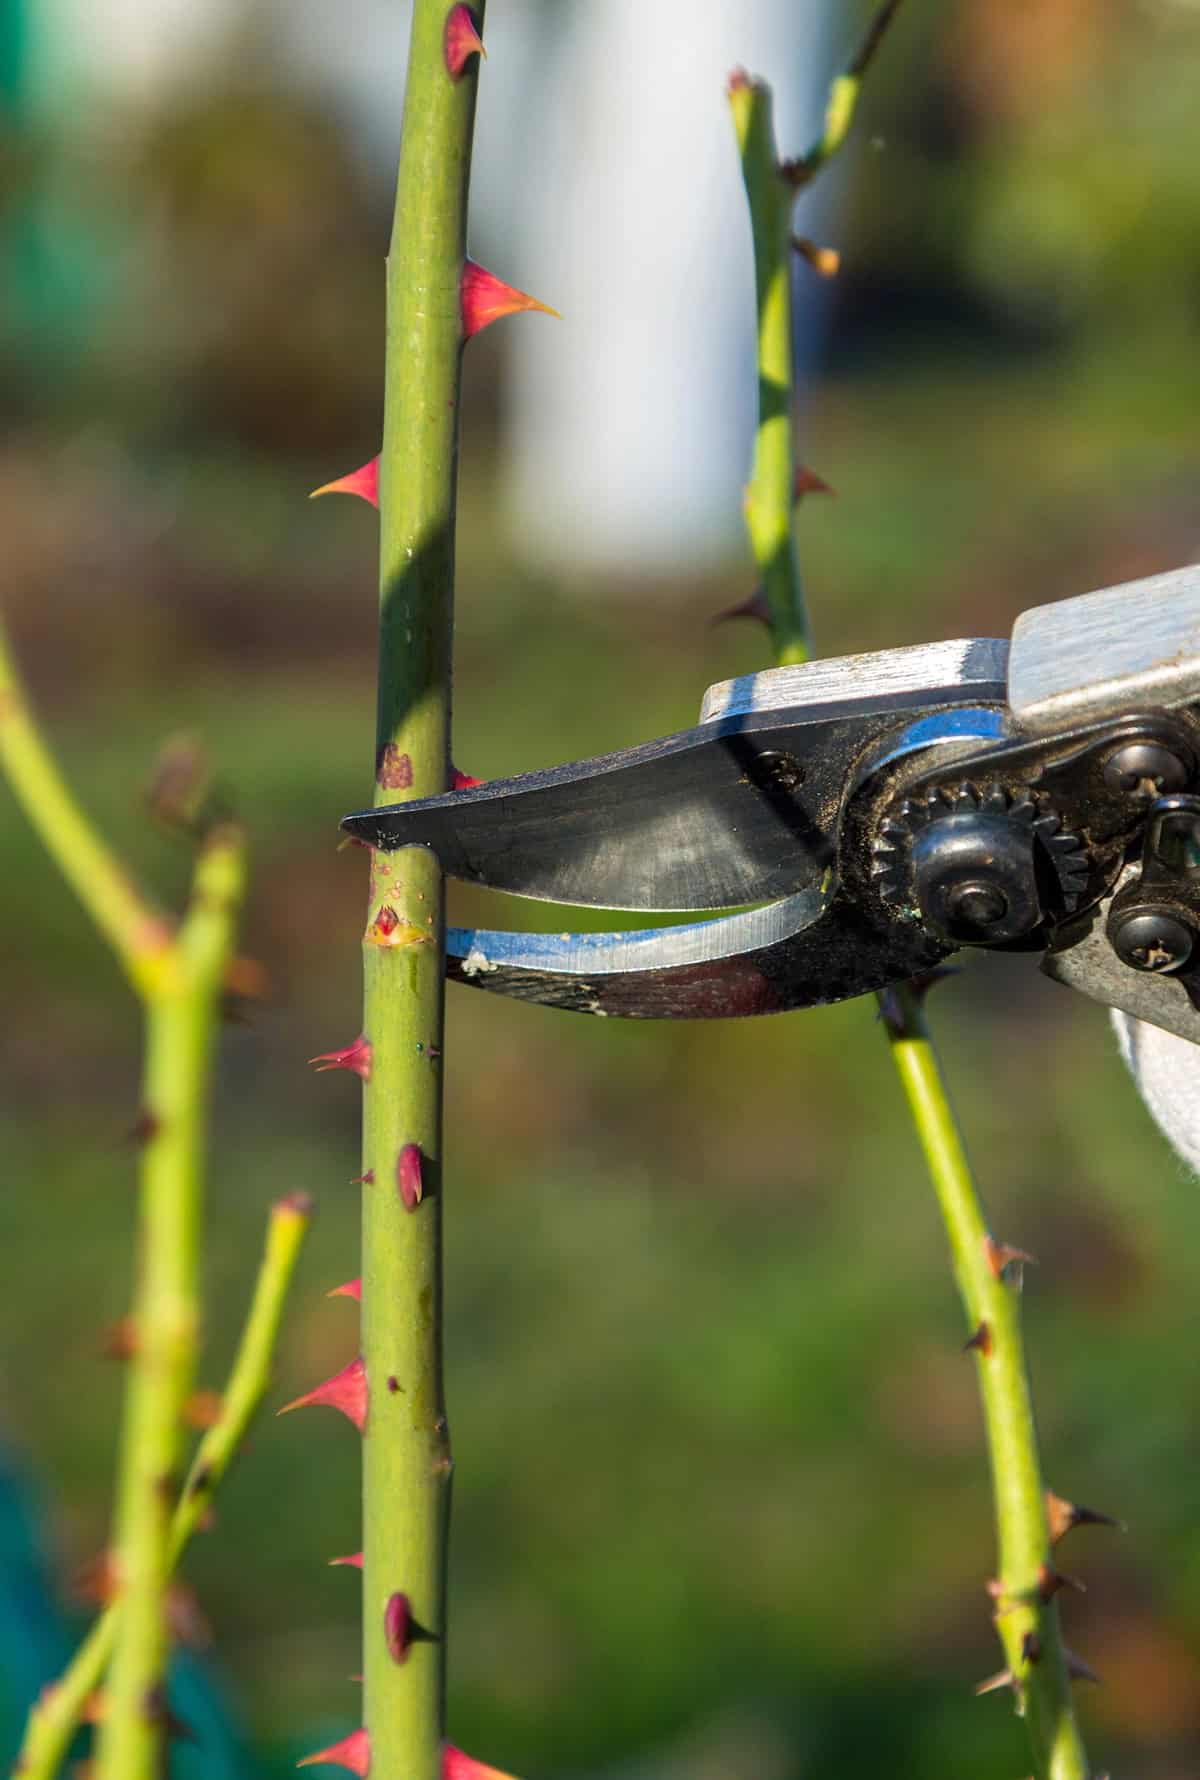
Sharp, clean pruners are a must—dull blades just crush stems. Always disinfect before you start to avoid spreading disease.
Rooting hormone helps, especially for hardwood and semi-hardwood. Pour a little into a small container for dipping.
Use a mix that drains well—sand and peat works, or sand and perlite. Small pots or trays are good for softwood and semi-hardwood; hardwood cuttings can go straight outdoors if your climate allows. Keep a spray bottle handy for misting.
Choosing the Right Cutting
The stem you pick has to be healthy and at just the right stage to root well. The structure and maturity of the stem make a difference.
Selecting Healthy Stems
Go for stems with no signs of disease or pests—no black spots, mildew, or holes.
Semi-hardwood is usually your best bet: firm but not woody, not too soft. These root more reliably than either very young or old wood.
Lateral shoots (the side branches) tend to root better and give you a bushier plant. Make sure the parent plant is healthy and well-fed.
Check that the leaves look even and healthy—good color, no stress. That’s a sign the stem is getting nutrients and should root well.
Ideal Stem Length and Nodes
Stick to 6 to 8 inches in length. That’s enough stored energy for rooting but not so long that the stem struggles.
Three or four leaf nodes are ideal. Roots usually pop out from these spots.
Cut just below a node at the base—roots tend to form there, and a clean cut lowers the risk of rot.
Snip off any flowers, buds, or hips. These pull energy away from rooting. Leave a couple of leaves at the top for photosynthesis.
Preparing the Cutting
Good prep is half the battle. You want to keep moisture in, make a clean wound for rooting, and set the stem up for success.
Removing Leaves and Thorns
Pull off the lower leaves so nothing sits in the soil—less chance of rot, less water loss. Keep a few small leaves up top for photosynthesis.
If those top leaves are massive, cut them in half. Less surface area means less water lost. Just be gentle so you don’t nick the stem.
Take off any thorns on the part that’ll be buried. Makes planting easier and keeps your fingers safe. Always use sharp, clean tools.
Cutting at the Right Angle
Make a straight cut just below a node at the bottom. That’s your root zone. Flat cuts give more contact with the rooting mix.
Angle the top cut at 45 degrees just above a bud or leaf joint. This lets water run off and helps prevent fungus. One smooth motion—don’t saw at it.
Try not to crush the stem. Crushed tissue slows rooting and invites disease.
Applying Rooting Hormone
Dip the lower end into rooting hormone—powder or gel both work. Tap off the extra so it doesn’t cake up in the soil.
Focus on the area just below the node, since that’s where roots will show up. Don’t touch the treated end once it’s dipped.
Plant it right away. If you wait, the cut dries out and rooting gets harder. Make sure the cutting is upright and stable in the mix.
Planting the Cutting
Setting up the right environment makes all the difference. You want the cutting steady, at the right depth, and in a spot that won’t dry out or rot.
Preparing the Soil Mix
Pick a clean container with drainage holes. The mix should hold moisture but not stay soggy—sand and perlite, or perlite and peat, are both solid choices.
Moisten the mix so it’s damp but not dripping. If you squeeze it, it should hold together but not leak water. That’s the sweet spot for rooting.
Skip garden soil—it gets compacted and stays wet too long. Sterile, airy mixes keep roots happy and lower the risk of fungus.
Inserting the Cutting
Trim the base just below a node. Remove the lower leaves, which helps the cutting focus on roots.
Push it into the mix about a third of its length. Firm the soil around it—no big air pockets.
If you’re doing a few at once, space them so the leaves don’t touch. That way, you get better airflow and less risk of disease.
Creating a Humid Environment
Cover the cutting with a clear plastic bag or dome to keep humidity high. Use stakes or wire to keep the plastic off the leaves.
Put the container in bright, indirect light—direct sun is too much and can cook the cutting. Aim for 65°F to 75°F for the best results.
Look for condensation inside the cover. If it dries out, mist the cutting lightly. Open the cover every couple days for a bit of fresh air—helps prevent mold.
Caring for Rose Cuttings
Rose cuttings need a steady hand: the right amount of light, moisture, and humidity. It’s about balance, not babying them too much or too little.
Light and Temperature Needs
Bright, indirect light is best. Direct sun is usually too harsh until roots form. A bright windowsill with filtered sun or a shady spot outside works.
Keep things around 65°F to 75°F during the day. Cooler nights are fine, but avoid big temperature swings.
If you’re short on sunlight, try a fluorescent or LED grow light for 12 to 14 hours a day. Keep it about a foot above the plants so you don’t scorch the leaves.
Don’t put cuttings near heaters or drafty windows—those sudden changes are rough on them.
Watering
Keep the rooting mix evenly moist, not soggy. Too much water and you risk rot. A spray bottle makes it easy to moisten just the surface.
Check daily. Stick your finger in about an inch—if it’s dry, it’s time to water.
Room-temp water is best. Cold water can shock the cuttings and slow things down.
Make sure water isn’t pooling at the bottom of the container. Good drainage is important.
Don’t let the mix dry out completely, even for a short time. That can set back root development.
Humidity Control
High humidity keeps the cuttings from drying out. A plastic dome or bag over the top does the trick.
Try to keep the cover from touching the leaves—mold is a real risk if things get too damp and crowded.
Vent the cover daily for a few minutes. That little bit of airflow goes a long way.
Aim for 85–90% humidity until you see roots. A small hygrometer helps if you want to get precise.
If the air is dry, set a tray of water nearby to bump up the humidity without overwatering.
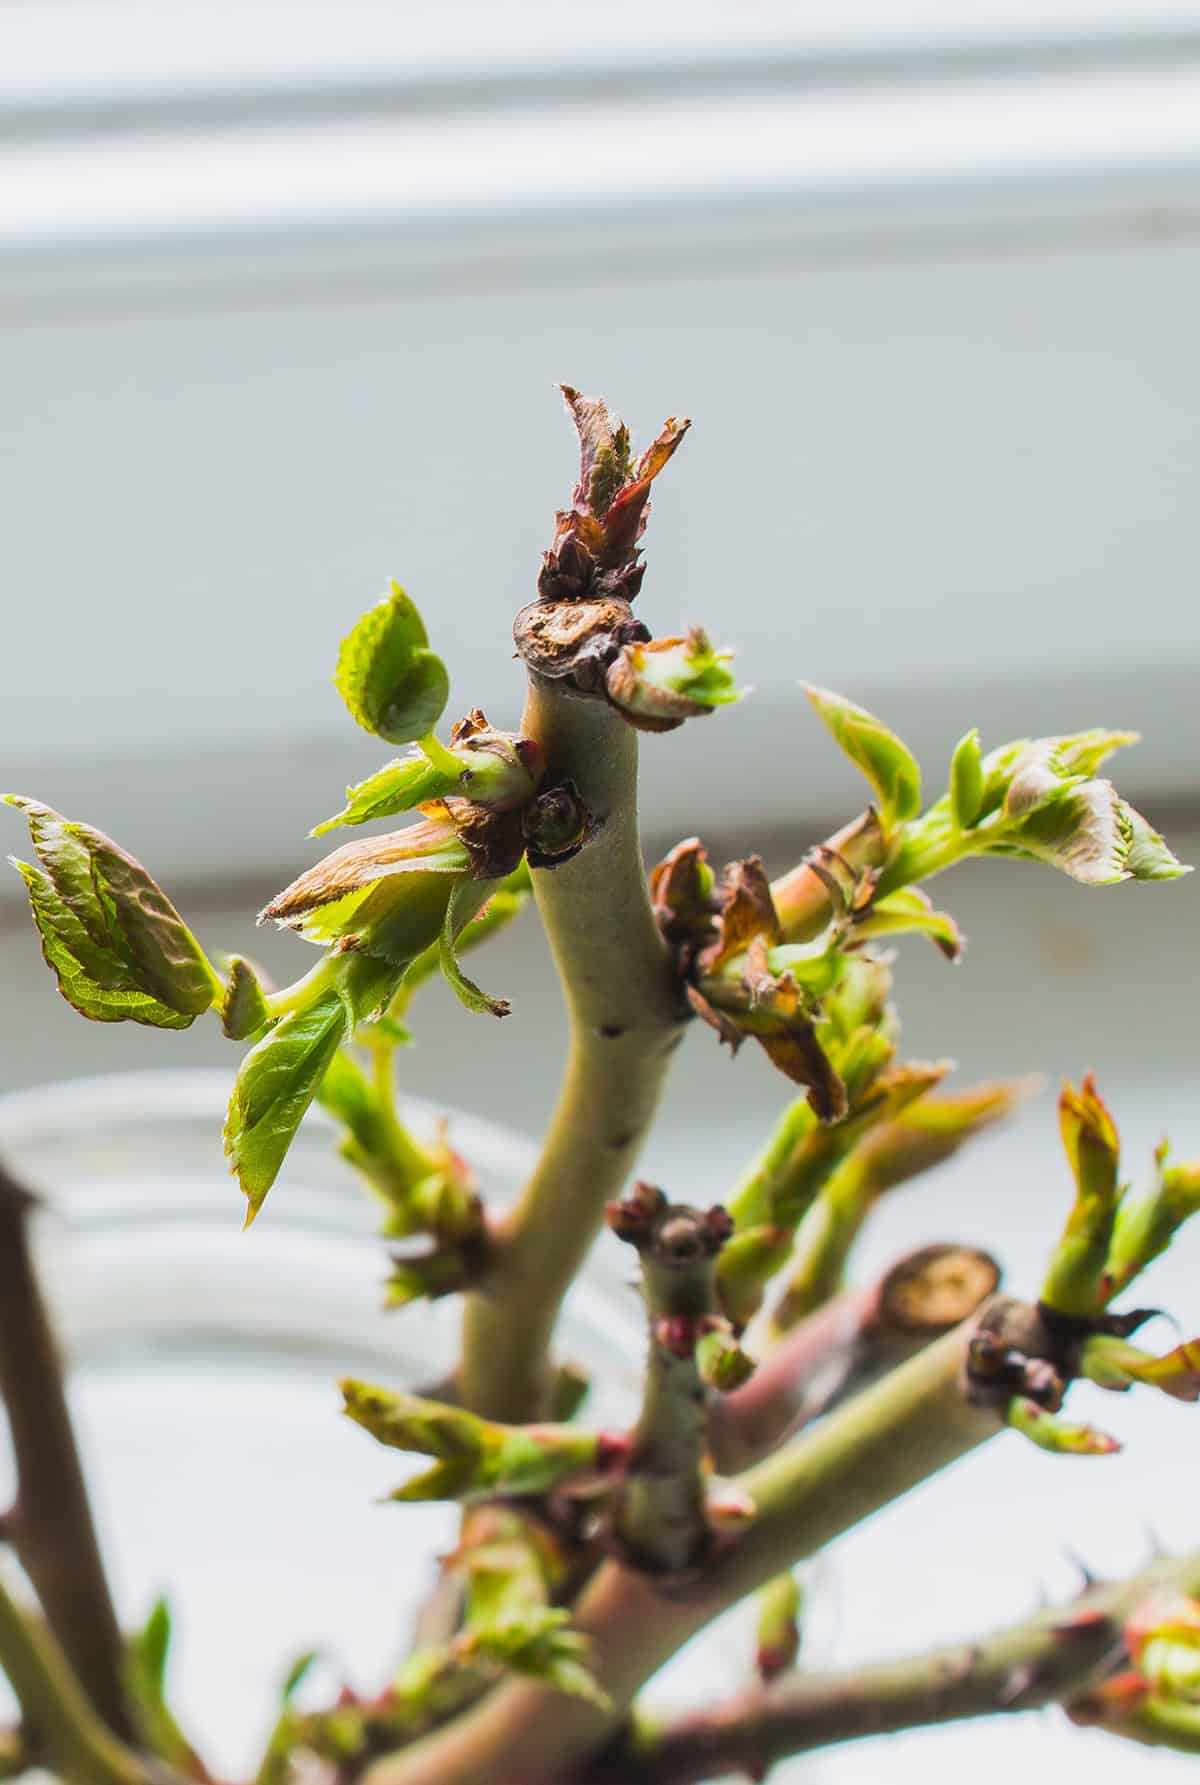
Signs of Successful Rooting
Once roots start to form, rose cuttings give you a few clues. Physical stability and new growth are what you’re watching for.
Tug Test
Give the stem a gentle tug near the base. If you feel resistance, roots are probably there.
Don’t yank too hard—young roots are fragile. Wait a few weeks before trying this, and only use light pressure.
If it slips out, it needs more time. Pop it back in and keep conditions steady.
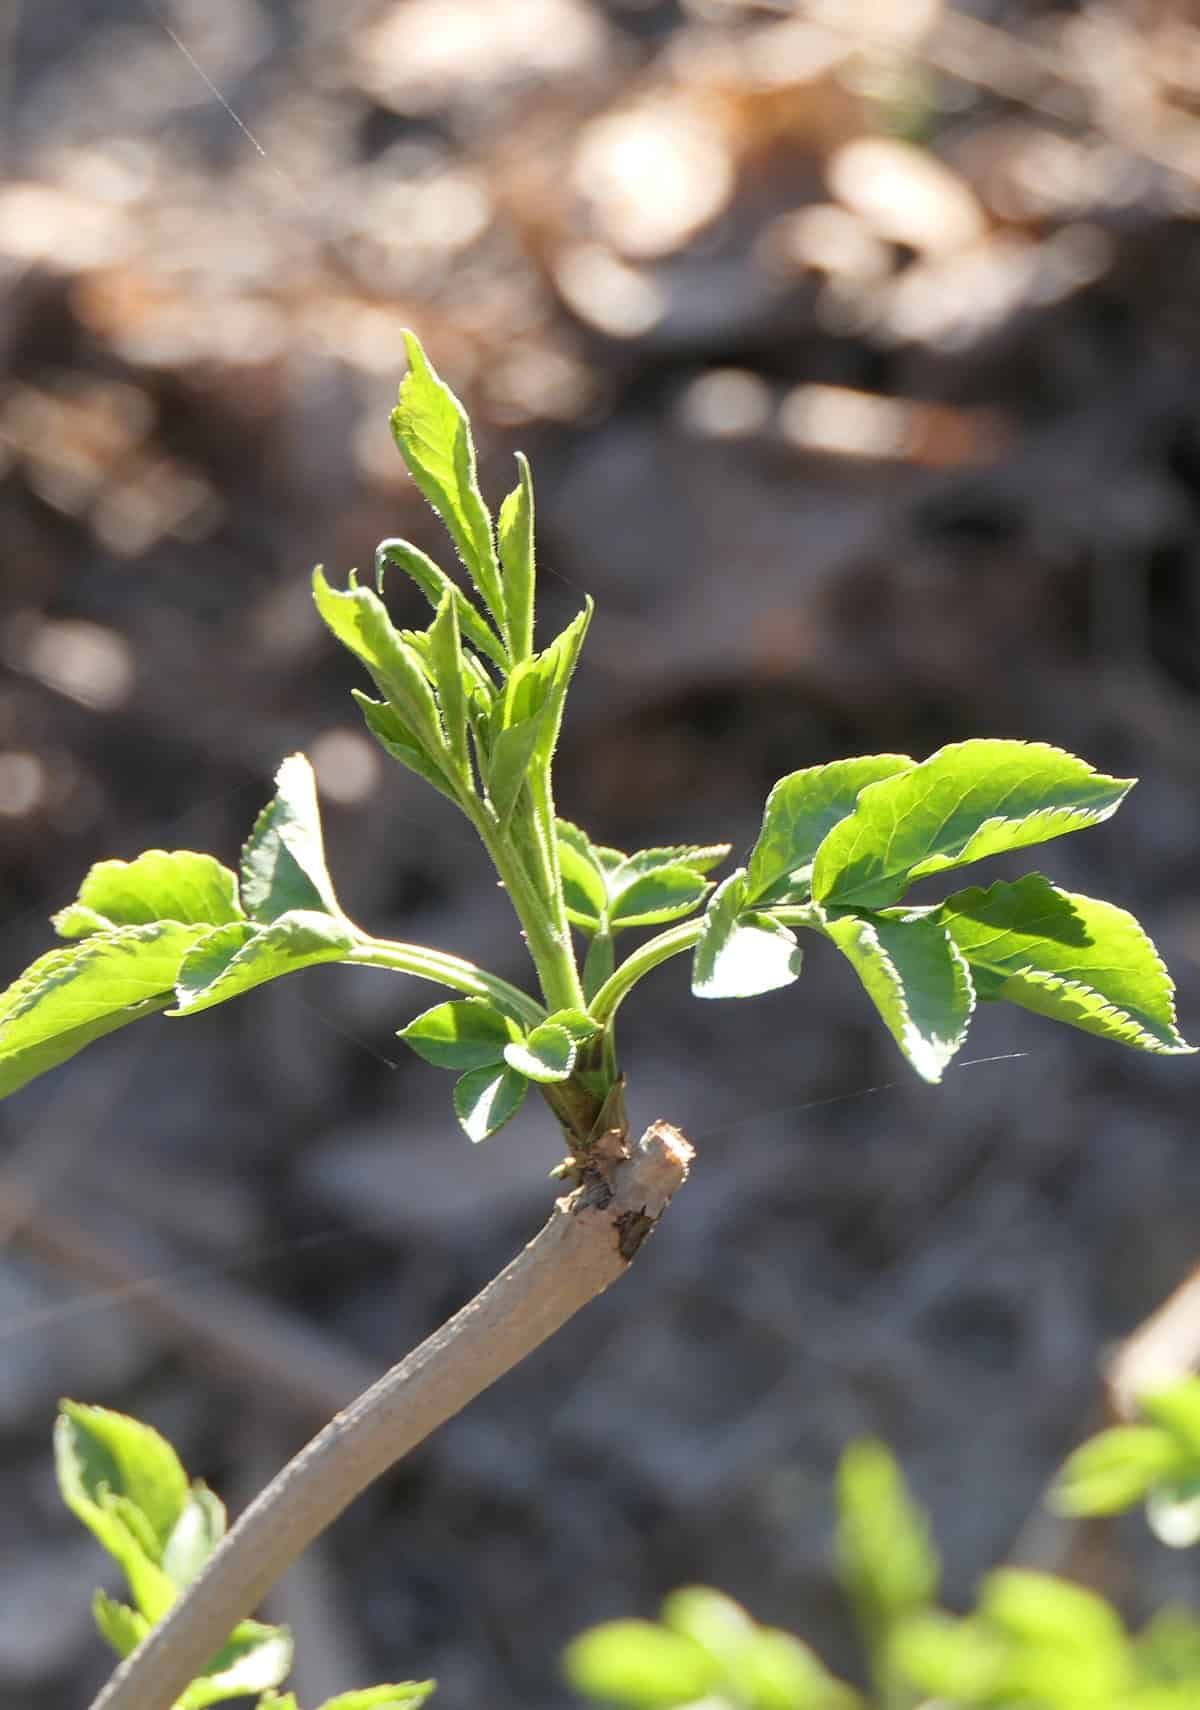
New Leaf Growth
Fresh, firm leaves at the top mean the cutting is feeding itself from its new roots. Look for healthy green color and no wilting.
New growth timing varies, but warm temps and steady moisture help. Weak or pale leaves? That usually means rooting isn’t quite there yet.
Watch for steady leaf expansion over several days. Once you see that and the stem feels anchored, you can start thinking about moving the plant outdoors.
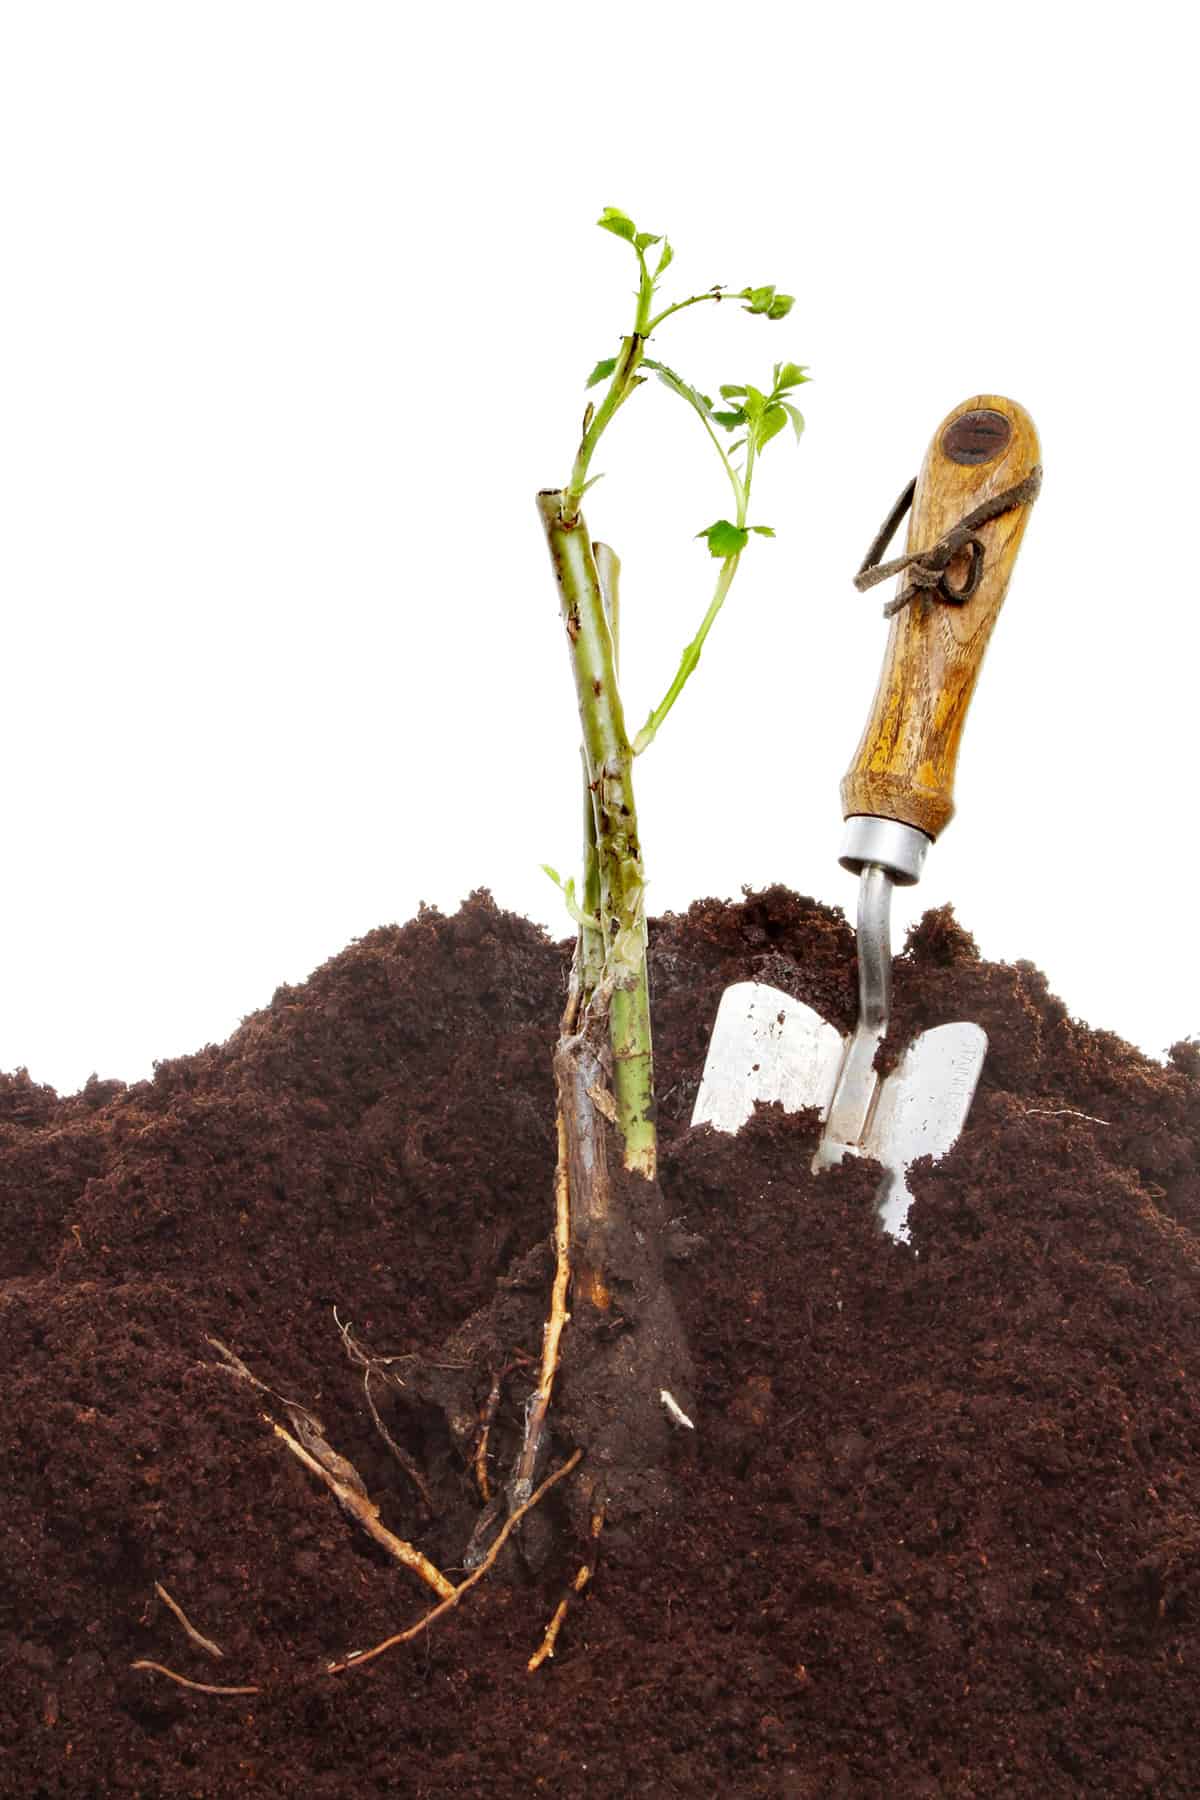
Transplanting Rooted Cuttings
Once roots are going strong, it’s time to give your new rose a permanent home. Pick a spot where it can settle in and thrive without too much stress. That’s when you’ll really see it take off.
Choosing the Right Pot or Bed
If you’re using a pot, make sure it’s got drainage holes—no one wants soggy roots or a sad, stunted plant. Something around 8–10 inches deep usually gives those roots enough room to stretch out.
For garden beds, look for a sunny spot that gets at least half a day of direct light. Skip any low spots where water puddles after rain. Dig down about a foot and mix in some compost; the soil should feel loose, not clumpy or hard.
Give your roses a little breathing room so air can move around them. Packing them in too tight just invites mildew and other headaches.
Hardening Off the Plant
Before you throw your rooted cutting into the wild, ease it into outdoor life. Plants get cranky with sudden changes—too much sun, wind, or cold, and they just sulk.
Start by setting it outside in a shady, protected spot for a few hours. Gradually bump up the time and sunlight over about a week. If the nights get chilly, bring it back in or toss a cover over it.
Once it’s hanging tough all day and night, go ahead and plant it for good. Give it a deep drink so the roots can settle in and, hopefully, get comfy in their new home.
Common Mistakes to Avoid
It’s easy to grab any old stem, but honestly, soft or young ones just don’t root well. Go for those firm, mature stems—ideally after they’ve finished flowering. The flimsy stuff rarely takes off.
Cuttings left lying around dry out in no time. You’ve gotta get them into something moist right after cutting, or you’ll probably lose them. Dry, brittle wood? Pretty much game over.
If you’re using a dull blade, you’re just crushing the stem. A sharp, clean cut makes all the difference. Ragged ends struggle to root, and who wants that?
Heavy, packed soil just chokes new roots. Loose, airy stuff lets oxygen in and keeps things moving. Waterlogged dirt? That’s just asking for rot.
Timing matters more than folks think. Late fall into winter usually works best in most places. Avoid those blazing hot days or deep freezes—neither does your cuttings any favors.
It’s tempting to keep pouring on the water, but that’s a fast track to fungal issues. Keep things damp, not soggy. Roots need to breathe, too.
Full sun right away? That’s rough on new cuttings. They do better with bright, indirect light until they’ve settled in. Direct heat can just fry them before they’ve had a chance.