Raising yams at home is a bit of a long game, but it’s not as tricky as it might seem once you get the hang of it. These tropical tubers want heat, send out wild vines, and need a good chunk of the year to bulk up underground. You can grow them in the ground or in big containers, if you set things up right.
Plant healthy yam chunks in warm soil, give them loads of sun, keep the moisture steady, and make sure those long vines have something to climb on through a long, frost-free stretch. Climate, soil, and spacing? Yeah, those matter way more than any one “hack.” Tiny choices at the start can come back to bite you (or reward you) months later.
This guide covers picking your yam, when to plant, prepping the soil, and the basics of care through the season. You’ll get tips for training vines, feeding, dodging pests, and figuring out when it’s finally time to dig. Step by step, it all adds up to a decent harvest.
Table of Contents
Yam Basics
Real yams aren’t your average garden crop. They’re slow, want heat, and take up room. Knowing what you’re actually planting—and how long it’ll hog that space—is half the battle.
Yam vs. Sweet Potato (Quick Difference)
Grocery labels are confusing. Most “yams” in stores are just sweet potatoes in disguise. True yams are from the Dioscorea family, mostly native to Africa and Asia. Sweet potatoes? Whole different plant, hailing from the Americas.
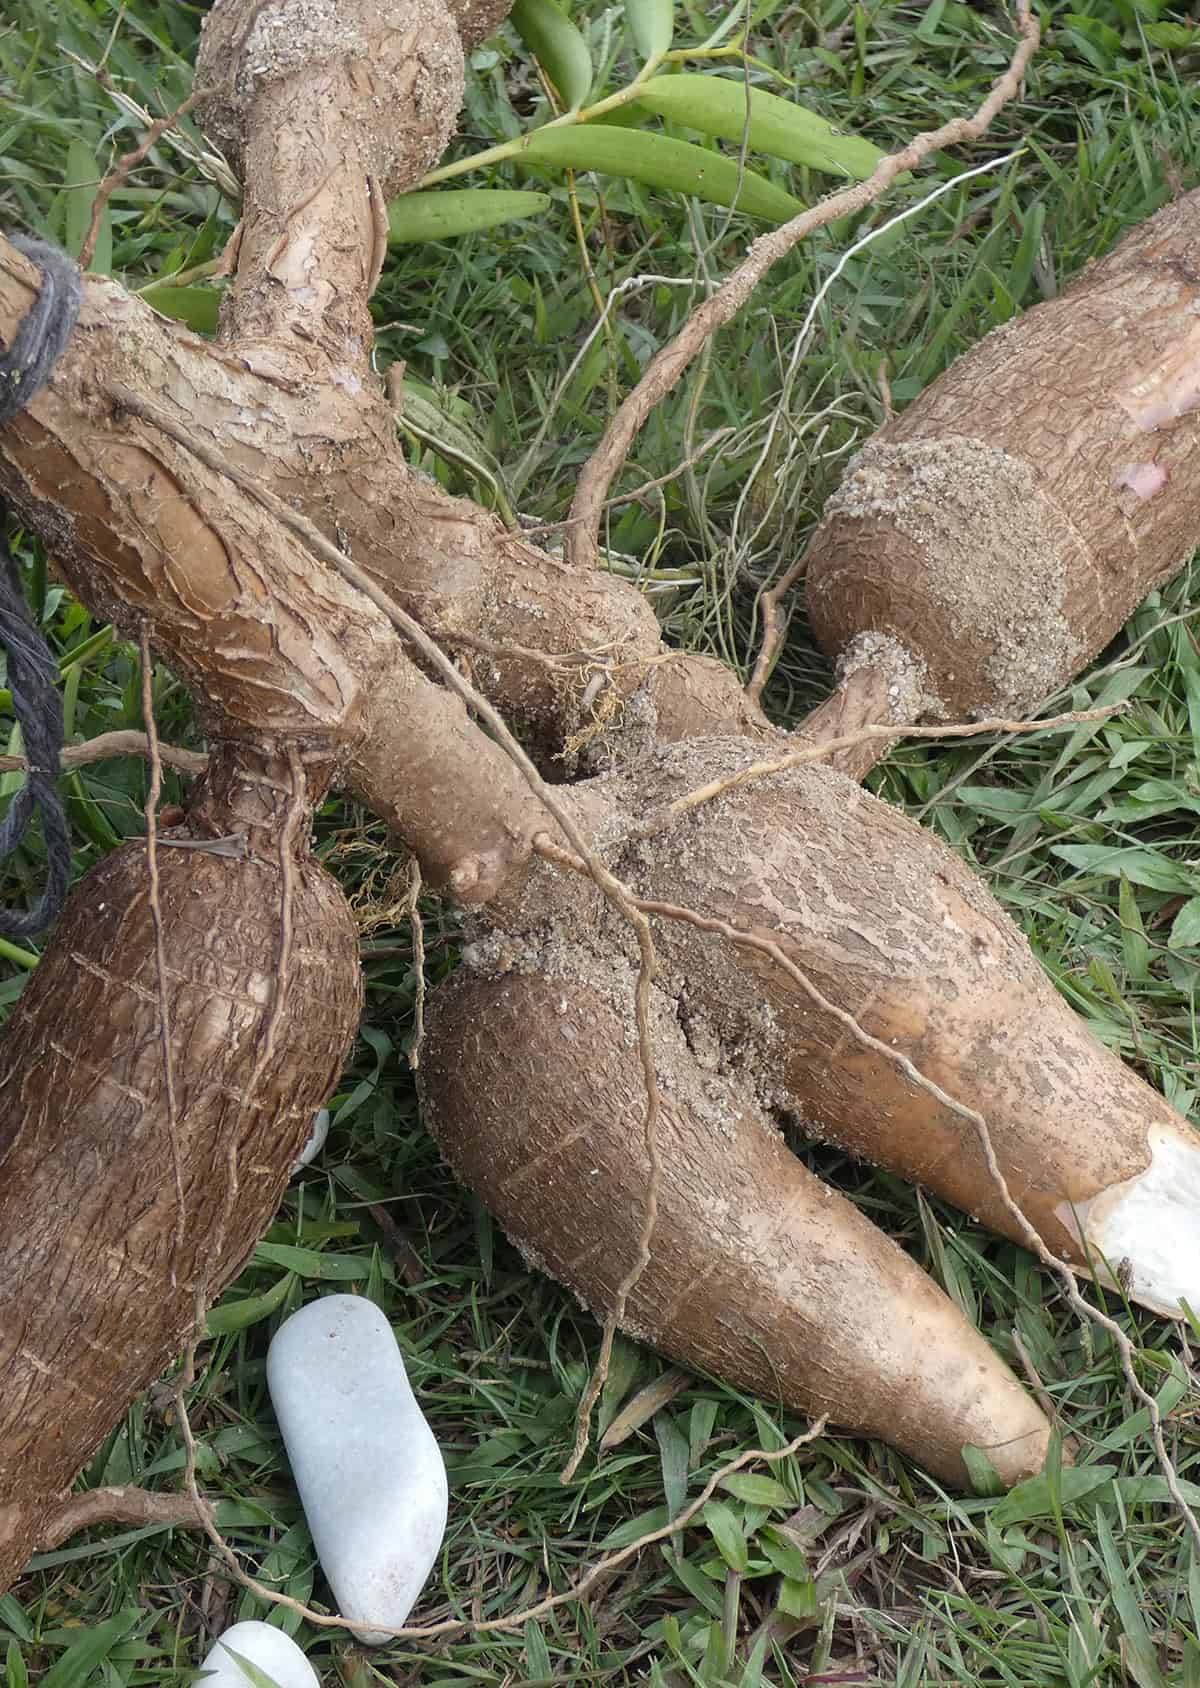
Look at the skin if you’re unsure. Yams have thick, gnarly, bark-like skin and usually white or pale flesh. Sweet potatoes are smoother, with orange, white, or purple insides.
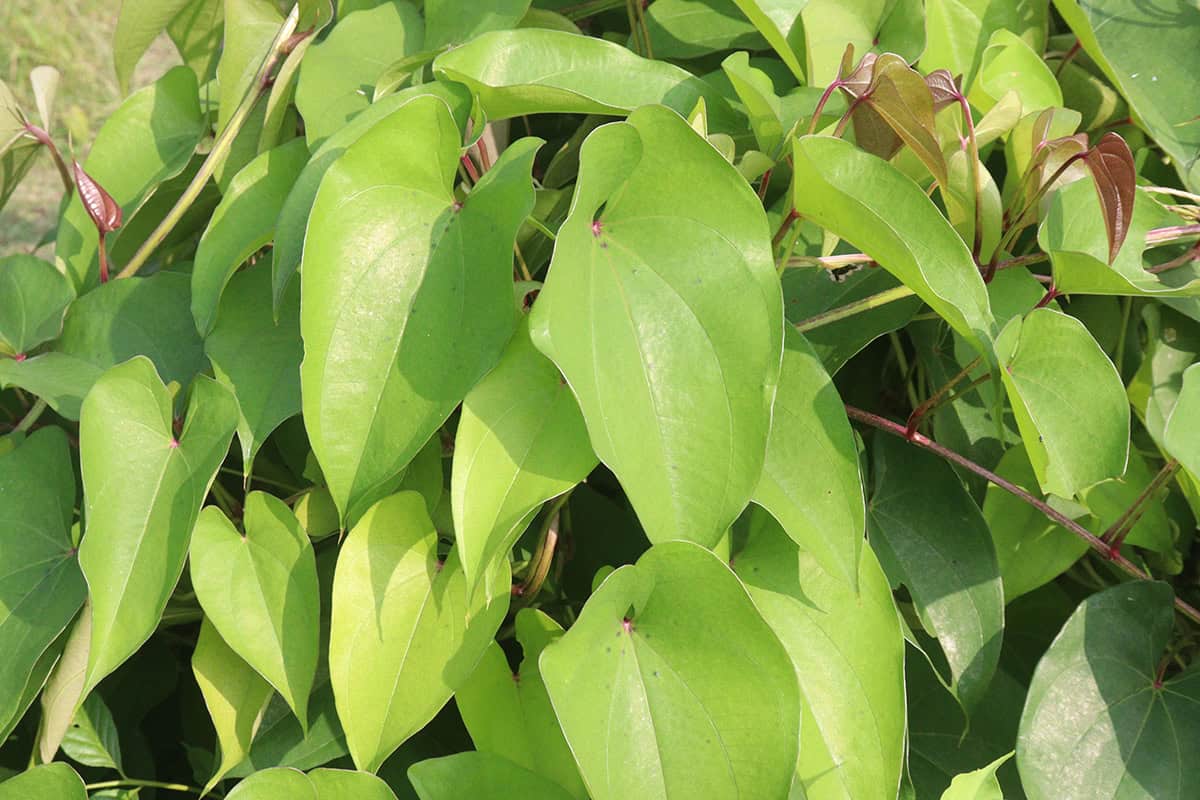
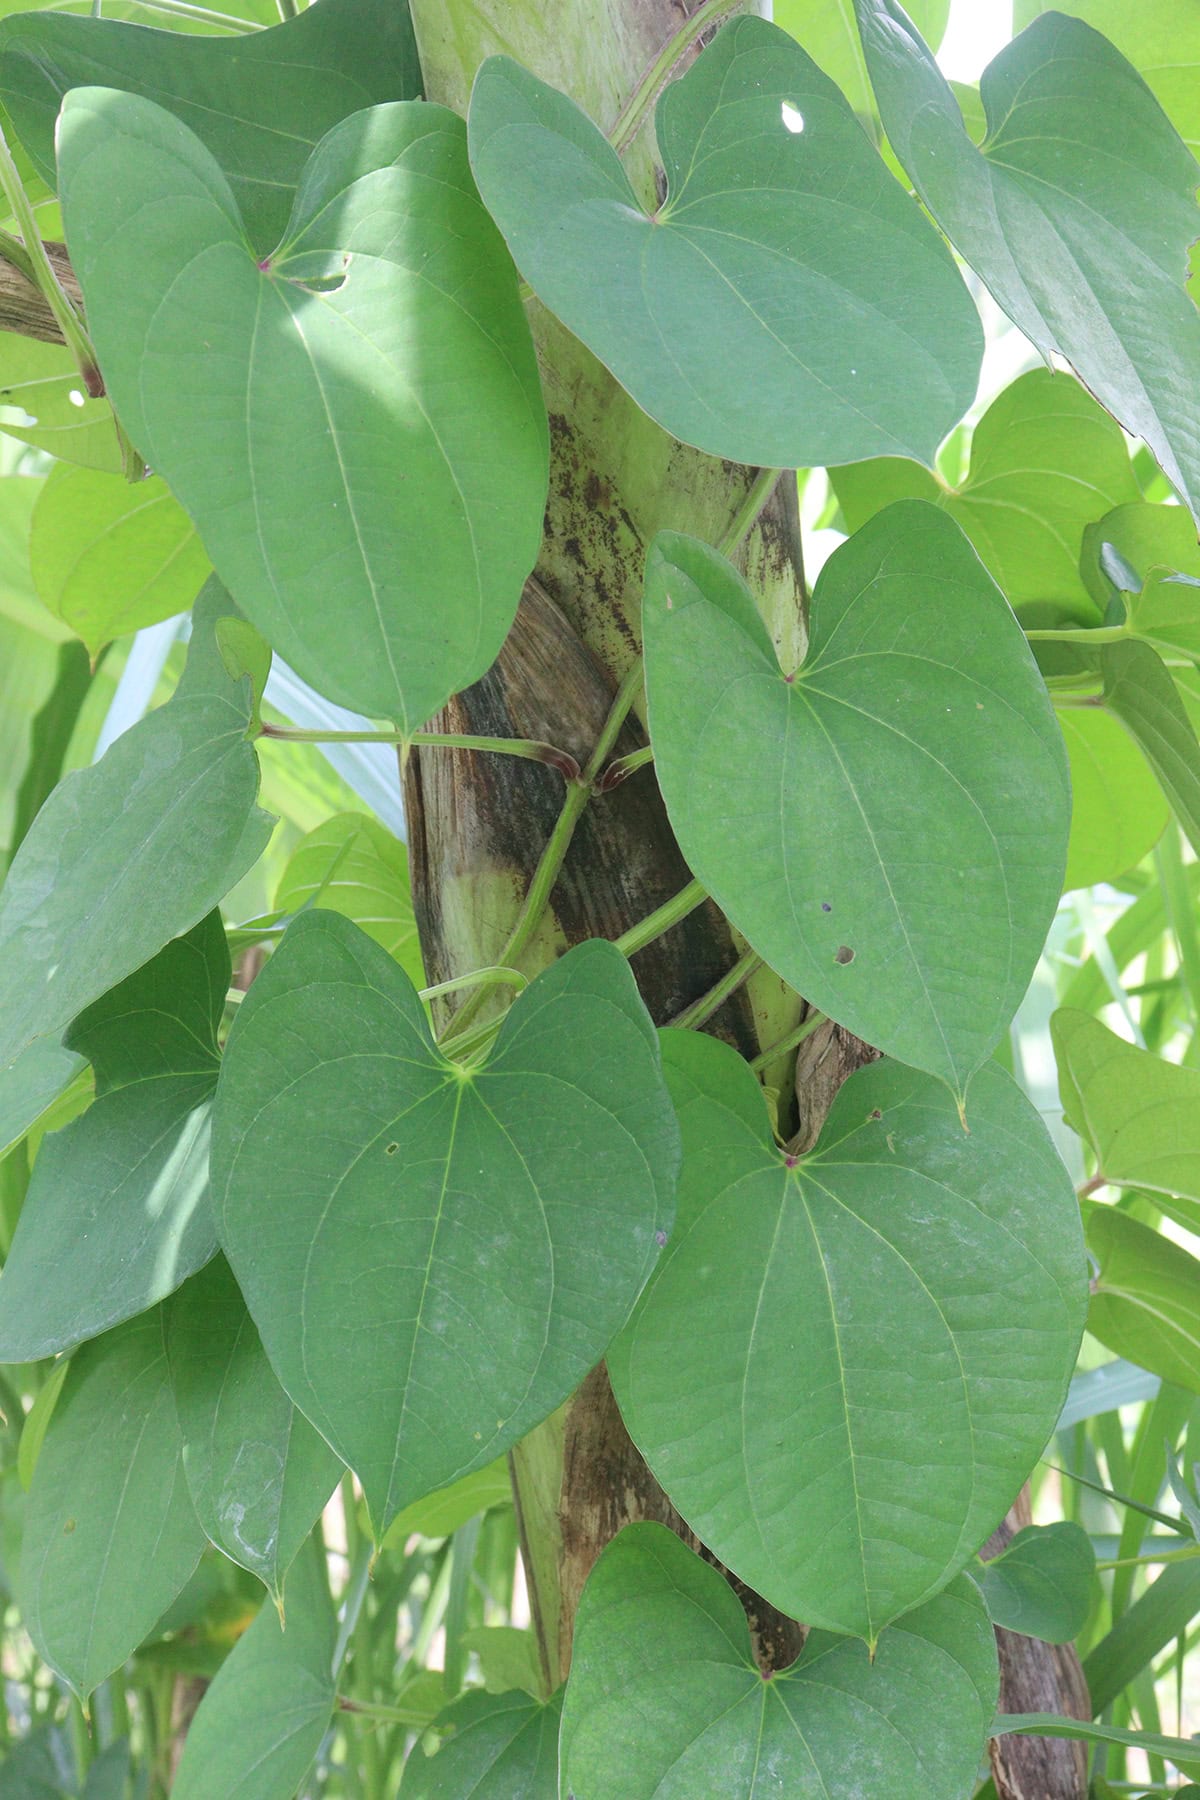
The way they grow is different too. Yams send up climbing vines and make big, deep tubers. Sweet potatoes spread low and have smaller roots. Plus, yams are much fussier about heat and a long growing season.
What to Expect (Time, Size, Yield)
Yams are in no hurry. Most types need four or five months of warm weather to finish up. Cold snaps or early frost? Not good—growth just stalls out.
Don’t be shocked by the size. If your soil’s loose and deep, a single yam can get pretty hefty. Crowded or compacted dirt, though, and you’ll get weird shapes or stunted roots.
One plant usually gives you one to three big tubers. If you cure them right, yams can hang around for months in storage.
Choose Your Yam to Plant
Picking the right species and healthy planting stock is kind of a big deal. Climate match, maturity time, and disease-free tubers matter way more than how pretty they look.
Best Types for Home Growing
We’re talking true yams here—Dioscorea species, not sweet potatoes. For home gardens, Dioscorea alata and Dioscorea rotundata are solid picks in warm climates.
They need a long, hot run—think eight to eleven months of frost-free weather. Short summers just don’t cut it.
If you can, look for compact or early types. The big commercial ones eat up space and need heavy-duty support. If your area dips below 50°F for long, growing yams is going to be an uphill battle.
Where to Get Seed Yams Safely
Go for certified seed yams from a legit ag supplier. They’re checked for bugs and nasty diseases. Clean stock means fewer headaches later.
Skip grocery store yams for planting. They’re often treated to prevent sprouting and can carry stuff you don’t want in your garden.
Check with your local extension office or a farm supplier. Some nurseries ship seed yams in the right season. If you’re buying online, ask about where they’re from and how they’ve been stored.
When to Plant
Timing makes or breaks your crop. Warm soil and a long, frost-free window beat any calendar date. If spring drags on, you can get a jump indoors.
Best Season by Climate
Wait until all frost is history and the soil’s at least 65°F. Cold ground just slows everything down and can even kill off new shoots. Nights should be above 50°F for the best shot at good growth.
In warm spots, late April or May works. If you’re near the coast or somewhere mild, it might be May or even June. Short summers? Plant as soon as it’s safe, so you get at least 4 to 5 months before it gets chilly again.
Pick a sunny, well-drained spot. Raised beds help the soil warm up faster. If it’s been rainy and the ground’s cold or sticky, wait it out.
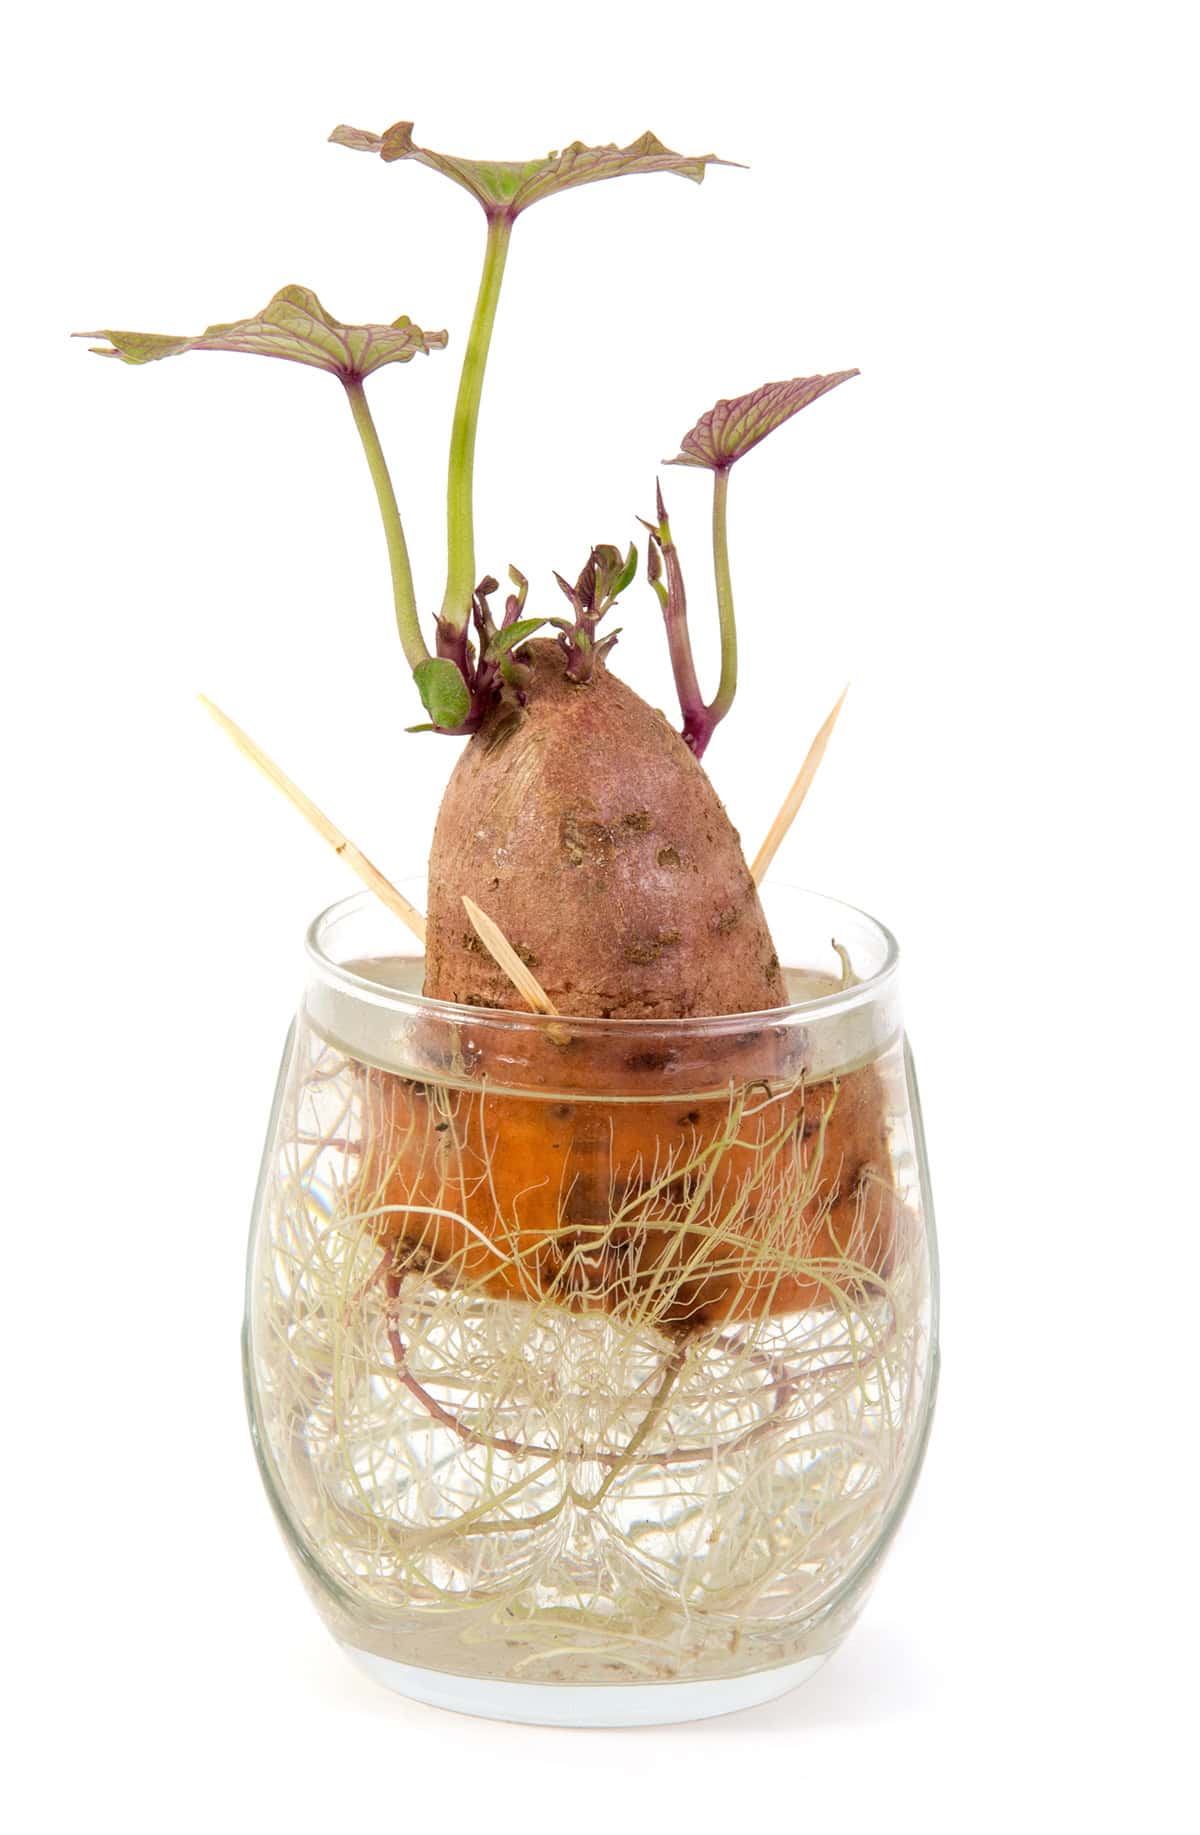
Indoor Pre-Sprouting Option
If spring’s slow to warm, start yams inside about 6 to 8 weeks before you’d plant out—usually February or March. Use healthy roots, keep them warm, and wait for the sprouts (“slips”) to pop up.
Keep temps around 75°F and give them plenty of light. If the air’s bone-dry, shoots will drag their feet, so a bit of humidity helps.
Don’t rush them outside. Wait until the soil’s warm and nights are mild. Harden off the slips by putting them out for a few hours a day first—helps them adjust and settle in faster.
Location + Sun
Heat, space, and consistent sunlight—yams won’t compromise. Where you plant decides how strong the vines get and how big the roots end up.
Sunlight Needs
They’re sun-lovers, no way around it. Shoot for at least six hours of direct sun, though eight is better if you’ve got it. In really hot places, a bit of afternoon shade can keep them from frying, but don’t overdo it.
Chilly temps are the real enemy. Below 72°F, growth slows to a crawl, and frost will wipe out the vines. Find a spot that stays warm from late spring through fall.
Skip shaded corners or spots blocked by buildings. Not enough light, and you’ll get long, skinny vines and sad little roots. Sun is non-negotiable.
Growing Yams in Containers vs. Ground
Honestly, the ground’s better for most folks. Yams want to go deep, and loose soil lets them stretch out. If you’ve got rich, well-drained soil and lots of sun, you’re set.
Containers can work, but only if they’re huge and drain well. Small pots mean tiny tubers and wild, tangled vines.
If you do go with containers, keep them in full sun and protect from cold snaps. Don’t shuffle them around unless you have to—cold soil just slows everything down.
Soil Prep
Loose, well-drained, and warm soil makes all the difference. Fix any texture issues before you start, and shape the bed so tubers can develop properly.
Soil Texture and Drainage
Go for light, crumbly soil—yams need to push through easily. Hard, compacted ground means ugly roots and slow growth. You want soil that drains quickly after rain and doesn’t clump.
Drainage is more important than how rich the soil is at first. Soggy ground sets you up for rot. Aim for a pH between 5.8 and 6.5 for the best nutrient uptake.
Raised ridges are a good move. They warm up faster and help water drain off. Build them up 8–12 inches before you plant.
How to Improve Heavy Soil
If you’re stuck with clay, break it up at least a foot deep. Roots need room to move, or you’ll get stunted tubers.
Mix in well-rotted compost or leaf mold to open up the texture. Skip fresh manure—it’ll push leaf growth instead of roots.
Shaping the soil into ridges helps with drainage and warming. If water tends to pool in your yard, ridges aren’t optional—they’re a must.
Planting Steps
Big yields come from starting with clean seed pieces and planting them right in warm soil. How you cut, cure, and space them matters more than you’d think.
How to Cut and Cure Seed Pieces
Pick firm, mature yams—no soft spots or mold. Each chunk should be about 8–16 ounces with at least one bud. Use a sharp, clean knife for smooth cuts.
Let the pieces cure in a dry, shady spot with good air for 2–4 days. This dries out the cuts and builds up a protective layer. It’s boring but worth it—planting fresh cuts is just asking for rot, especially in cool or wet soil.
Once the surface is dry and feels tough, you’re good to go.
Depth, Spacing, and Orientation
Soil temp is more important than the date. Wait until it’s reliably above 70°F. Loose, well-drained dirt helps tubers bulk up without getting weird shapes.
Plant each piece 3–5 inches deep, with the cut side down and the bud facing up or sideways. That way, shoots don’t waste time reaching the surface.
Give each plant 18–24 inches of elbow room, with at least 3 feet between rows. More space means better air flow and less competition. Cover, press the soil gently, and water once to settle everything. After that, don’t drown them—just keep it moist, not soggy.
Support System (Vines)
Yam vines go wild if you let them. A sturdy support keeps things tidy and helps the plant focus on making roots, not just leaves.
Trellis Options That Work
Go with something solid—wood posts and wire, or strong nylon line, work in most home gardens. Posts should be at least six feet tall so the vines grow up, not out.
Metal cattle panels are another good option if you anchor them deep. They hold up to wind and the weight of mature vines. Keep supports close enough together so nothing sags—these vines get heavy.
Don’t bother with flimsy mesh or skinny stakes. They’ll buckle by midsummer. Pick stuff that can take a beating from weather and time.
Training Vines Neatly
Start early, gently wrapping new vines around the support every few days. It’s easier to guide them now than untangle a mess later.
Give vines space so leaves get light and air. That keeps disease down and growth even. Don’t force them—stems snap if you’re rough.
If you use ties, check them often and loosen as the plant thickens. A little attention here saves you hassle later on.
Watering + Mulching
Consistent moisture and a good mulch layer are your friends. Water timing and the right mulch keep roots happy and the soil from drying out too fast.
Watering Schedule Basics
Deep, thorough watering beats lots of light sprinkles. Soak to root depth, then let the top dry a bit. That helps tubers grow and keeps rot at bay.
Early on, water every three or four days if it’s dry. Once the vines take off, you can water less often but more deeply. Aim for about 2–3 cm of water per week, rain included.
When leaves start to yellow at the end, cut back on water. Too much late in the game leads to cracked yams and lousy storage. Well-drained soil is more important than sticking to a rigid schedule.
Mulch to Keep Moisture Steady
Mulch keeps soil moisture even and roots cool. Put it down after the soil’s warmed up—a layer 5–8 cm thick is plenty.
Straw, dry leaves, or compost work well. They slow down evaporation and block weeds, which hog water early on. As mulch breaks down, it helps the soil too.
Don’t pile mulch right up to the stem. Leave a little gap to keep rot and bugs away. Top it up after heavy rain or wind if it gets thin.
Feeding
Yams don’t need much in the way of fertilizer. Warm soil and a light touch with nutrients—especially nitrogen—are key. Feed lightly early on, then back off so the roots can size up properly.
Simple Fertilizer Plan
How you treat the soil early on really shapes the roots. Before you even plant, work in some compost or manure that’s had time to mellow out—nothing too fresh. Skip the high-nitrogen stuff, though; it’s tempting, but all it does is make vines run wild and the tubers stay small.
Once the shoots are up and running, go for a balanced fertilizer like 5‑10‑10. Keep it light, water it in, and don’t get carried away. If the leaves start looking pale, maybe give them one more light feed after six weeks, but that’s about it.
Honestly, the soil’s texture is just as important as what you feed it. Roots need loose, well-drained ground to stretch out. And whatever you do, don’t dump fertilizer right next to the stems—you’ll just end up burning them or getting weird growth.
When to Stop Feeding
Here’s where timing really takes over. Stop fertilizing about eight to ten weeks before you plan to dig. If you keep feeding too late, the roots just won’t finish right, and they won’t store well either.
Piling on extra nitrogen at the end? That just makes for too many vines and thin skins, which are a pain to harvest and don’t keep. So keep it steady, then ease off.
Keep watering once you stop feeding, but don’t drown them. Steady moisture helps the last bit of sizing without splitting. As harvest creeps up, you can back off the water a bit—firmer skins hold up better in storage anyway.
Growing Yam in Containers – Step by Step Guide
Even if your space is tight, you can absolutely grow yam at home. Containers give you a shot at controlling warmth, drainage, and where you put the plant—great for patios, balconies, or wherever you can snag a sunny spot.
Yams (sometimes labeled sweet potatoes) really want heat and space for their roots. Go with a big pot and plenty of sun for decent growth. Warm soil beats early planting every time.
- Select the container. Grab a pot that’s at least 16 to 24 inches both ways, and make sure it’s got good drain holes. You want something sturdy so it doesn’t tip over.
- Prepare the soil. Use loose soil mixed with compost. It should hold some moisture but not turn to muck. Lay off the heavy chemical fertilizers.
- Plant the slips. Wait until the soil’s warmed up to about 65°F. Stick each slip in at an angle, cover the roots, and give them some elbow room.
- Place and care. Sun is non-negotiable—find a spot that gets plenty. Water when the top bit of soil dries out, but don’t let it get soggy.
- Support growth. Mulch helps hold warmth and moisture. If vines start wandering, just loop them back into the pot. After a few weeks, a little compost goes a long way.
- Harvest. Four months in, start checking. Dig carefully so you don’t nick the roots. Cure them in a warm, dry spot before packing them away.
Pests + Diseases
If you keep things balanced—good soil, not too much water, clean planting stock—yams can dodge most problems. Bugs target vines and tubers, but honestly, soggy soil and heat are what bring on most diseases.
Common Pests and Prevention
Beetles and weevils are the big troublemakers, chewing into roots and making storage a nightmare. Nematodes can mess with roots too, leaving plants stunted and sad.
The best defense? Start with healthy, solid seed yams and don’t plant in the same spot every year. Keep weeds down—they’re just bug hotels. Check your plants now and then, and if you spot damage, pull those plants fast.
Rot and Fungal Issues
Rot shows up if the soil stays swampy. Both soft and dry rot can wreck tubers before and after you dig them up. Fungi love warm, damp conditions, so keeping things drained is huge.
Honestly, good drainage beats any spray or treatment. Raised beds or mounds help if your soil stays wet after rain. Be gentle at harvest—cuts and scrapes are just invitations for rot. Store the cured yams somewhere dry and airy, and you’ll avoid most decay headaches.
Harvesting
Picking the right moment and handling roots gently makes all the difference for yield and taste. Rushing it or being rough just leads to bruises and wasted effort.
When Yams Are Ready
Generally, you’re looking at 90 to 120 days from planting slips, but weather and variety can shift that. If you’re curious, scratch back some soil and peek at a root—no need to yank it out. Yellowing leaves and slowing vines usually mean the roots have filled out.
Don’t wait for frost; it’ll ruin the vines and spoil storage. Get the roots out while the soil’s dry, not muddy. Warm dirt helps the skins toughen up and cuts down on scuffs.
Once they’re up, let the roots cure for about ten days in a spot that’s warm and humid—80–85°F is about right. This step sweetens them up and toughens the skins. Hold off on washing until after curing’s done.
How to Dig Without Damage
Grab a garden fork or spade and don’t get too close to the plant crown—better to start about 12 to 18 inches out from the center. Work the soil gently, lifting as you go. It helps to push the vines aside and loosen soil by hand as roots show up.
These roots bruise if you so much as look at them wrong, so handle them carefully. No tossing or dropping. While you’re at it, stash the roots in the shade so the skins don’t get messed up by the sun.
Let roots dry a bit, then brush off any dirt that’s hanging on. Hold off on washing until you’re actually ready to use them. When you’re done, stash the cured roots at 55–60°F with some humidity, and don’t let any light get to them.